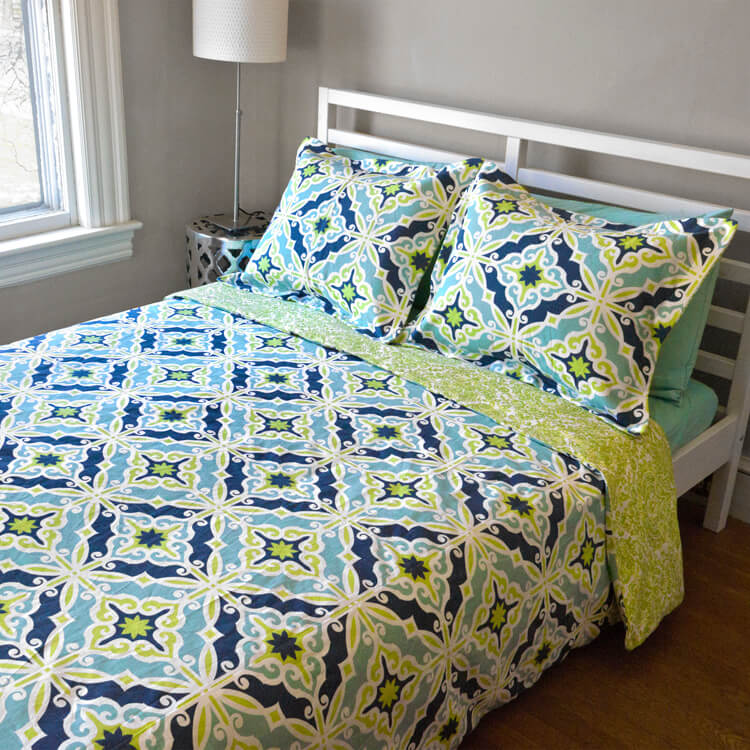
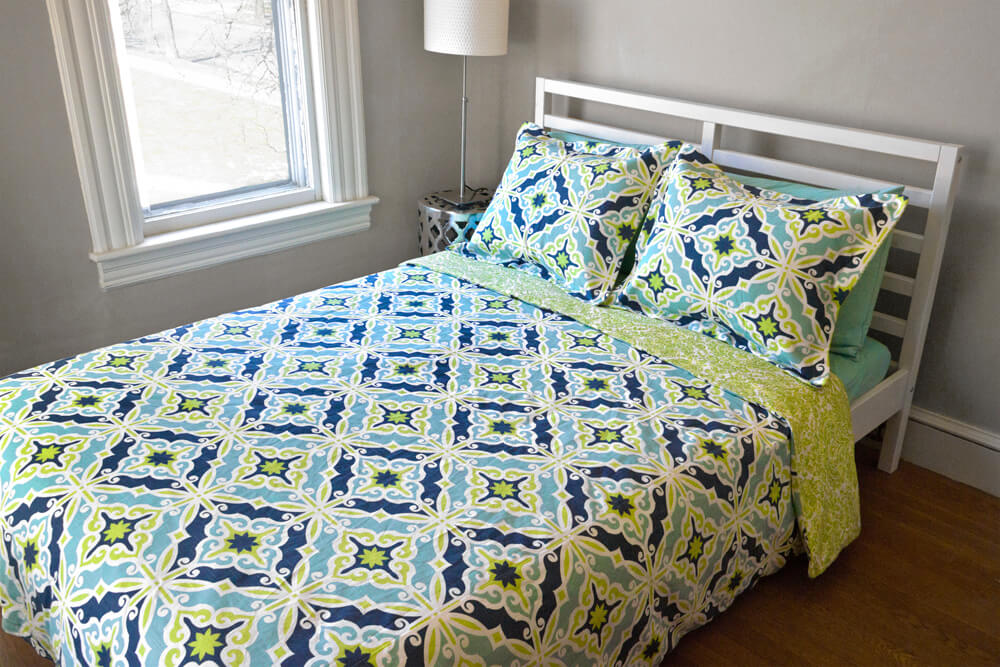
How to Make a Duvet (Comforter) Cover
- By Clara
- Beginner
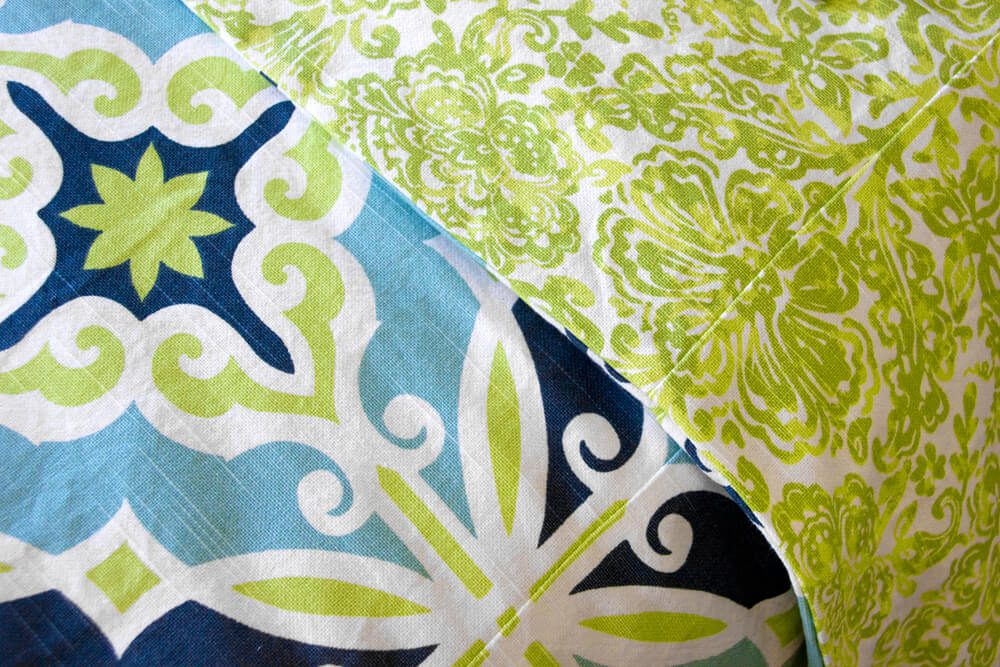
If you can’t find the exact duvet cover you want, make it! You can use quilting weight cottons, sheeting fabric, broadcloth, pre-made flat sheets, or decor fabric. Choose different fabrics for the front and back if you want it to be reversible. Or you can use a flat sheet on the bottom and a more decorative fabric on top.
Making your own duvet cover may not necessarily be cheaper that buying one, depending on the fabric, but you can get exactly what you want.
Want to make matching pillow shams? Check out How To Make Flanged Pillow Shams to see how.
Want to get the printable PDF instructions?
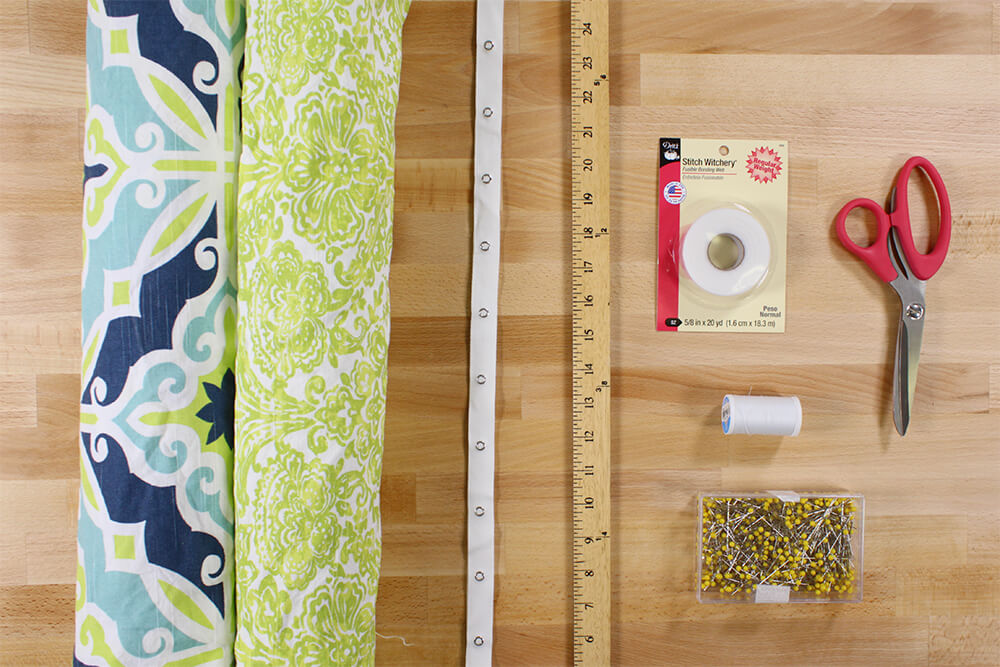
Materials
- Fabric
- Snap tape
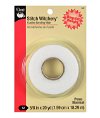
- Stitch witchery
- Thread
- Pins
- Scissors
- Fabric marker
- Ruler
- Iron
Related Products


Video
Instructions
How much fabric do you need?
My Duvet Measurements:
My full-sized duvet insert is 85 x 85 inches, so the dimensions of the piece I’ll need is 87 inches wide and 88 inches long.
87″ (width of duvet) /54″ (width of fabric) = 1.6. Round up to 2. This is the number of widths of fabric.
88″ (length of duvet) / 36 = 2.4 yards
2.4 yards x 2 (number of widths of fabric) = 4.8 yards
Add the vertical repeat, which is 12.5 inches for my front fabric, which is a total of 5.15 yards. Round up. I need 6 yards for the front and 6 yards for the back.
Duvet inserts vary in size, so measure your own. Here’s the general dimensions for different size beds:
Single: 66 x 86 inches
Double (Full): 80 x 86 inches
Queen: 90 x 90 inches
King: 104 x 90 inches
You’ll need to add 2 inches to the width and 3 inches to the length for seams and hems.
If your duvet cover needs to be wider than your fabric, you’ll have to seam pieces together to get the correct width.
To determine the amount of fabric you’ll need:
Take the total amount of fabric you’ll need for the width. Divide this number by the width of your fabric. Round up to the nearest whole number. This is the number of widths of fabric you’ll need.
Now take the length you’ll need for the duvet cover. Divide by 36 to calculate the yards per panel. Multiply by the number of widths of fabric. Round up to the nearest whole number. This is the total number of yards needed for one side of the duvet cover.
Keep in mind you’ll want to get extra fabric if you’re matching up patterns. Buy at least the amount needed plus the vertical repeat of the pattern.
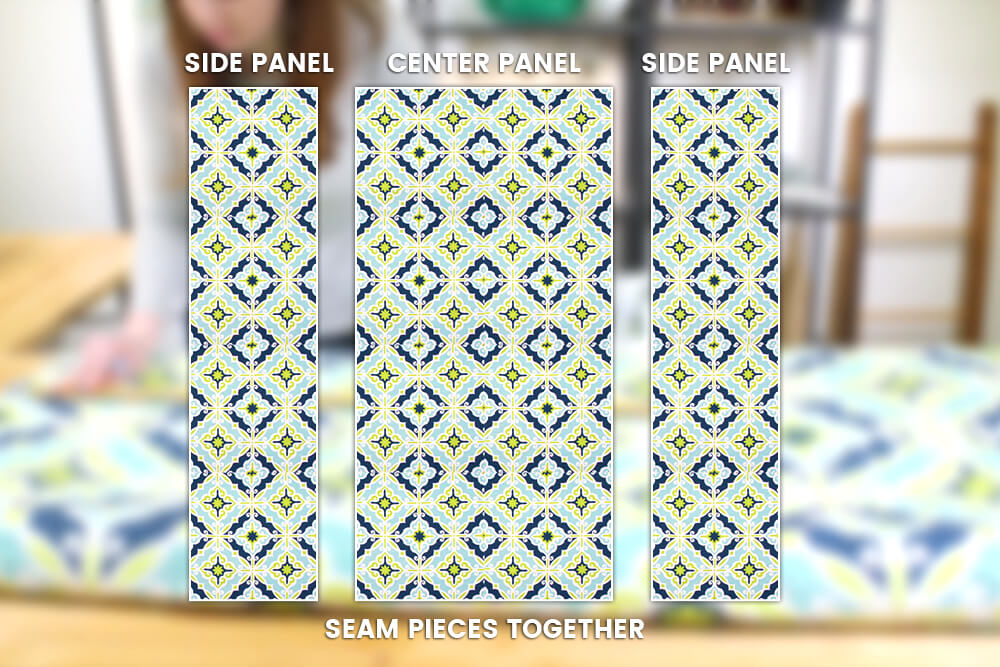
Having a seam right down the middle doesn’t look very good, so use a full width piece in the middle and two smaller panels one the sides.
Step 1: Prepare the fabric
Prewash the fabric before starting.
A lot of drapery fabrics will say dry cleaning only, but you can sometimes get away with washing them for this project, especially cotton fabric. The fabric will most likely shrink and any finish will wash off, which could change the texture. We suggest test washing a smaller piece of the fabric to make sure it isn’t negatively affected.
Take a look at Can I Wash Decor Fabric? for more information on washing “dry clean only” drapery fabric.
Step 2: Seam the fabric together
I like to add a couple inches to the lengths of the fabric to give a little wiggle room. You can cut it to the exact size after the pieces are seamed together to avoid any mistakes.
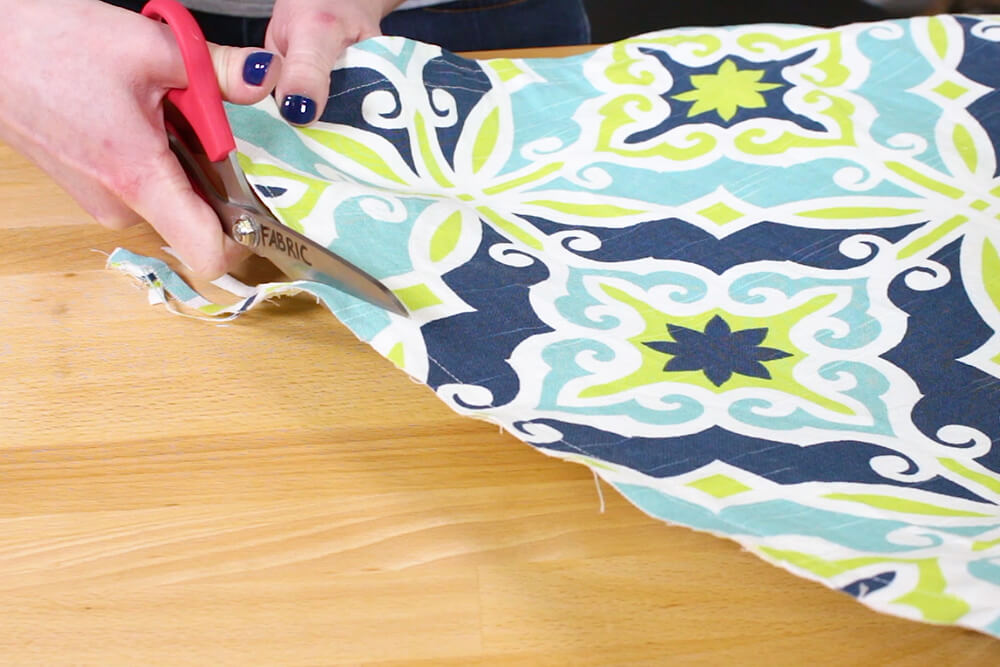
I’m going to join the pieces before cutting it to the exact dimensions. Start by cutting a piece of fabric that’s at least 3 inches longer than the length of your duvet insert.
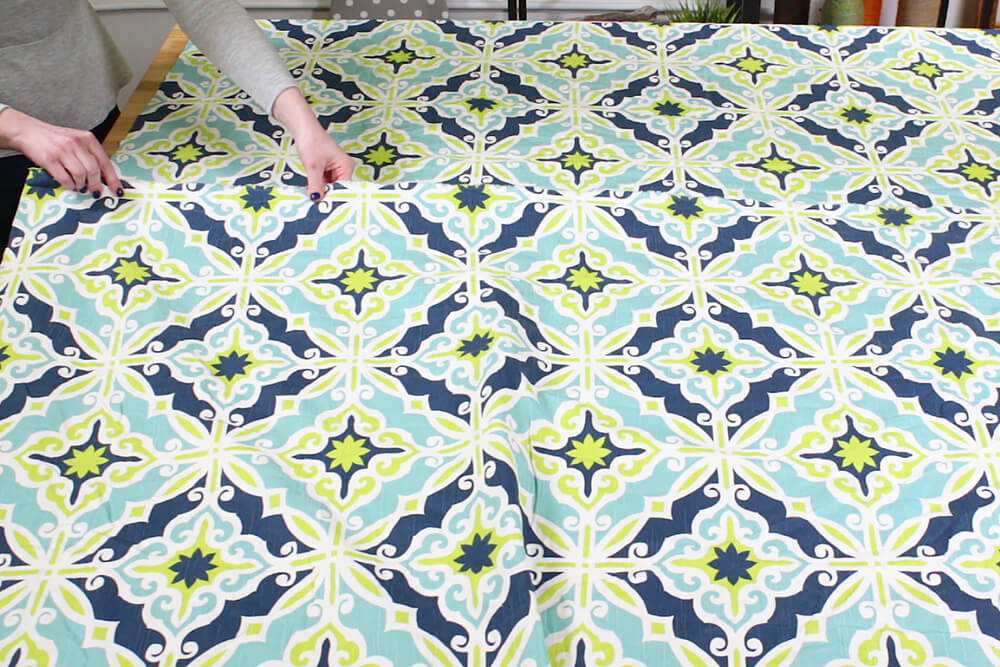
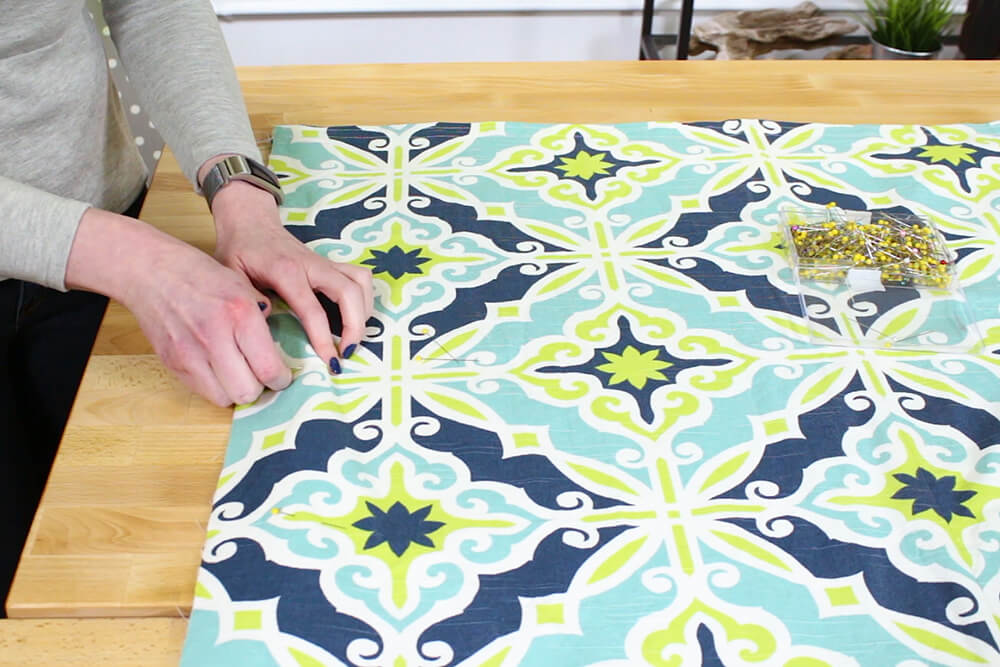
If you have a patterned fabric, you’ll want to match up the design. Do this before cutting the next piece to the right length or else the pattern will not line up correctly.
Lay another piece of fabric on top of the first so it’s overlapping with the selvage edge of the first piece. Move it up and down until it’s lined it up vertically. You can now cut off extra fabric at the top and bottom of this second piece.

Fold the second piece in half lengthwise and cut on the crease. You’ll these pieces for the side panels.
Only do this if it leaves enough for the width of the side panels. If you need more than 2 widths of the fabric, don’t cut it. Instead, cut a third piece to the right length.
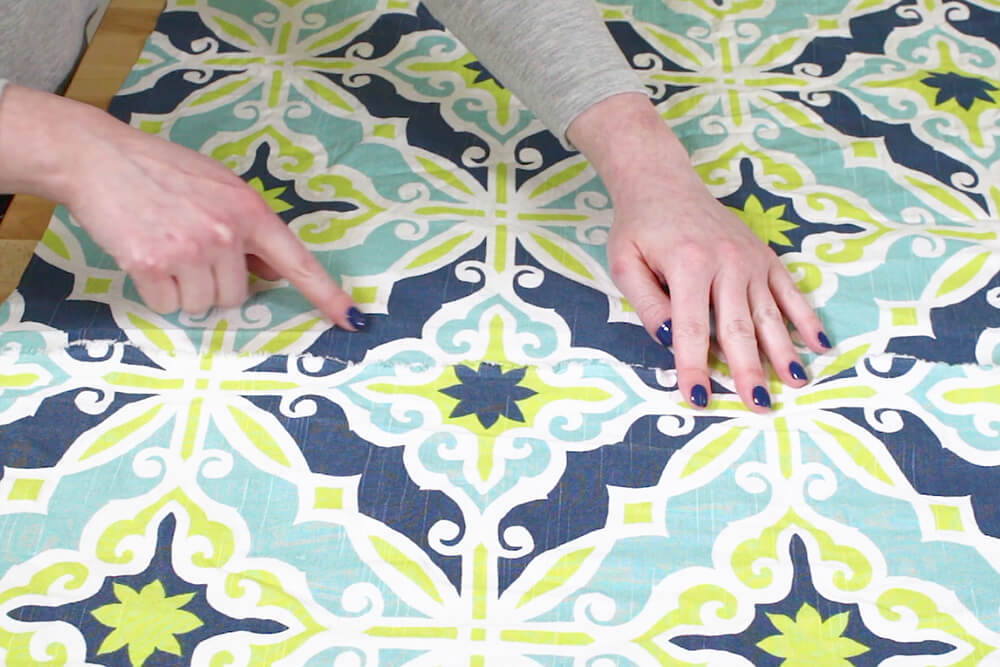
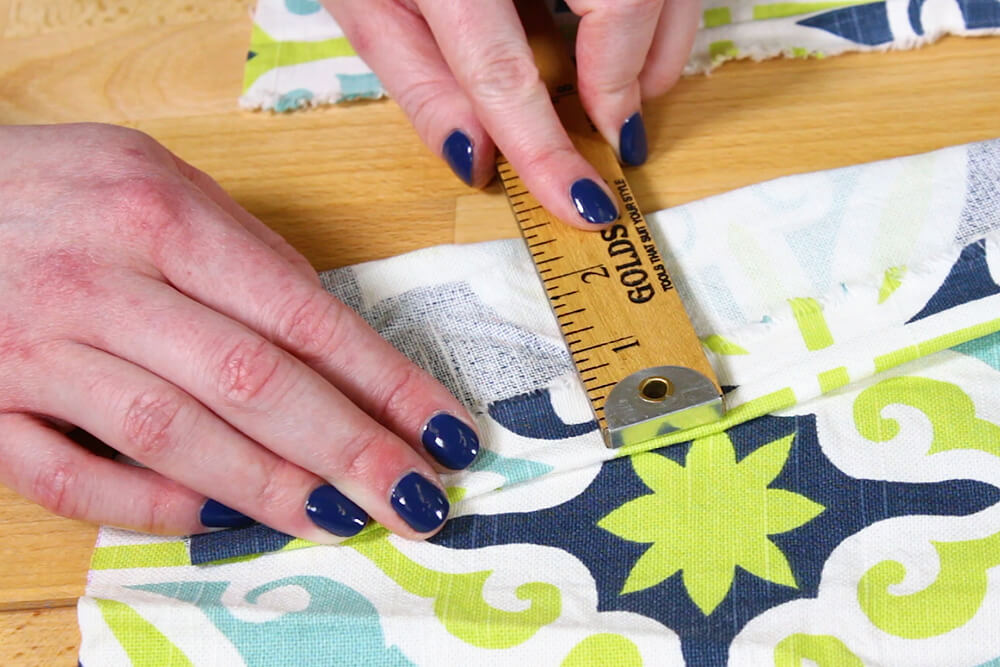
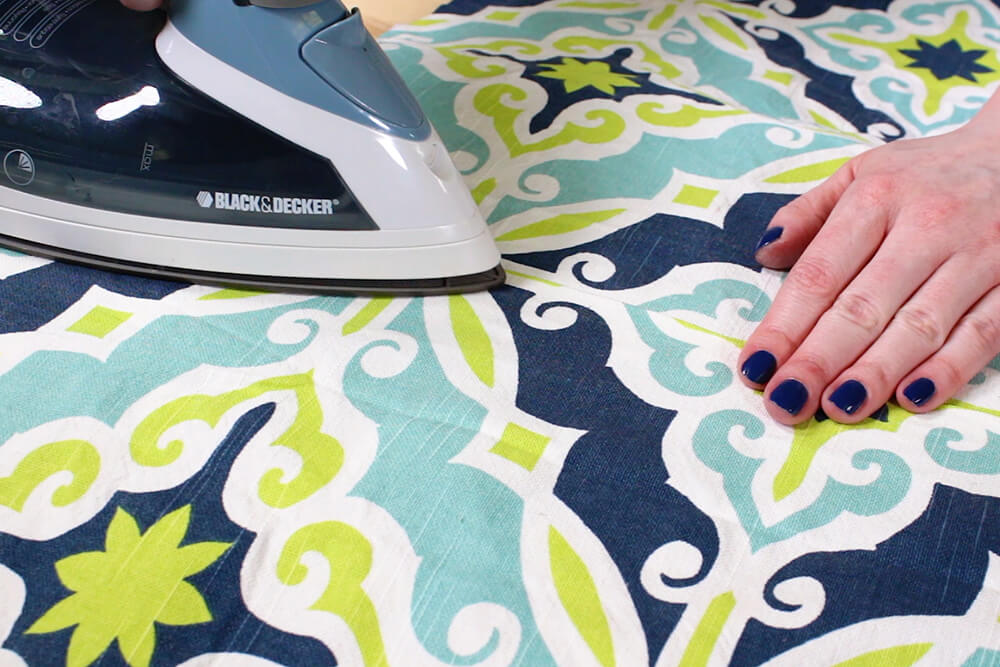
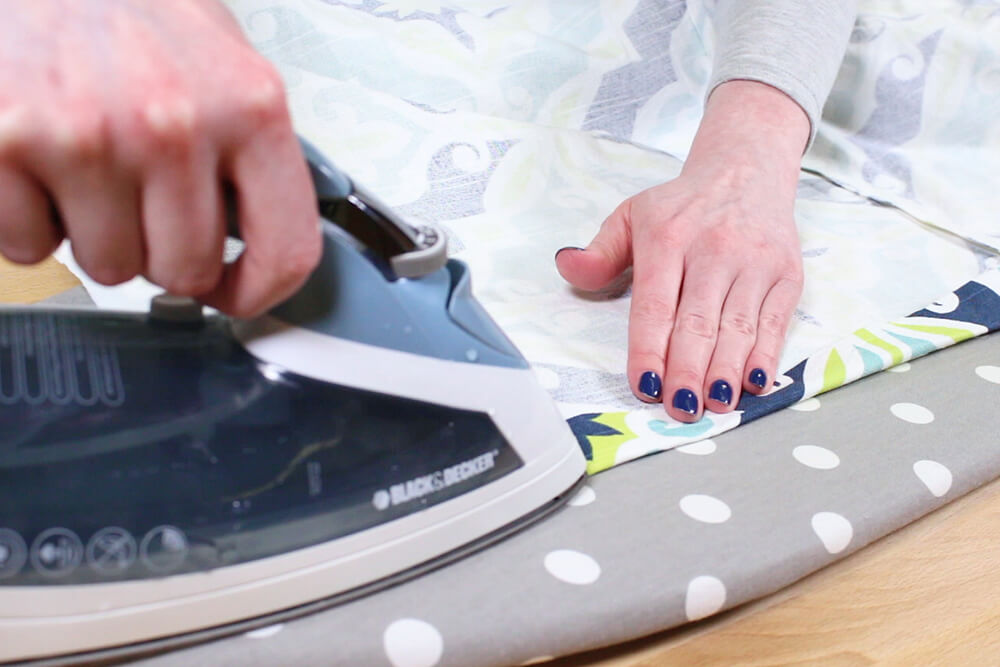
Fold under the selvage edge of the side panel at least ¼ inch beyond where the print starts and move it horizontally until the patterns match up. You can adjust the amount that’s folded under if necessary. For this fabric, it’s 1 inch.
Take note of this distance, then iron a crease the same distance down the length of the fabric.

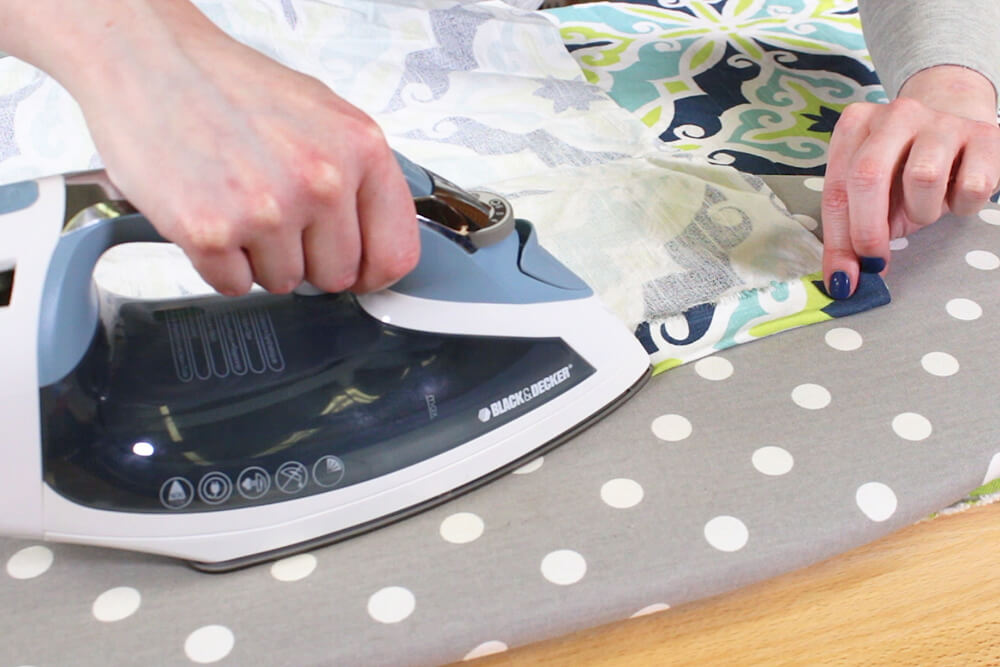
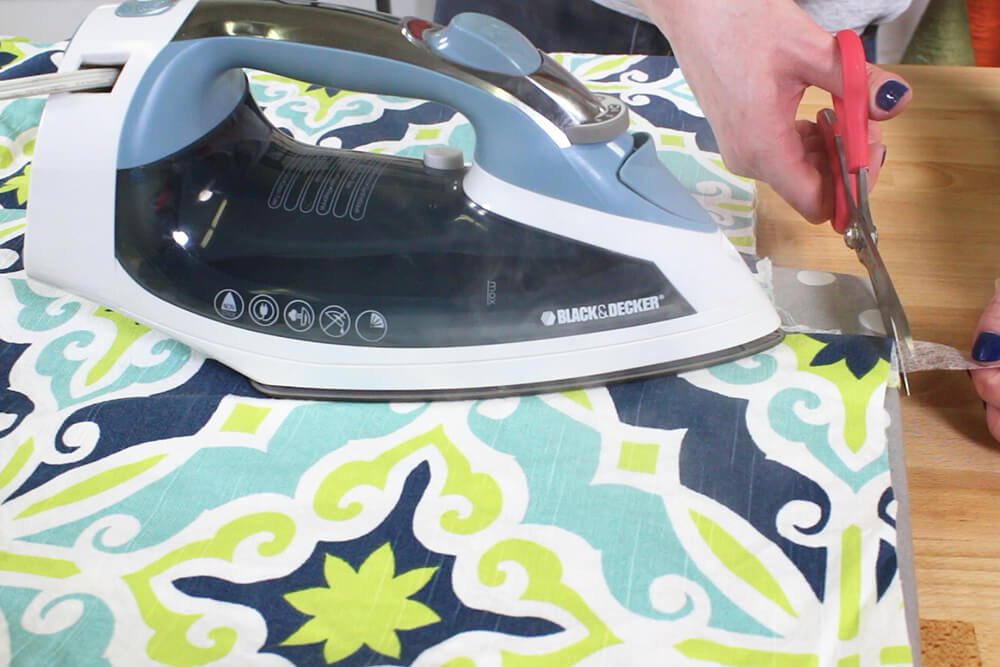
You could use pins instead of bonding tape, but the fabric is more likely to shift when sewing. Bonding tape can make creating an exact match easier.
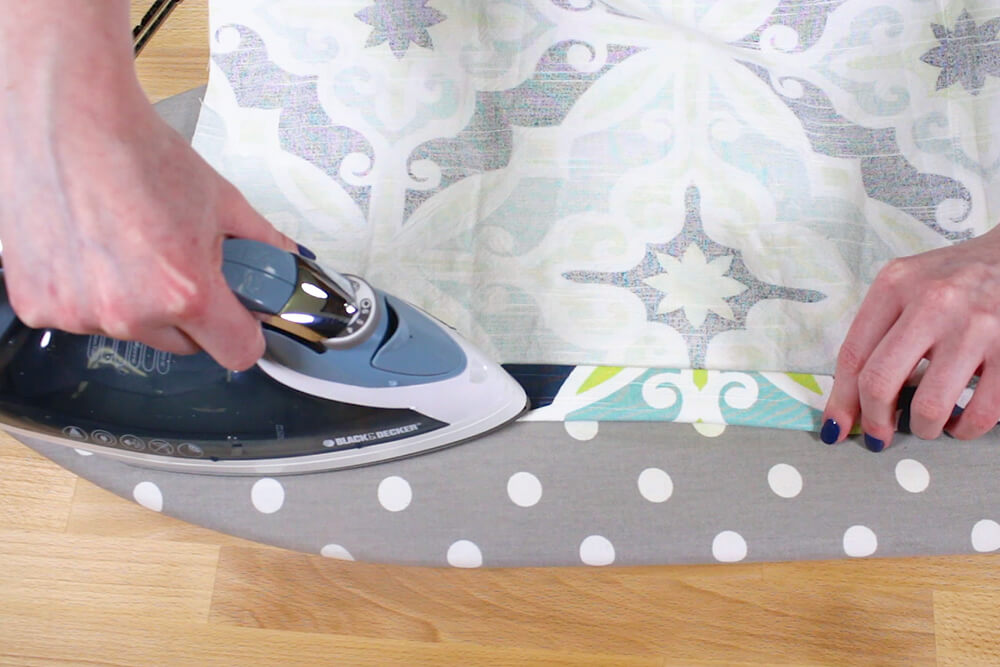
Line up the patterns again. Slide the bonding tape under the edge of the fabric. Check the alignment one more time before placing the iron on the seam. Leave it for about 10 seconds, then lift it, align the fabric and iron the next section. Continue down the length of the fabric.
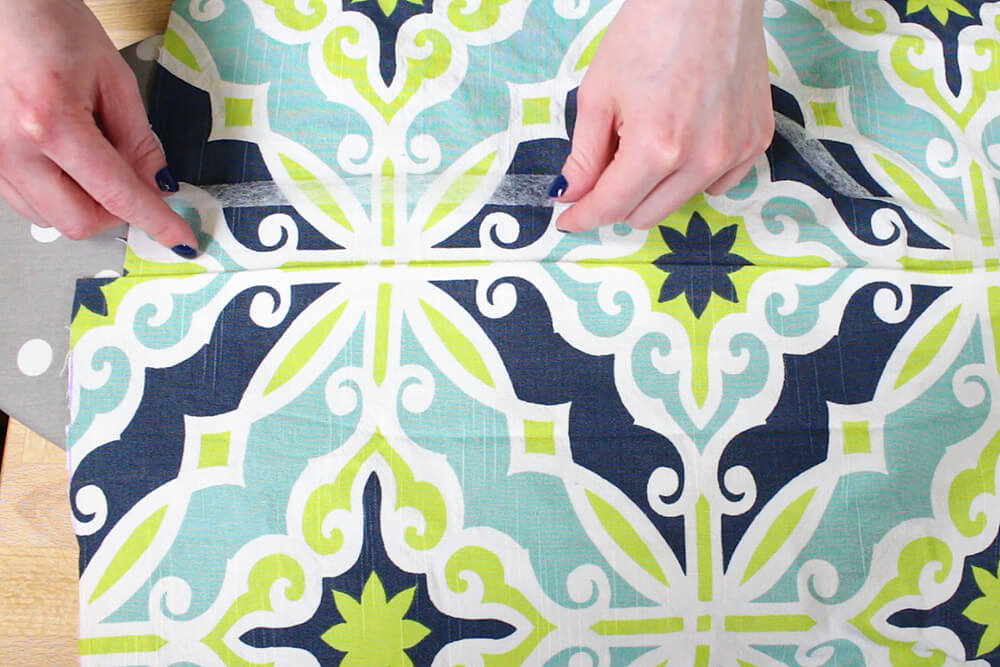
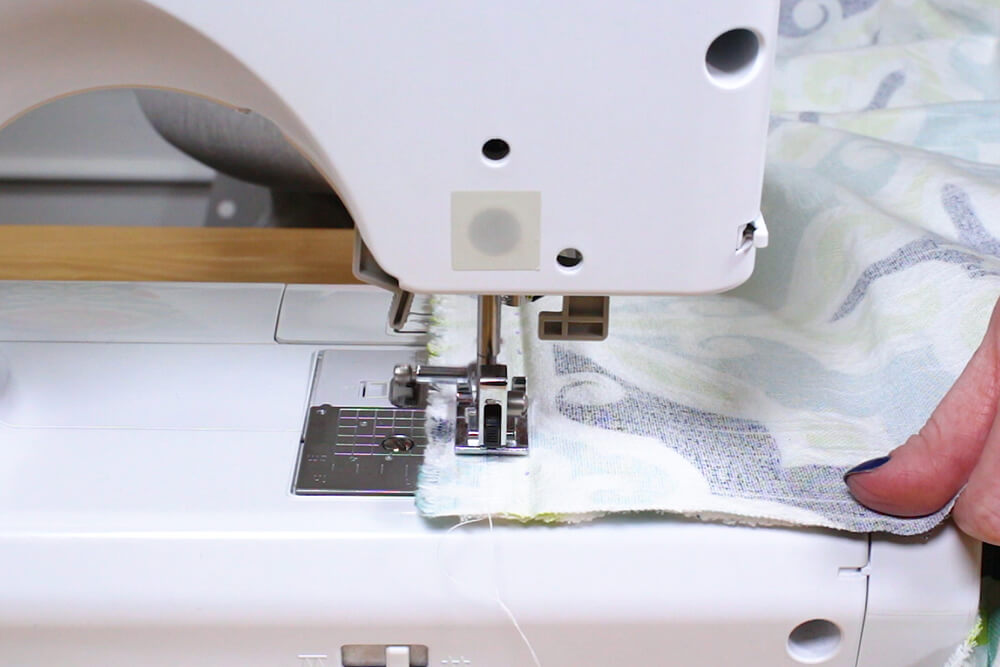
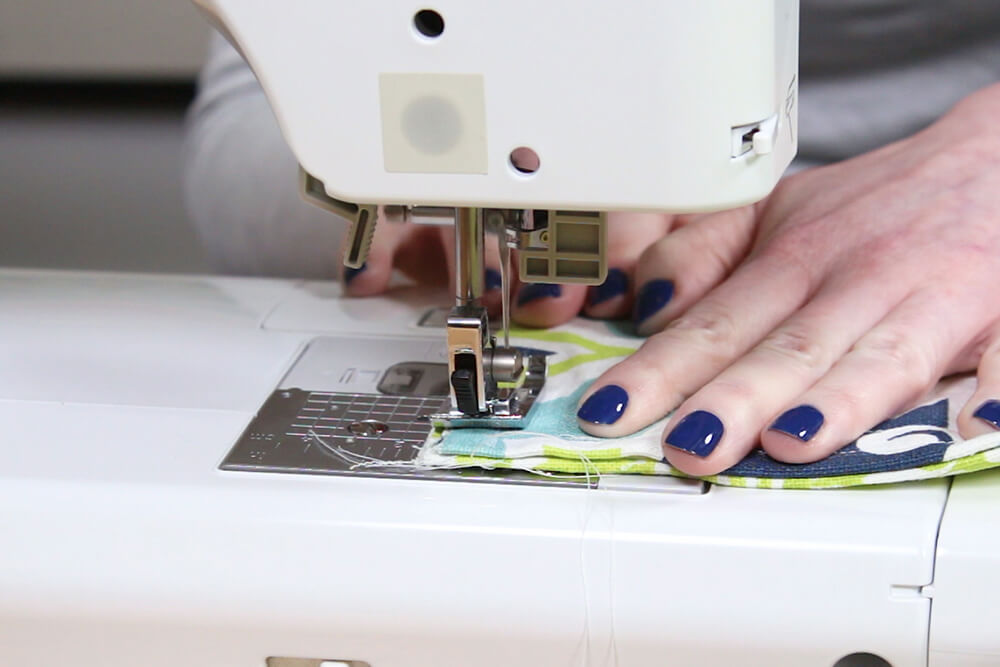
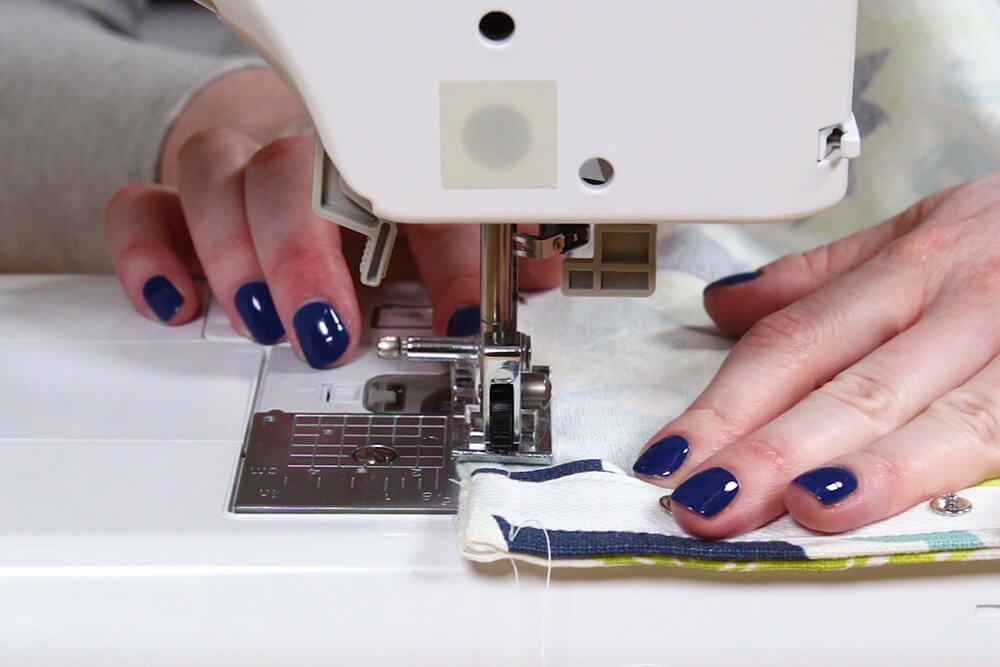
Fold the fabric so the right sides are facing. Now you’re going to sew right on the crease. Mark the crease first so you can clearly see where to sew. Sew on this line down the length of the fabric.

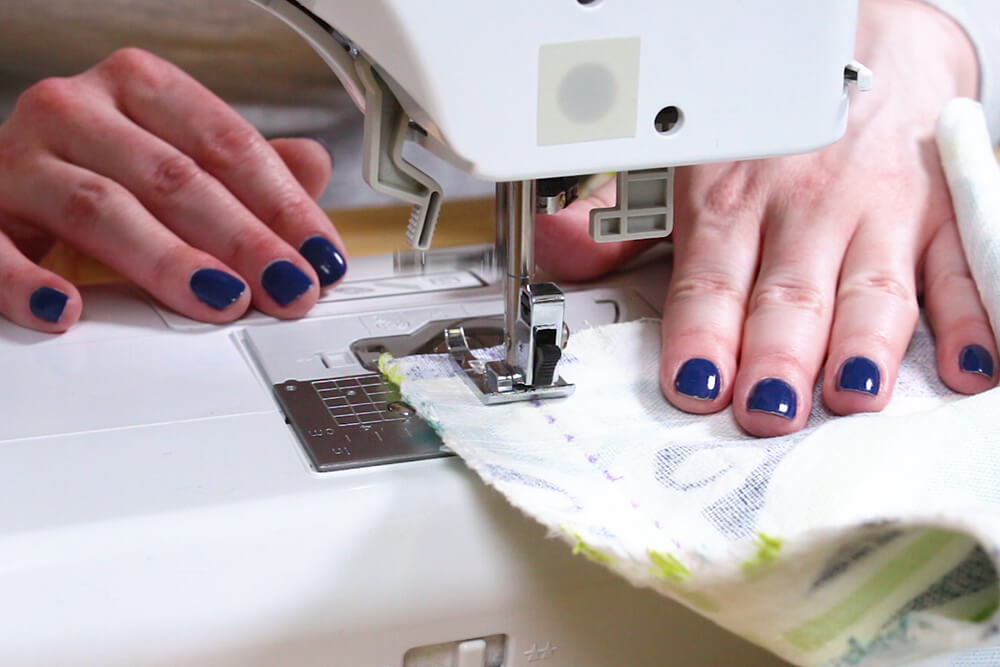
When you cut off the extra fabric, the bonding tape will prevent the edges from fraying pretty well, but since washing can be rough, you may want to serge the edges if you can, or use a zig zag stitch.
Use a medium width and medium to short length zig zag stitch near the seam. I’m lining up the edge of the foot with the marked line. Trim off the extra fabric close to the stitches.
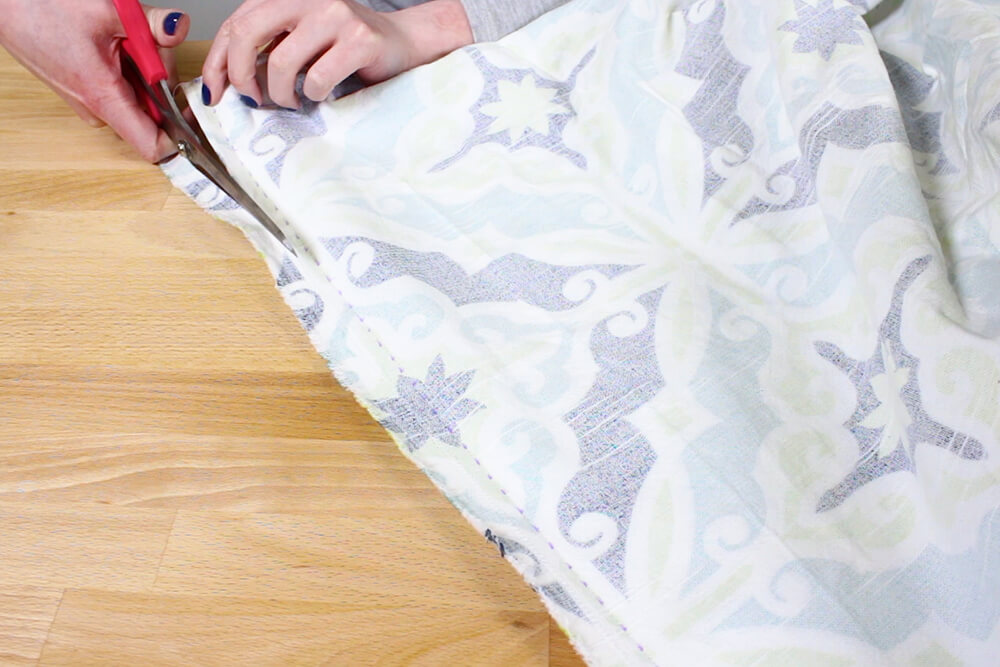
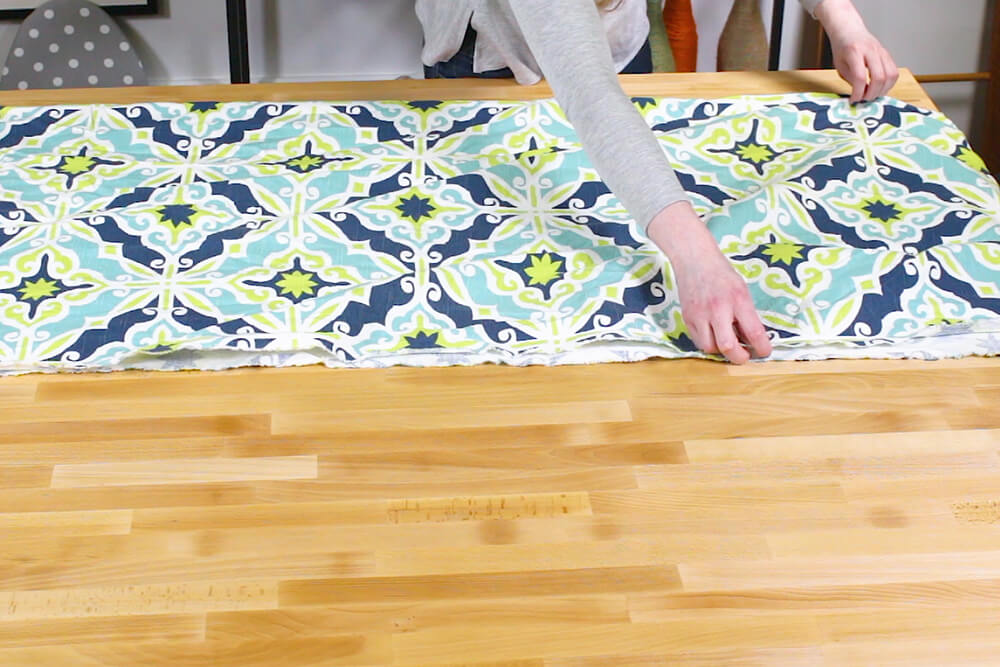
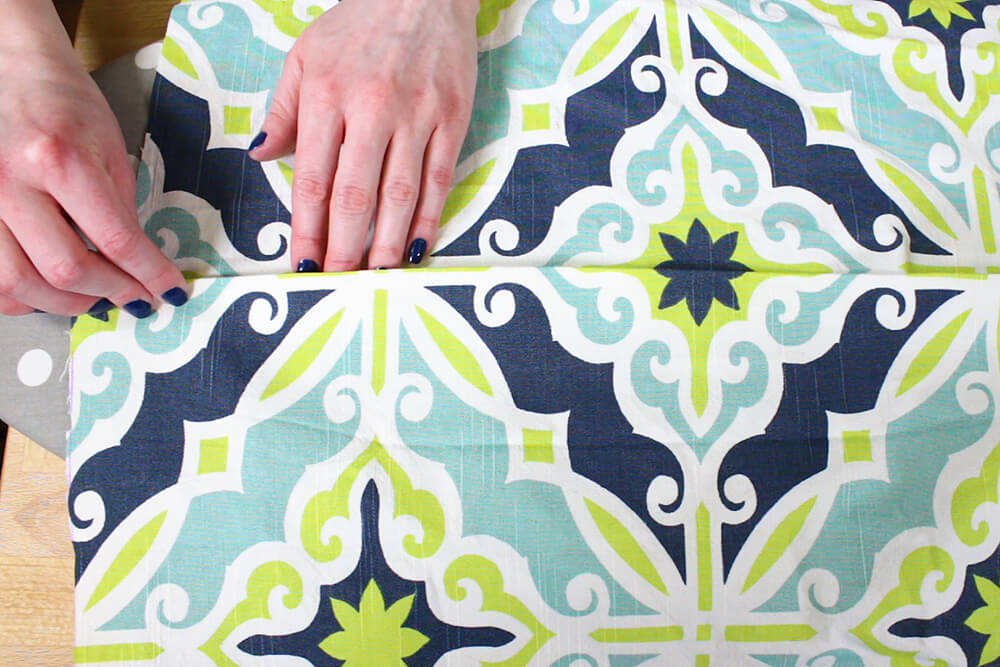
Unfold the fabric and give the seam one more ironing. Cut off any extra fabric at the top and bottom.
Repeat for the other side panel.

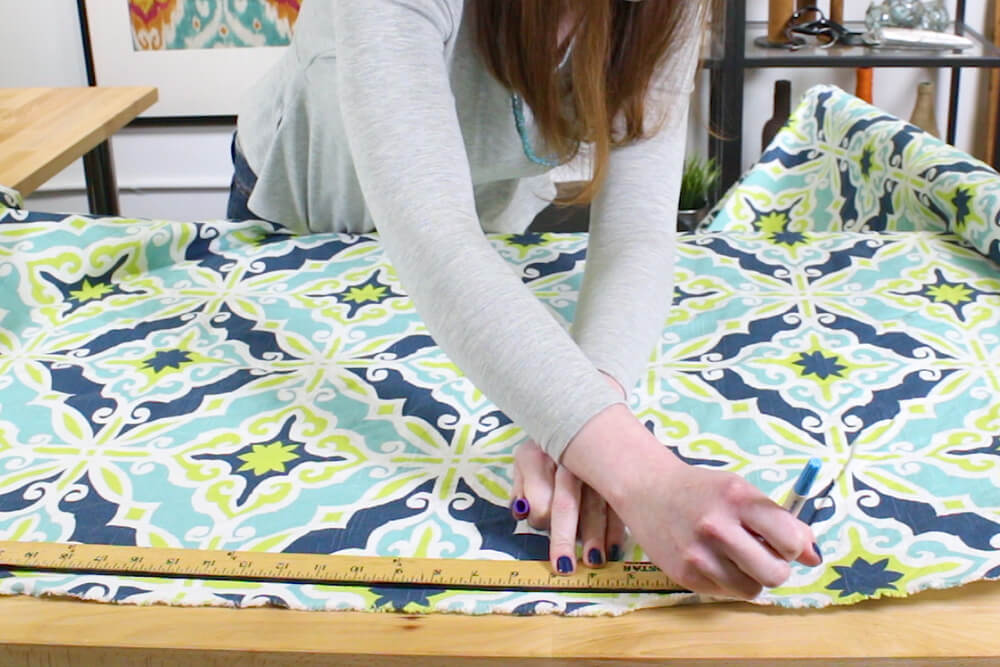
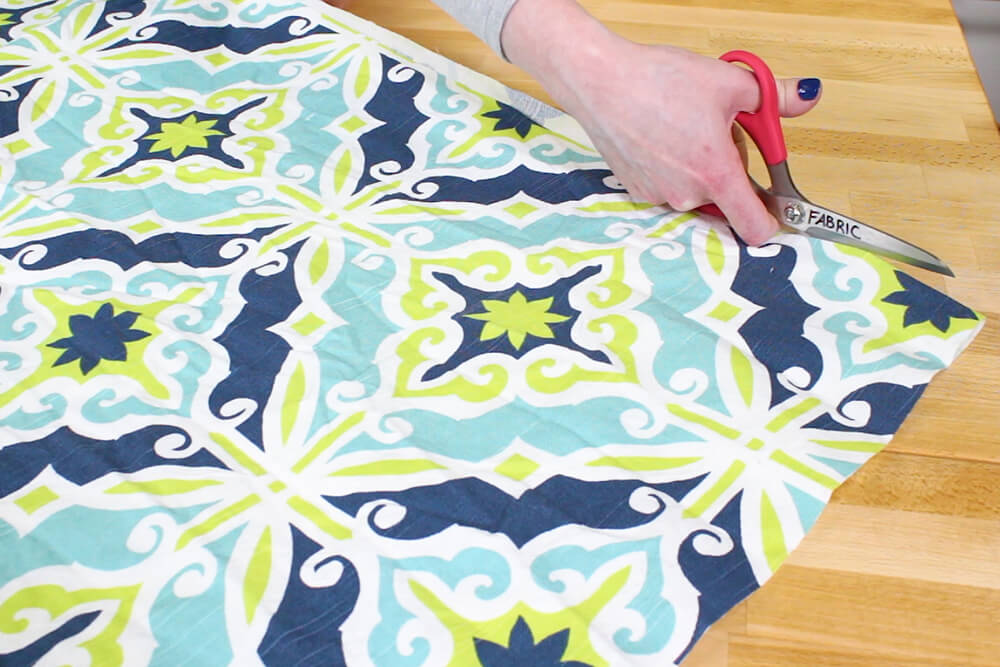
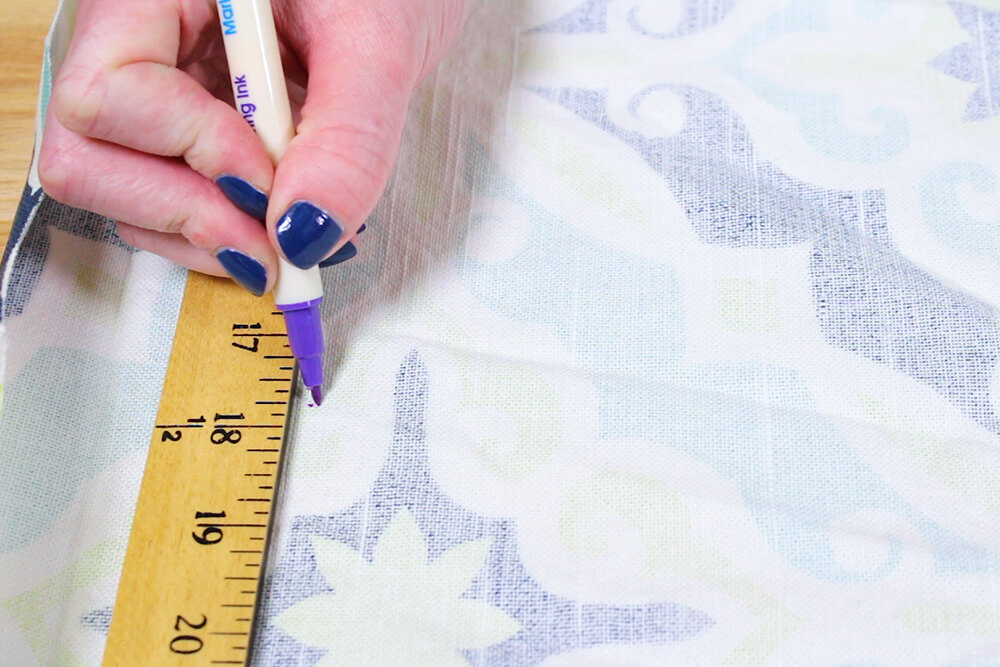
Calculate how much you have to cut off each side so the width is 2 inches larger than your duvet insert. For this duvet cover, the calculations are:
87″ (total width needed) – 52″ (width of center panel) = 35″
35″ / 2 =17.5″
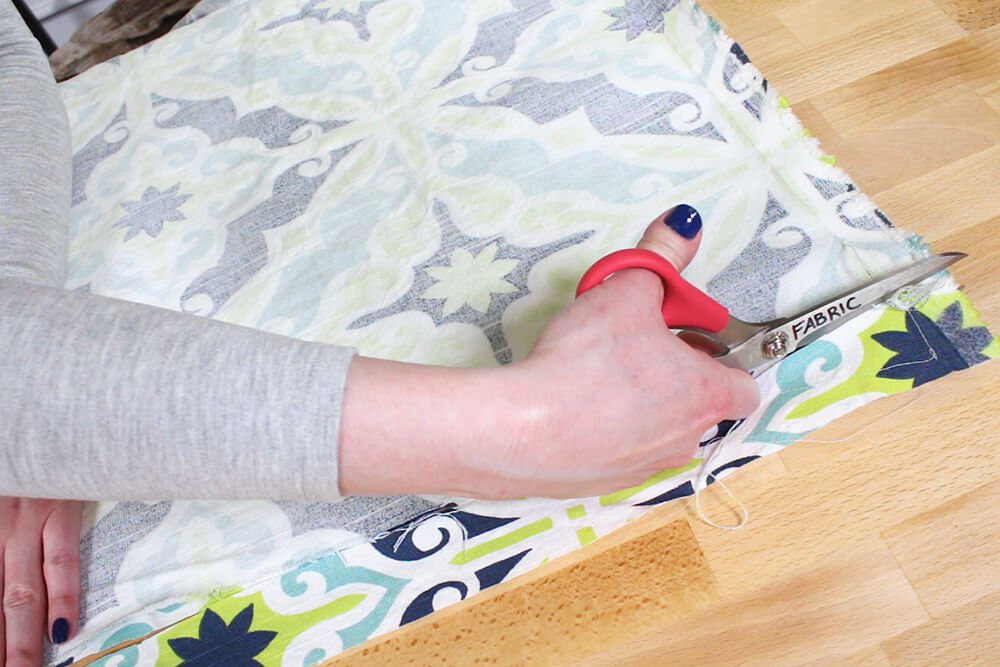
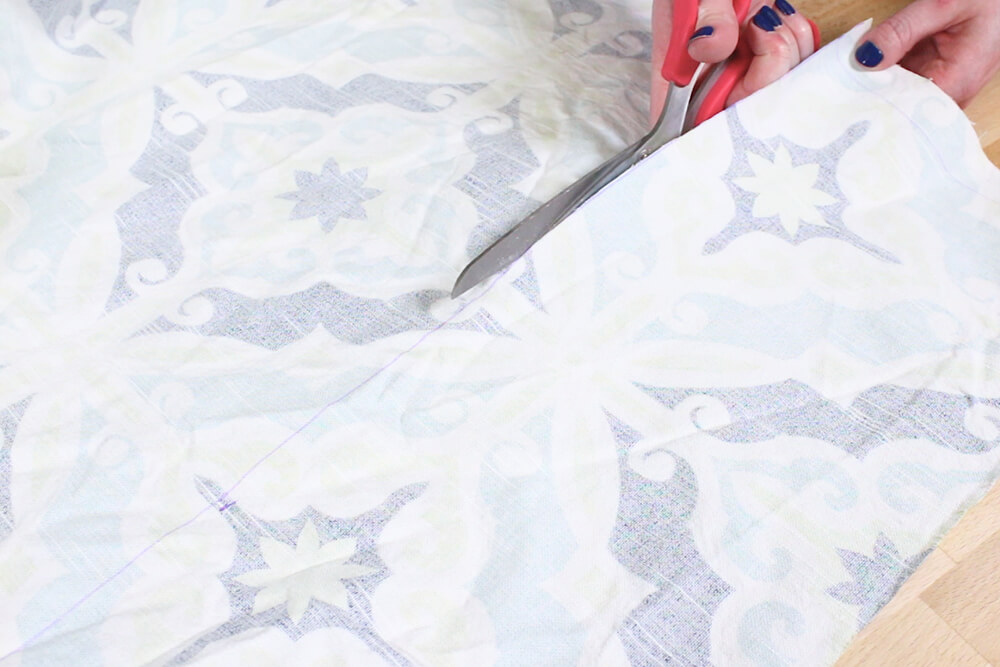
Measure out this distance (17 ½ inches) from the seam and make a mark. Do this in several places down the length. Draw a line to connect the marks and cut on the line.
Repeat this on the other side panel.
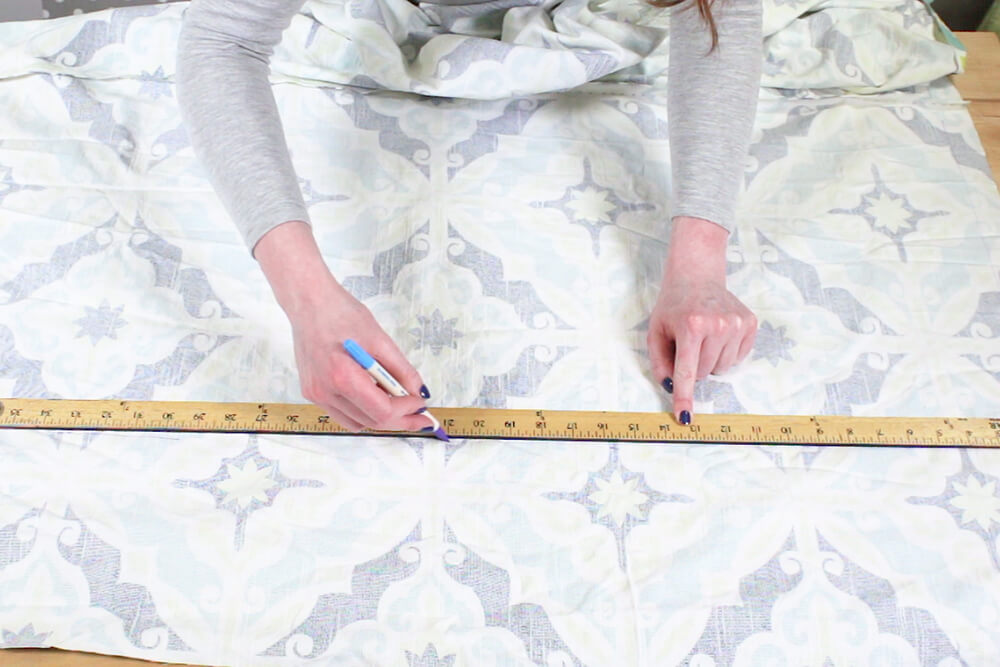
Double check that the length of the front side is correct and trim the top or bottom if needed. It should be 3 inches longer than your duvet insert.
The top piece for the duvet cover is now the correct size. Repeat the same steps for bottom side of the duvet.
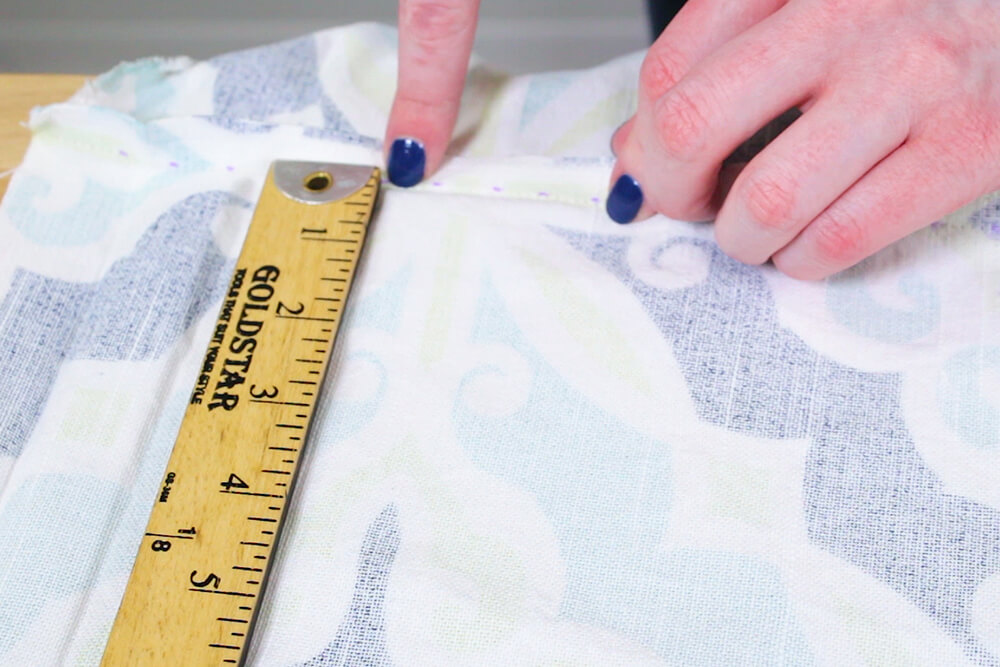
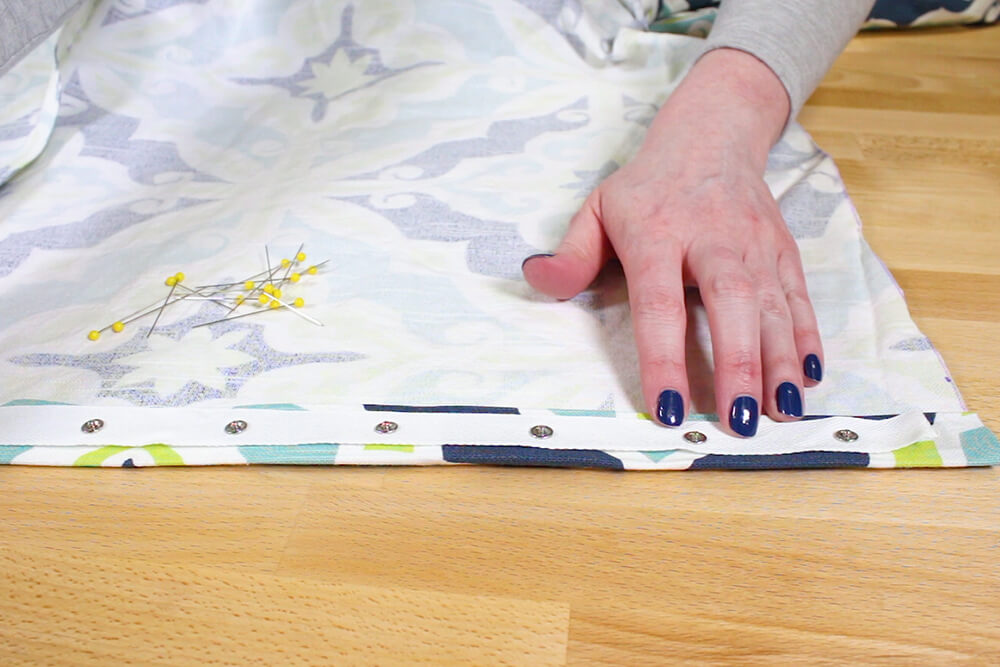
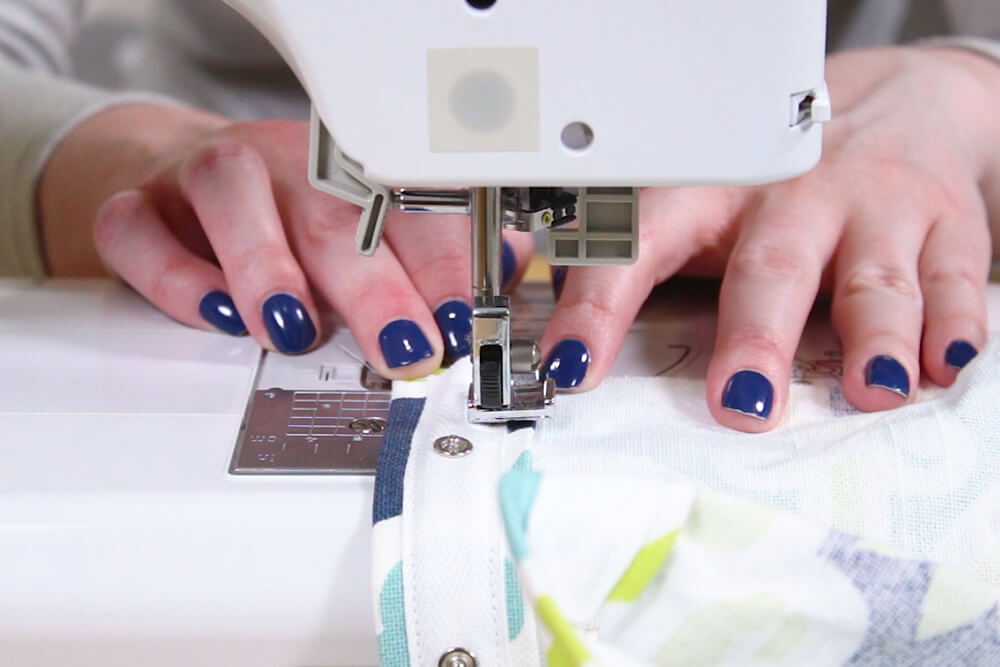
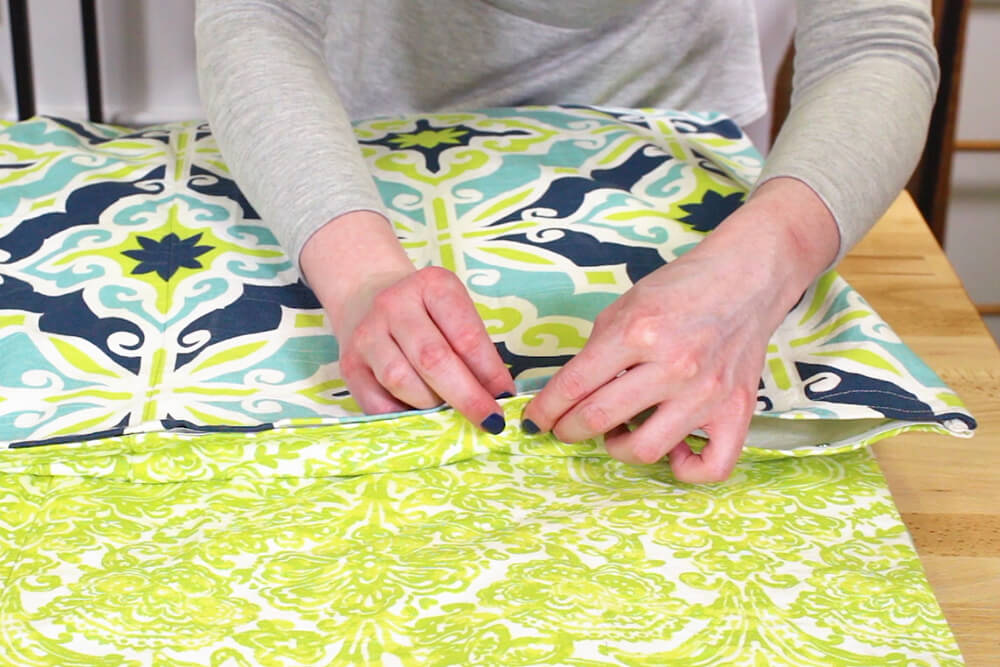
Step 3: Add the snap tape
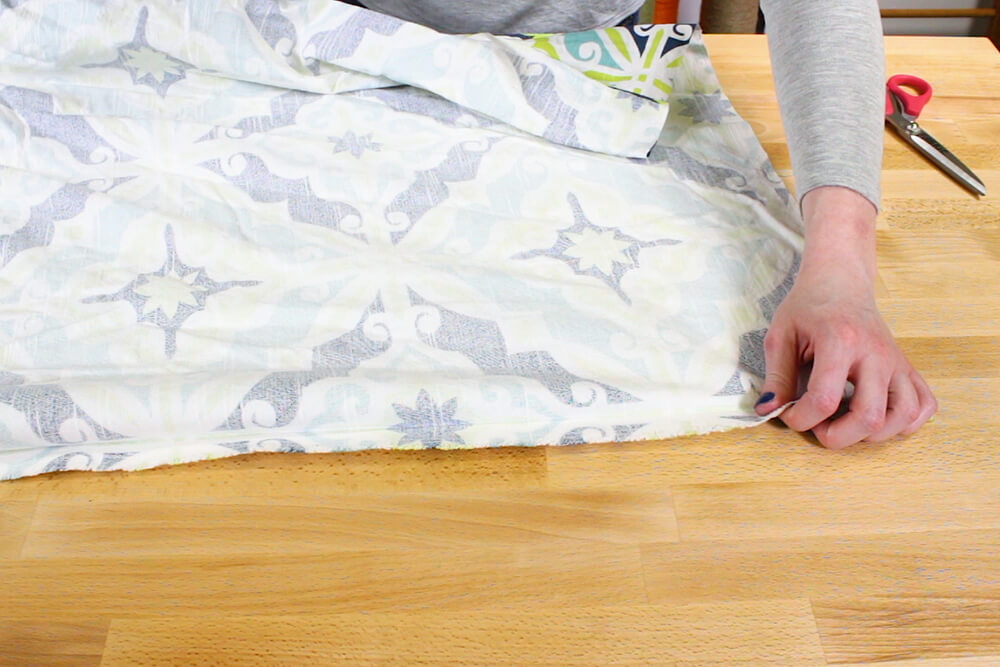
At the bottom edges of the pieces, fold the fabric in 1 inch and iron. Then fold it in another inch and iron.
You can use other methods of closure like Velcro, buttons, sew-on snaps, ribbon, or a zipper if you prefer.
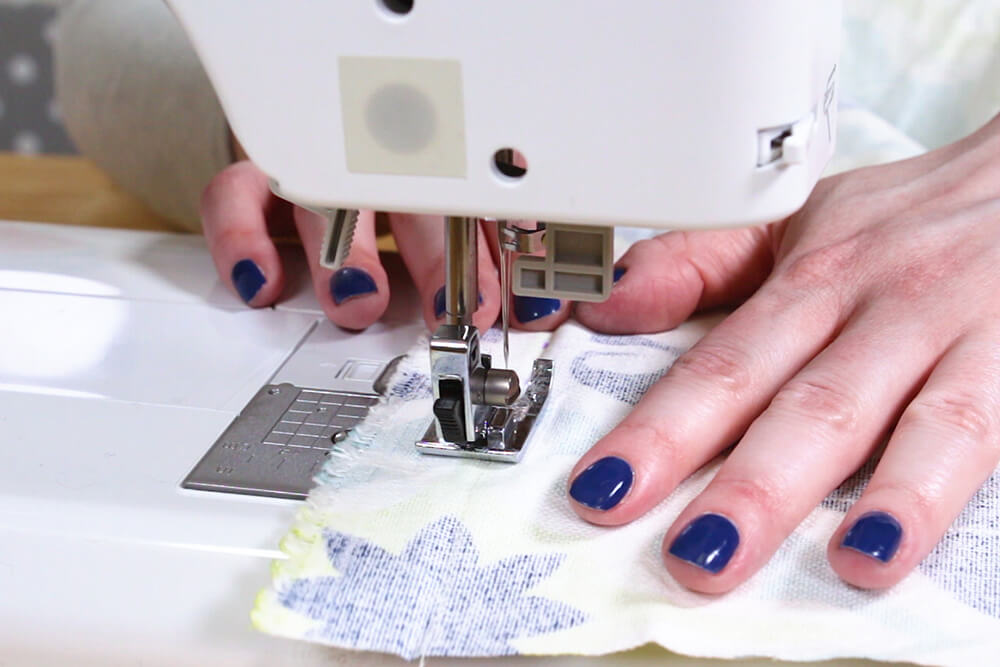
Separate the snap tape and pin each half onto the inside bottom edges of both the front and back pieces of fabric. The snaps should be a couple inches from the sides. Make sure the snaps will line up on the front and back pieces.
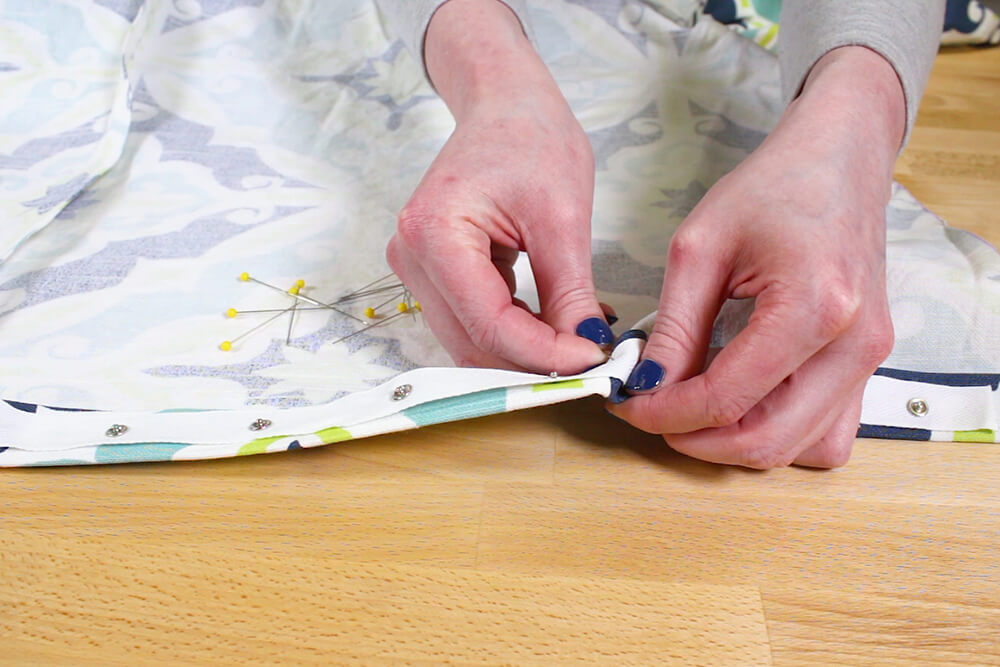
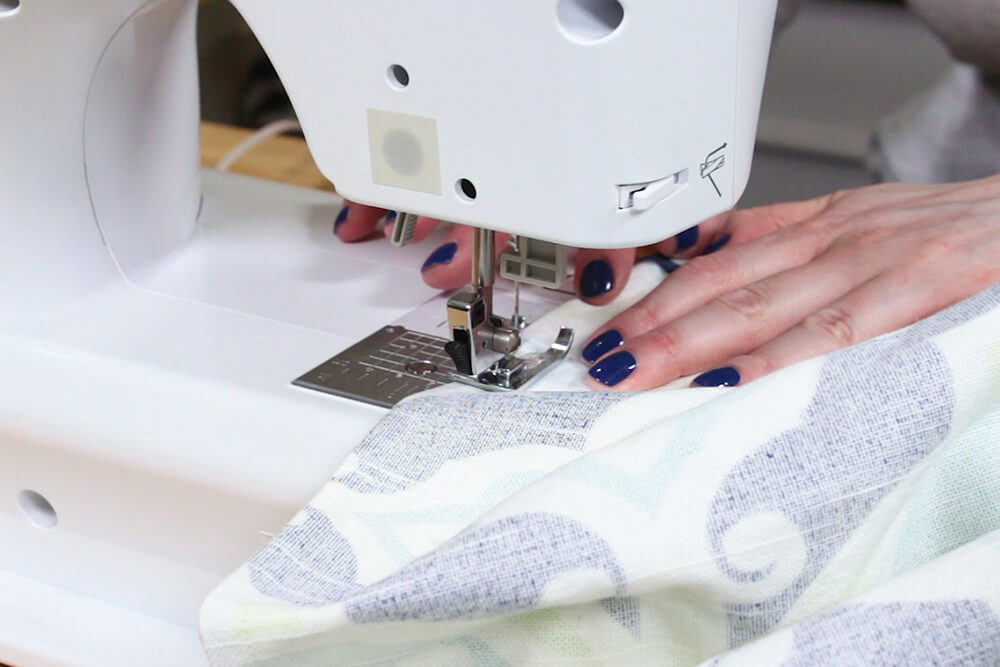
Sew down both sides of the snap tape. You’ll probably need a zipper foot for this so the snaps don’t get in the way. Do this on both the front and back pieces.

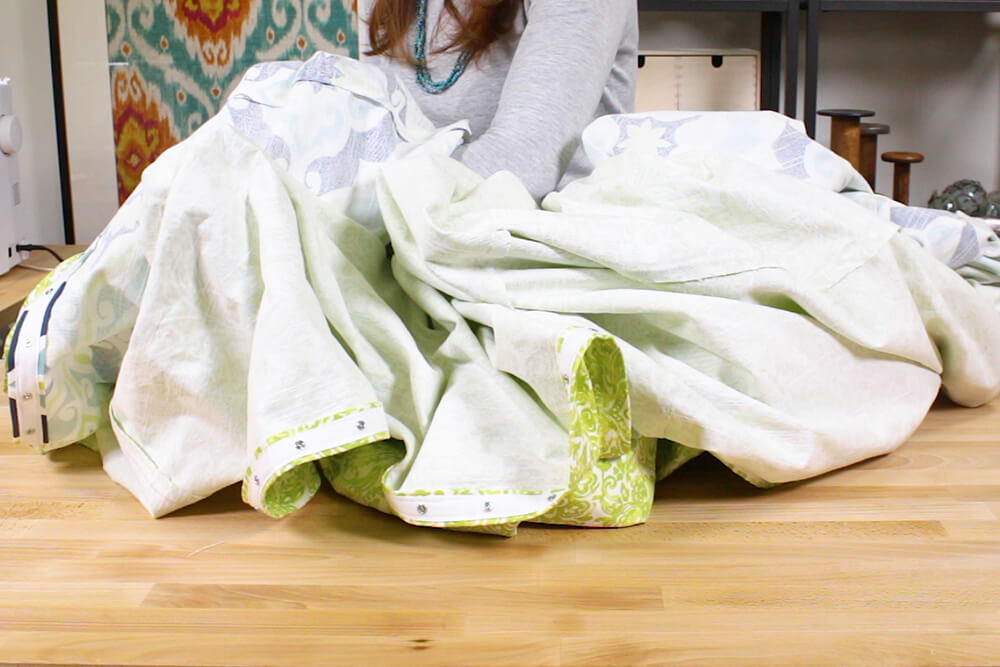
Step 4: Sew together
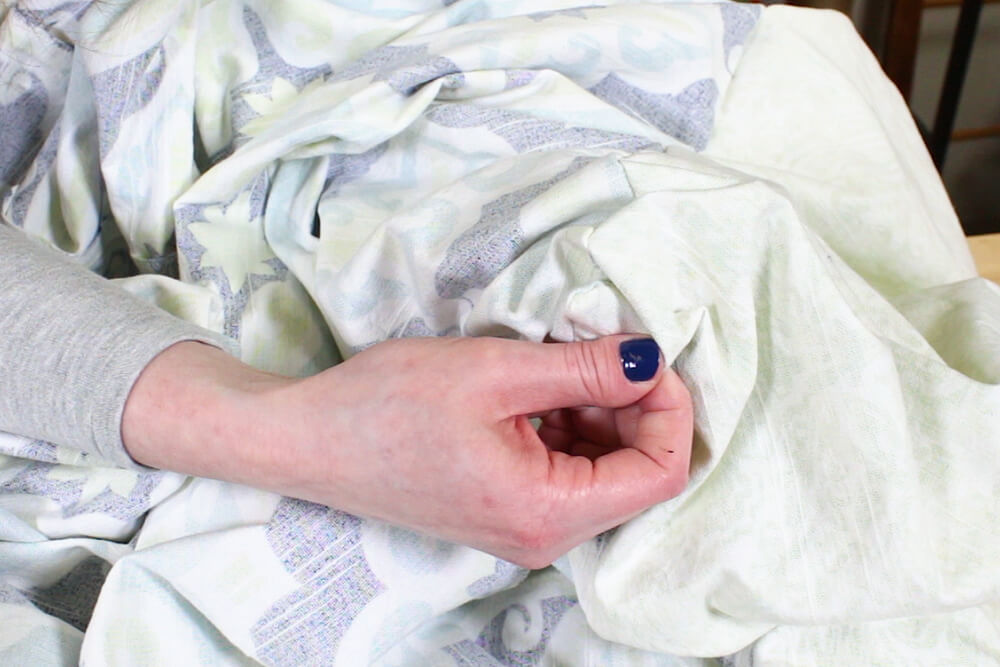
To sew the front and back together, I’m going to use a French seam which will enclose the raw edges. To do this, place the WRONG sides together. Snap pieces together and pin around the sides and top.
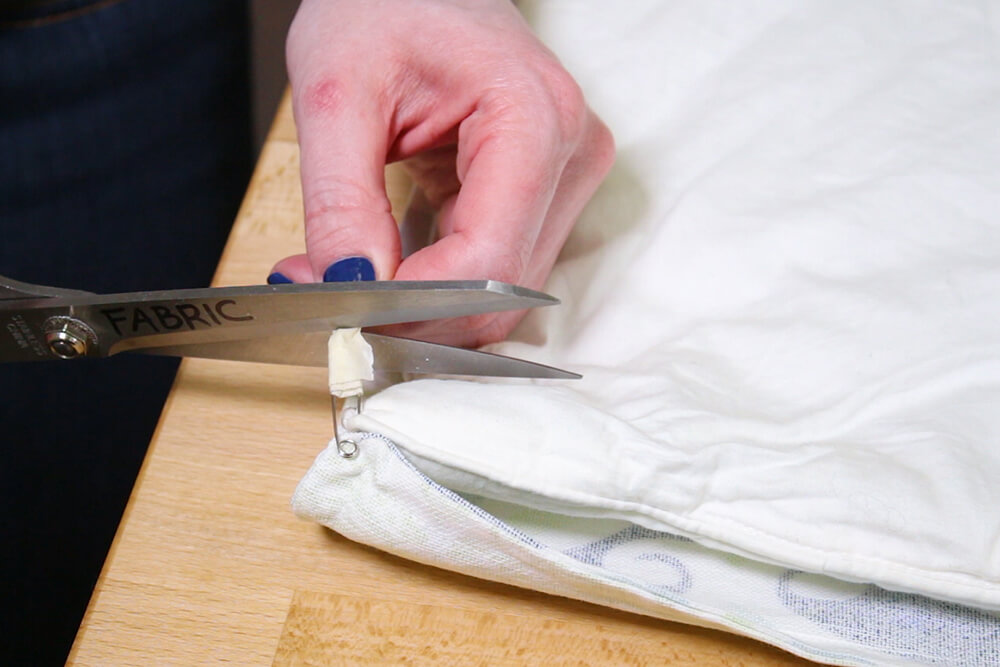
Stitch around the sides and top of the duvet cover with a ½ inch seam allowance. Trim the fabric to less than ¼ inch from stitches. Clip off the corners.
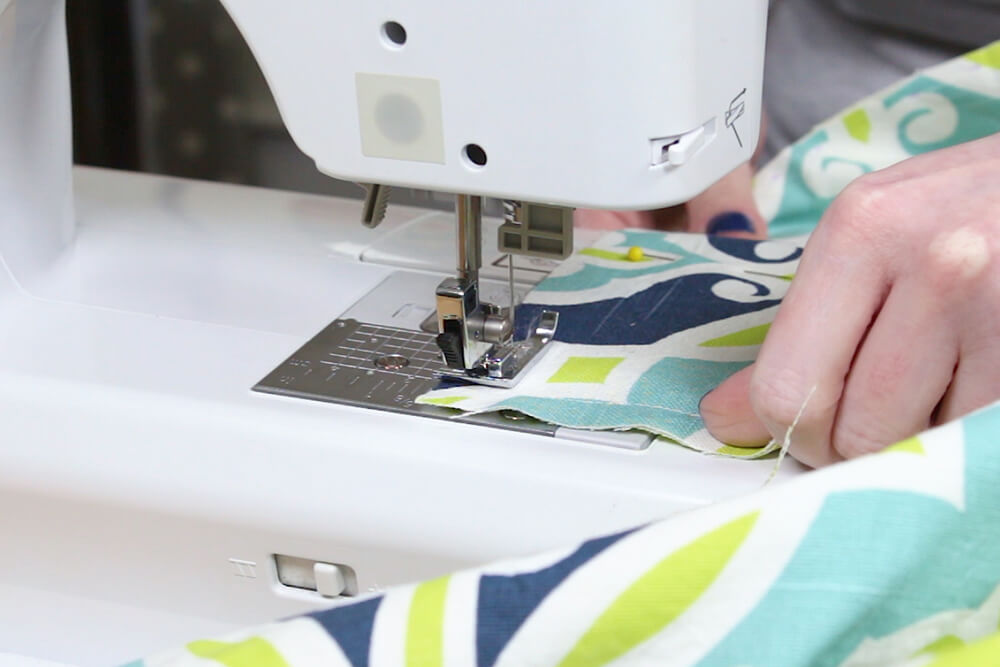
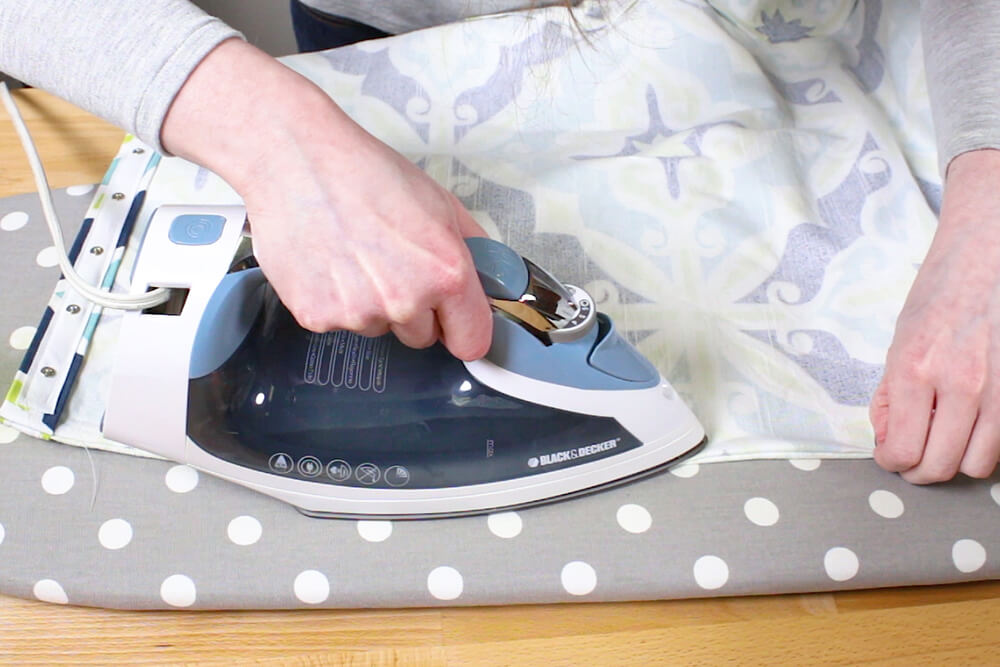
Turn the duvet wrong side out and iron the edges flat. Sew around the duvet cover with a ¼ inch or more seam allowance.
Turn right side out and iron again.
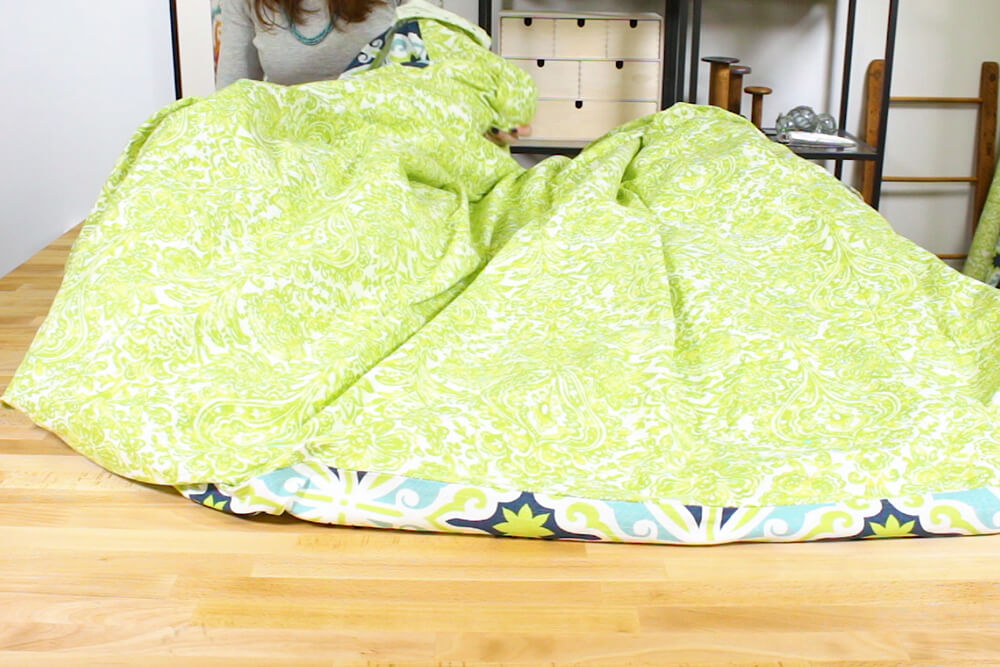
Step 5: Insert the duvet
Fun Fact:
Duvet is French for down. A duvet is also called a comforter in the US or a doona in Australia.
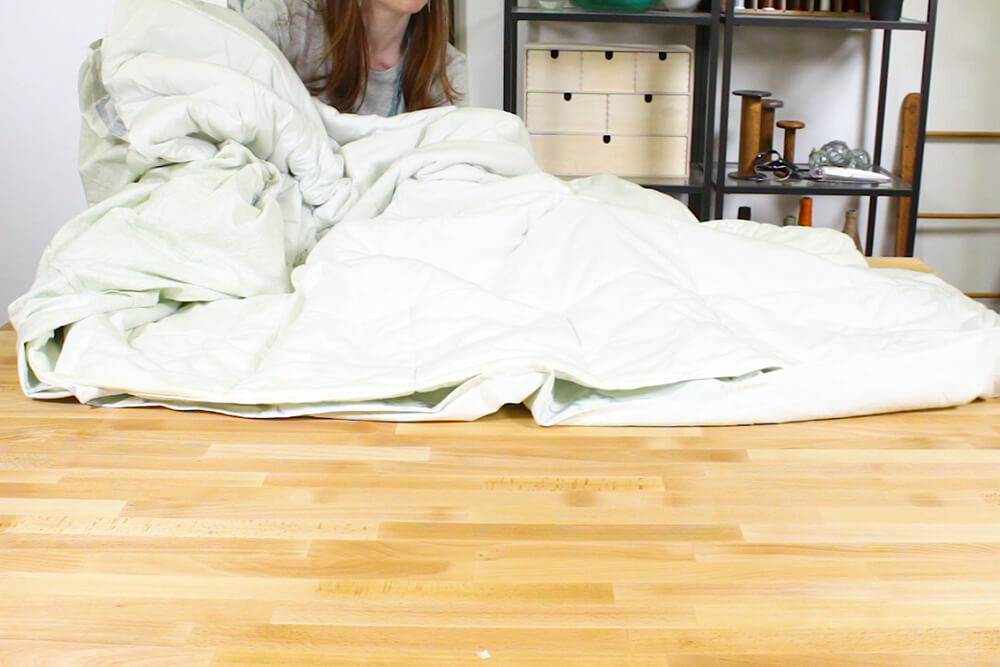
Here’s a tip for preventing the duvet from moving around in the cover. With the cover inside out, lay the duvet insert on top. Attach safe pins to the corners of the cover and the duvet. Wrap tape around the safety pin to be extra sure it won’t open accidentally.
Reach inside the cover and grasp the top corners. Turn the cover right side out while holding the corners. Snap the bottom closed and the duvet cover is done!

 Cover)
Find out how to make matching pillow shams here.
-
{{#each productSuggestedQueries.results}}
- {{query}} {{/each}}
-
{{#each categories.results}}
- {{html title}} {{/each}}
{{html attributes.description}}
{{/if}}-
{{#each queries.results}}
- {{query}} {{/each}}