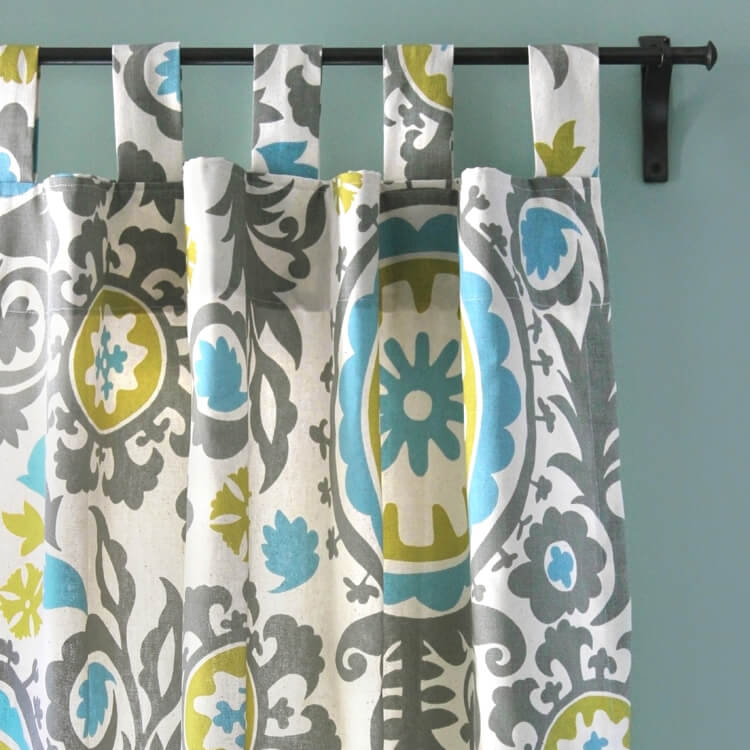
How to Make Tab Top Curtains
- By Clara
- Beginner
- 45 minutes
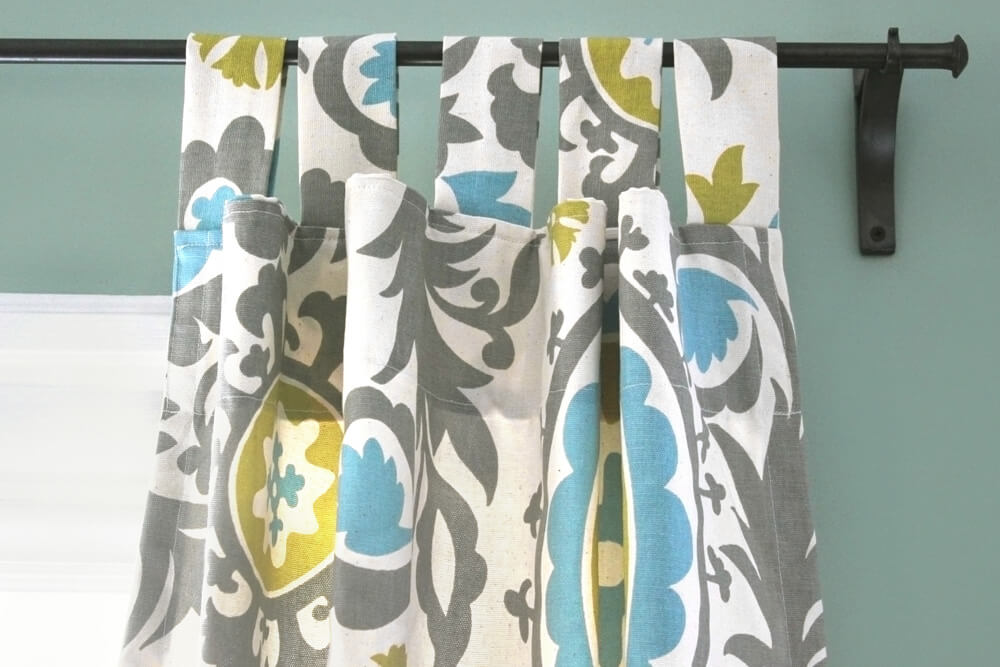
Are you looking to make your own custom curtains with your favorite drapery fabric? It’s easier than you may think! There are many different styles of curtains that are simple to sew, including rod pocket curtains, back tab curtains, grommet curtains, and tab top curtains. This tutorial shows you how to make tab top curtains. They slide open and closed easily, drape nicely, and tend to have a relaxed, casual feel.
You can also easily add a drapery lining to these curtains. Cut the lining the same size as the finished curtain and tuck it under the hems and sides before sewing. For more information on drapery lining, see How to Pick Drapery Lining.
Want to get the printable PDF instructions?
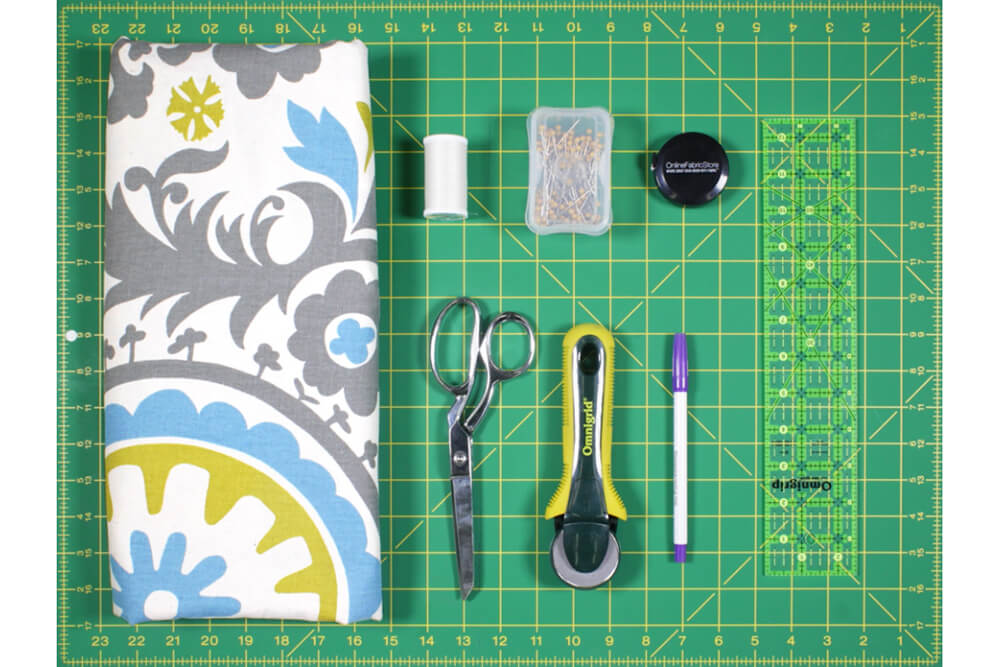
Materials
- Drapery fabric
- Thread
- Scissors
- Rotary cutter
- Cutting mat
- Pins
- Fabric marker
- Measuring tape
- Ruler
- Iron & ironing board
Related Products


Video
Instructions
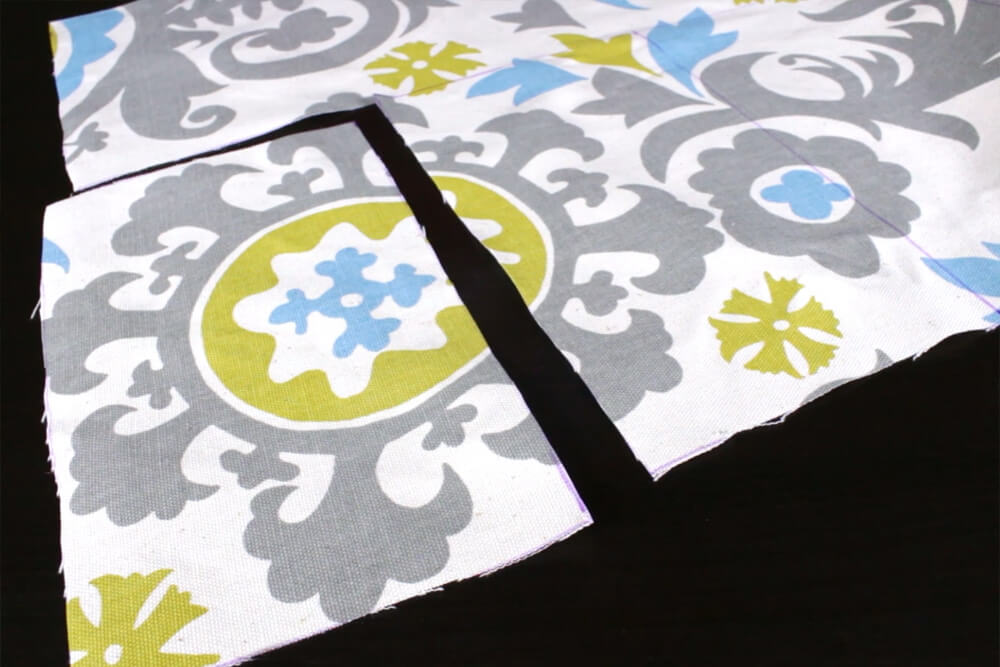
Step 1: Measure & cut the fabric
Curtain Panel: To determine the size to cut your fabric, take the dimensions you want your curtain panel to be and add 4” to the width and 9” to the height to account for the hems. In this example, the panel will be 3 ft wide and 4 ft tall when finished so cut the fabric to 40” x 57”.
Your measurements: [finished panel width] + 4” by [finished panel height] + 9”
Tabs: For the tab measurements, double your desired width and height and add 1”. To make tabs that are 2″ wide and 4″ tall, like these will be, cut 5″ x 9″ pieces.
Your measurements: [finished width] x 2 + 1” by [finished height] x 2 + 1”
The number of tabs you’ll need depends on the width of your curtain. Account for about 5″-7″ of space between the tabs. These tabs will have a little over 6” in between.
Facing Piece: Cut a piece that is 2″ wider than your finished curtain width and about 3” to 5″ high. This facing piece will go on the back of the curtain to cover the unfinished edges when the tabs are sewn on. Here, to make the facing piece the same height as the bottom hem (4″), it’s cut to 38” x 5″.
Your measurements: [finished curtain width] + 2” by [finished facing piece height] + 1”

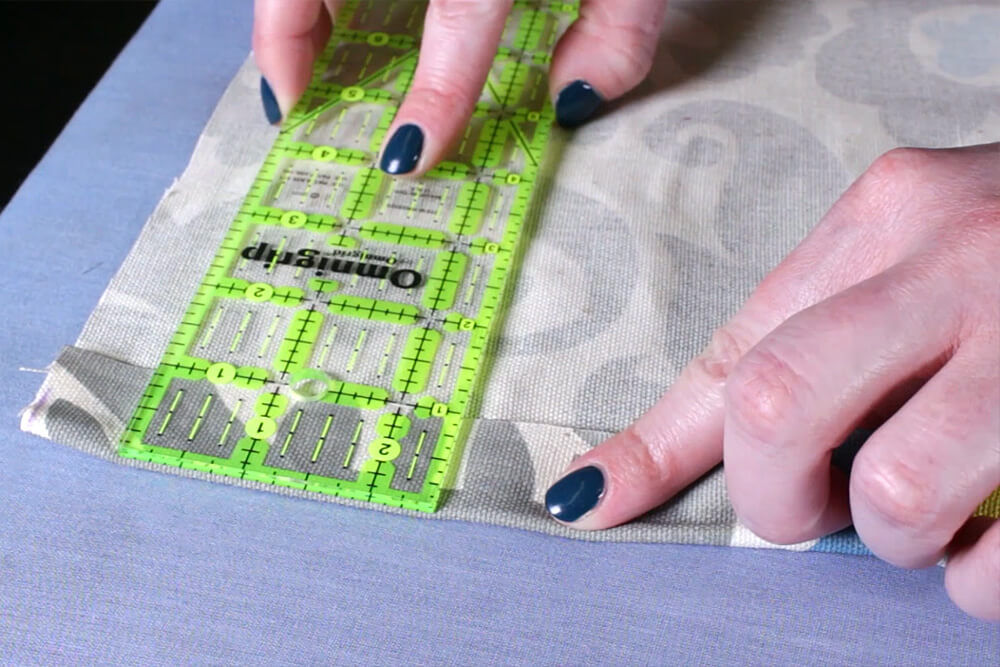
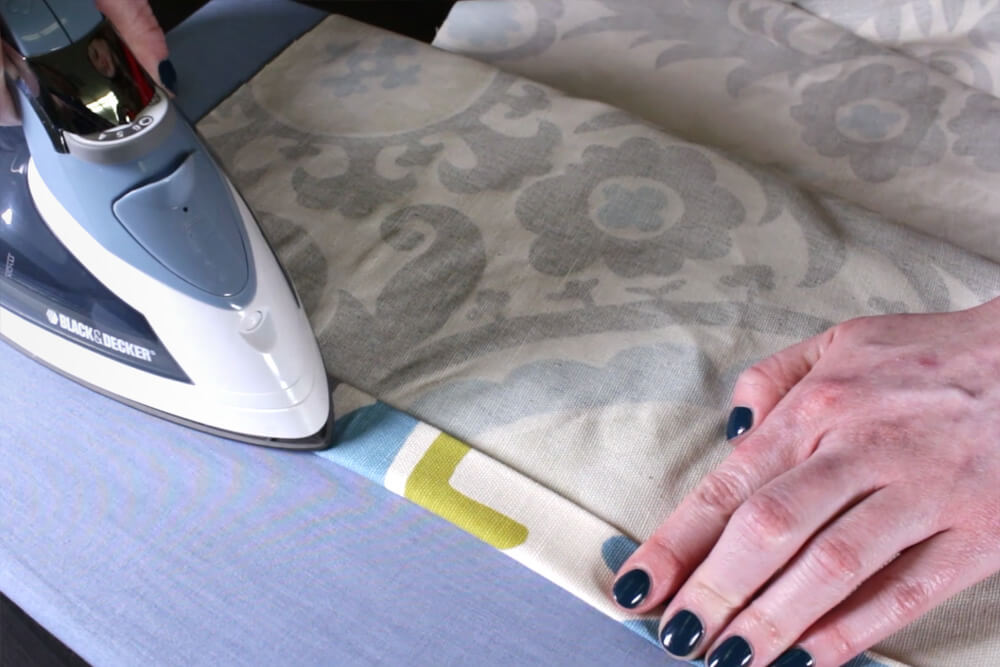
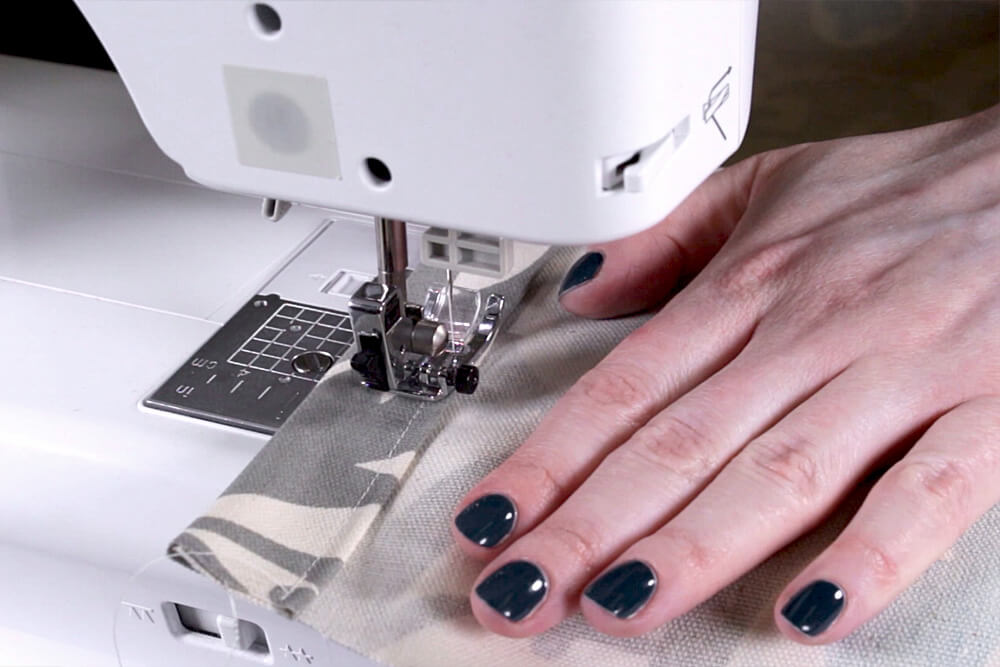
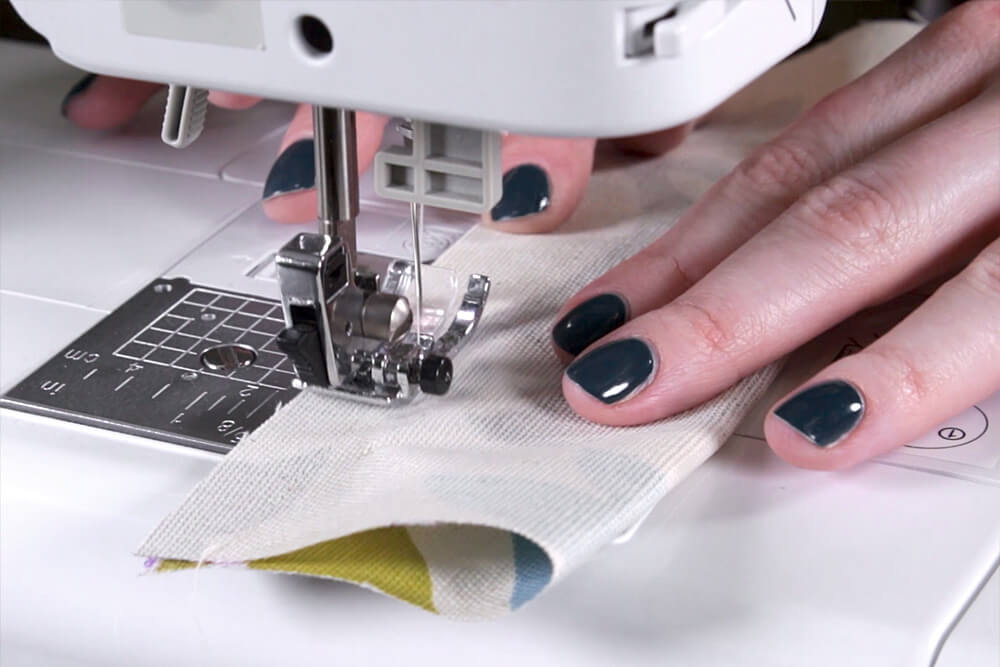
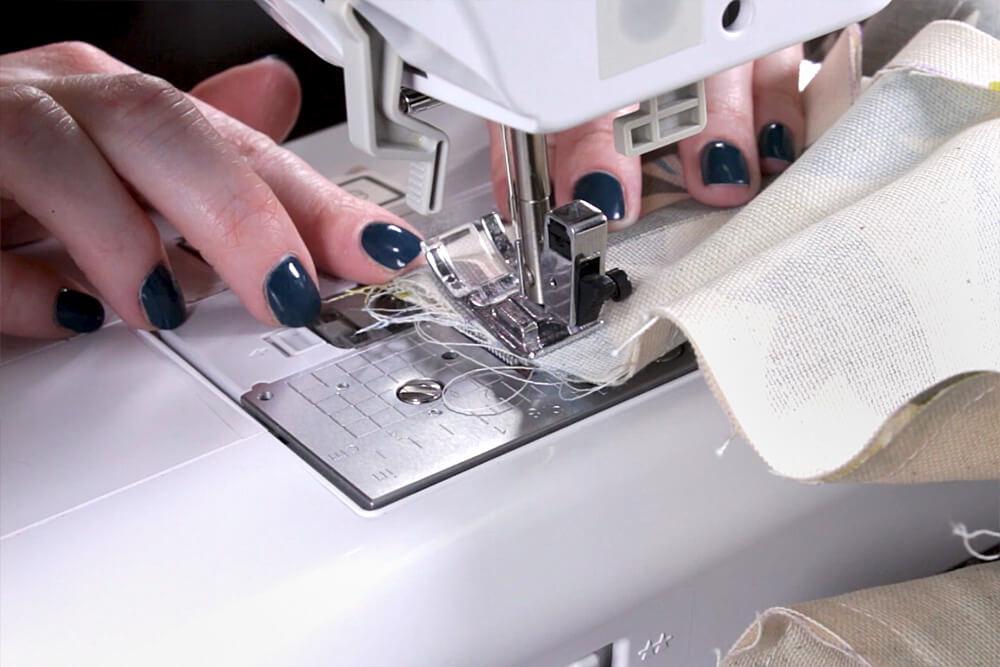
Step 2: Sew the sides of the panel
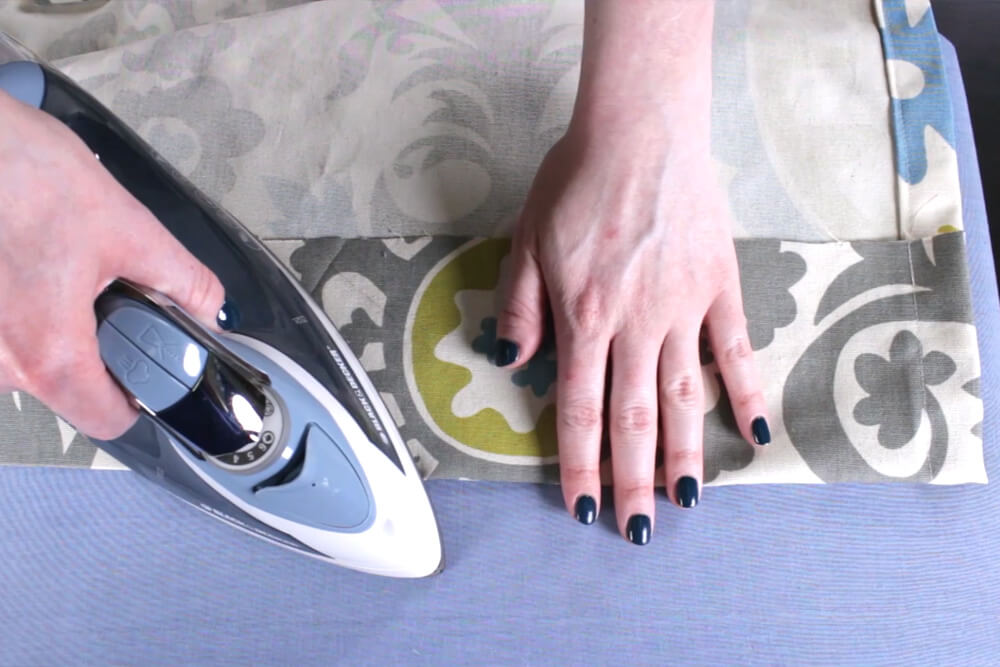
To hem the 2 sides of the panel, first fold the edge over 1” and press. Then fold it over another inch and iron it again. Sew down the length of the panel ¾” from the edge of the fabric. Back stitch at the beginning and end to secure the stitches. Repeat this for the other side of the panel.
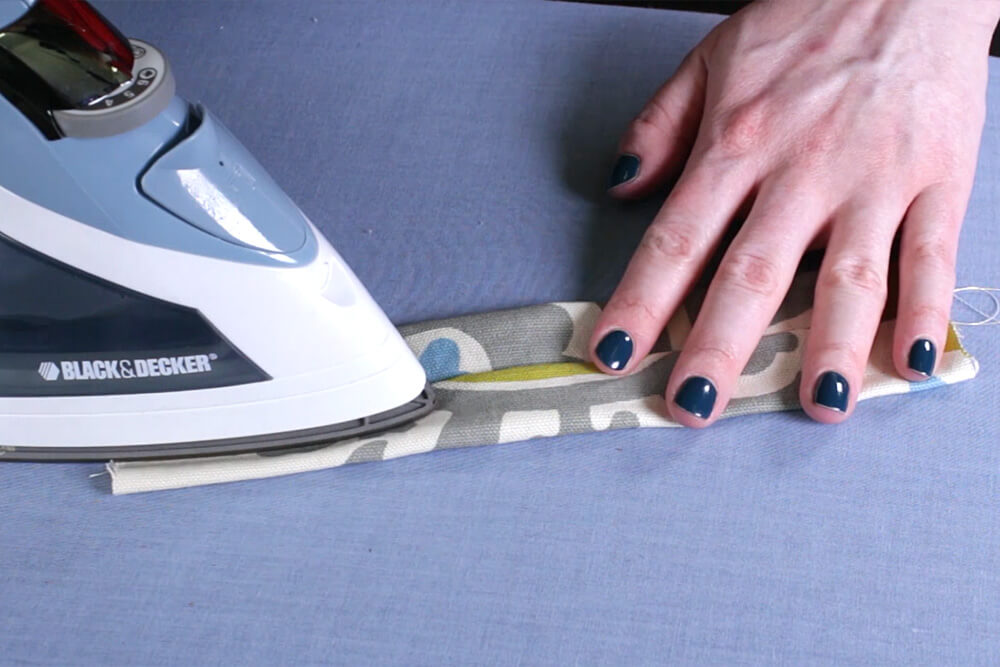
Step 3: Sew the tabs
Fold a tab piece in half lengthwise with right sides facing. Sew down the side with a ½” seam allowance.
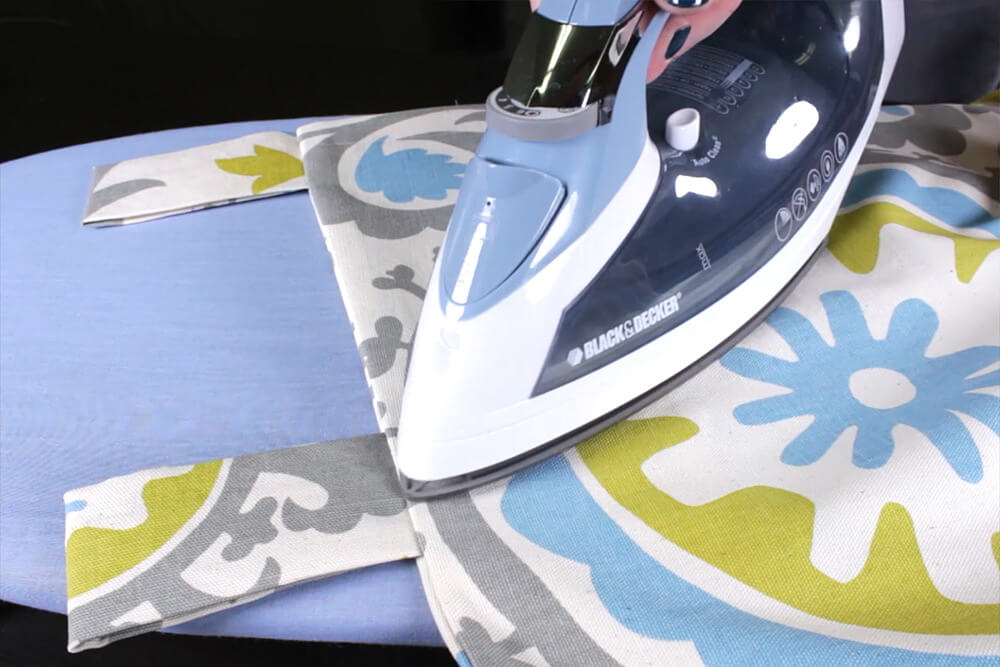
Turn the tube right side out. Then, iron the tab so that the seam is in the middle. Repeat for the rest of the tabs.
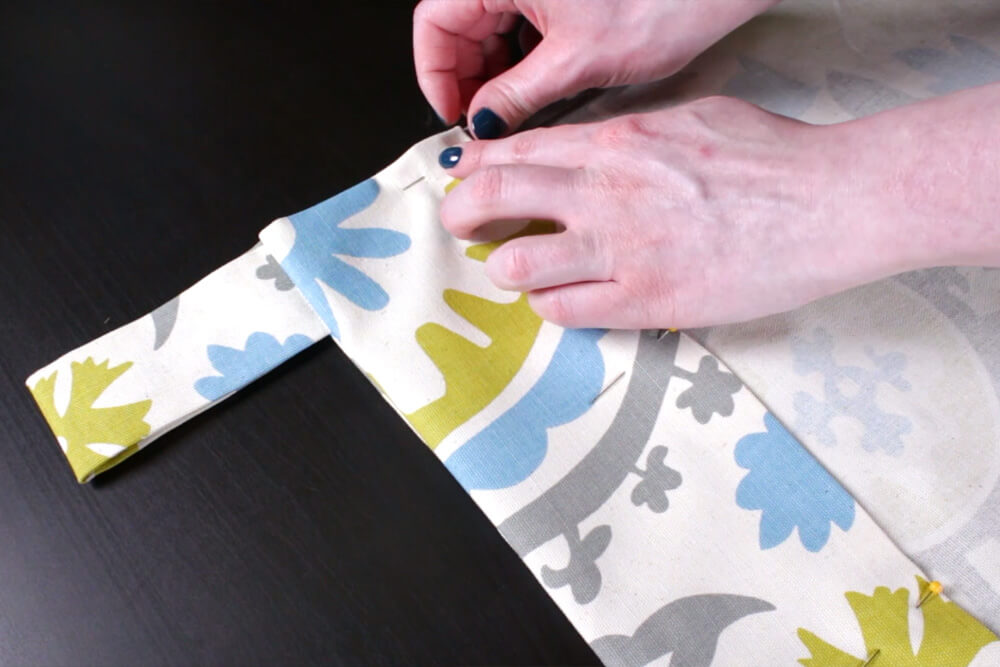
Space the tabs out evenly at the top of the panel so that the edges of the tabs line up with the top edge of the fabric and pin. Sew the tabs to the panel with a ½” seam allowance.

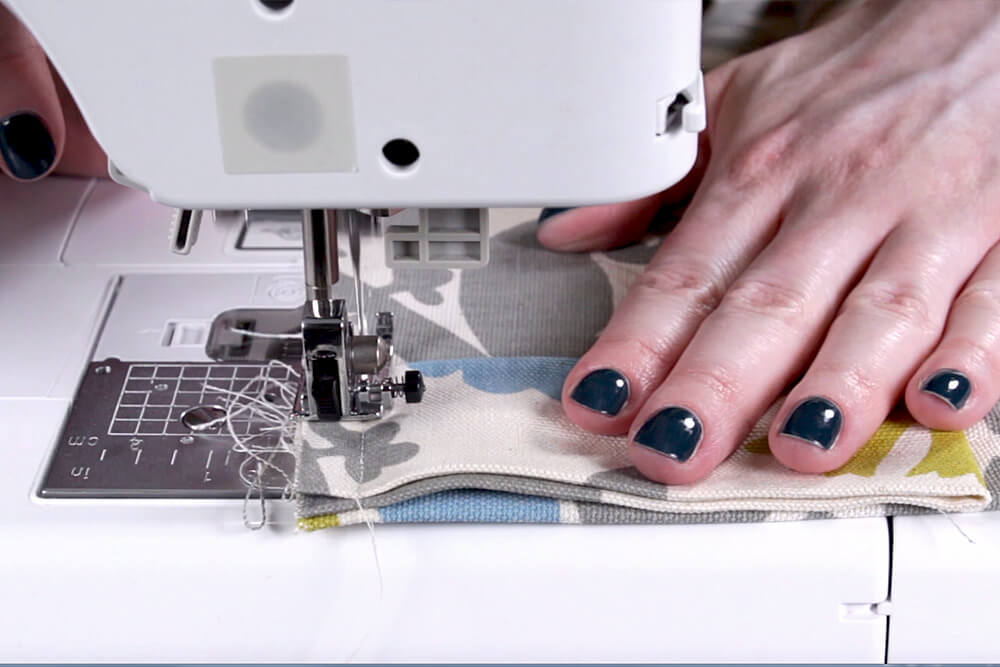
Step 4: Sew the facing piece
Fold the ends of the facing piece in 1” so that it matches the width of your curtain and iron. Fold the bottom edge over ½” and press again.
With the right sides facing, place the facing piece at the top of the panel and pin.

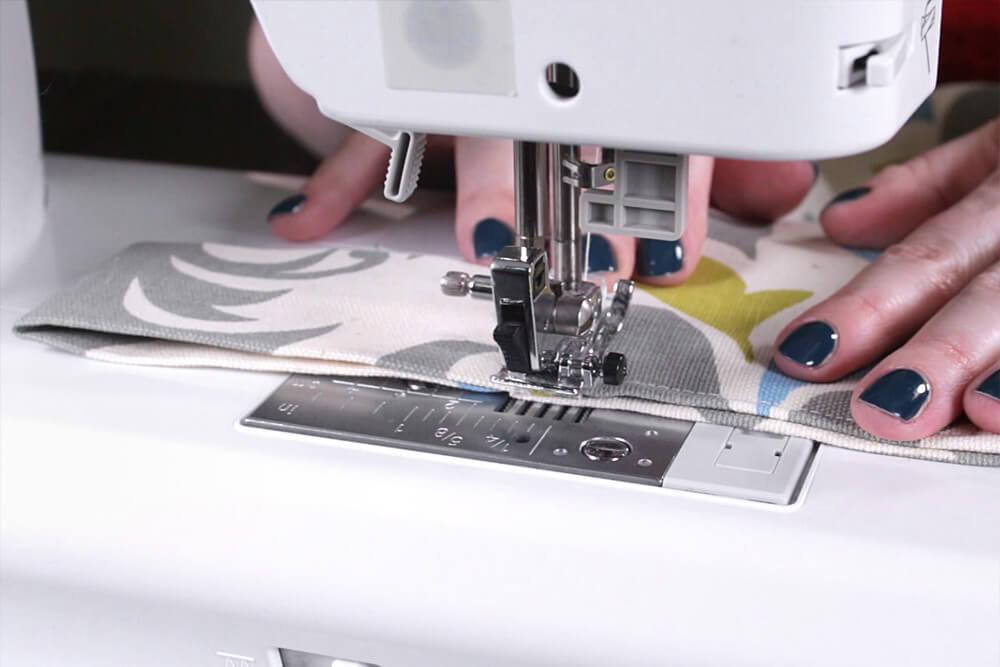
Sew across the top again with a ½” seam allowance.
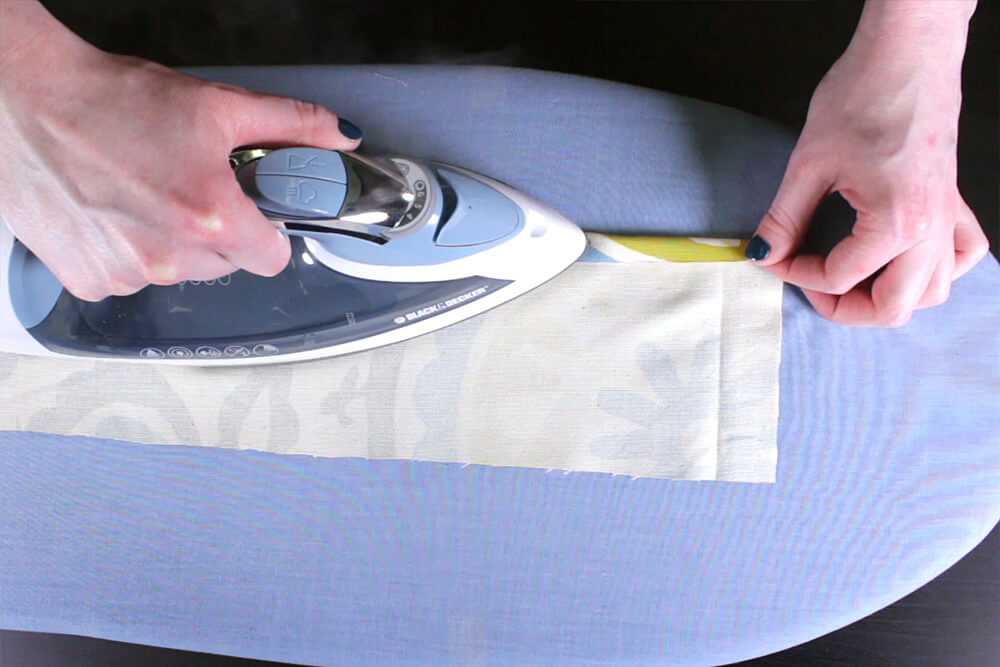
Open the fabric and iron with the tabs facing upward to create a crisp top edge. Pin the bottom of the facing piece to the curtain panel with the ½” folded under.
Sew around the side and bottom edges of the facing piece to complete the top of the curtain.
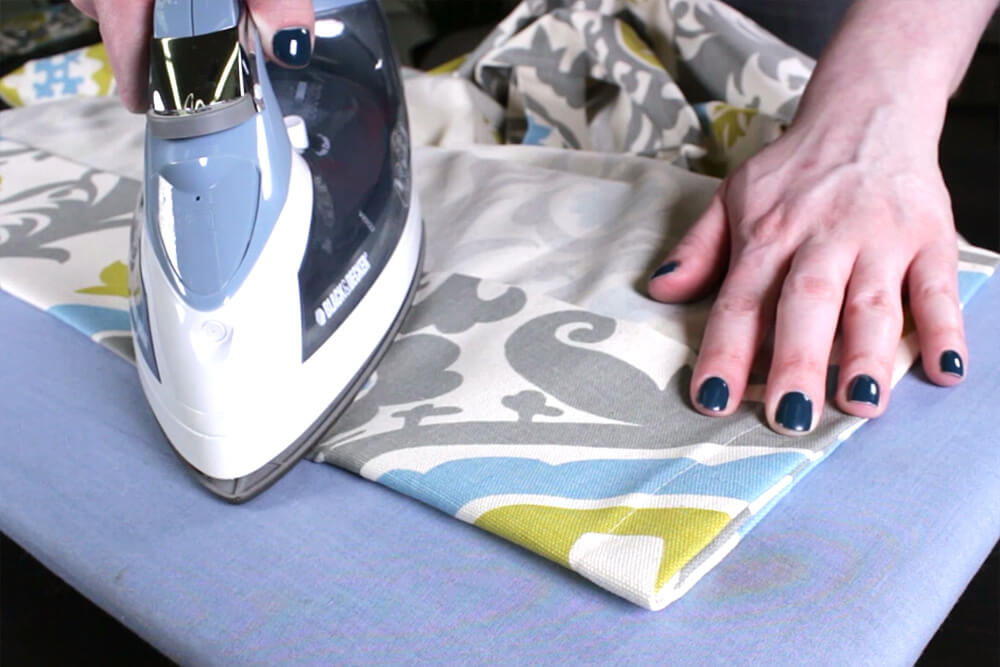
Step 5: Hem the bottom
To make the bottom of the curtain fall exactly where you want, hang the panel first to better judge how much to hem.
To create a double fold hem, fold over the bottom 4” and iron. Fold it over another 4” and press again.
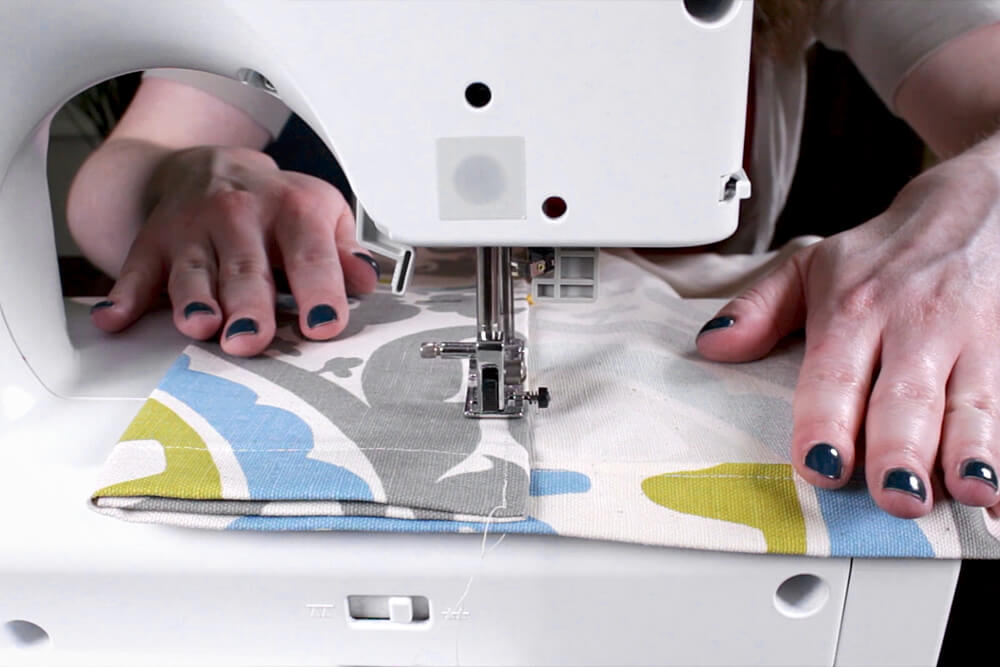
Sew across the bottom hem and the curtain is complete!

Looking for more drapery fabric? Click here to view our beautiful selection!