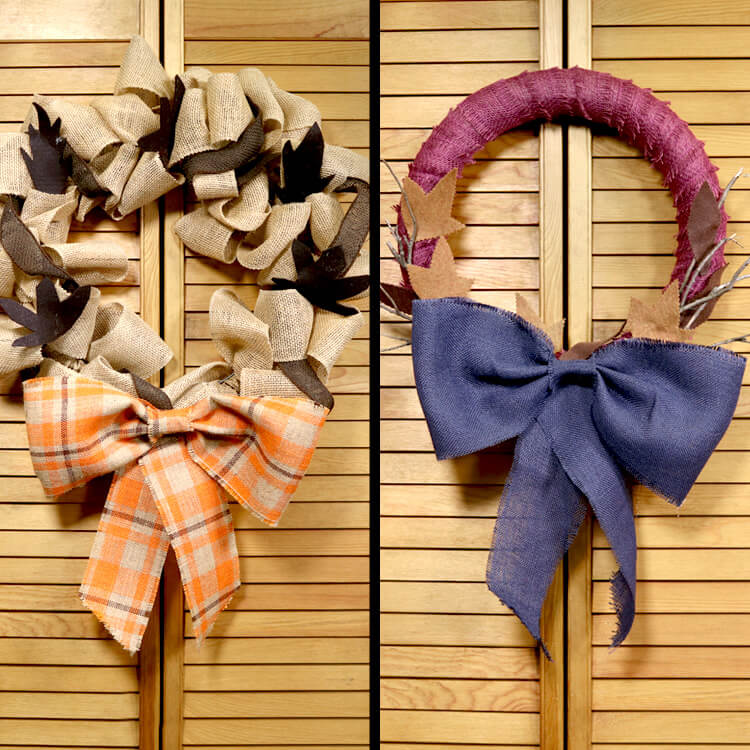
2 No Sew Burlap Wreaths
- By Jen
- Beginner
- 45 minutes each
Can’t decide what kind of burlap wreath to make for fall? Make 2! These no sew burlap wreaths are perfect for seasonal décor and you can use almost any combination of burlap fabric or ribbon.
If these aren’t quite your style, check out these burlap flower wreaths for every season.
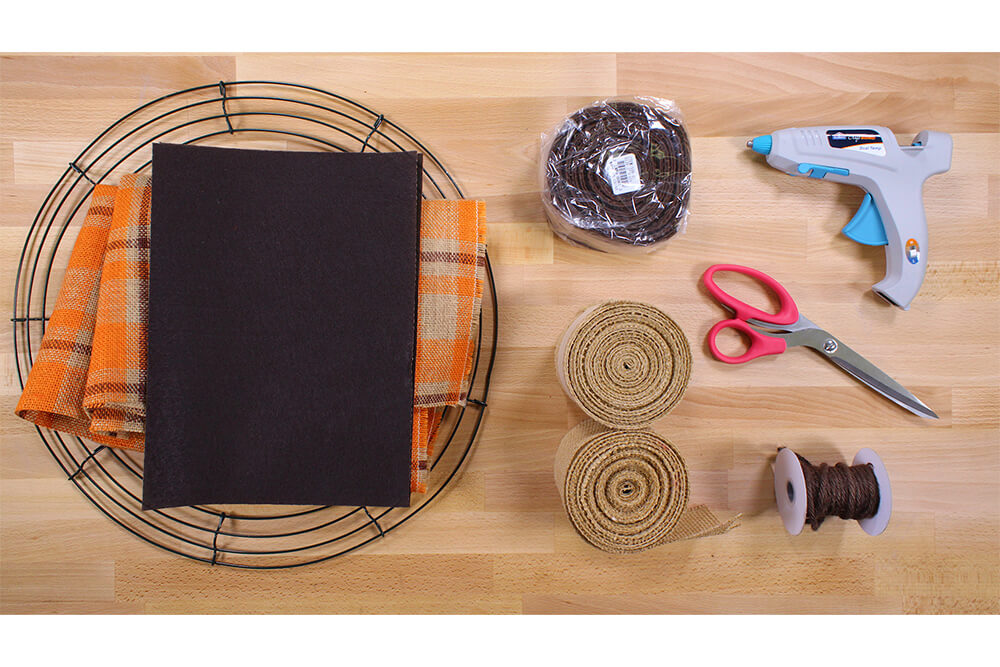
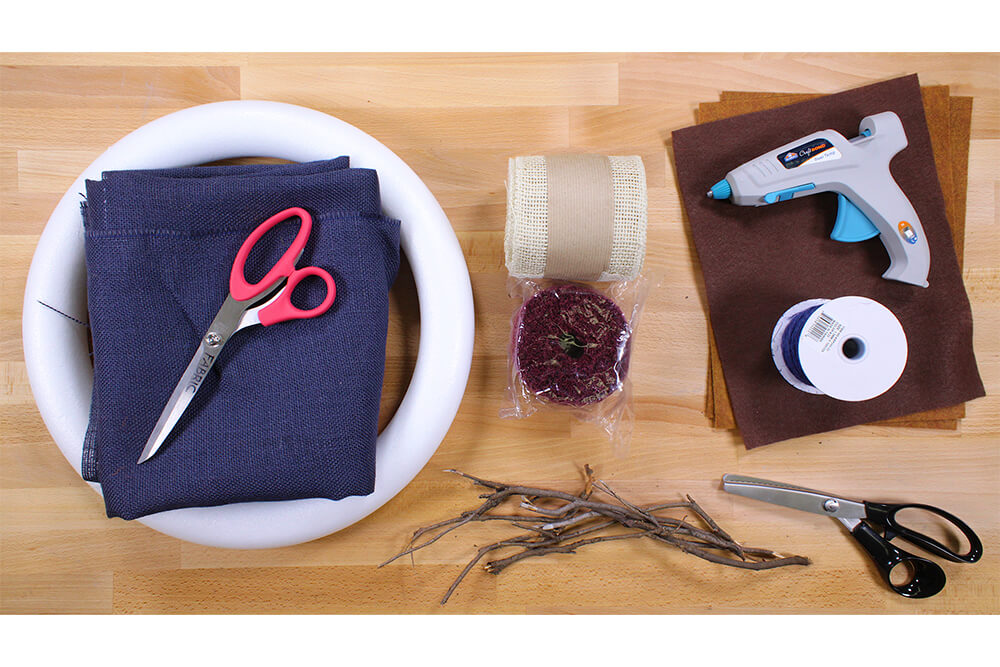
Materials
- Wire frame (Gathered wreath)
- Styrofoam circle (Wrapped wreath)
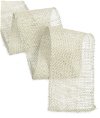
- Burlap fabric
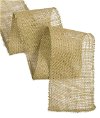
- Burlap ribbon
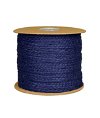
- Twine
- Felt fabric
- Scissors
- Hot glue gun
- Shears (Wrapped wreath)
- Sticks (Wrapped Wreath)
Related Products

Video
Instructions
Gathered Wreath
Gathered wreath materials:
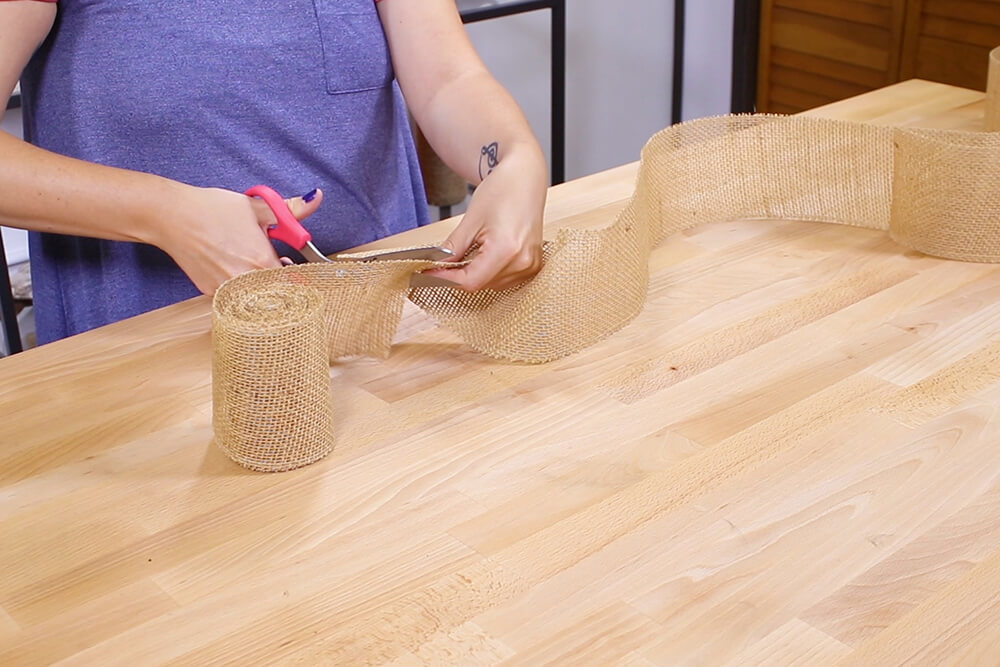
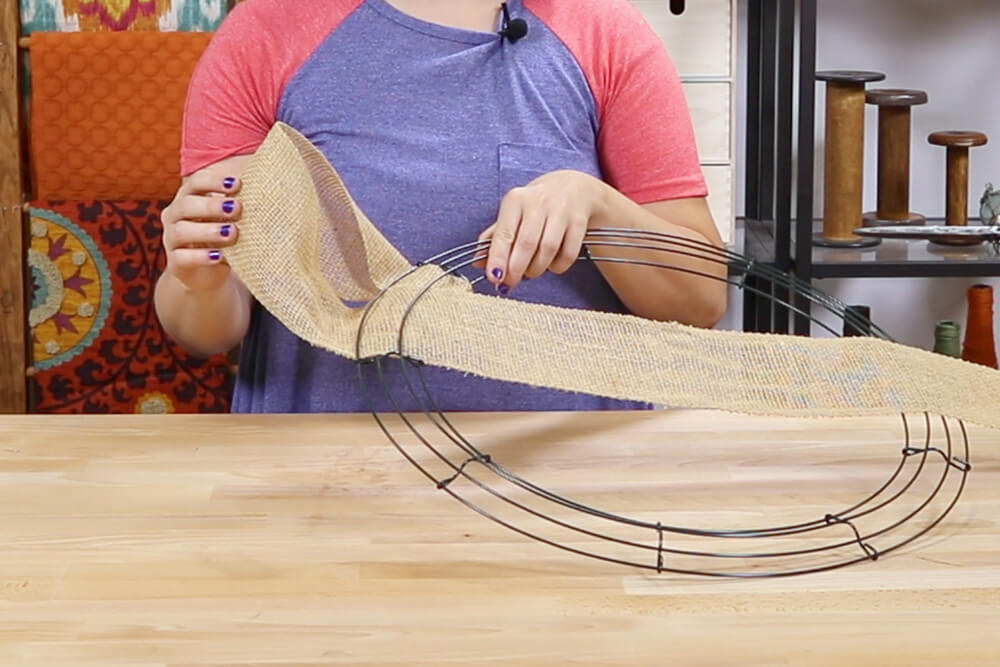
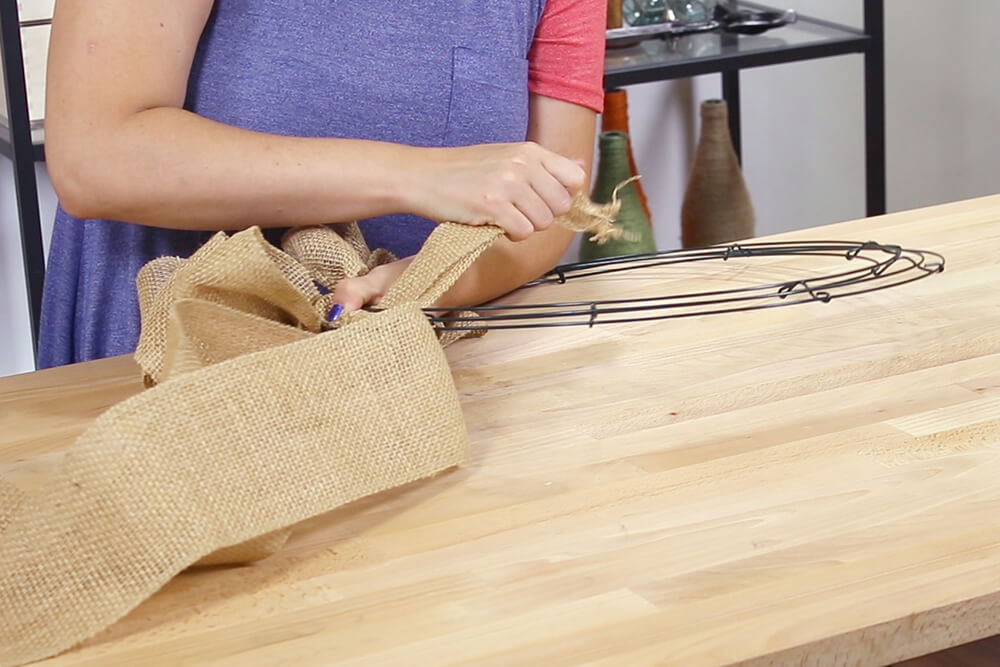
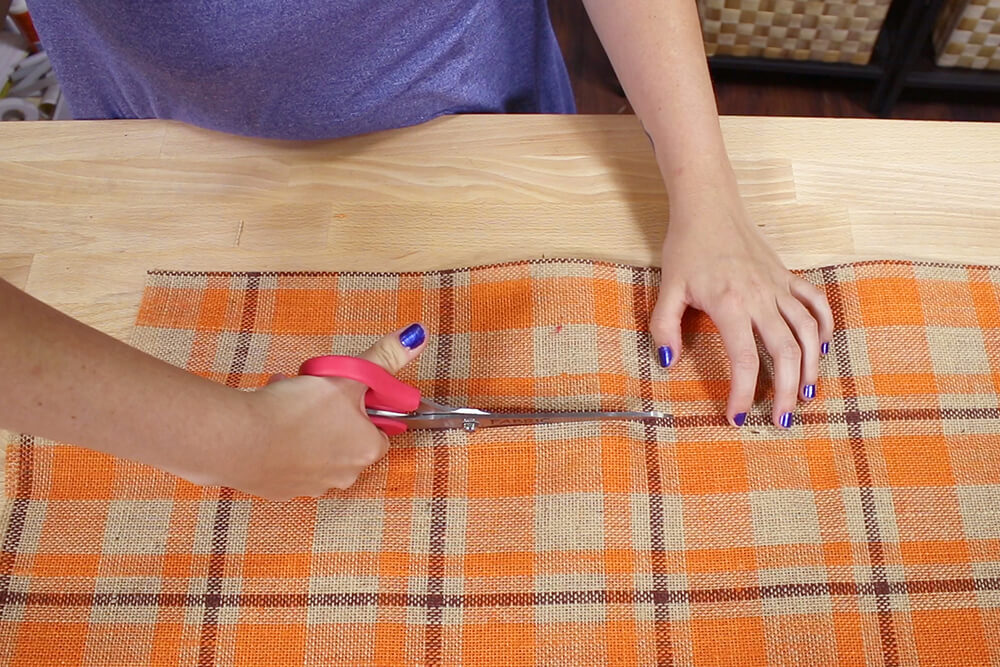
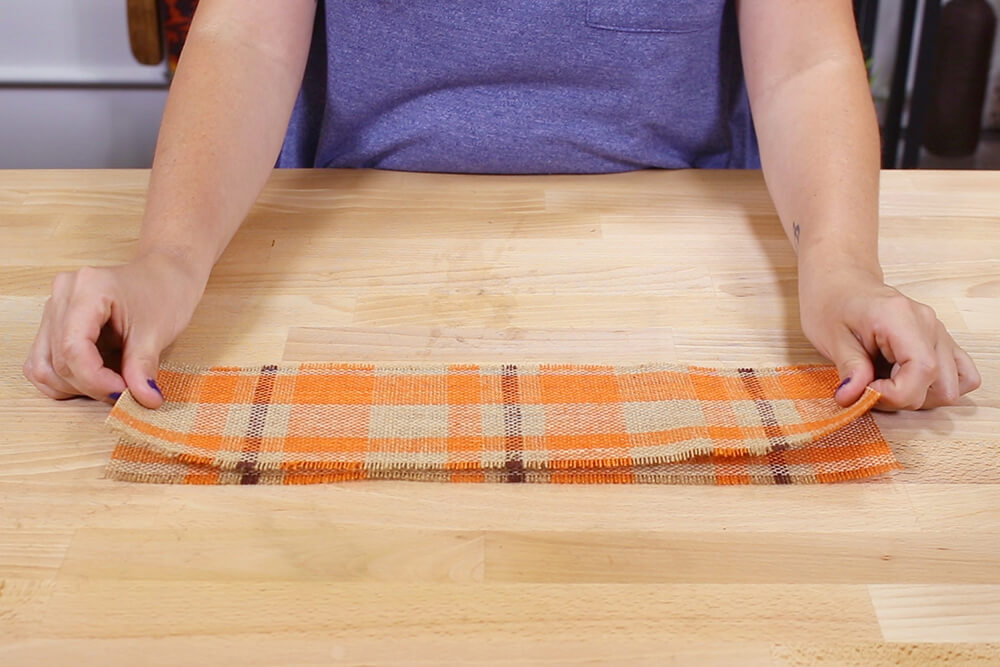
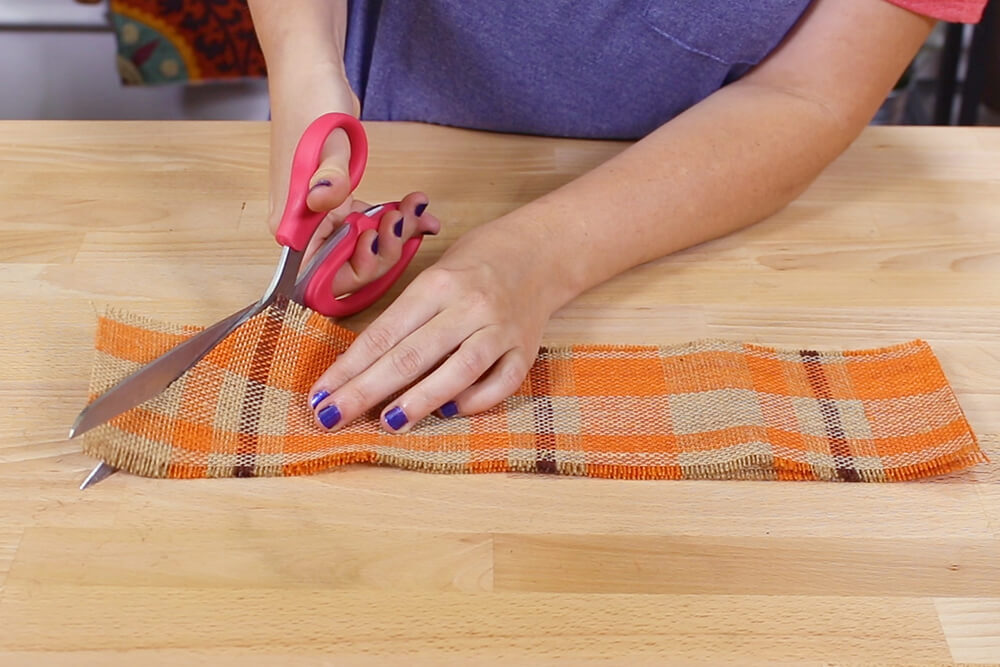
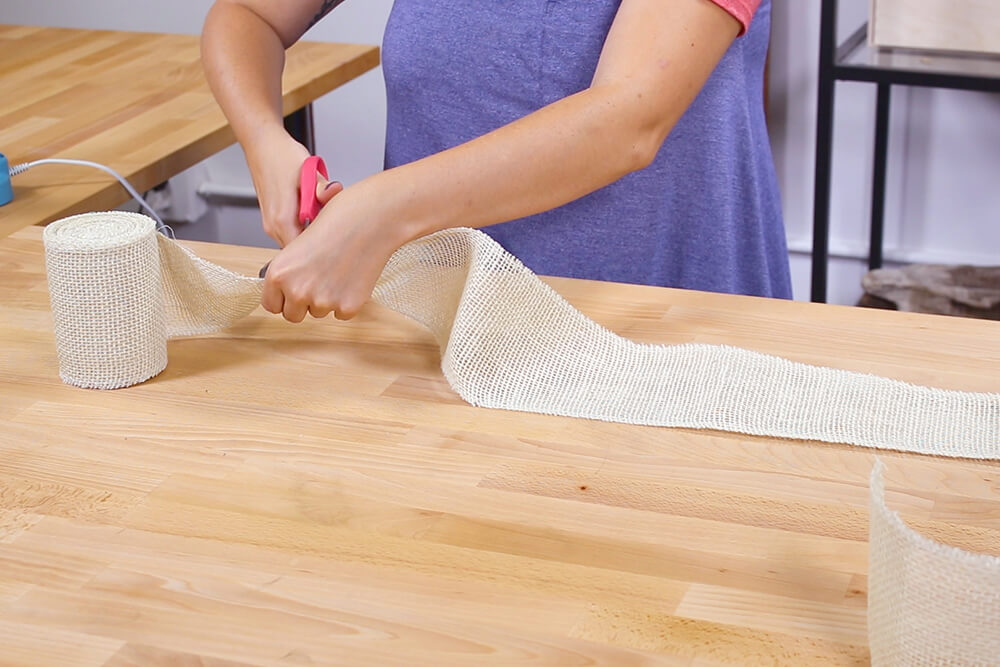
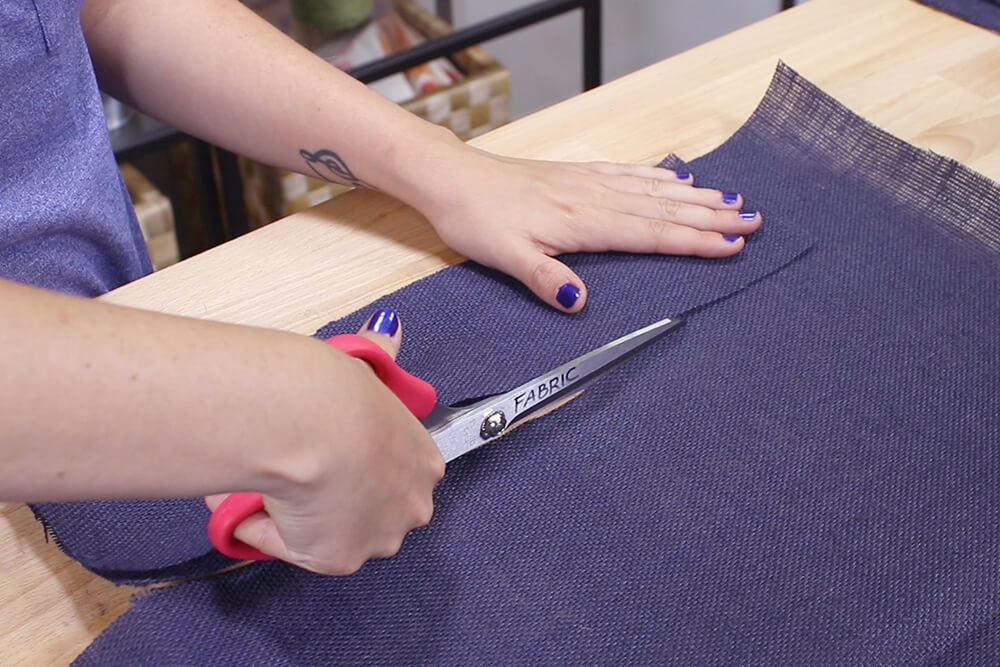
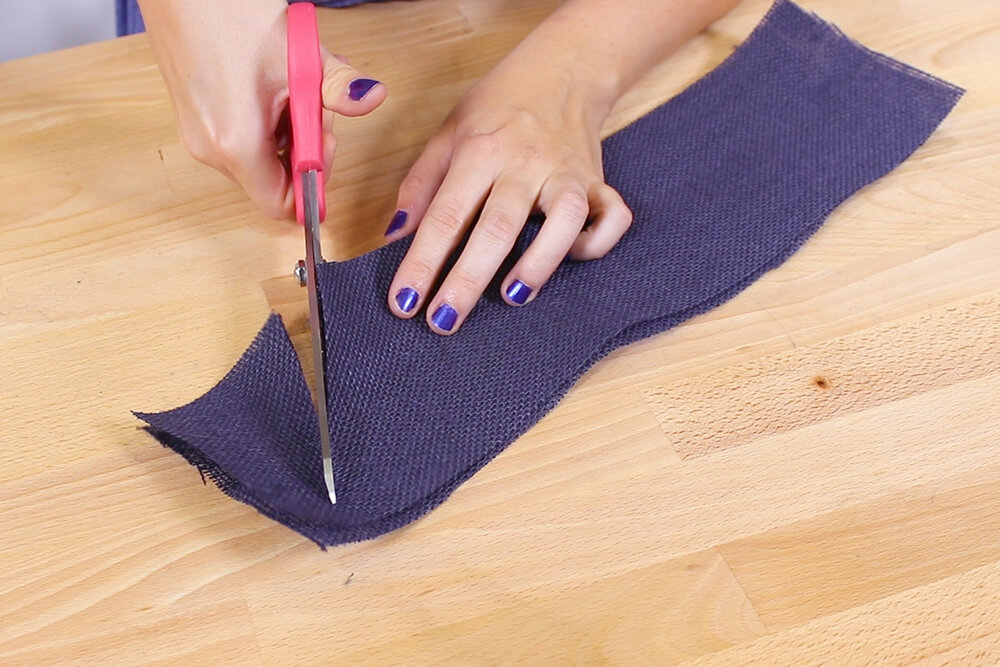
The first step is to cut the burlap into manageable pieces. I’m using ribbon so I only have to cut lengths that are about 2 yards long. If you’re using yardage you’ll need to cut it into strips that are about 4 inches wide.
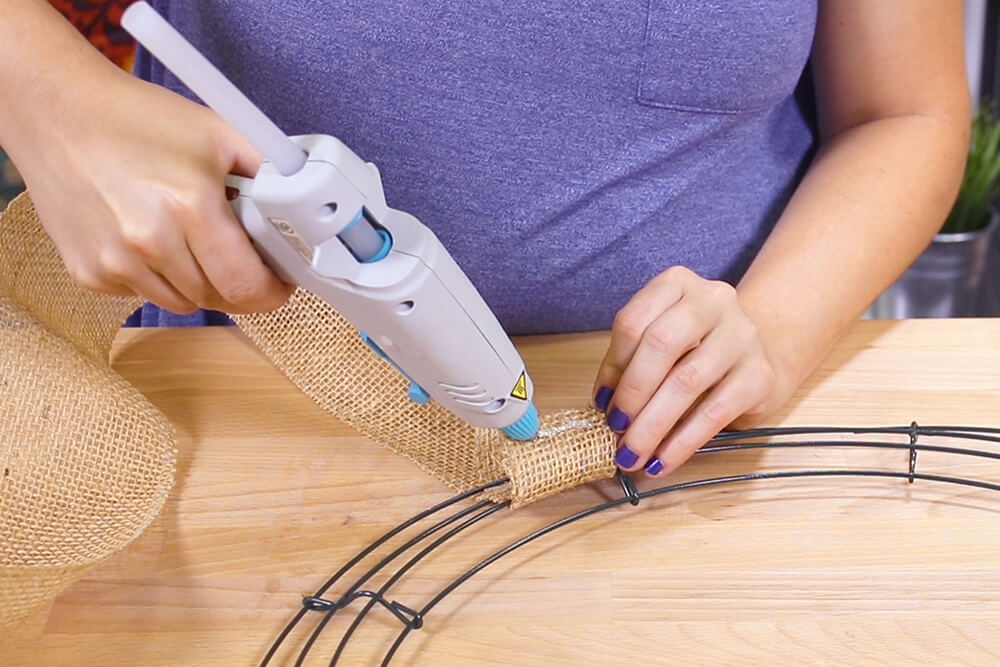
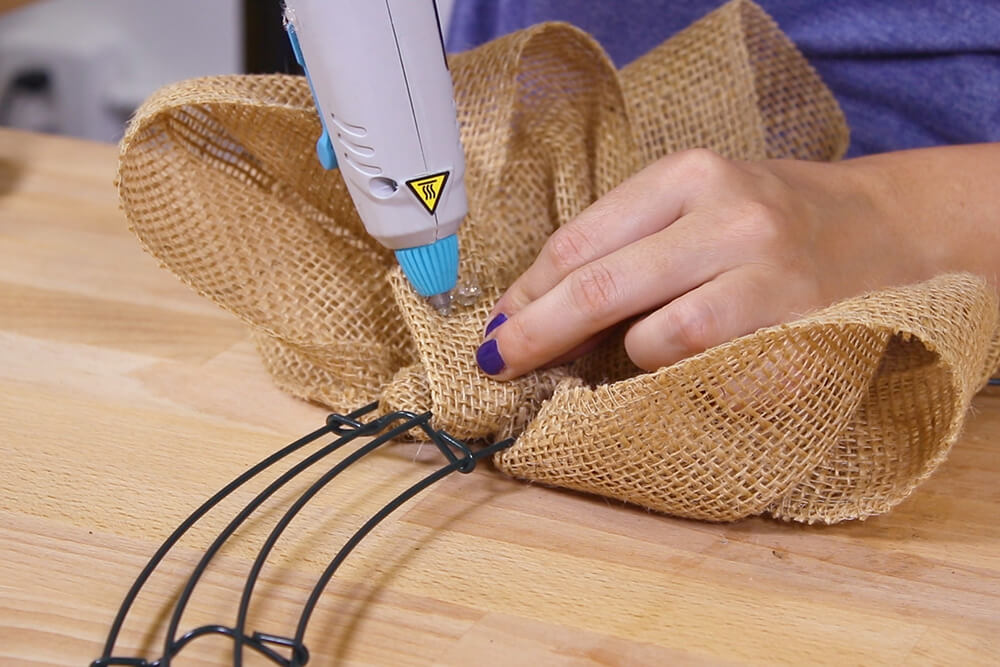
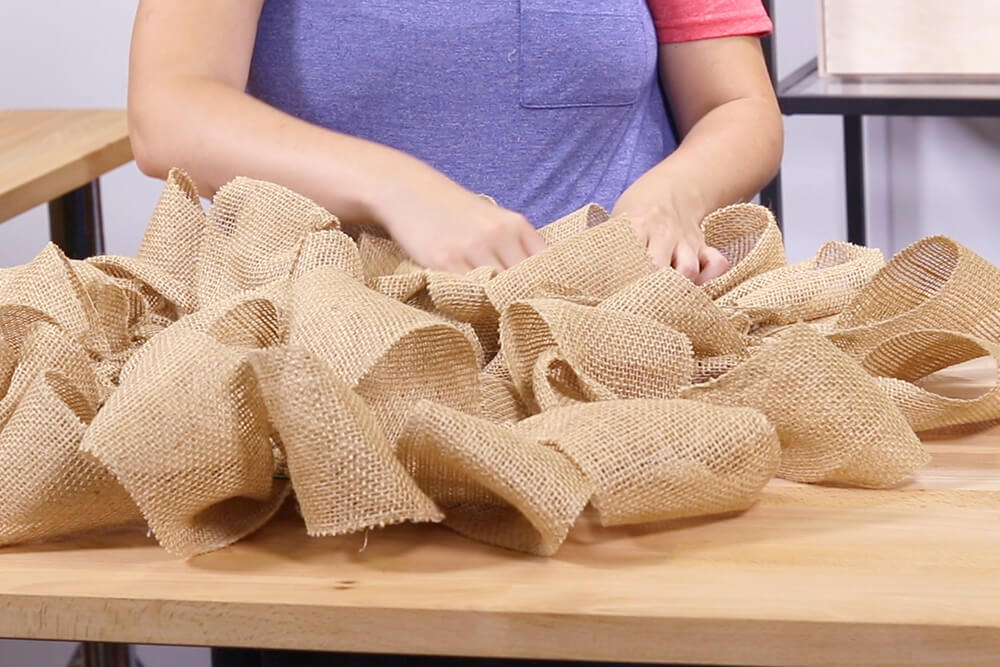
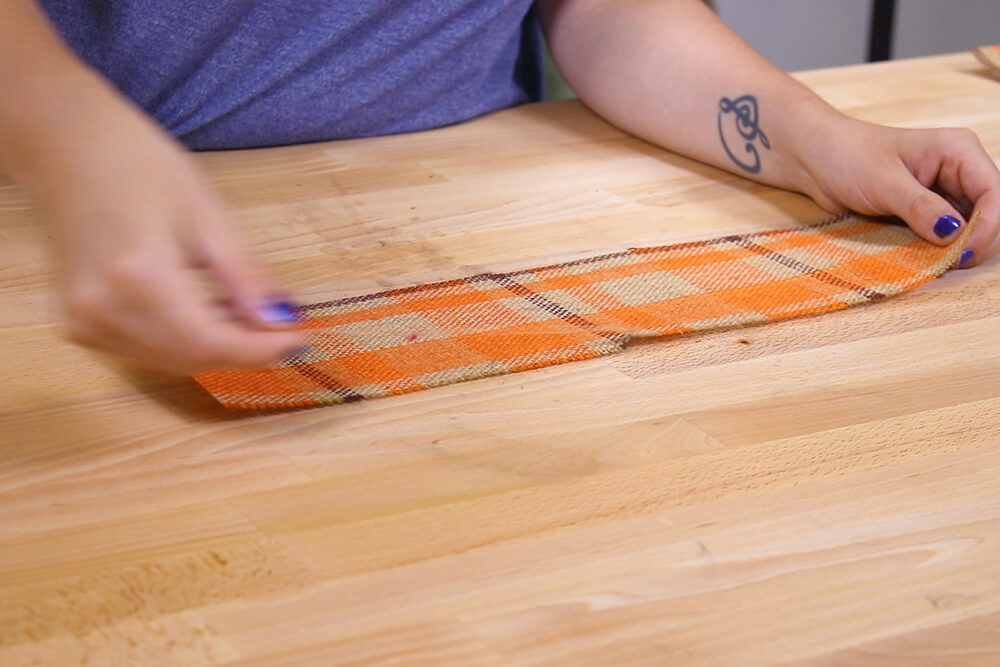
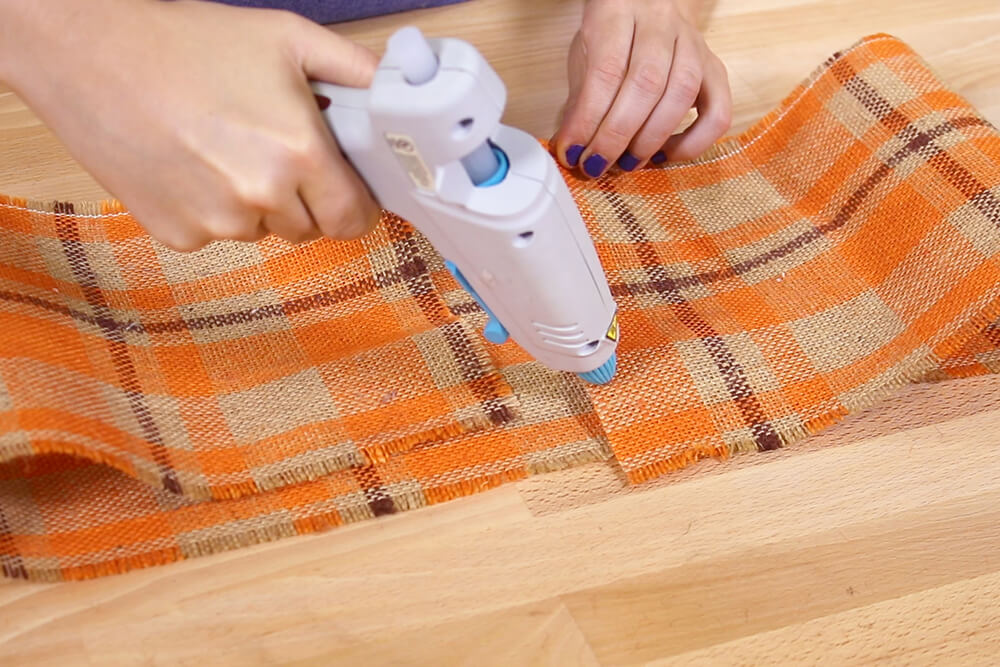
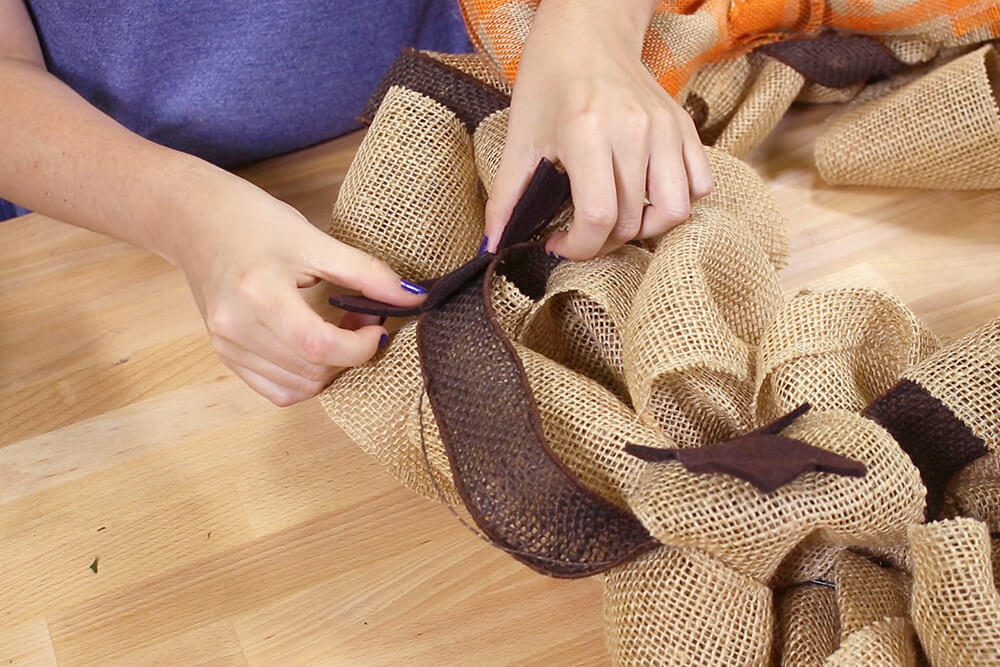
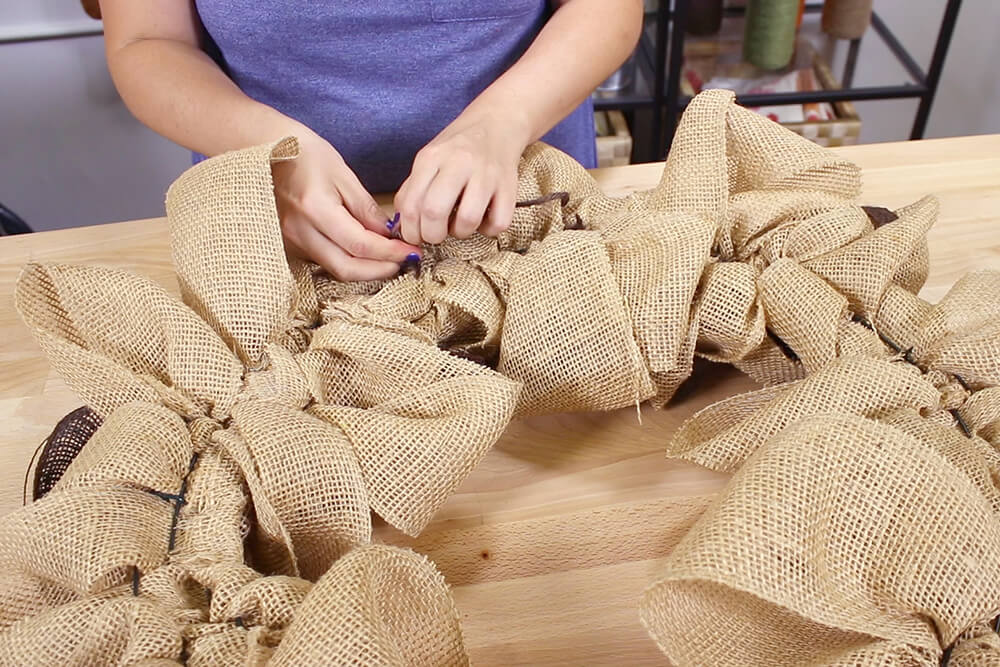
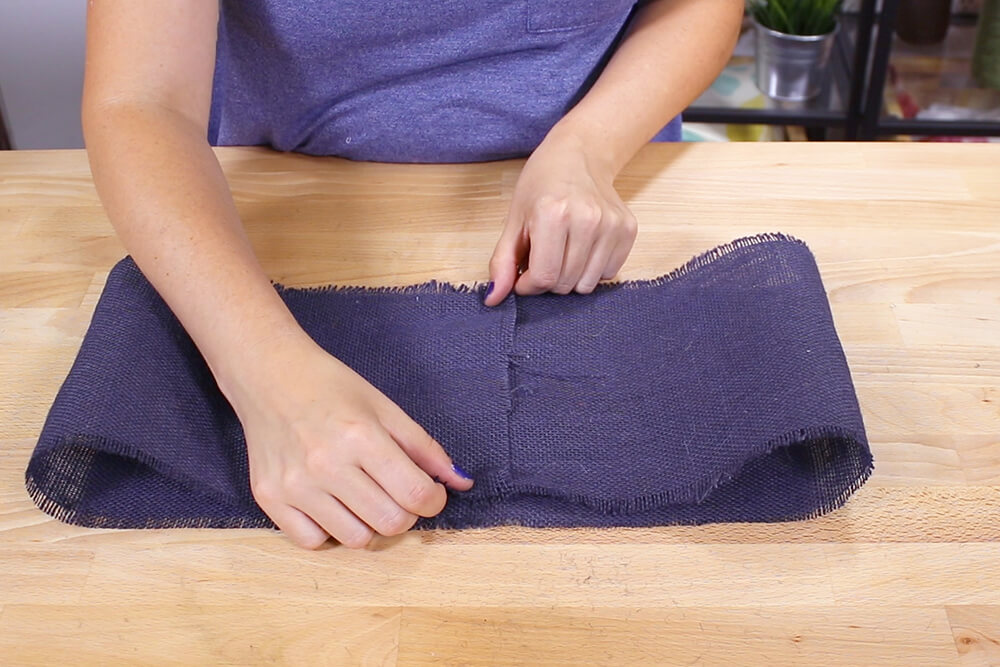
Fold one of the strips in half lengthwise and weave it through the wires. Tuck the end under and glue it underneath the wire frame.
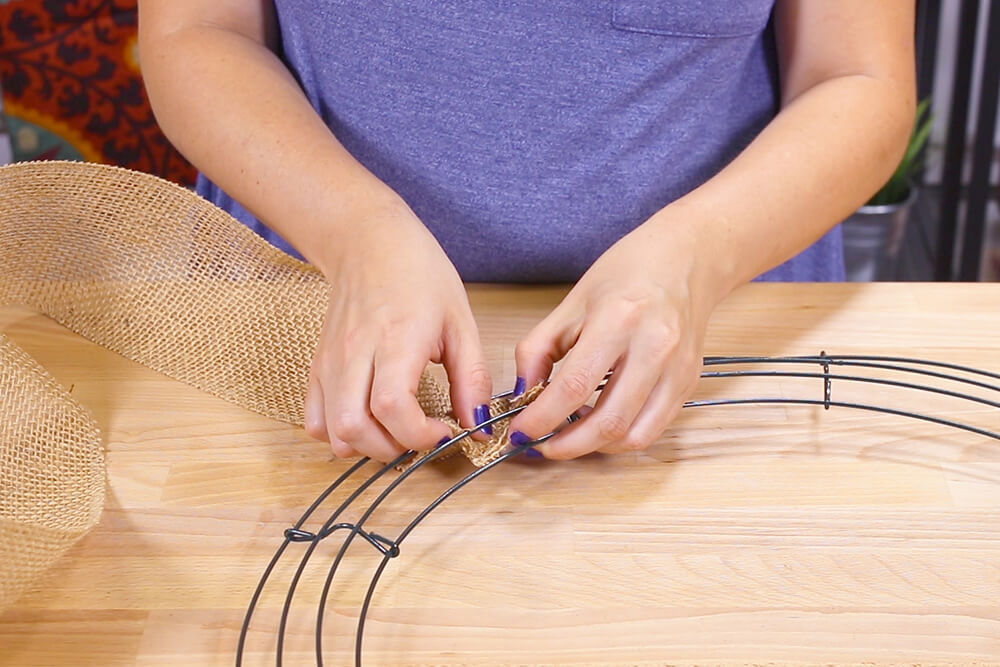
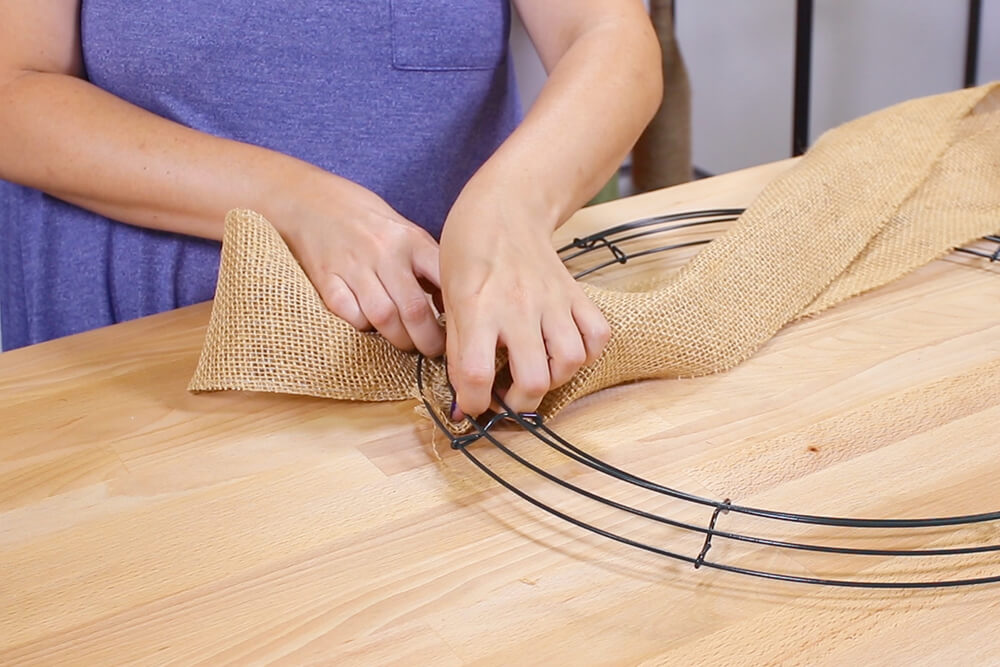
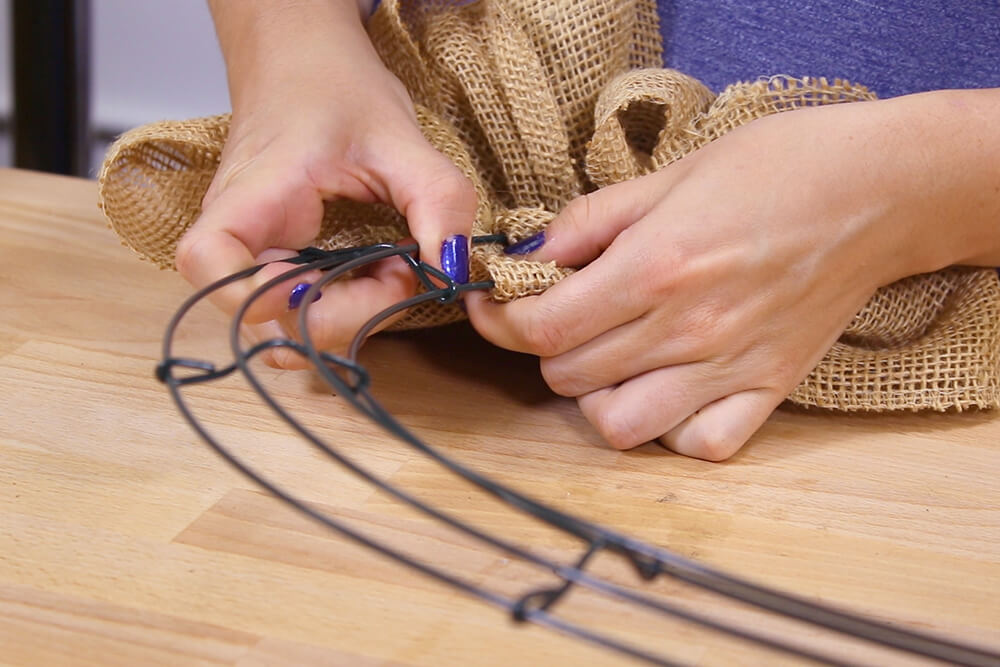
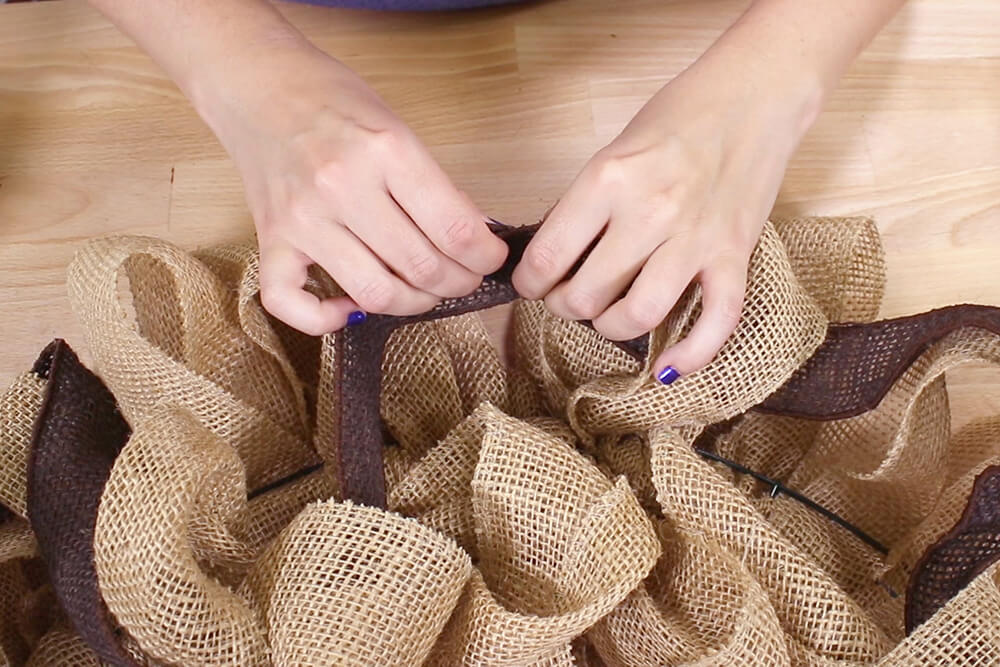
Fold the other end of the strip in half and weave it through the wires like before. Pull it through until there’s about 4-5 inches of burlap in a loop.
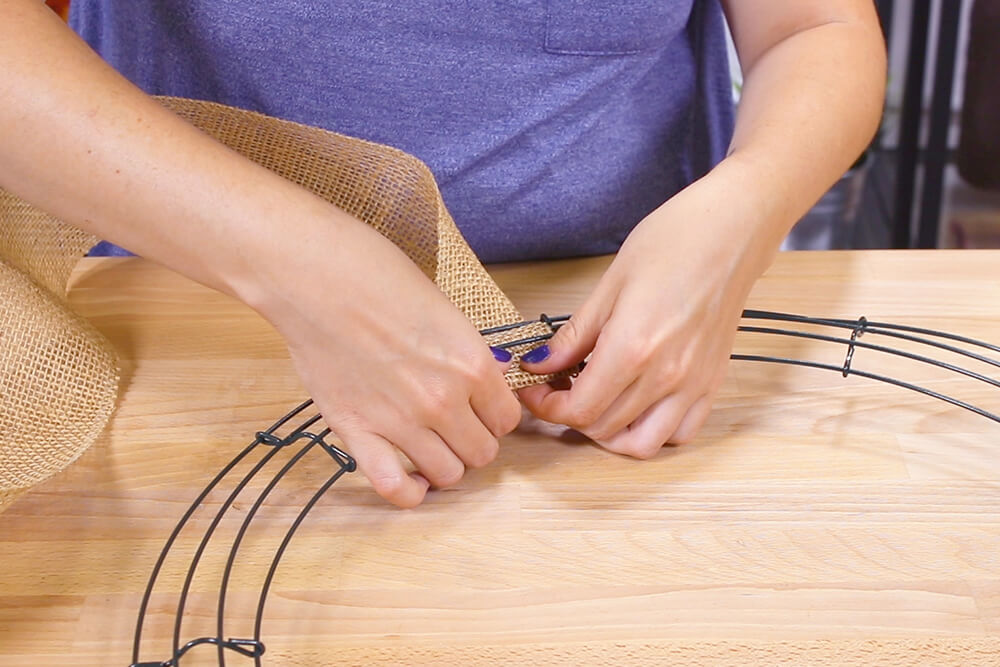
Weave the strip again in the opposite direction, leaving the same amount of burlap looped on the other side. Make sure to gather the fabric tightly at the base.
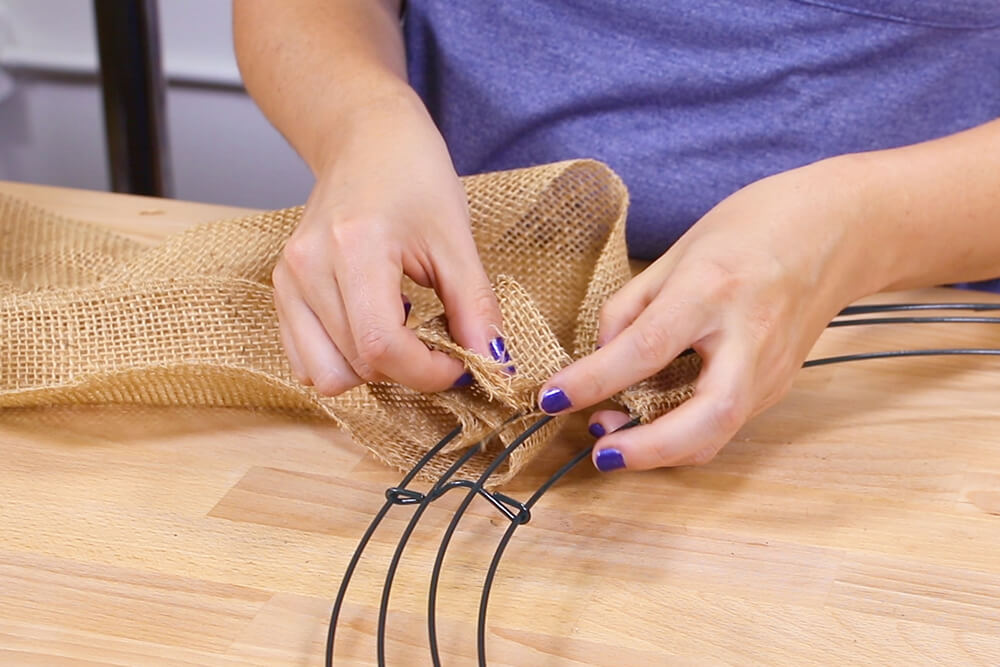
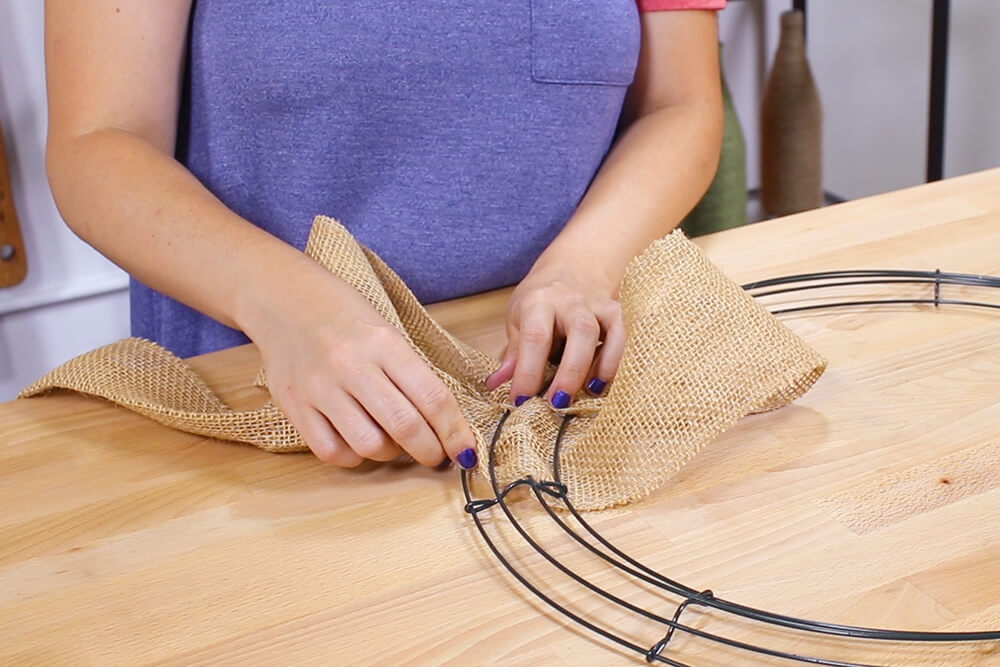
Continue weaving and making loops until you get near the end of the strip.
When there’s not enough left to continue, cut the end down to about 4 inches, fold over, and glue.
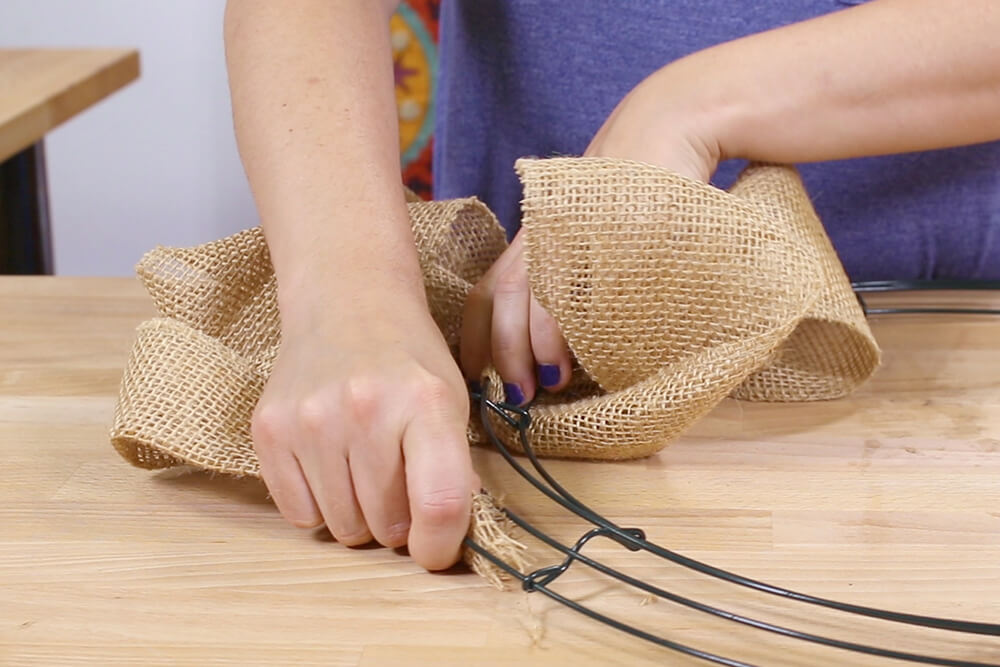
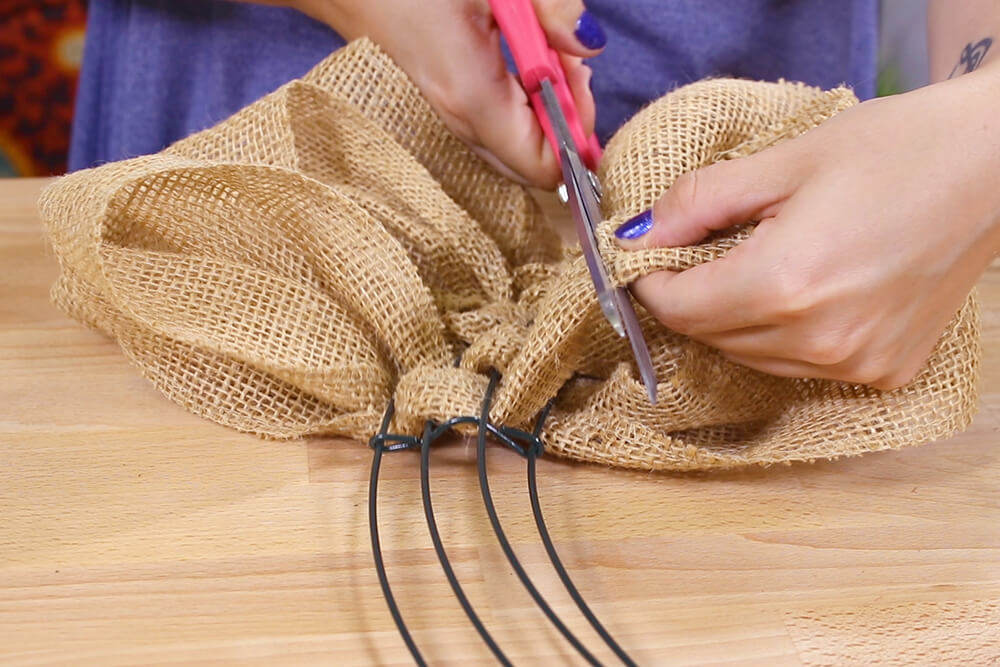
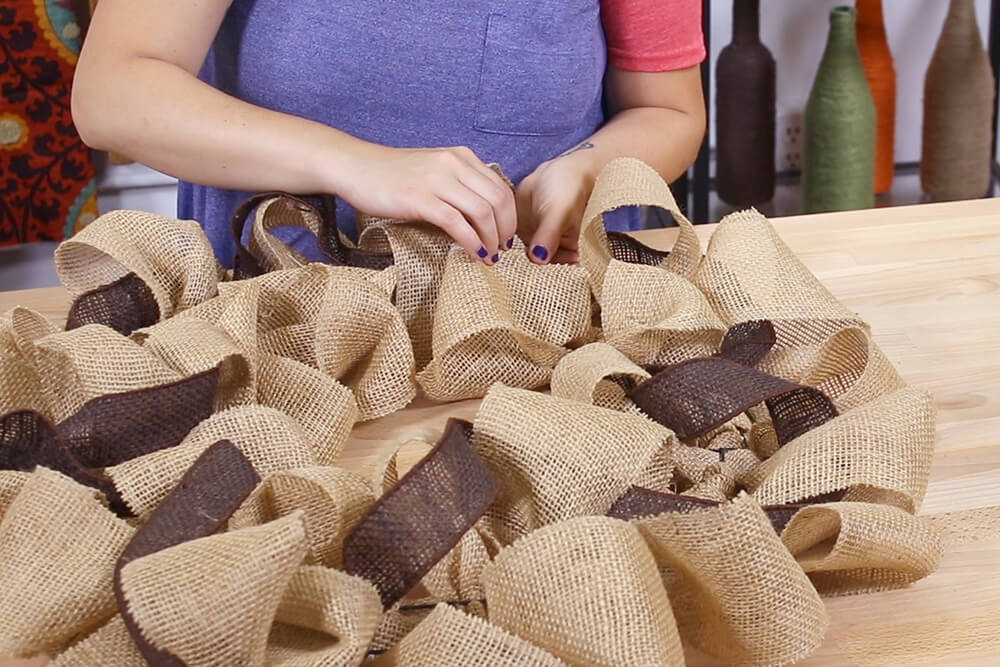
With the remaining strips, continue weaving around the wreath until it’s completely full.
I ended up using about 20 yards of burlap ribbon to completely fill my wreath.
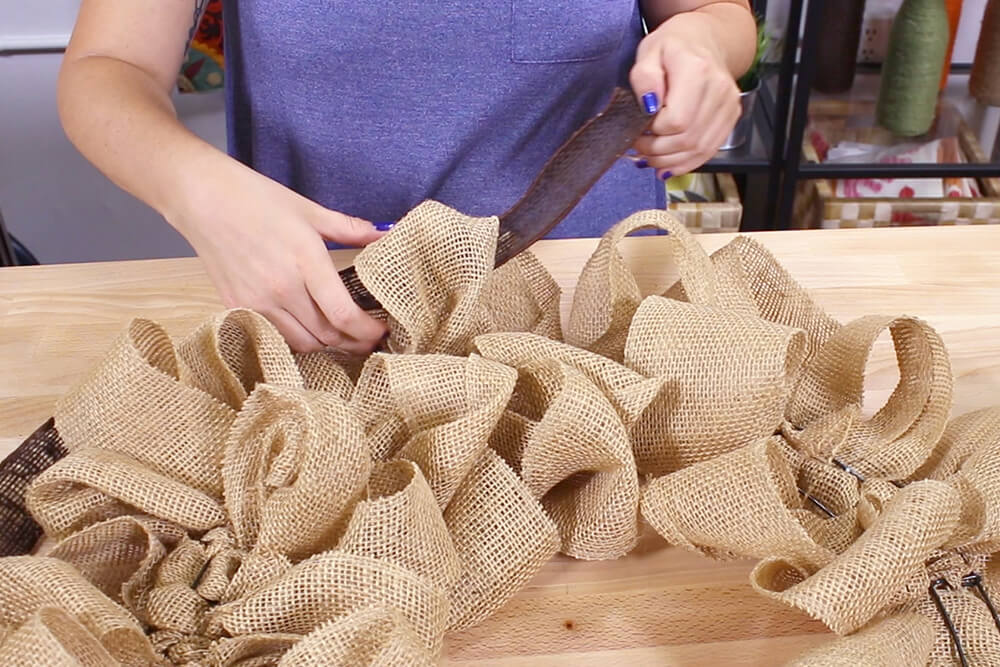
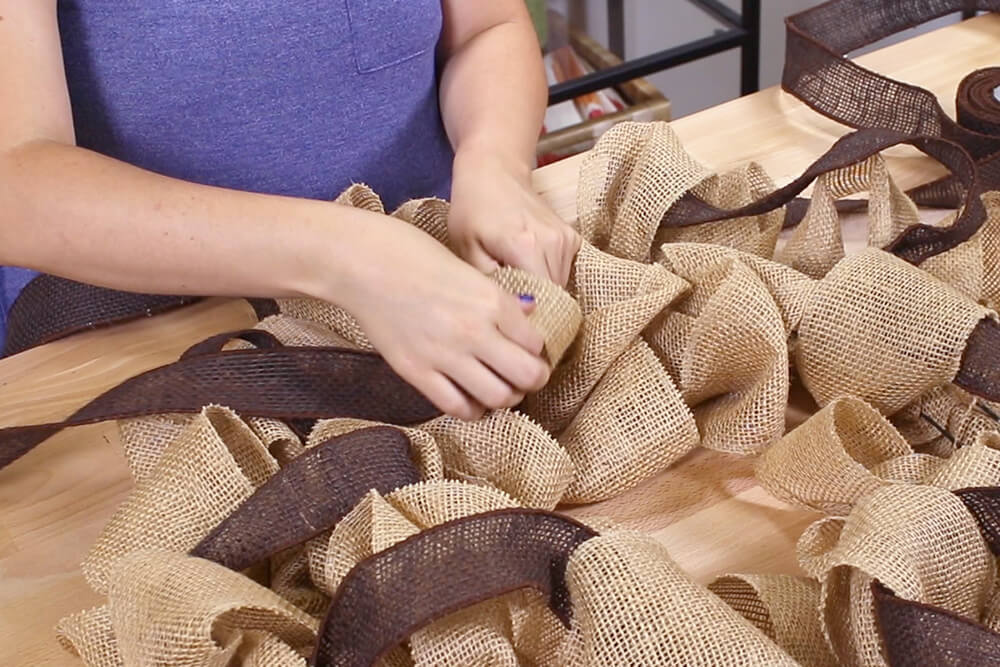
Now I’m going to weave a smaller ribbon through some of the loops and wrap it around the front of the wreath.
It helps to keep the ribbon loose while wrapping.
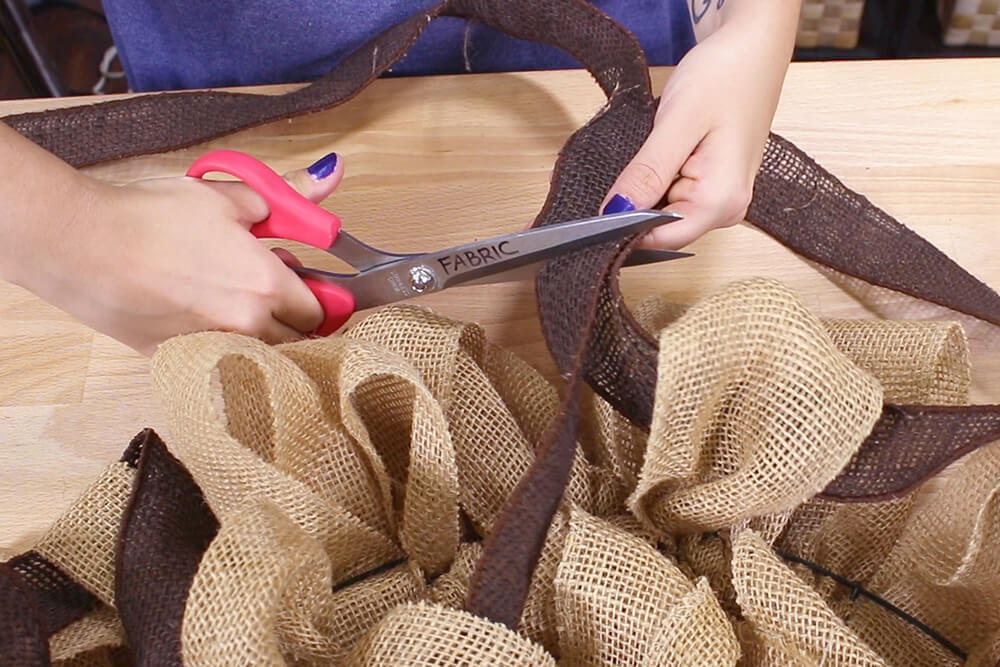
Once you get all the way around, cut off the extra and glue the ends together. You may want to hide the ends inside a loop so it can’t be seen.
The wire is showing in a few spots, so I’m gluing some of the loops together to cover it.

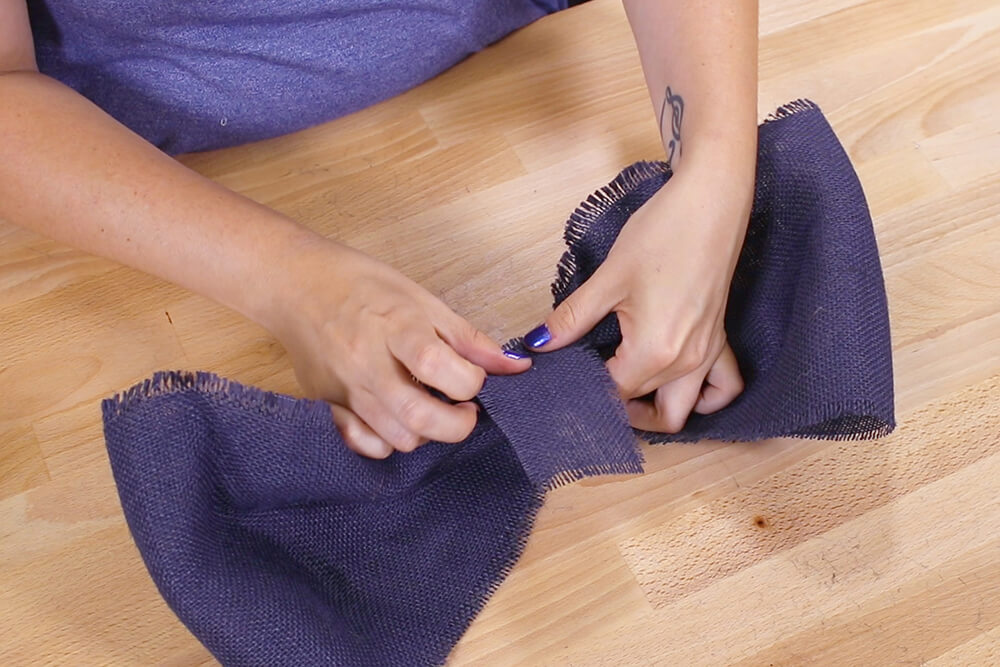
Now it’s time to add the bow. You can cut a continuous piece and tie it to form the bow, but I’m going to cut 4 separate pieces and glue them together.
I cut one 37 by 7 inch rectangle, one 2 by 4 inch rectangle, and two 15 by 4 inch rectangles.
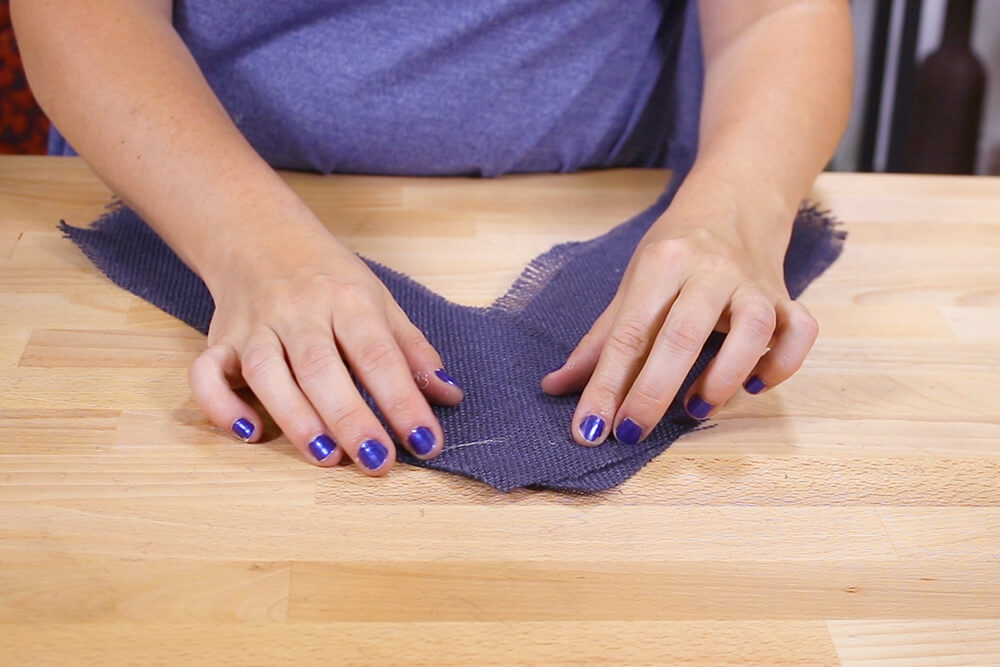
Stack the 15 by 4 inch rectangles and cut the bottoms at an angle.
I’m pulling out a few strands along the edges of these pieces to give them a frayed look.
Glue the ends of the 37 by 7 inch rectangle together.

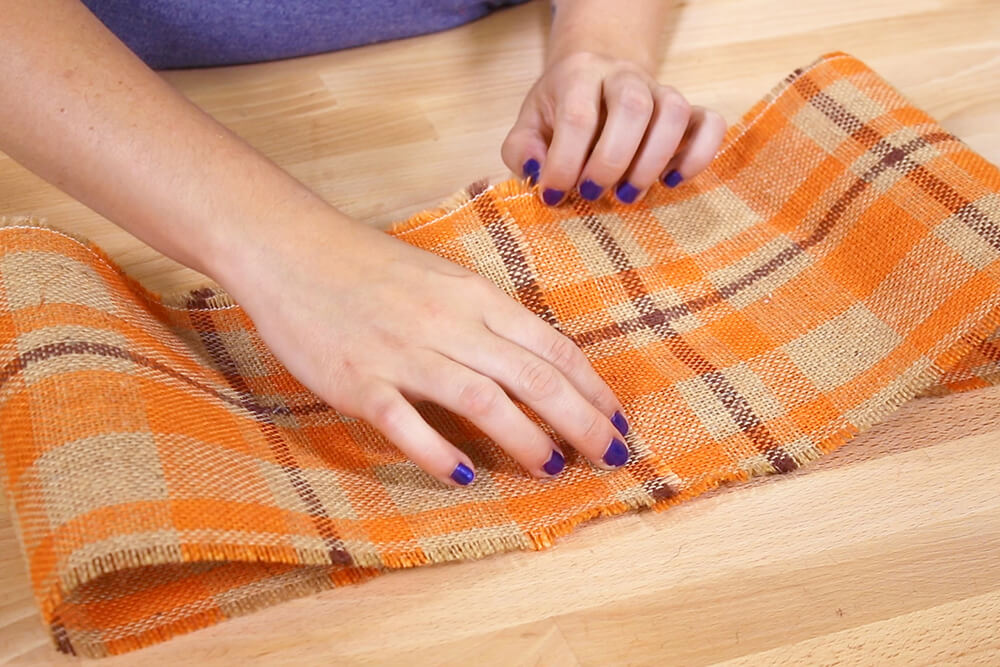
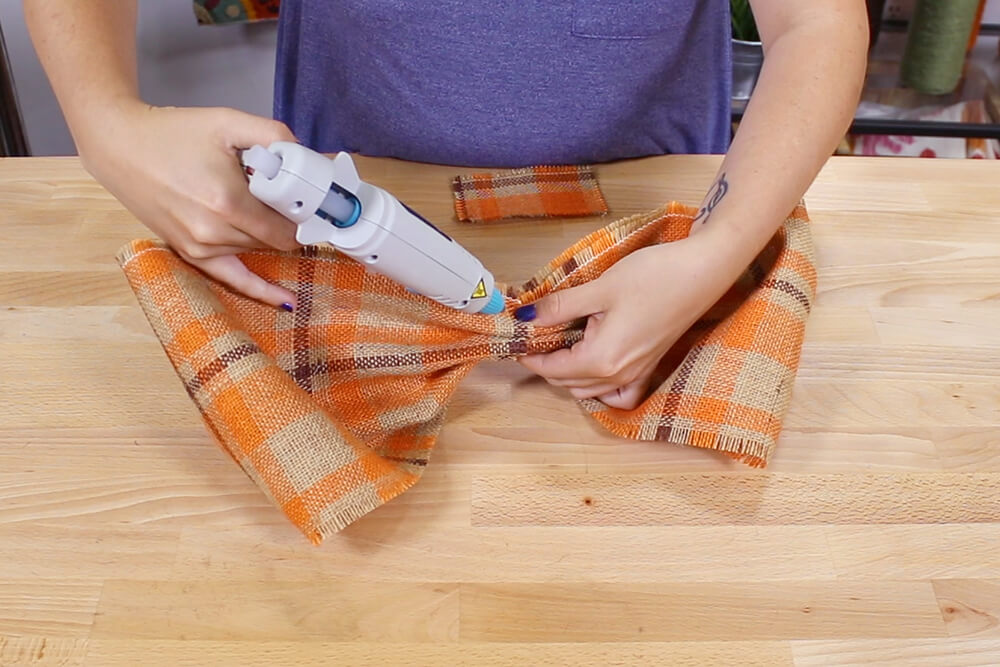
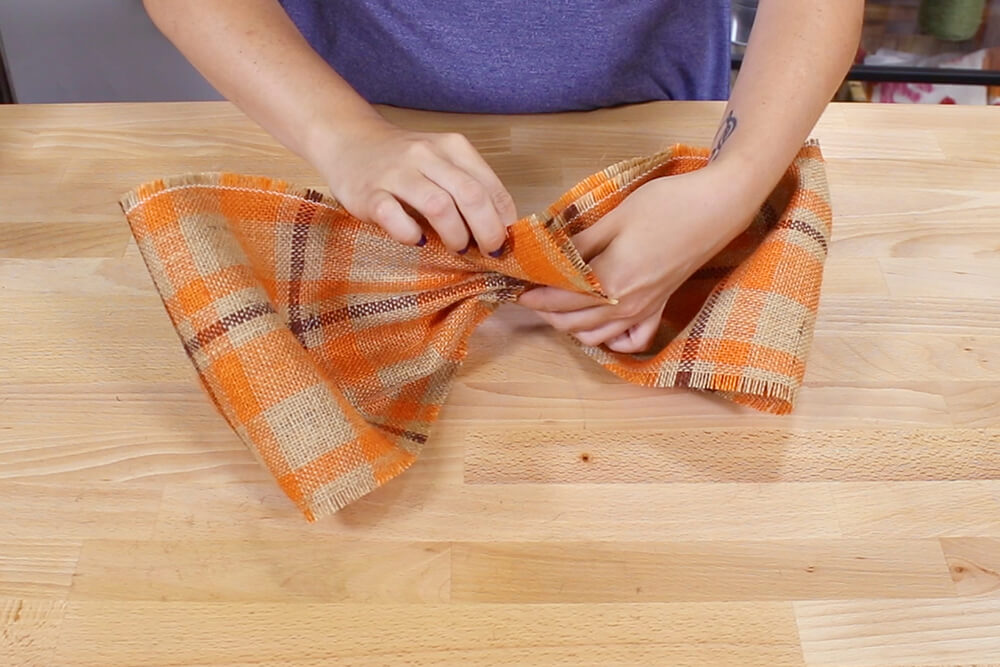
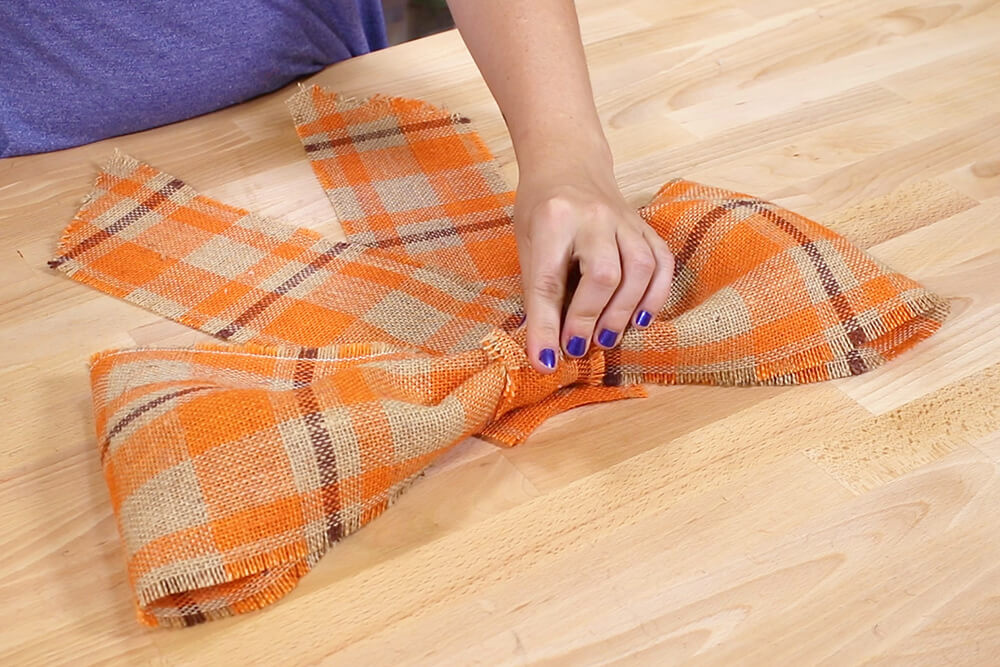
Scrunch the center tightly together.
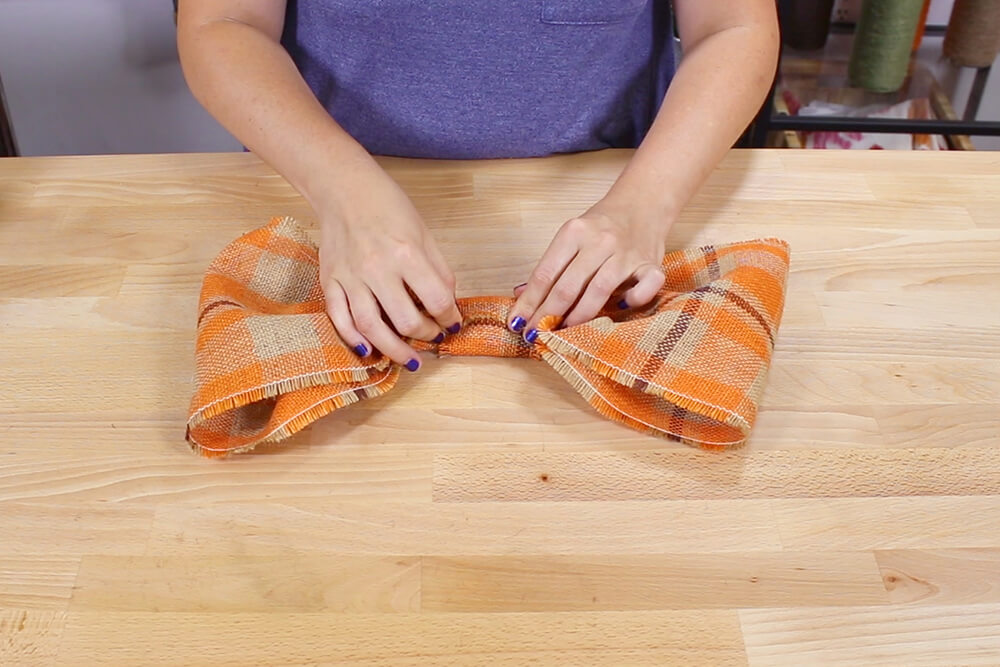
Glue one end of the 2 by 4 inch piece to this. Wrap around tightly and glue the other end to the back.
Overlap the remaining rectangles and glue together at an angle.
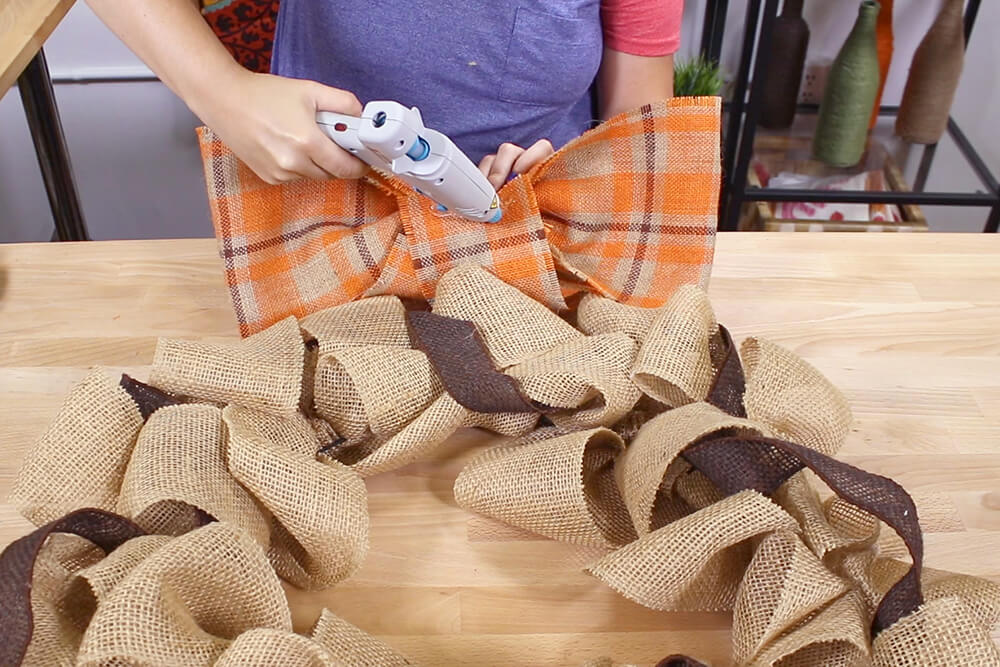
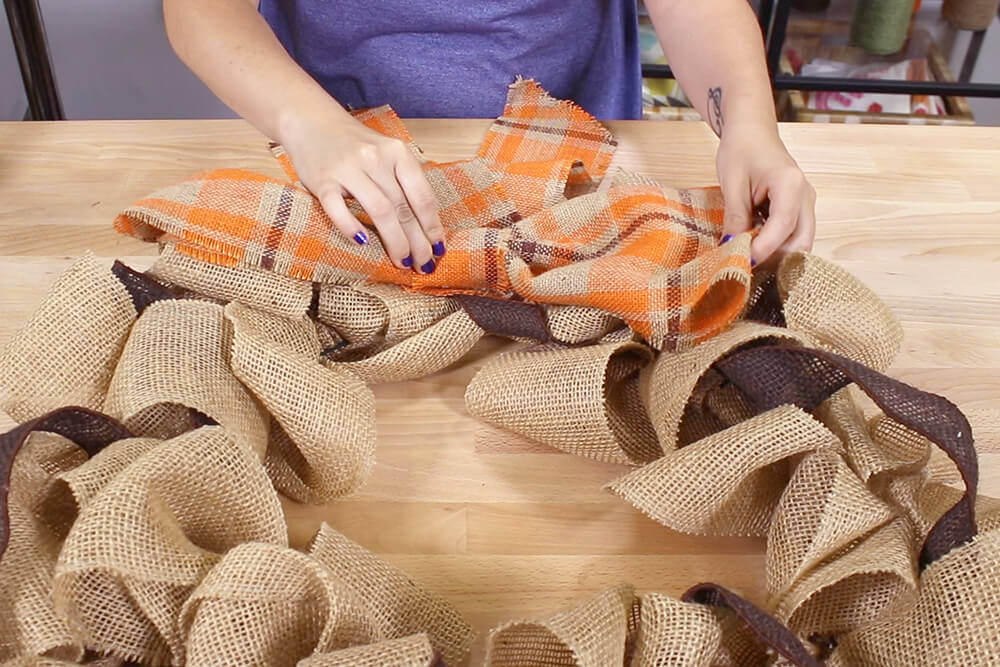
Glue the bow right on top of this.
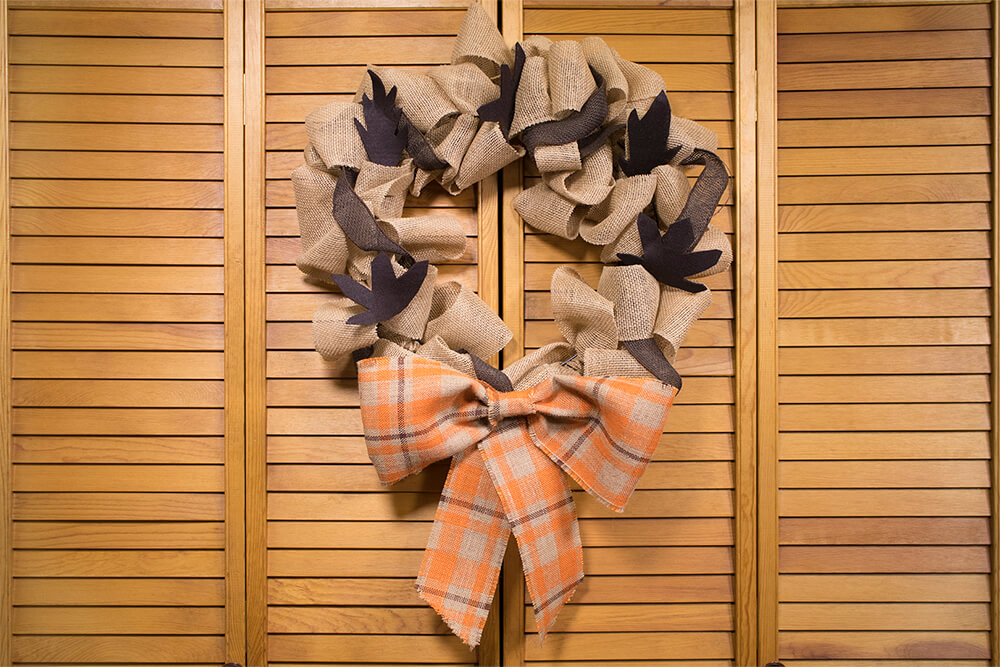
Take the while bow and glue it to the center of the bottom of the wreath.

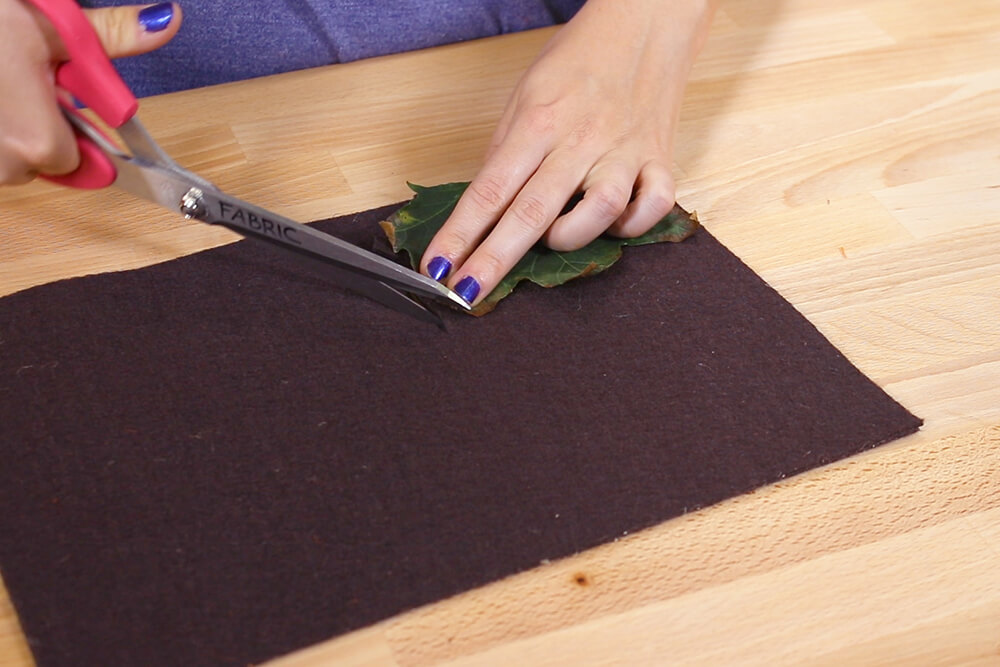
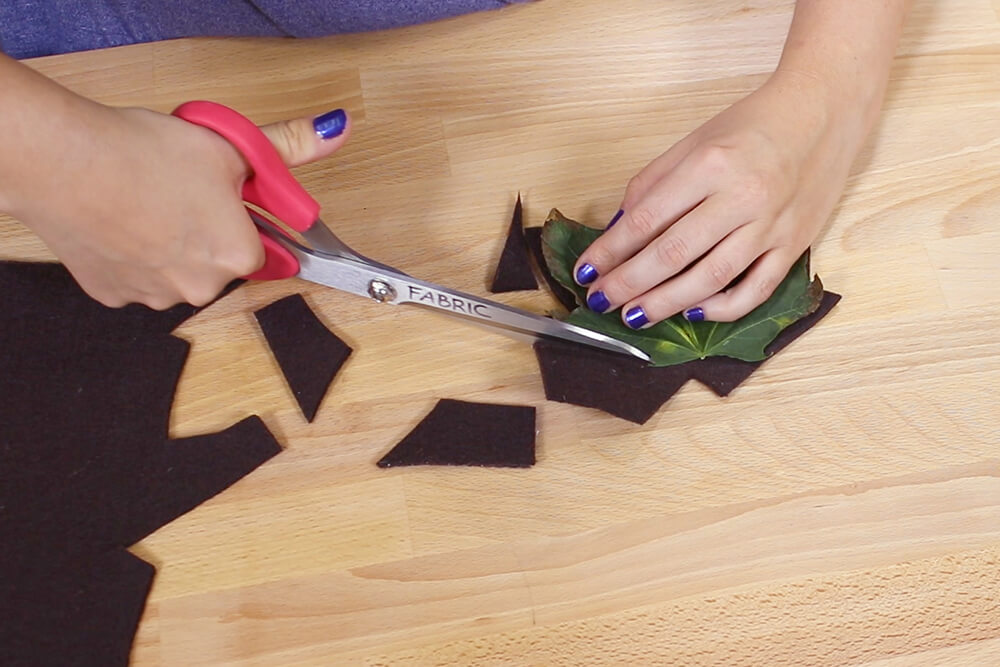
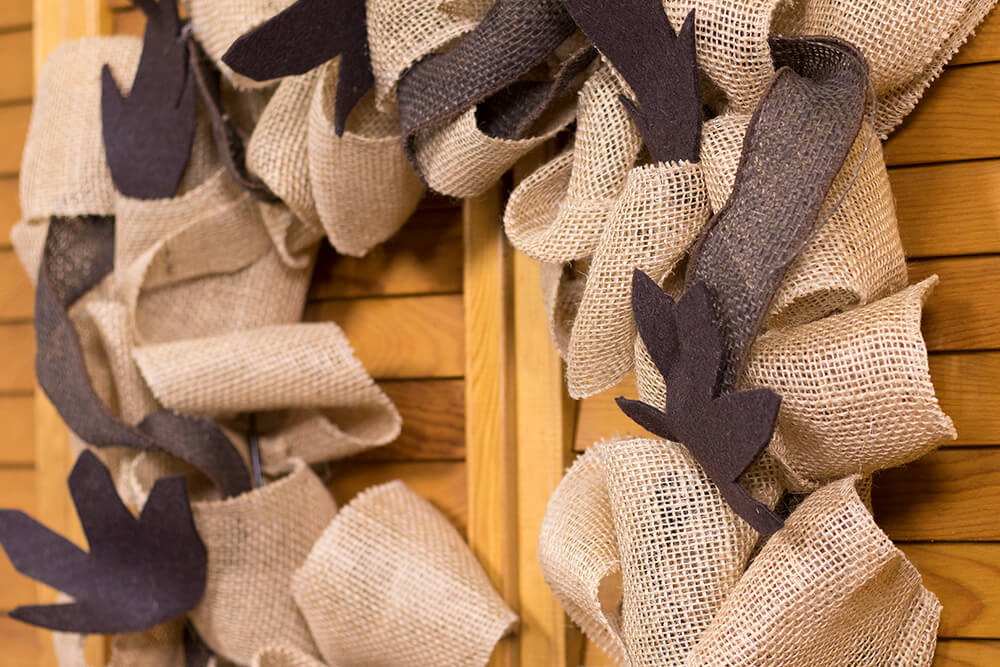
Now I’m adding some felt leaves to the wreath. You can use real leaves if you prefer.
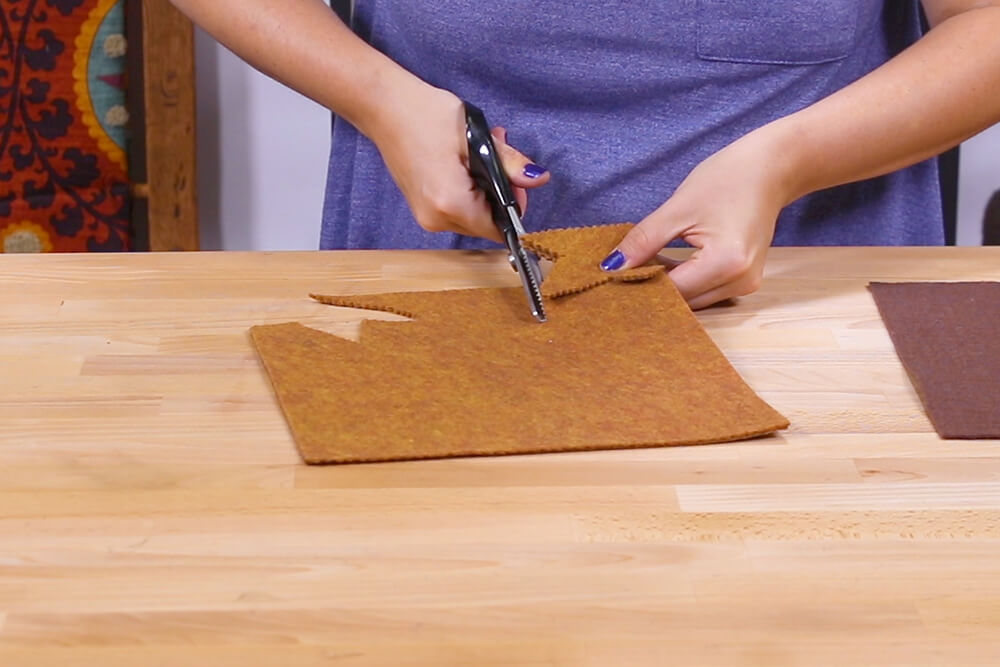
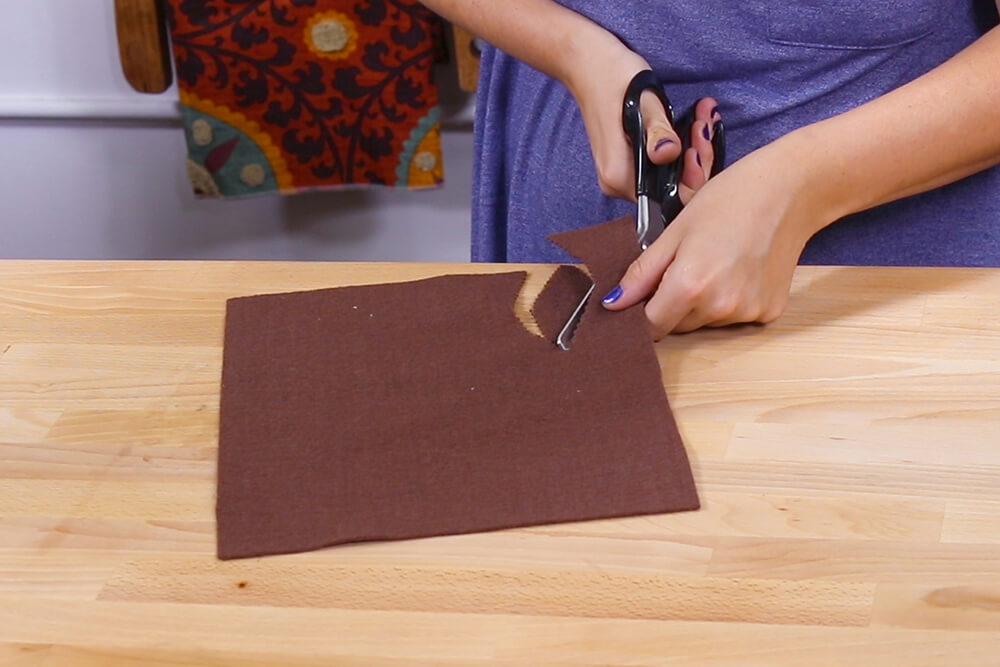
Cut out some leaf-shaped pieces of felt fabric. I used a real leaf as a template for my pieces.
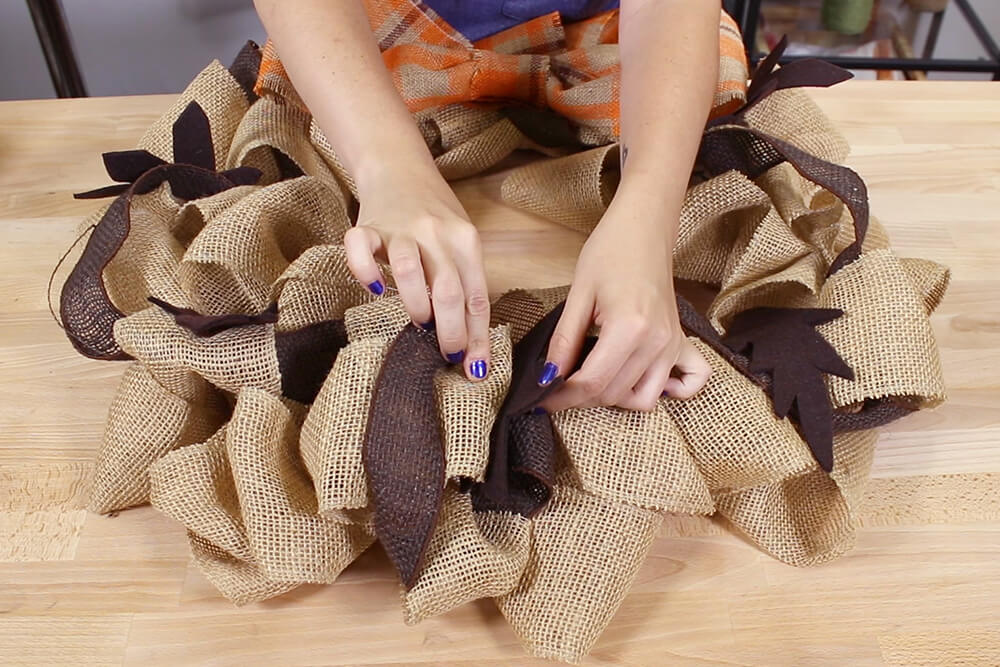
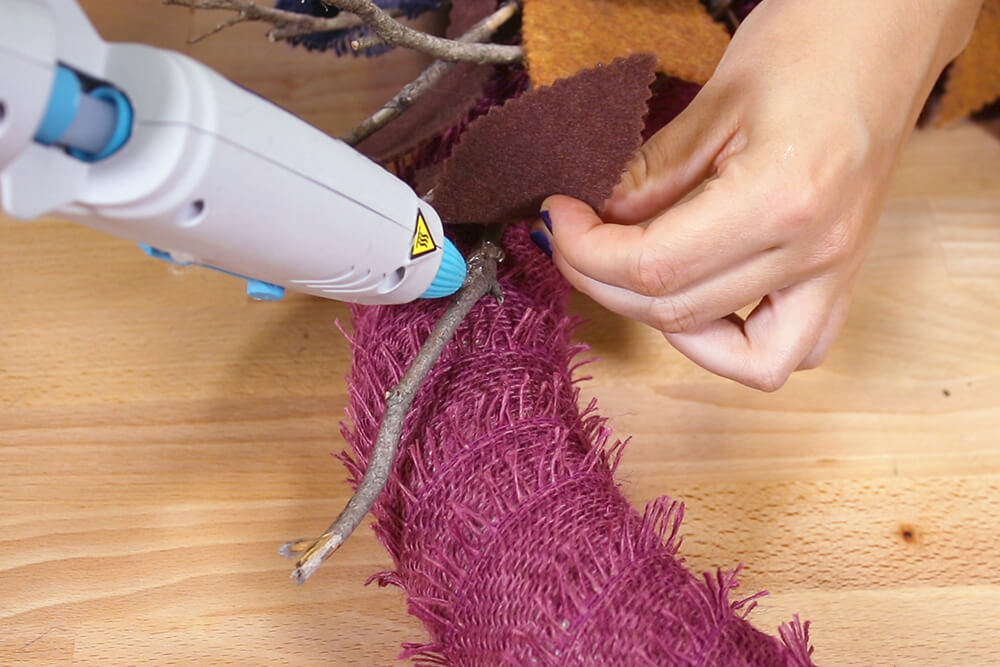
Arrange the leaves however you’d like and glue the to the burlap.
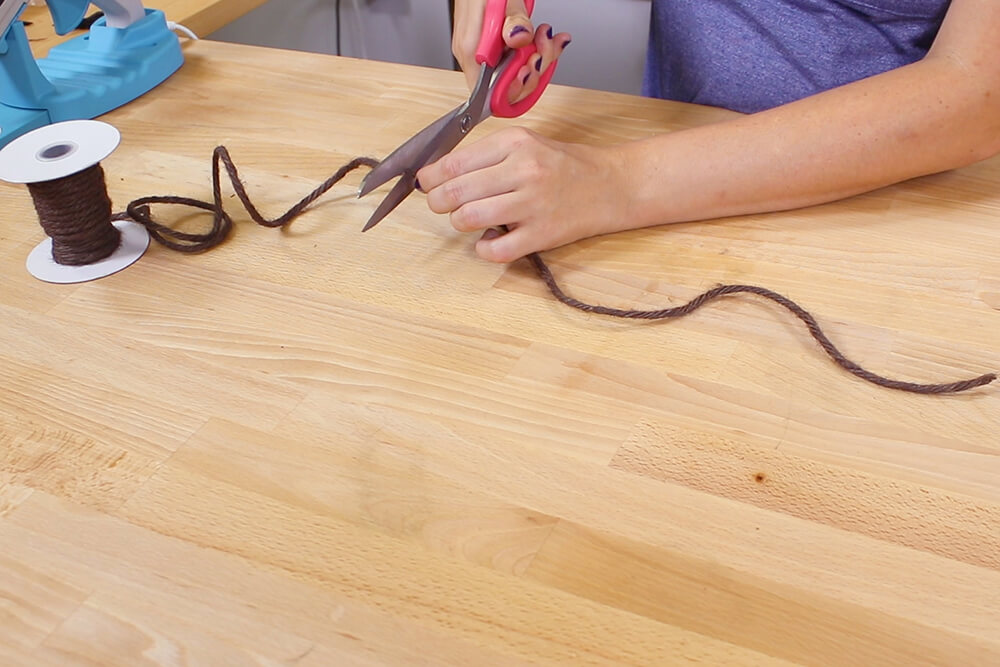
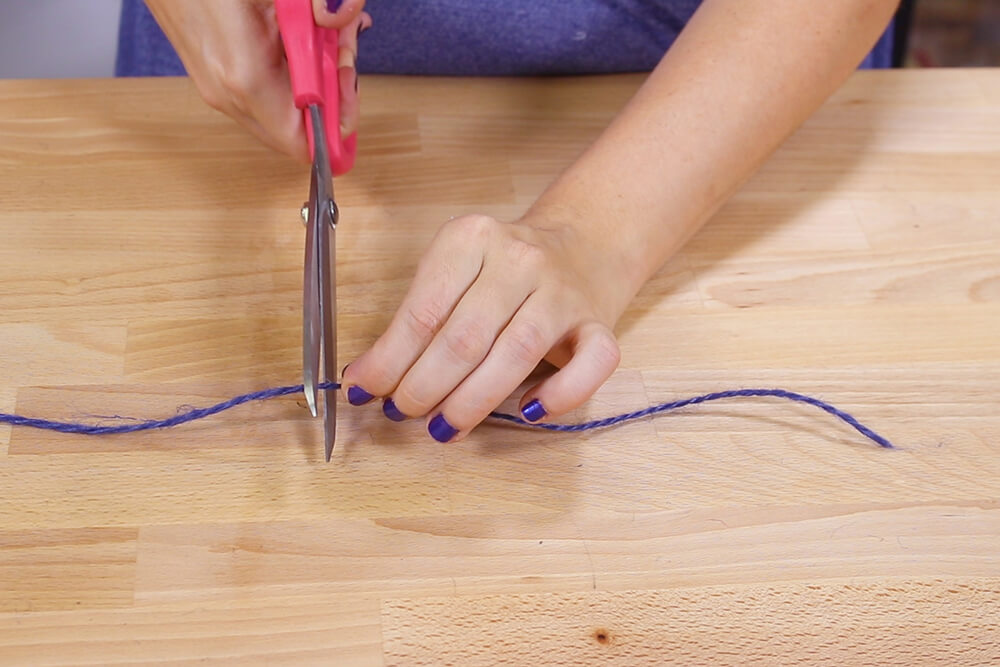
The final step is to add twine so it can be hung. Cut a piece of twine that’s about 1 and 1/2 to 2 feet long.
Tie the ends to the back of the top of the wreath.
And that’s it, the gathered wreath is done!
Wrapped Wreath
Wrapped wreath materials:
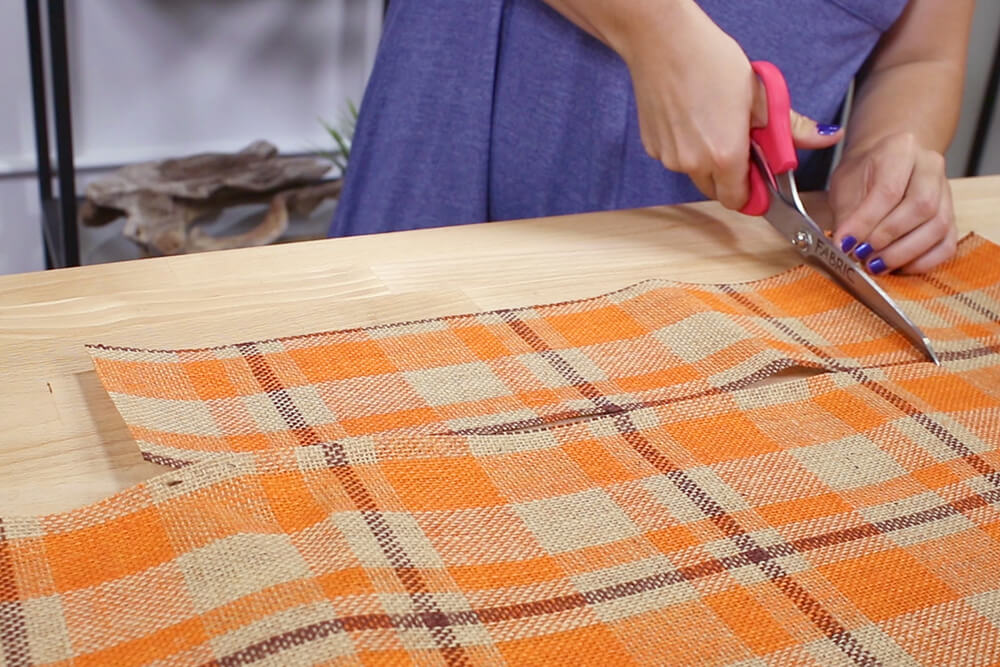
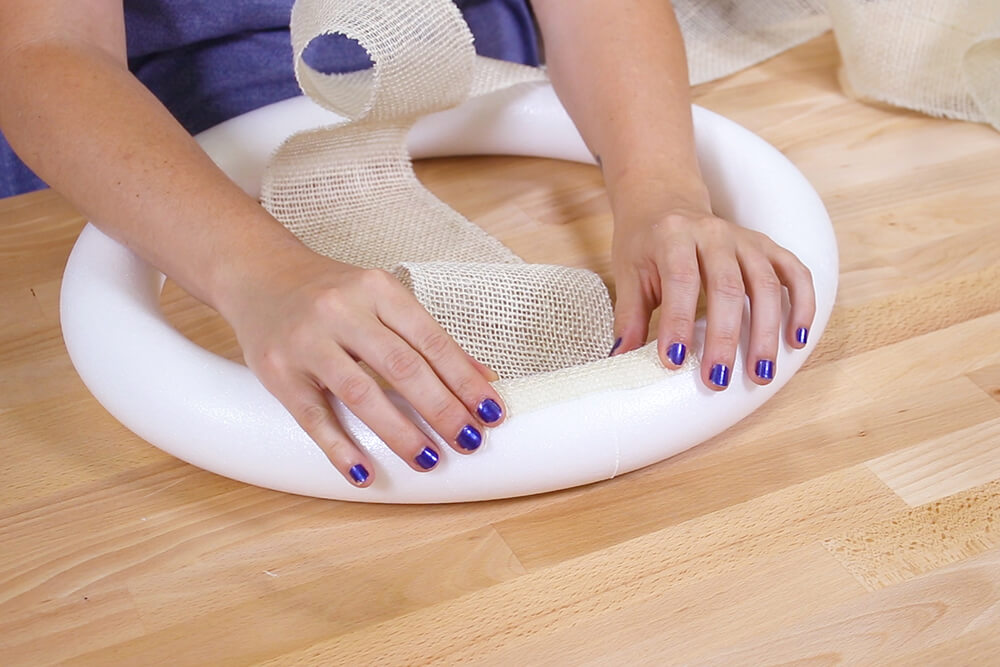
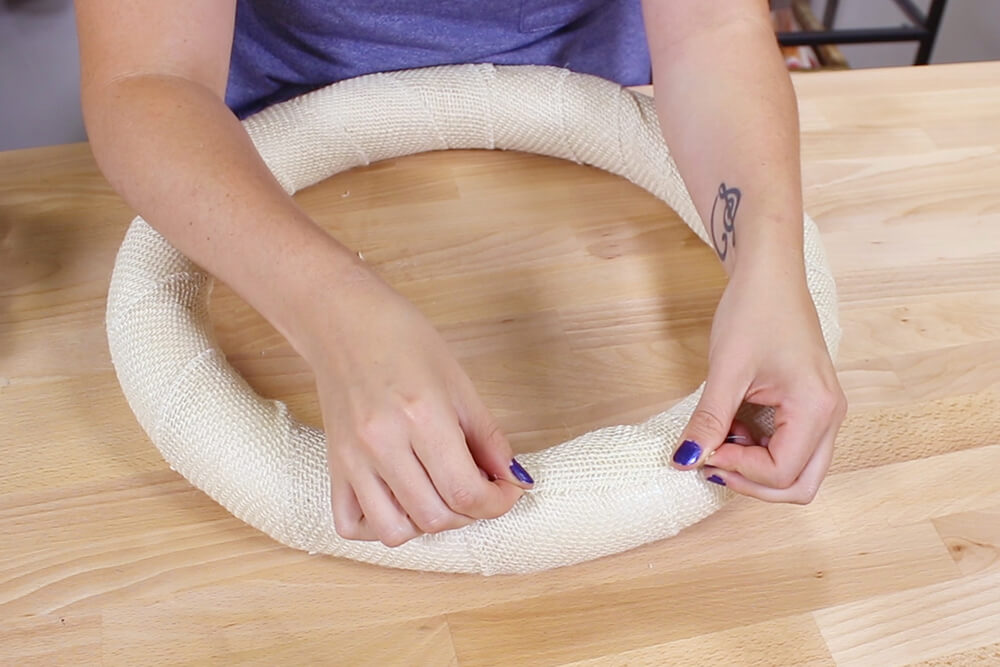
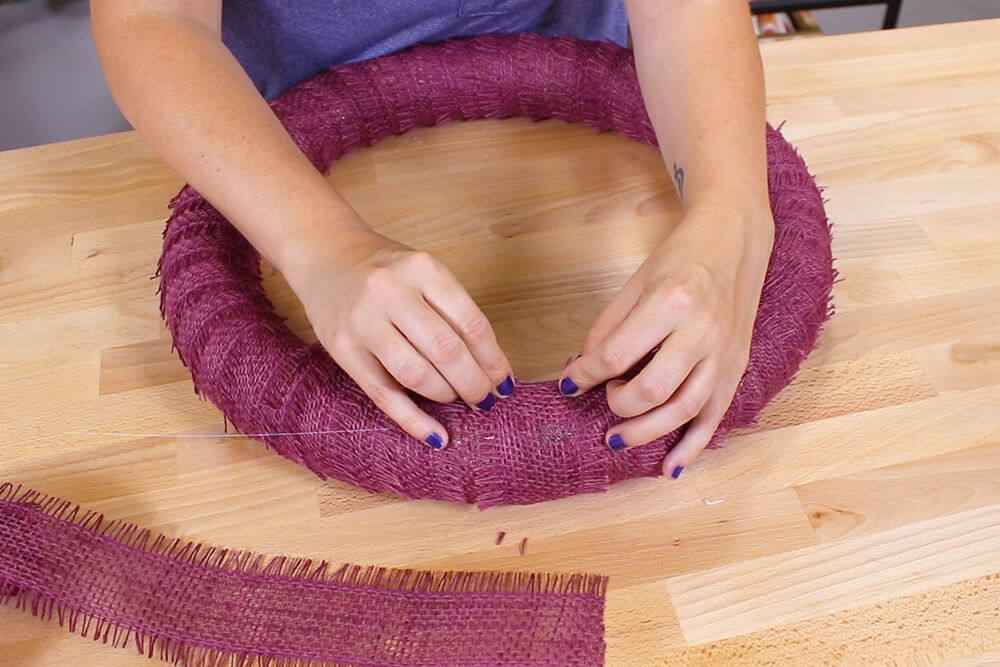
Start by cutting out a few strips of burlap like before.
Glue one end to the base. Wrap the strip around until you reach the end, and glue the end down.
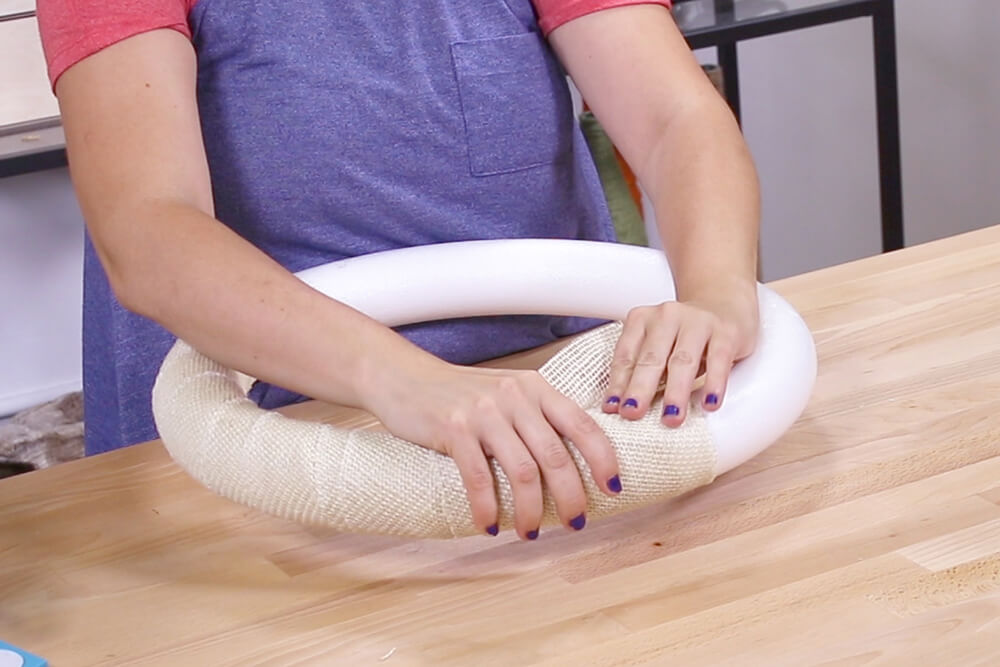
Repeat this with the remaining strips until the base is covered.

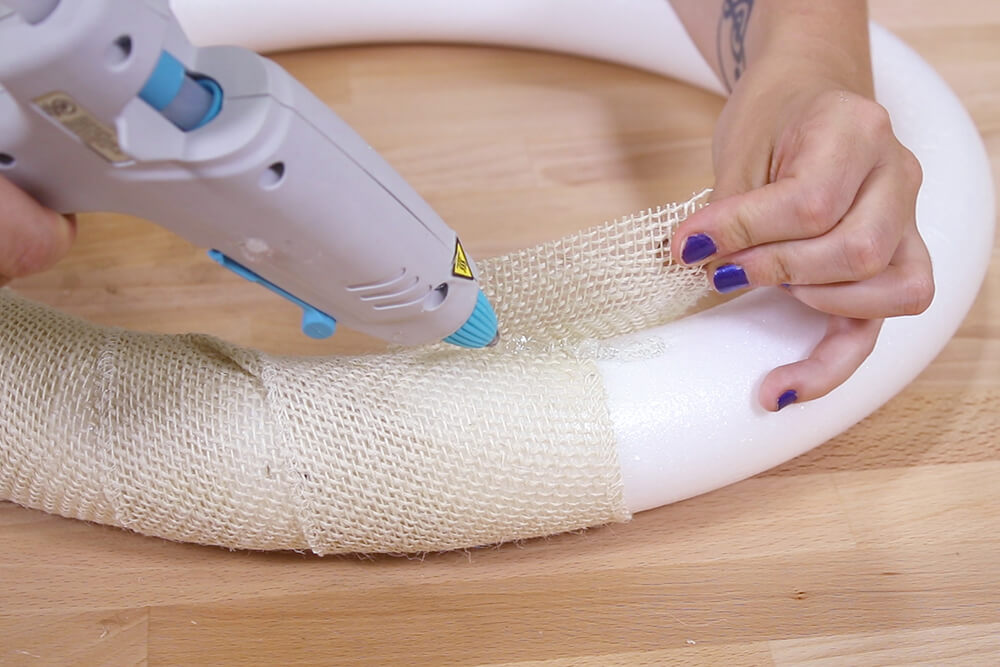
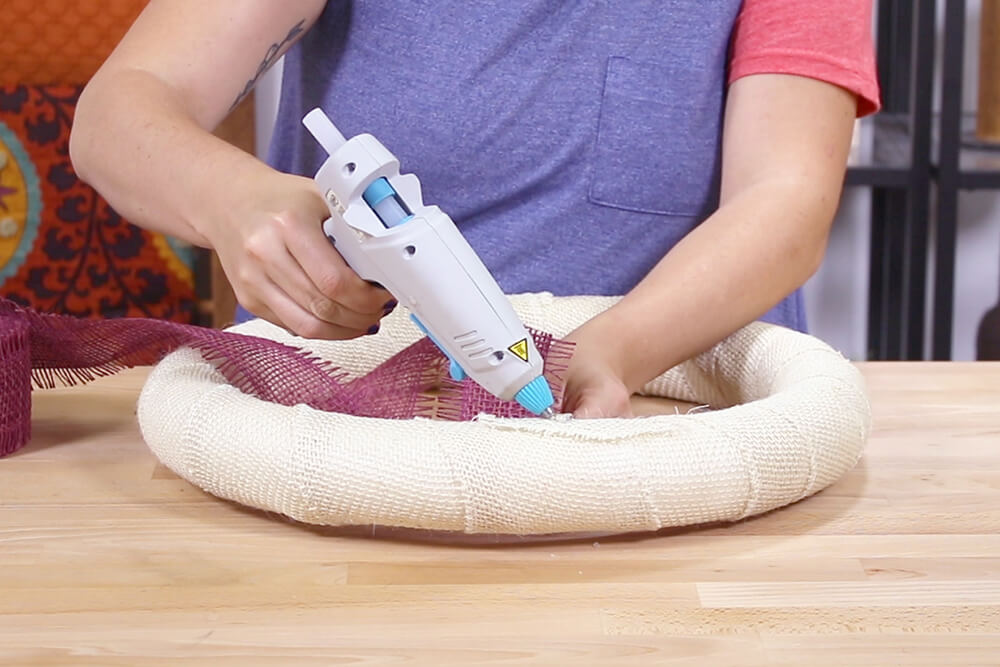
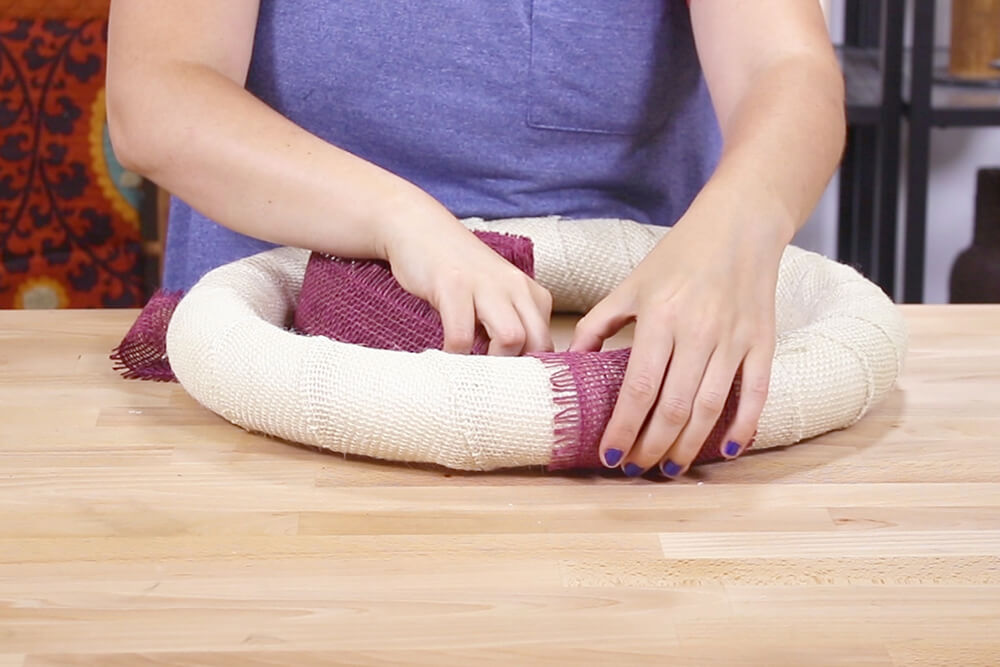
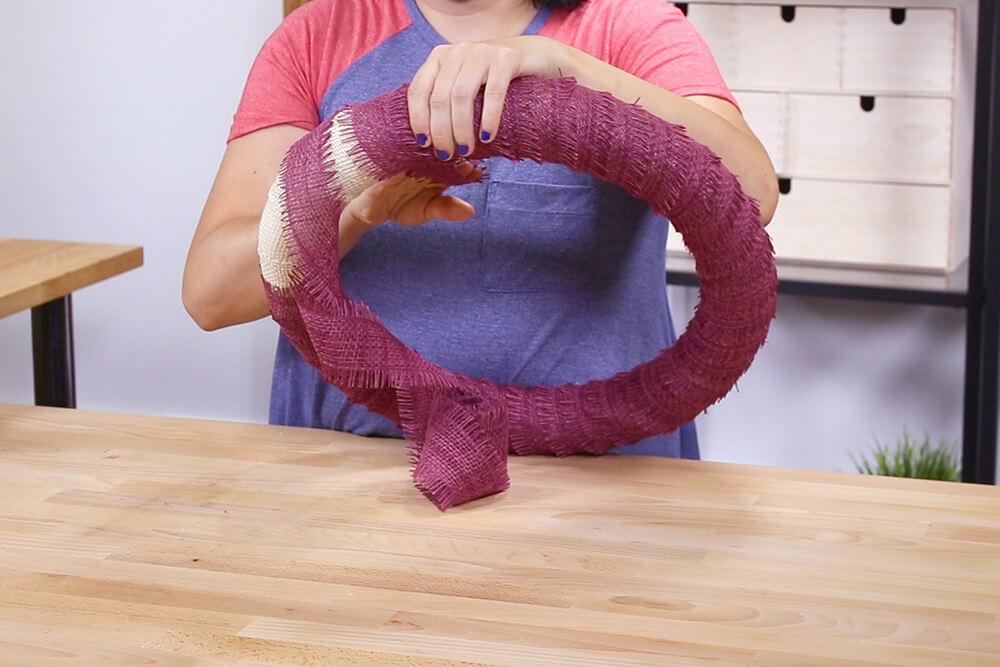
Now I’m going to glue another layer of burlap around the base using a different color.
Cut, wrap, and glue like before as needed.
I’m adding a bow to this wreath using the same pieces and method I used on the previous one.
I cut one 37 by 7 inch rectangle, one 2 by 4 inch rectangle, and two 15 by 4 inch rectangles.

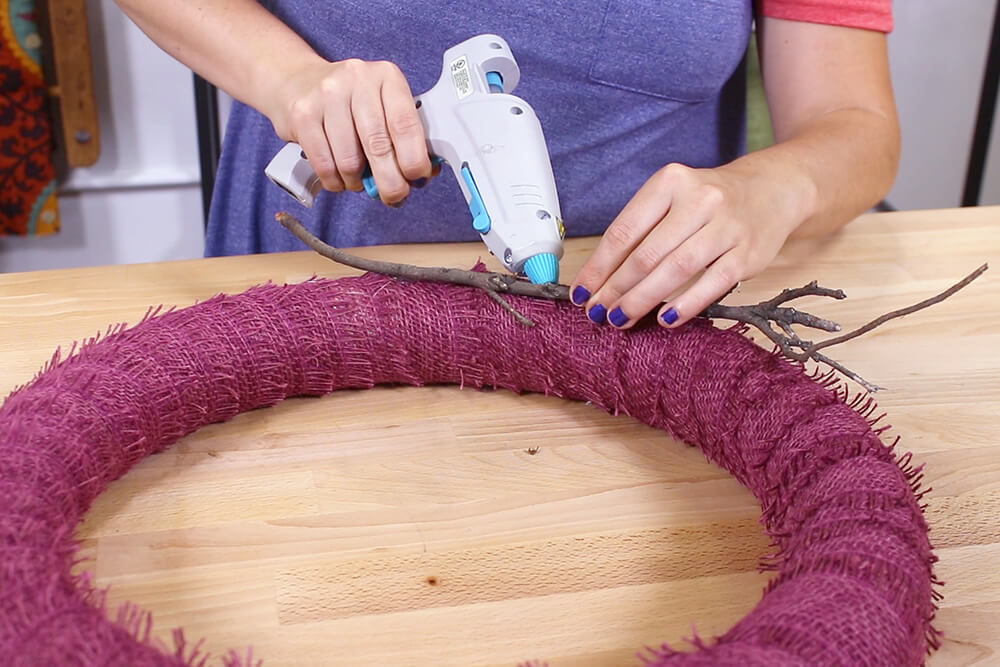
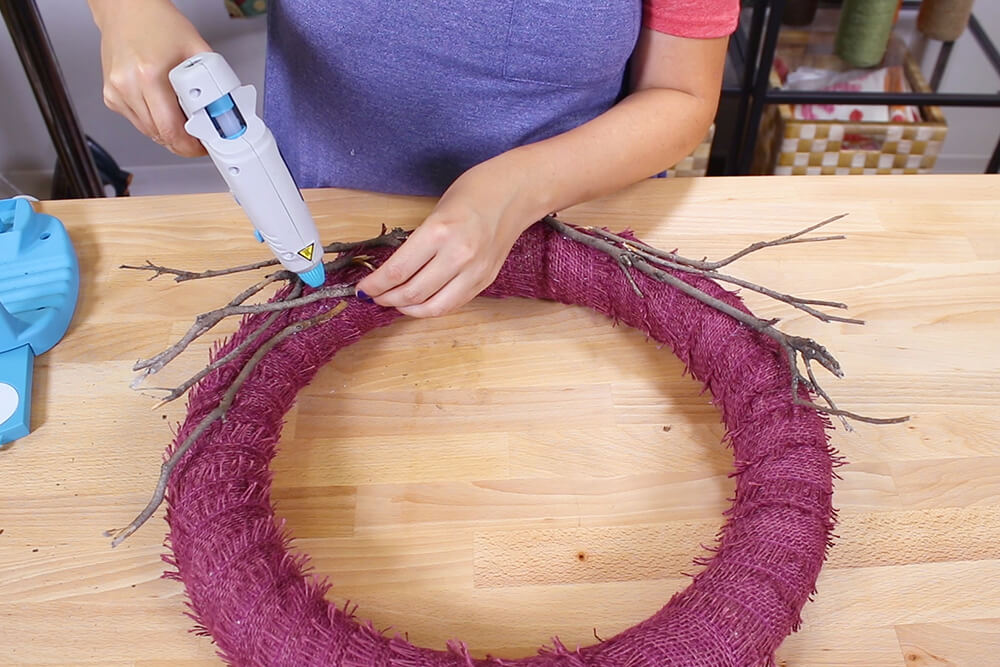
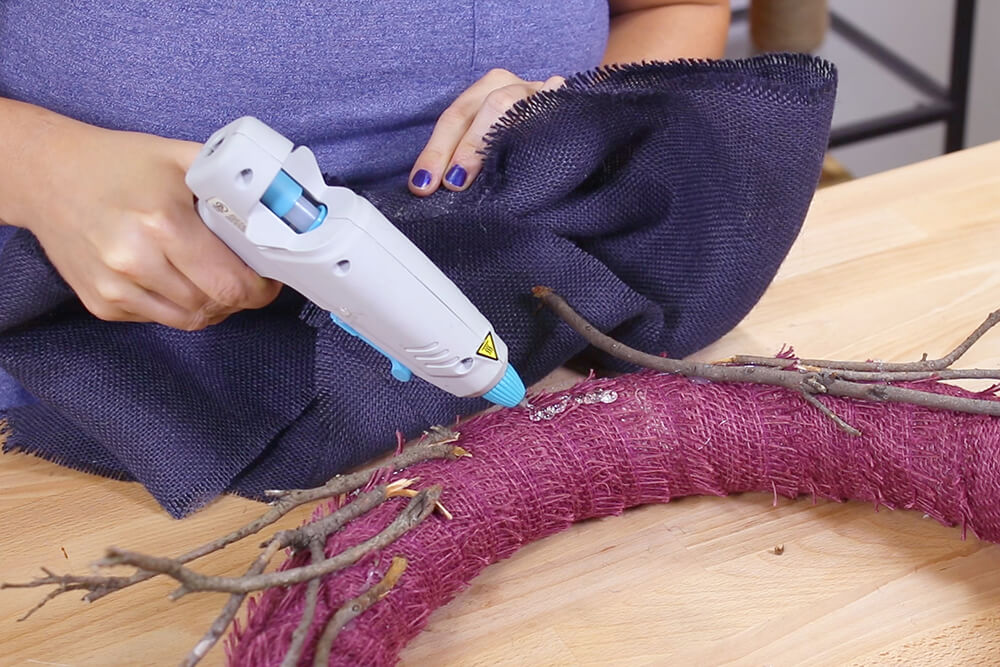
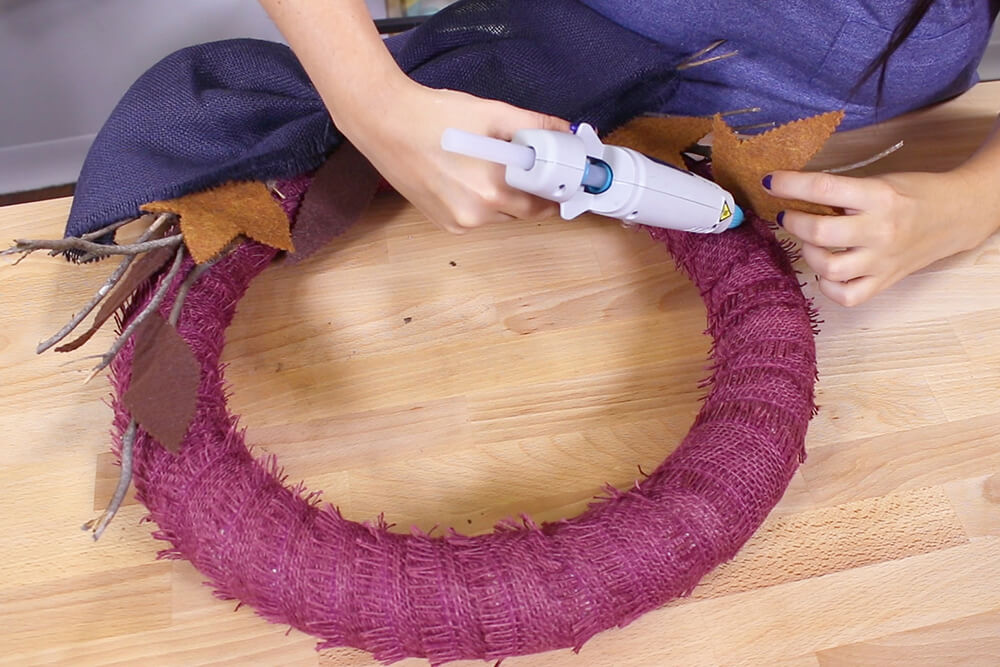
Before attaching the ribbon, I’m adding some sticks to the bottom of the wreath. Leave enough space on the middle for the bow.
Glue down the bow in the middle.

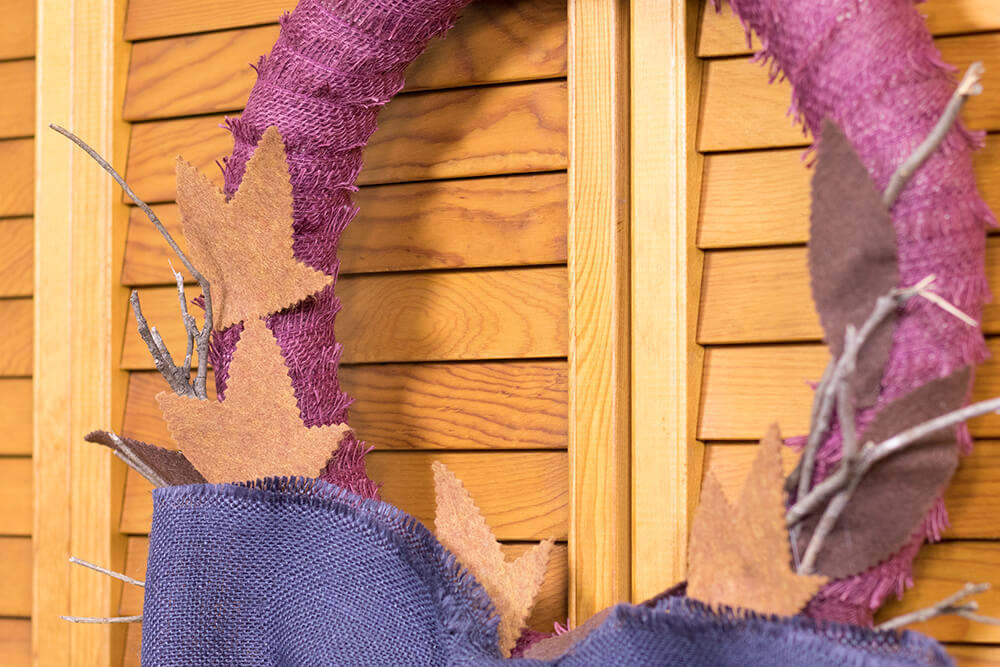
I’ll be adding felt leaves to this wreath as well, but I used pinking shears instead of scissors.
And finally, cut and glue a piece of twine to hang it by.
This piece of twine is about 6 inches long, and instead of tying I just glued the ends to the top of the back of the wreath.

That’s it, the wrapped wreath is finished!

Ready to make your own? Check out our selection of burlap fabric.
-
{{#each productSuggestedQueries.results}}
- {{query}} {{/each}}
-
{{#each categories.results}}
- {{html title}} {{/each}}
{{html attributes.description}}
{{/if}}-
{{#each queries.results}}
- {{query}} {{/each}}