6 Simple Seams
- By Abby
- Beginner
- 45 minutes
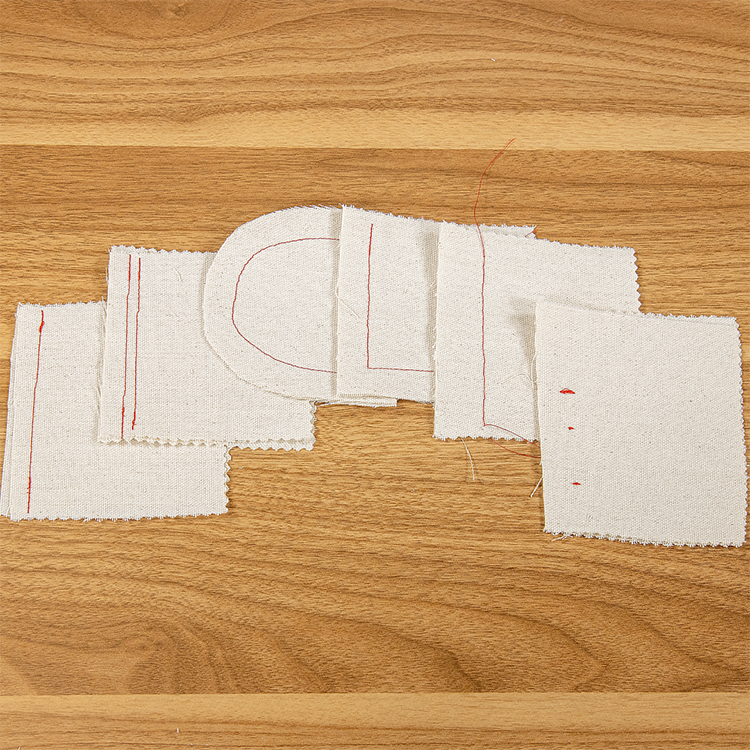
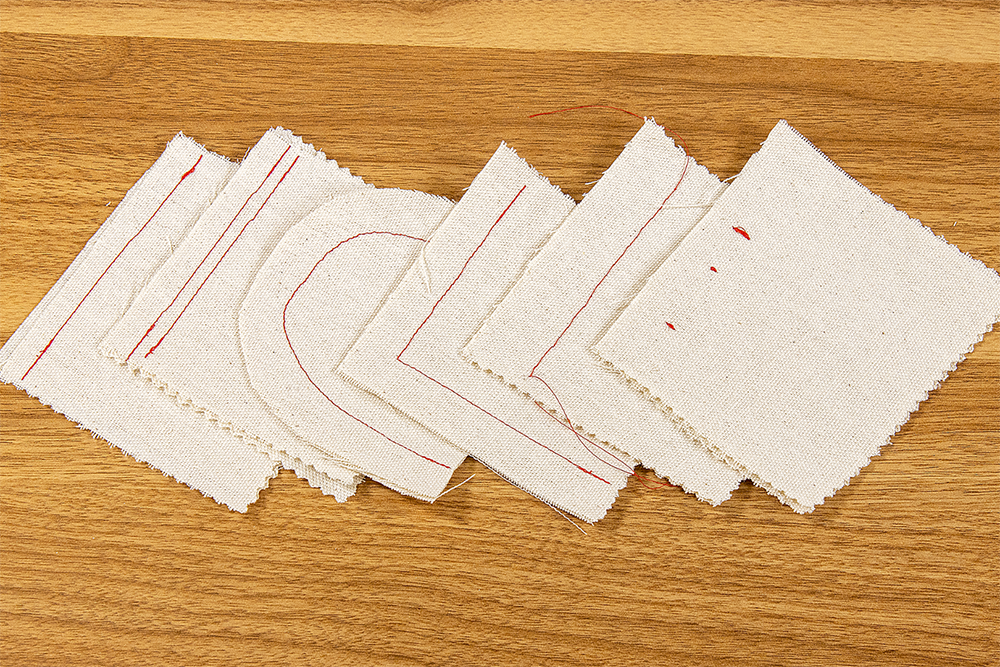
As I’ve been sewing more, I’m finding that I’m using techniques that i don’t even know the names of. I figured it’s time to go back and learn some basics. I’ll be going over some simple seams including a straight seam, a double straight seam, a curved seam, a cornered seam, a basting seam, and bar tacks. You may recognize some of these seams from my previous projects.
Materials
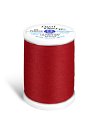
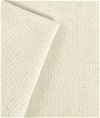
Related Products
Video
Instructions
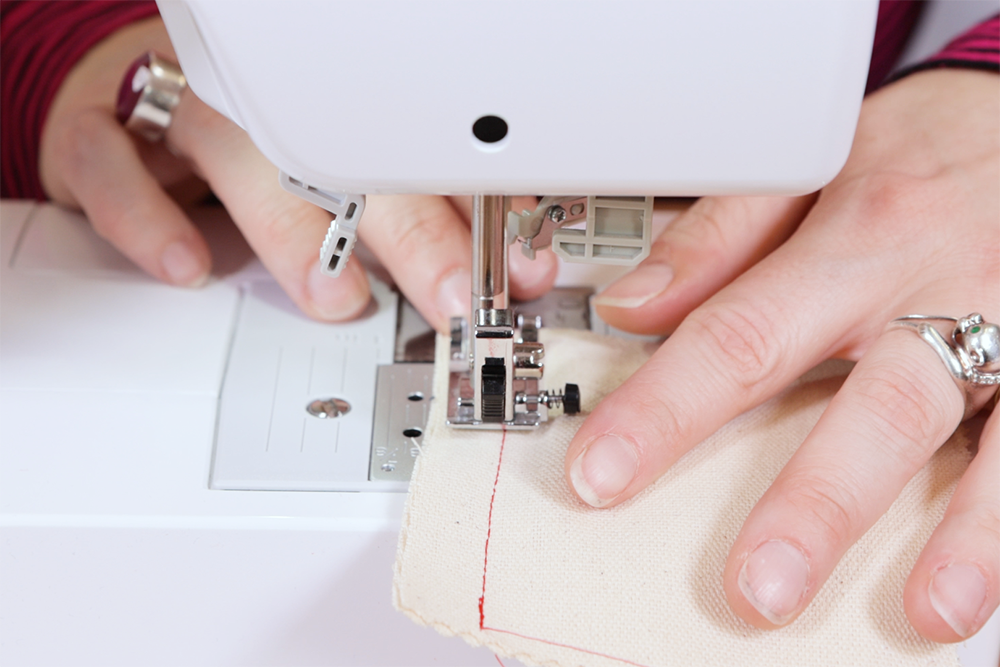
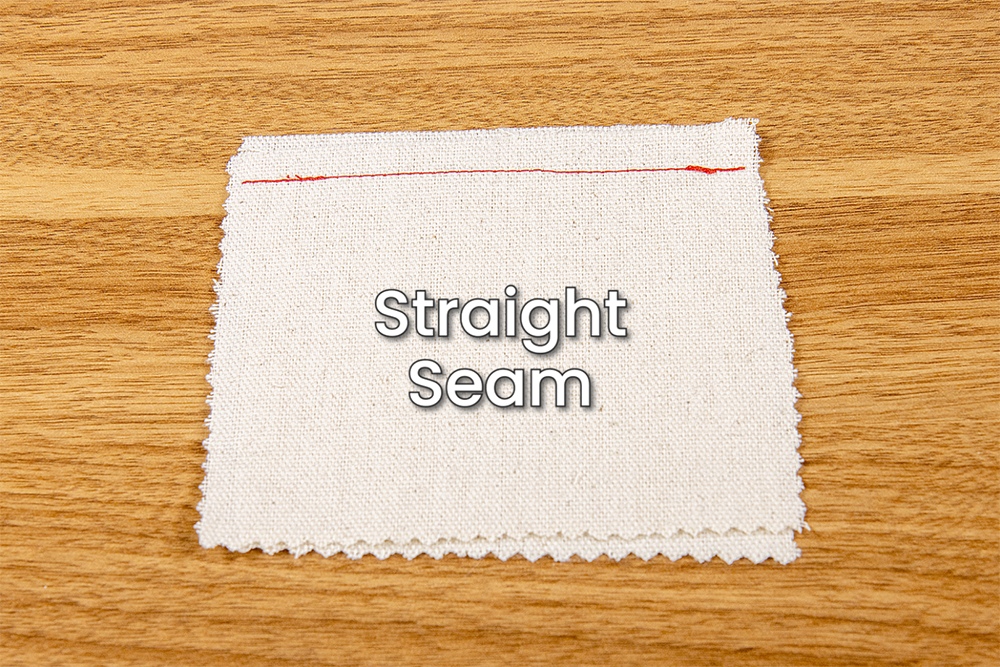
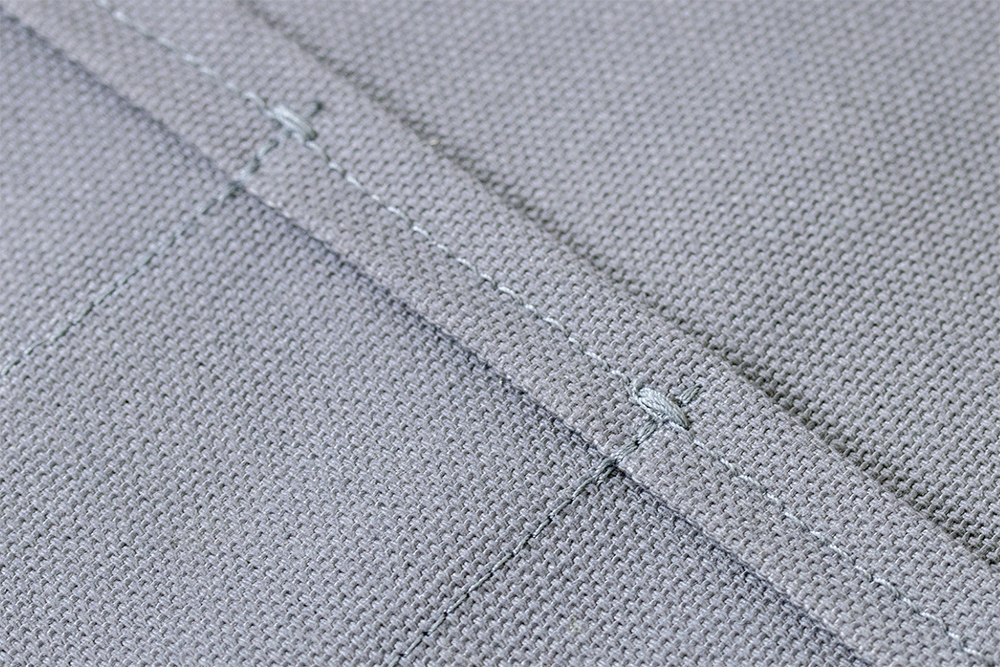
Straight Seam
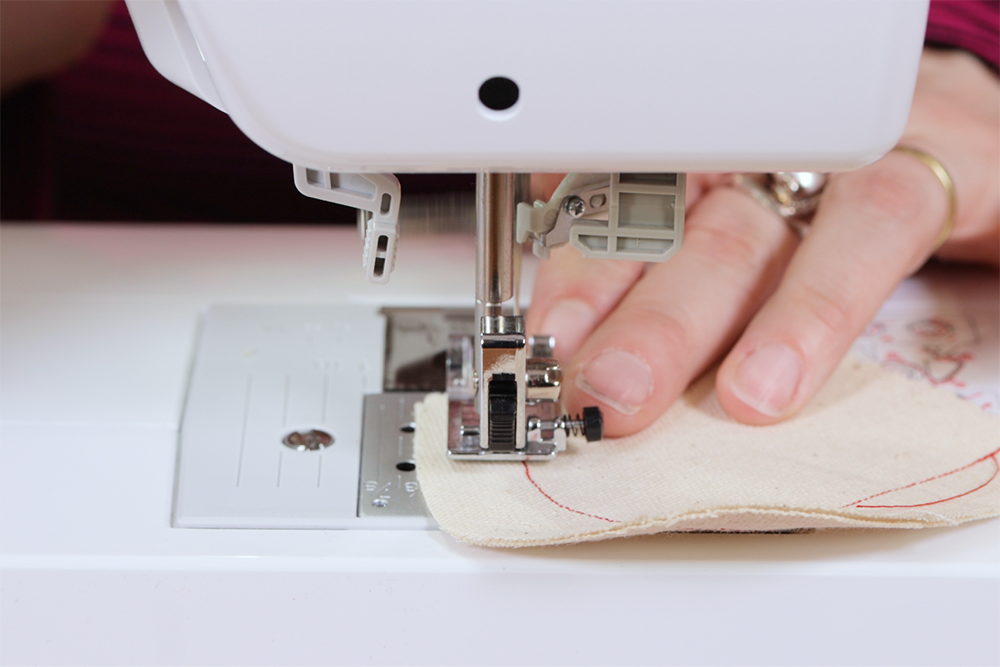
Line up the fabric with the face sides together. Use a regular straight stitch.
The seam allowance, which is the distance between the seam and the edge of the fabric, is typically 5/8 inch but can range from 1/4 inch to 1 inch.
Sew a straight line using a back stitch at the beginning and end. Make sure the selvedge is the same distance throughout the seam.
This is the most common seam and can be used as a base for other more intricated seams.
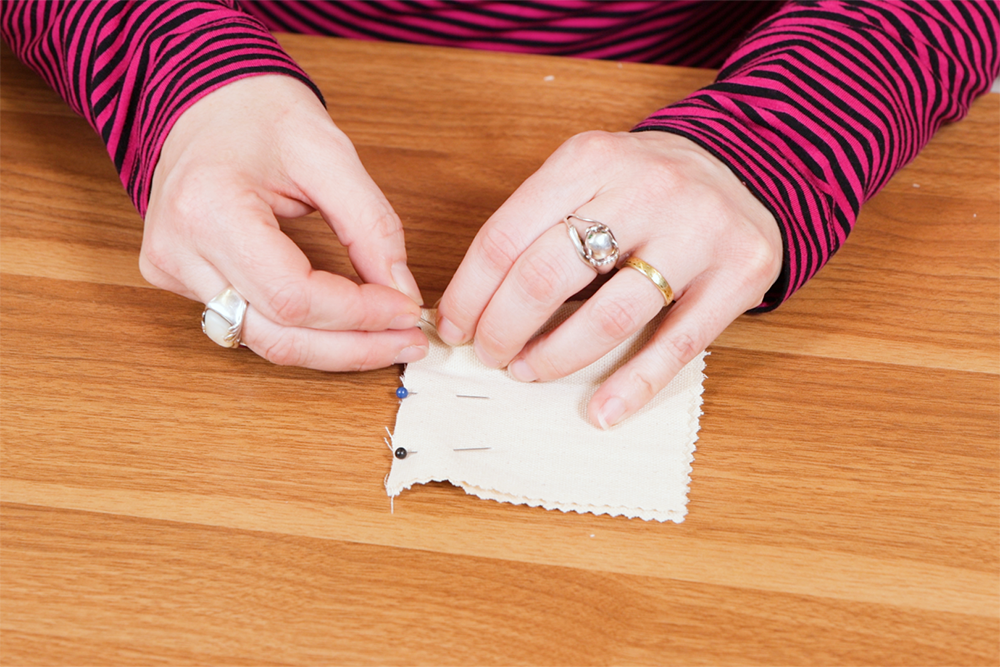
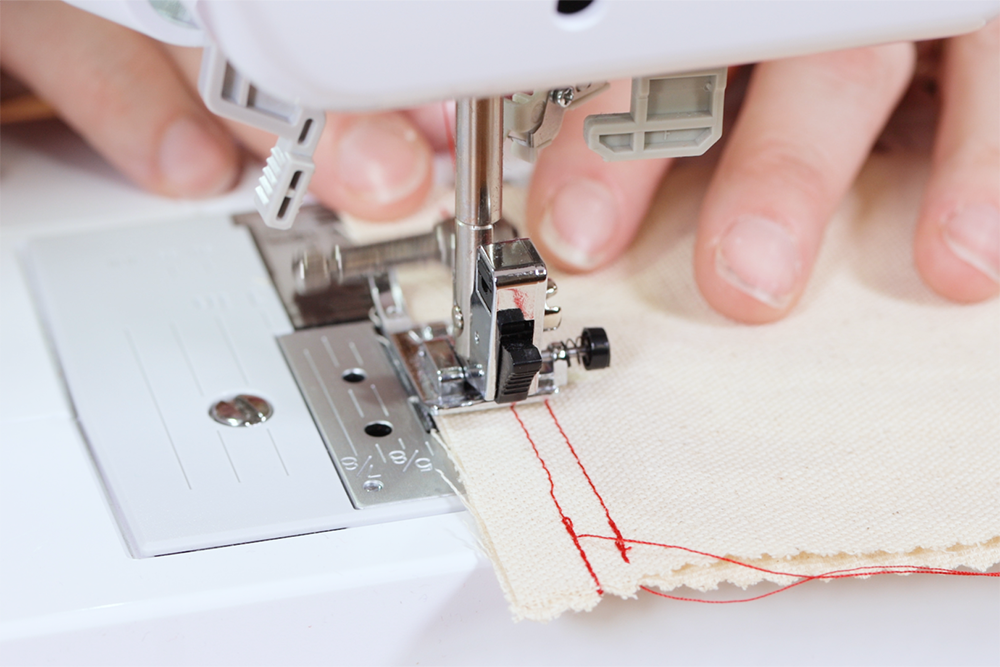
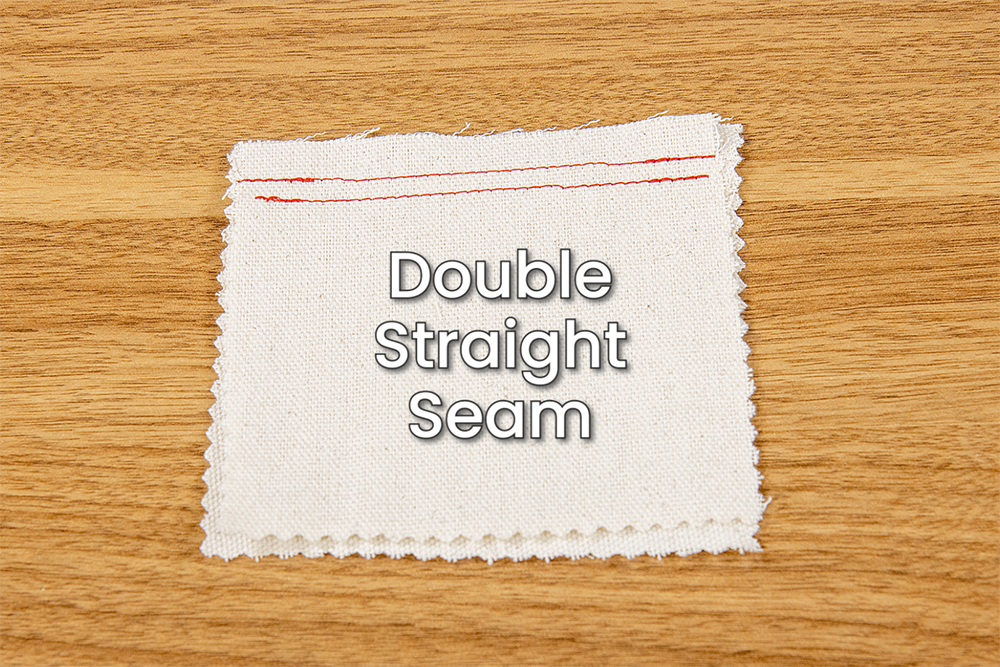
Double Straight Seam
A double straight seam is exactly as it sounds. The extra seam adds durability.
Stitch a straight seam at 5/8 inch using a back stitch at both ends. Then make another seam with a 1/2 inch seam allowance. Your seams should be parallel and evenly spaced.

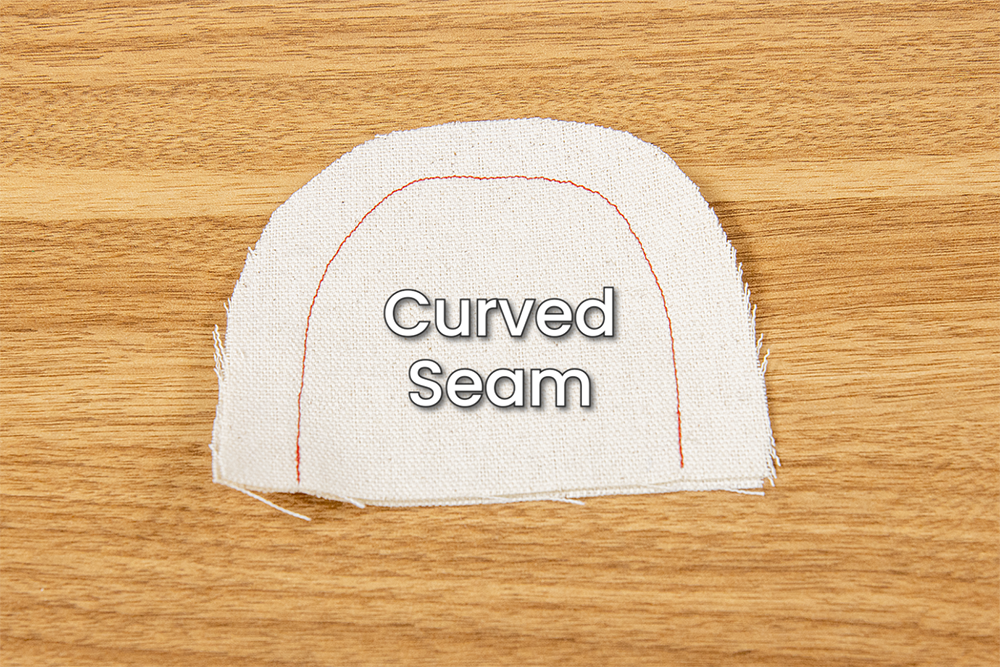
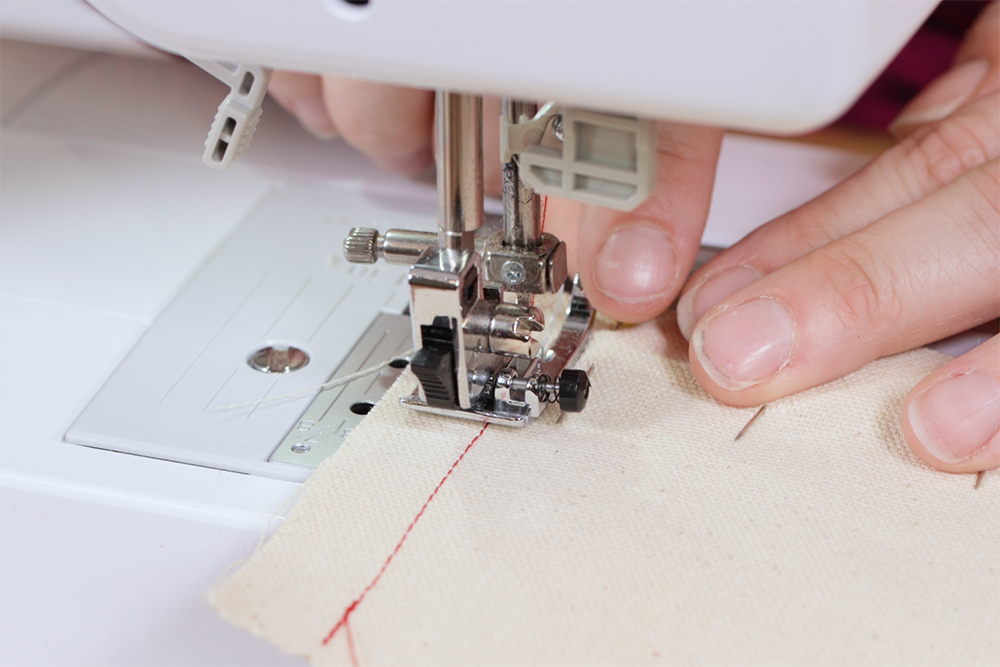
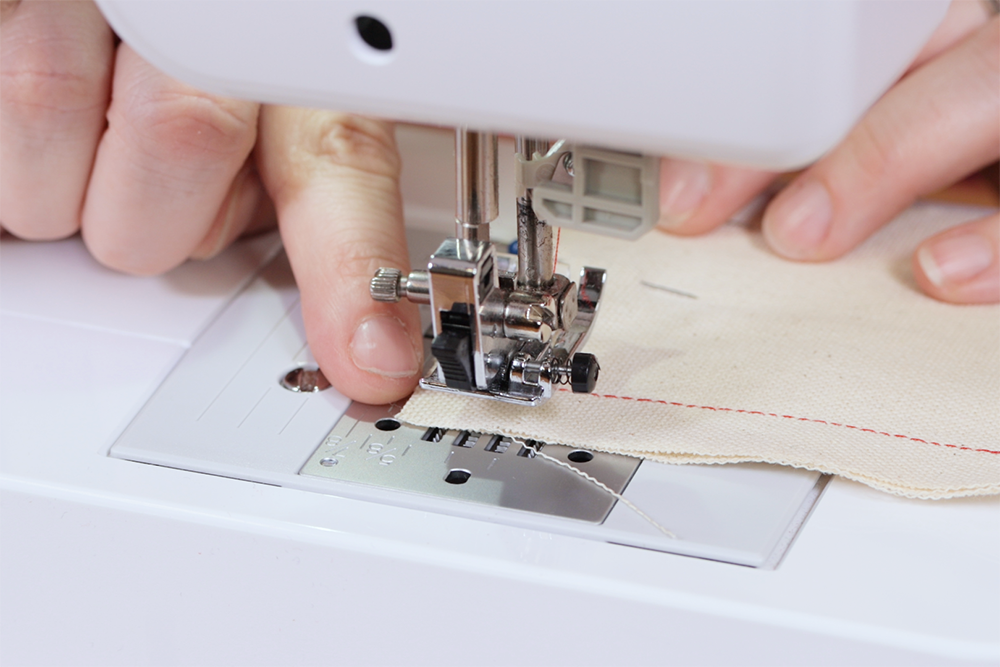
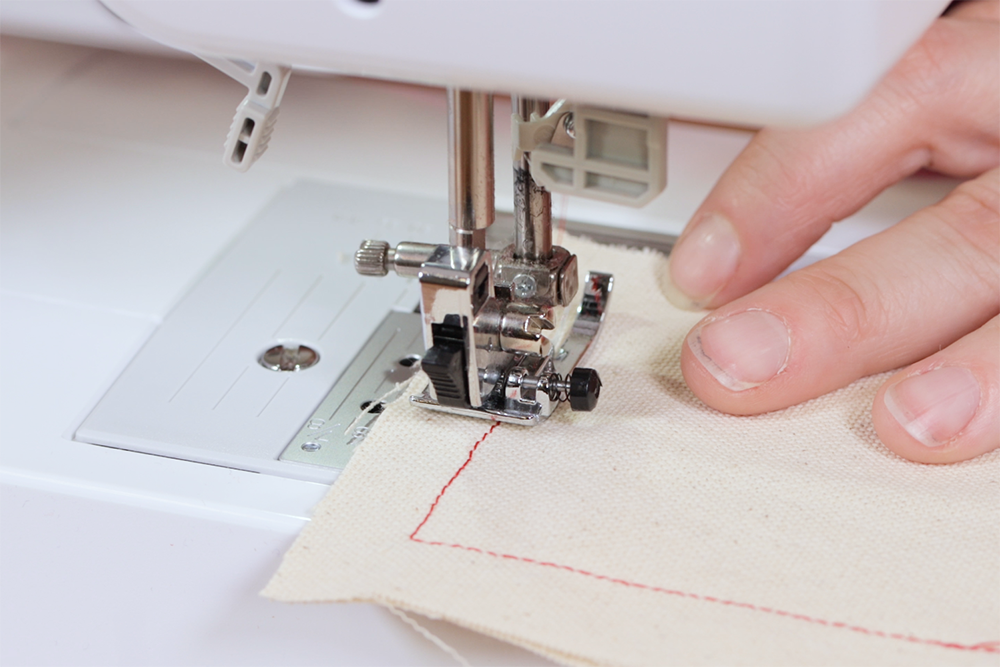
Curved Seam
A curved seam is also self explanatory.
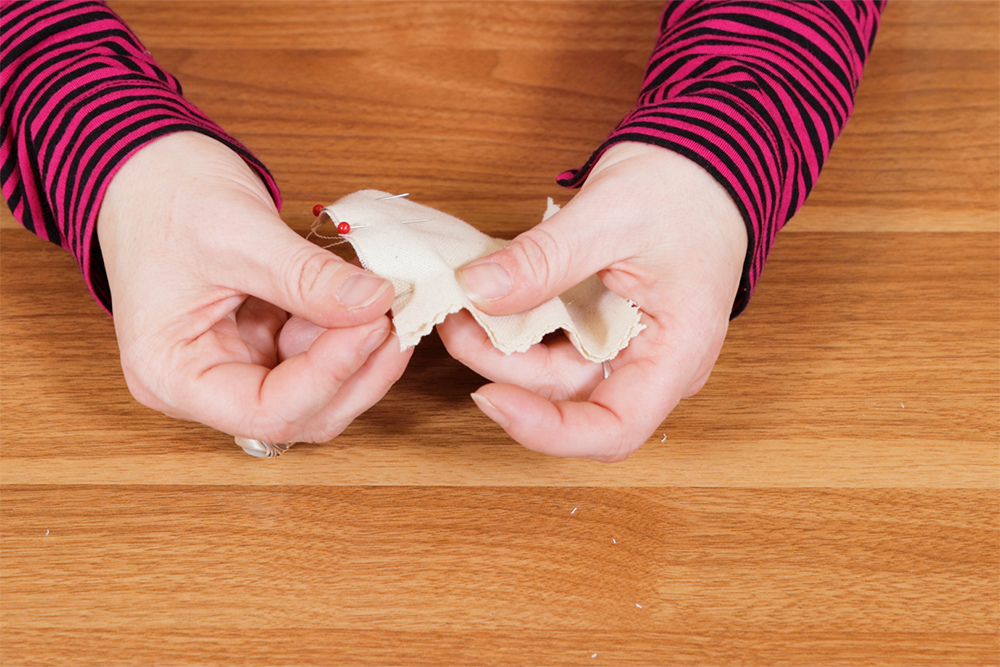
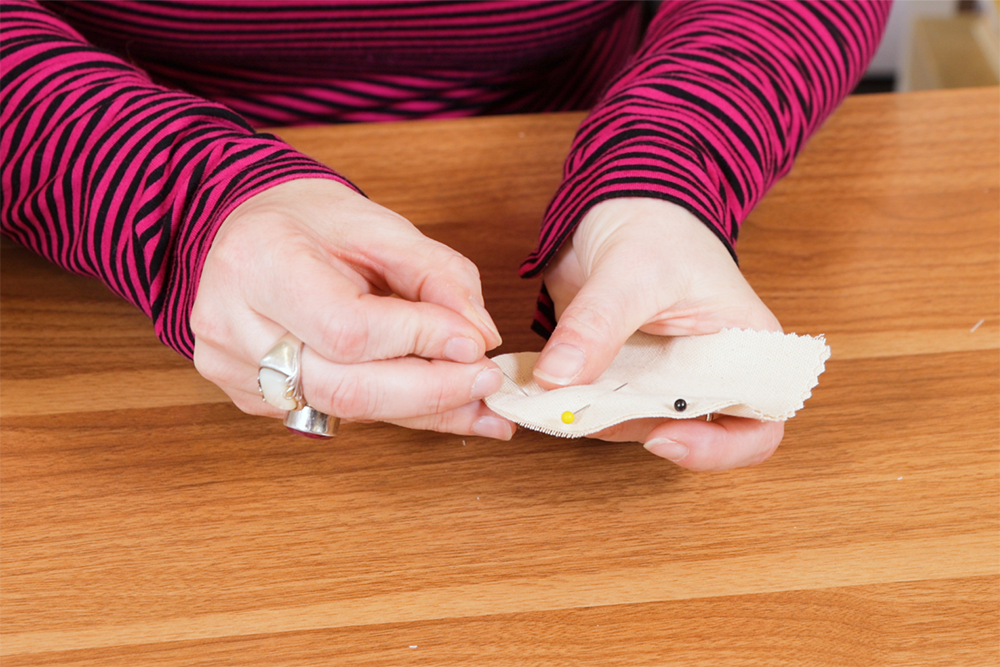
Pin the pieces of fabric faces together. Shorten the stitch length and go nice and slow. Reposition the curve of the fabric as it moves through the machine so that the selvedge remains the same throughout. I used a 5/8 inch seam allowance here.
This is a simple yet not necessarily easy process, and you may find that you just need to practice.
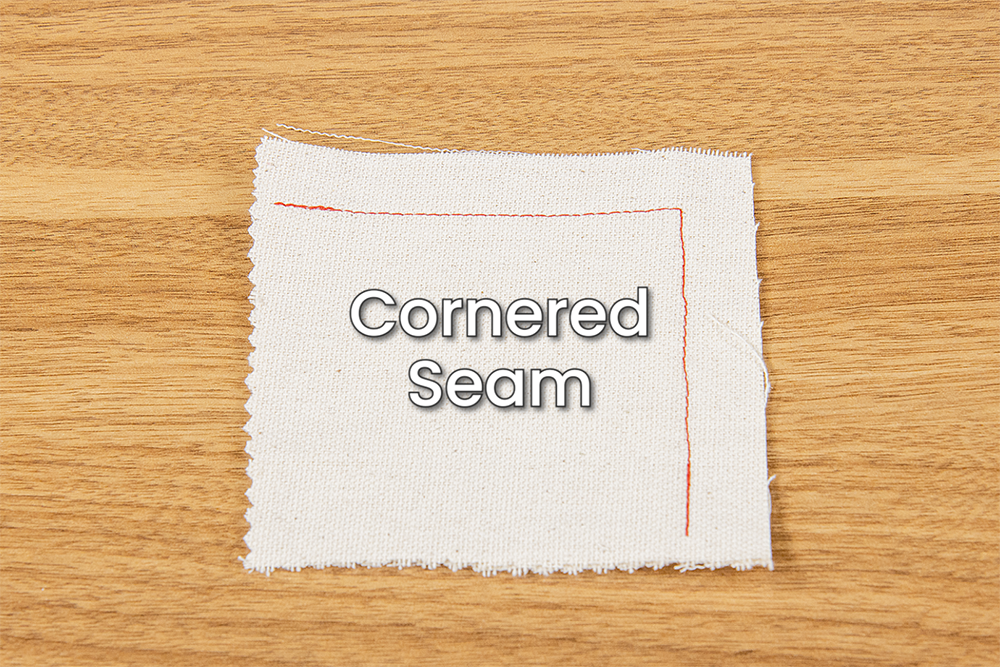
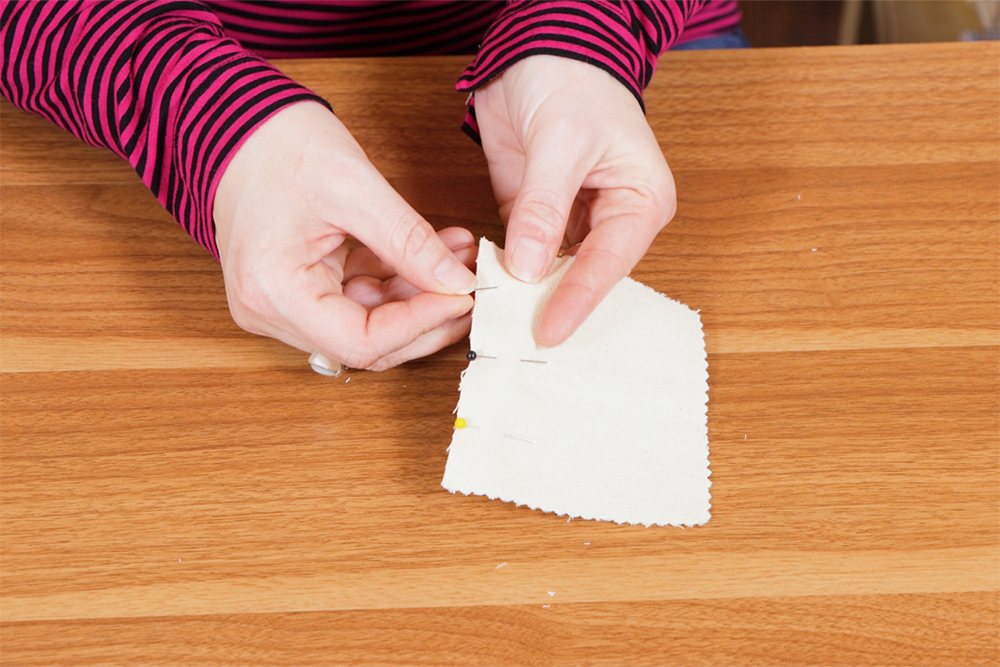
Cornered Seam
Start by sewing a straight seam at 5/8 inch seam allowance. Back stitch at the beginning. Stitch until you reach 5/8 inch from the bottom of the fabric.
You might need to ‘walk’ the needle into the proper position. Leave the needle down and lift the presser foot. Turn your work 90 degrees. Line up the selvedge at the 5/8 inch mark and sew to the end of the fabric. Use a back stitch at the end.
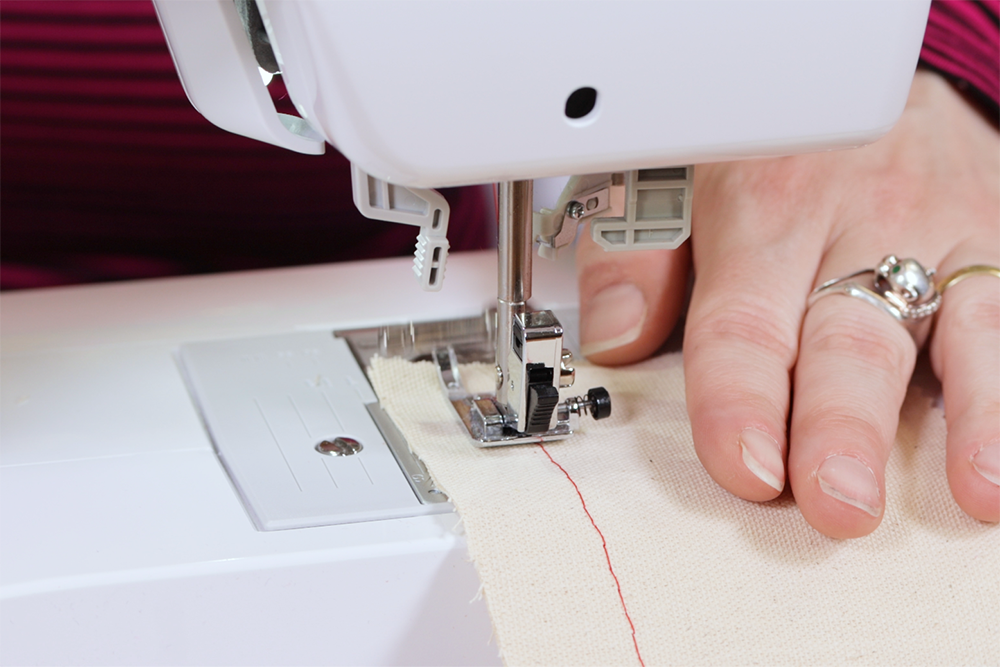
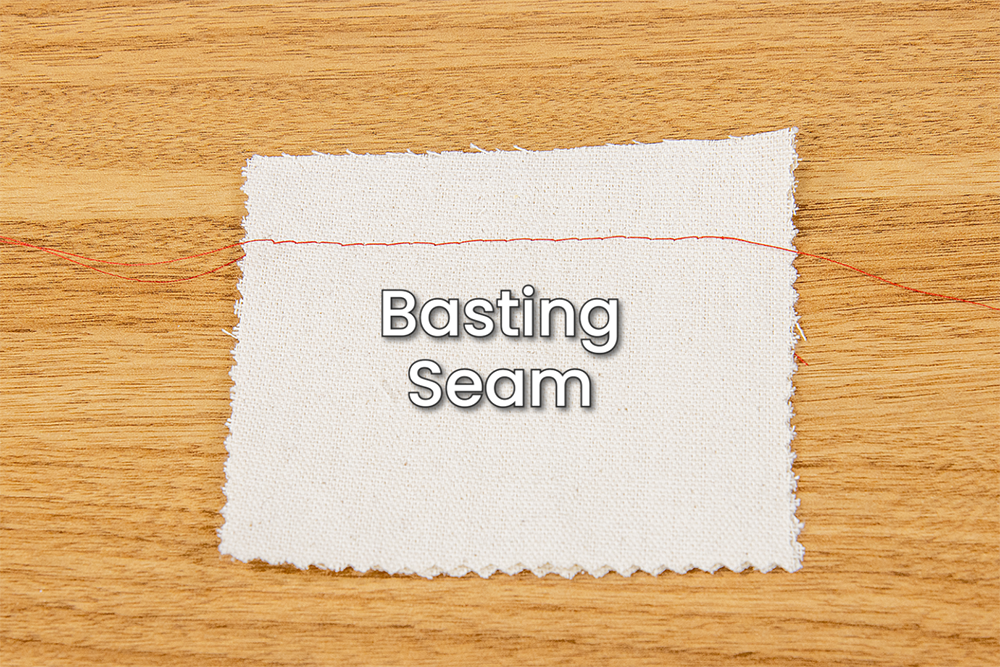
Basting Seam
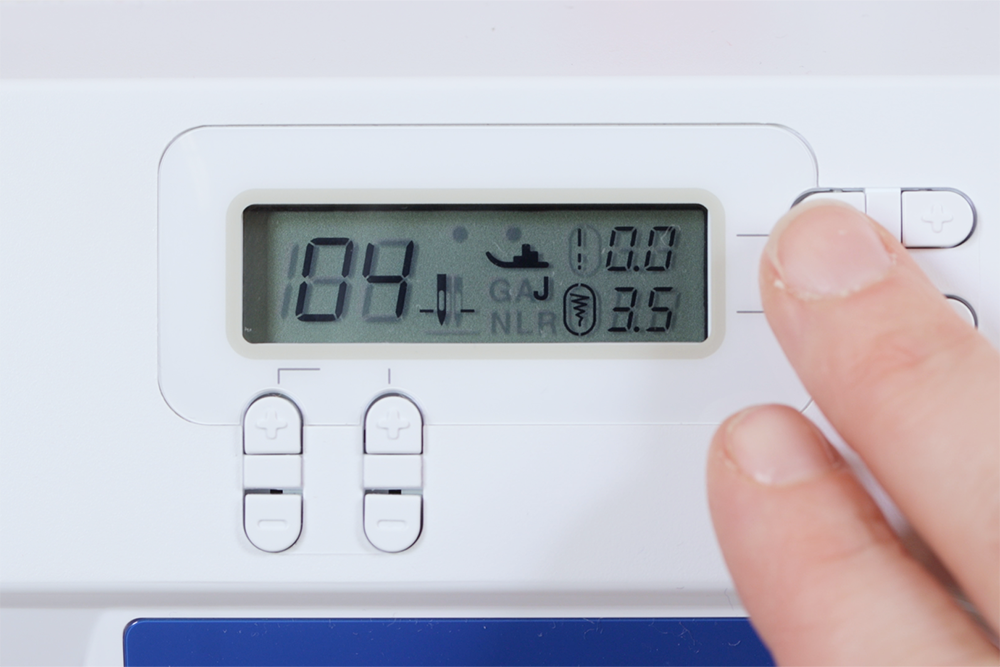
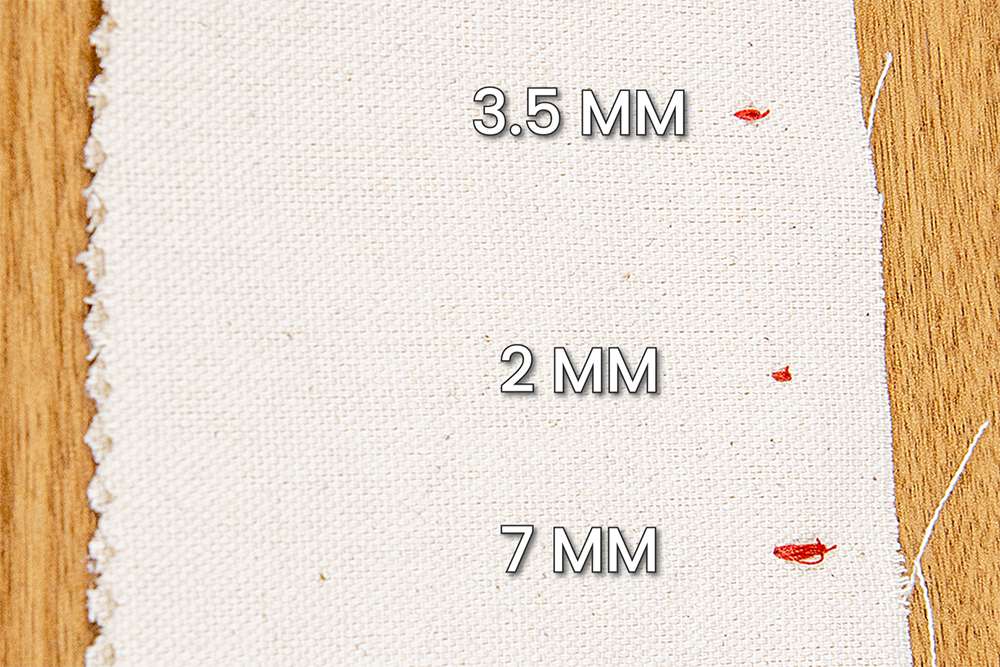
A basting seam is a holding seam that will later be removed. It’s similar to a straight stitch but with longer stitches and no back stitching. i used a 5mm stitch for this example.
Basting seams are usually done on the selvedge, between 3/8 inch and 1/2 inch.

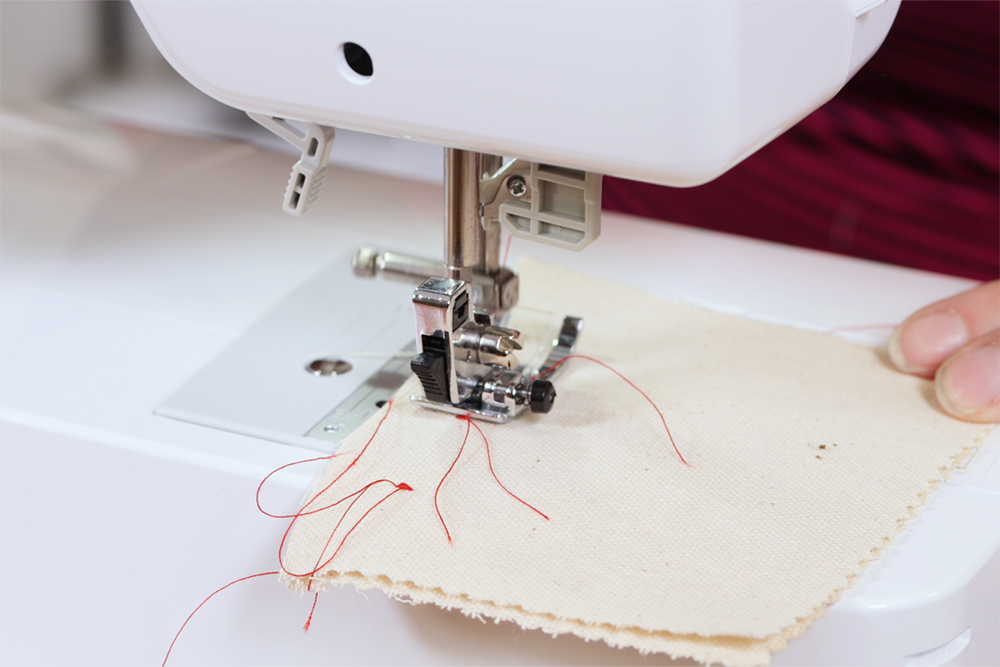
Bar Tacks
Bar tacks create an anchor stitch used for reinforcement, like on the corner of a pocket.
Change the machine to the zigzag function. Adjust the length of the stitch to zero. You may change the width of the stitch if desired. Sew a few stitches side to side.
-
{{#each productSuggestedQueries.results}}
- {{query}} {{/each}}
-
{{#each categories.results}}
- {{html title}} {{/each}}
{{html attributes.description}}
{{/if}}-
{{#each queries.results}}
- {{query}} {{/each}}