How to Make a Pocketed Waist Apron
- By Abby
- Beginner
- 1 hour 30 minutes
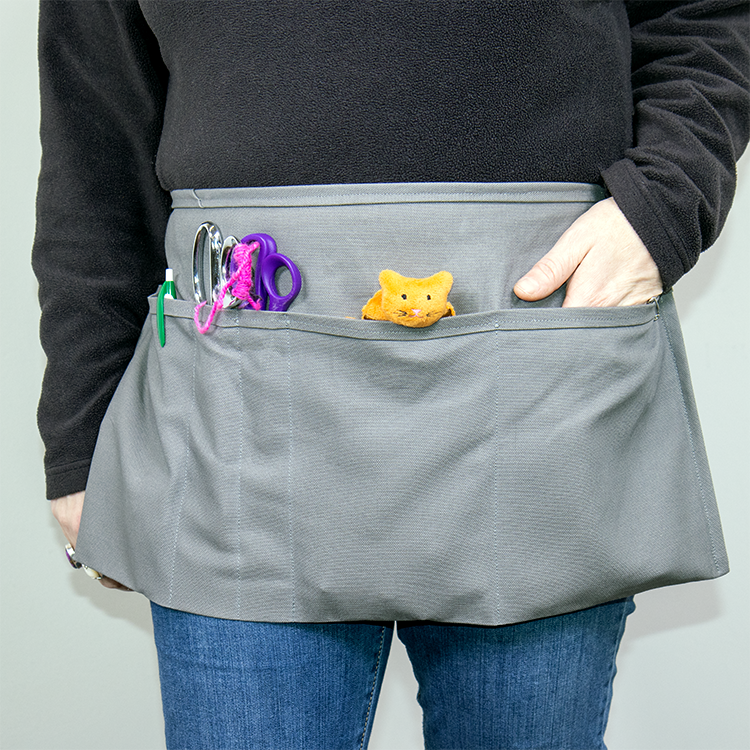
I work with fabric constantly so I need an apron with extra pockets for scissors and everything else I need. I also sometimes like wearing aprons at home. I’m very picky when it comes to aprons, I like them to be tough, minimalistic, and have good pocket options. Aprons I’ve purchased in the past have never measured up to what I need so it’s time to put my sewing skills to the test. I created this project from a service industry style apron that I like.
Materials
Related Products


Video
Instructions
Step 1: Cut the Pieces
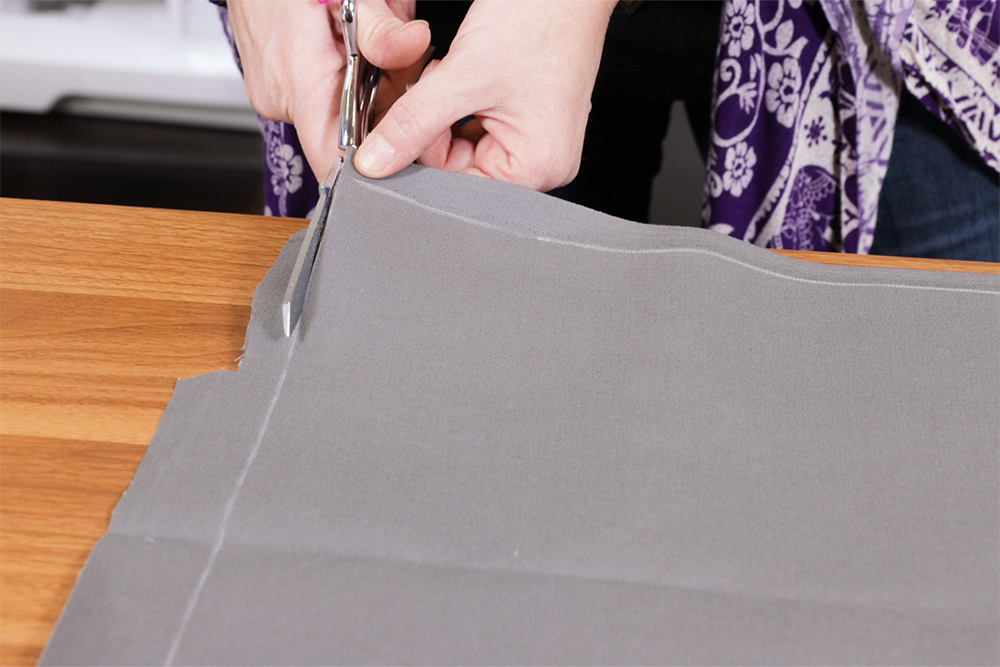
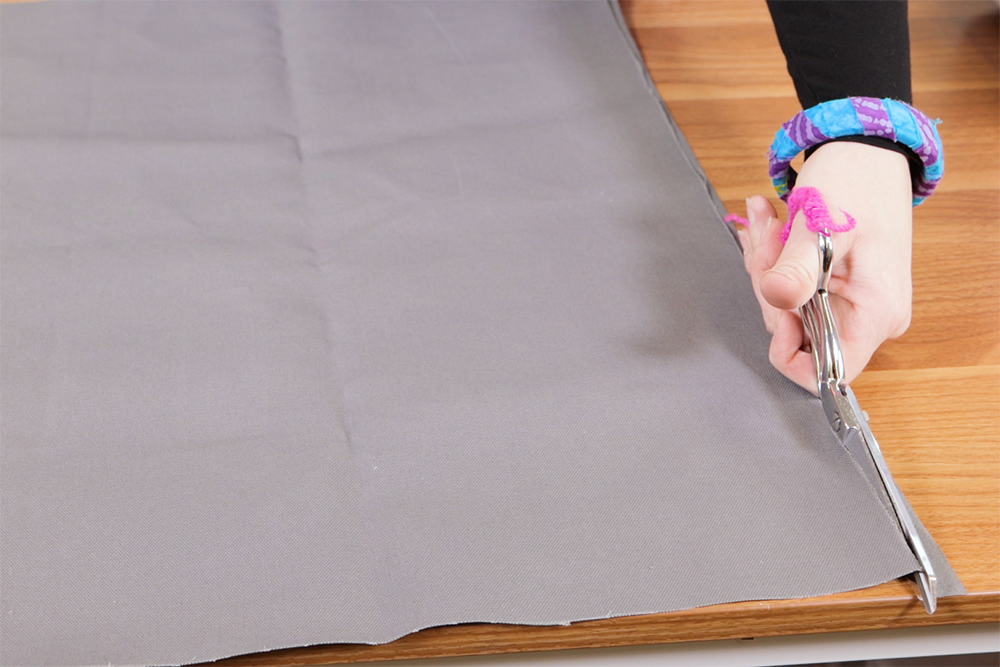
Cut a rectangle out of your fabric for the apron body. My rectangle is 24 by 21 inches.
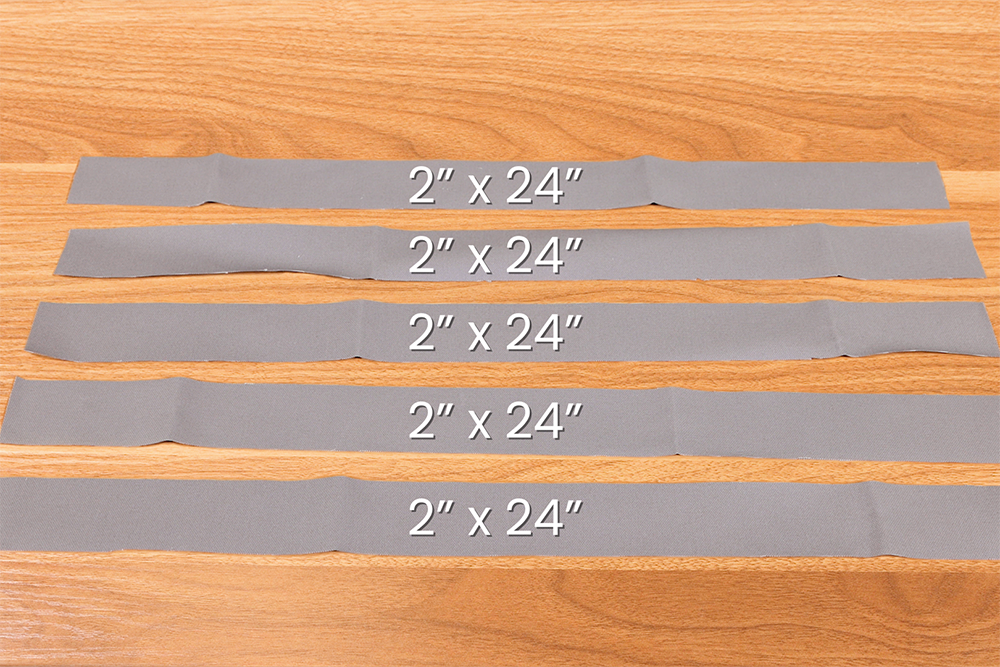
Also cut 2 inch strips of fabric to make tape. I’m making straight tape, but you can make bias tape if you’d like.
Step 2: Create the Tape
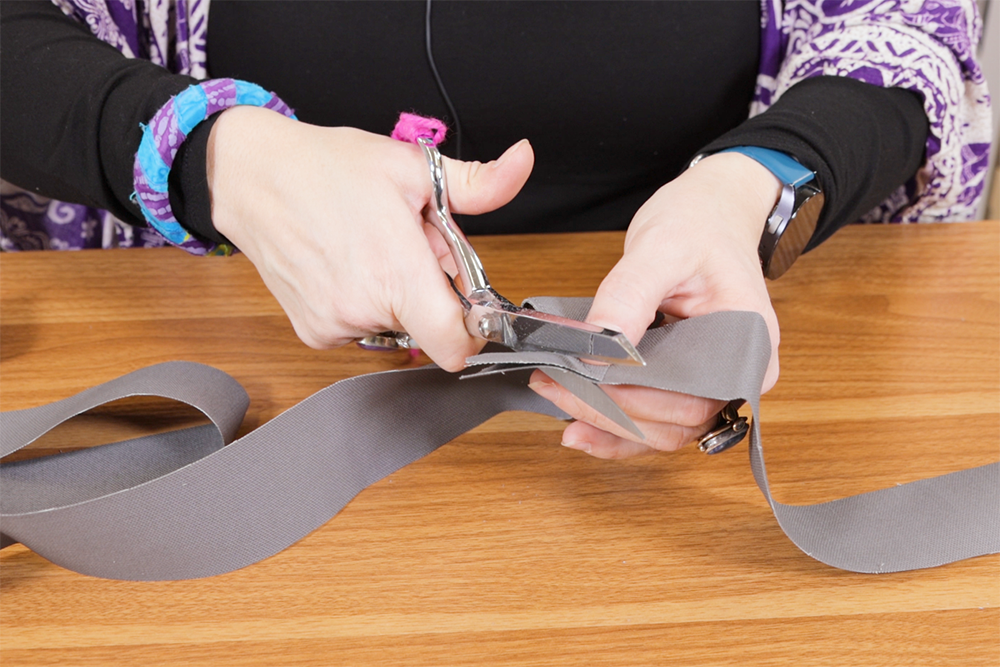
Place the ends of the tape perpendicular to each other with the faces together. For this canvas, it doesn’t matter which side.
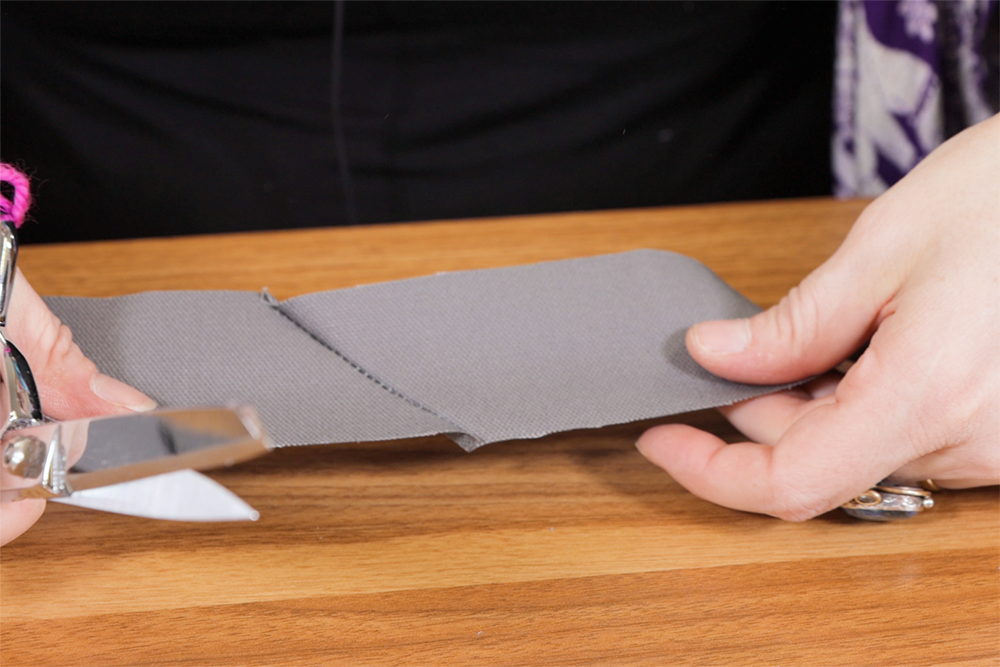
Sew corner to corner to attach. Doing the seam on the bias will make the fabric less bulky when folded. Continue on until all the pieces are attached.
Trim the fabric close to the seams.
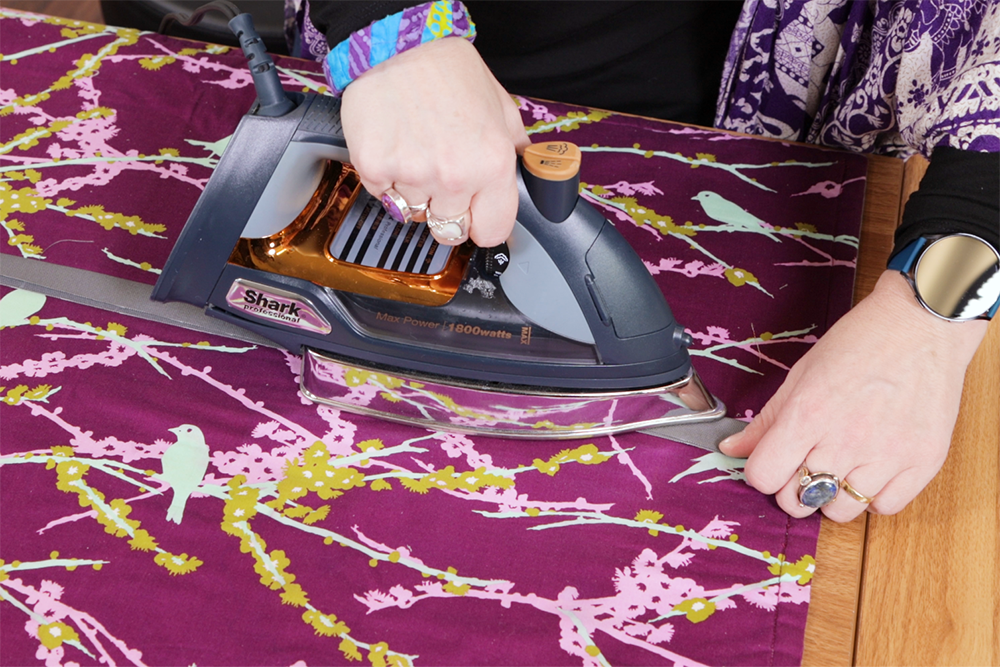
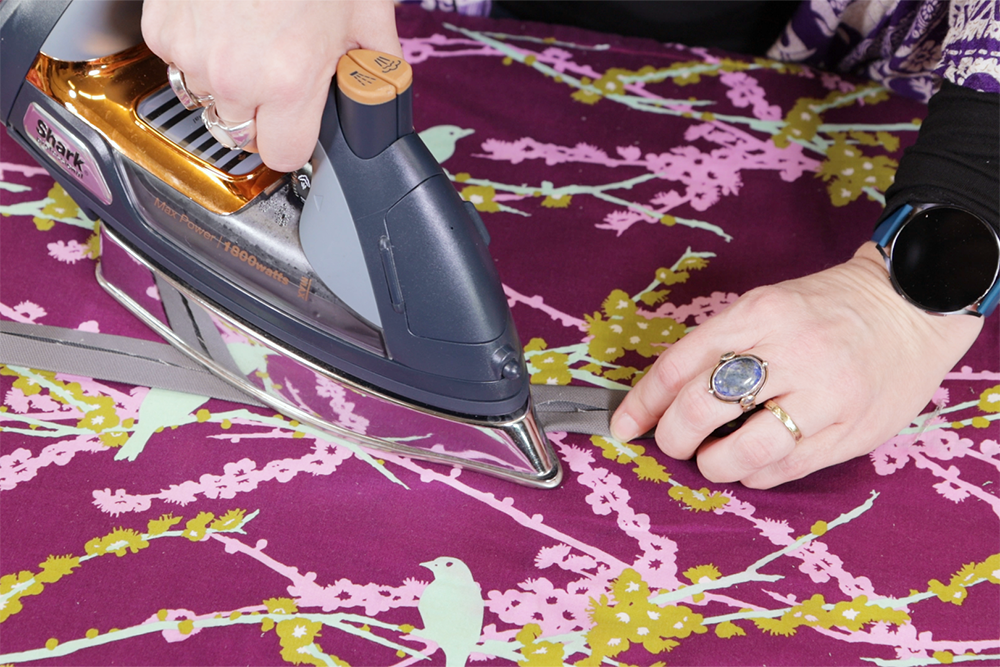
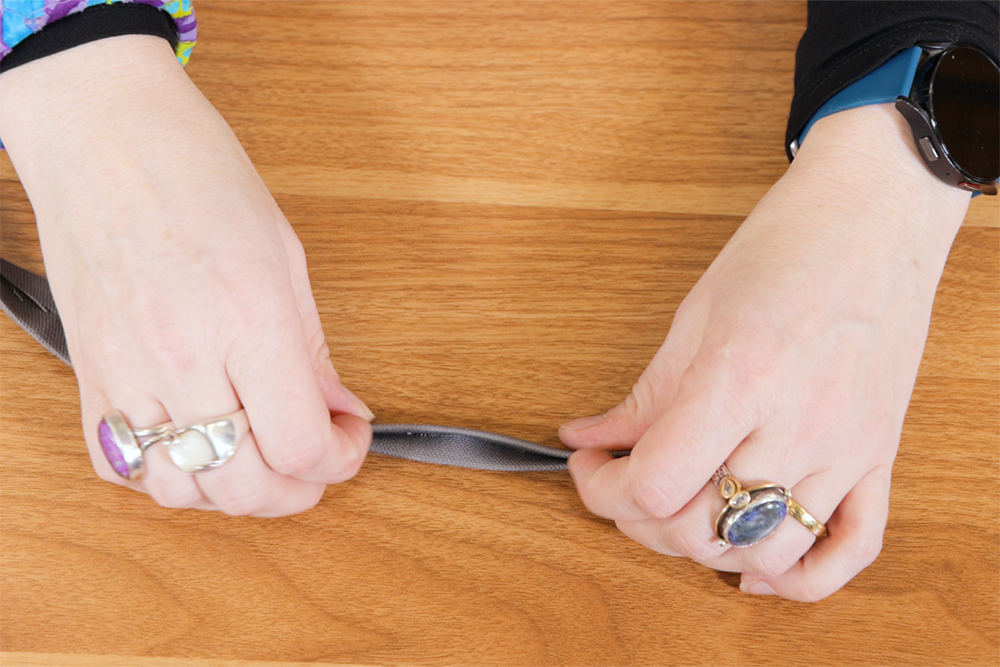
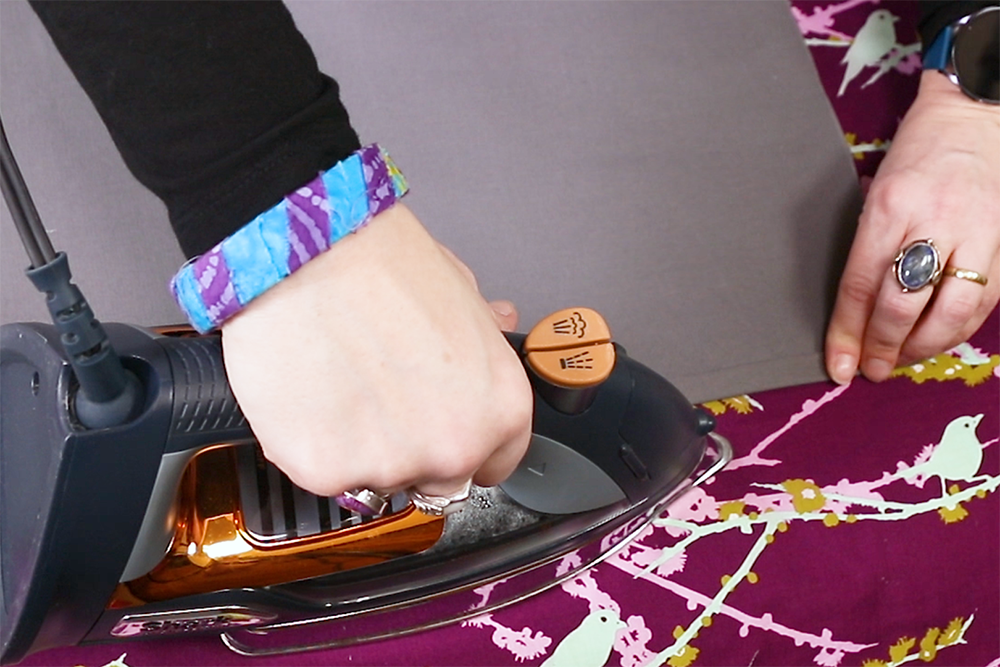
Fold the tape in half and press.
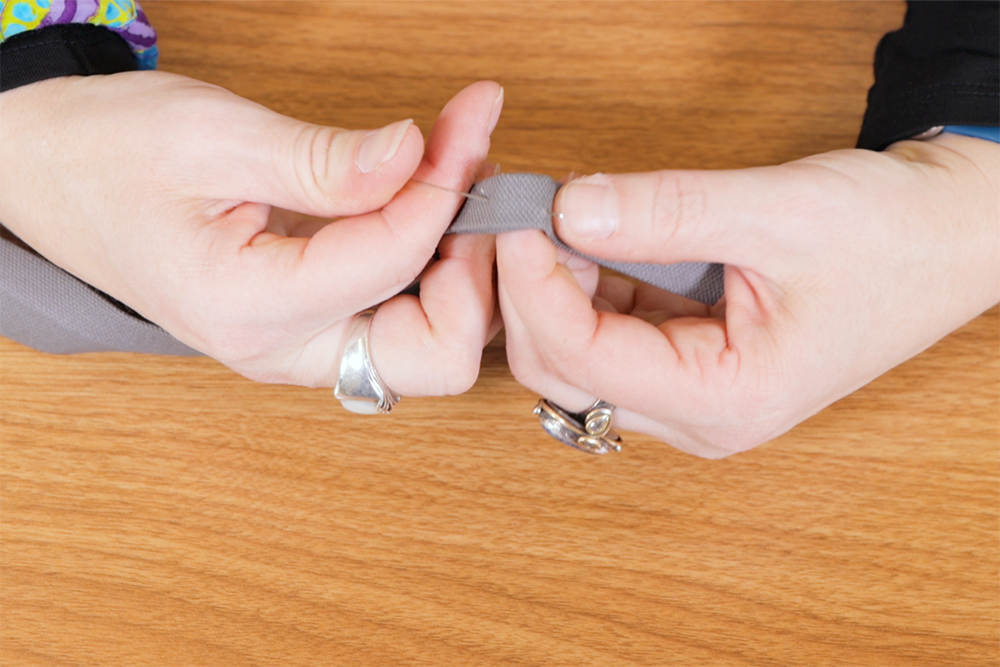
Open the tape back up, fold the sides in to meet in the center, and press again.
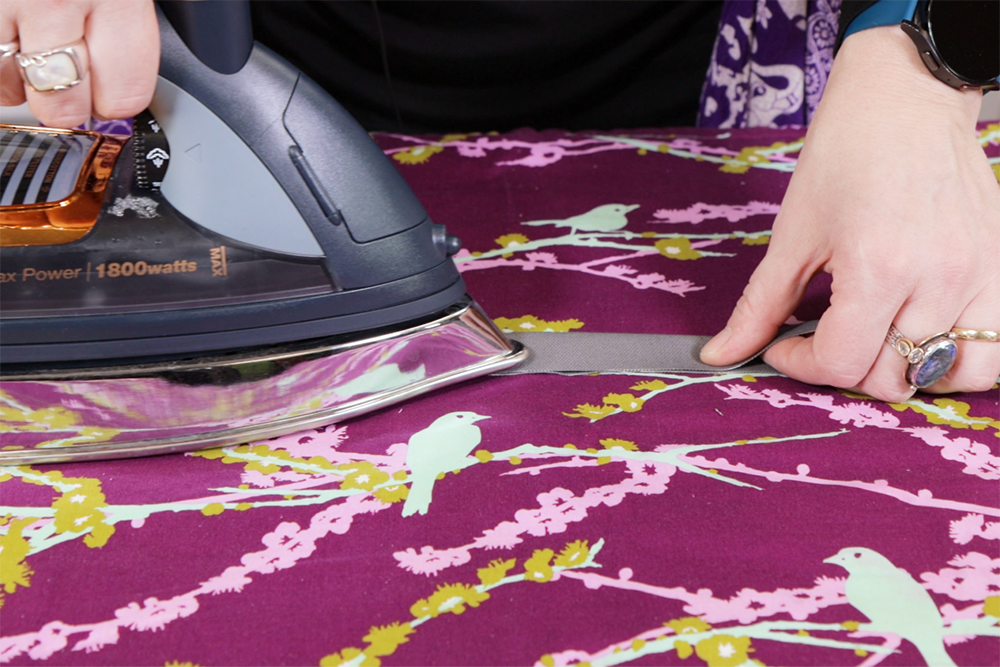
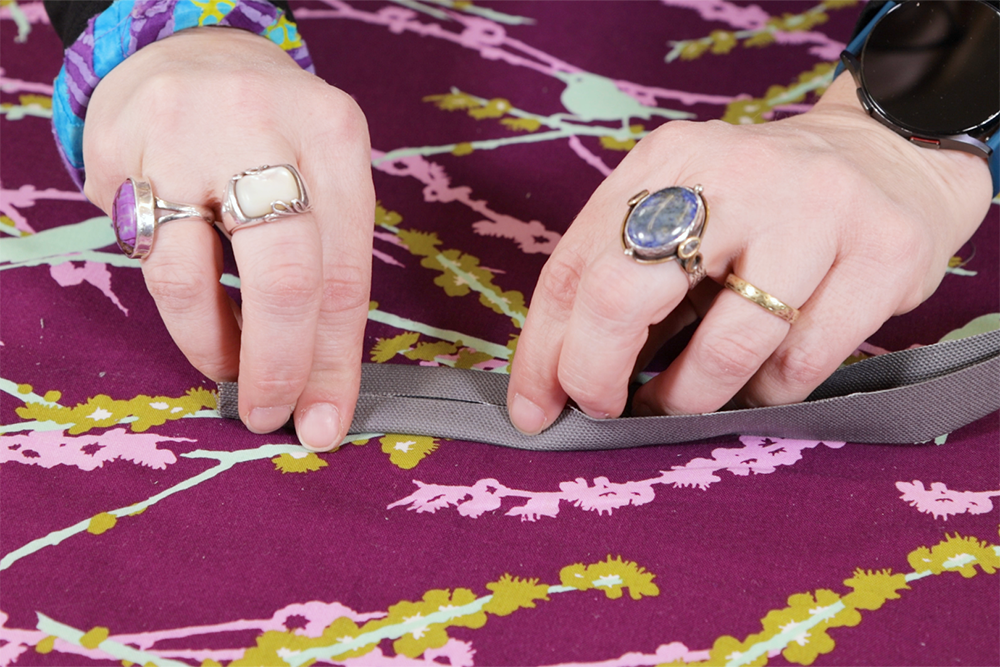
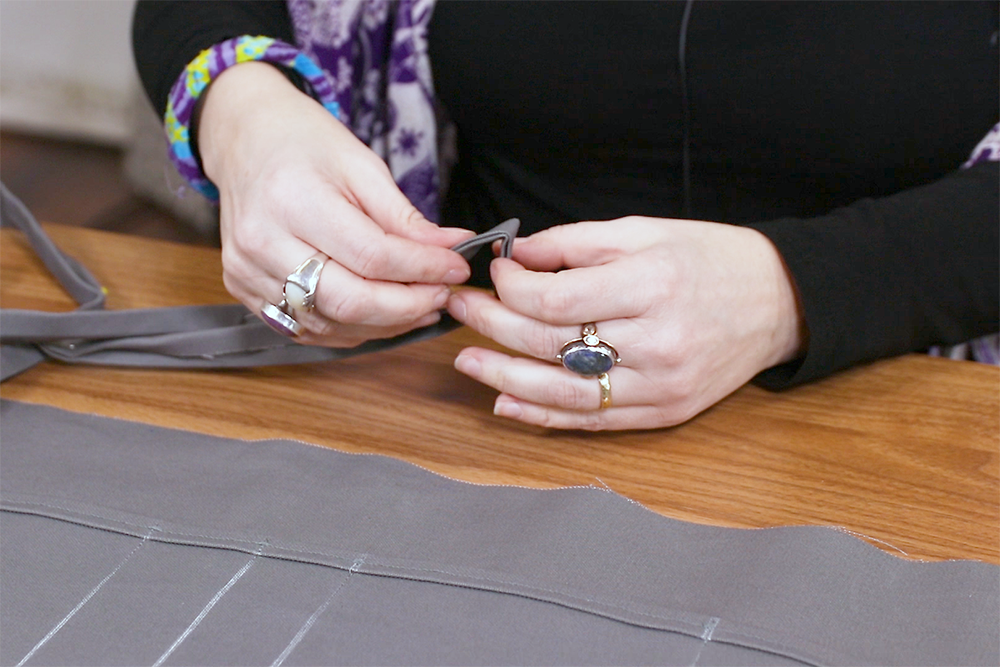
Fold in half and pin in place. Set the tape aside for now.
Step 3: Create the Apron Body
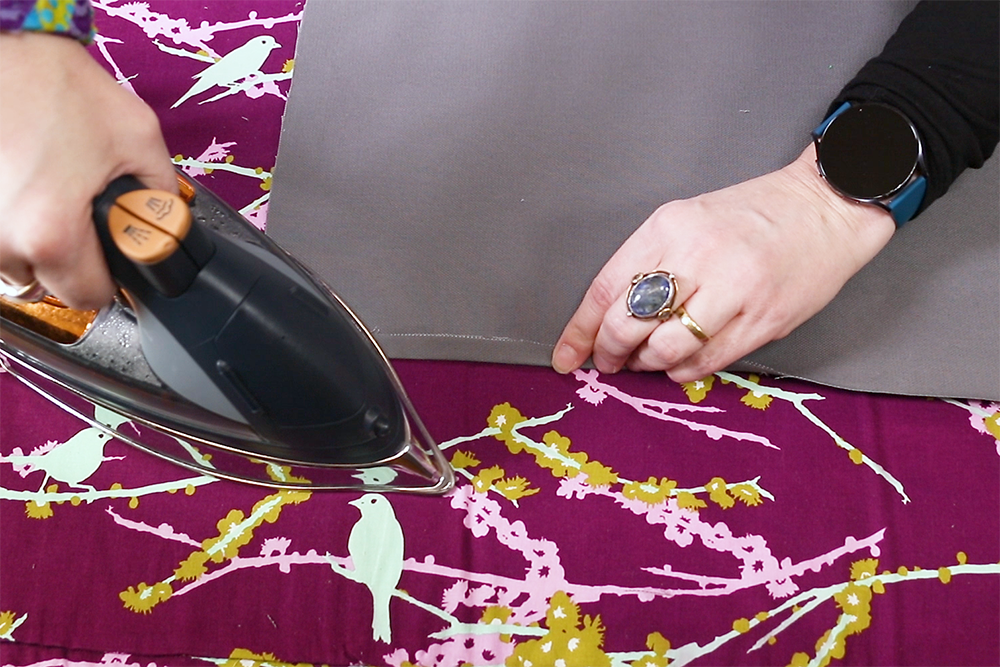
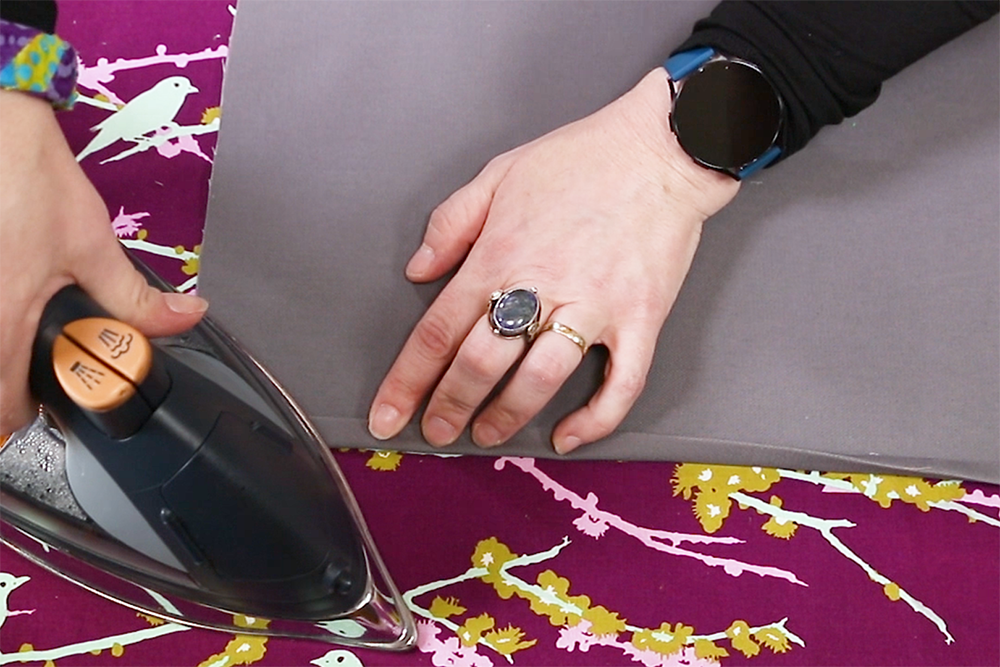
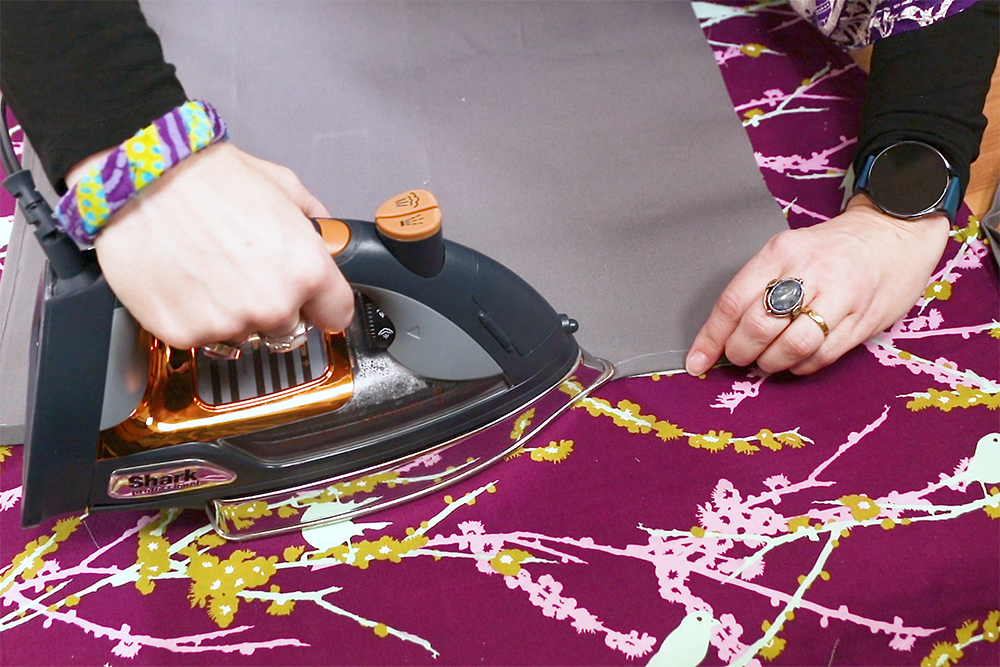
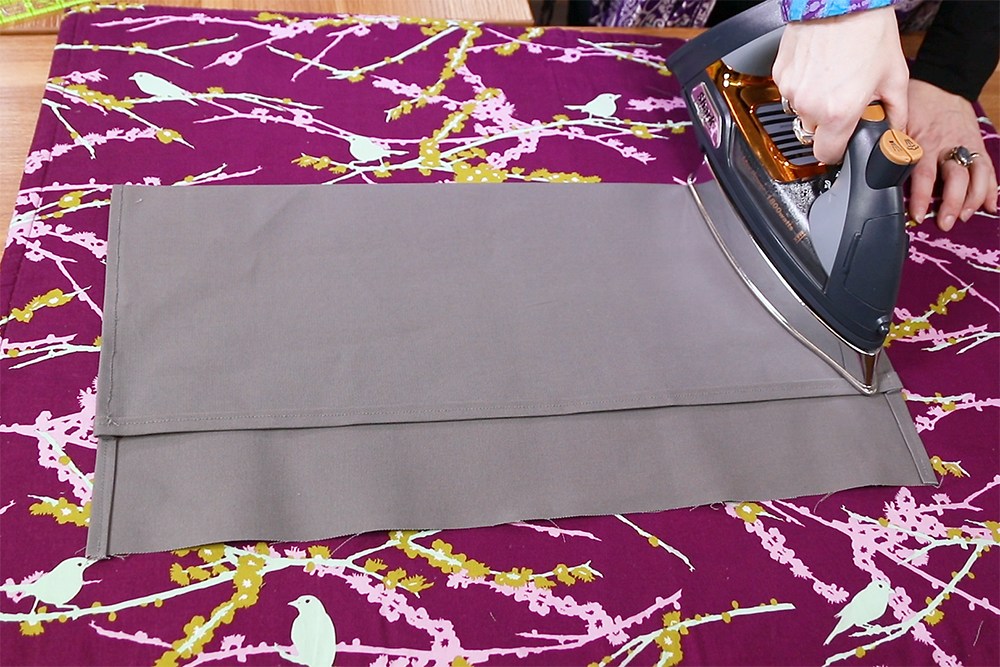
I’m going to create a half inch double fold hem at the bottom of my fabric rectangle. Fold the fabric over 1/2 inch and press. Fold the fabric over itself another 1/2 inch and press again.
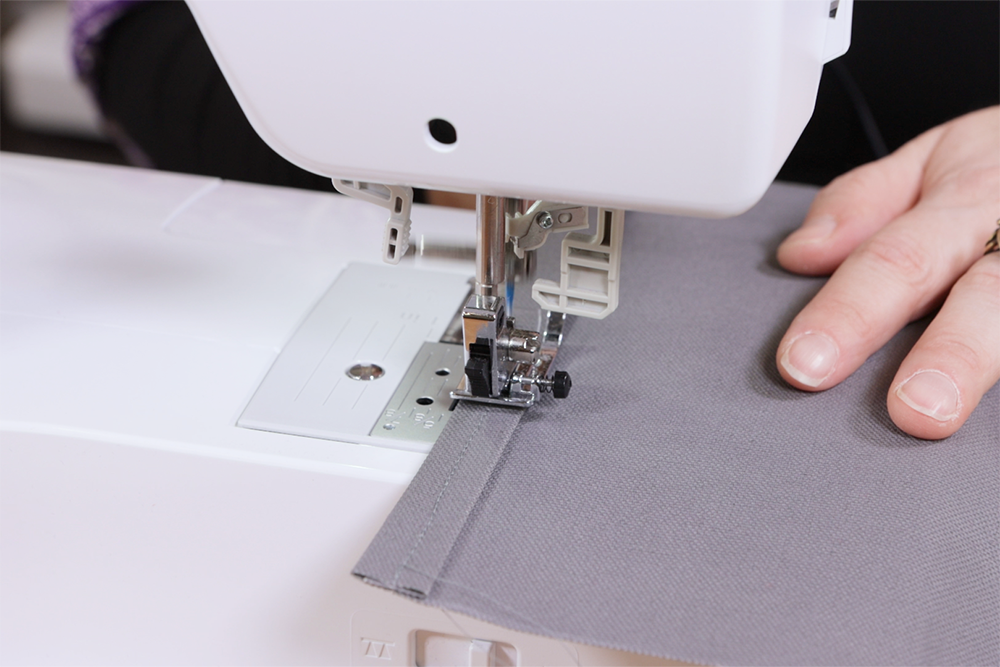
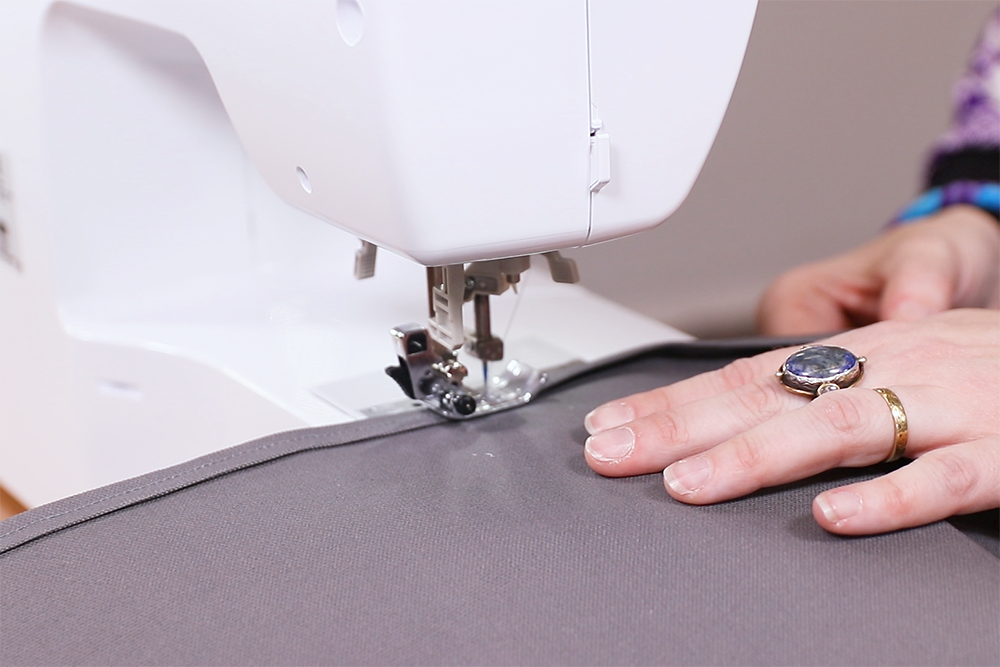
Sew with a straight stitch.
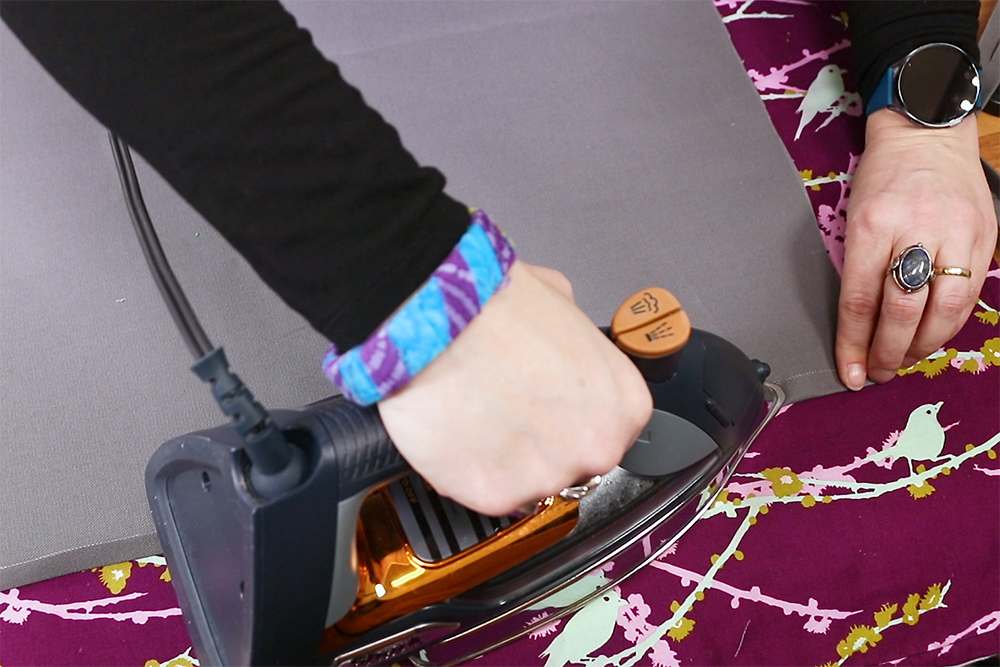
Repeat the 1/2 inch double fold hem on both sides of the apron.

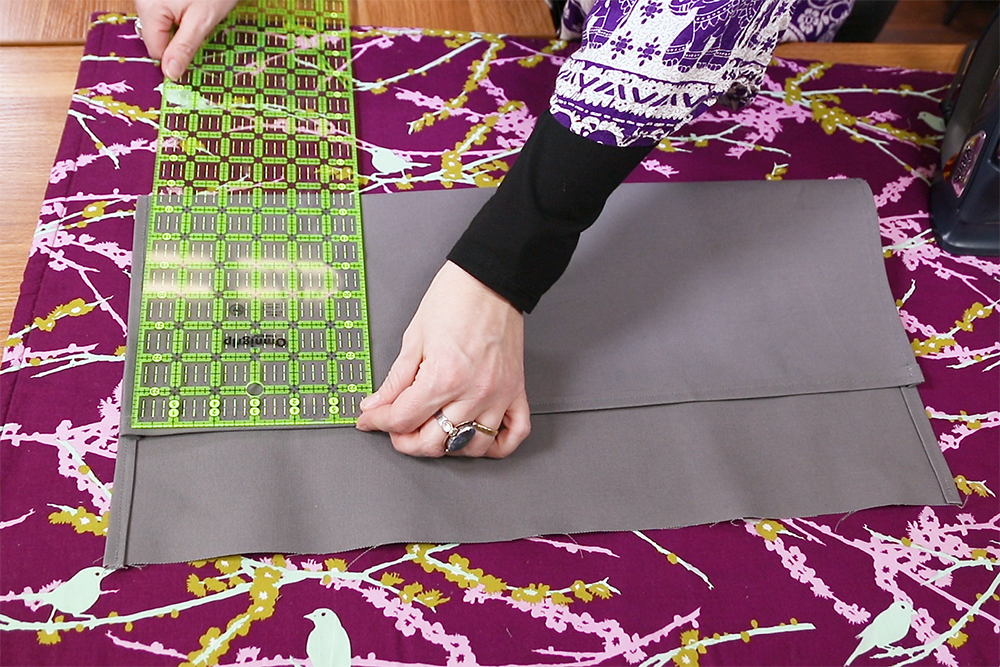
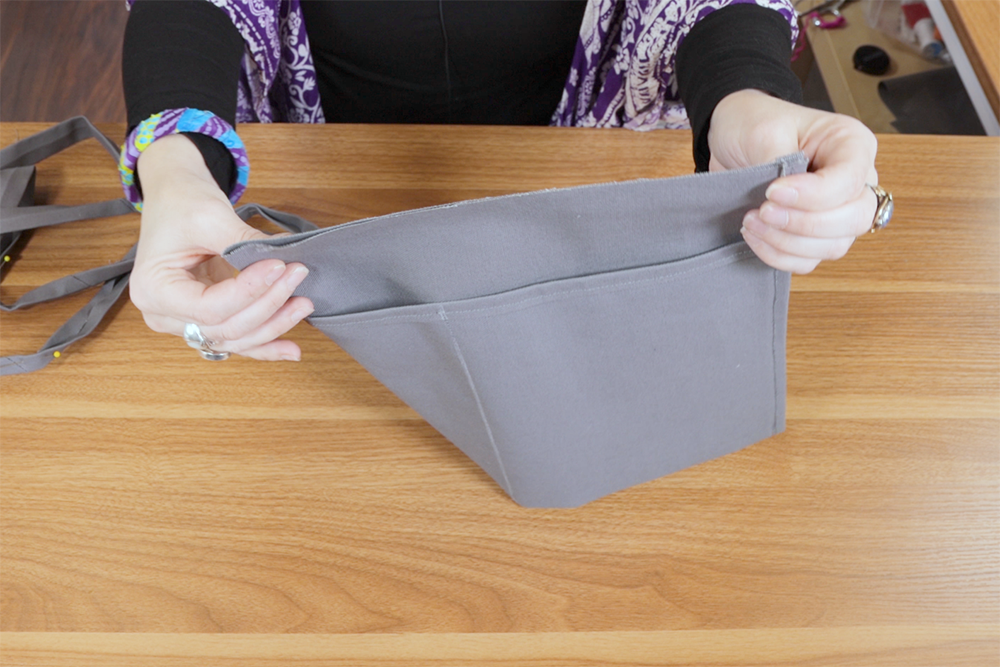
Fold the bottom of the apron up 8 inches to create the pockets. Make sure to keep the double fold hem visible. Press to help keep its shape.
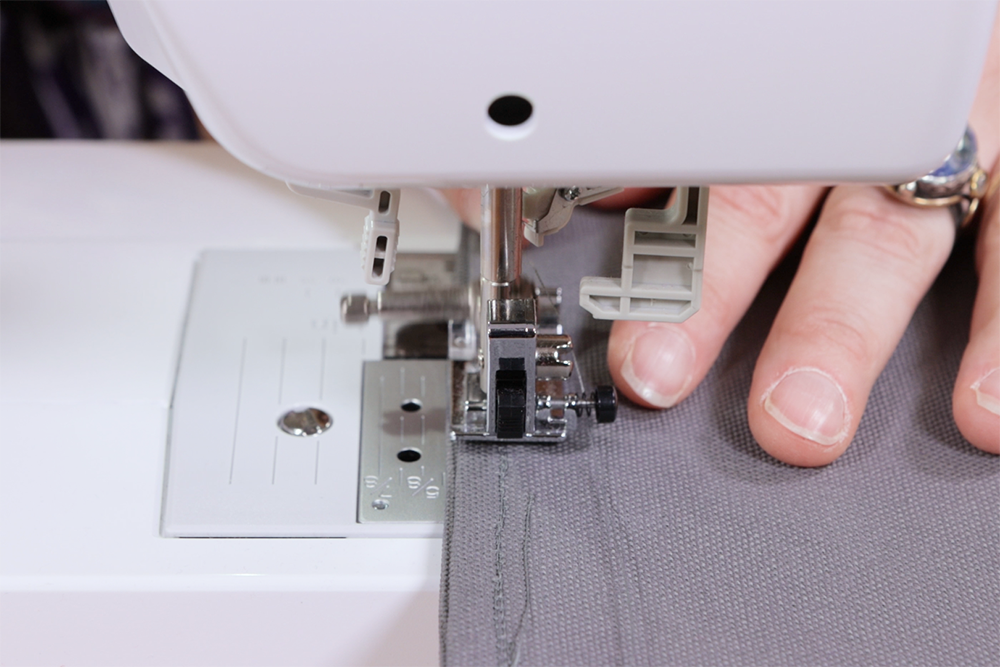
Sew both sides of the pocket using a straight stitch. “Stitch the ditch,” or, “chase the seam” of your previous hem, which just means stitching on top of the other stitches. This can be difficult since there are many layers of fabric. A new needle should help get it through.

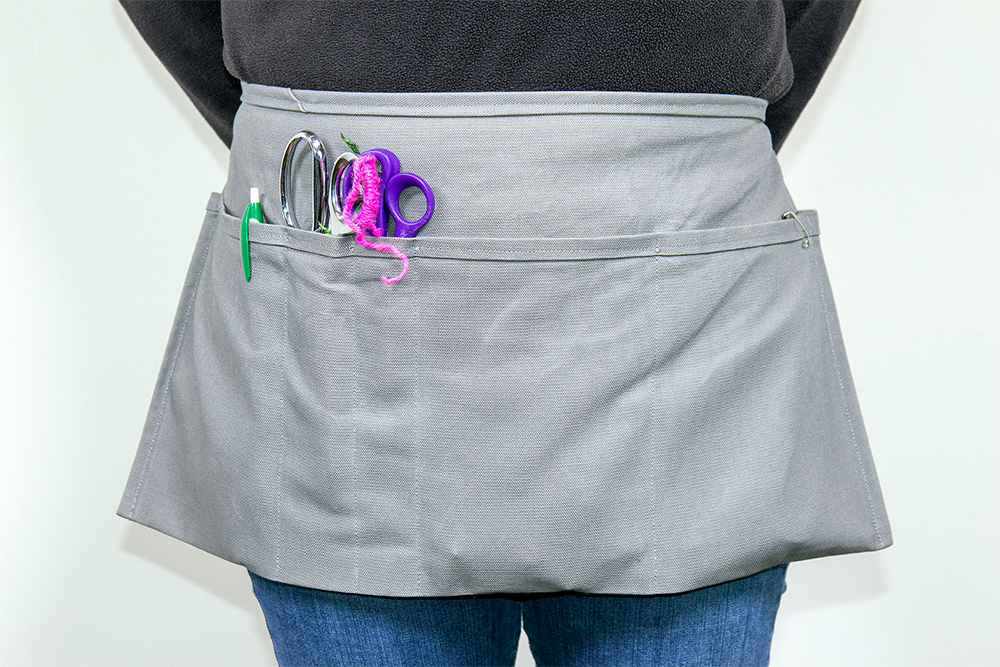
Next, mark and draw straight lines for the pockets.
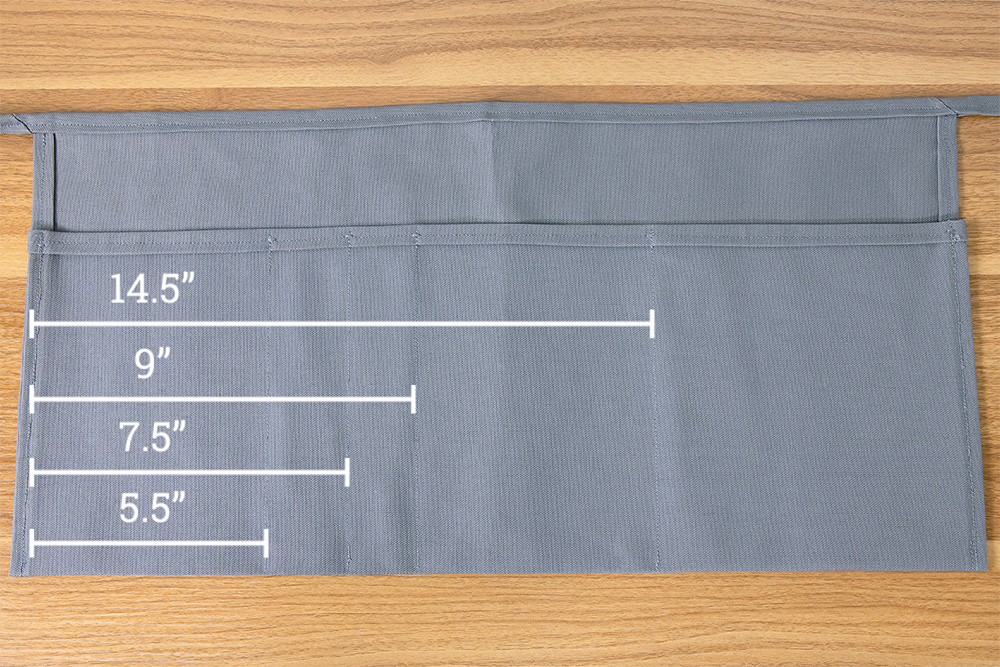
I made my pockets at 5.5, 7.5, 9, and 14.5 inches from the right side of the apron.
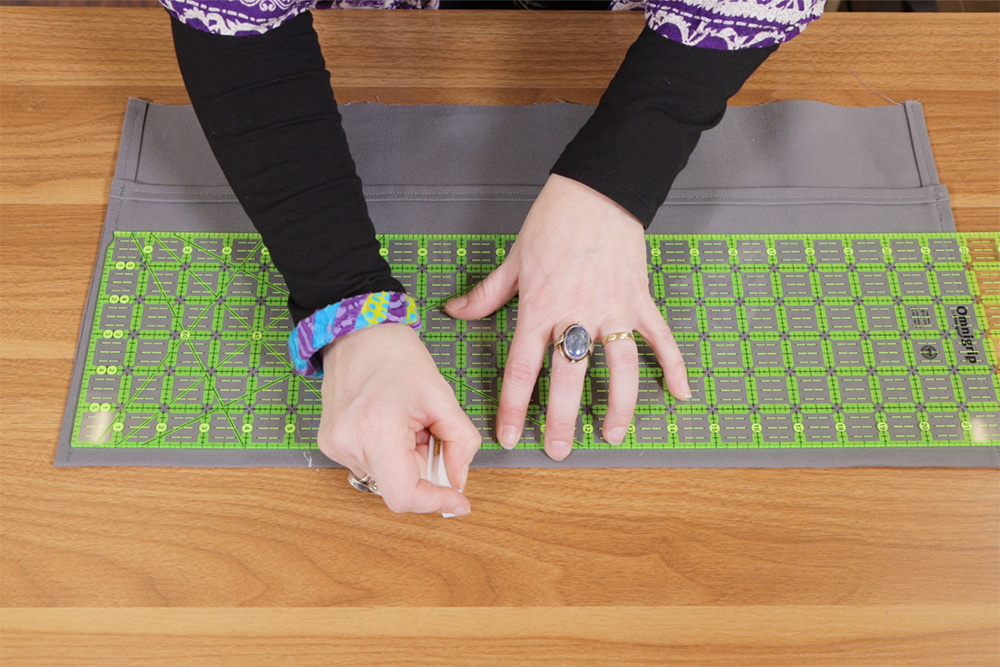
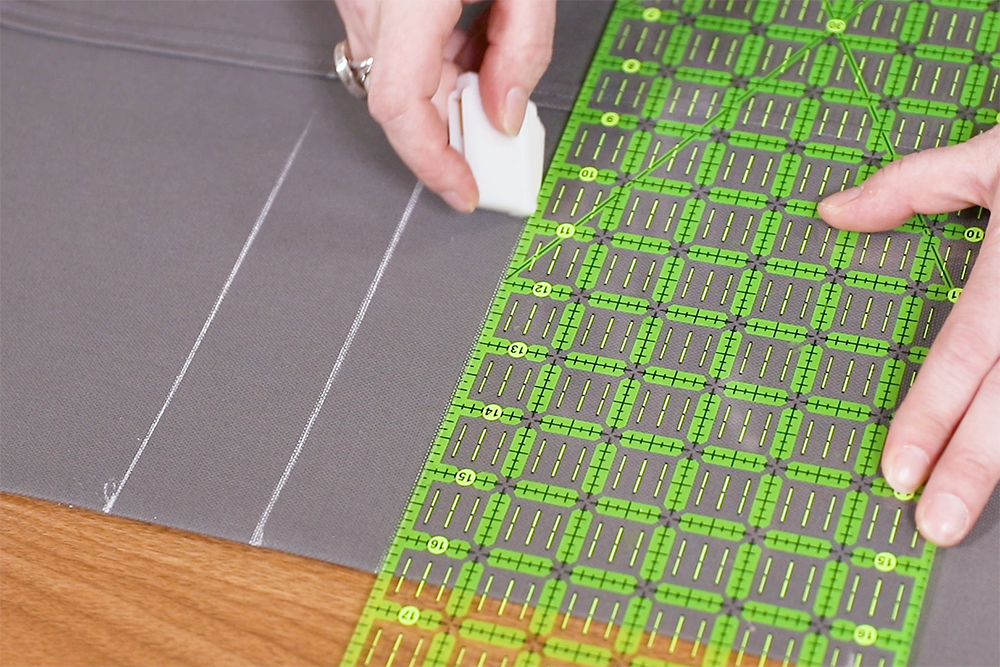
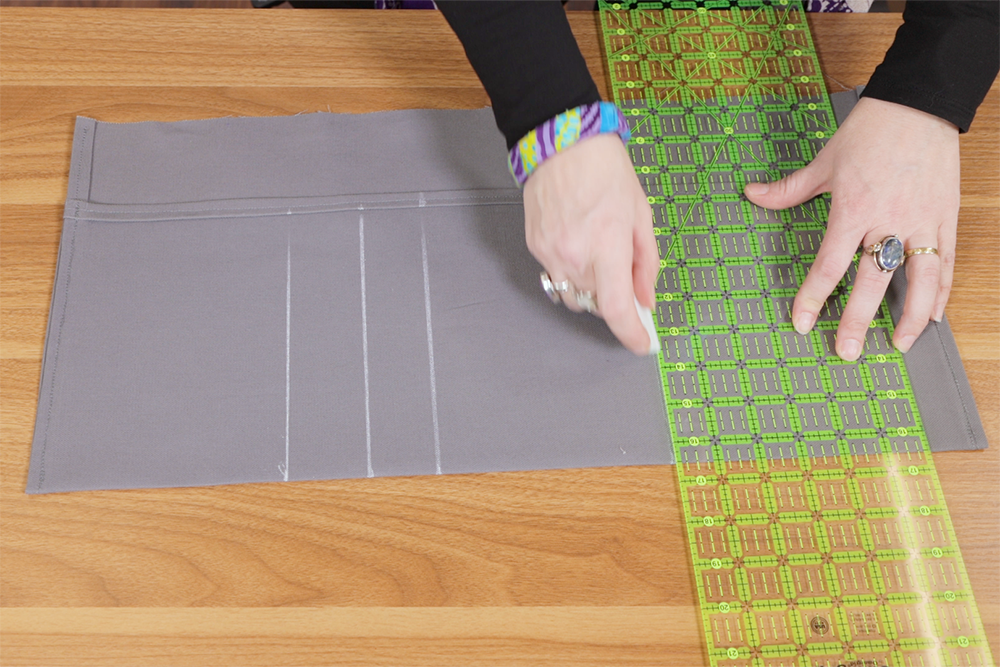
Tailor’s chalk will disappear in the wash.
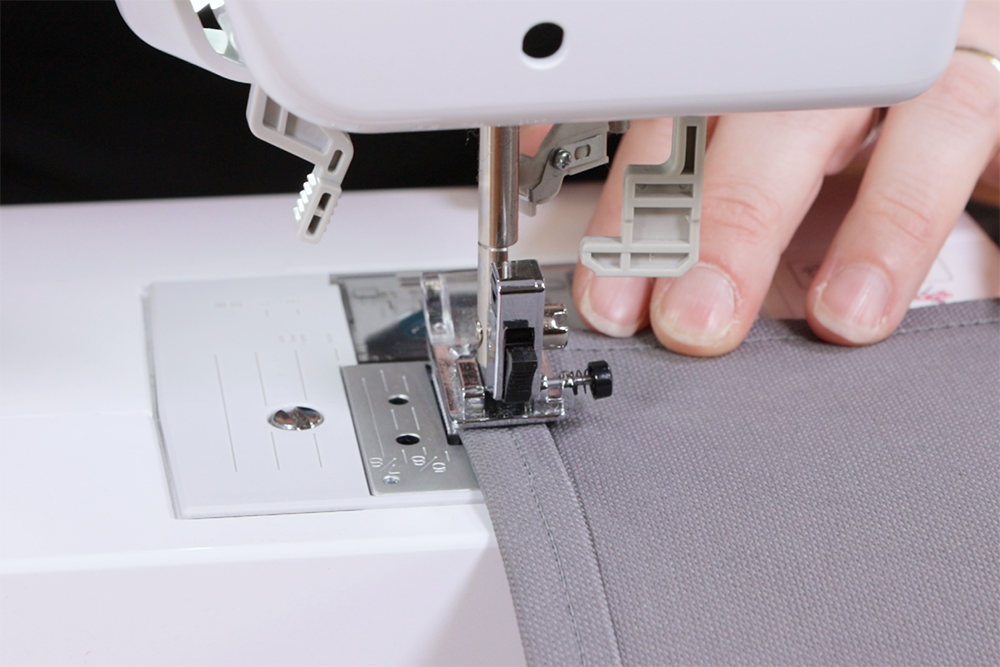
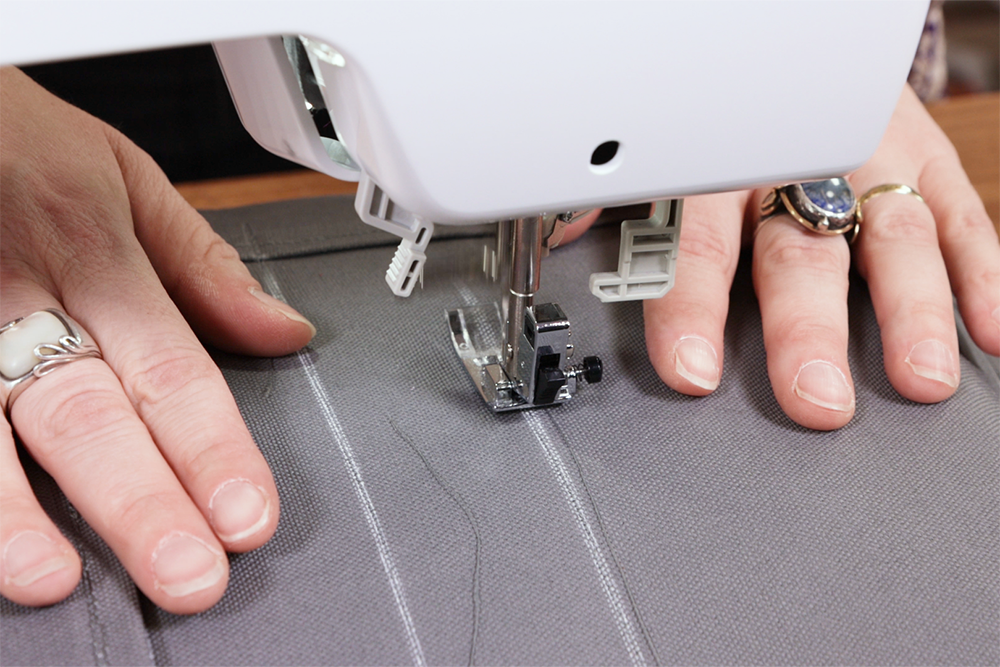
Stitch the lines you just drew from the bottom of the apron with a straight stitch, trying to not go past the hem.
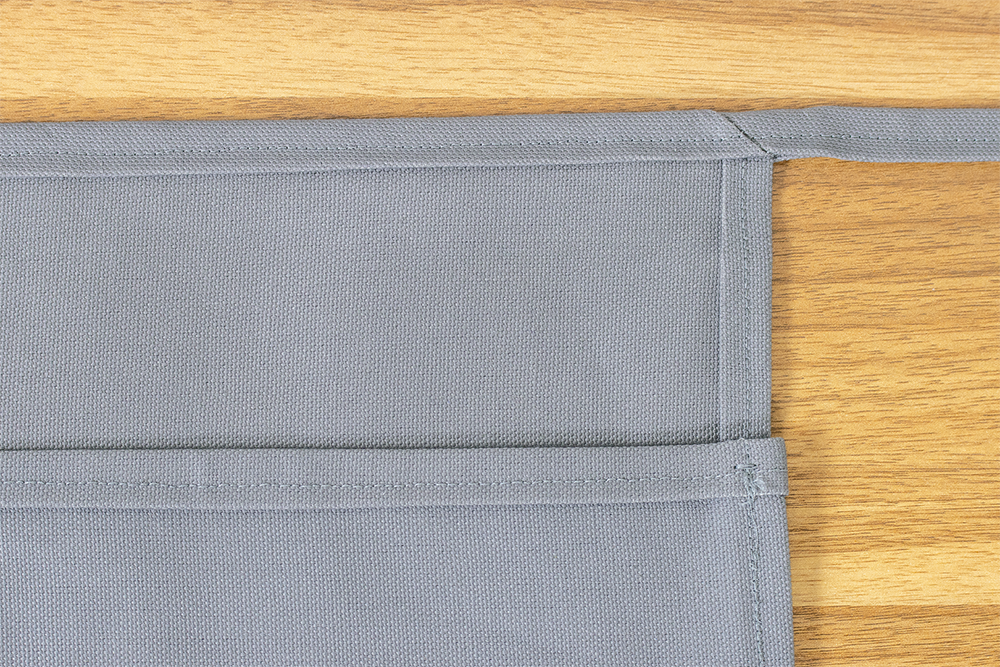
Sew a bar tack at the top of each pocket seam.
Step 4: Sew together
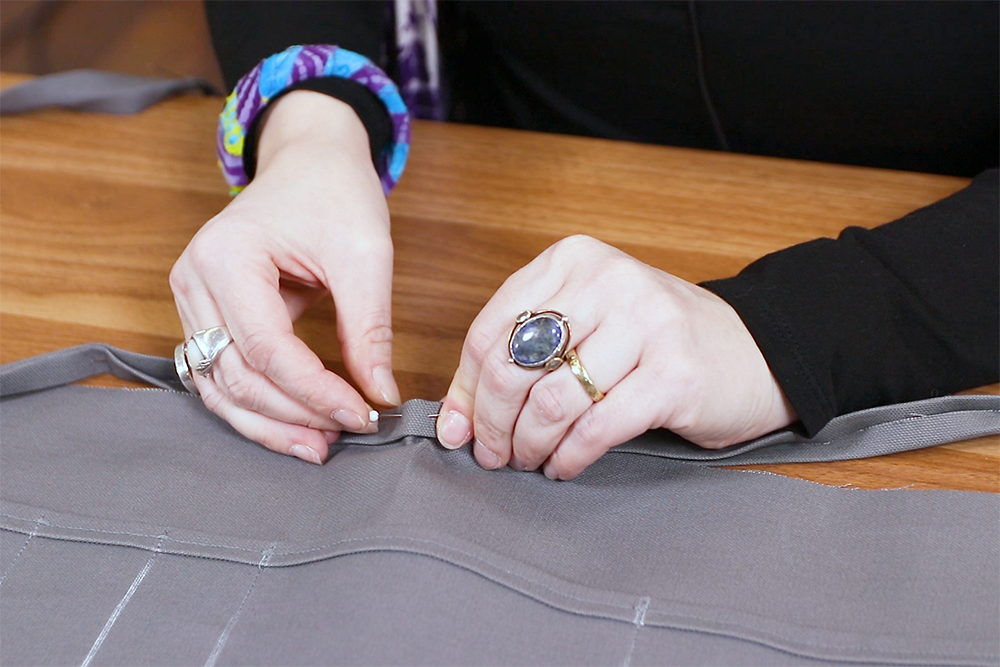
Now comes the fun part of attaching the tape. Finger press the center of the tape and the center of the top edge of the apron.
Match the centers and start pinning. Make sure to pin both layers of the tape to the raw edge of the top of the apron.

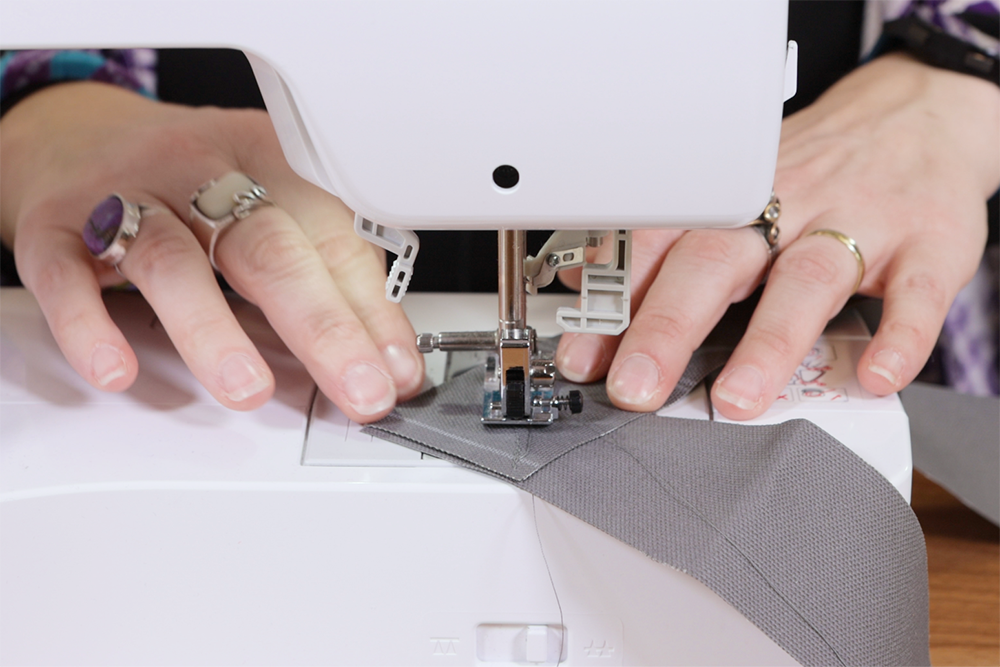
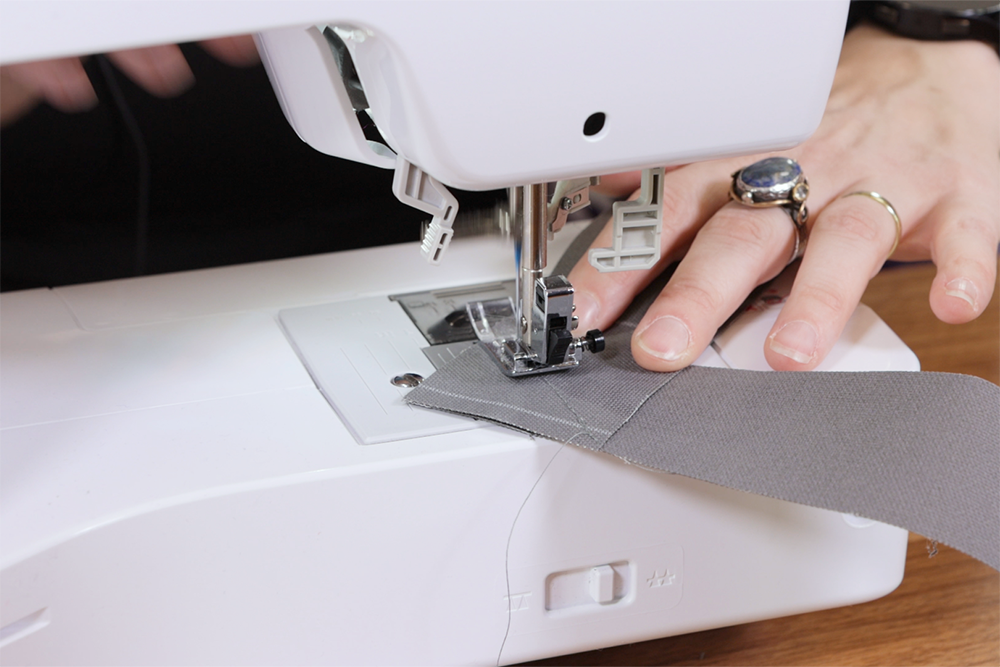
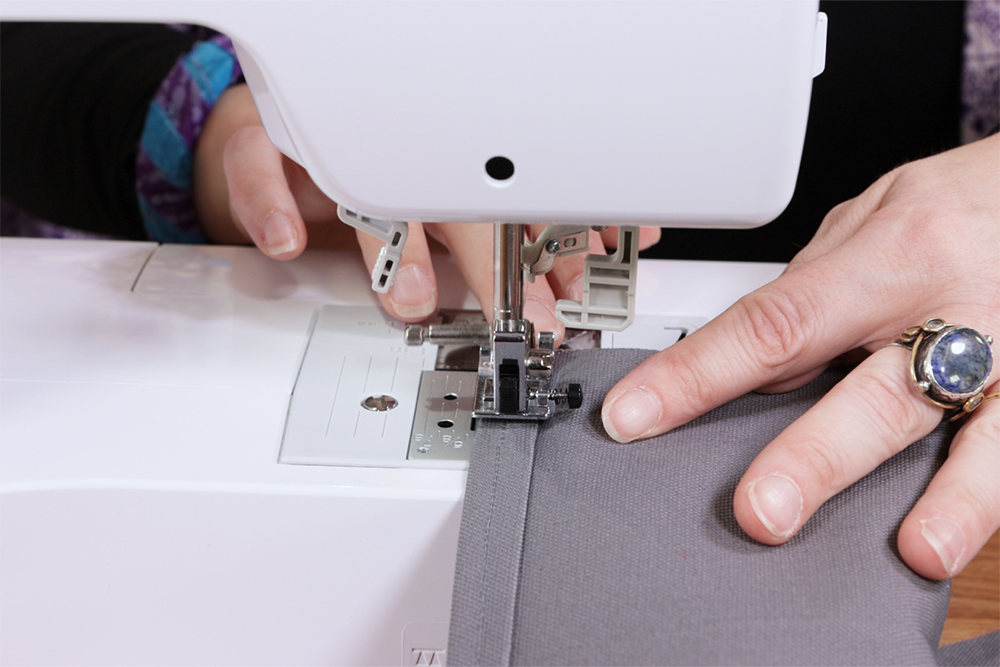
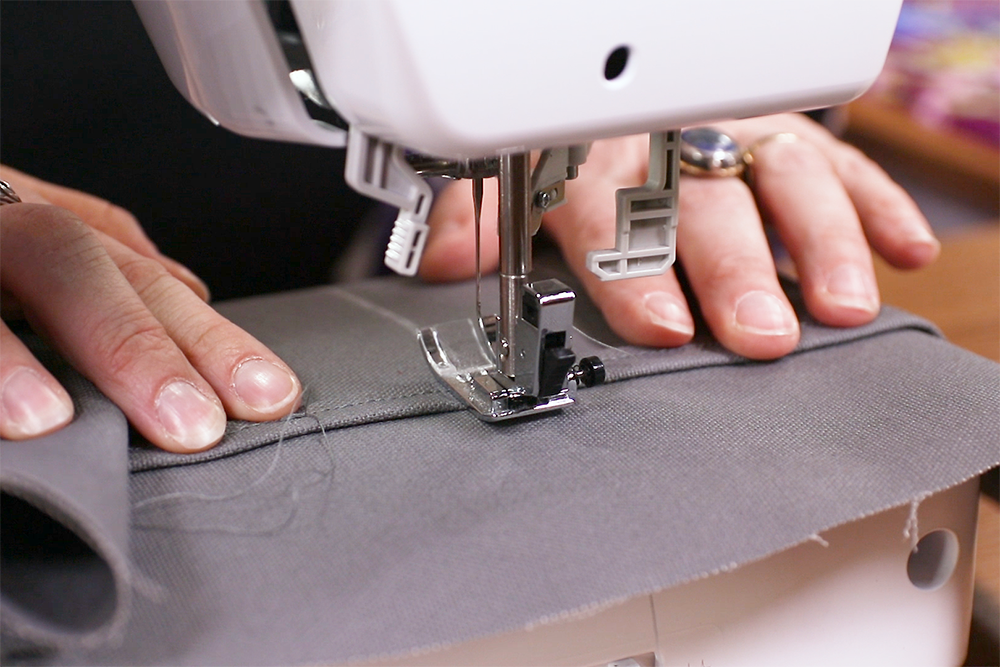
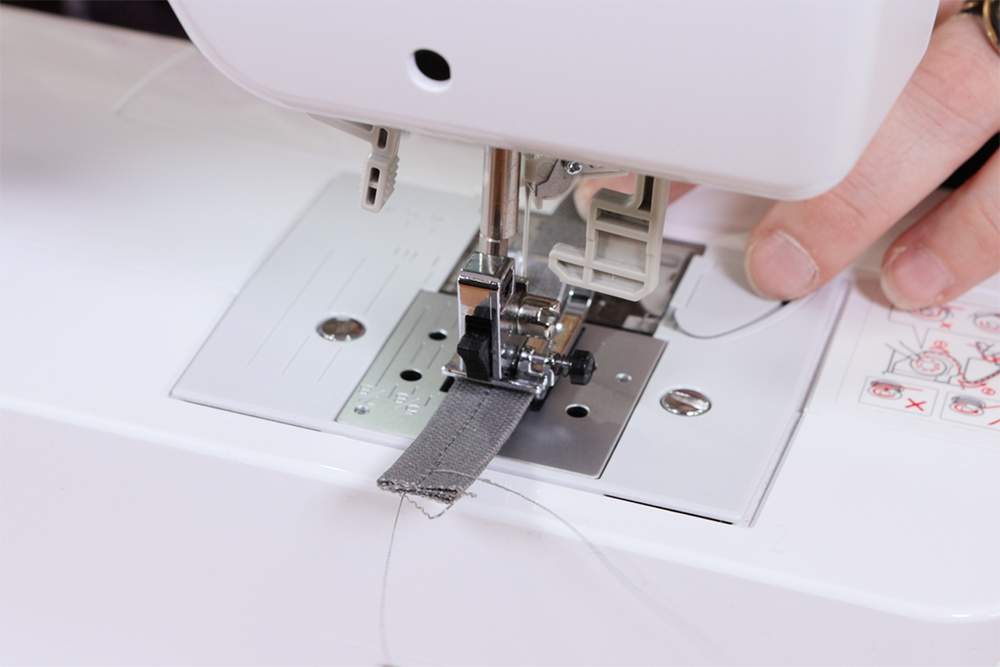
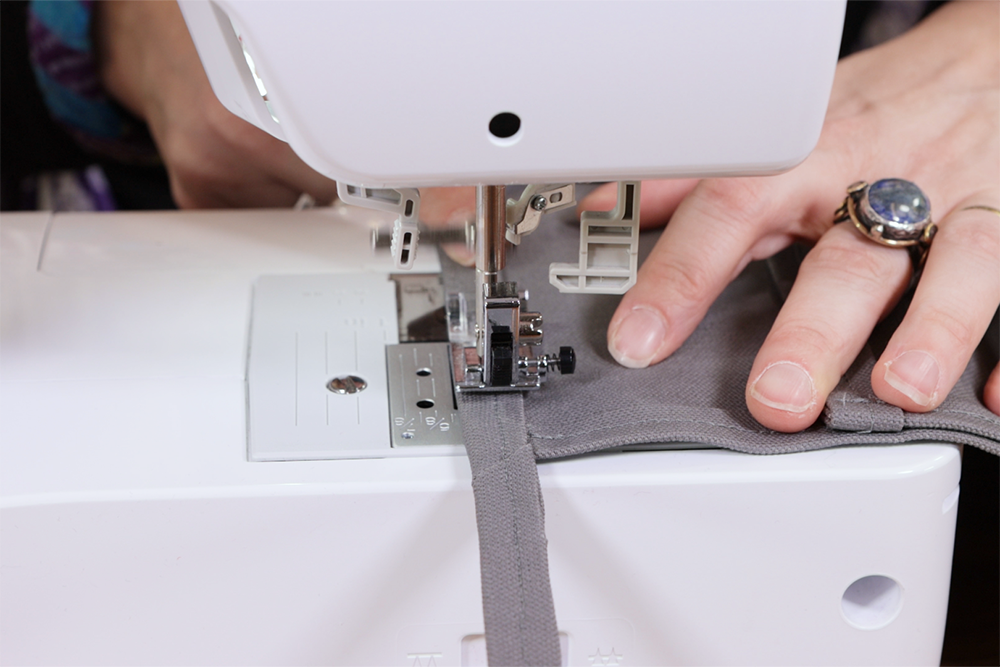
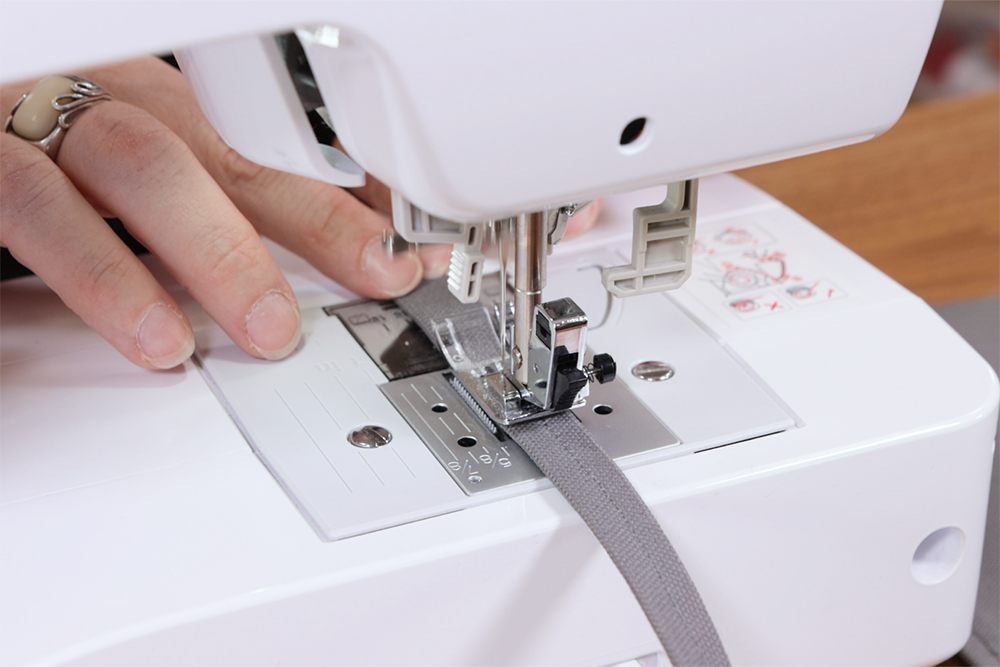
With a straight stitch, start sewing the right side of the tape so the apron will be on the left side of the machine. Use the presser foot as a guide to keep the tape centered. Take your time and stop if you need to.
When you get to the apron body, make sure to sew through all layers of fabric. Continue on to the end of the tape.
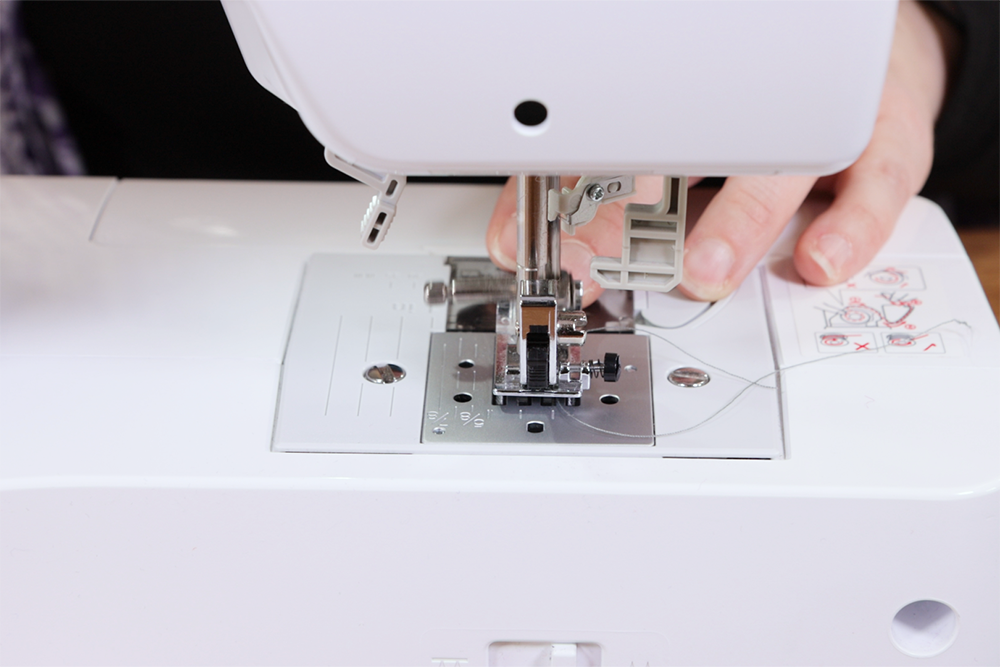
Finally, add bar tacks to the end of the tape.
Need some apron fabric? Shop dyed canvas!
-
{{#each productSuggestedQueries.results}}
- {{query}} {{/each}}
-
{{#each categories.results}}
- {{html title}} {{/each}}
{{html attributes.description}}
{{/if}}-
{{#each queries.results}}
- {{query}} {{/each}}