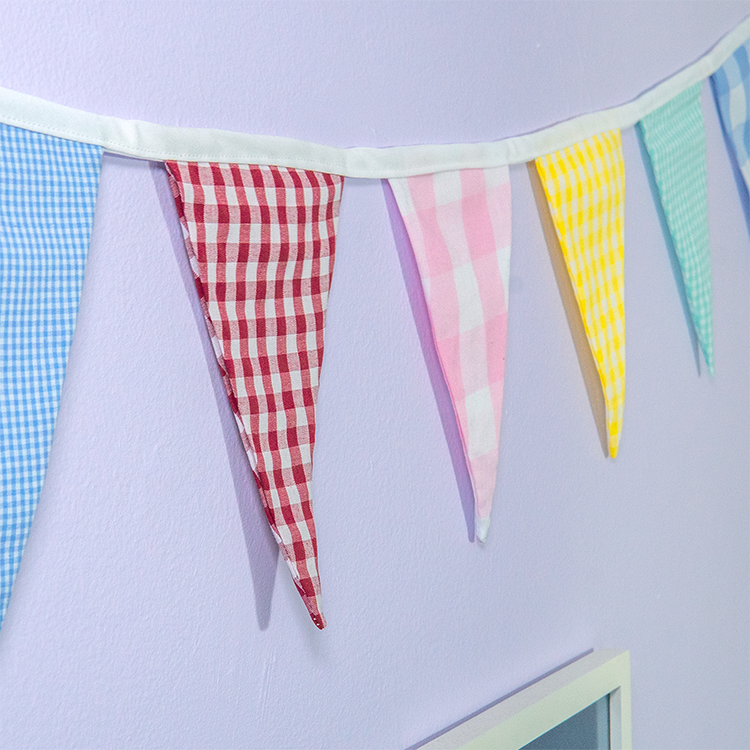
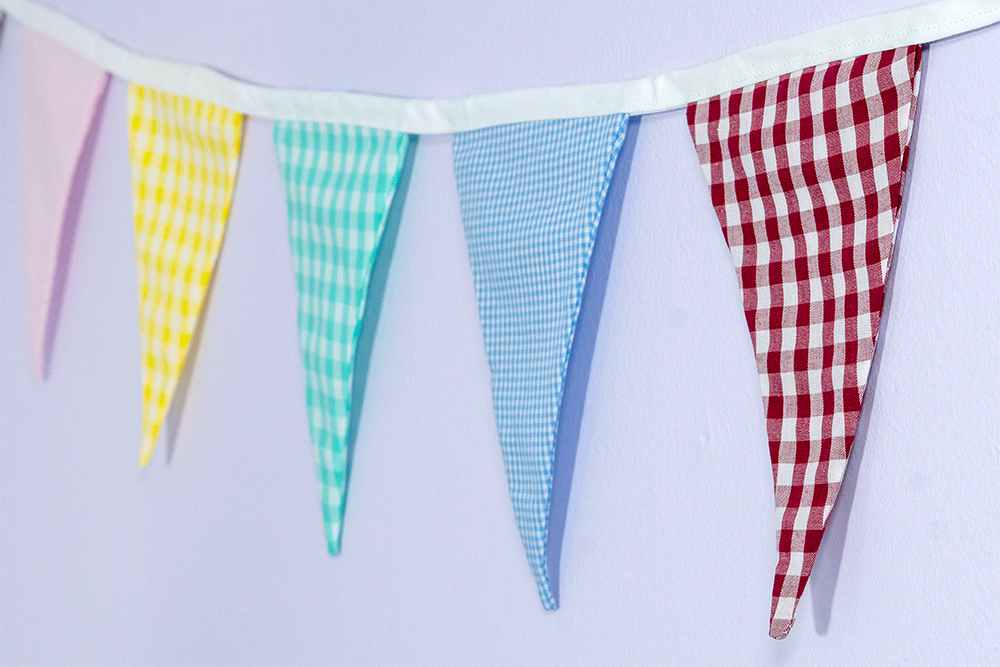
How to Make Fabric Bunting
- By Greg
- Beginner
- 1 hour 30 minutes
Making your own fabric bunting is easier than you think—and way more fun than buying it! It’s the perfect way to use up fabric scraps and add color and customization to any space or celebration. So grab your sewing kit and let’s get to it.
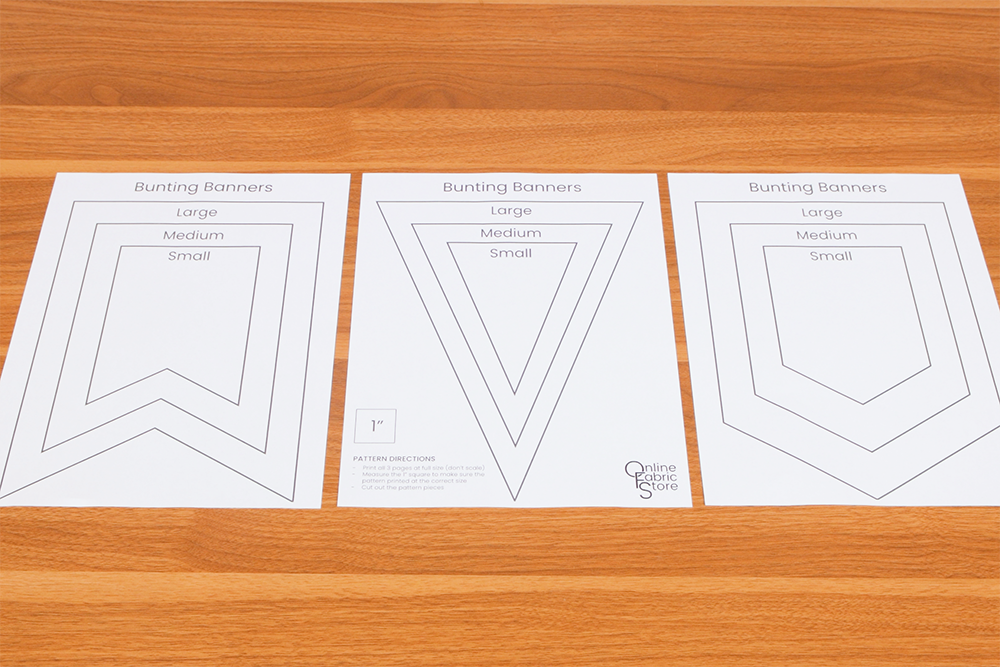
Download the FREE pattern: https://onlinefabricstorewordpress.azurewebsites.net/wp-content/uploads/2023/09/burlap-banner-pattern.pdf
Materials
Related Products


Video
Instructions
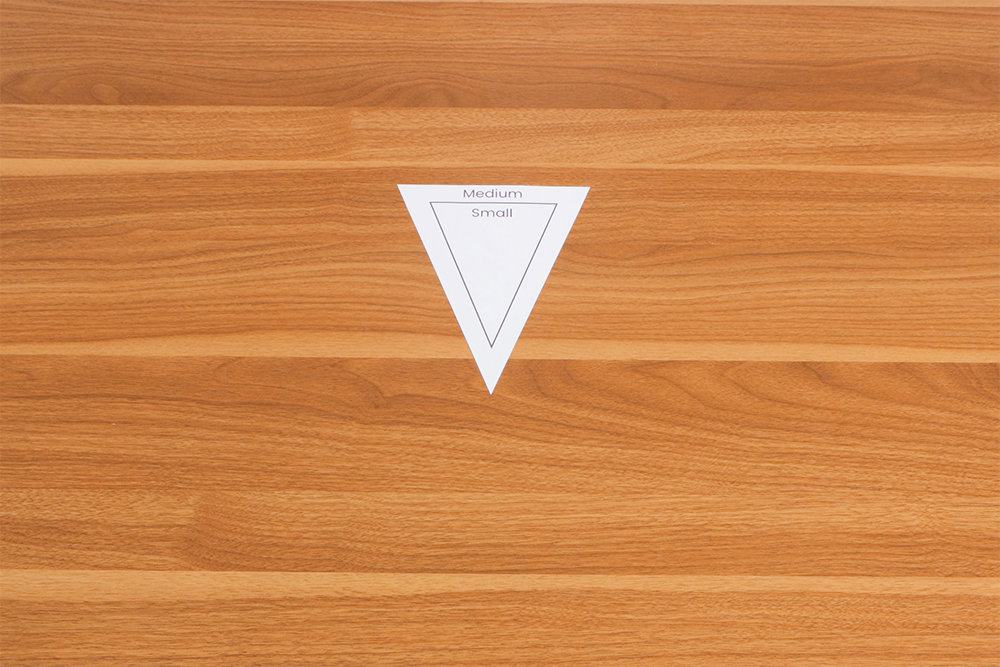
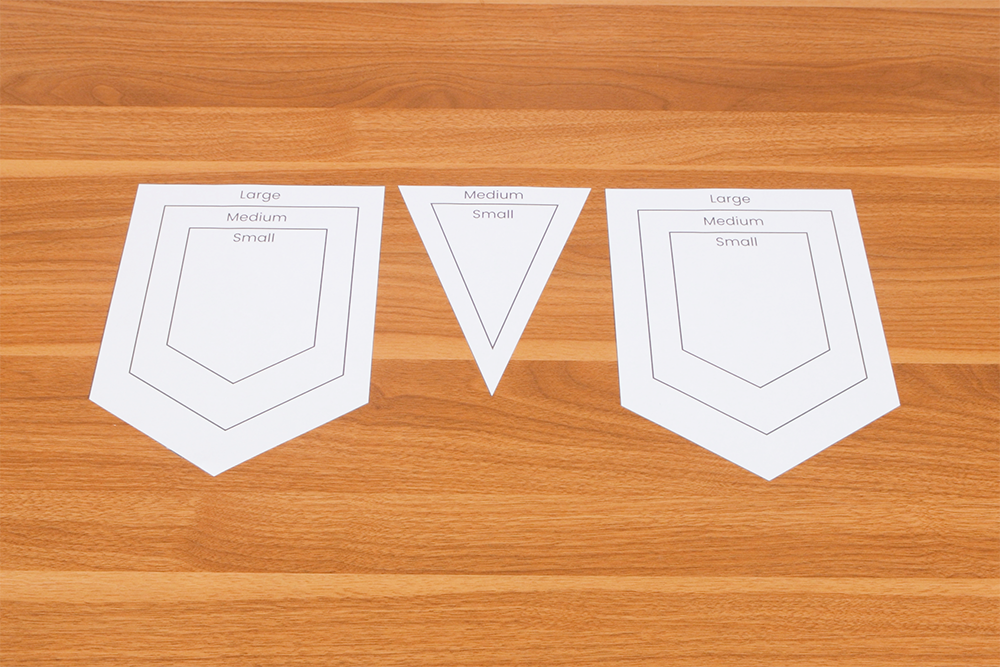
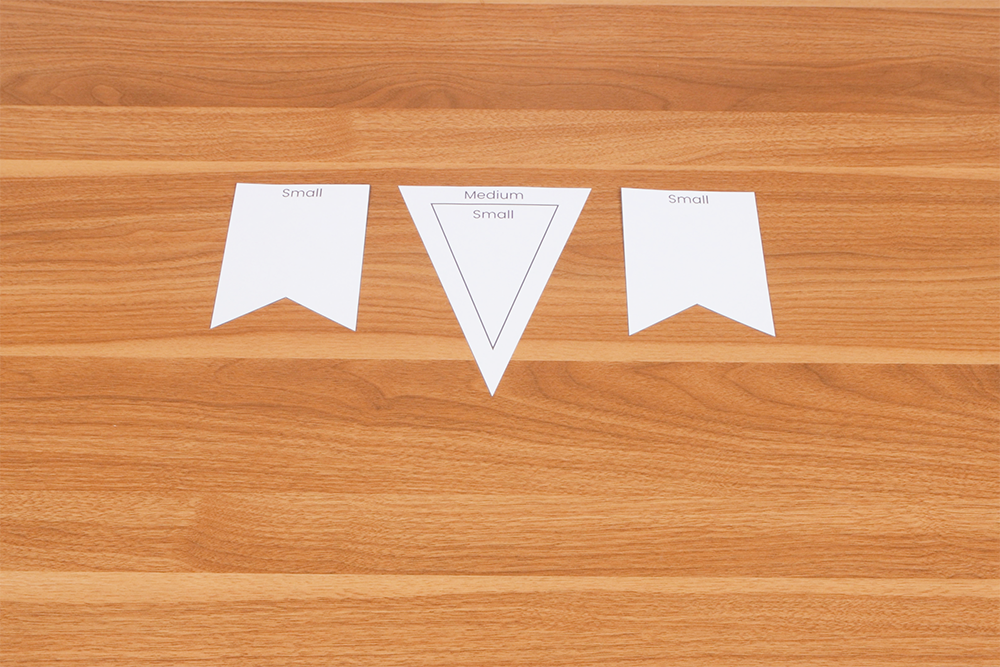
Step 1: Plan & cut your bunting
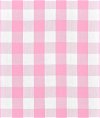
Start by planning your bunting. Feel free to come up with your own shapes, or use shapes from this pattern. I’ll be using medium sized triangles, you can also mix and match shapes and sizes.
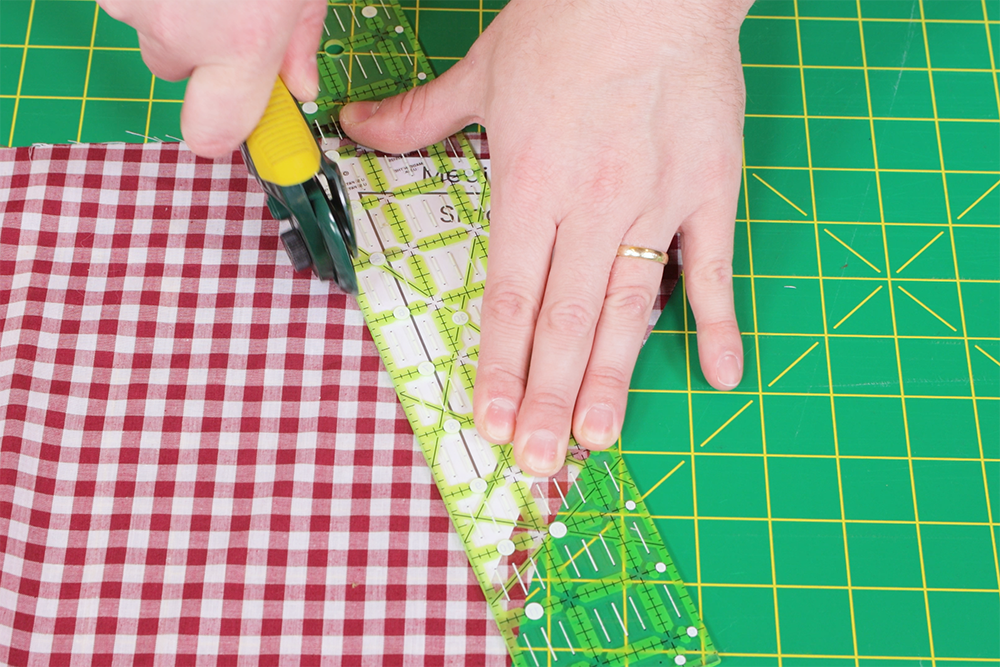
Cut 2 pieces of fabric for each section of bunting. Mine will be 10 sections total.

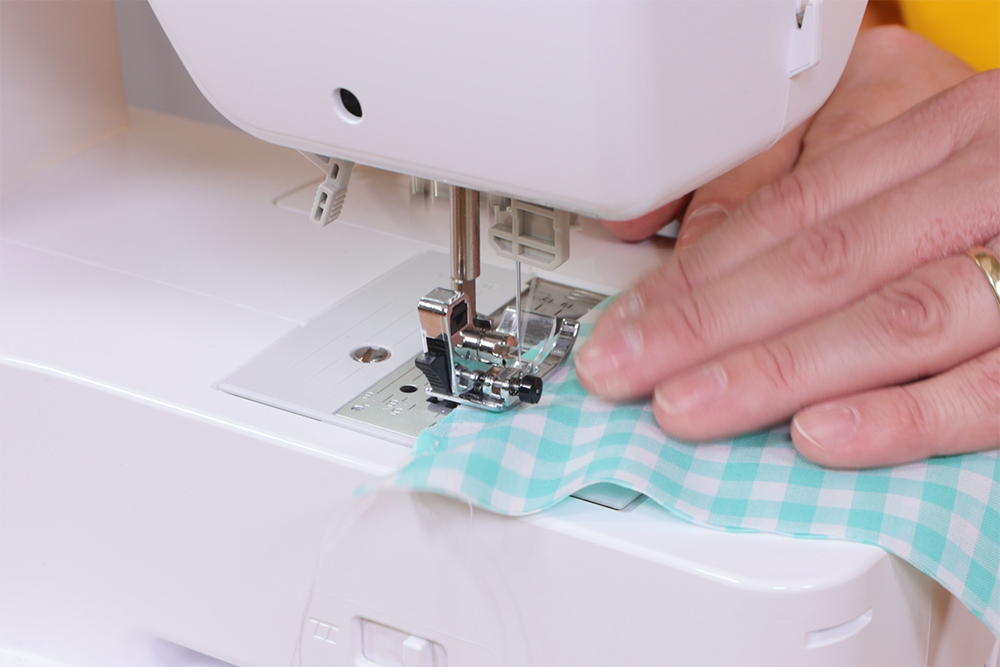
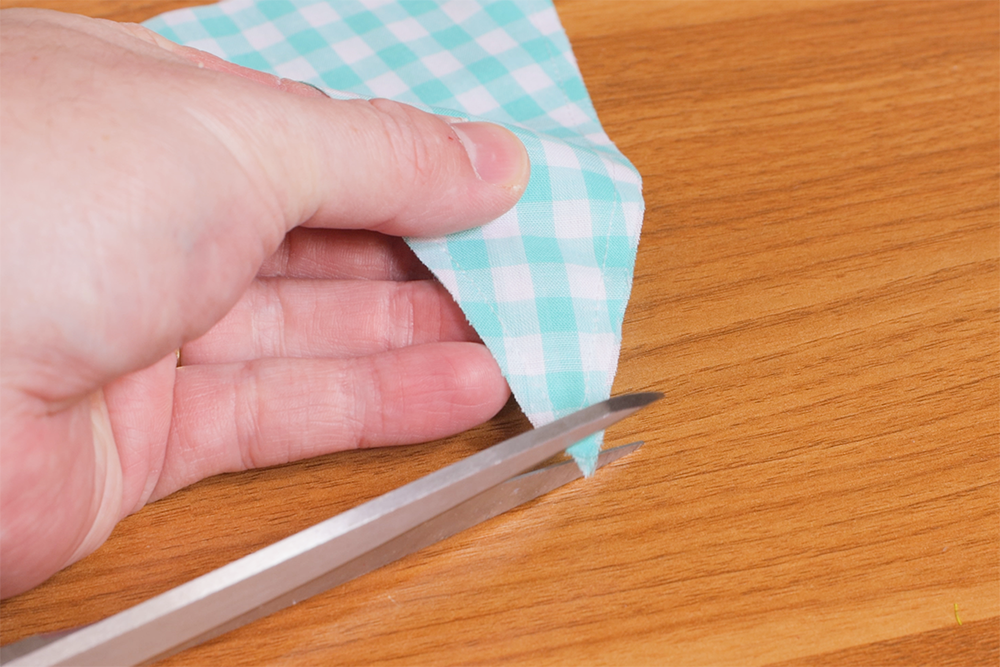
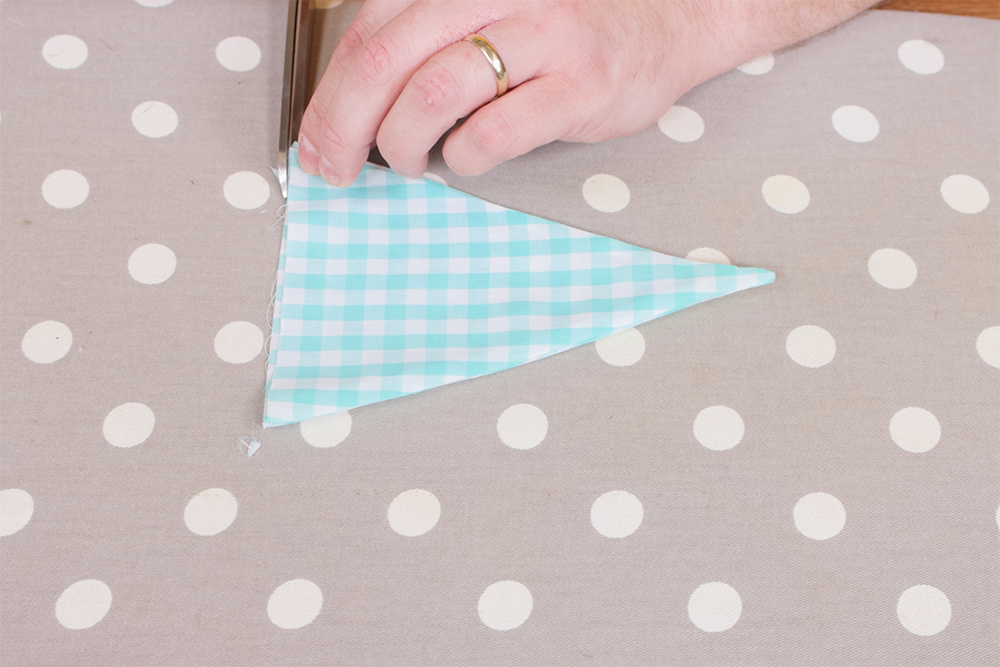
For each section, place the 2 pieces of fabric together with right sides facing. Sew the sides and bottom with a ⅛” to ¼” seam allowance. Trim the corners if necessary to reduce bulk.
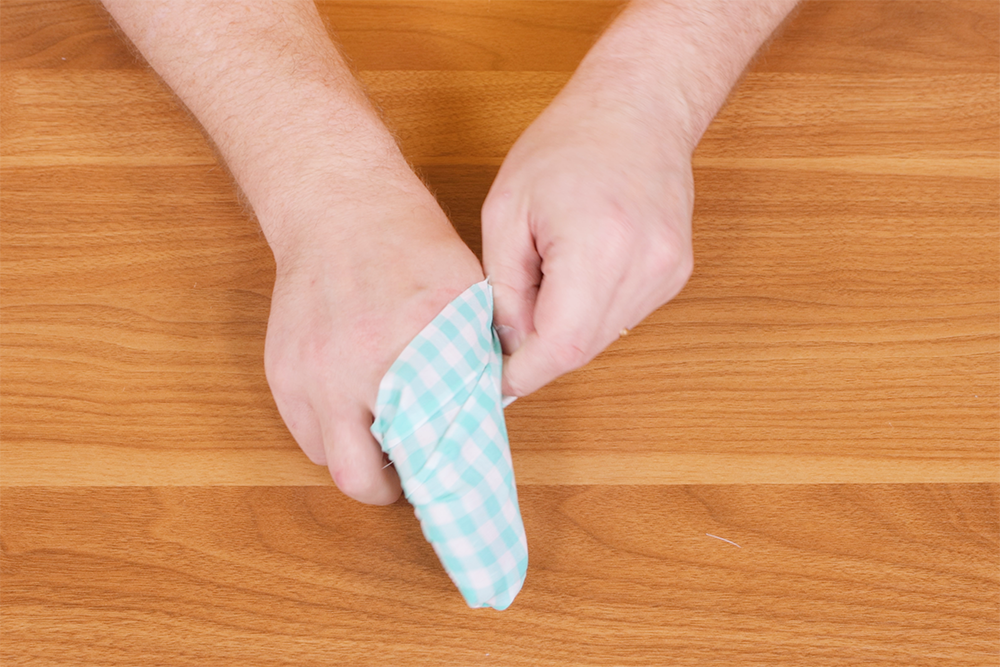
Turn the section right side out and poke out the corners.
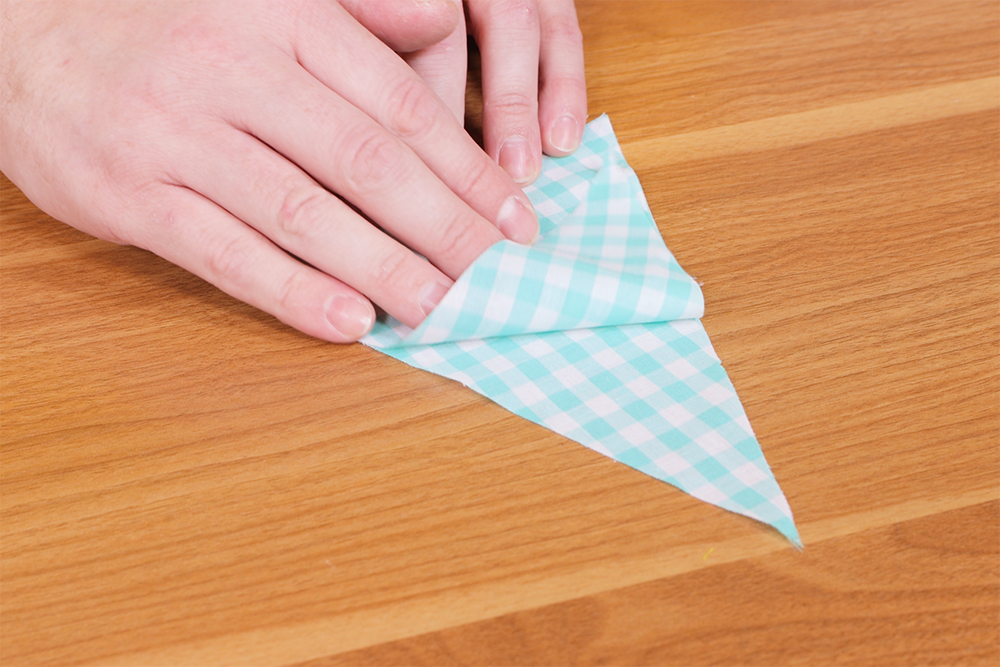
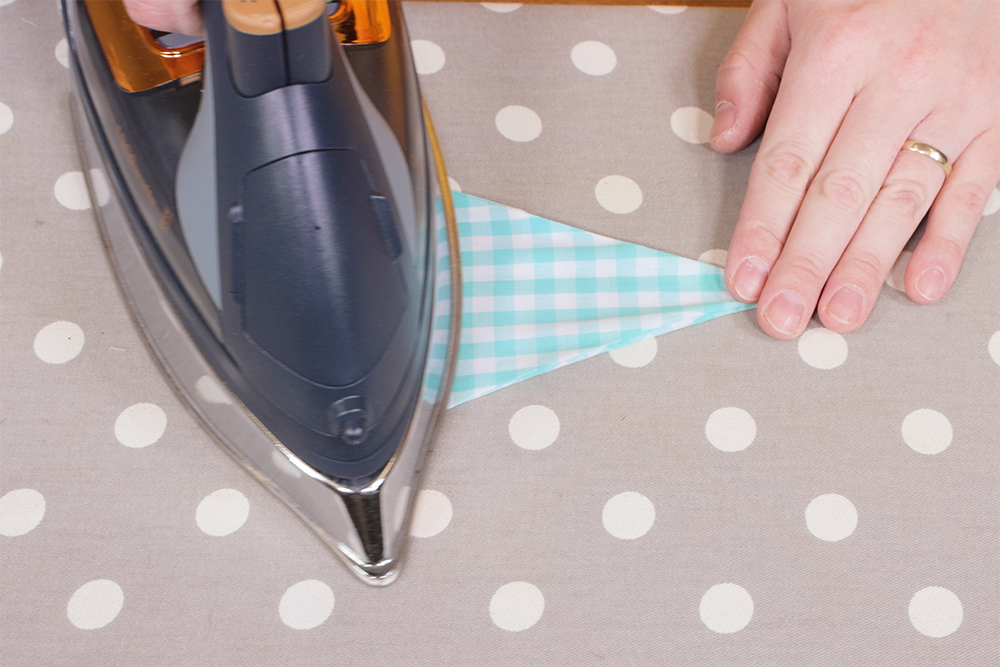
Iron flat and trim any threads or seams sticking out of the top. Repeat for all bunting sections.
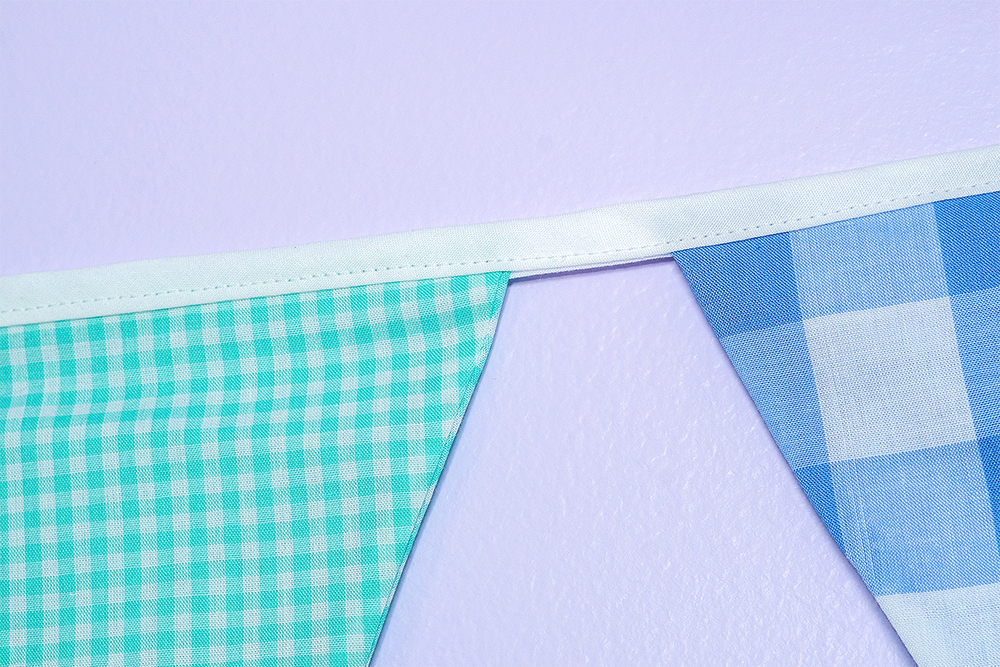
Step 2: Sew together
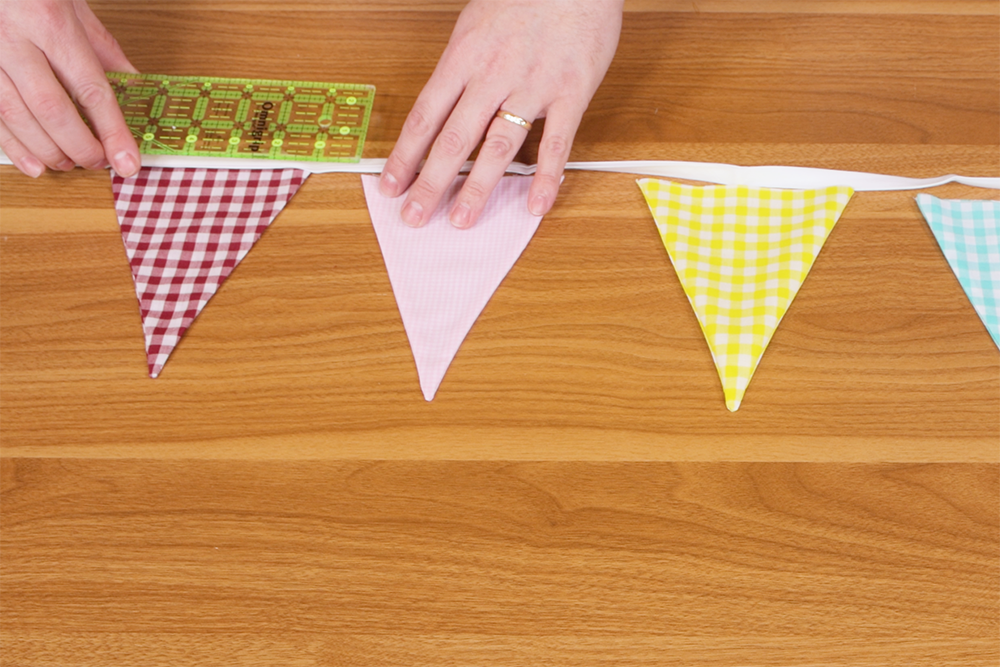
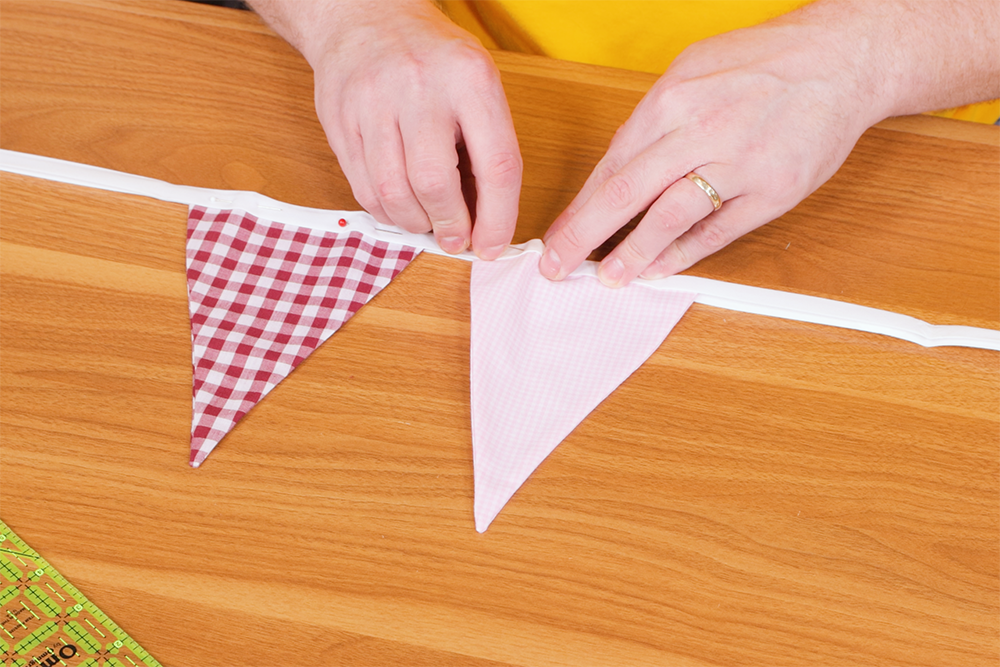
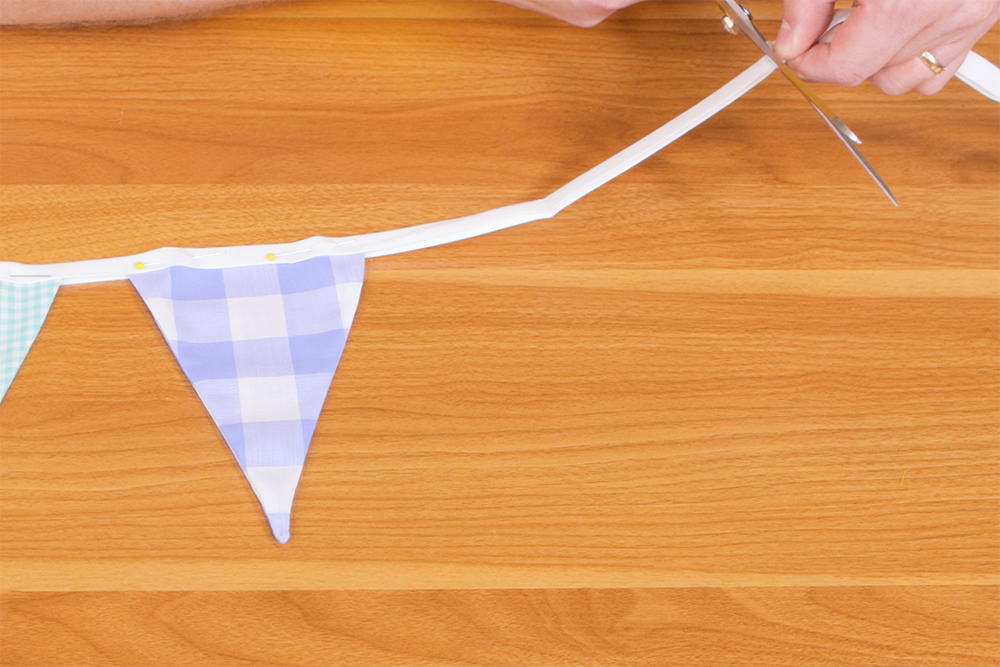
Next, lay out the bunting and plan the spacing. You don’t have to space them at all if you don’t want to, I’ll be spacing mine about 1 inch apart. Insert each section into the bias tape fold and pin in place. This is premade bias tape, but feel free to make your own.
Trim the bias tape leaving some wiggle room on each end for hanging. My tape ends are about 6 inches from the bunting on each end.
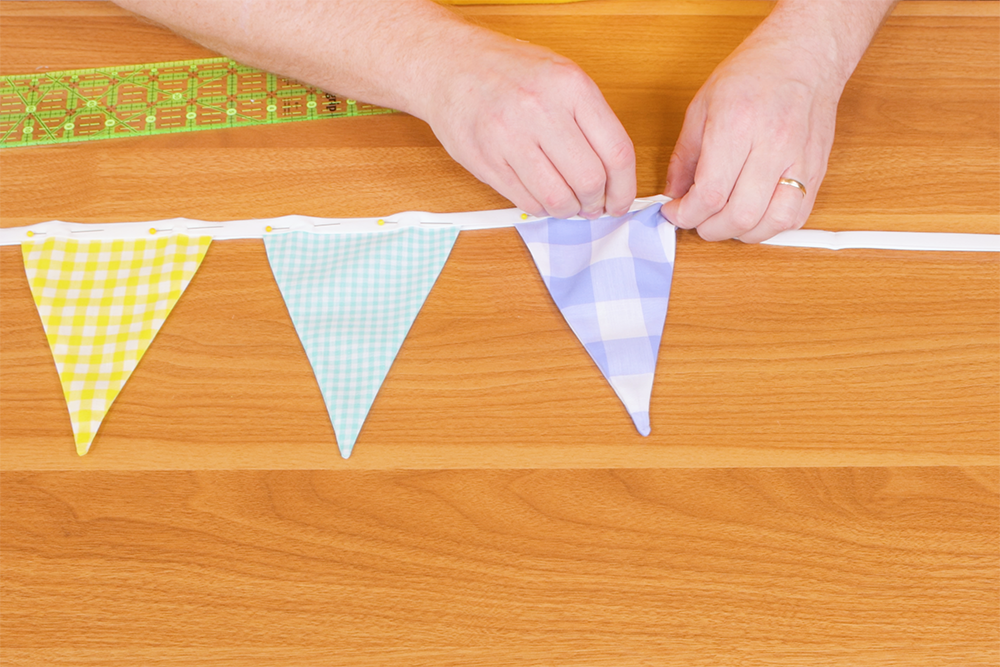
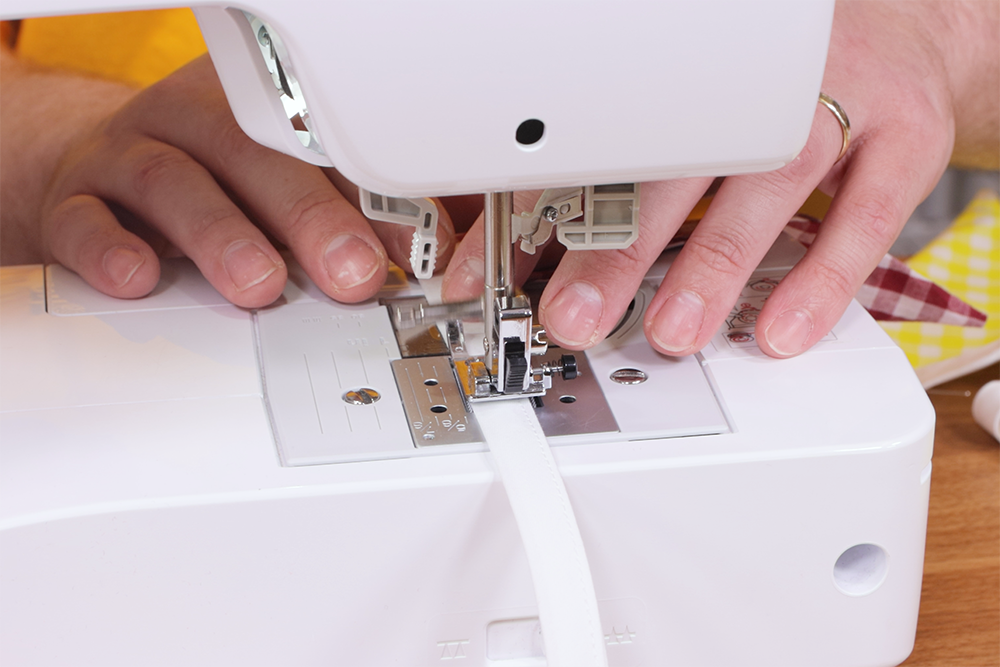
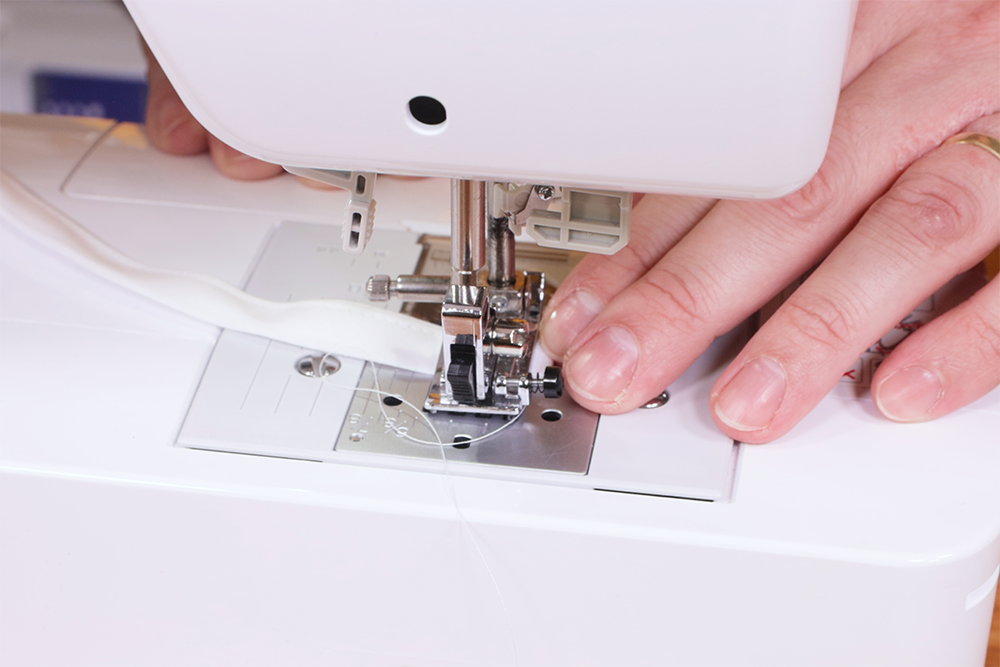
Start sewing at one end close to the bias tape opening. Sew through the bunting all the way to the other end of the tape.

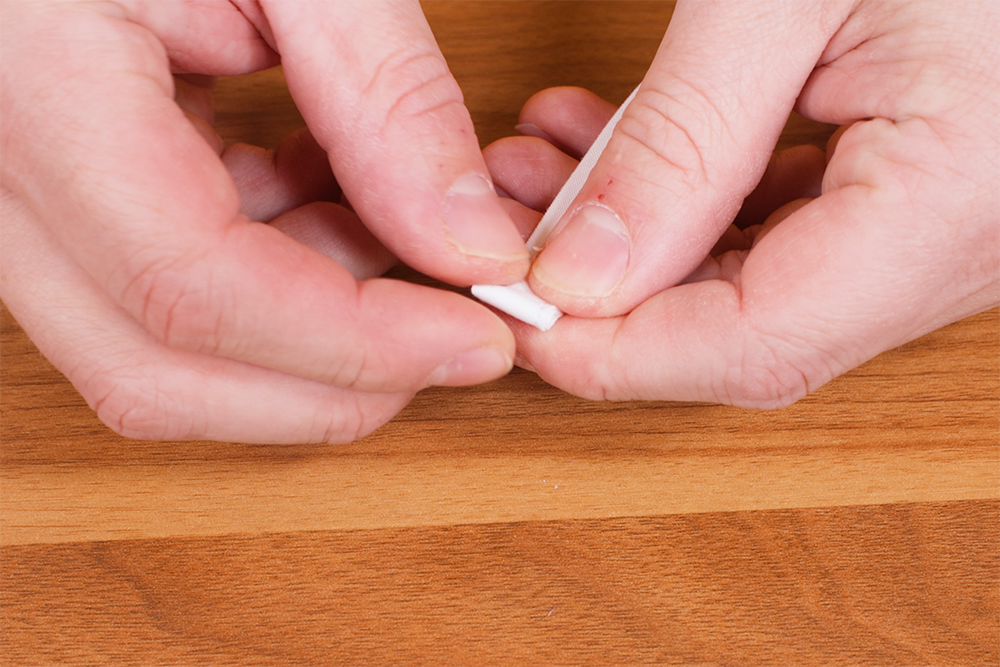
Fold one end of the tape over about a ¼ inch twice and sew a square. Repeat for the other end of the tape. That’s it, your bunting is ready to hang.
-
{{#each productSuggestedQueries.results}}
- {{query}} {{/each}}
-
{{#each categories.results}}
- {{html title}} {{/each}}
{{html attributes.description}}
{{/if}}-
{{#each queries.results}}
- {{query}} {{/each}}