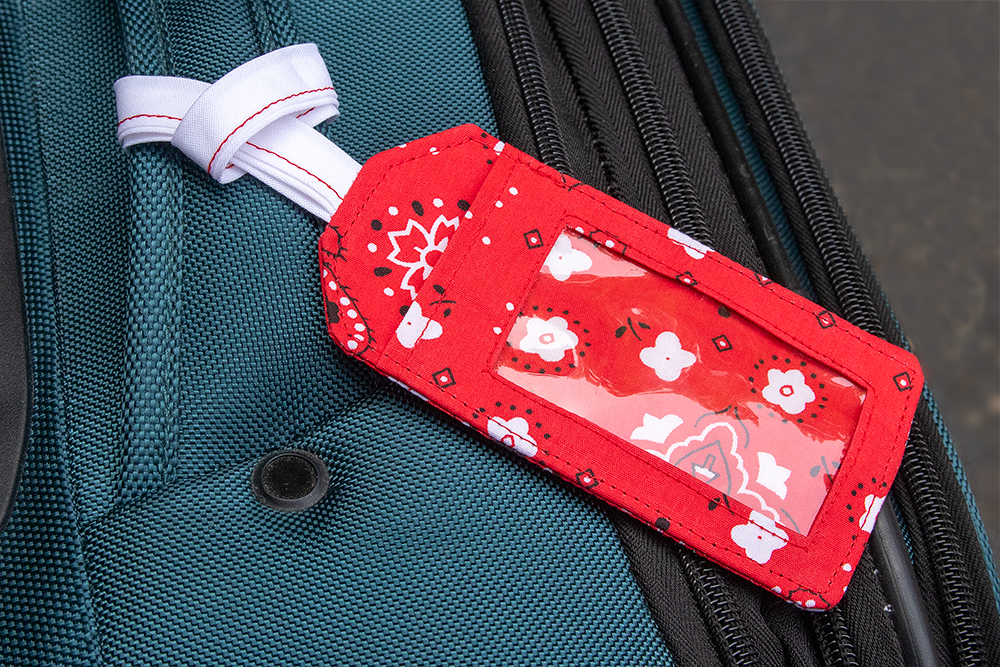
How to Make Fabric Luggage Tags
- By Greg
- Intermediate
- 45 minutes
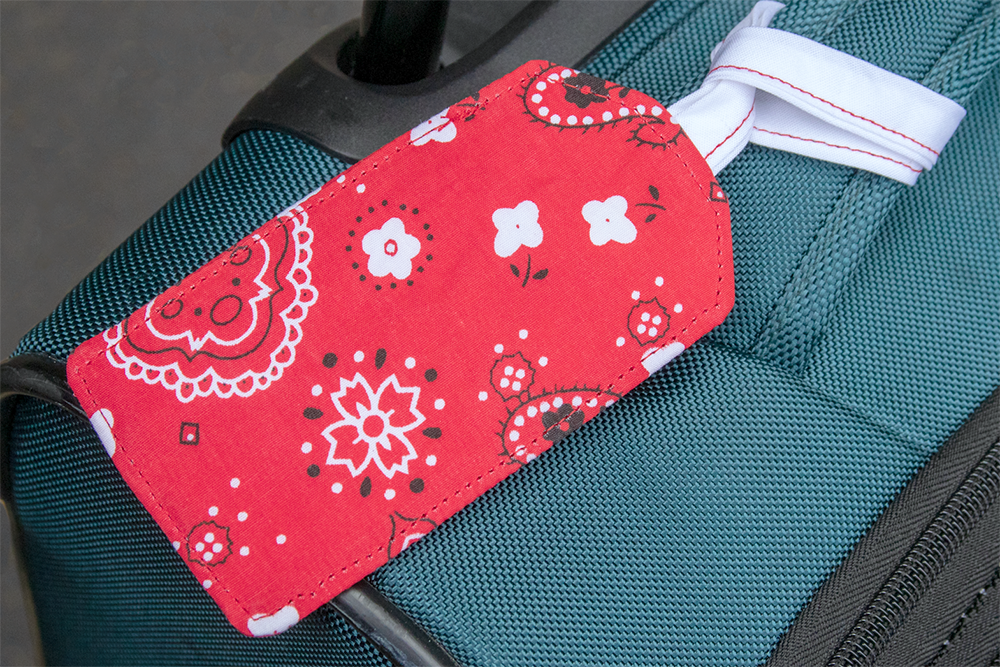
Like many travelers, I like to use luggage from an excellent brand called “Generic.” How do I make my luggage stand out? Personalized luggage tags! These tags are made using a FREE downloadable pattern, and you can use any cotton fabric that complements your luggage.

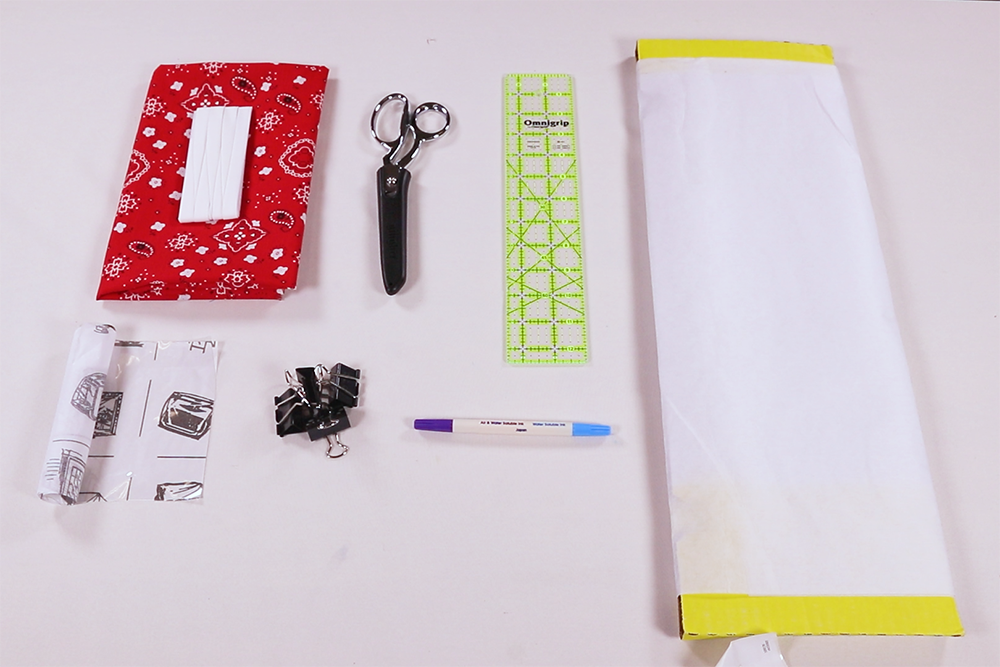
Materials
Related Products


Video
Instructions
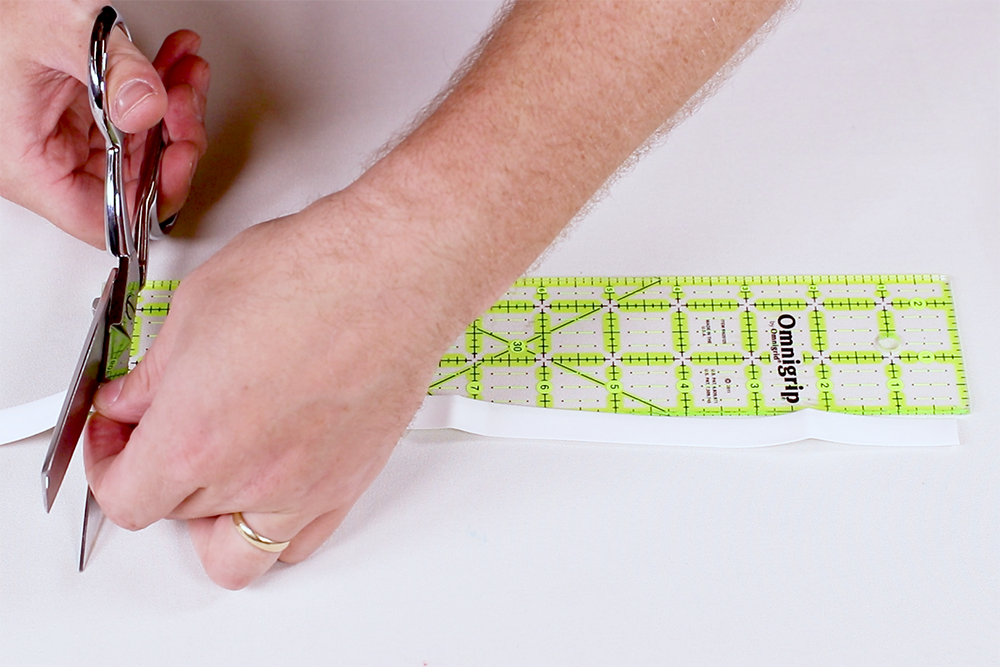
Step 1: Cut Out the Pieces
Print the pattern and cut out the pieces. Make sure to include the notch which marks the top of the pocket.
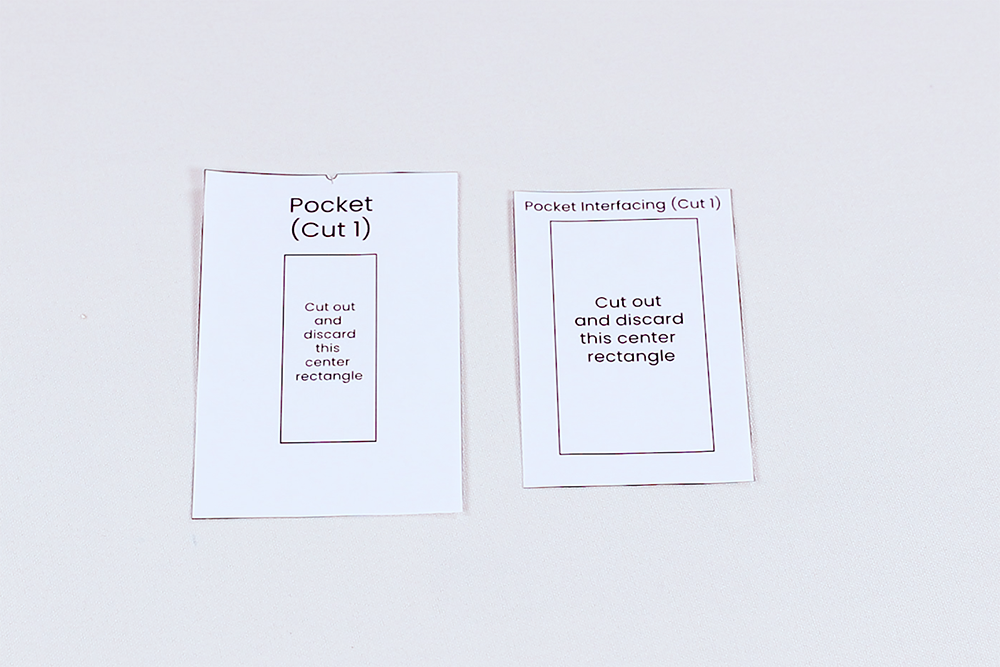
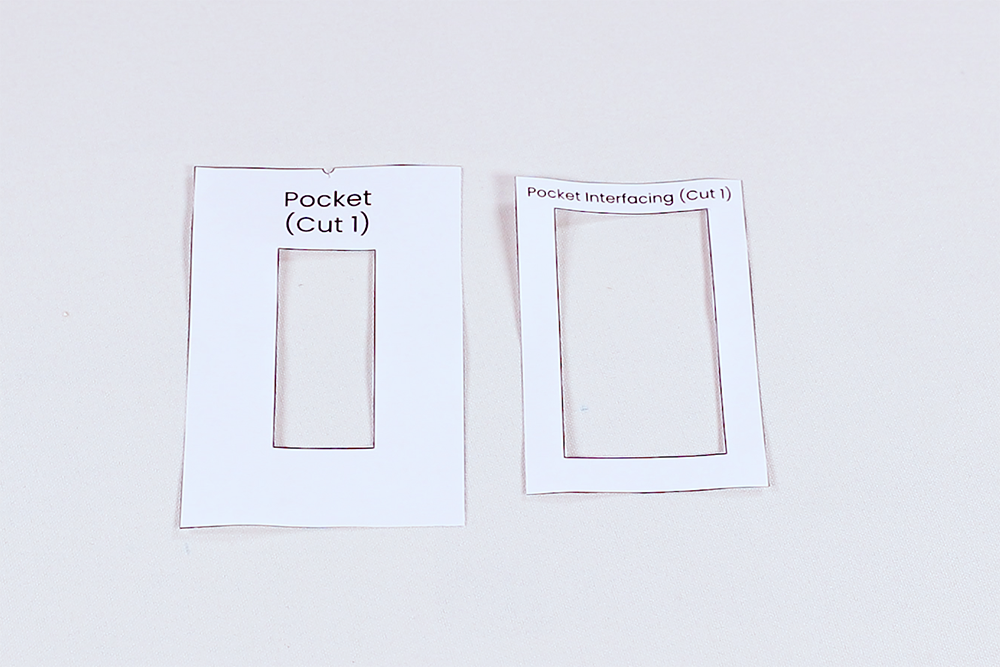
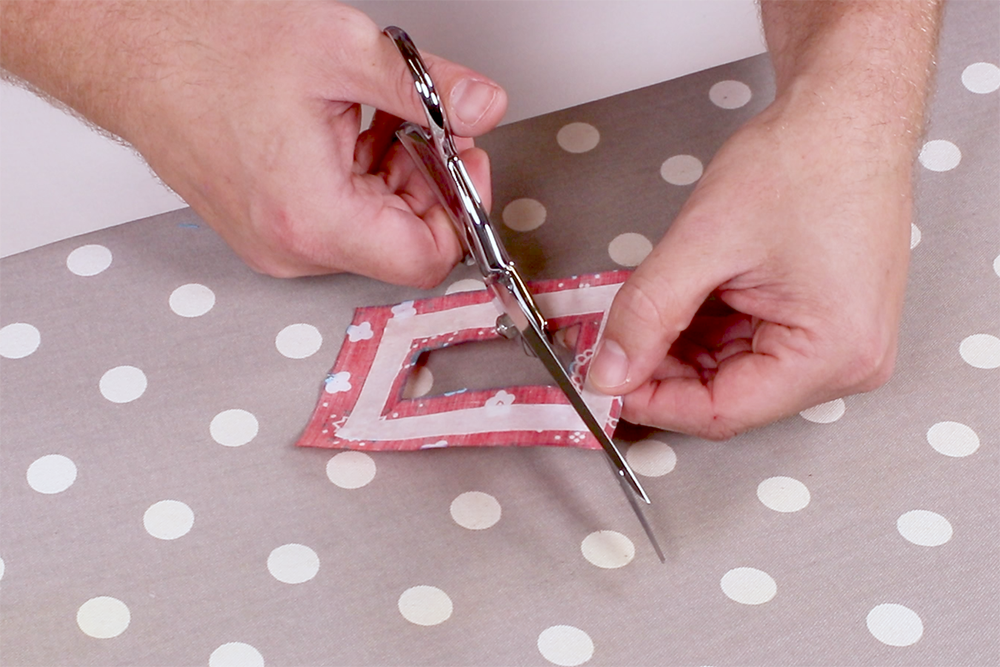
For the pocket pieces, cut out and discard the center rectangles.
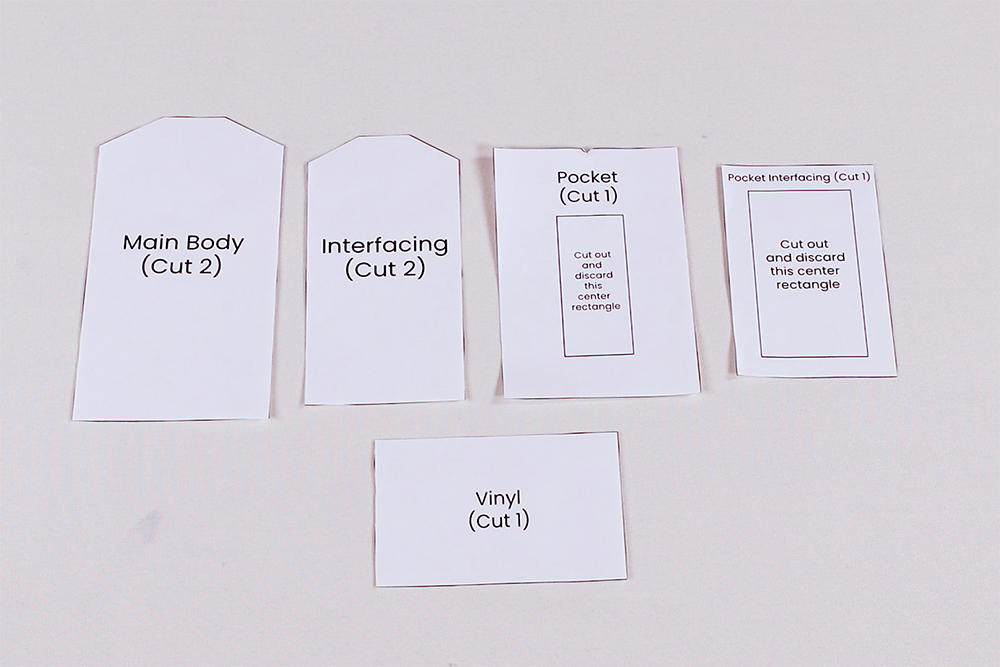

Use the pattern to cut out 2 pieces of main body fabric, 2 pieces of main body interfacing, and one piece each of the pocket, the pocket interfacing, and clear vinyl.
Also cut a 12 inch lengths of bias tape.

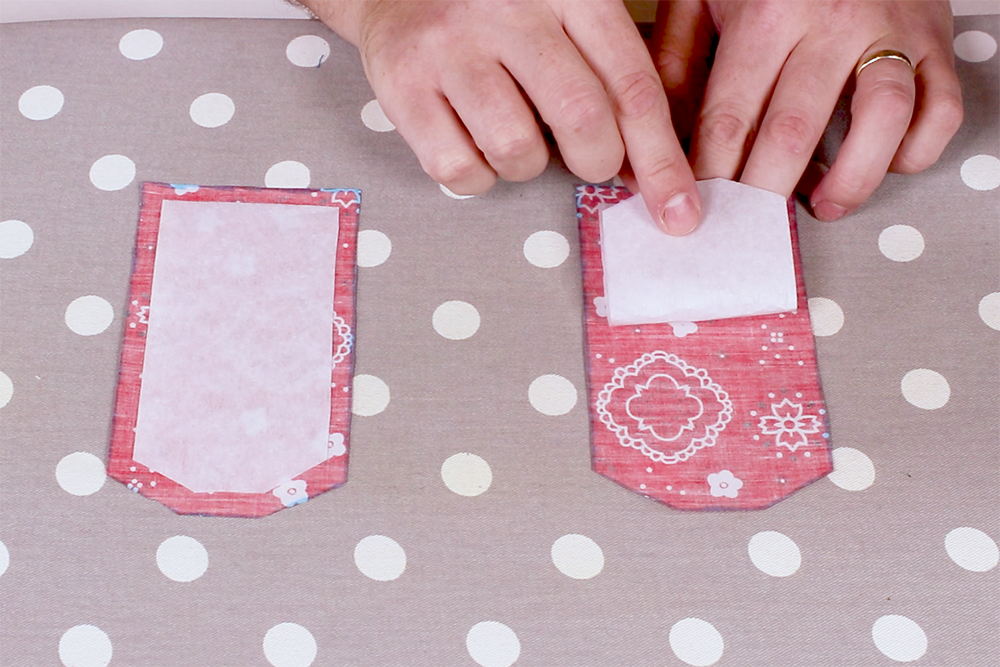
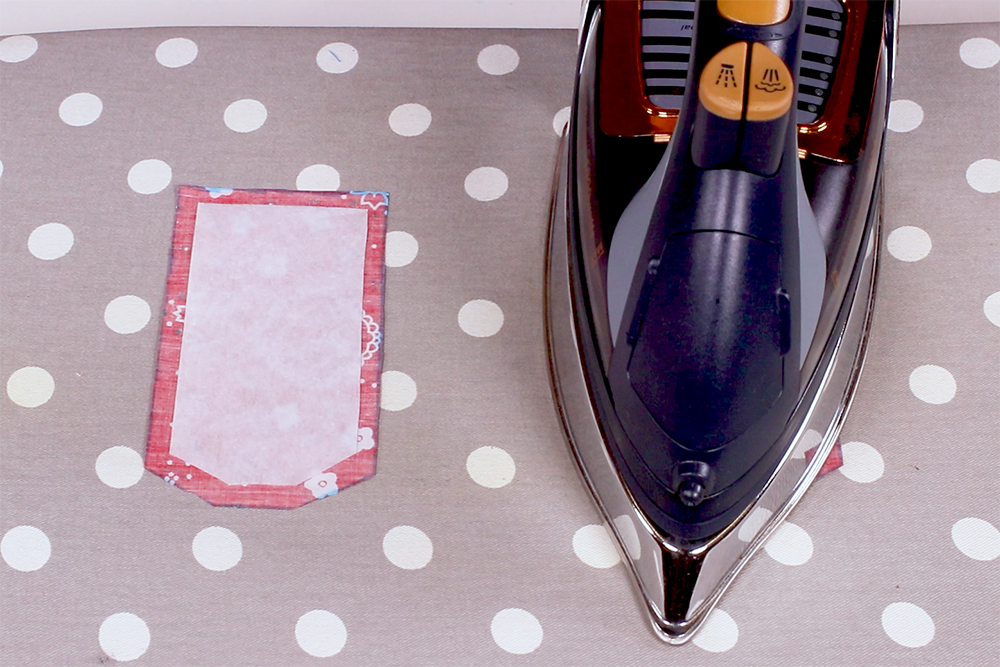
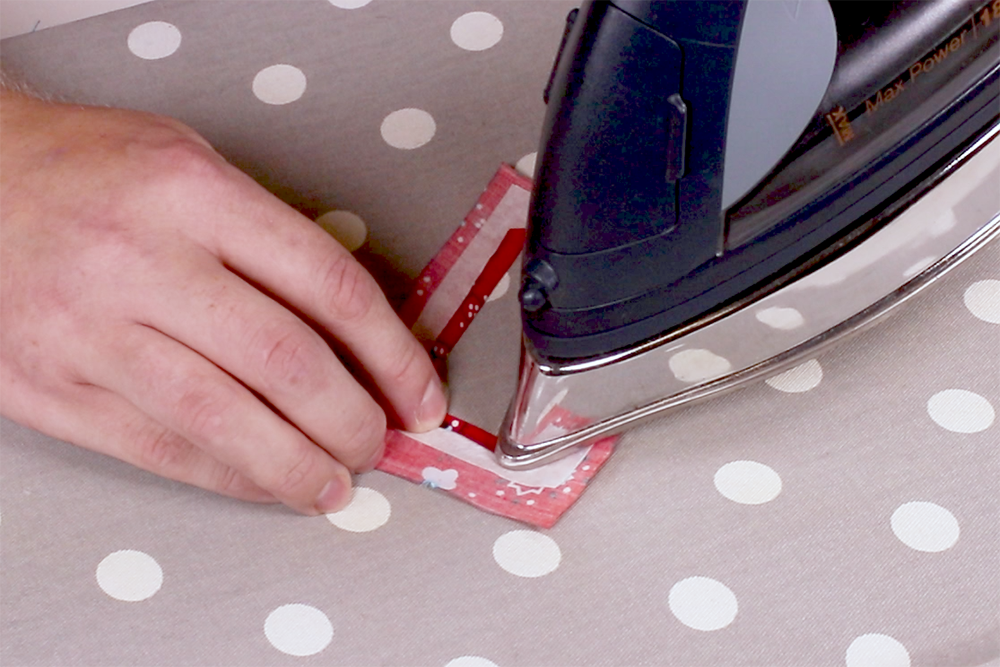
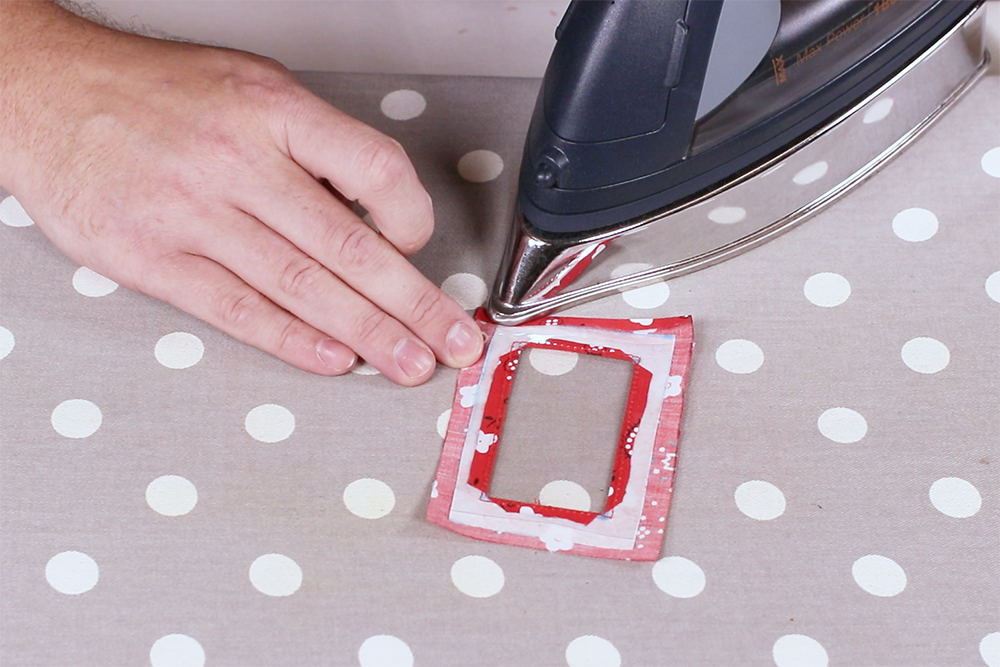
Center the main body interfacing pieces on the wrong side of the fabric pieces and iron for at least 10 seconds to fuse. Make sure the shiny, bumpy side of the interfacing is down on the fabric.
Repeat to fuse the pocket interfacing to the pocket fabric.

Step 2: Sew Together
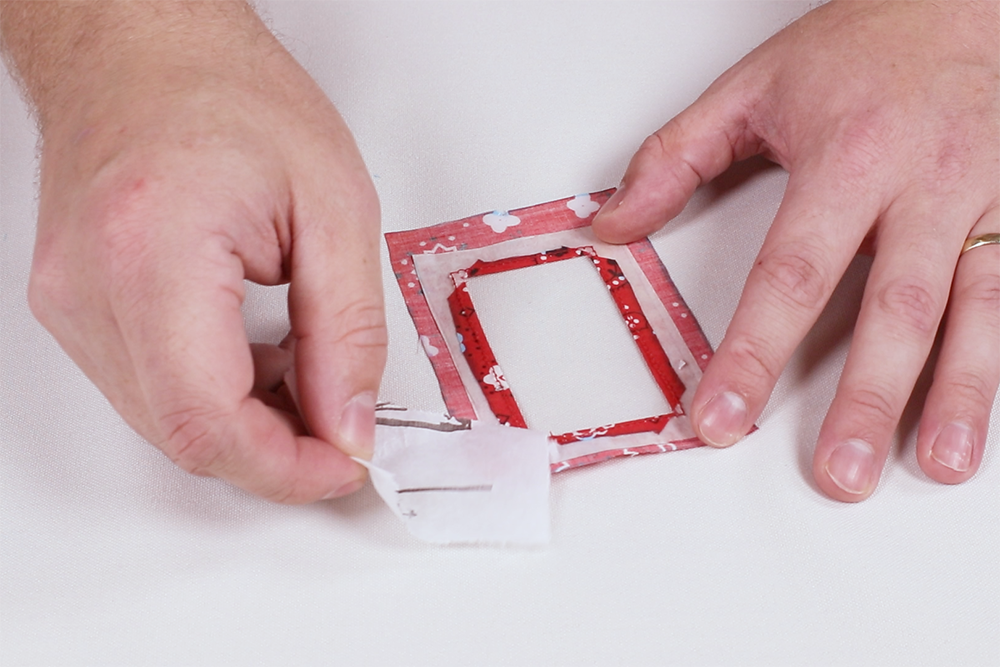
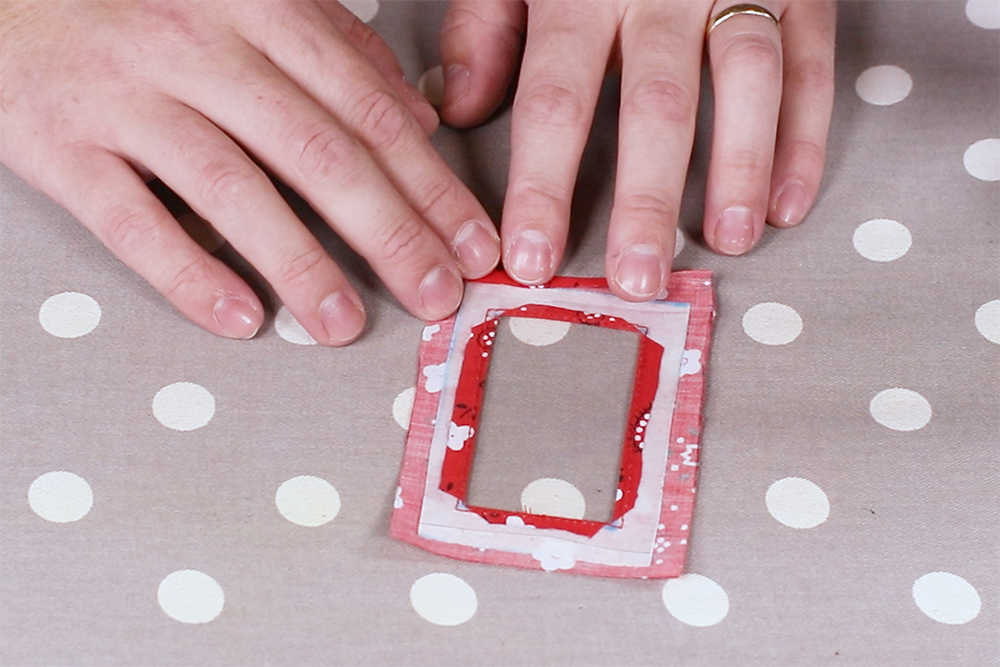
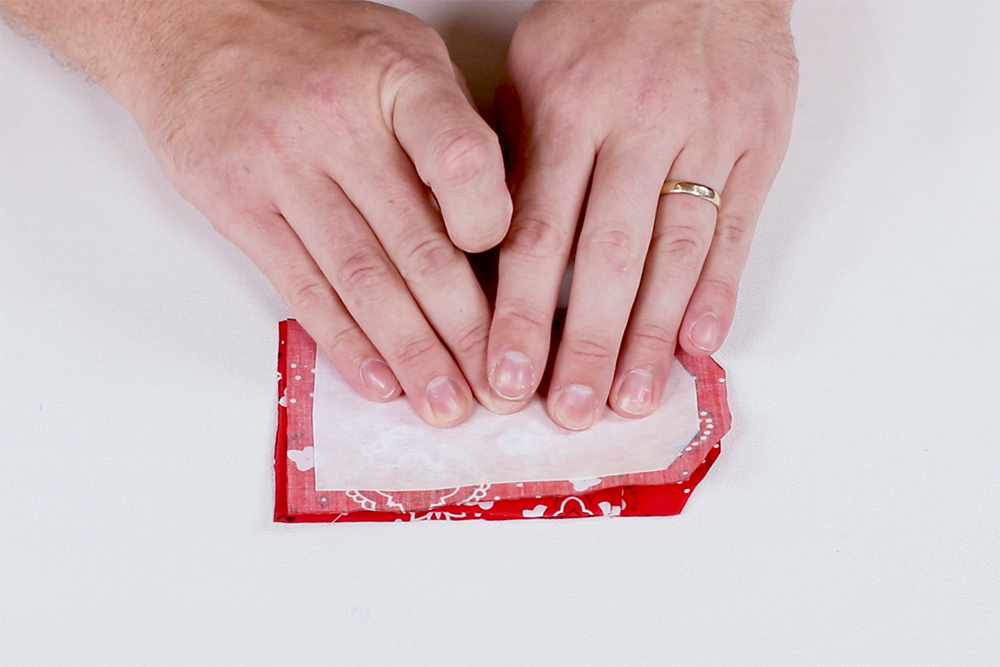
Snip the inner corners of the pocket down to the interfacing. Fold the fabric edges down on the wrong side and press.
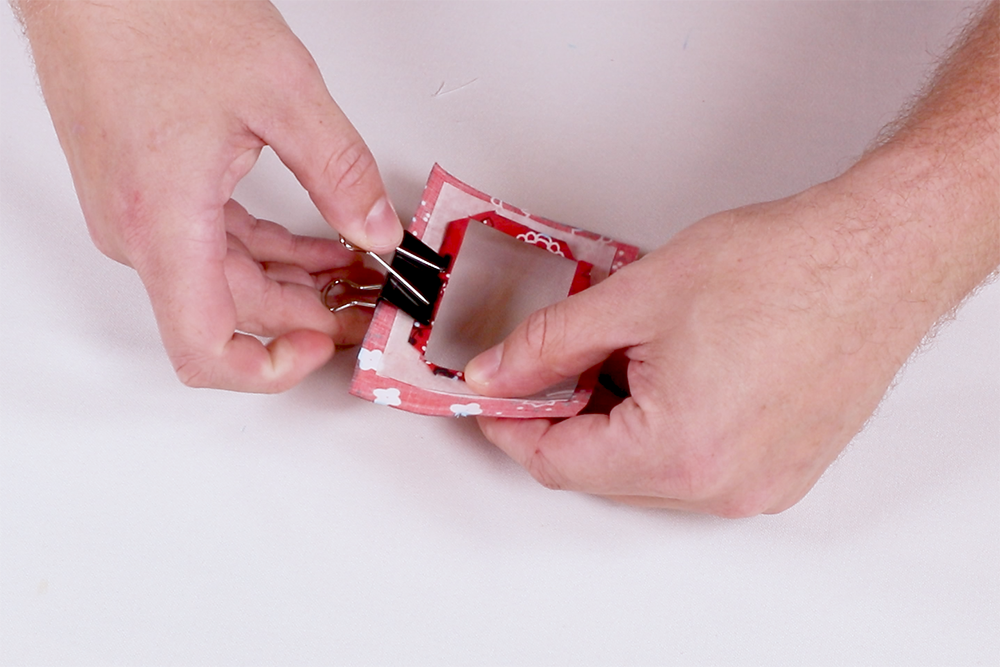
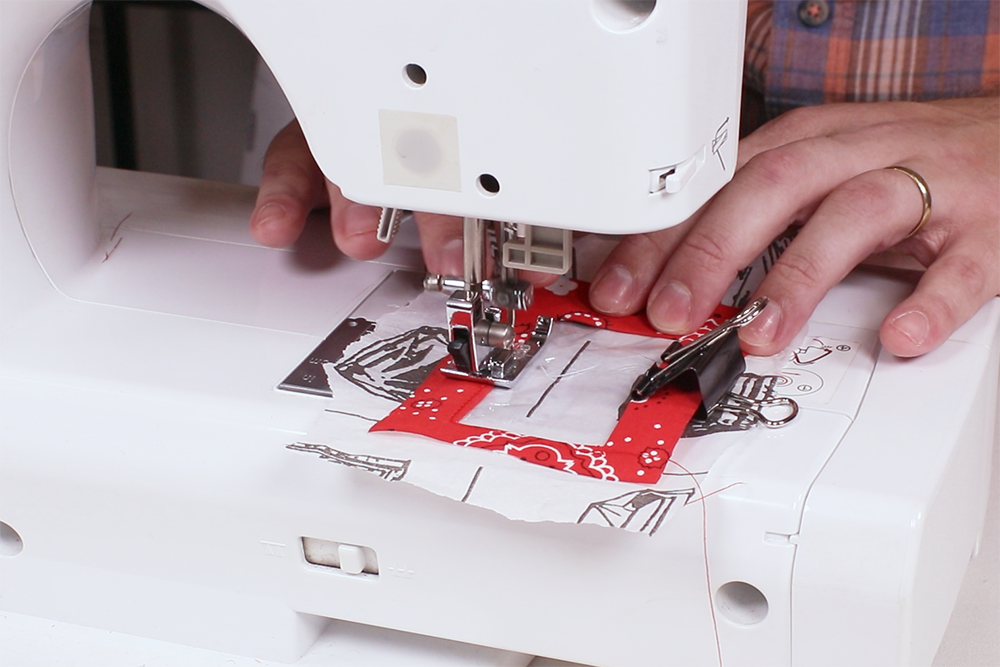
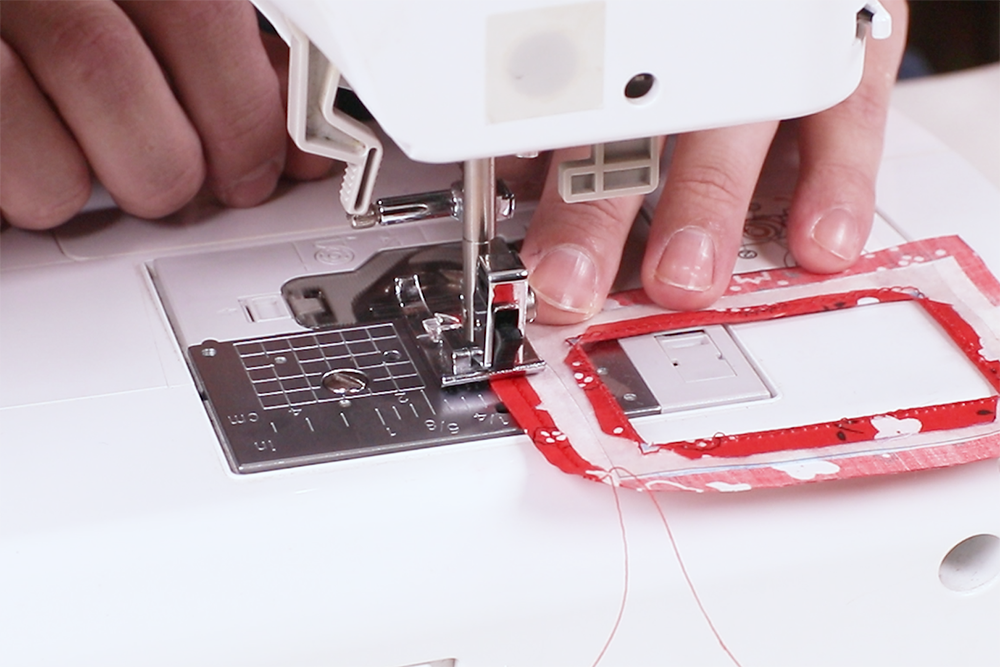
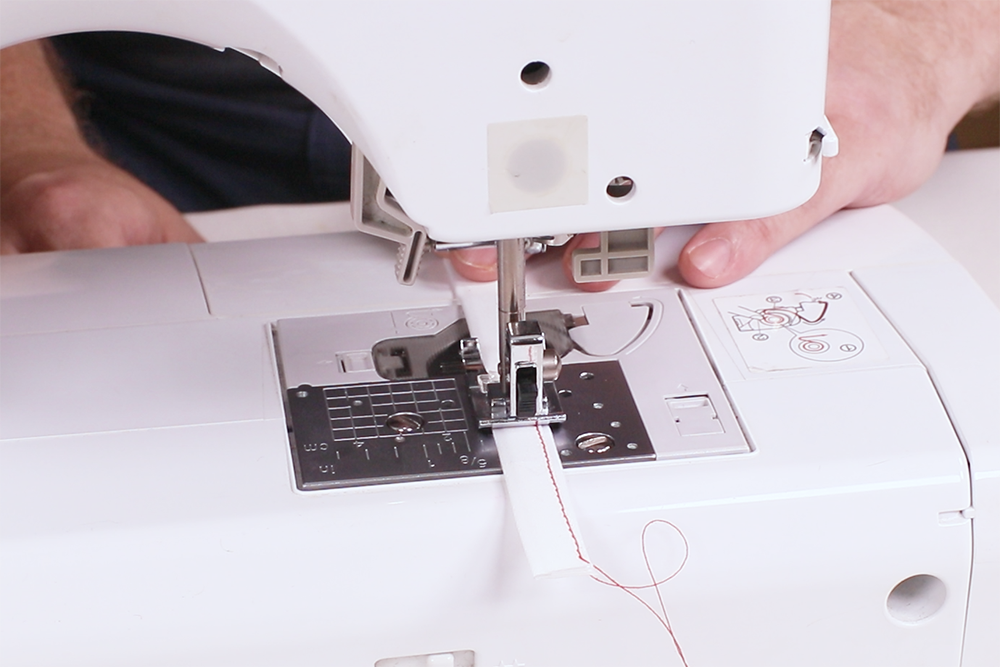
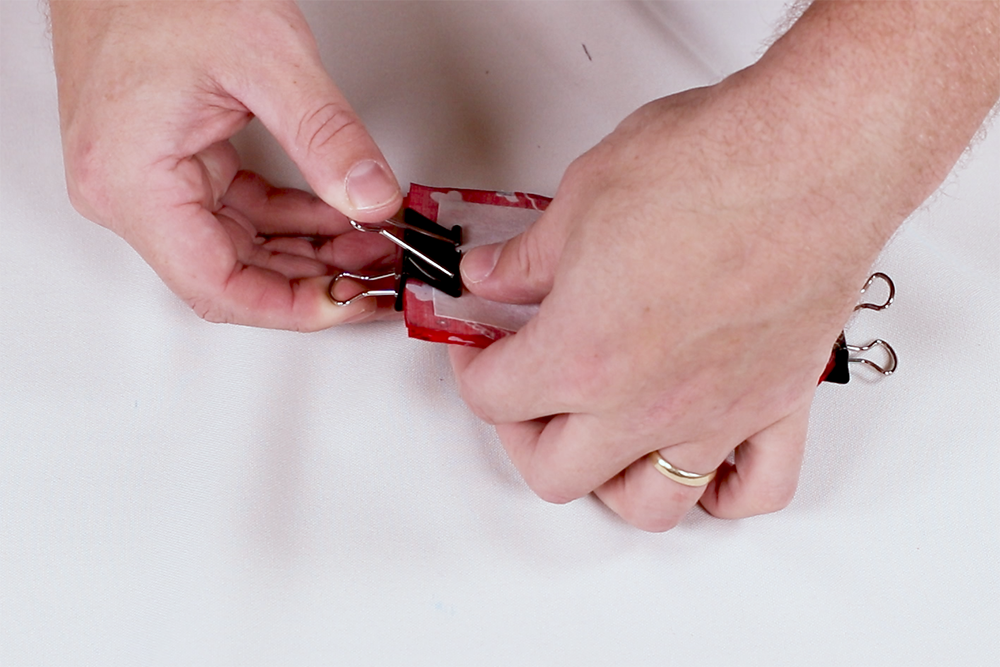
Center the clear vinyl piece on the wrong side of the pocket and clip in place. Sew close to the edges of the window. Clear vinyl can stick in sewing machines so it helps to have wax paper under the vinyl to help feed it through the machine.
After sewing you can tear out the paper.

Fold the top end of the pocket over 1/4 inch to the wrong side and press. Sew along the folded edge.
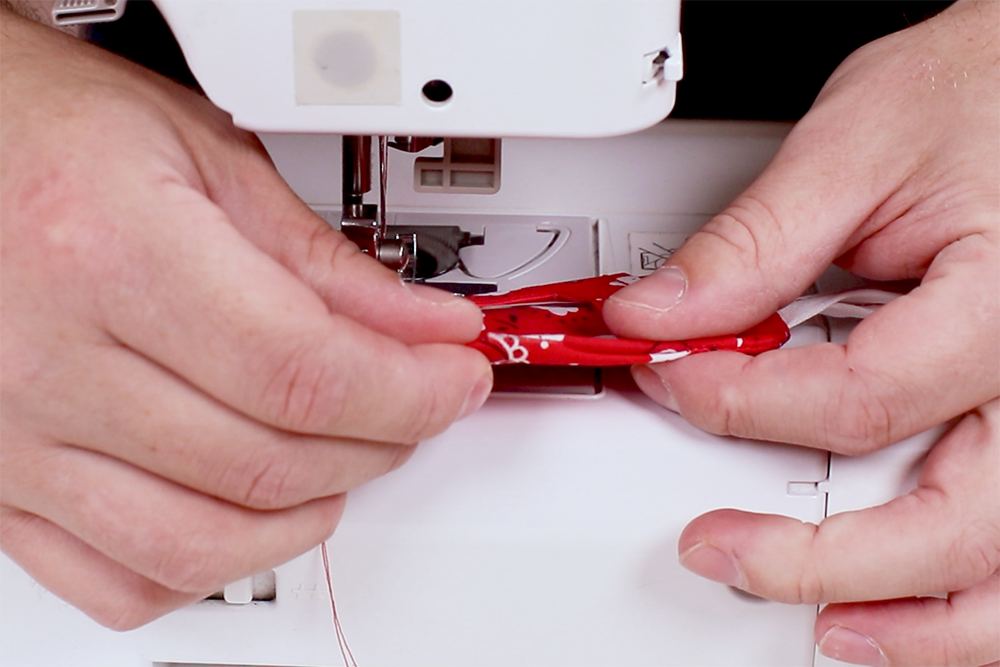
Stitch along the open edge of the bias tape strip.
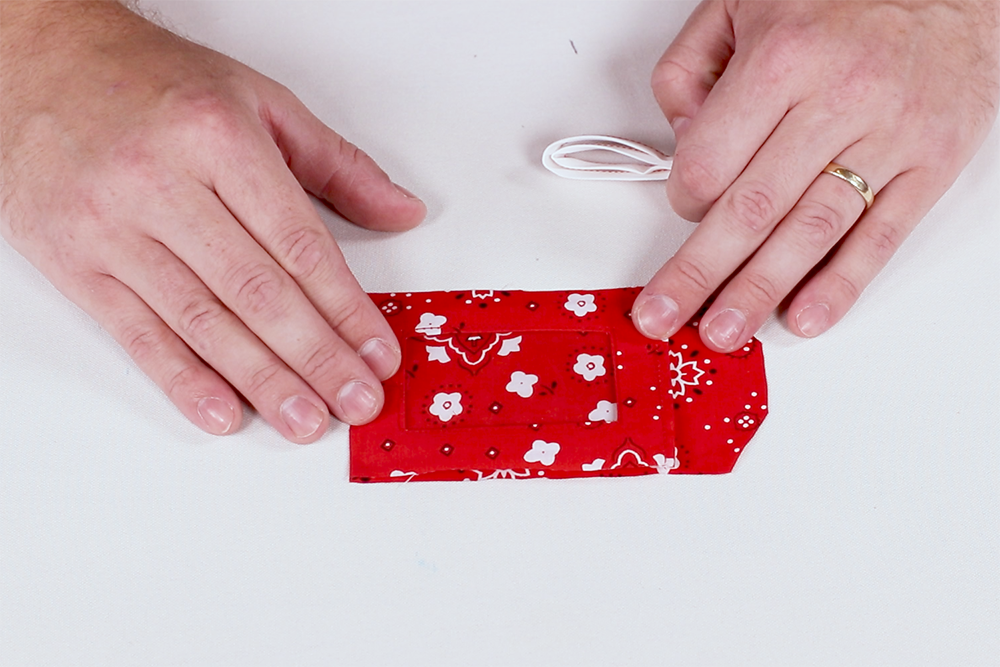
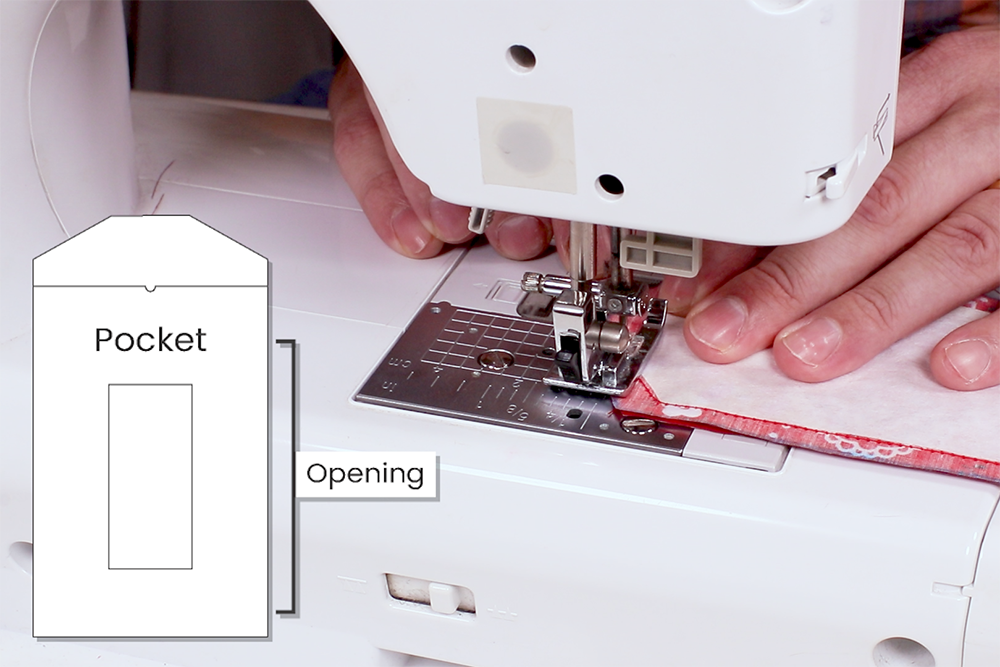
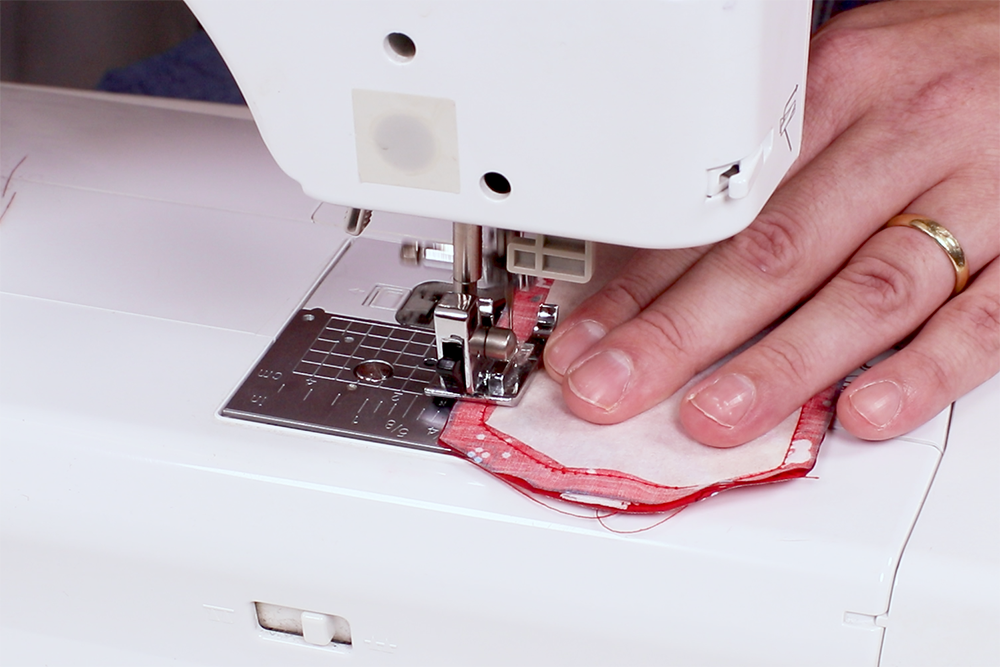
Center the pocket on the bottom of the right side of one of the main body sections. Overlap the ends of the bias tape and center on the top with the rest of the tape down on the pocket. Place the other main body section on top with the right side facing down and clip in place.

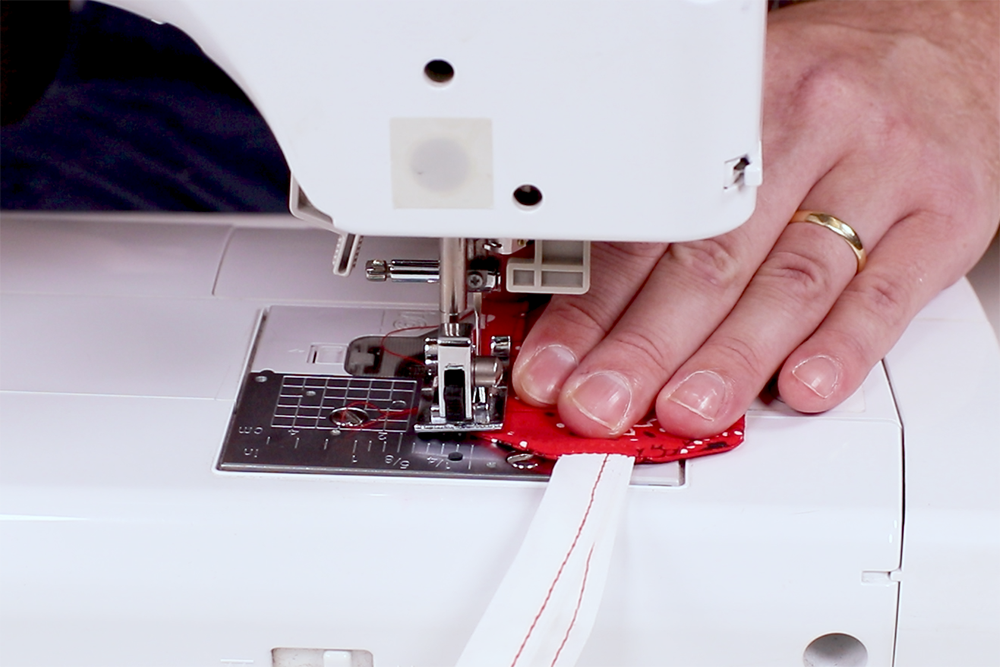
Sew with a ¼ inch seam allowance leaving an opening of a few inches just below the top of the pocket. Make sure to backstitch at both ends.
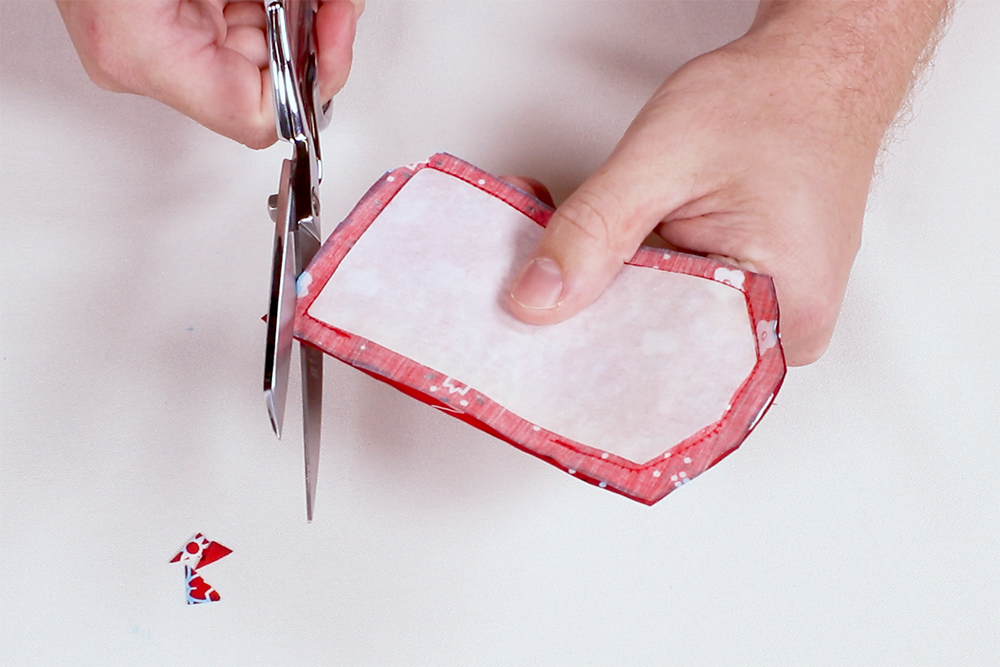
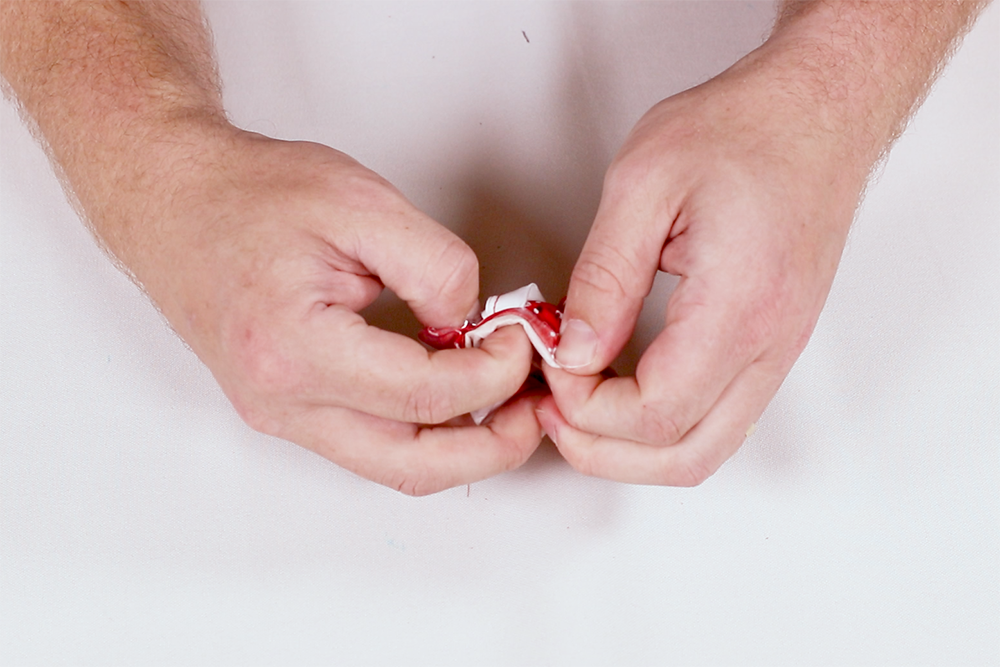
Trim the corners of the tag. Turn right side out and poke out the corners.
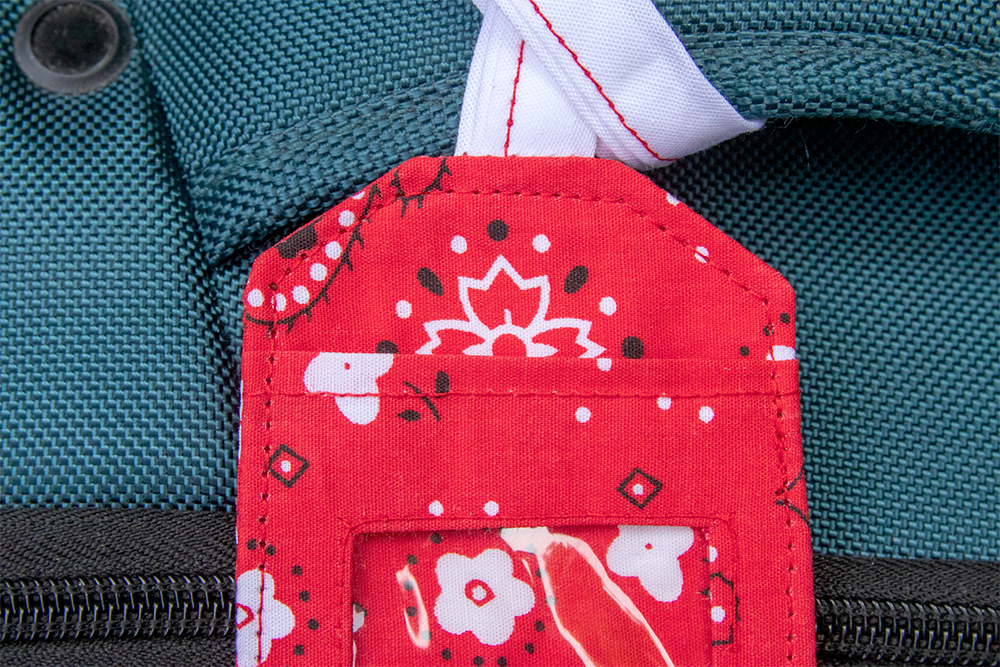
Fold the open edges in and top stitch on all sides close to the edge.
The luggage tag is complete!
Flying somewhere? Check out our clear vinyl collection:
-
{{#each productSuggestedQueries.results}}
- {{query}} {{/each}}
-
{{#each categories.results}}
- {{html title}} {{/each}}
{{html attributes.description}}
{{/if}}-
{{#each queries.results}}
- {{query}} {{/each}}