How to Alter Jeans to be Larger
- By Alyssa
- 1 hour 30 minutes
Did you grow out of your favorite jeans? Or found a pair at the thrift store that didn’t fit great but were to nice to pass up?
I recently went through all my clothes and got rid of the things that didn’t fit me anymore, but there were a few pairs that I just could not bring myself to parting with. I looked into different ways to make your pants larger, but none of them actually gave me the amount of space I needed to get these super comfy mom jeans on again.
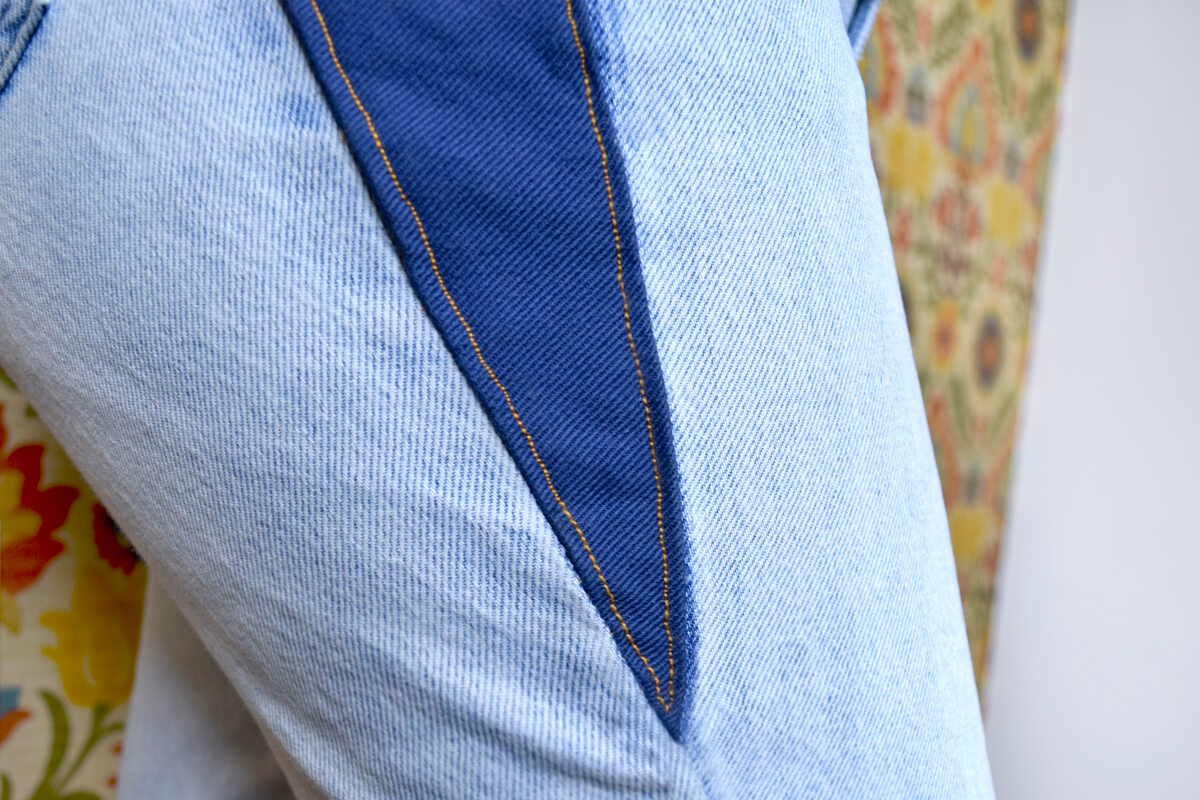
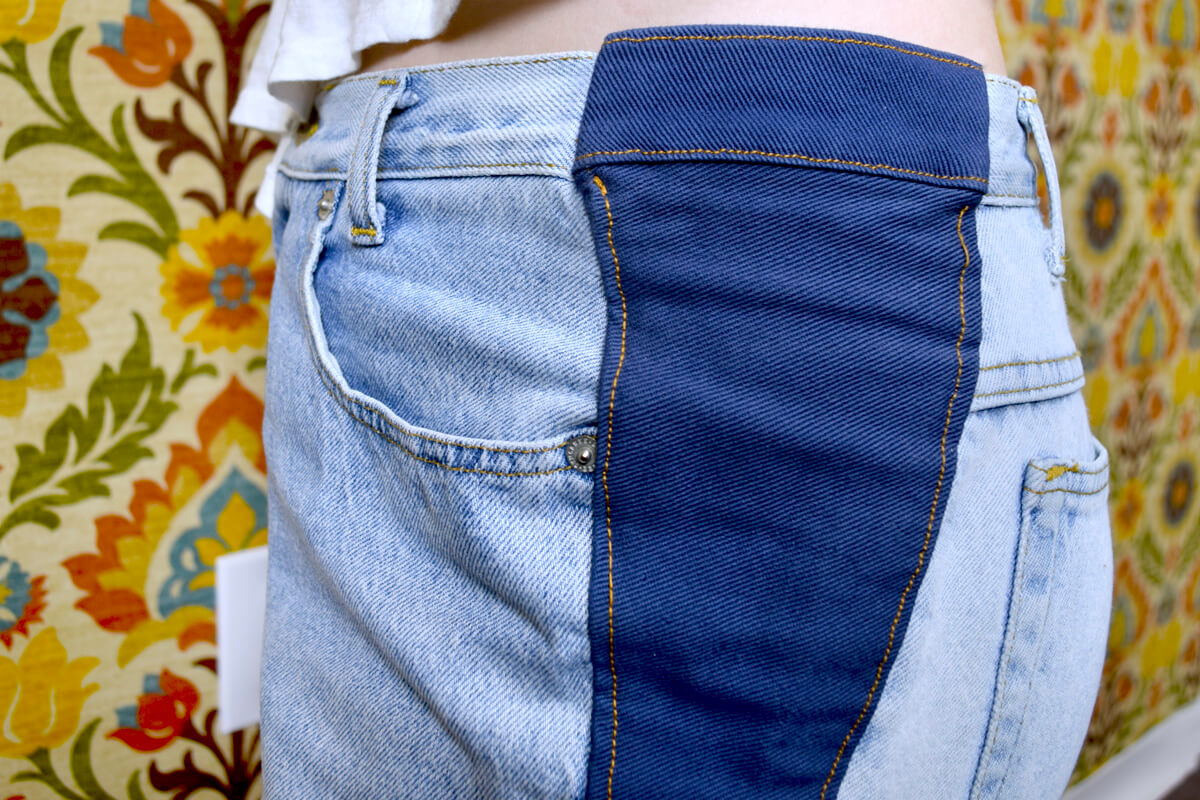
So I had an idea. Panels.
By adding these panels, you are giving your jeans new life, adding a size or two, and you’re being really cute and trendy with the two toned pant look. Experiment with different fabrics for interesting new looks or pick one that’s closer to the color of your jeans for a more natural look.
Want to get the printable planner template? Sign up to our mailing list to download the PDF.

Materials
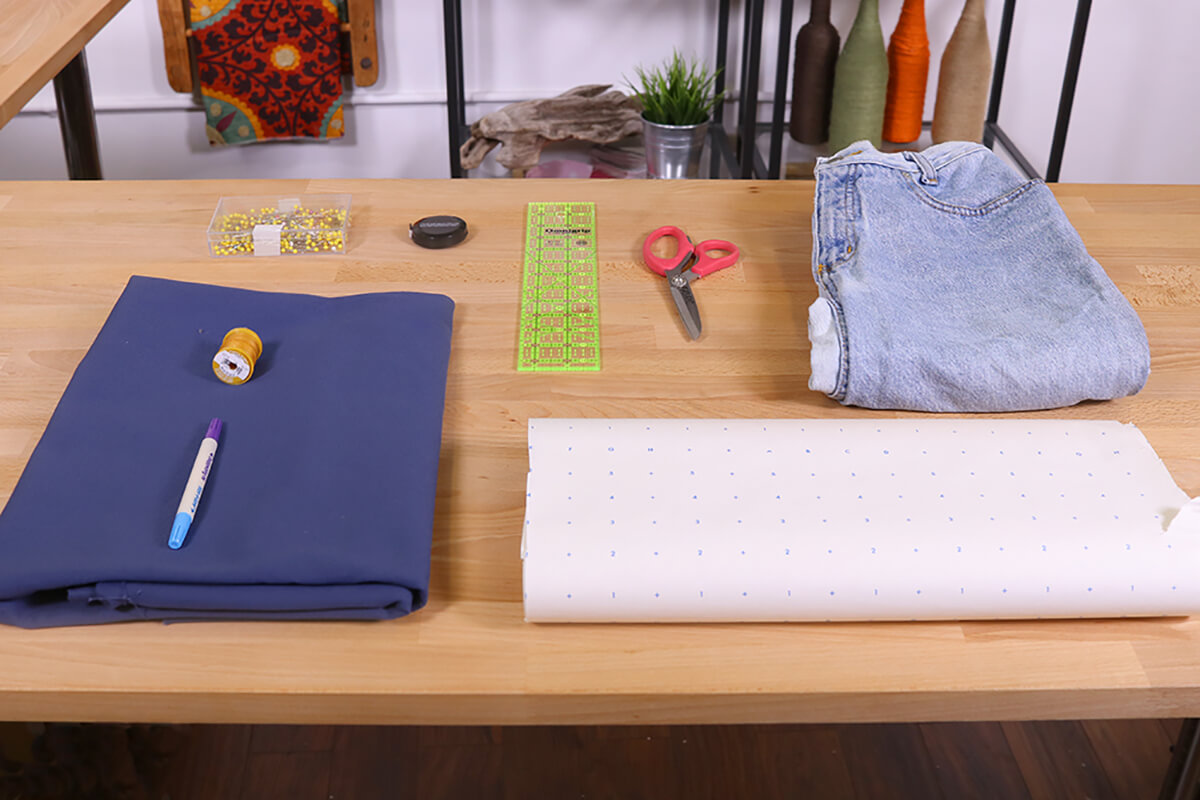
Related Products


Video
Instructions
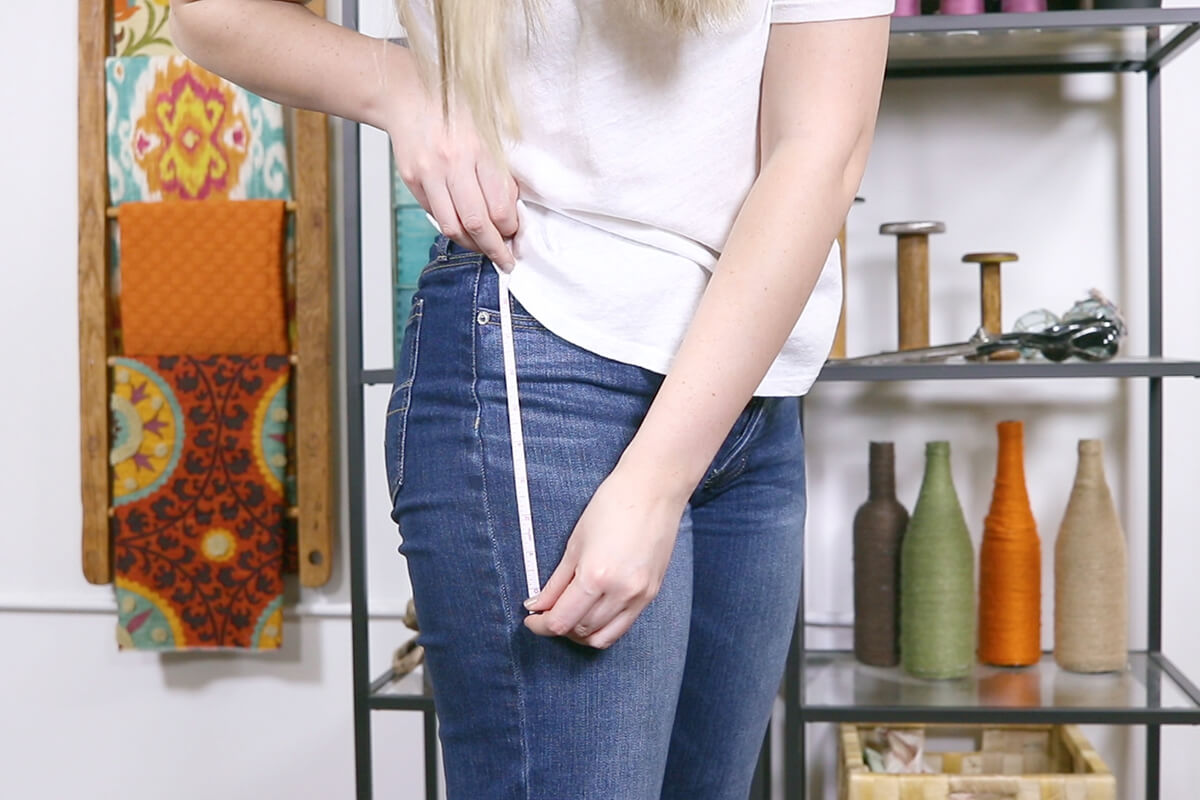
Step 1: Measure What Your Mama Gave Ya
Measure around your waist or wherever the jeans will sit, and your hips and thighs. Take note of your waist measurement and the larger of the other two.
Now measure the distance between your waist and the widest part on your body. Next measure the waist of your jeans, make sure they are buttoned.
Then measure the width around the jeans at the widest part of your body. For example: the widest part of my body is eight inches from my waist so I will measure here.
Lastly, decide how far down you would like the panel to go on your leg.
Download our planner template for a visual representation of what measurements you will need. Put all these measurements on the “Your Measurements” Page.
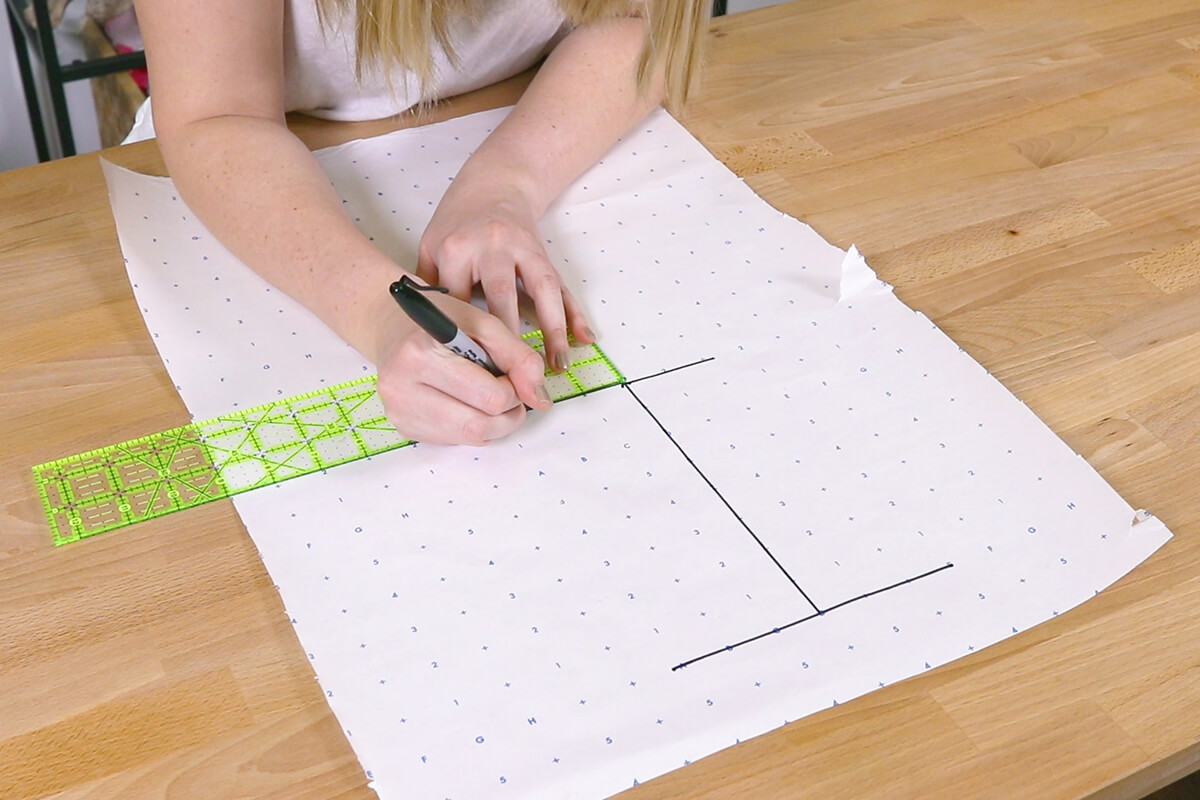
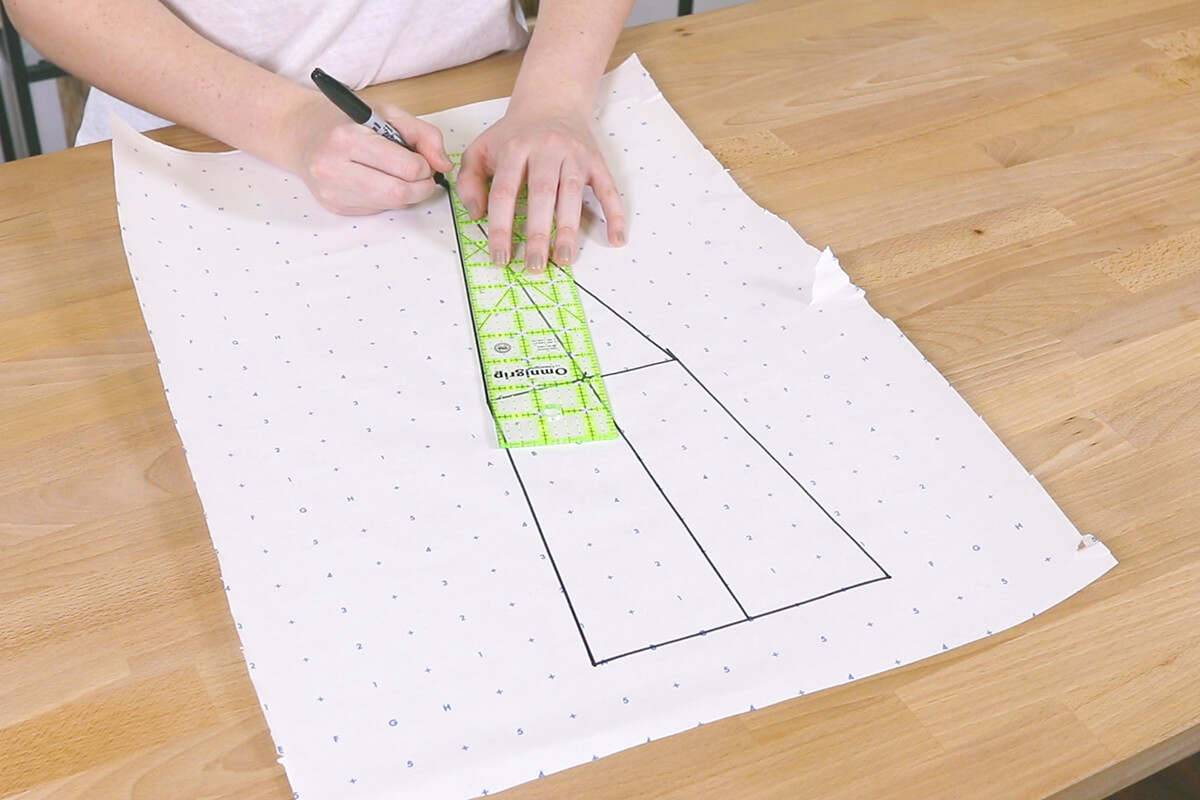
Step 2: Make Your Template
My shape will closely resemble a house, but depending on your body type and the cut of the jeans it may look more like a diamond or triangle shape.
Fill in the “Panel Measurements” page making sure to add one inch to each total for the seam allowance. (THIS IS REALLY IMPORTANT) DO NOT FORGET TO ADD THAT INCH or you will end up with jeans that are still too small.
Using a ruler, your inch grid paper and your panel measurements, make your panel template. I started by drawing a line for the top on the panel. Then straight down the center of the template that is the length of the panel. Lastly, go down the distance from your waist to the widest part and mark the width of the widest part centered on the length line.
Connect the lines and that will be your template. To make sure you cut perfectly symmetrical pieces out of your fabric, cut the template out by cutting up the length line and only using one half on the panel.

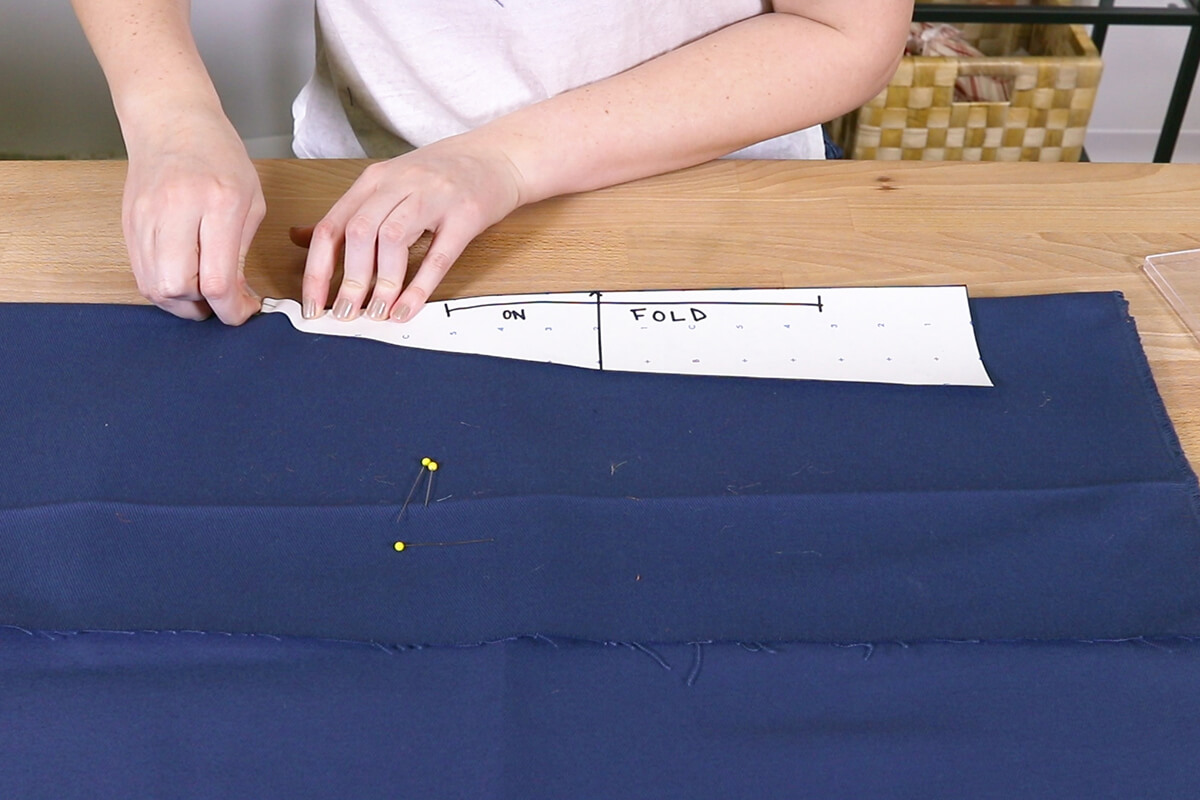
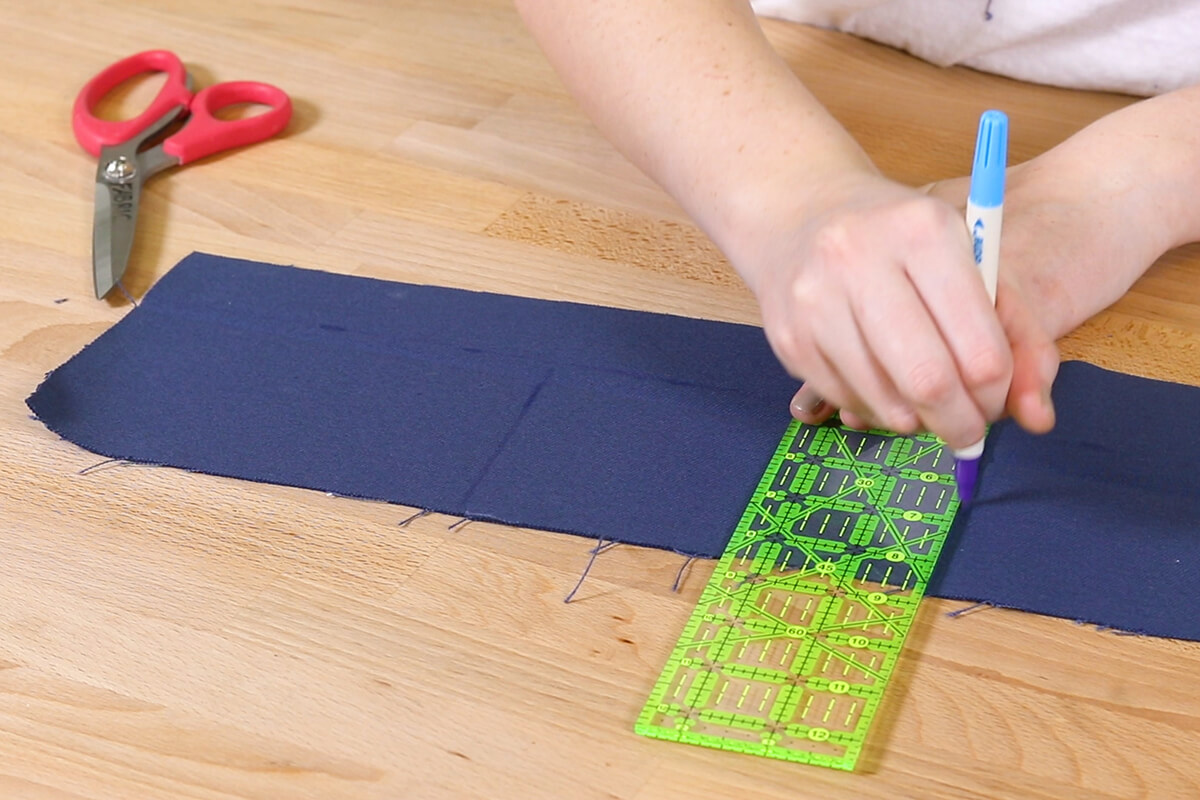
Step 3: Cut the Fabric
Create your panels by pinning the half of the template along the fold of your denim fabric. Cut two panels out. Also cut a piece that will act as the top fold of your jeans. Do this by measuring the top fold of the jeans, multiplying it by two and adding an inch for the seam allowance. It should be that wide and as long your top panel. Cut two of these as well.
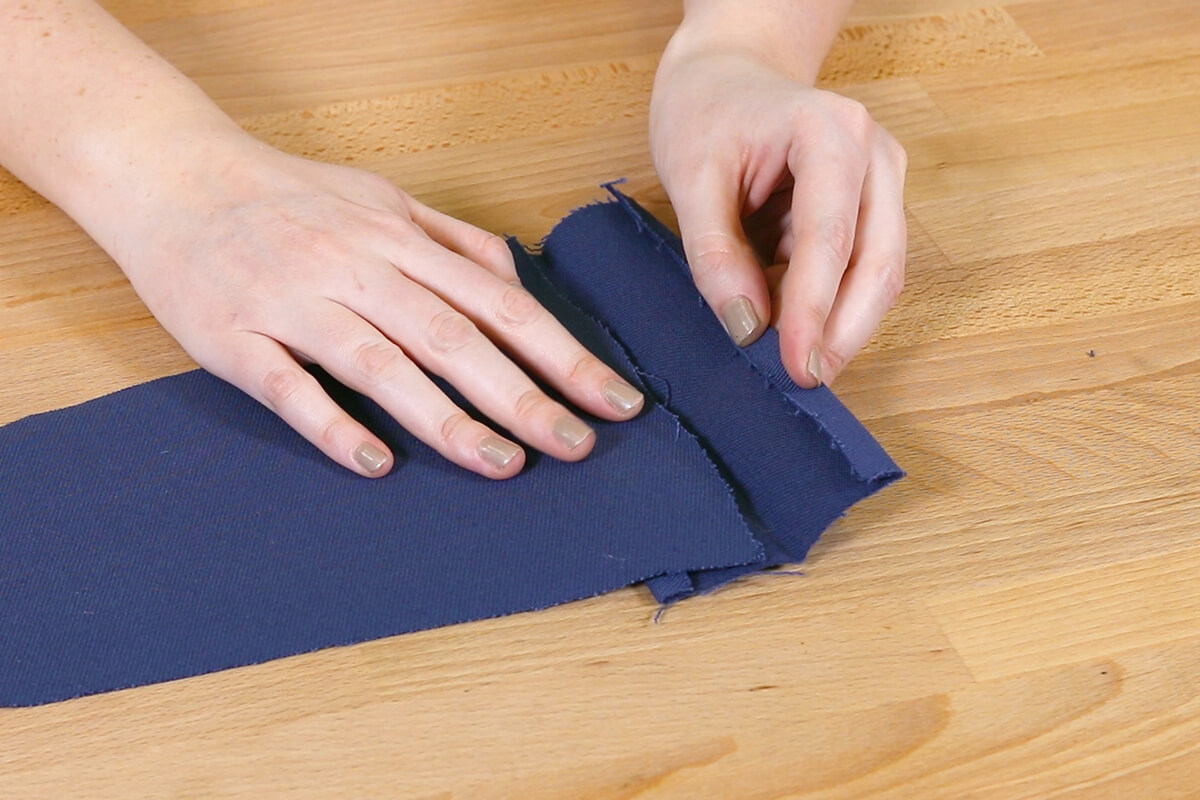
Step 4: Attach the top fold
Fold the top fold piece in half and iron with right sides facing out. Then open it back up and fold the long edges in half an inch and iron. Do this to both top fold pieces. Now insert the panel into the top fold. Sew the piece on to match the top fold of your jeans.

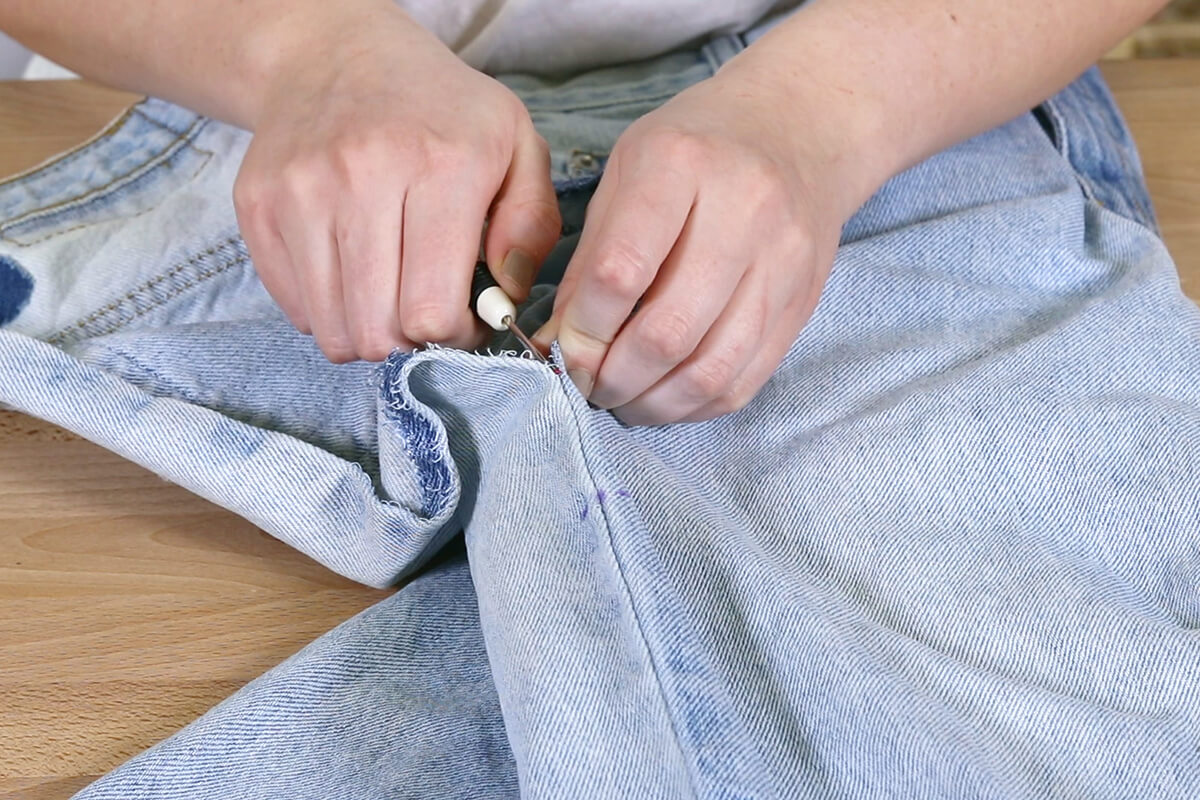
Step 5: CUT THE JEANS
Carefully cut your jeans to the length of your panel (do not include the seam allowance in this measurement) Flip the jeans inside out and sew back and forth along the inner seam of the jeans where the cut ends to make sure that stitch does not unravel.
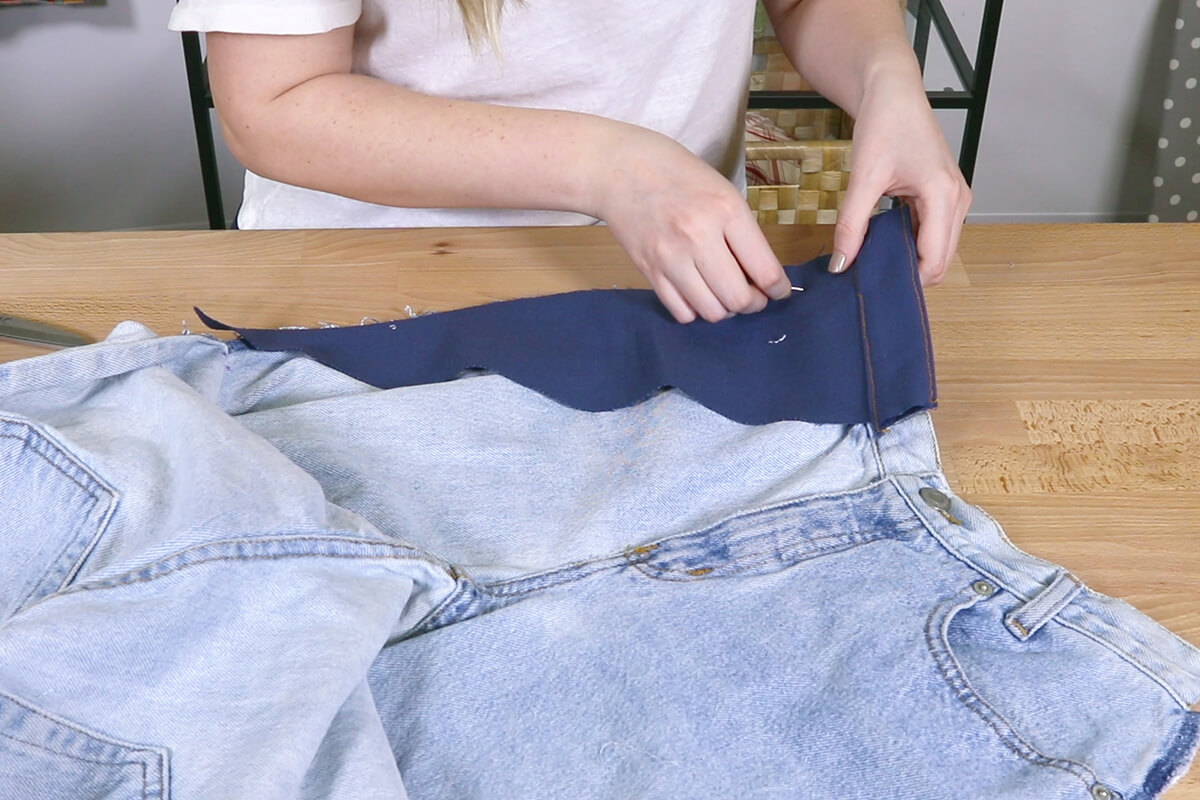
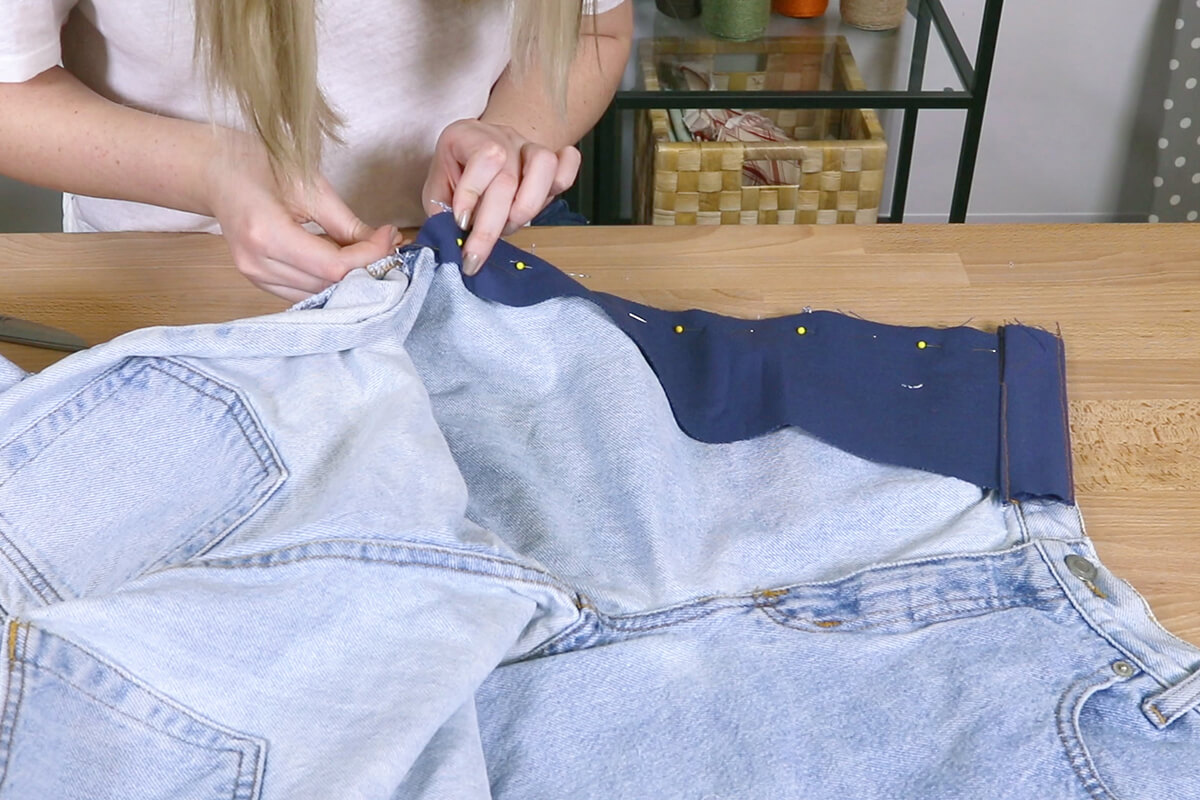
Step 6: Pin Together
Pin the panel onto the jeans with right sides facing together. I think the easiest way to do this is one side at a time so you don’t have to worry about getting stabbed by stray pins.
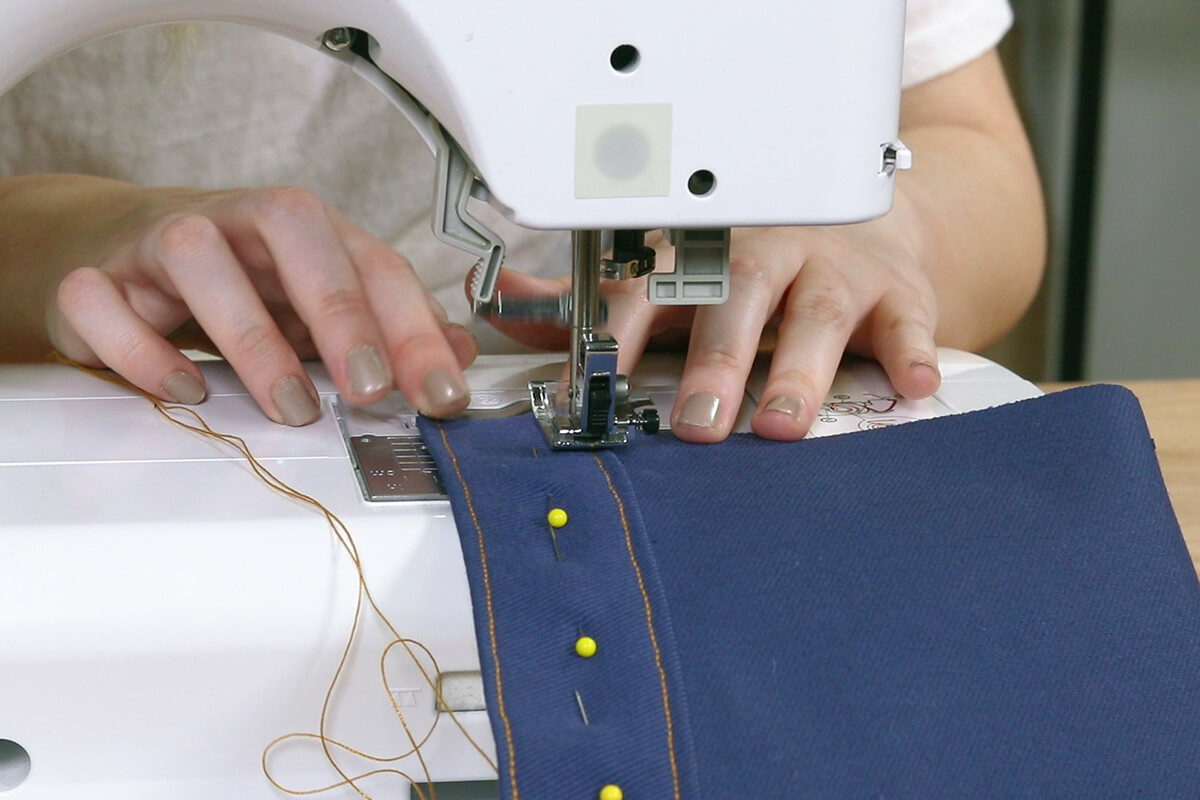
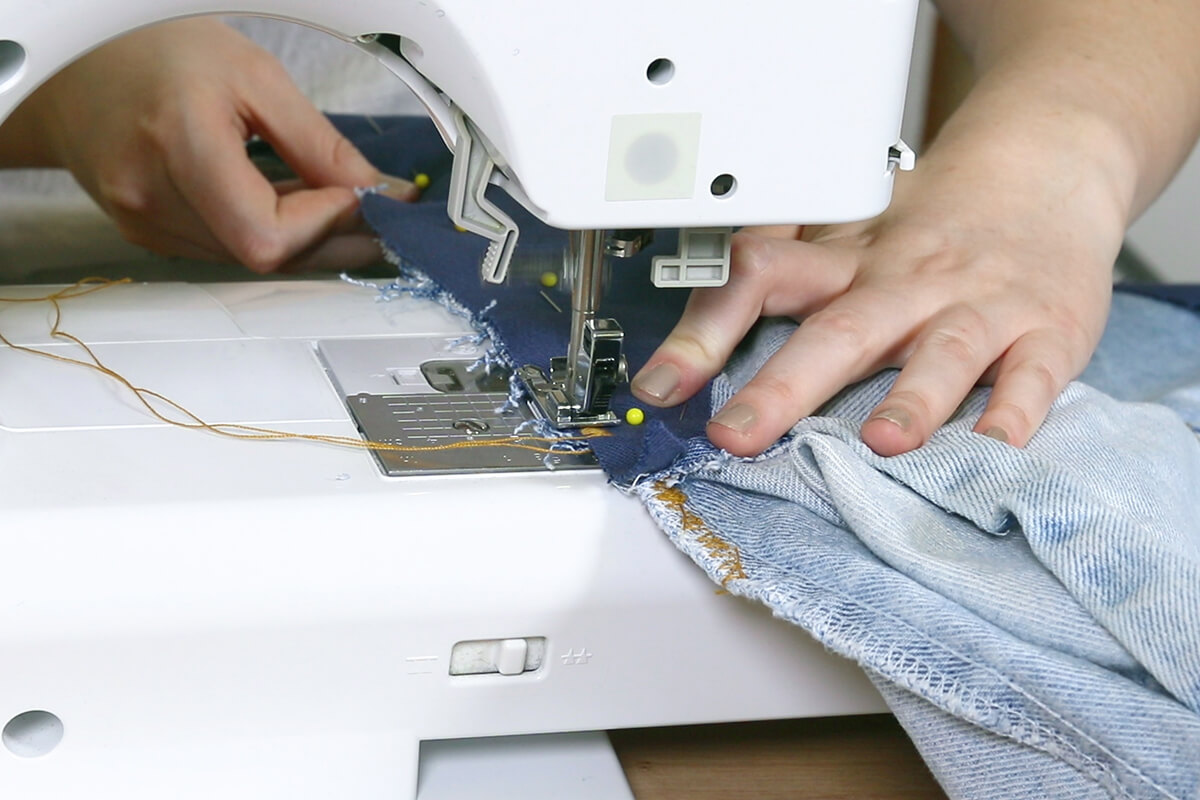
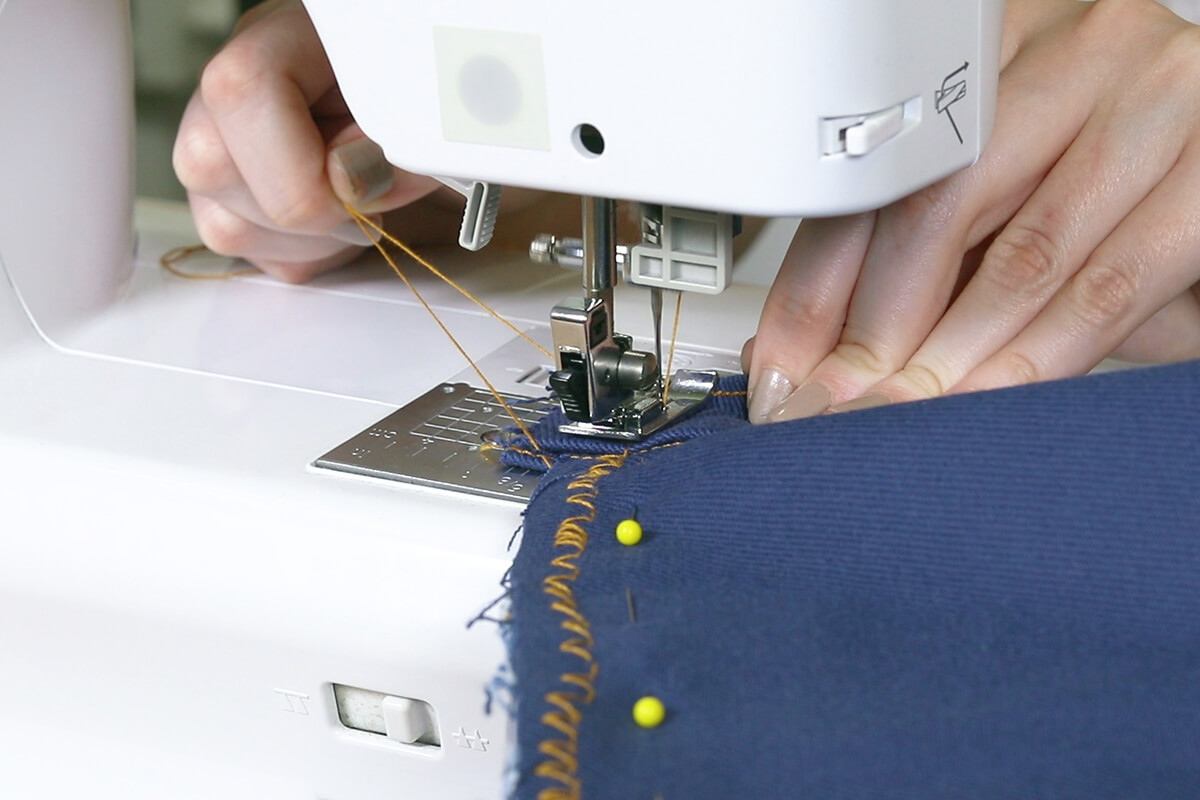
Step 7: Sew with an overcasting stitch
Using an overcasting stitch and foot, sew the panel to the jeans with a half inch seam allowance. You may also use a serger machine for this step if you have one or if you don’t have the proper foot or your machine does not do the overcasting stitch use a regular straight stitch.
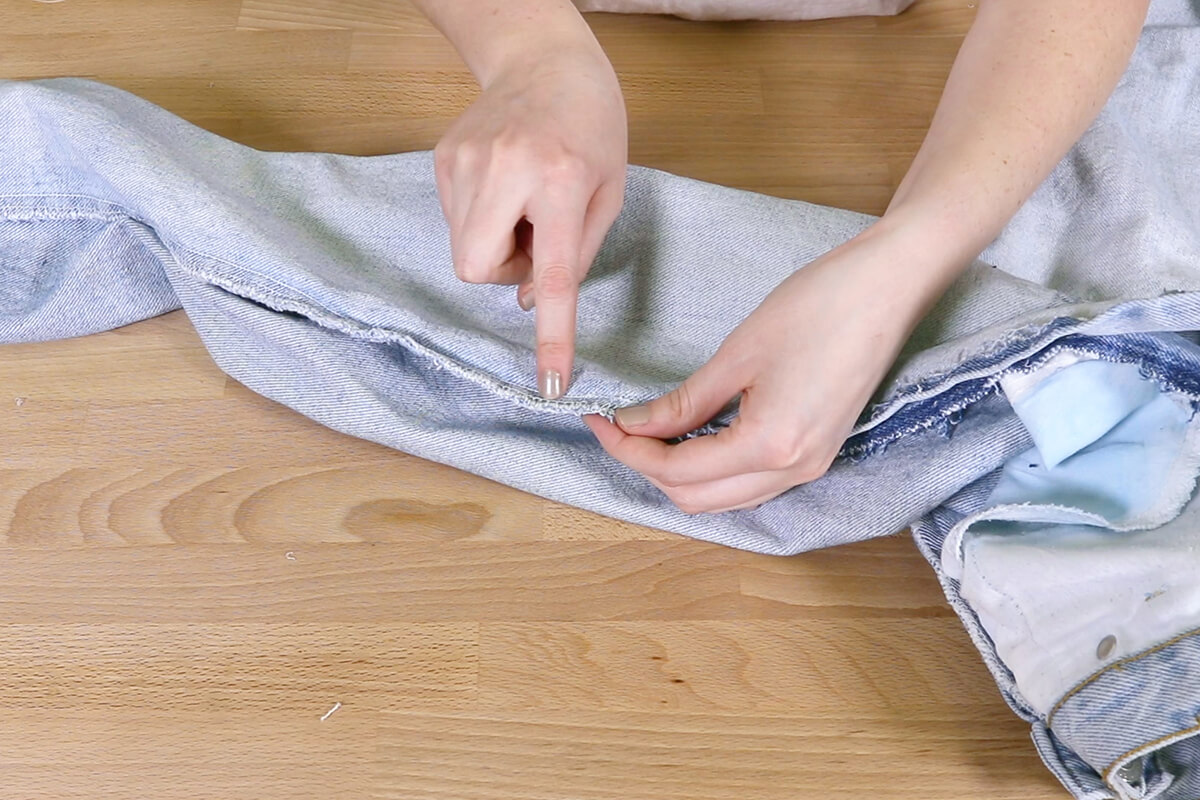
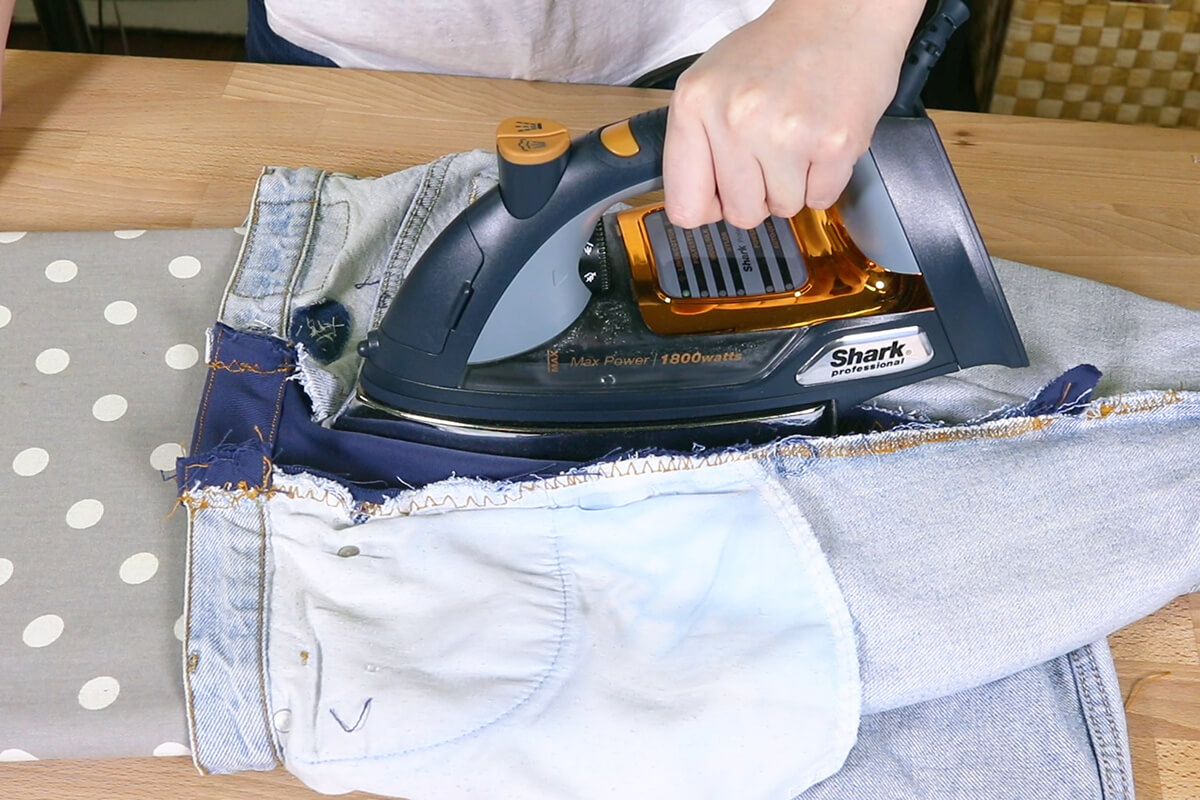
Step 8: Iron seam
Iron the seam open.
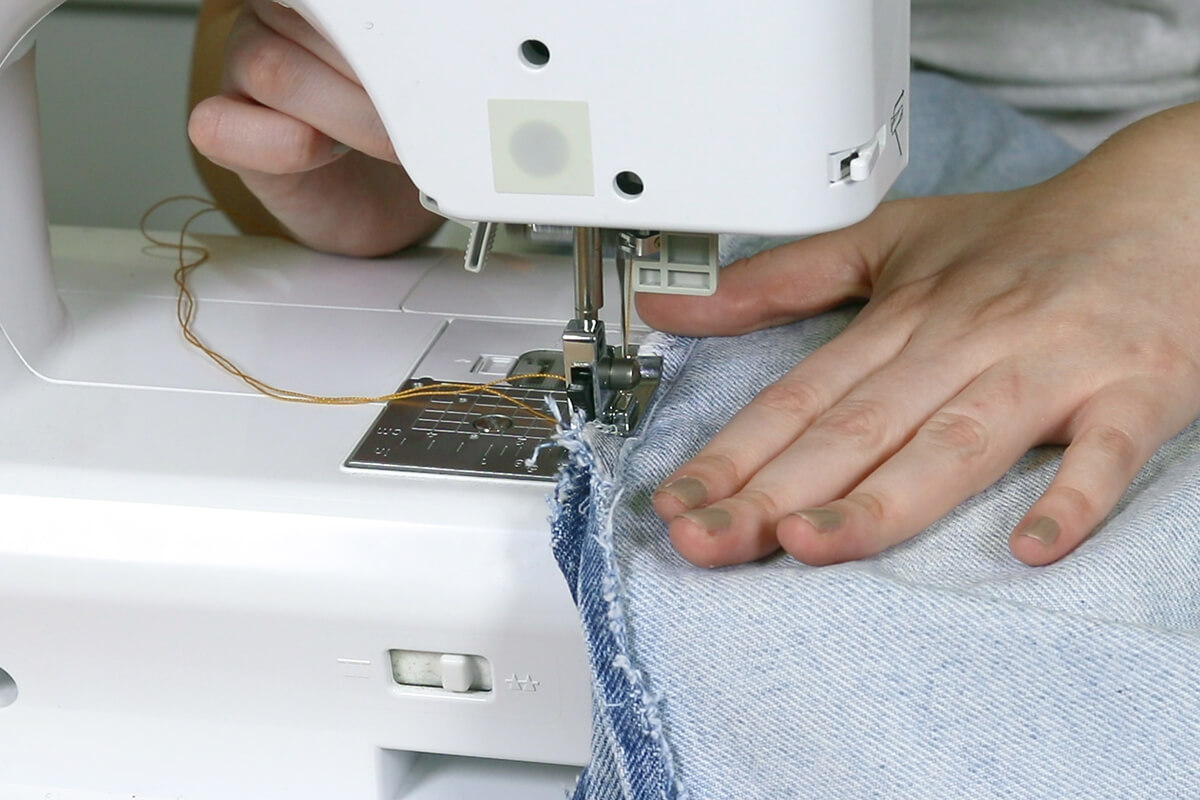
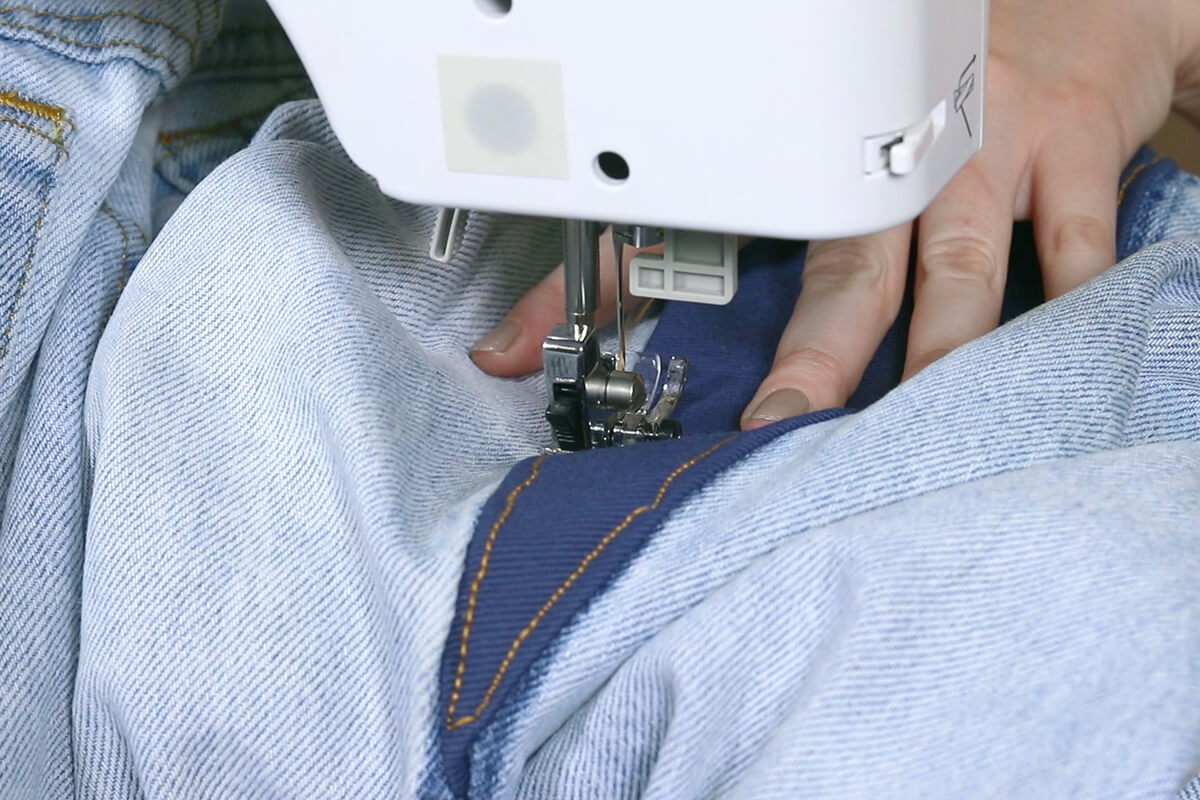
Step 9: Sew
Flip the jeans right side out. Using a 1/8th inch seam allowance from the inside of the panel, sew a straight stitch down and then back up the sides of both panels. Hand stitch the top fold so it lays flat on the inside of your jeans. And now your jeans are complete.

-
{{#each productSuggestedQueries.results}}
- {{query}} {{/each}}
-
{{#each categories.results}}
- {{html title}} {{/each}}
{{html attributes.description}}
{{/if}}-
{{#each queries.results}}
- {{query}} {{/each}}