How to Dye Fabric: Immersion Dye Technique
- By OnlineFabricStore
- Beginner
- 30 minutes + dry time
Since dye is one of the quickest and easiest ways to add color to a project or to an existing piece of fabric, today I’m going to be demonstrating a simple immersion technique using Rit Dye.
Rit Dye is great for all skill levels because it contains a mixture of several different types of dye, making it a really great option if you want to dye something that’s a blend or contains multiple kinds of fibers. For polyester and other synthetic materials, use Rit DyeMore.
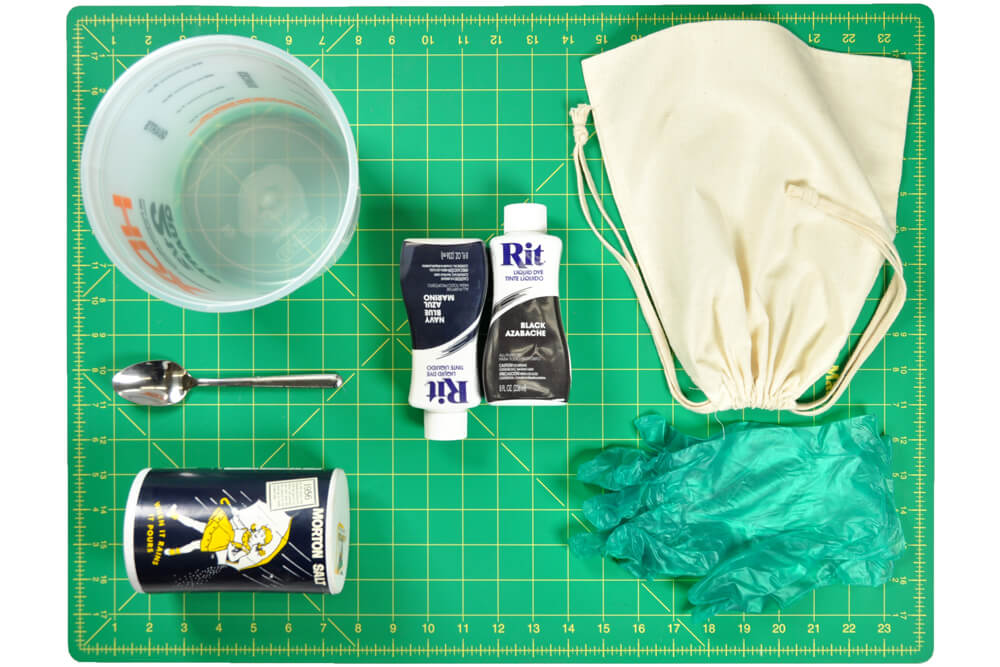
Materials
- Rit Dye
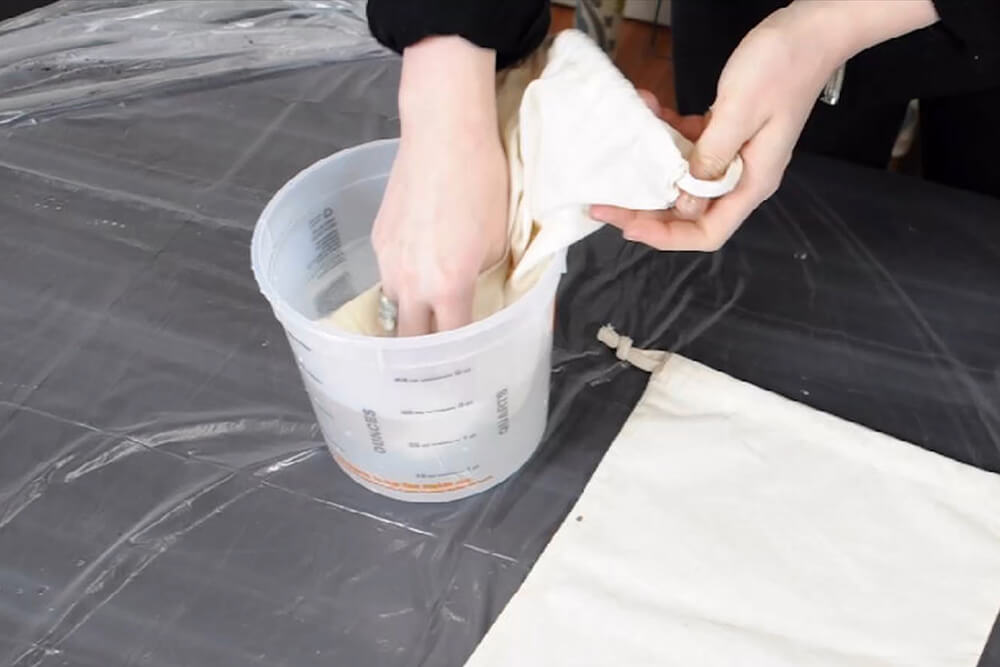
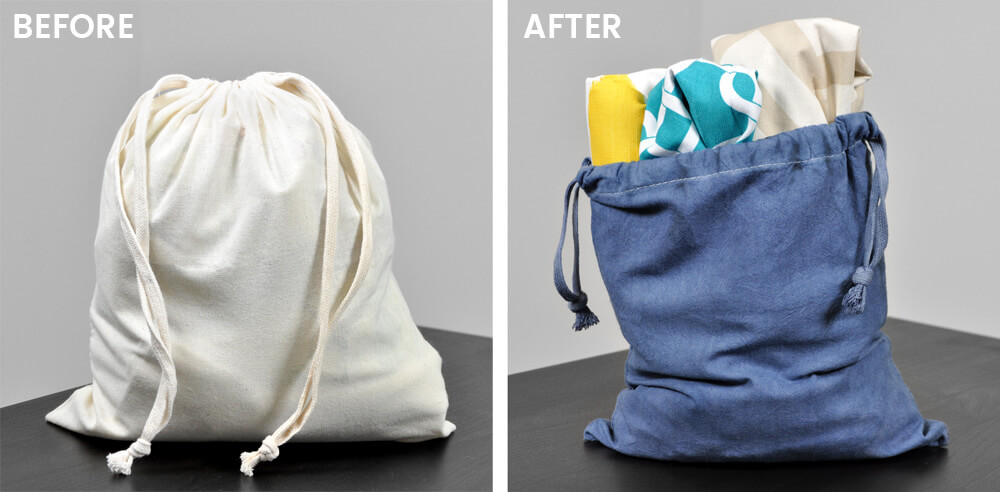
- Pre-washed fabric (we're using a cotton bag)
- Buckets
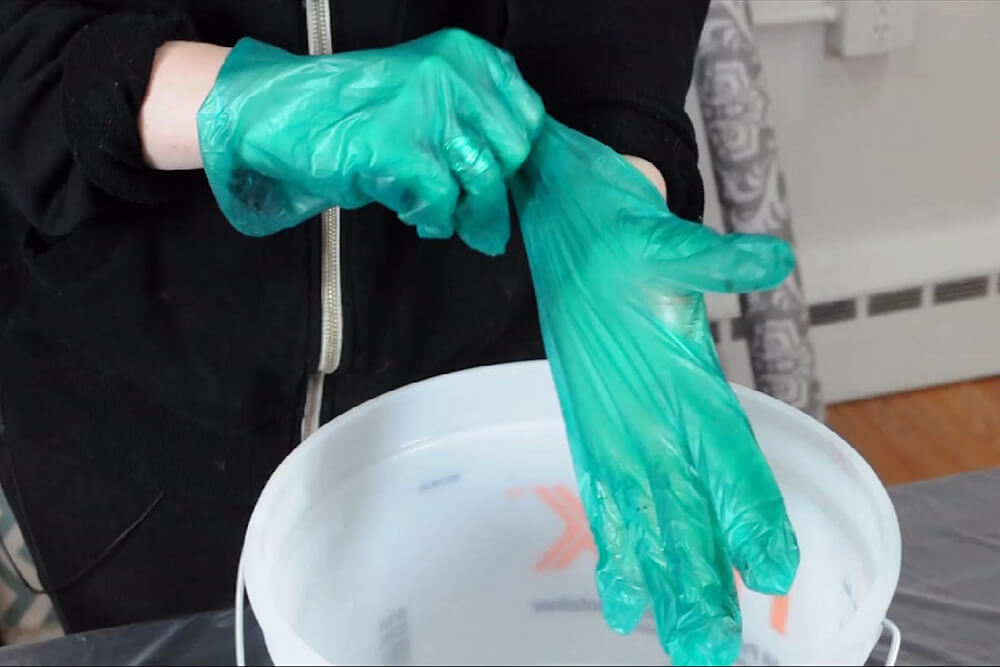
- Gloves
- Salt
- A stick or spoon for stirring
Related Products

Video
Instructions
Step 1: Prepare your work space and fabric
Before you start, it’s a pretty good idea to make sure that you have your work space covered. We just have a really cheap plastic drop cloth here. They’re pretty easy to find at the hardware store but anything you might have laying around your house is a good idea too– so a bed sheet, or a canvas drop cloth, or an old rag, just something to make sure that you’re not getting dye everywhere. You also want to make sure that you have some gloves, and an old hoodie or a t-shirt or apron.

Pre-washing your fabric will get you better dye coverage so if you can, try not to skip this step. It’s also useful if your material is still a little bit damp when you dye because it’ll help soak up color faster and with fewer bubbles.
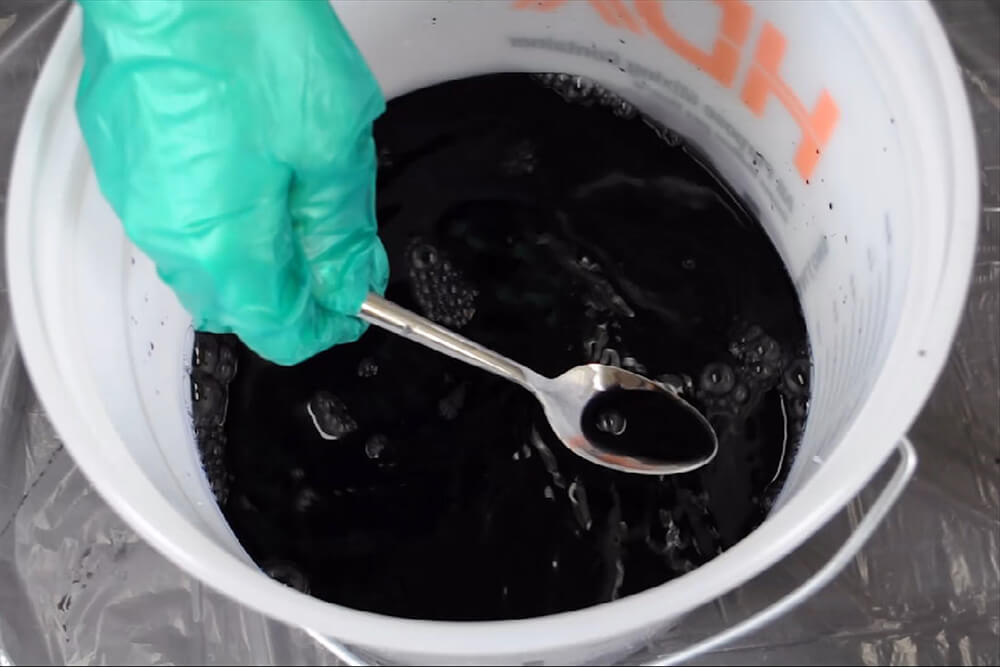
Step 2: Preparing the dye bath
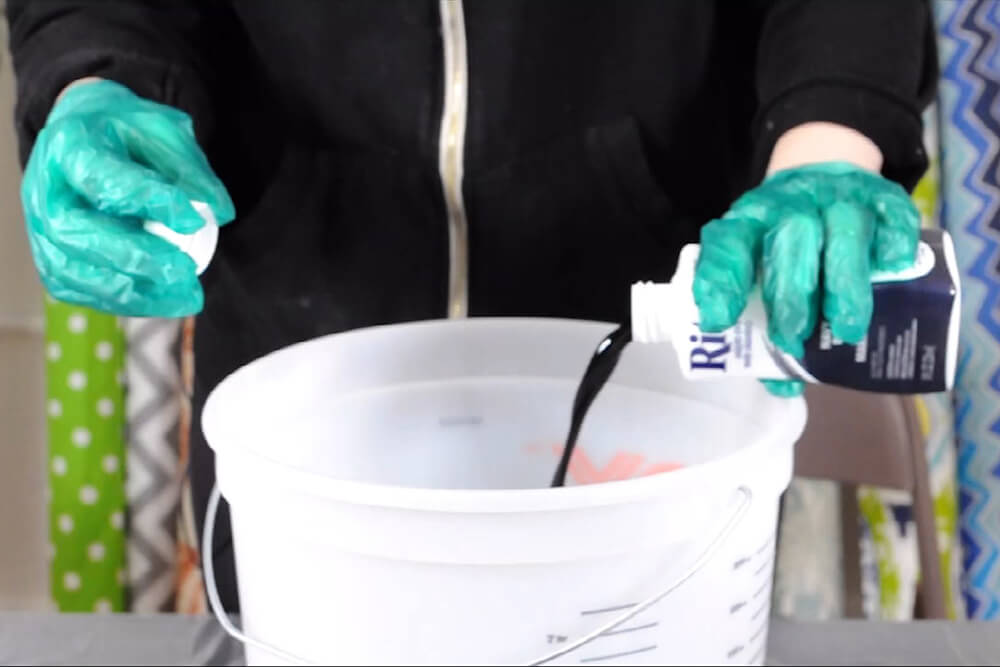
When mixing dye colors, it’s important to start with the lightest color first, and slowly add in your black or darker shades.
Make sure to use very hot water in the dye bath. The hotter, the better!
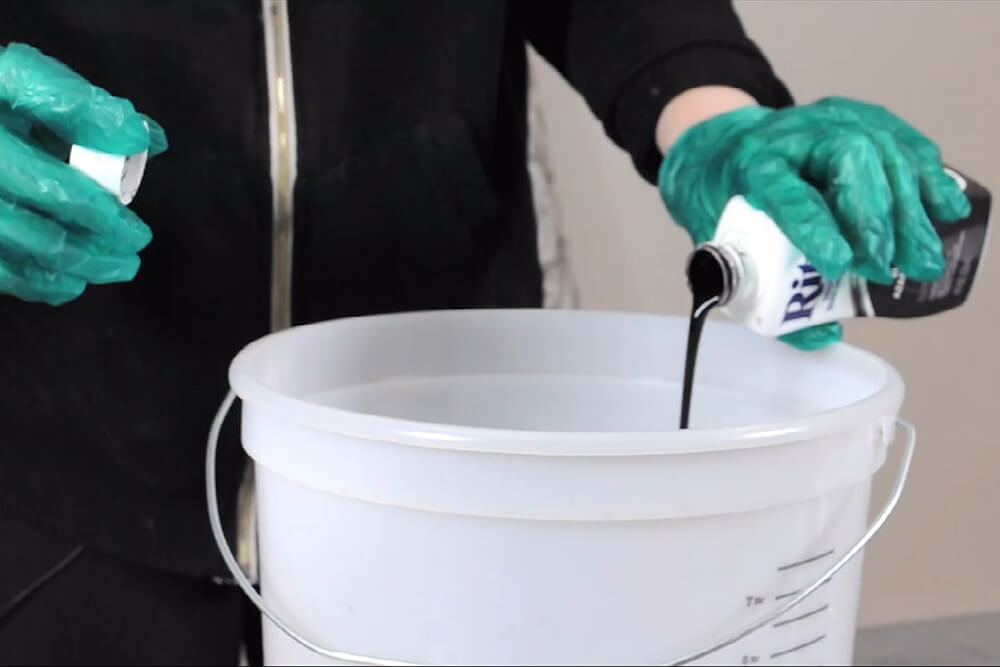
We’re going to start with some navy blue Rit dye. Since we’re dyeing about a pound of fabric, we’re going to add half of the container since the container will dye up to 2 pounds of fabric.
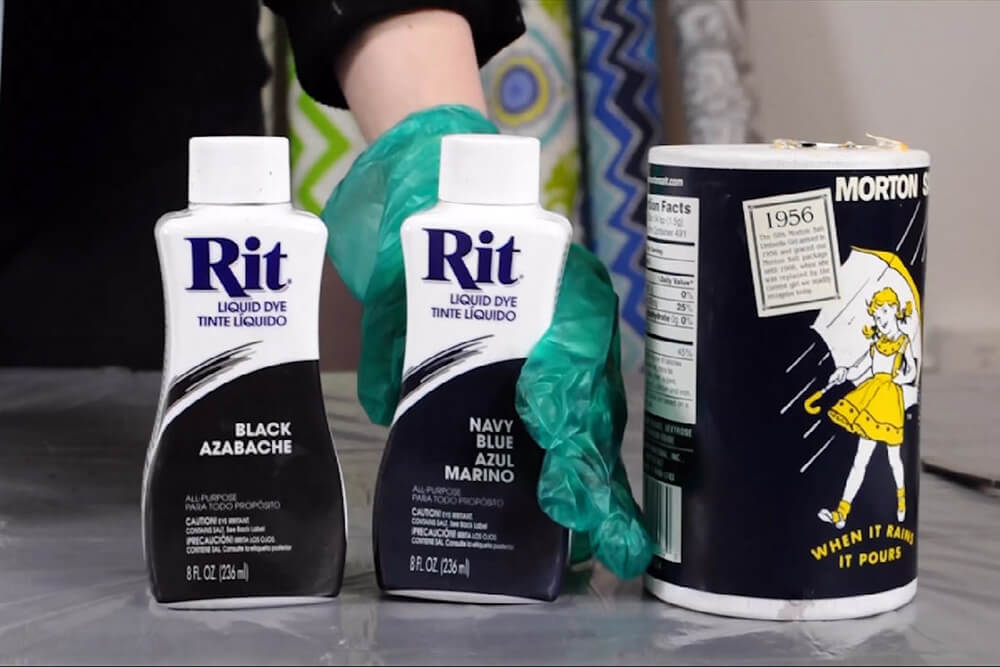
To get a darker shade of navy blue, like indigo, we’re going to add a splash of black.
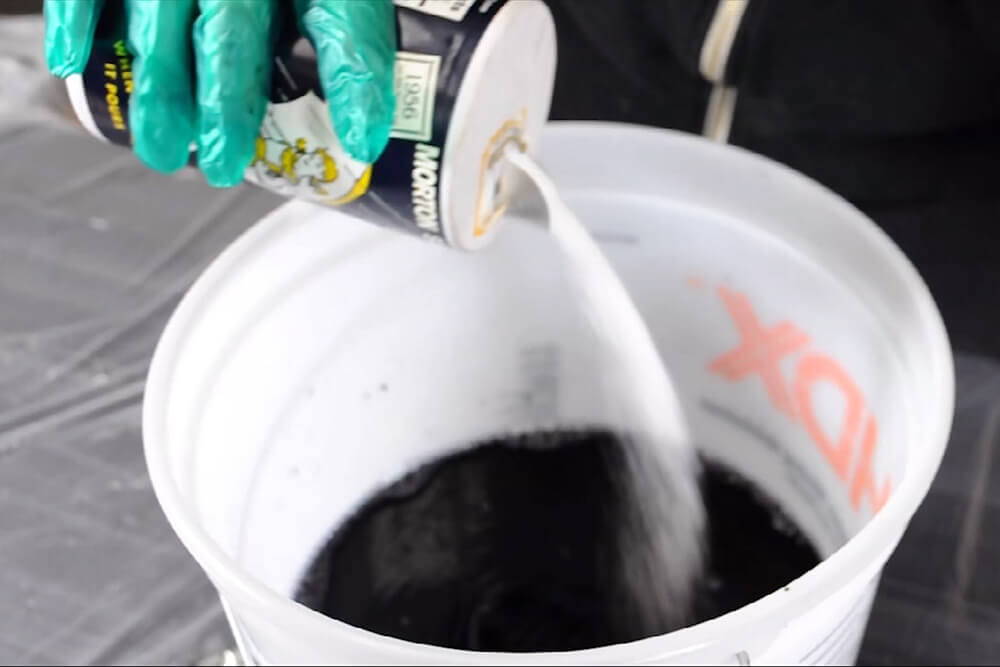
The last thing to do before adding the fabric into the dye bath is to add salt. It’s a good idea to use about 1/4 cup per 1/2 pound of fabric.
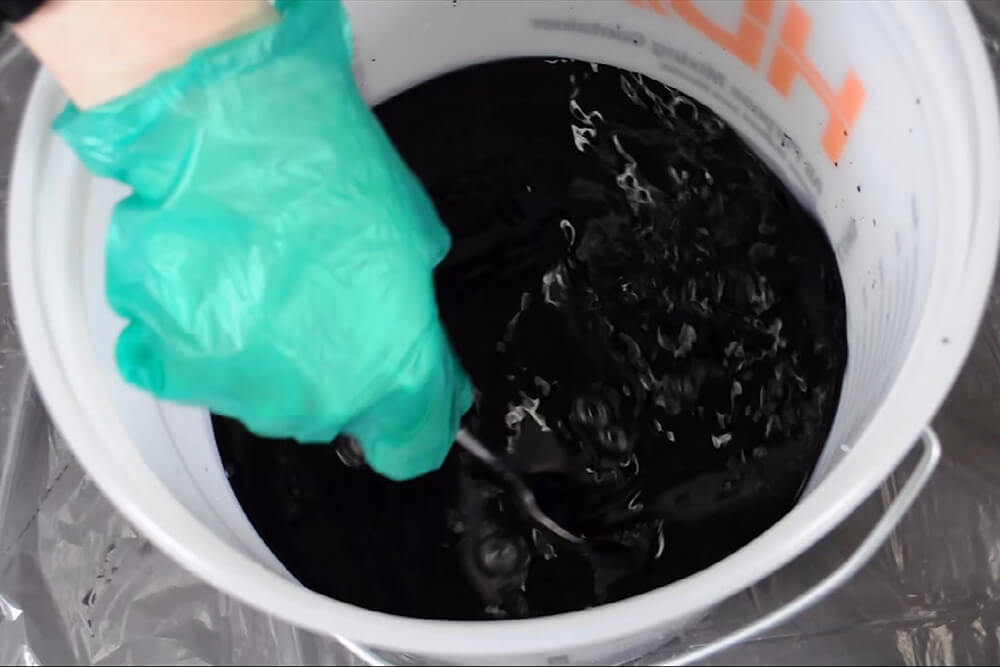
For this project we’re using about a gallon of water to get even coverage over the fabric. Make sure there’s enough water to cover your project easily so that it can be fully immersed in the dye bath.
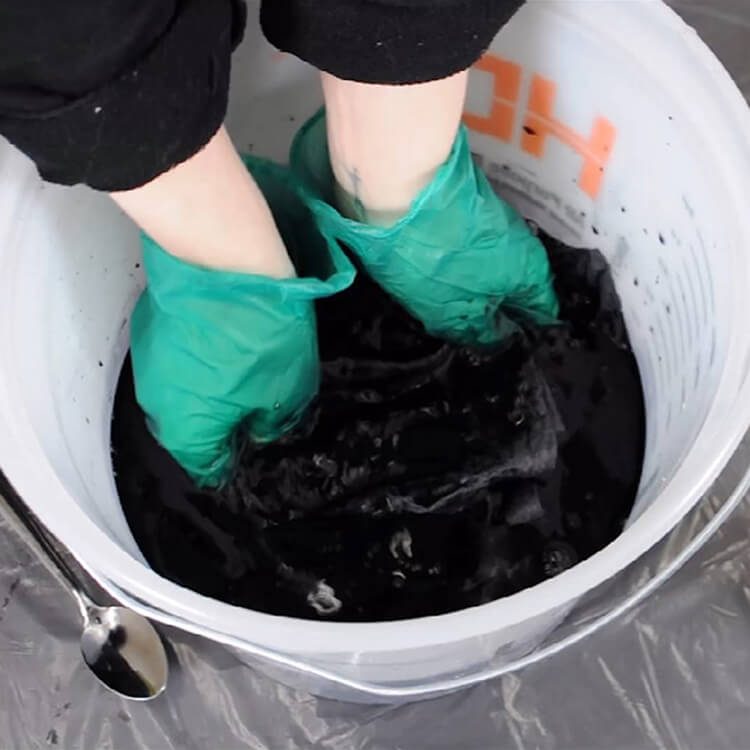
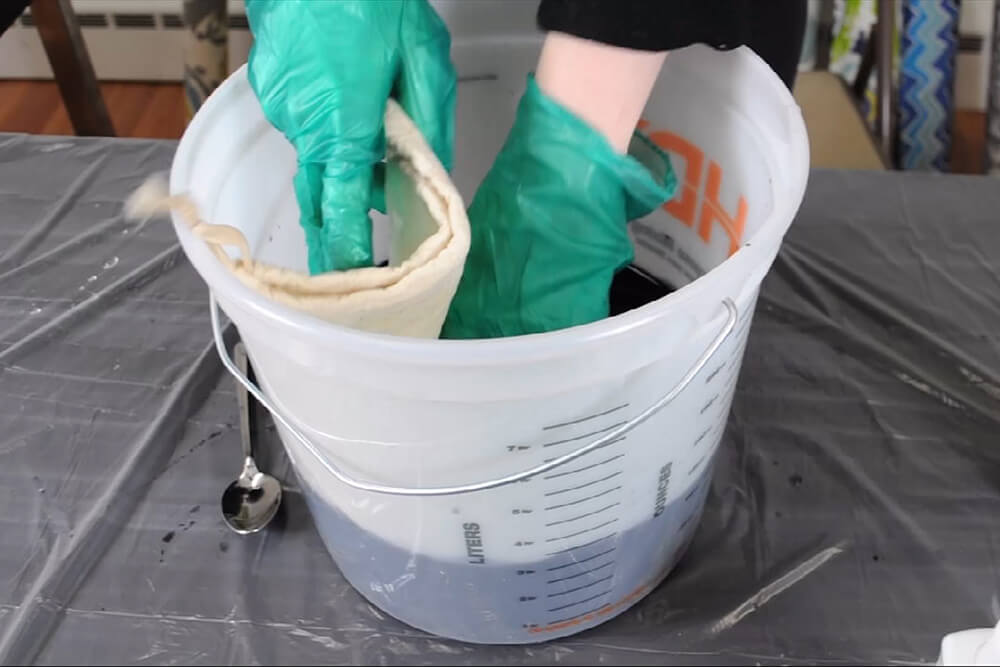
Step 3: Adding fabric to the dye bath
Air pockets from the bumps or bubbles in the fabric will give your finished product some inconsistencies which can be really pretty but ultimately are not what you’re looking for in a full immersion dye bath.
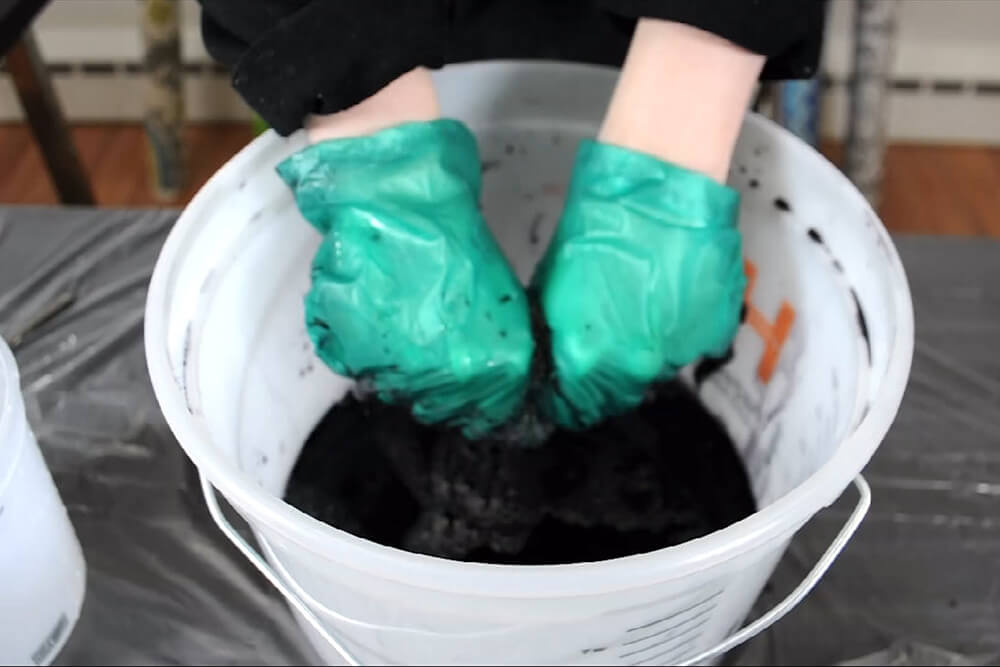
Once the dye bath is mixed, drop the fabric in. Make sure to mush it all around and be sure that there are no bumps or bubbles in the fabric. Let the fabric sit there for about half an hour, this will give it a nice, rich color.
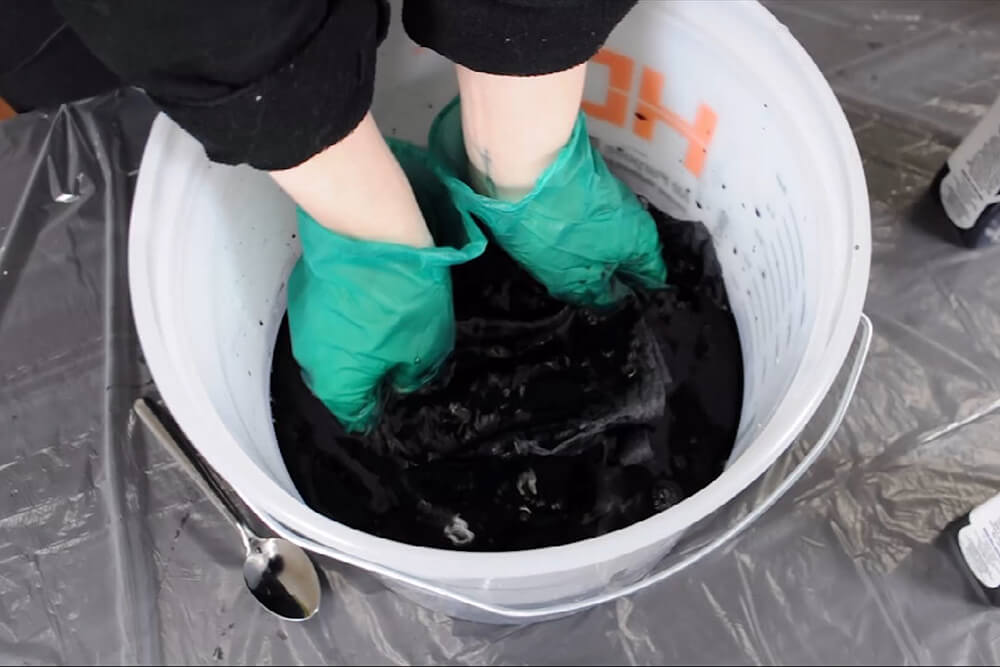
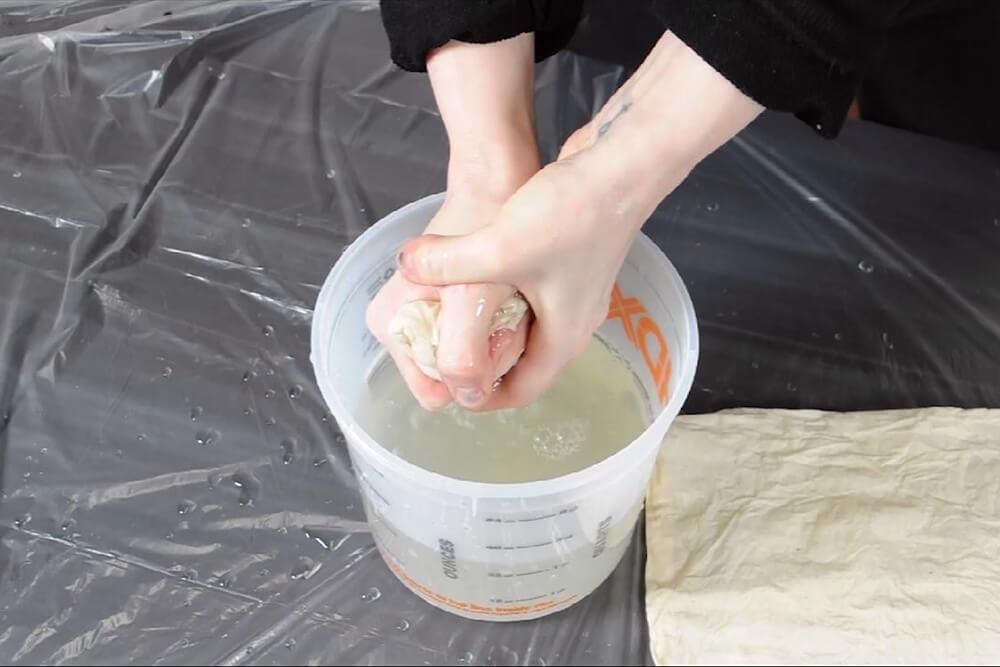
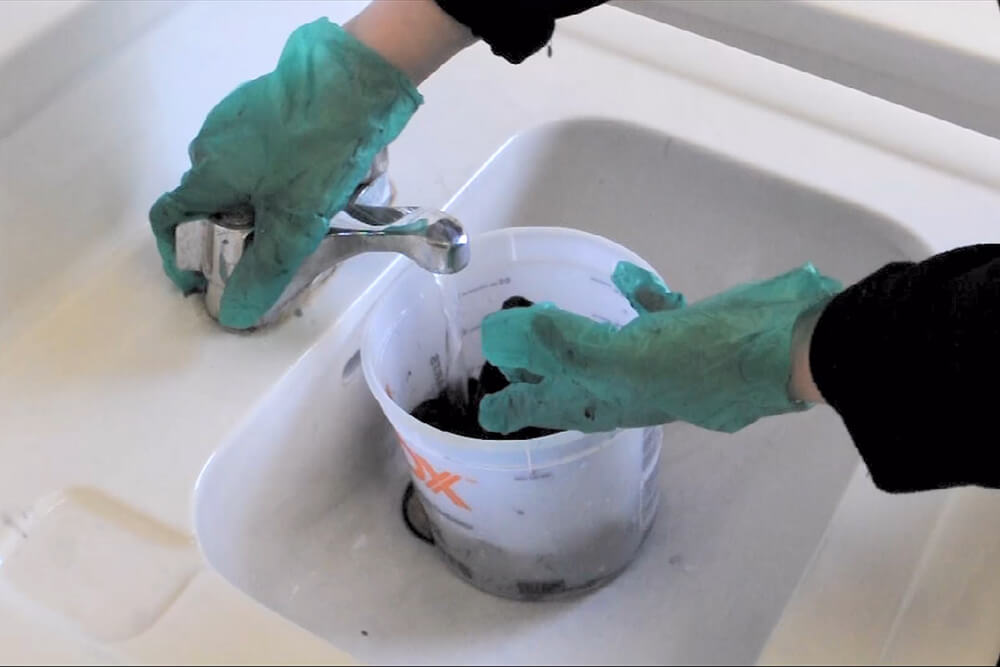
After about a half an hour of soaking, check to see if the fabric has reached your desired shade. When you’re ready to remove your fabric, take it out and gently ring it back into the bucket to get off any excess dyes.
Step 4: Rinsing the fabric
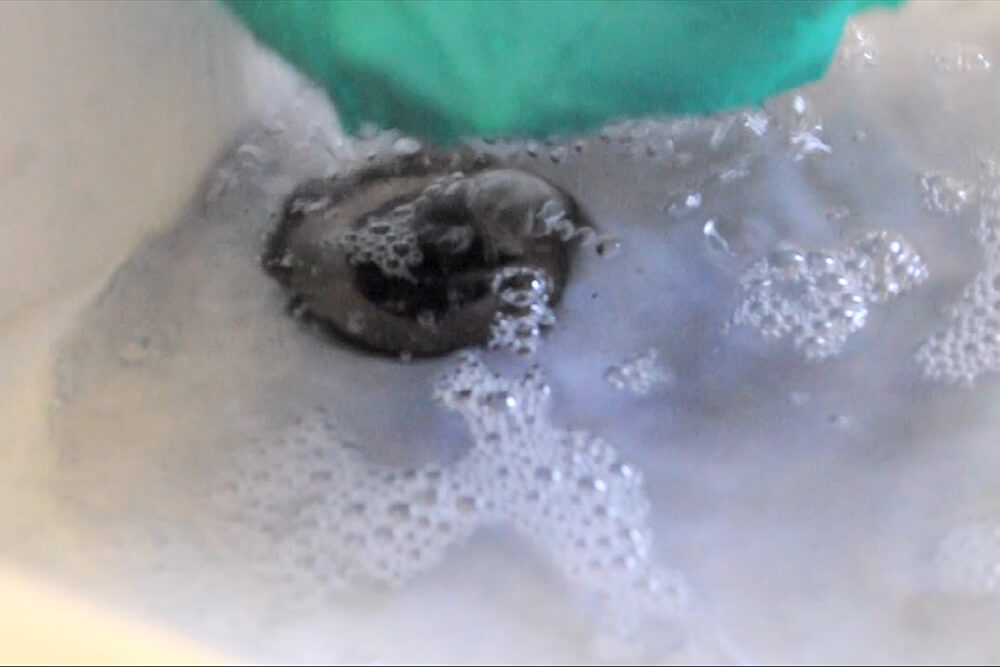
To rinse, start with hot water. This will open the fibers and make sure that you’re able to rinse out the dye.
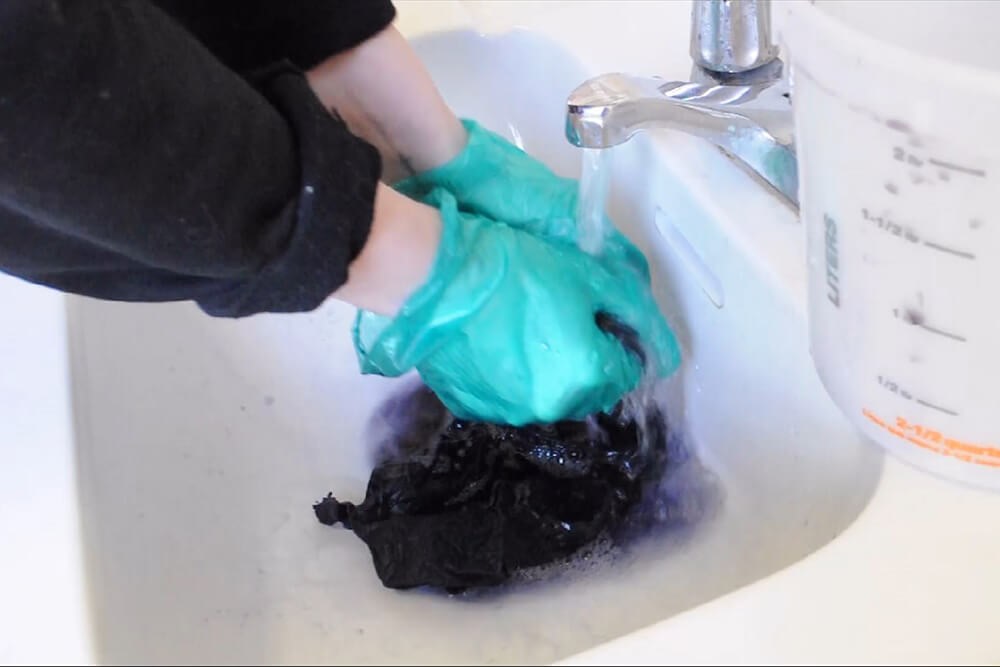
Don’t be afraid if the shade looks a little darker than what you wanted, wet fabric always looks darker.
As the water starts to turn clear, add some cold water. This transition into cold water will help the fibers shrink back up and lock in any remaining dye.
Step 5: Caring for your dyed fabric
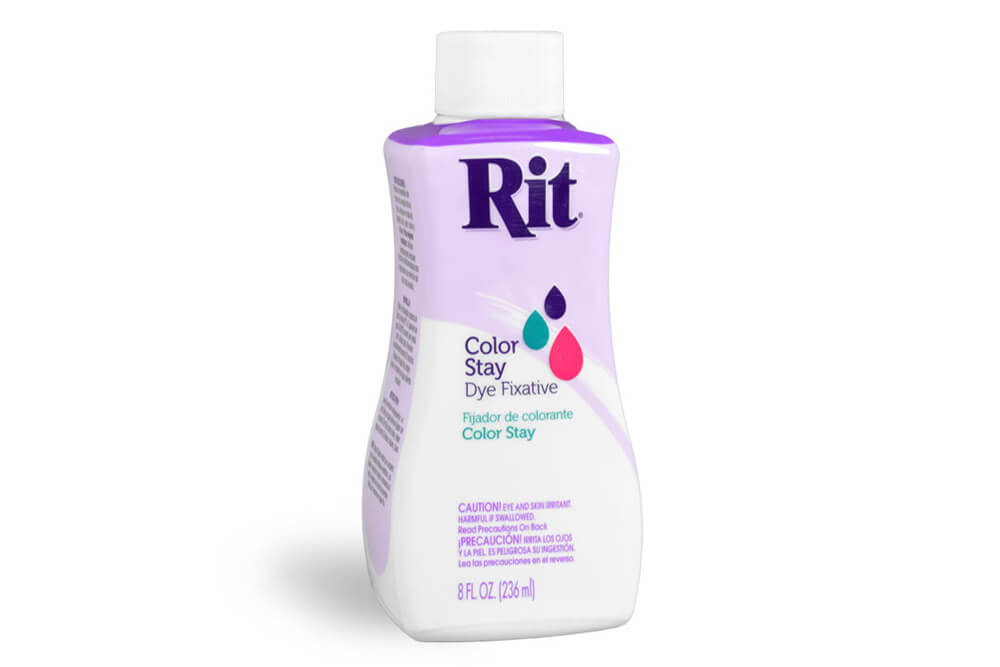
You can wash your dyed fabric any way you like, but if you want to keep the fabric looking clean and pristine, you’ll hand wash it gently in cold water. You may also want to use a fixative to reduce color bleeding.
For more information or specific questions about using Rit Dye, check out these Frequenty Asked Questions.
Looking for more fabric dyes? Browse our selection here.
-
{{#each productSuggestedQueries.results}}
- {{query}} {{/each}}
-
{{#each categories.results}}
- {{html title}} {{/each}}
{{html attributes.description}}
{{/if}}-
{{#each queries.results}}
- {{query}} {{/each}}