
How to Dye Fabric: Shibori Pole Dyeing Technique
- By Clara
- Beginner
- 30 minutes
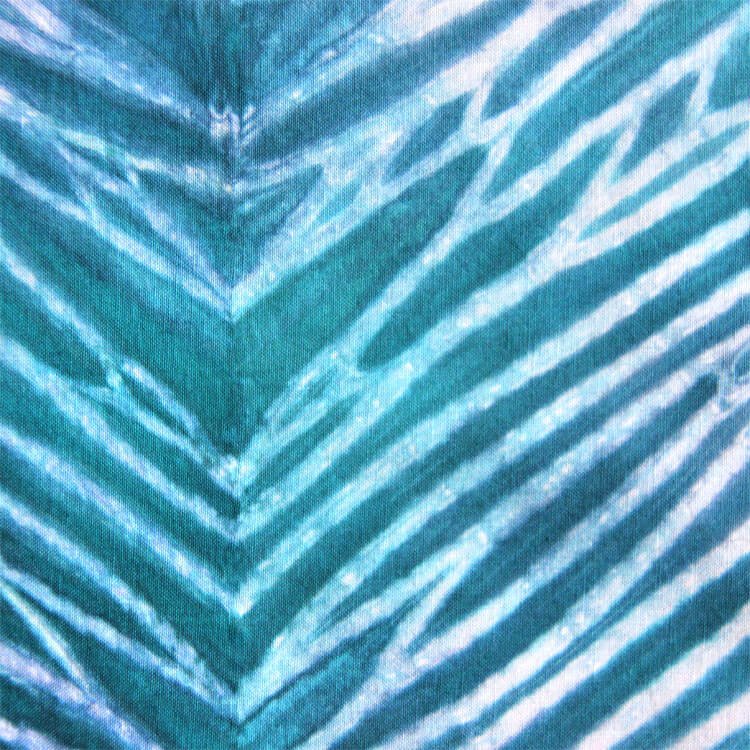
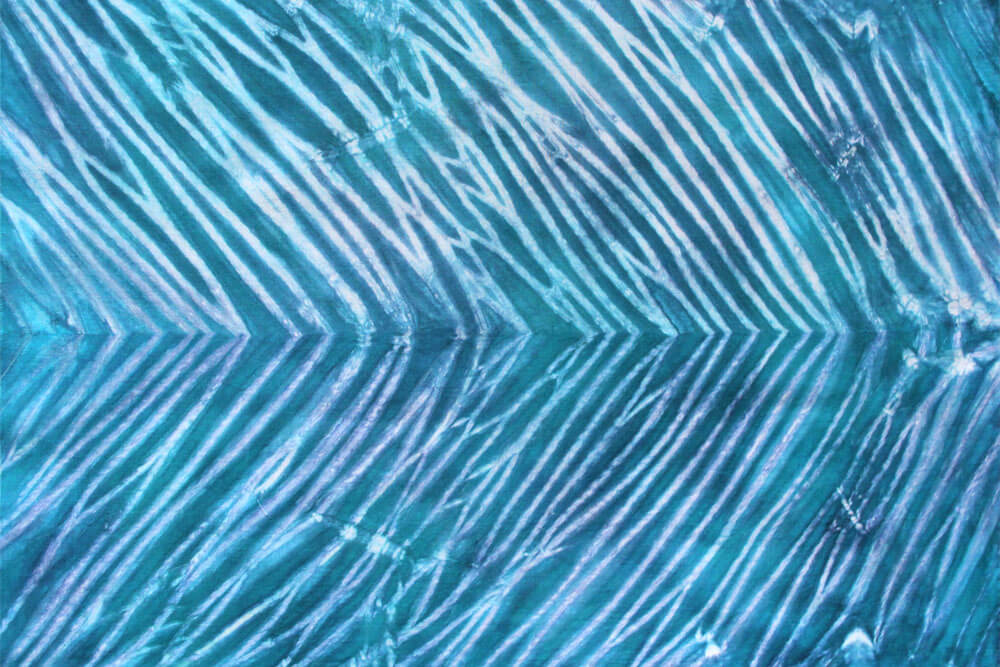
With the Shibori pole dyeing technique, you can create unique striped patterns. They can range from fairly regular lines to fluid, ripple-like stripes. Experiment with different ways to wrap the pole and multiple colors to create unique patterns of your own.
Materials
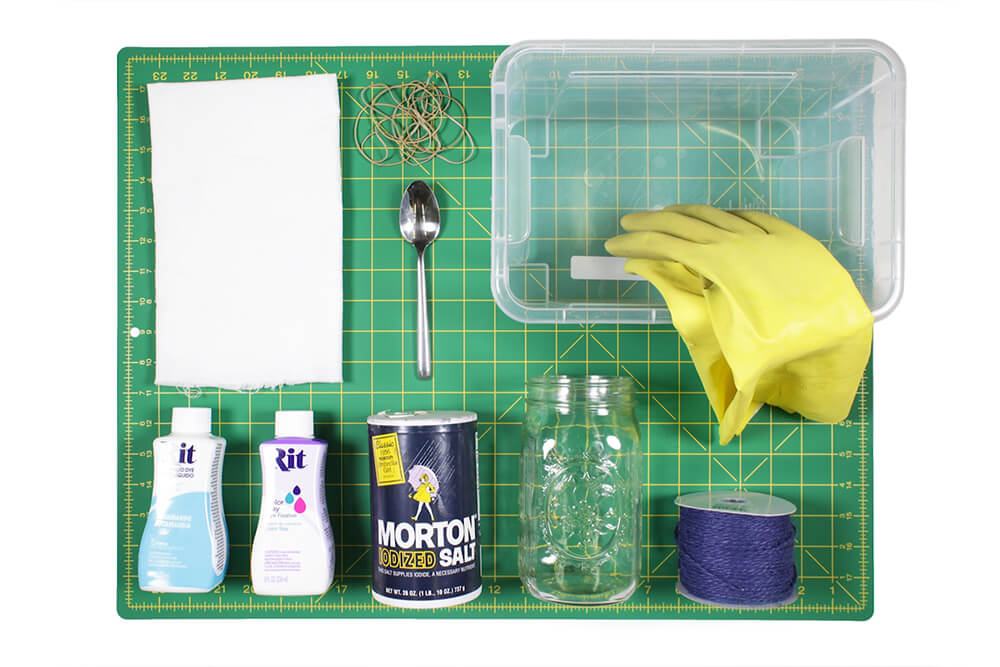
- Fabric or an item of clothing
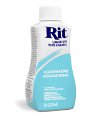
- Rit fabric dye
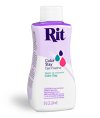
- Rit fixative
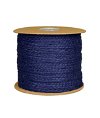
- Twine
- PVC pipe or other cylindrical object
- Rubber bands
- Salt
- Container for dyeing
- Spoon
- Rubber gloves
Related Products
Video
Instructions
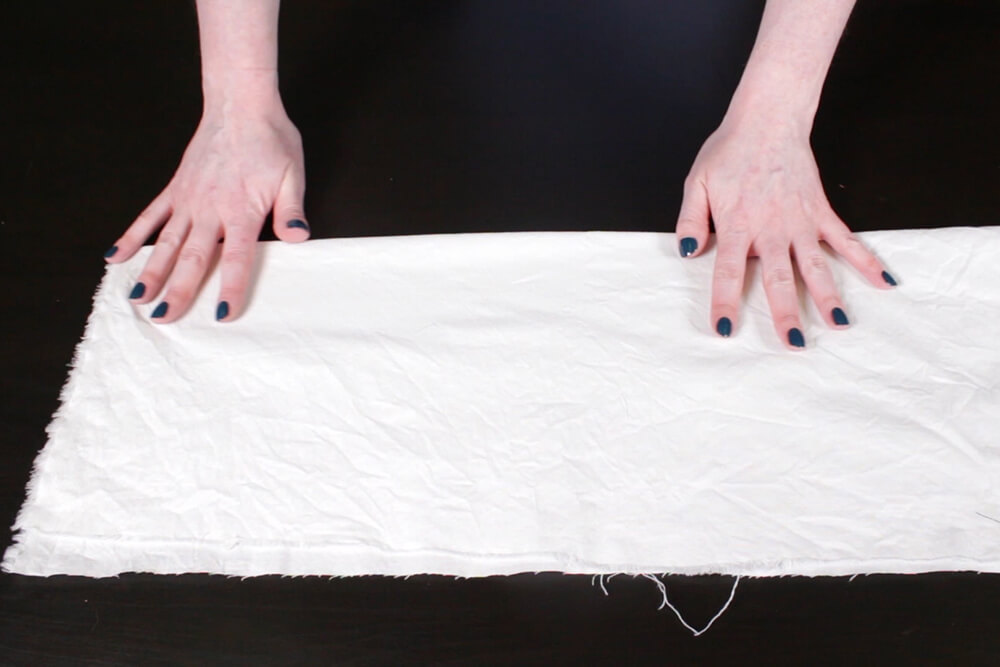
Step 1: Wrap the fabric
For best results, use a fabric made from natural fibers like cotton, and pre-wash the fabric.
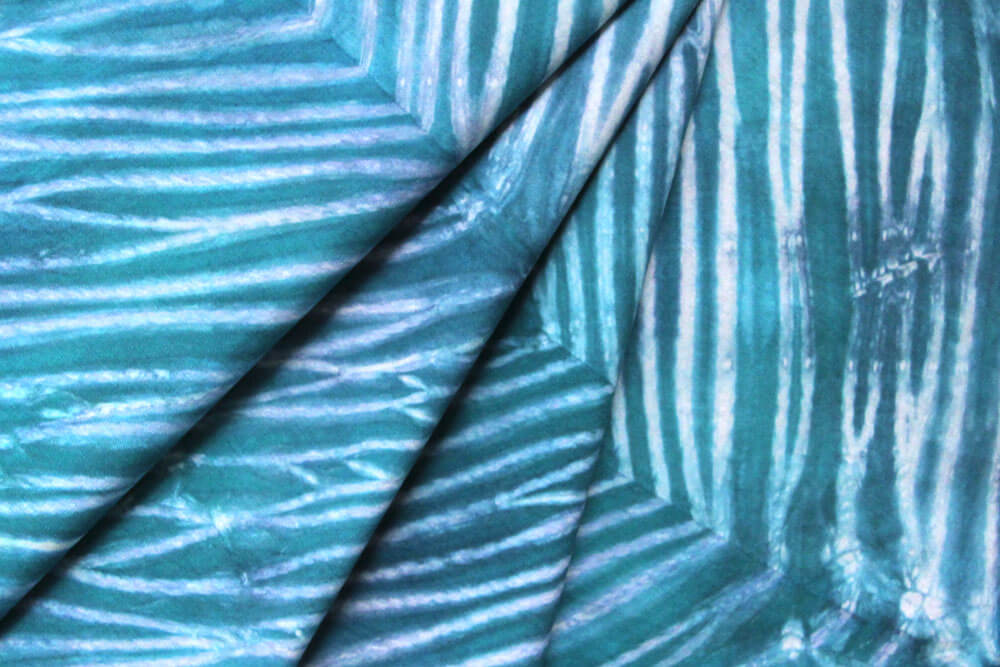
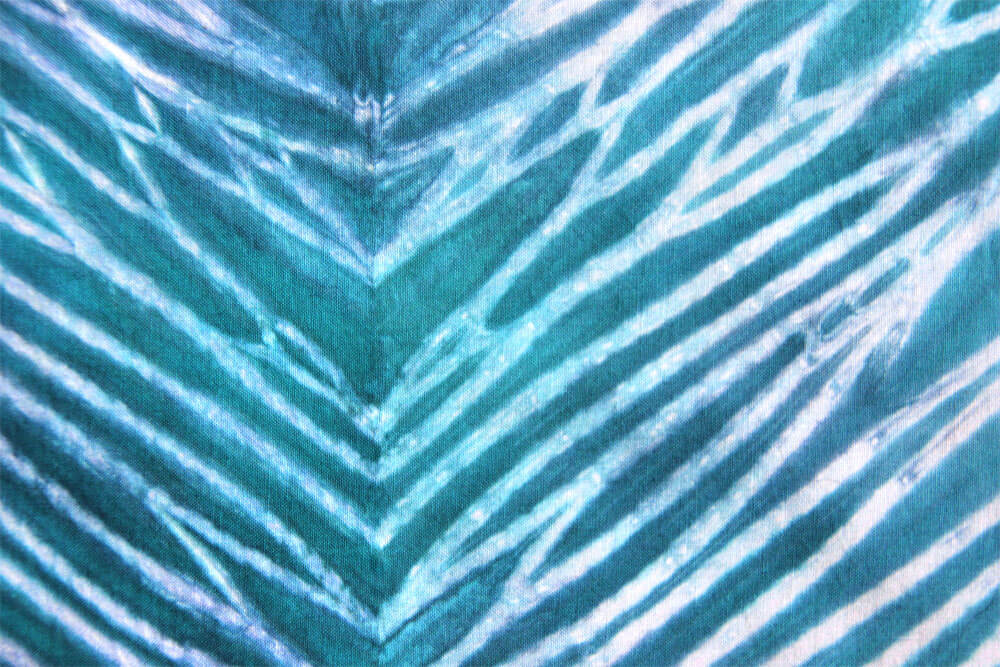
There are many different ways you can wrap the fabric. Here I’m folding the fabric in half and wrapping it diagonally.
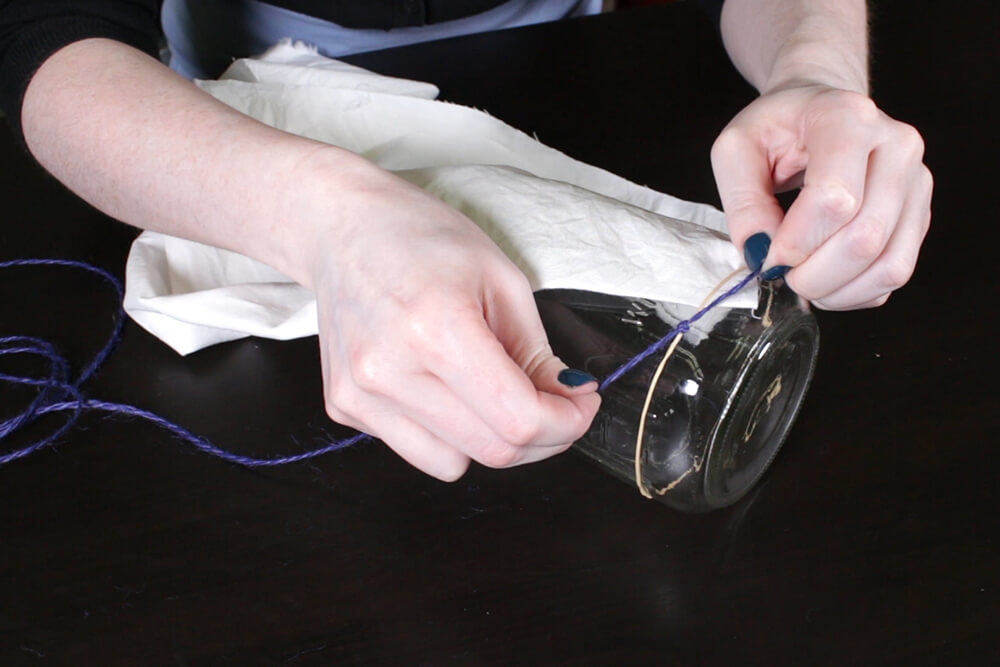
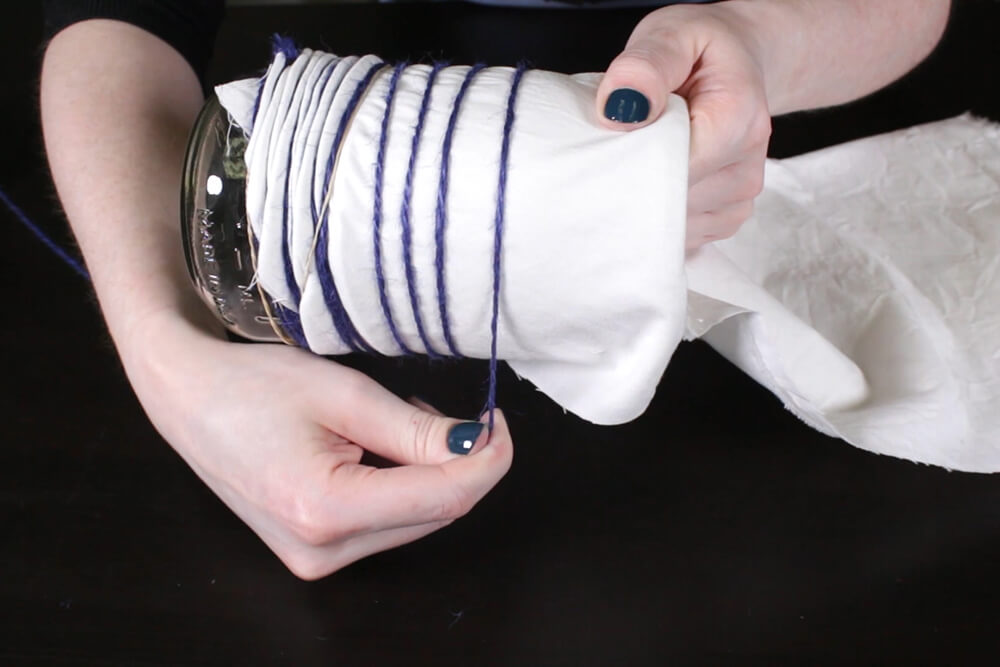
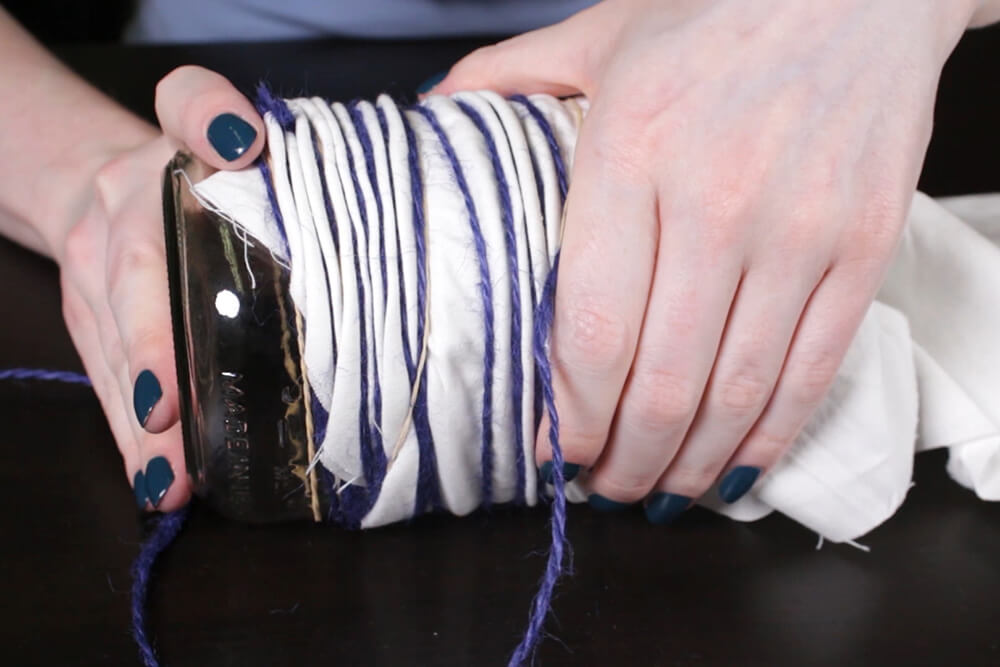
Put a rubber band around the pole so it’s holding the end of the fabric. Tie the twine to the rubber band and start wrapping it tightly around the fabric.
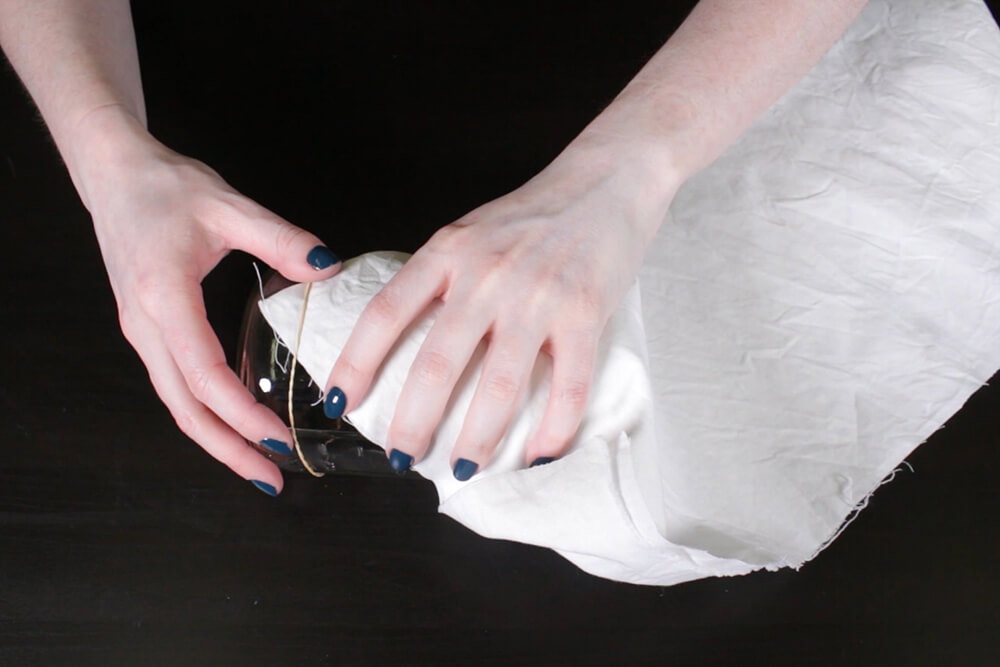
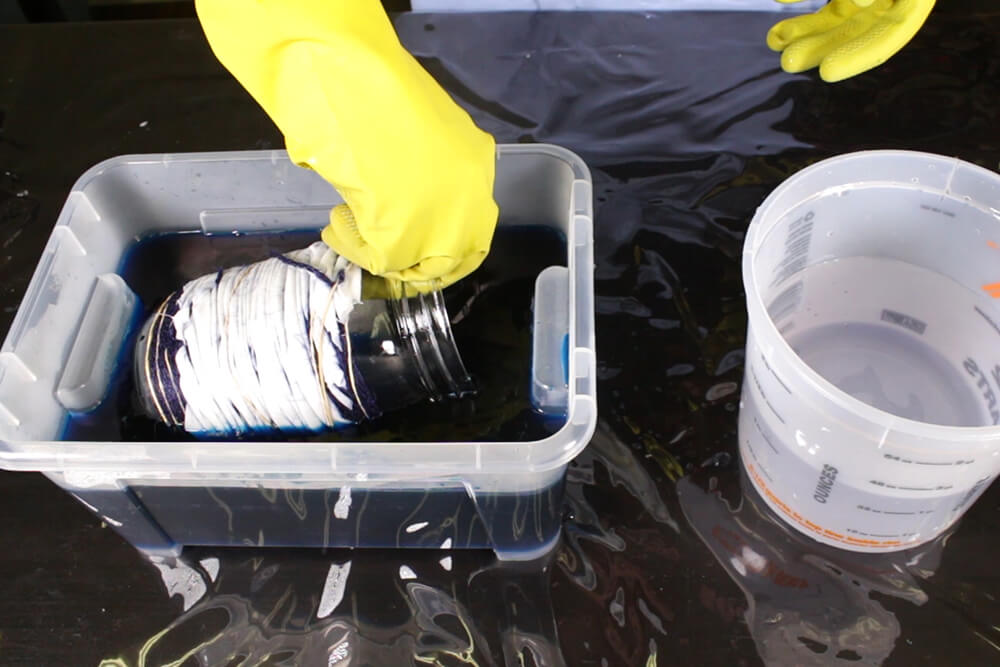
PVC pipe is a common material for the pole, but you can use anything cylindrical that you have. I’m using a mason jar. The more fabric you have, the bigger your pole will need to be.
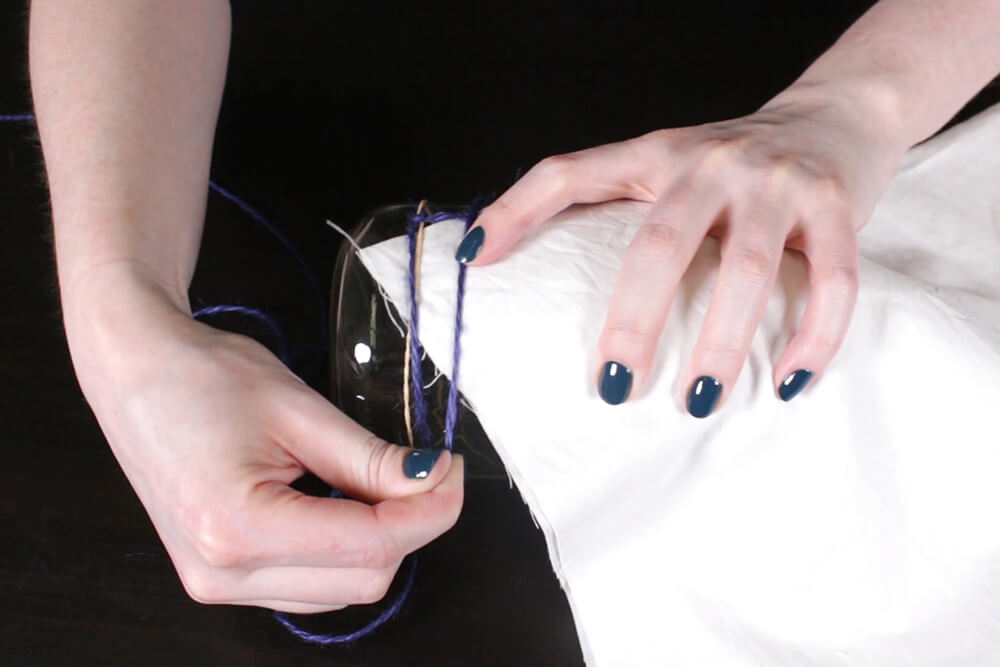
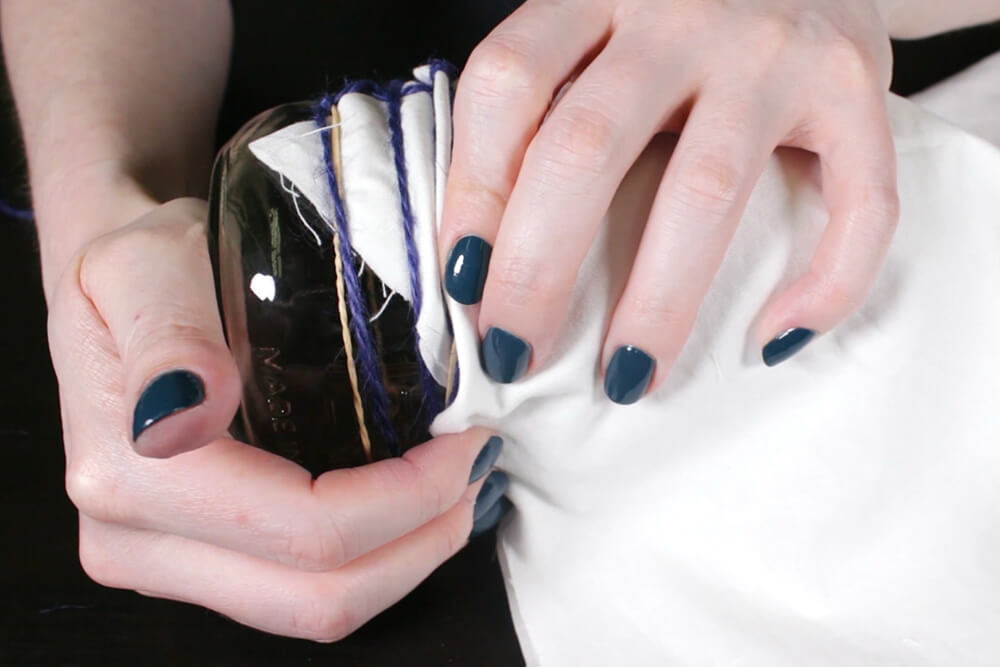
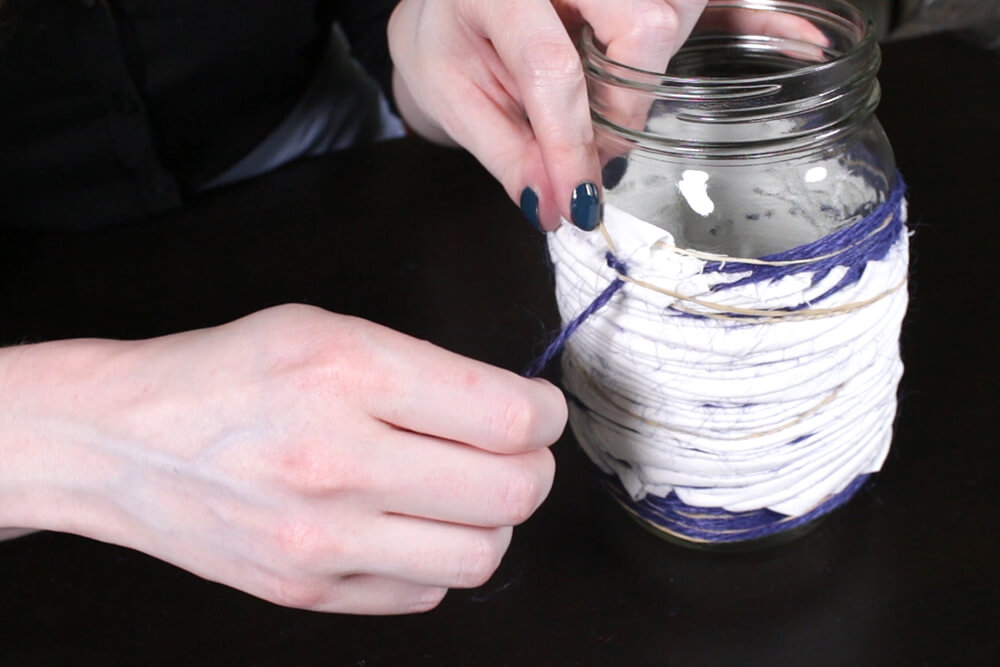
After a couple of inches, put on another rubber band to keep the twine from unraveling as you scrunch up the fabric. Continue to do this until all the fabric is wrapped.
Another method is to wrap the fabric around the pole and scrunch it up before wrapping it with twine. This will create a more irregular, fluid pattern.
You can also try different thicknesses of twine or rope. The twine I’m using is dyed, so in hot water it will come off on the fabric. This could add to the pattern, but use an un-dyed material if you don’t want this.

Step 2: Dye the fabric
These dyeing instructions are for Rit Dye, but other types of dyes can also be used for this technique.
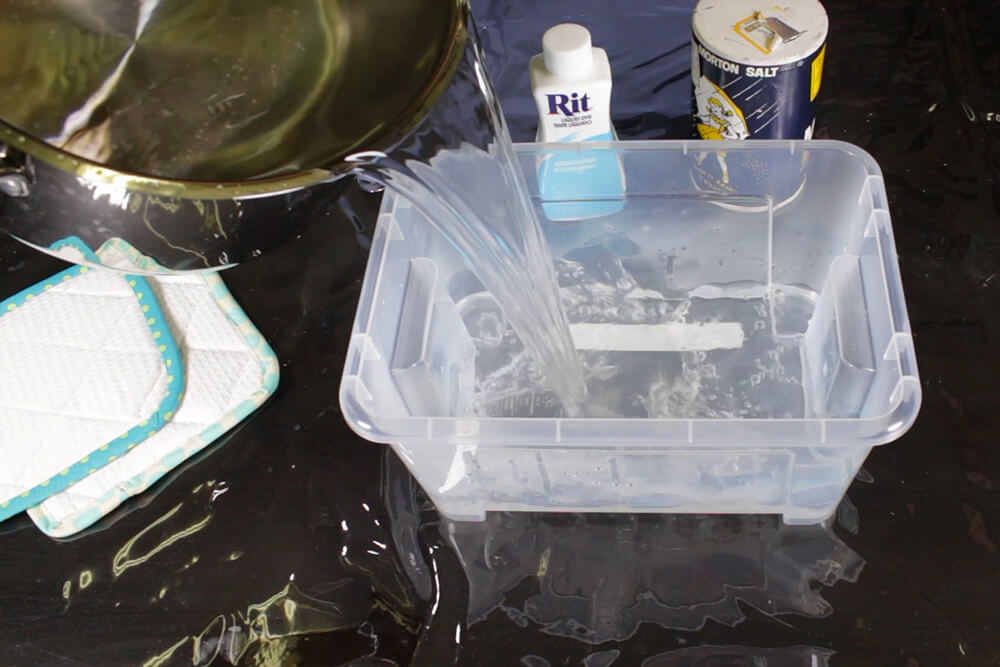
Make sure your workspace is covered with plastic or something to protect it from staining.
Soak in warm water and squeeze out the excess.
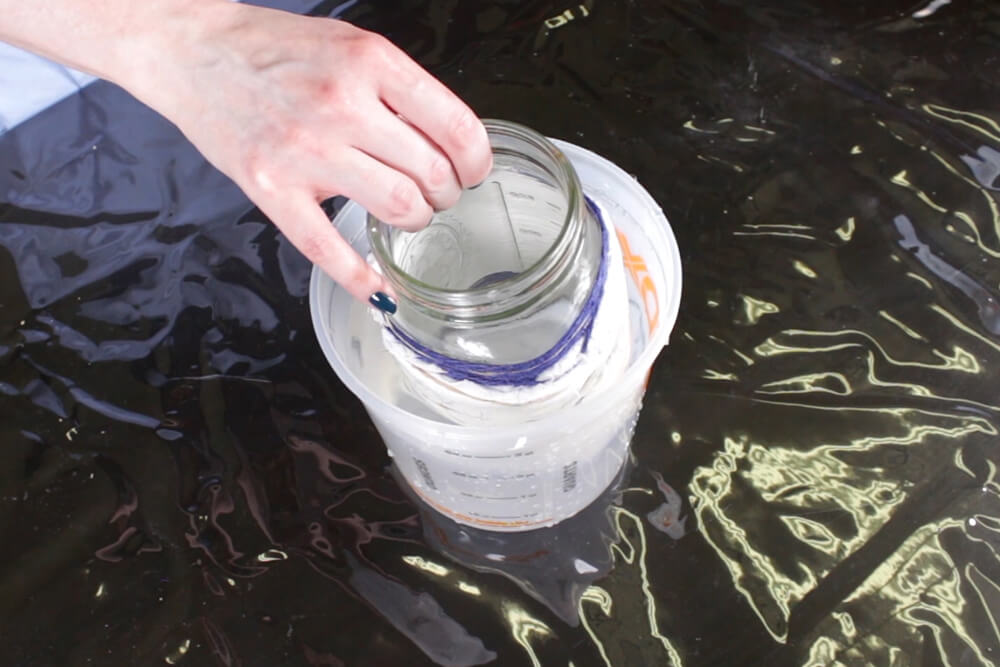
For the dye bath, heat at least enough water to cover the wrapped fabric if you’re going to submerge the whole thing.
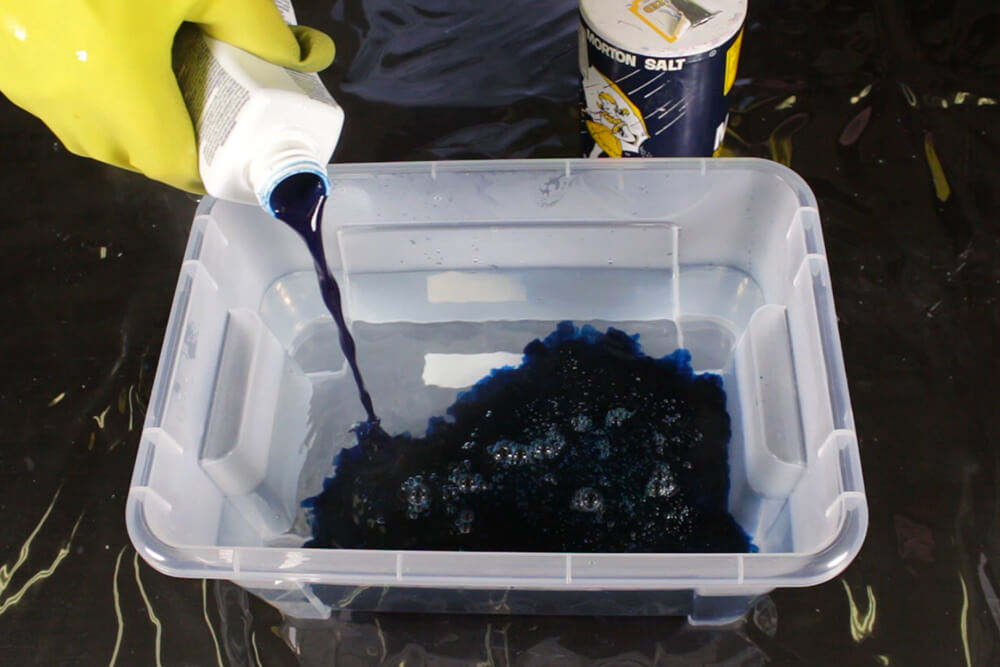
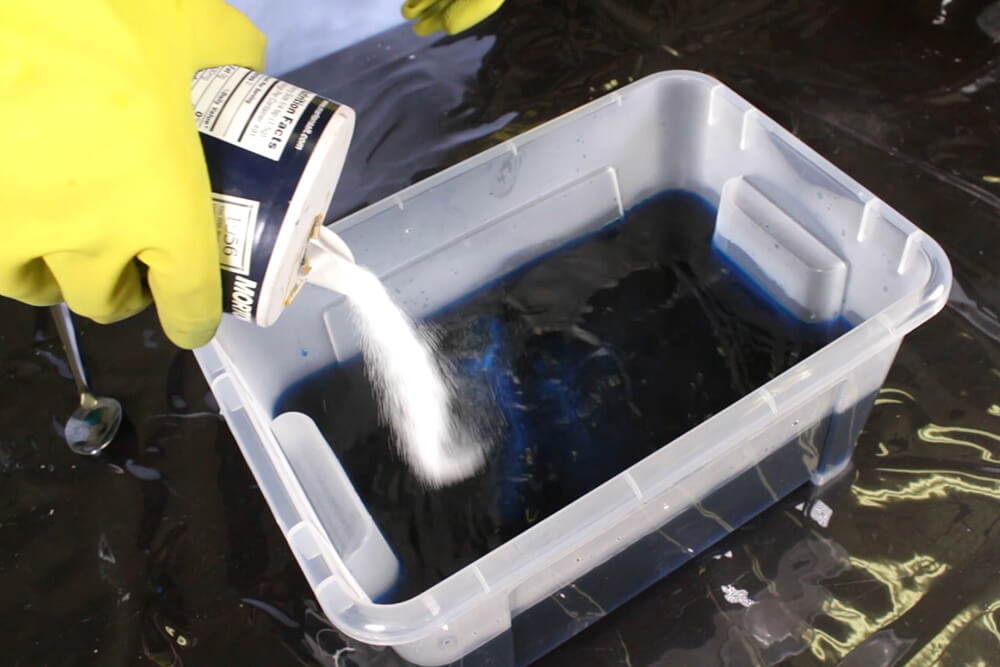
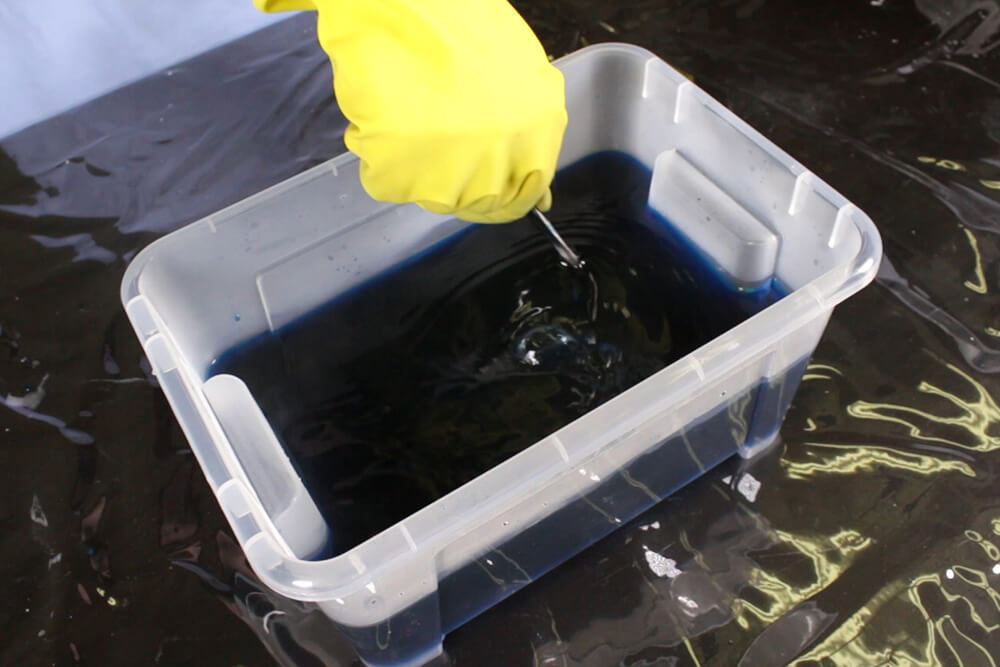
With the water near boiling, pour it into a container. Put on rubbers gloves and add the dye, shaking it first. I’m using aquamarine Rit Dye. If you’re dying cotton, rayon, or linen fabric, adding salt will help the dye absorb better. Stir the dye bath thoroughly.
The amount of dye you use will depend on the color you want to achieve, the amount of water you’re using, and the amount of fabric.
Place the fabric into the dye and let it sit for about 10 minutes or more.
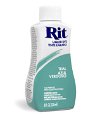
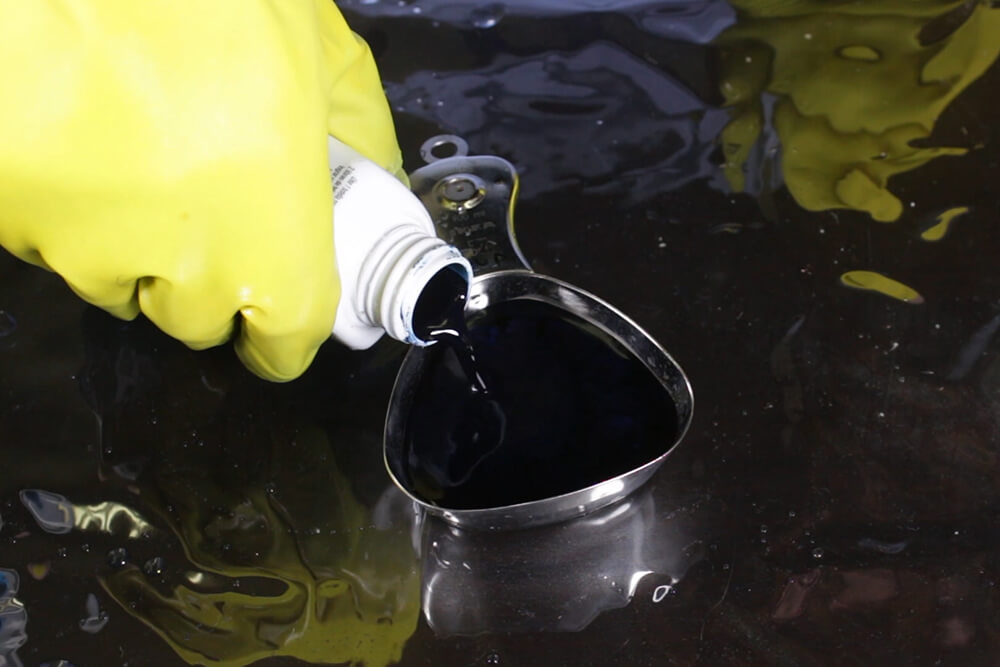
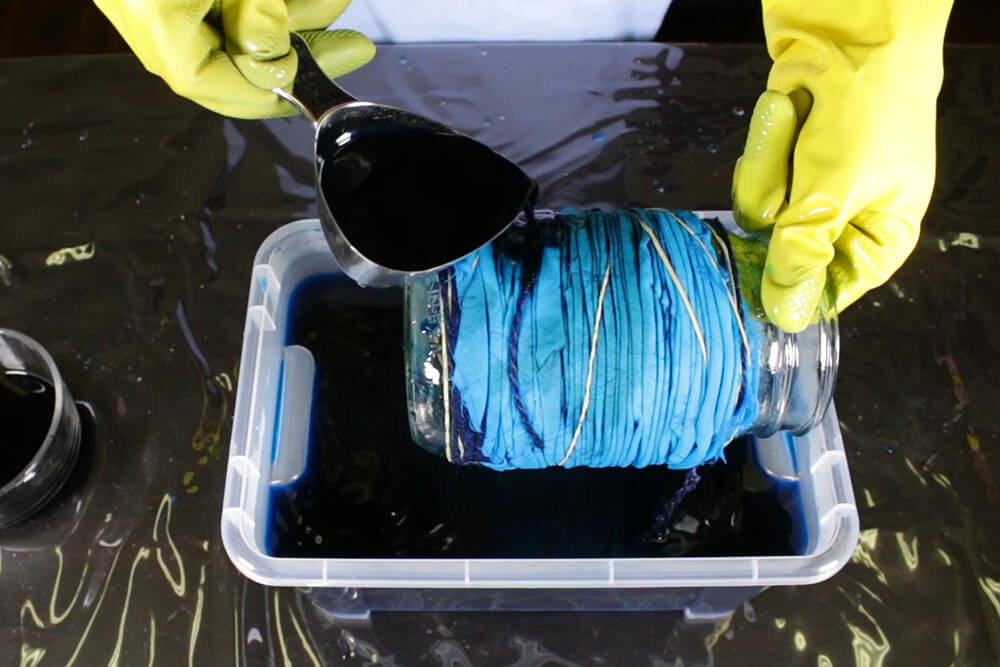
You can also paint on or pour on dye instead of, or in addition to submerging it. I’m going to add more colors this way. Prepare a small amount of dye. I’m using teal Rit Dye.
Take the fabric out of the first color and squeeze out excess water. Pour the second color over different parts of the fabric.
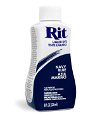
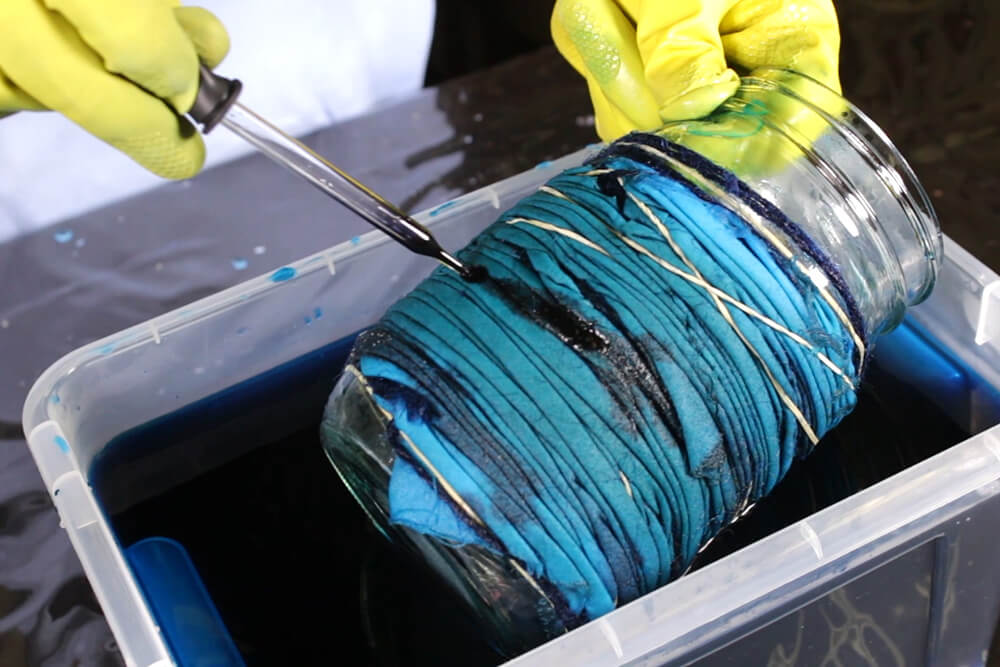
For a third color, I’m using navy blue Rit Dye. This time, I’m applying it with an eyedropper to be more precise. Let it sit for another 10 minutes or so.
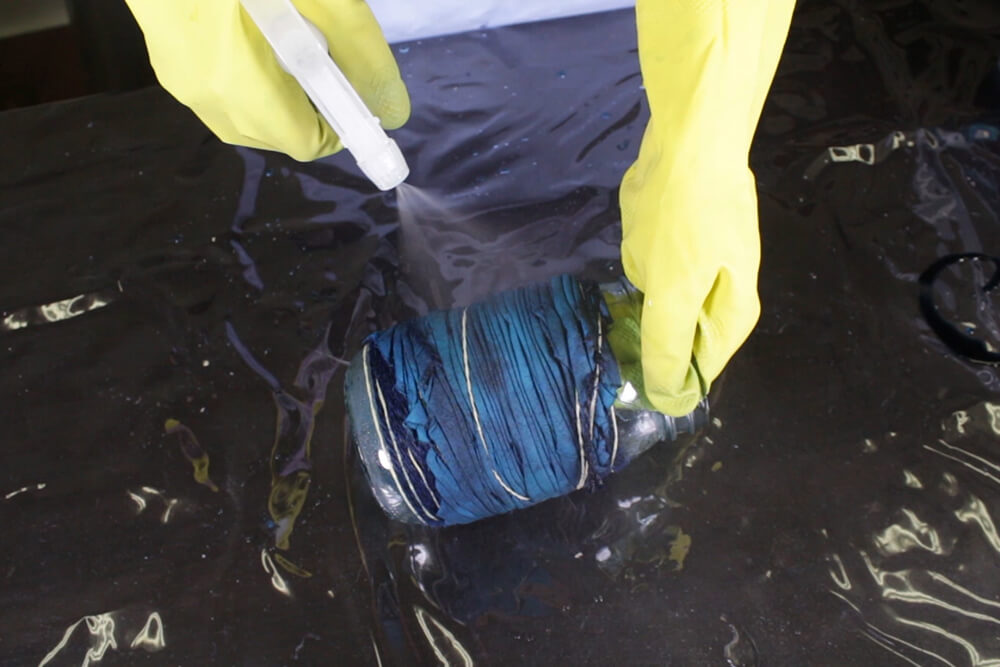
Step 3: Add the Fixative
Using fixative to help preserve the color when washing is recommended. I’m spraying it on directly, but you can also mix it with water and submerge the fabric. Attach a spray nozzle to the fixative or put it in a spray bottle and saturate the fabric.
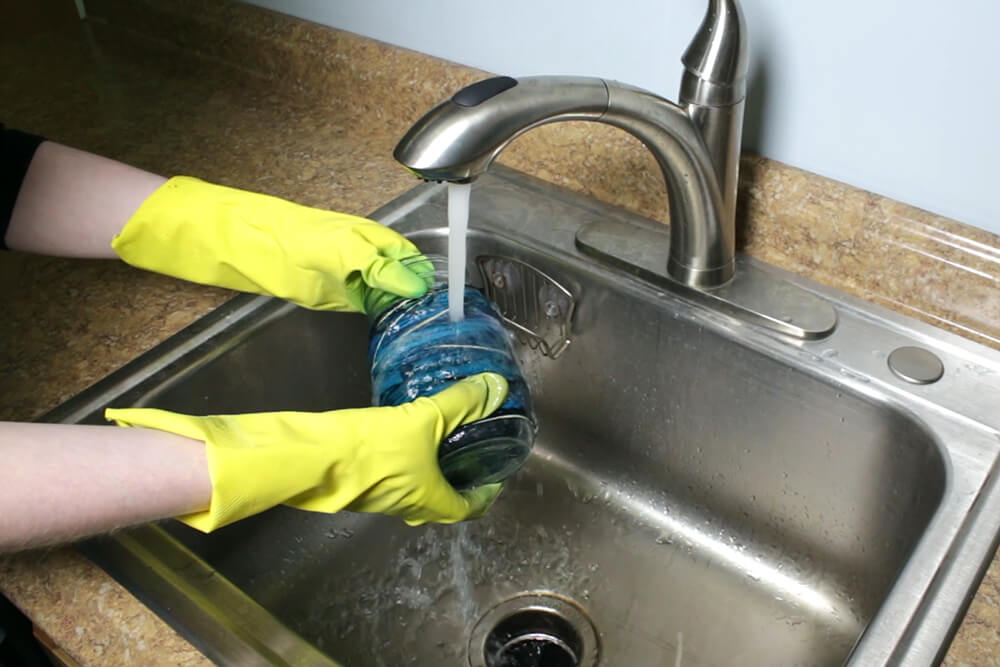
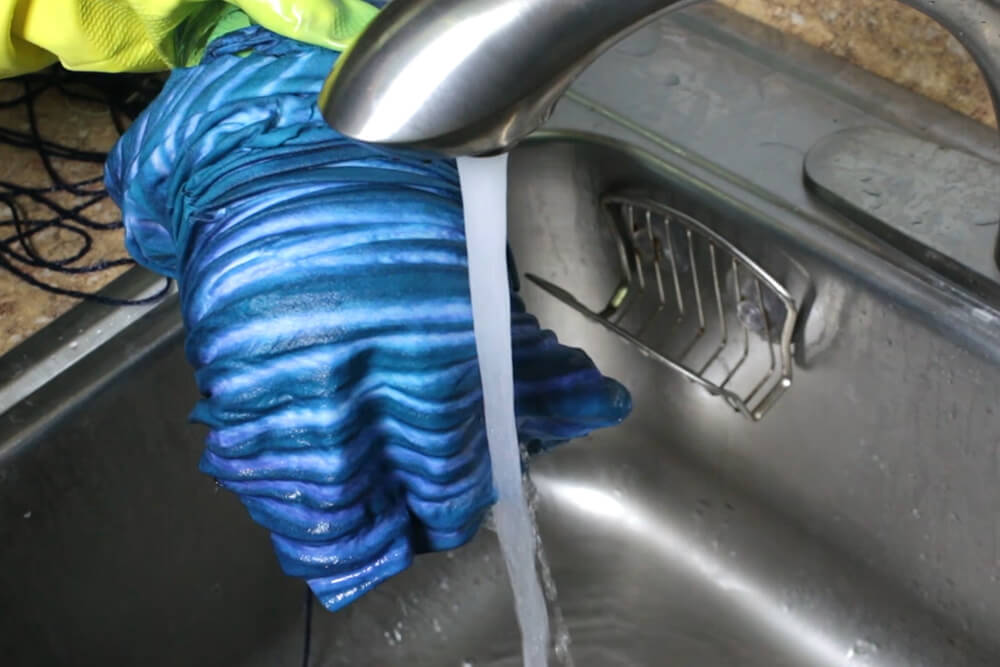
Step 4: Rinse the fabric
Rinse in warm water, then cold, until the water runs clear. Unwrap the fabric as you rinse.
Machine wash on cold and dry.
Want to try it out? Find fabric dye here.
-
{{#each productSuggestedQueries.results}}
- {{query}} {{/each}}
-
{{#each categories.results}}
- {{html title}} {{/each}}
{{html attributes.description}}
{{/if}}-
{{#each queries.results}}
- {{query}} {{/each}}