How to Hand Sew a Back Stitch
- By Clara
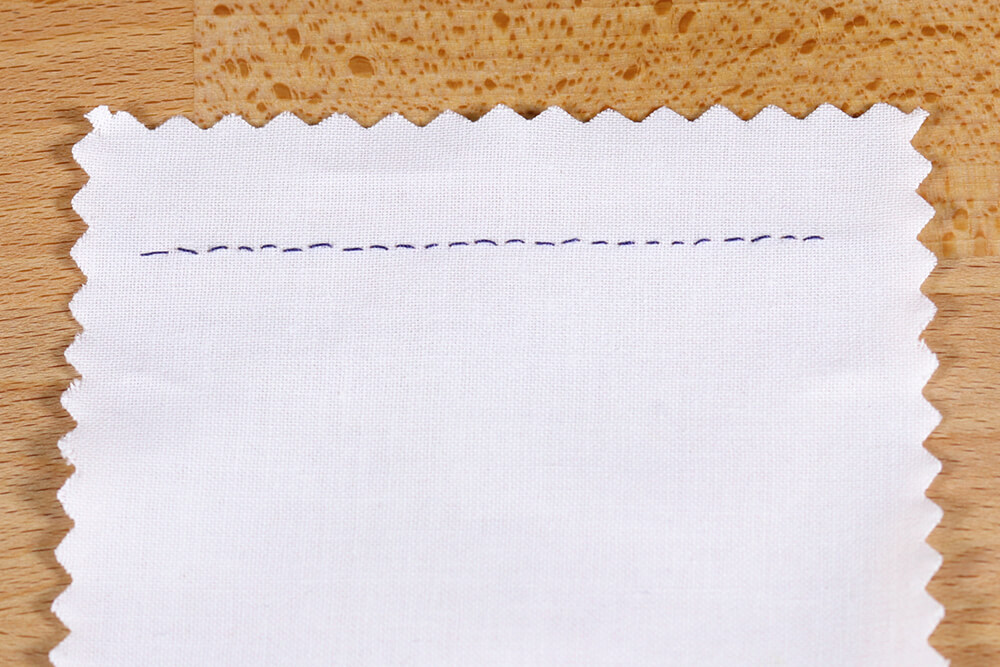
The back stitch can be used as a decorative top stitch or to create a strong seam similar to the straight stitch on a sewing machine. You can leave a bit of space between stitches if you prefer that look for decorative stitching. This stitch is used a lot for embroidery and appliques.
You can also do a running stitch by hand. Click here to learn how.
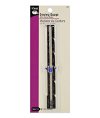
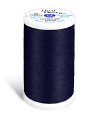
Materials
Related Products


Video
Instructions
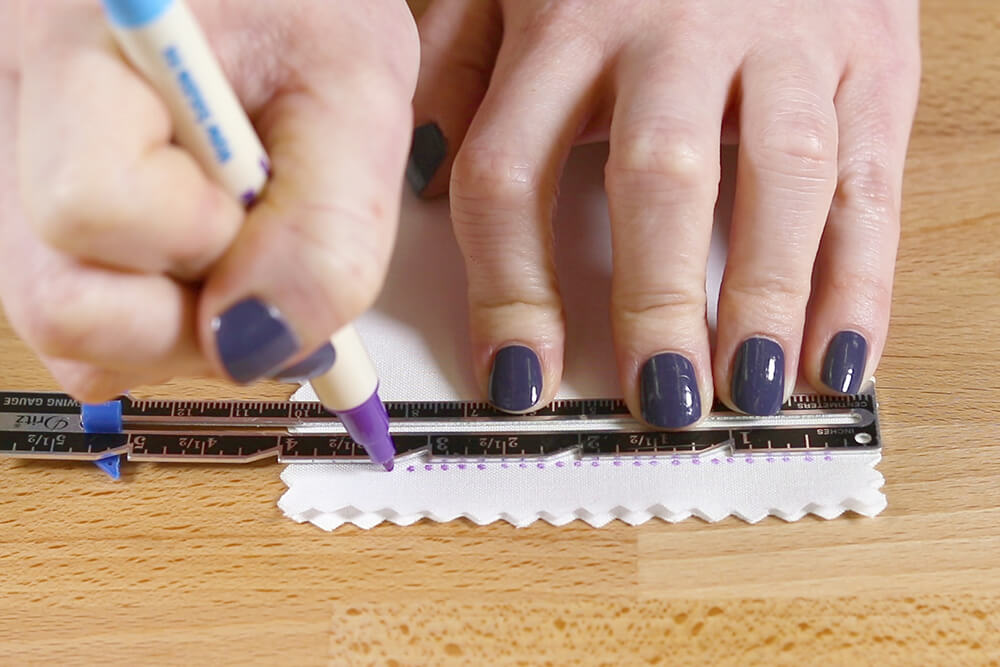
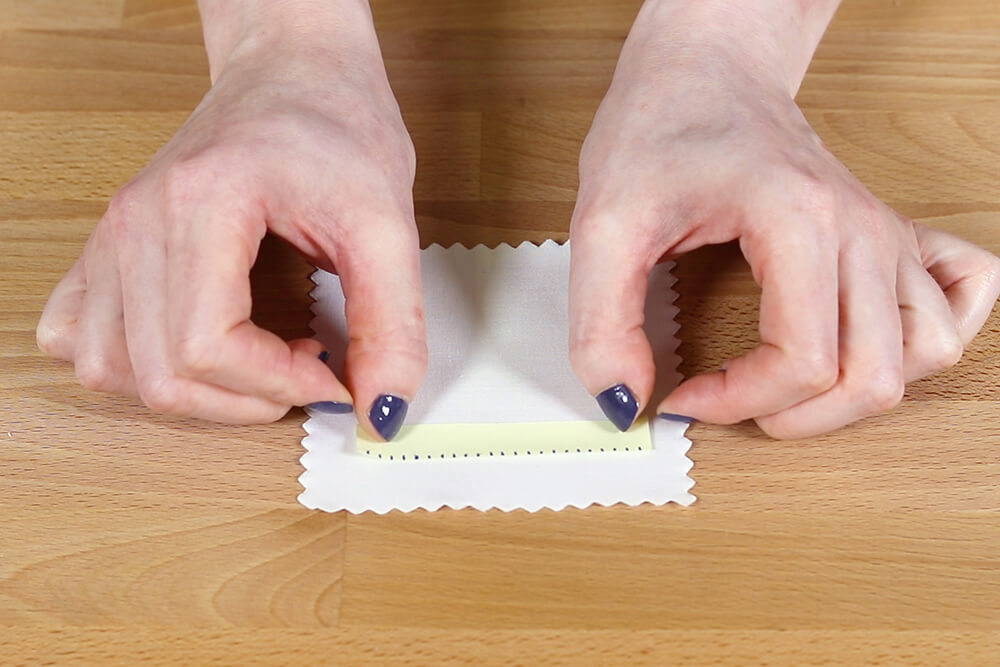
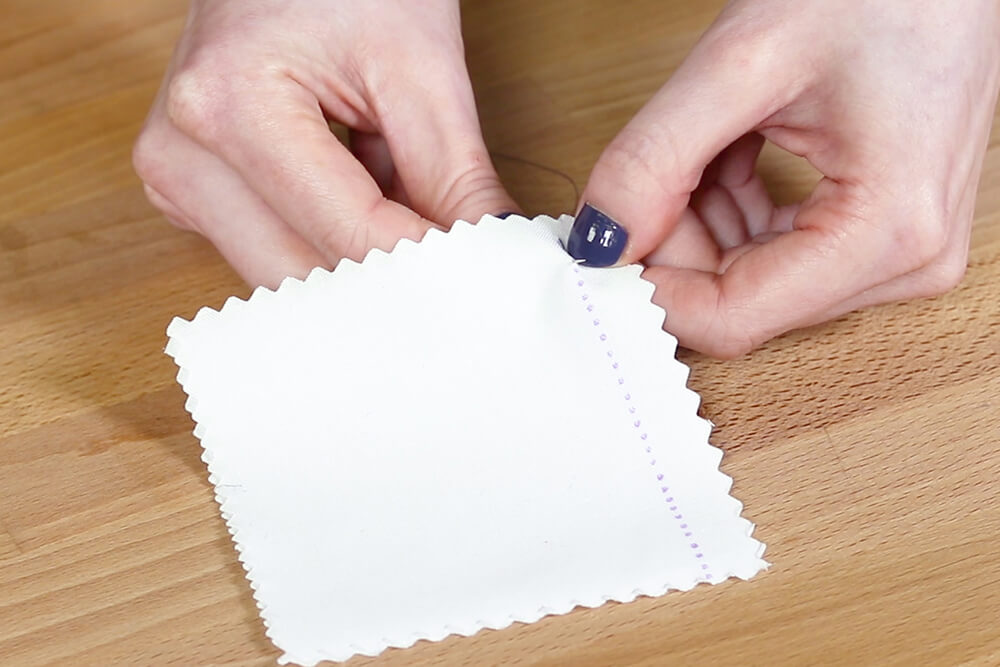
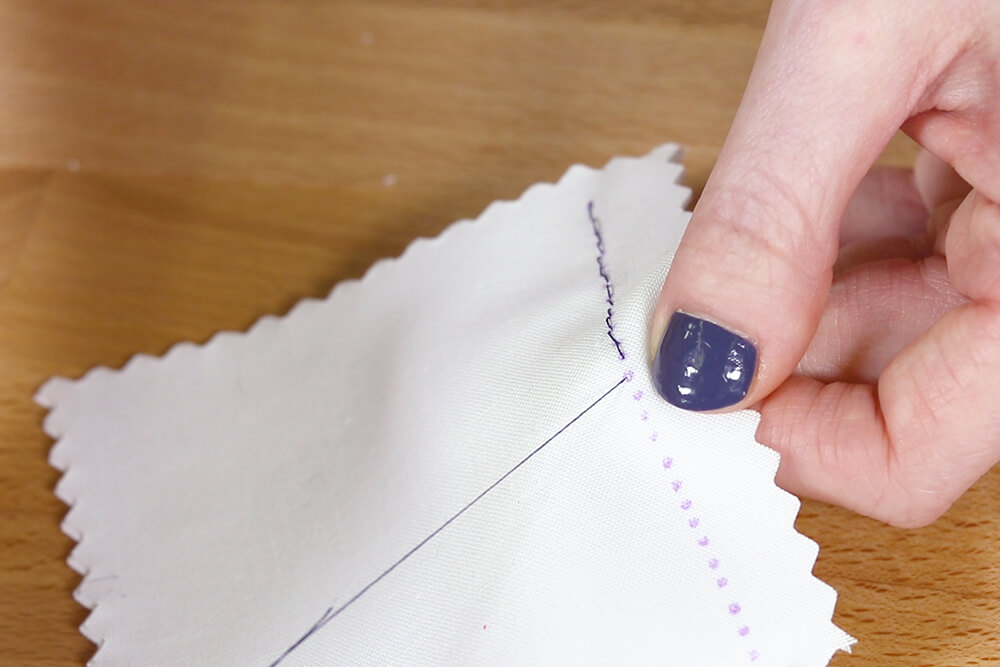
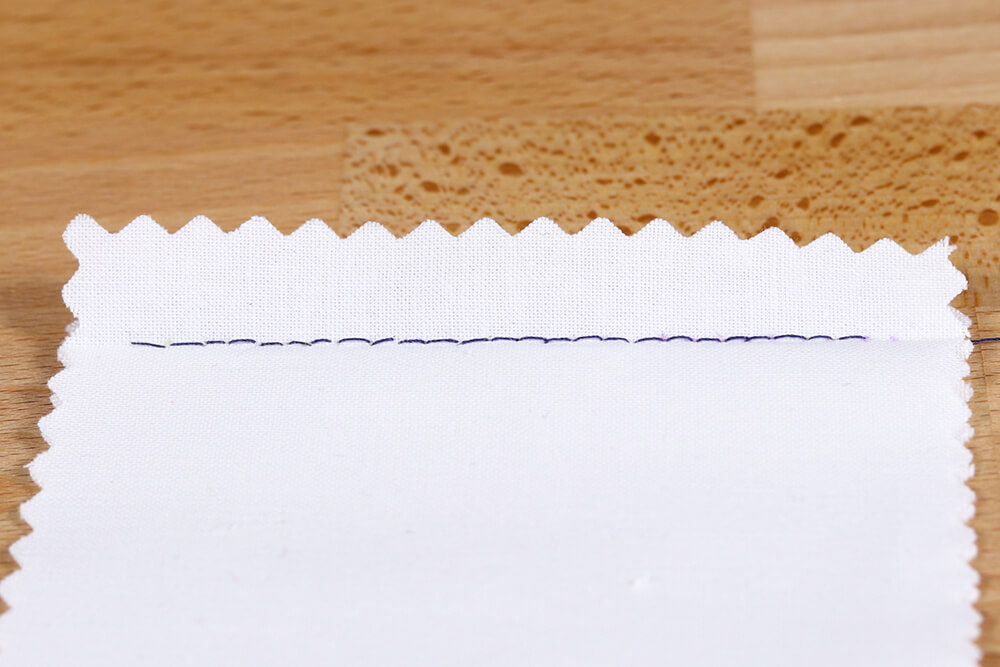
Step 1: Prepare
If you want a straight line and even stitches, draw a dotted line on the fabric with a disappearing marker.
These stitches will be 1/8 long, but you can do shorter or longer stitches, depending on the project.
You can also make even marks on a piece of tape to ensure straight and even stitching.
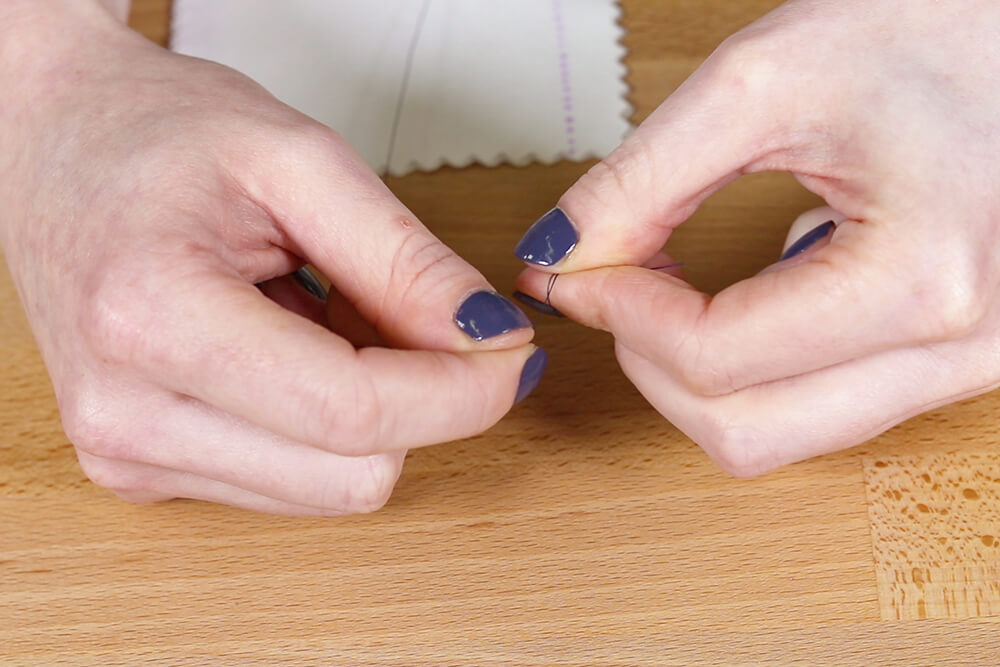
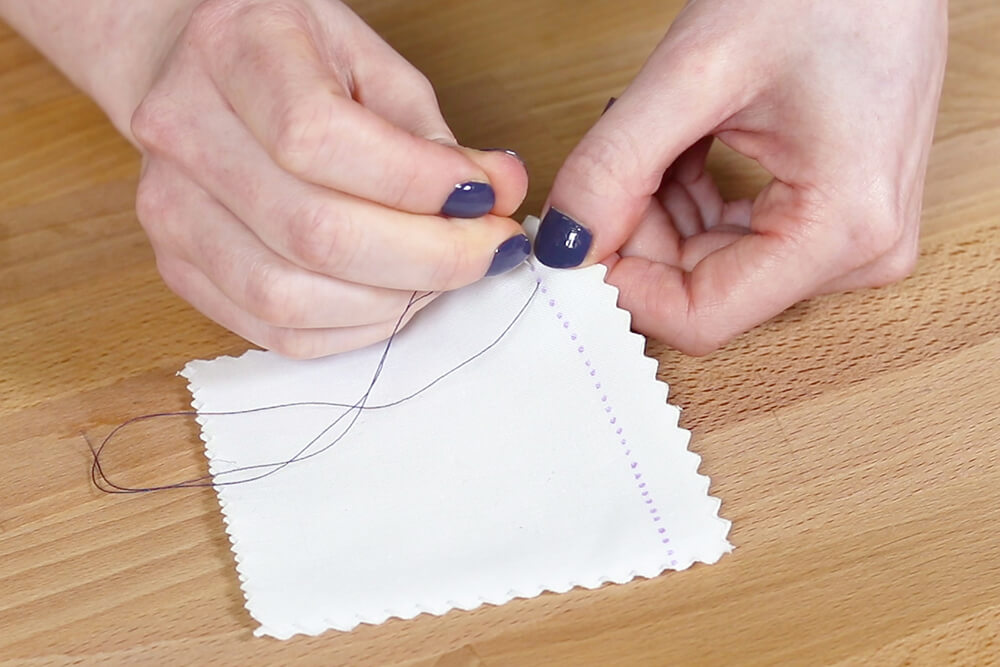
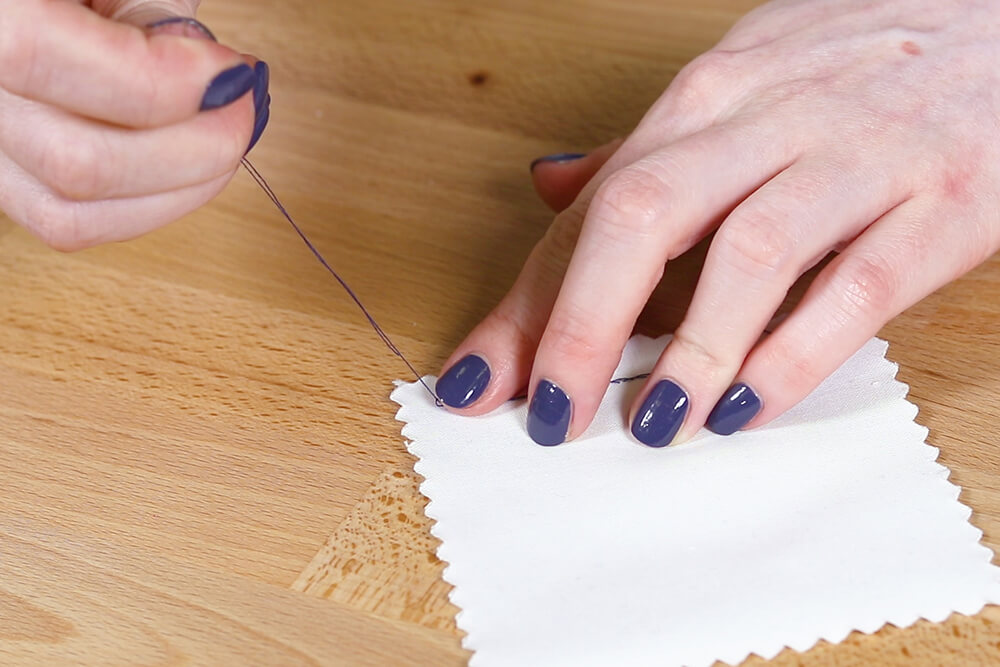
Step 2: Stitch
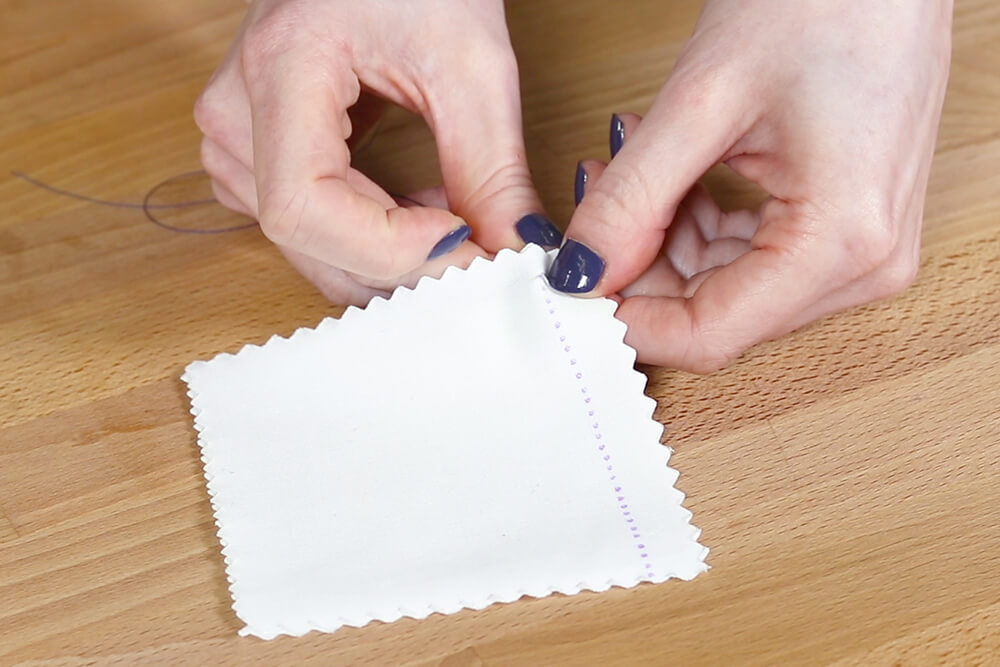
Create a knot and insert the needle through the back of the fabric. Go back through the fabric from the front to create the first stitch.
Bring the needle to the front again, leaving a space the size of the next stitch. Go through the end of the last stitch and repeat the process.
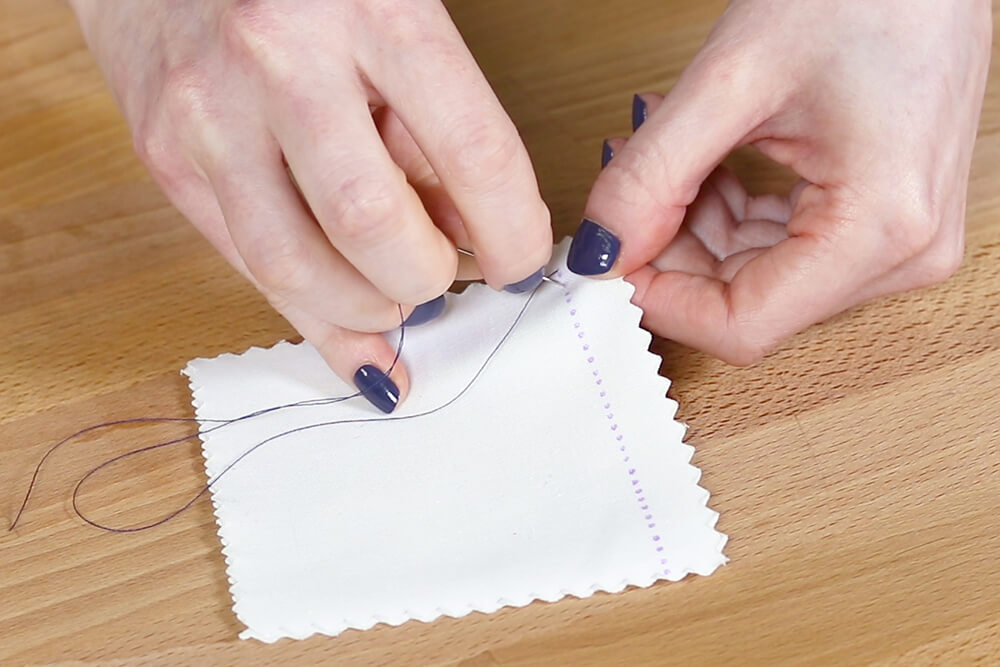
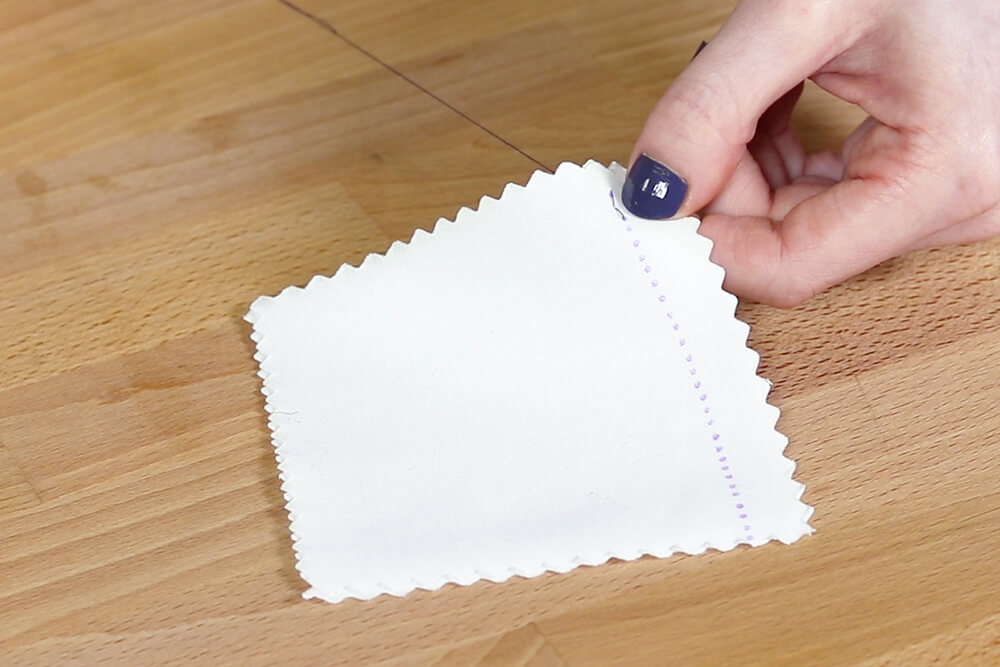
You can speed it up a little by bringing the needle in and out of the fabric in one motion.
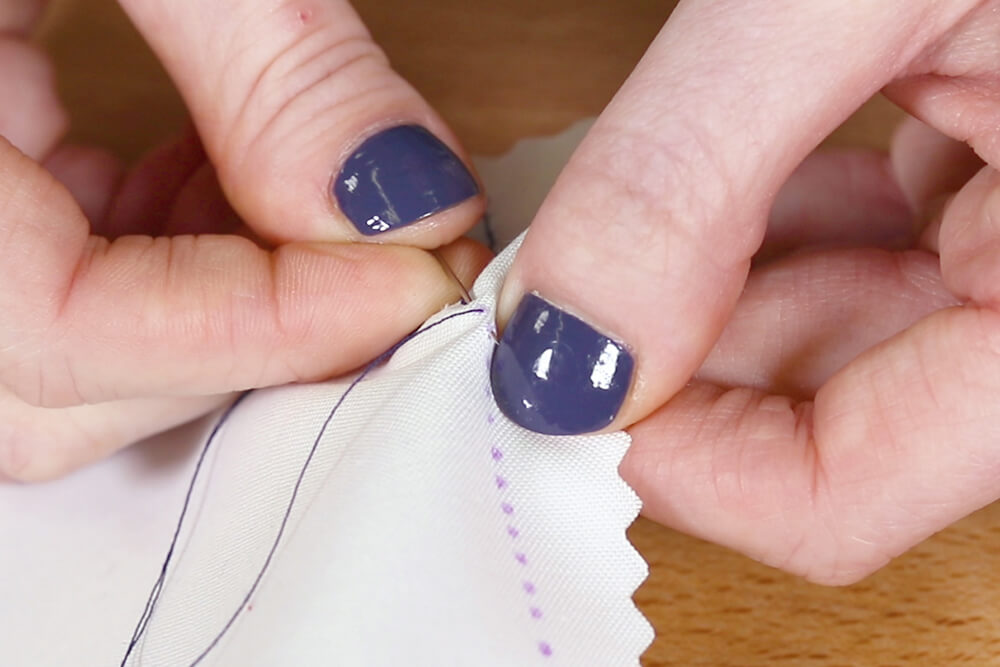
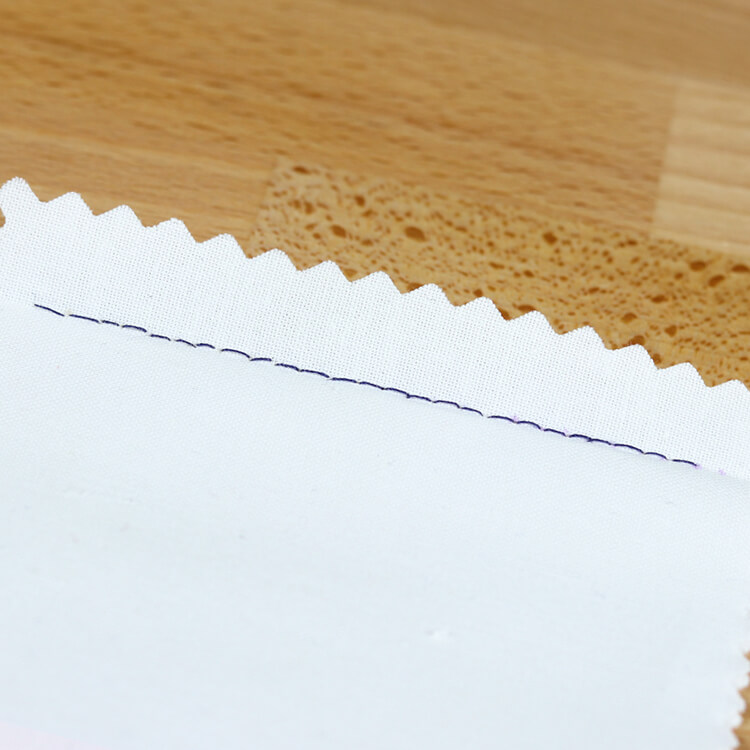
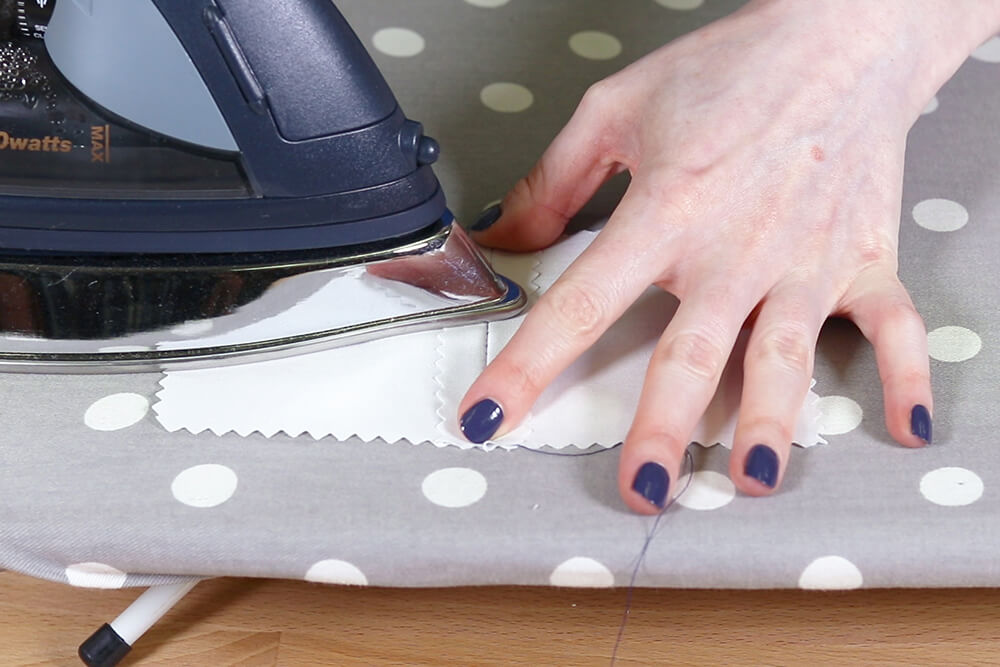
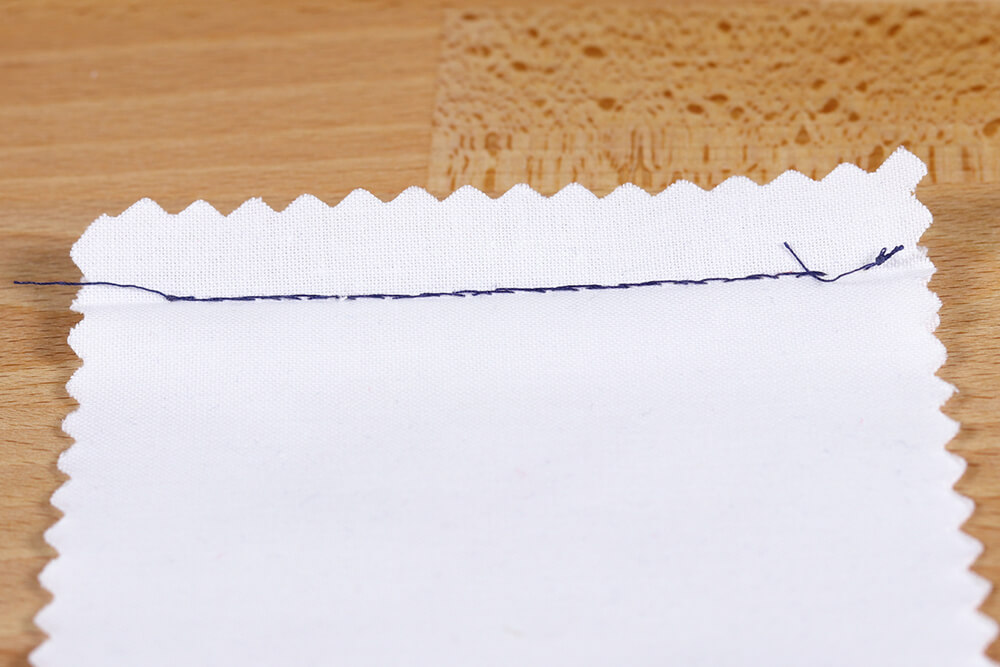
Step 3: Finish
When you get to the end, tie off the thread at the back.
If you’re sewing a seam, press it open.
You can also leave a bit of space between stitches if you prefer that look for decorative stitching.
Click here to see more How To's.
-
{{#each productSuggestedQueries.results}}
- {{query}} {{/each}}
-
{{#each categories.results}}
- {{html title}} {{/each}}
{{html attributes.description}}
{{/if}}-
{{#each queries.results}}
- {{query}} {{/each}}