How to Make a Bow Tie
- By OnlineFabricStore
- Beginner
- 45 minutes
Learn how to make a fashionable Bow Tie with this simple tutorial. Bow Ties can be worn by men, women, children, and even pets. You can easily customize your own by choosing any cotton print.

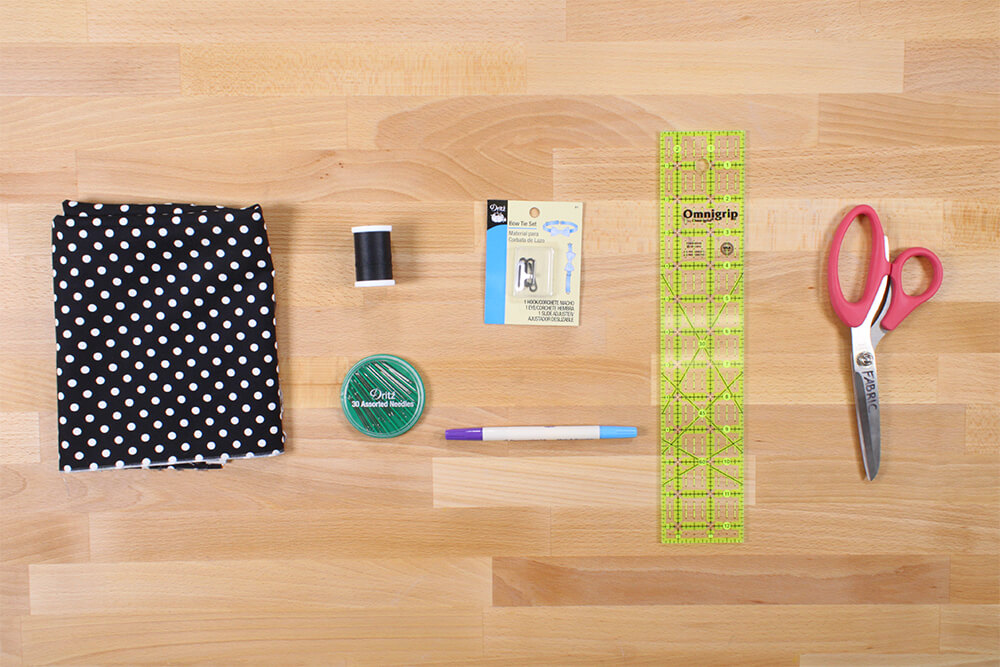
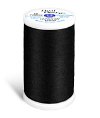
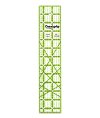
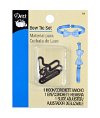
Materials
Related Products


Video
Instructions
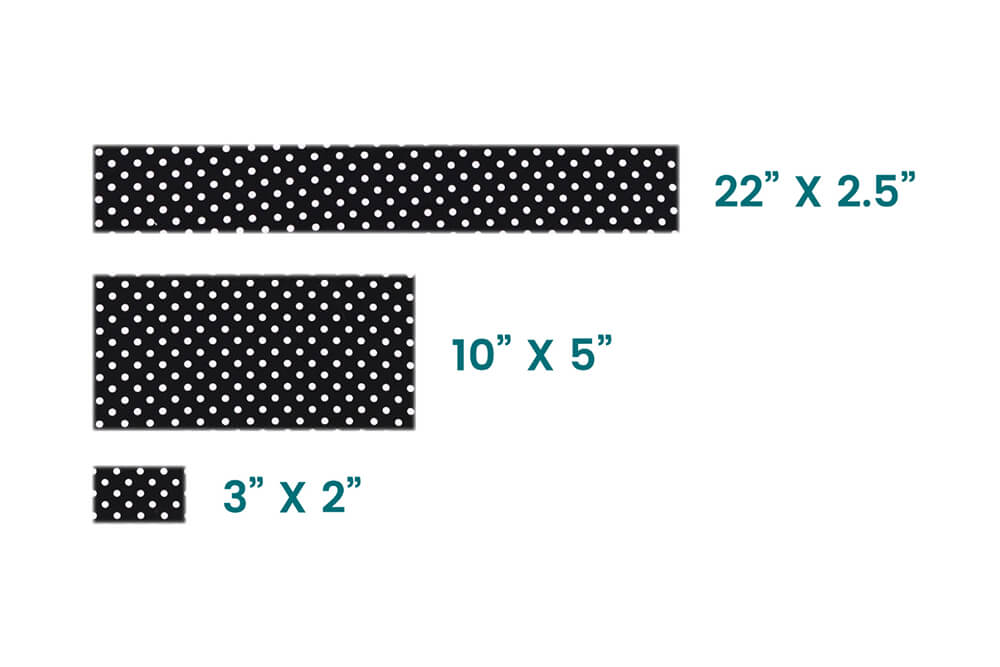
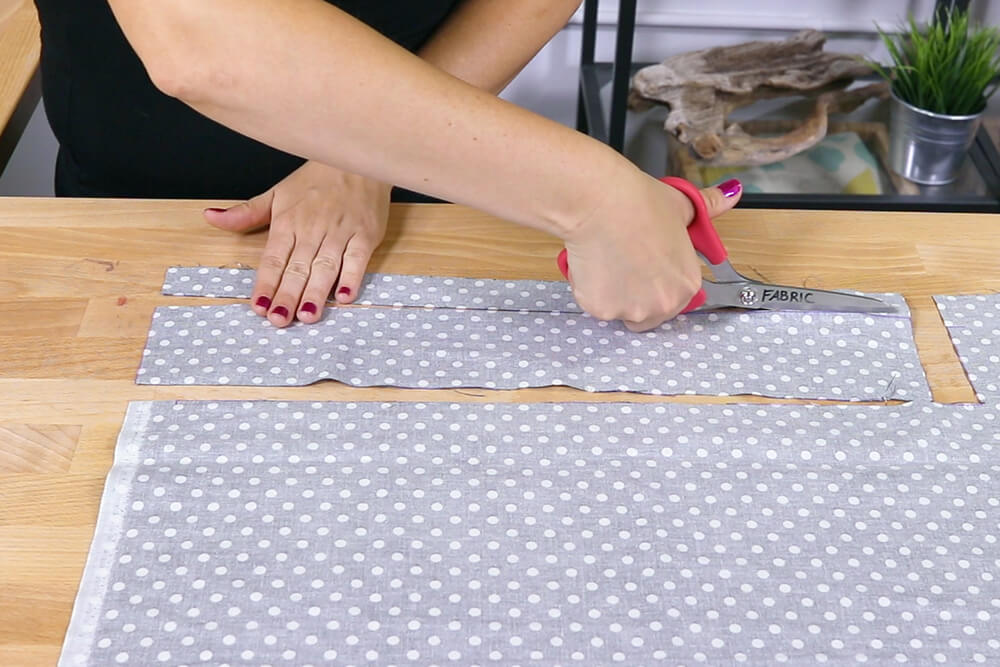
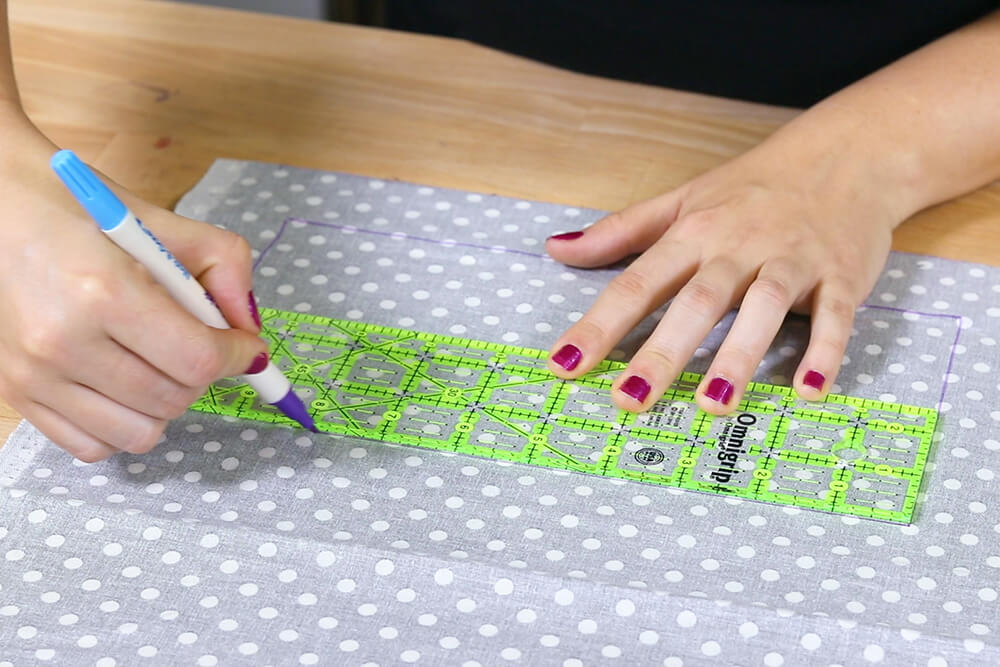
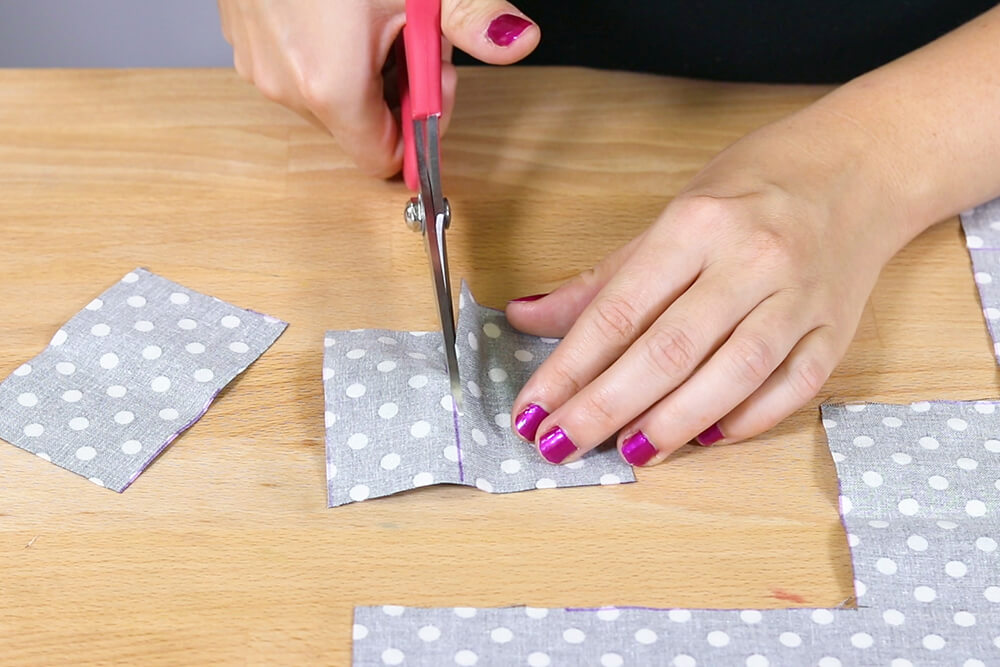
Step 1: Cut out & iron the pieces
Measure and cut 3 rectangles for your bow tie:
One will be 22 by 2 and 1/2 inches,
One will be 10 by 5 inches,
and one will be 3 by 2 inches.
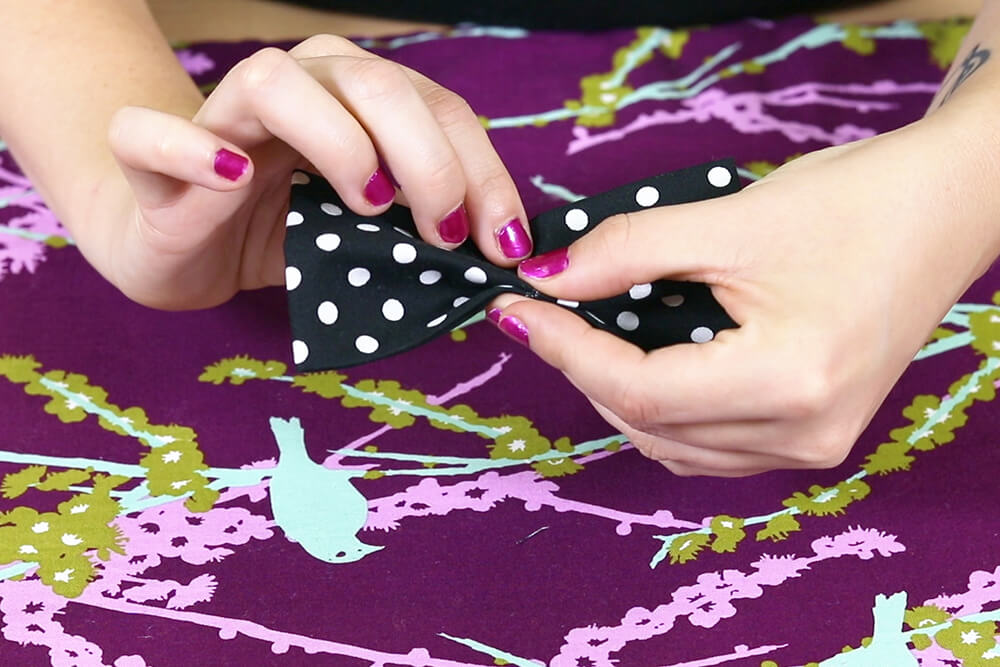
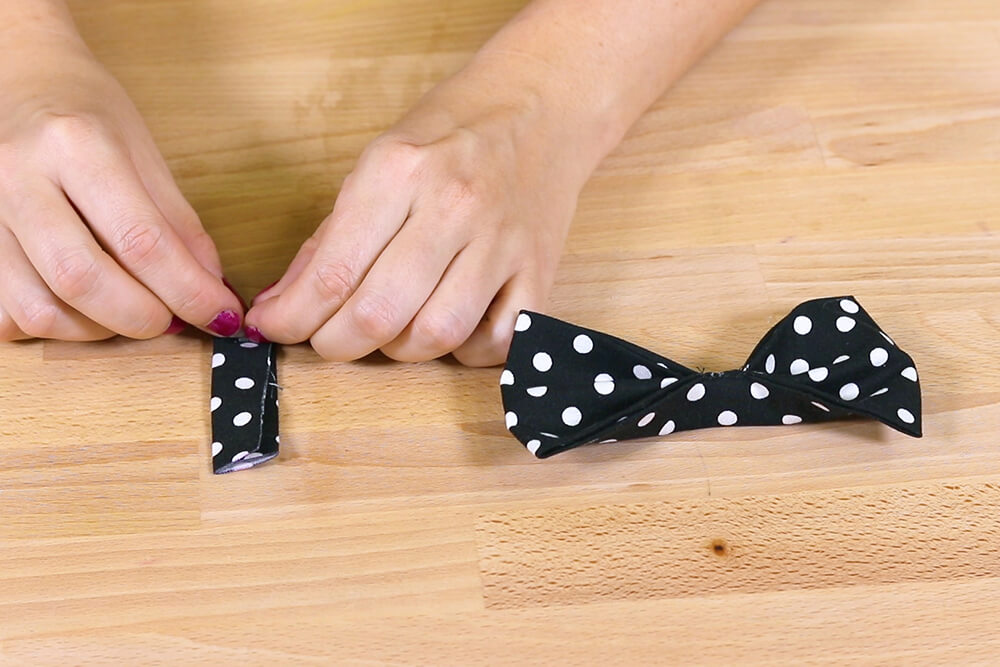
With the 10 by 5 inch rectangle, fold the longer ends into the center so they meet and iron.
Then fold the other ends into the center and iron again.

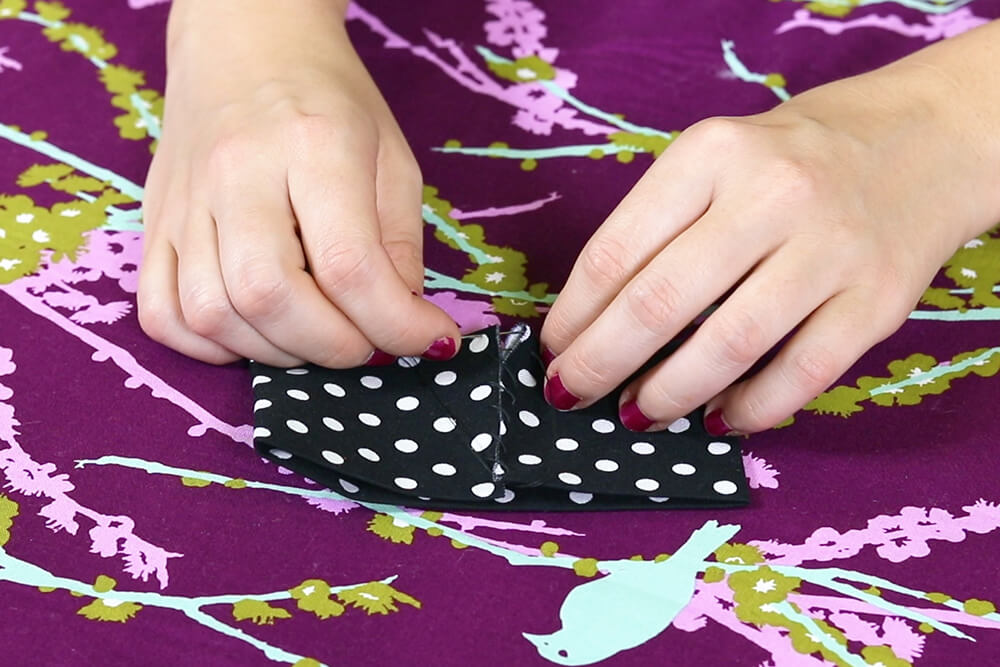
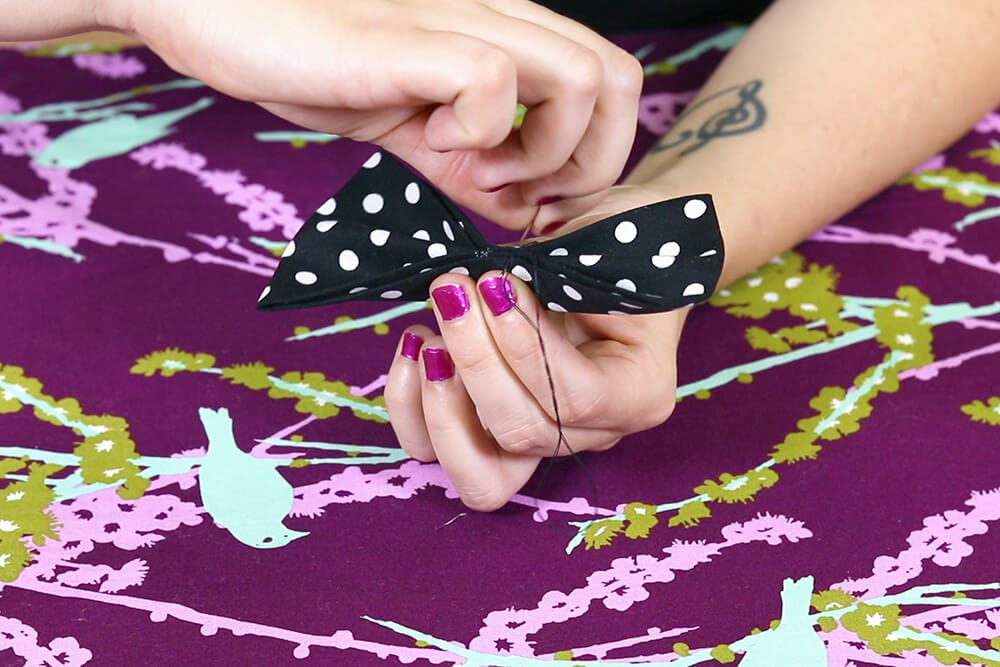
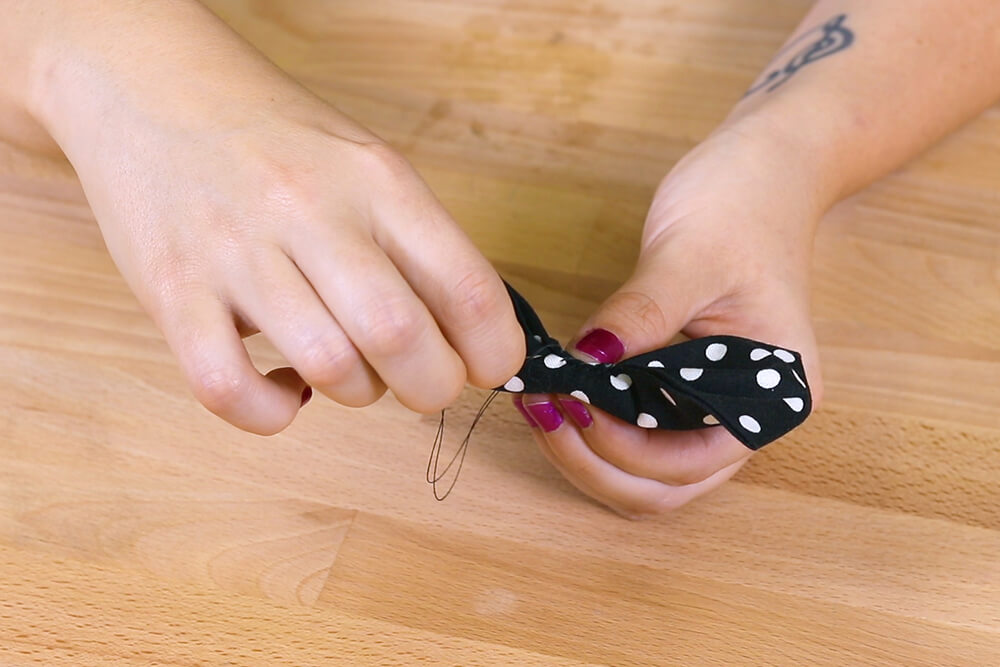
Hand stitch the ends together.
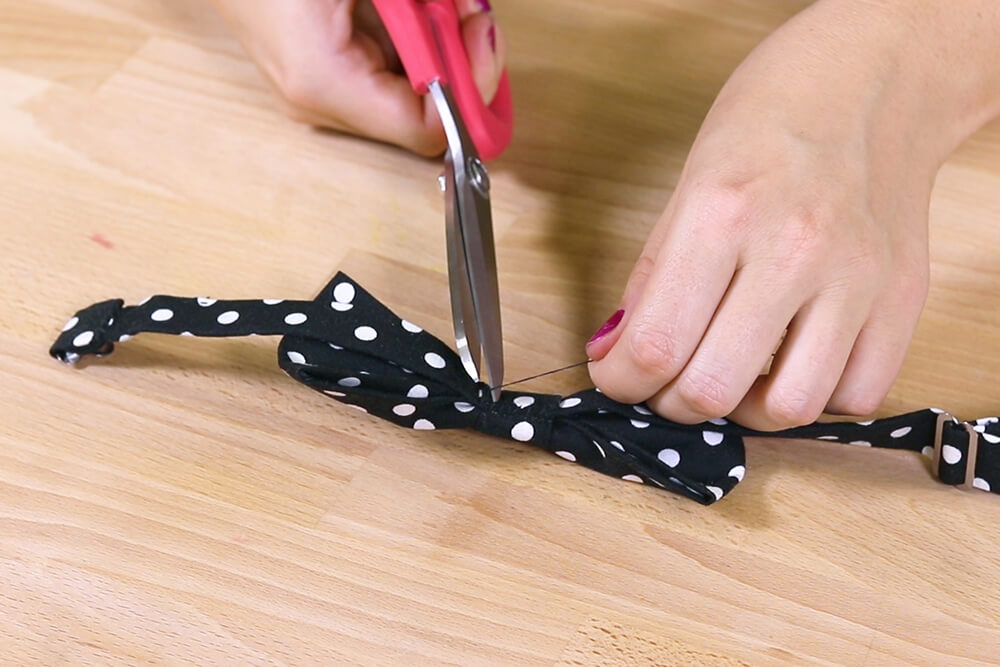
Gather the center together and stitch to shape the bow.
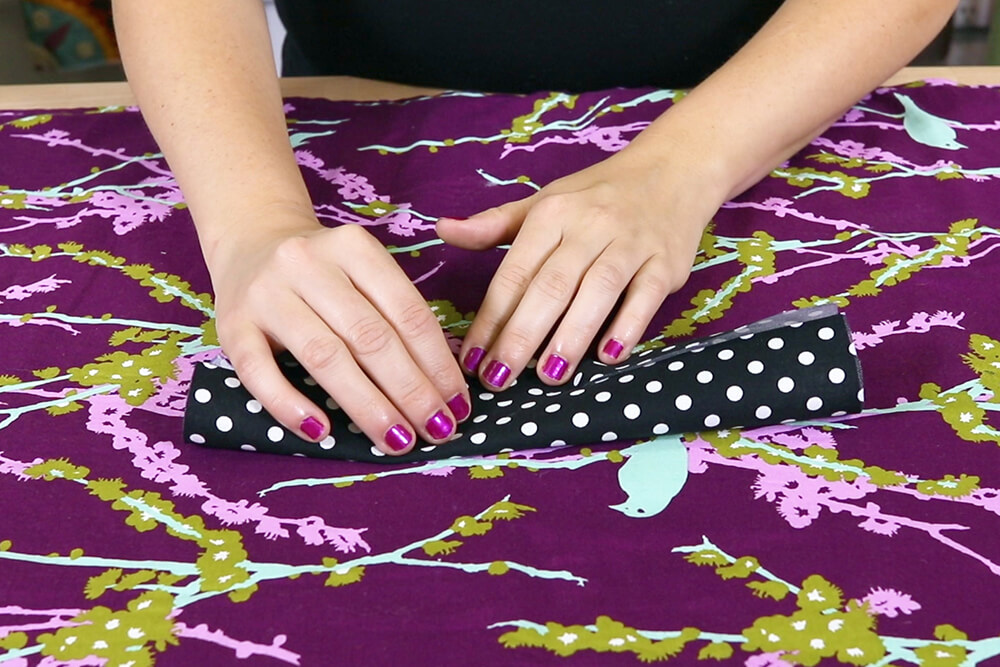
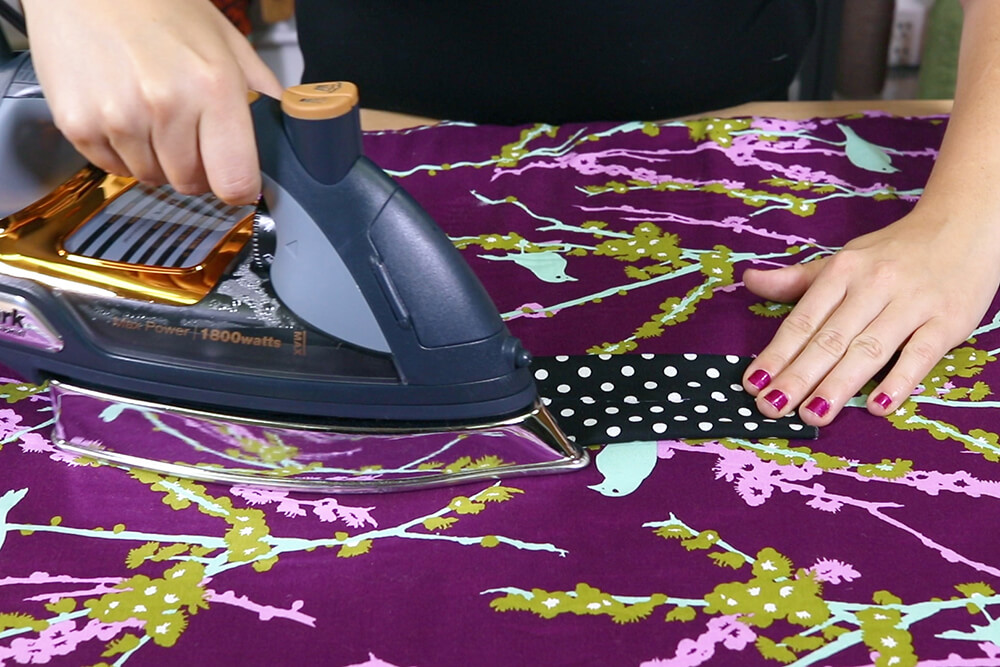
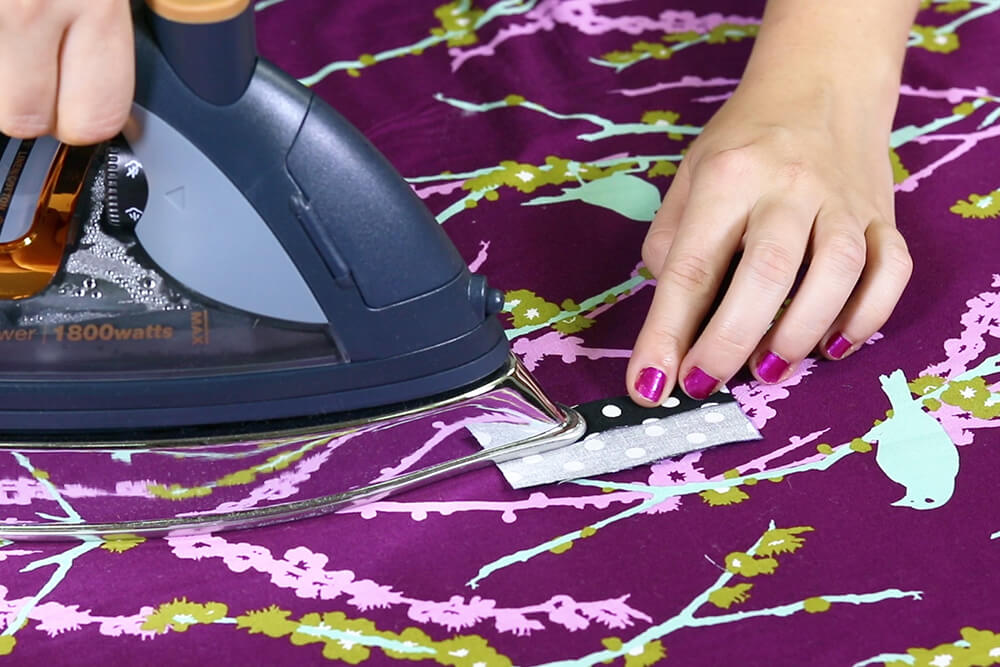
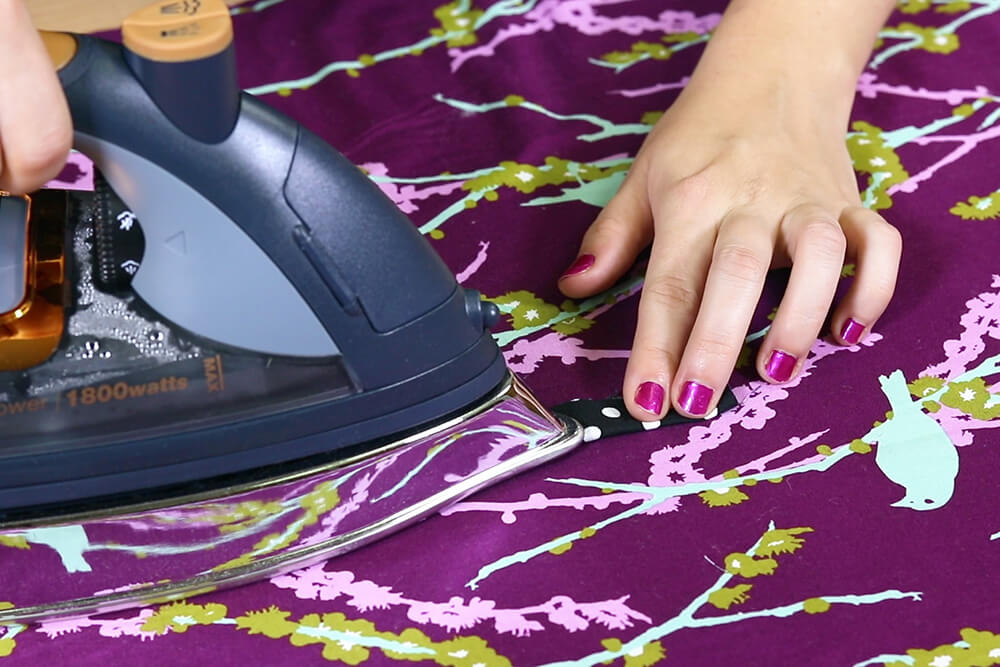
With the 3 by 2 inch rectangle, fold the longer ends into the middle with one side overlapping the other and iron.
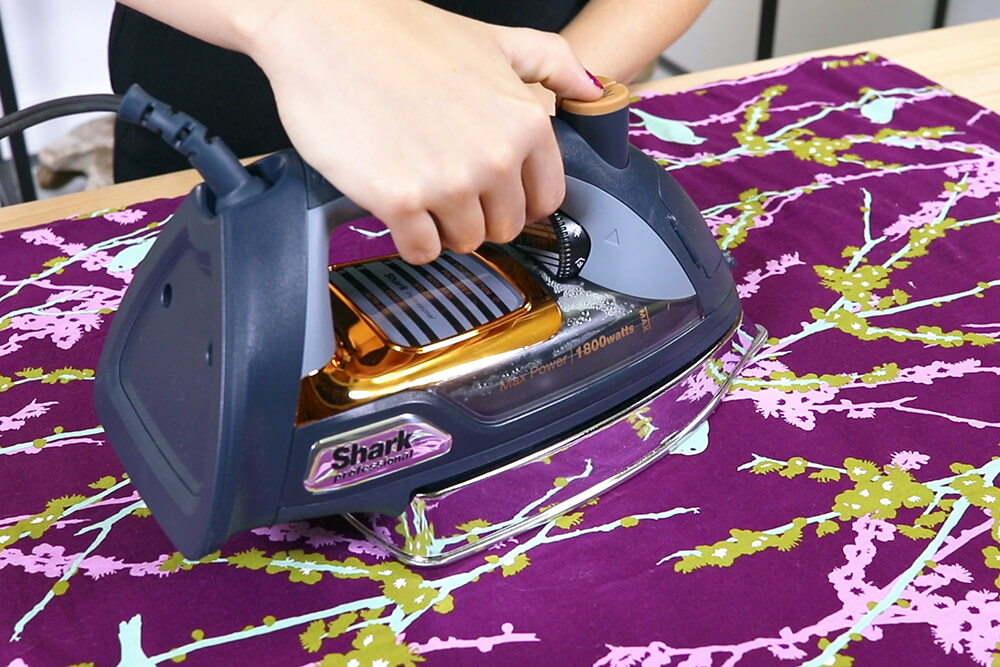
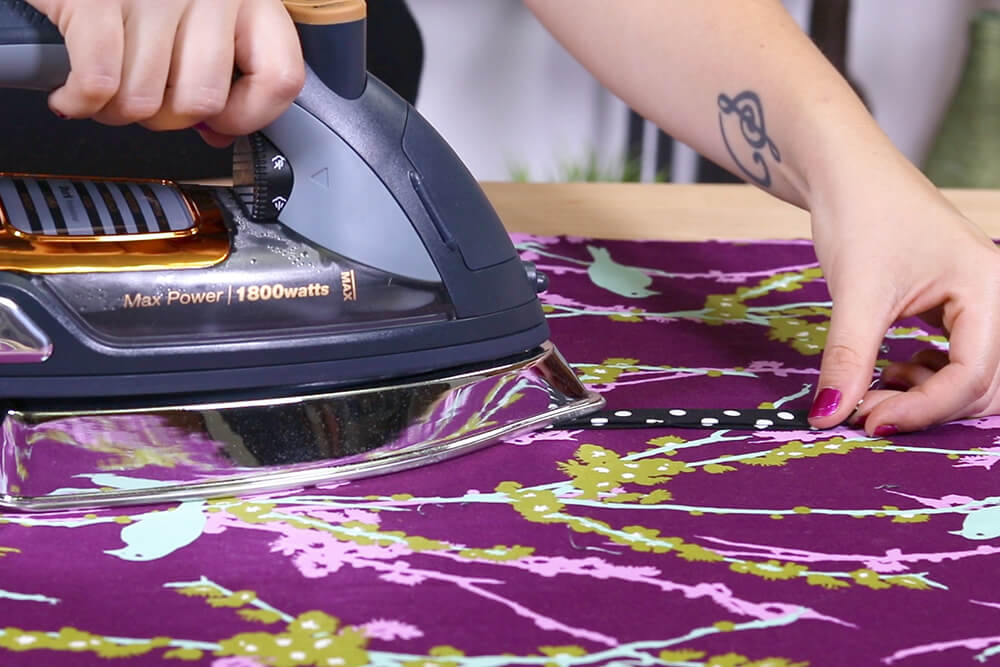
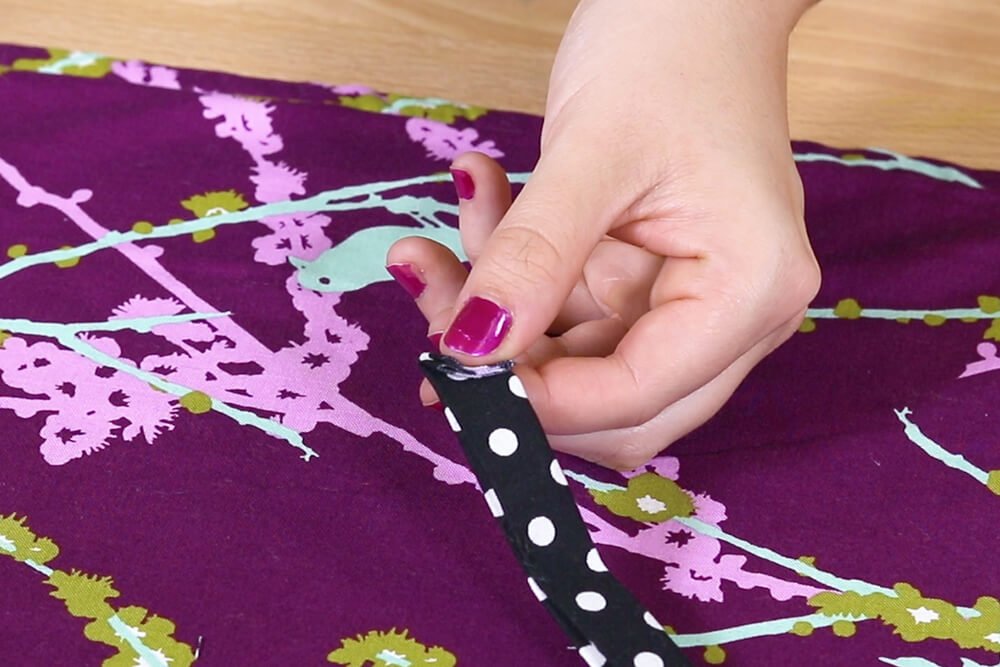
With the 22 by 2 and 1/2 inch rectangle, fold the longer sides into the middle so they meet and iron.
Then fold in half lengthwise and iron again.
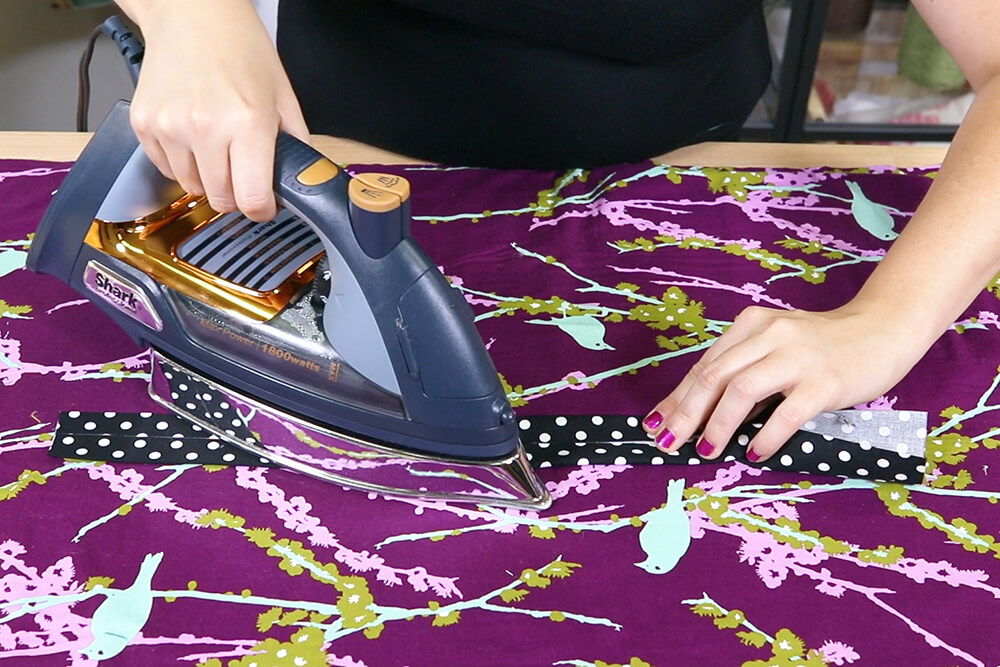
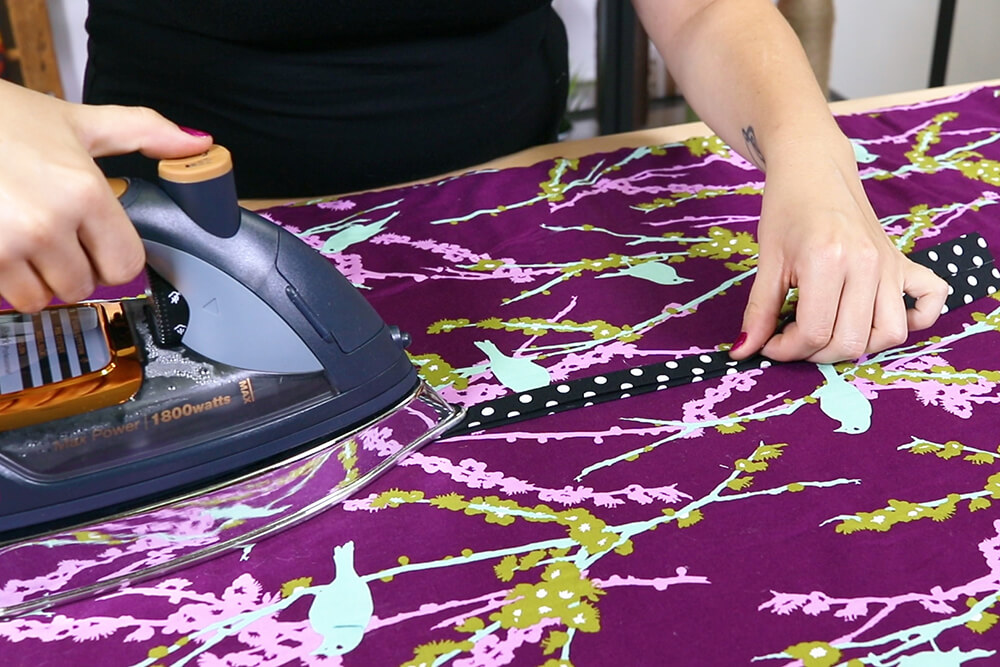
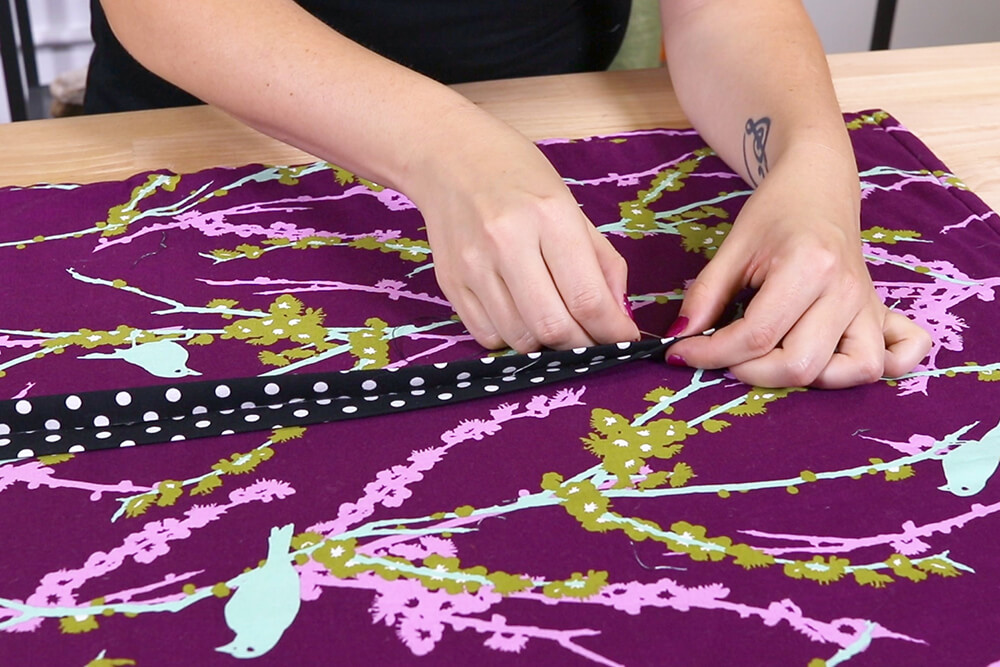
Tack together in a few places along the band. Iron one more time to make it flat.
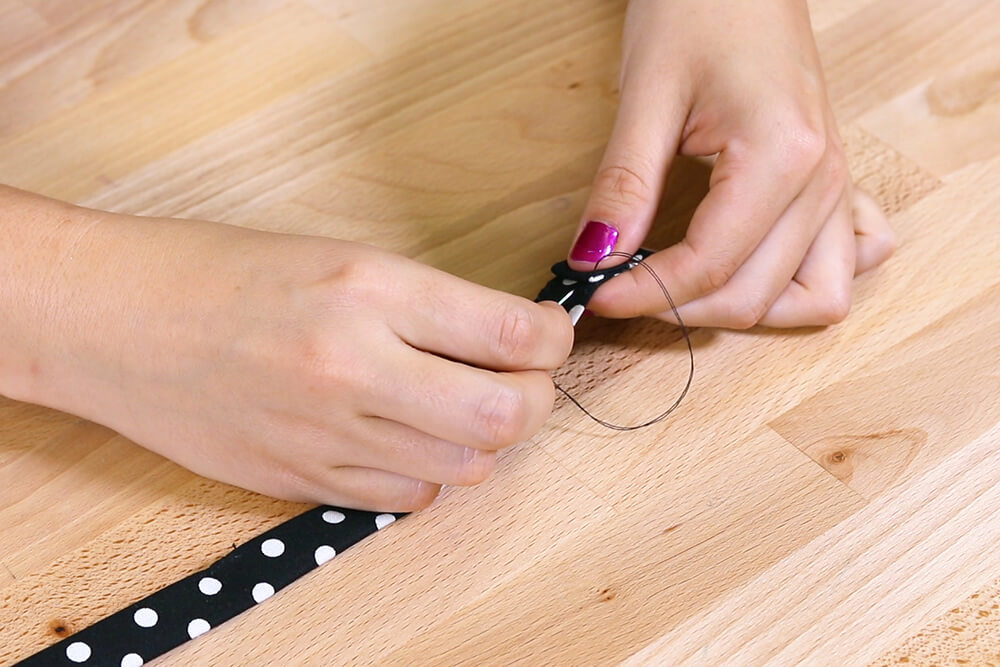
Fold the ends over about 1/2 an inch and stitch.
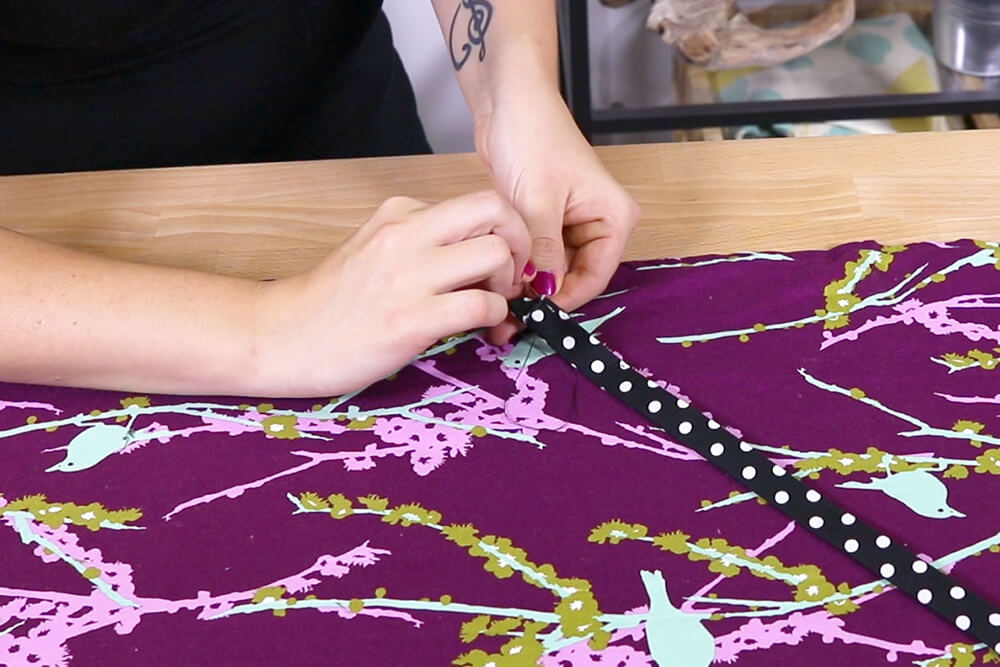
Step 2: Sew the pieces together
Make sure the stitches on the band end up facing down.
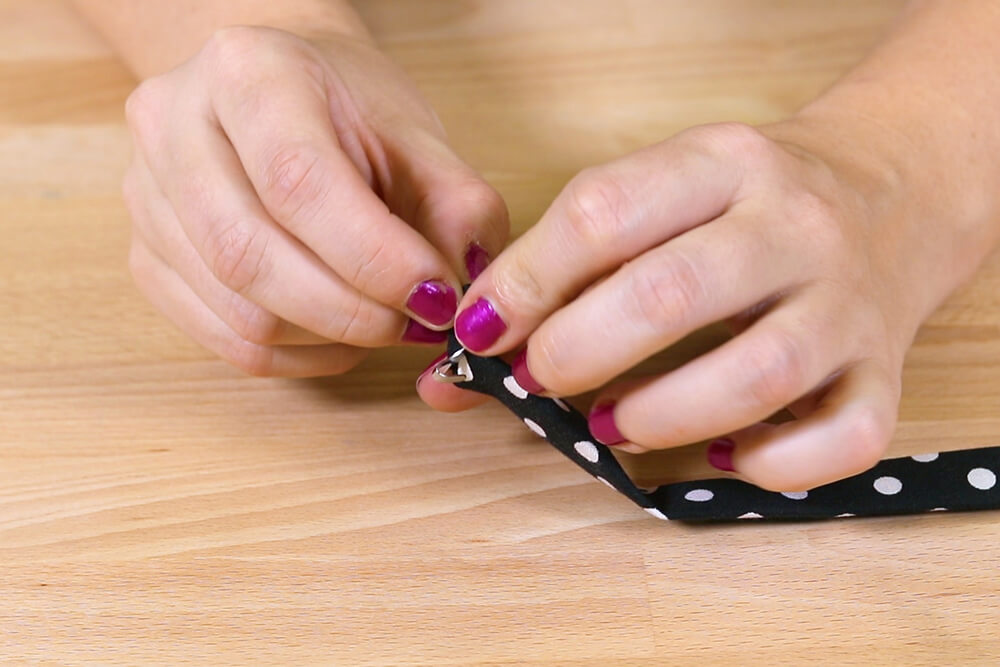
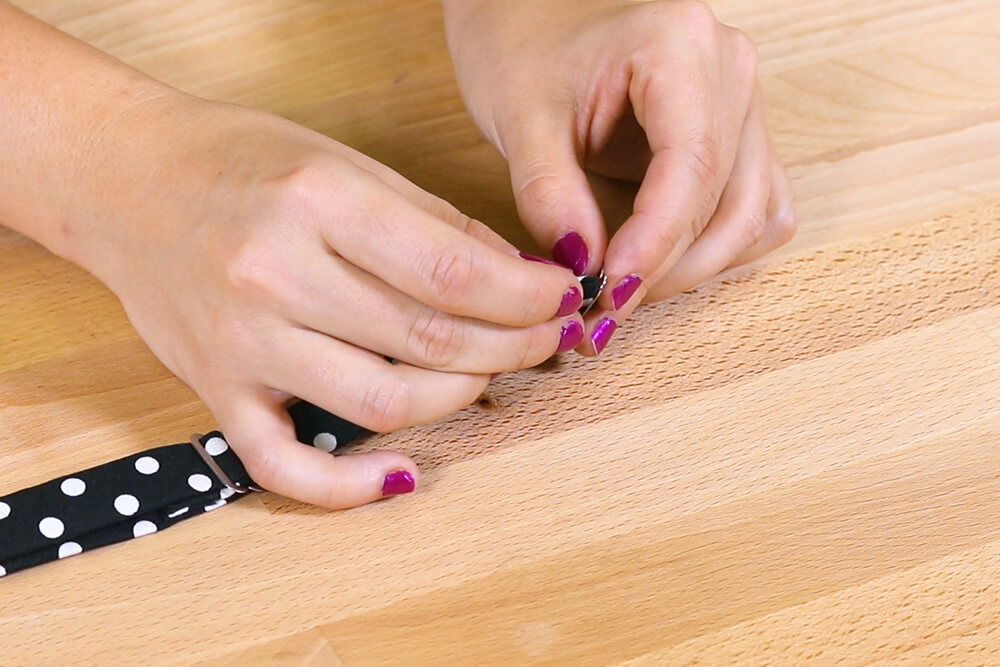
Standard tie clasp sets come with 3 pieces: A hook, an eye, and a slider.
Insert the band (which was made from the 22 by 2 and 1/2 inch rectangle) into one end of the slider piece and out the other side.
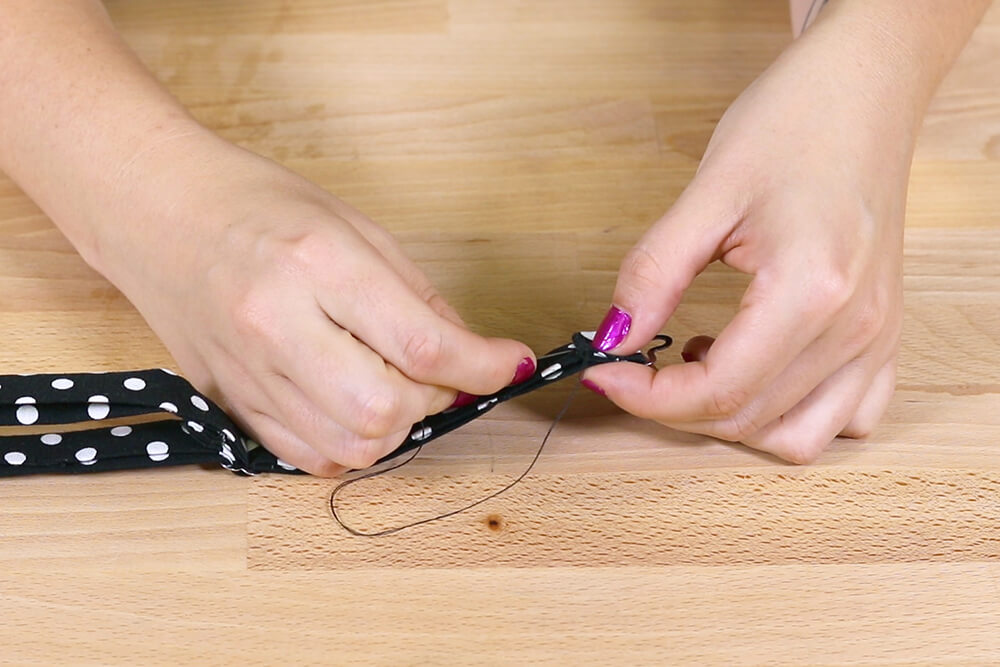
Then fold the end down about 3/4 of an inch and stitch.
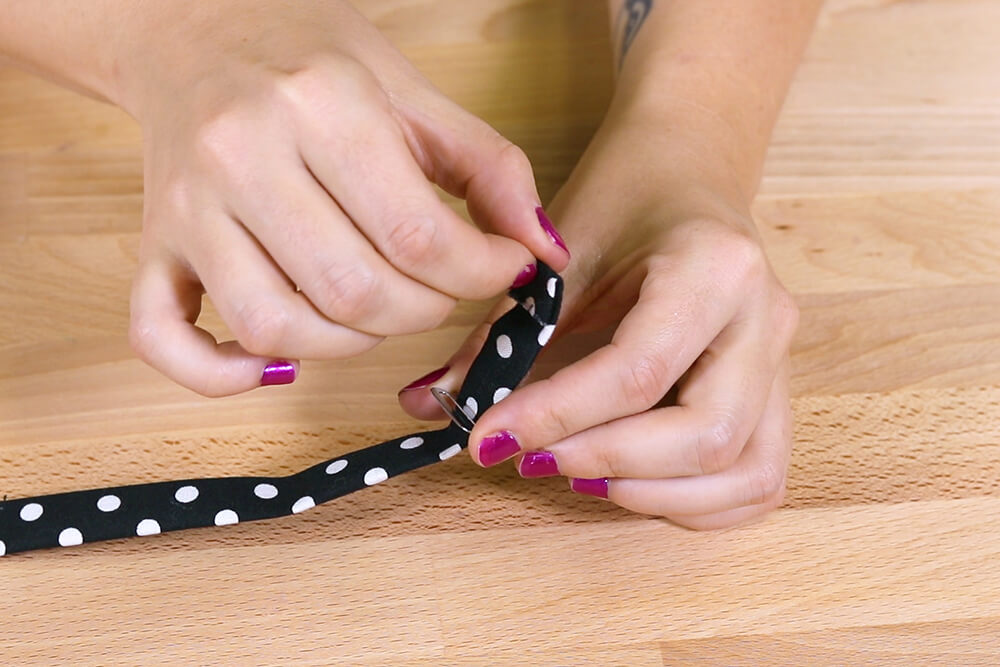
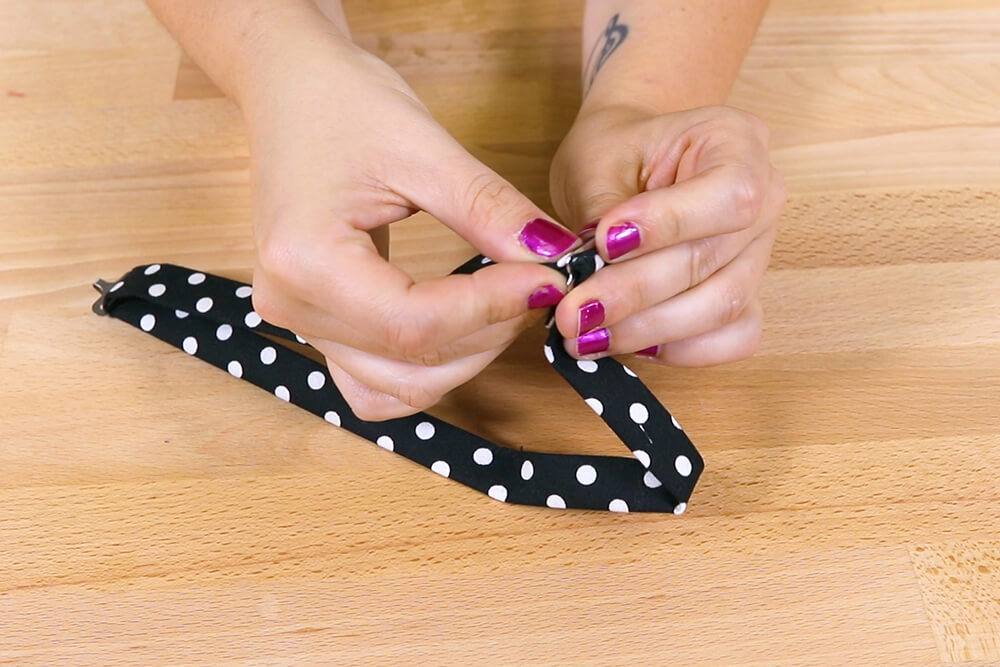
Slide the other end of the band through the hook piece with the hook facing down.
Take this end and weave it through the slider right on top of the other end.
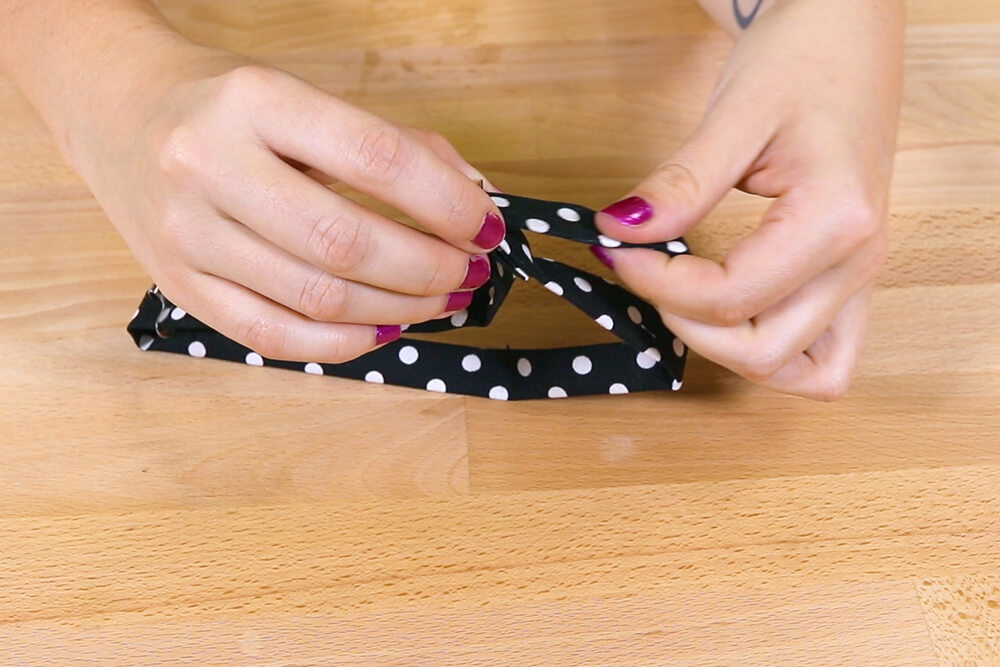
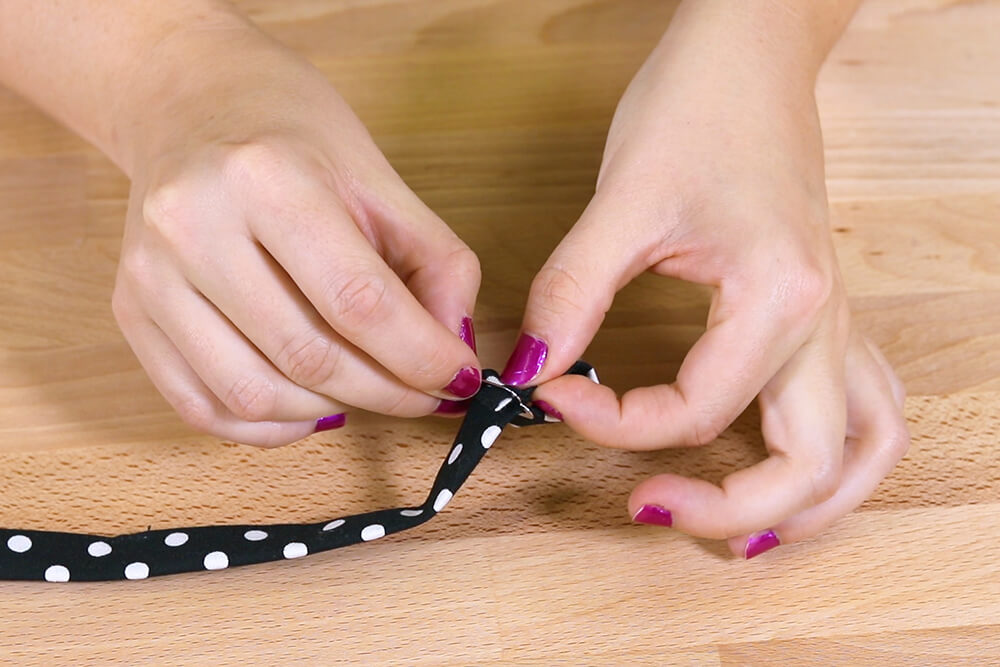
Slide the eye piece onto this end of the band. Fold over about 3/4 of an inch and stitch.
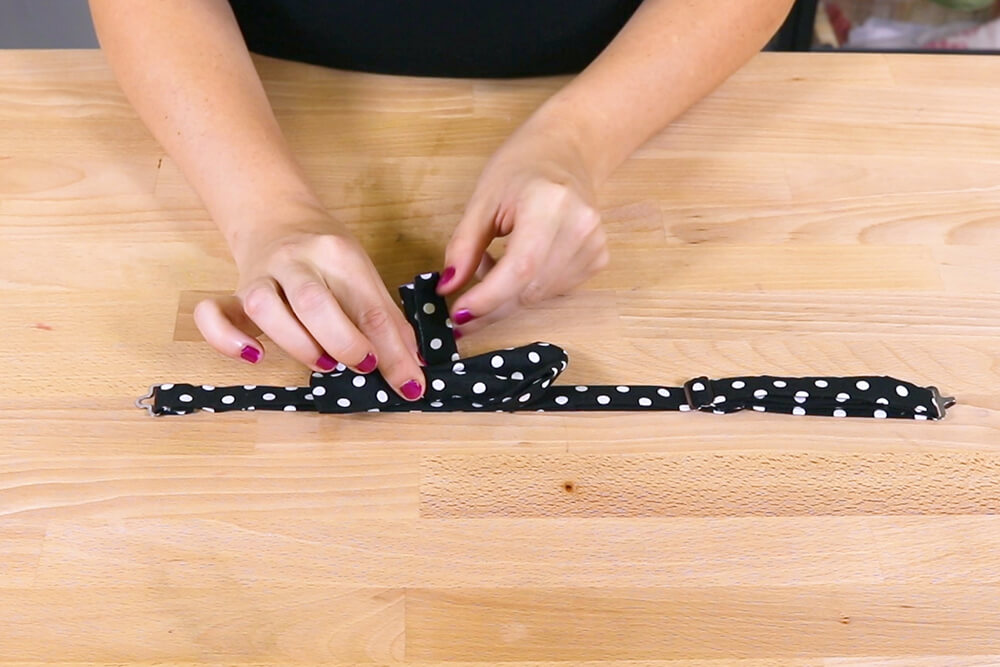
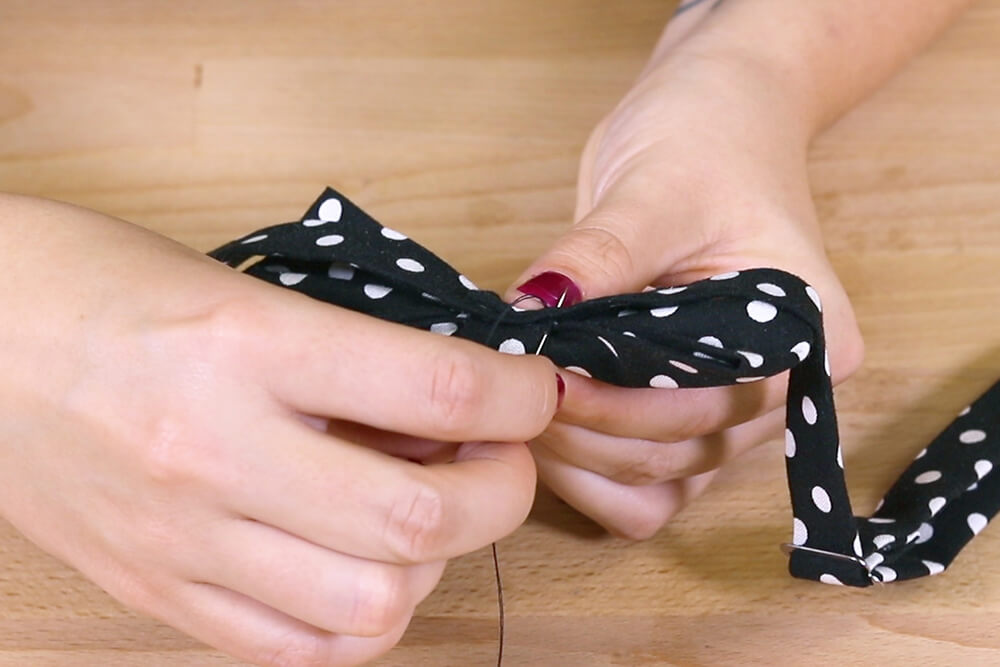
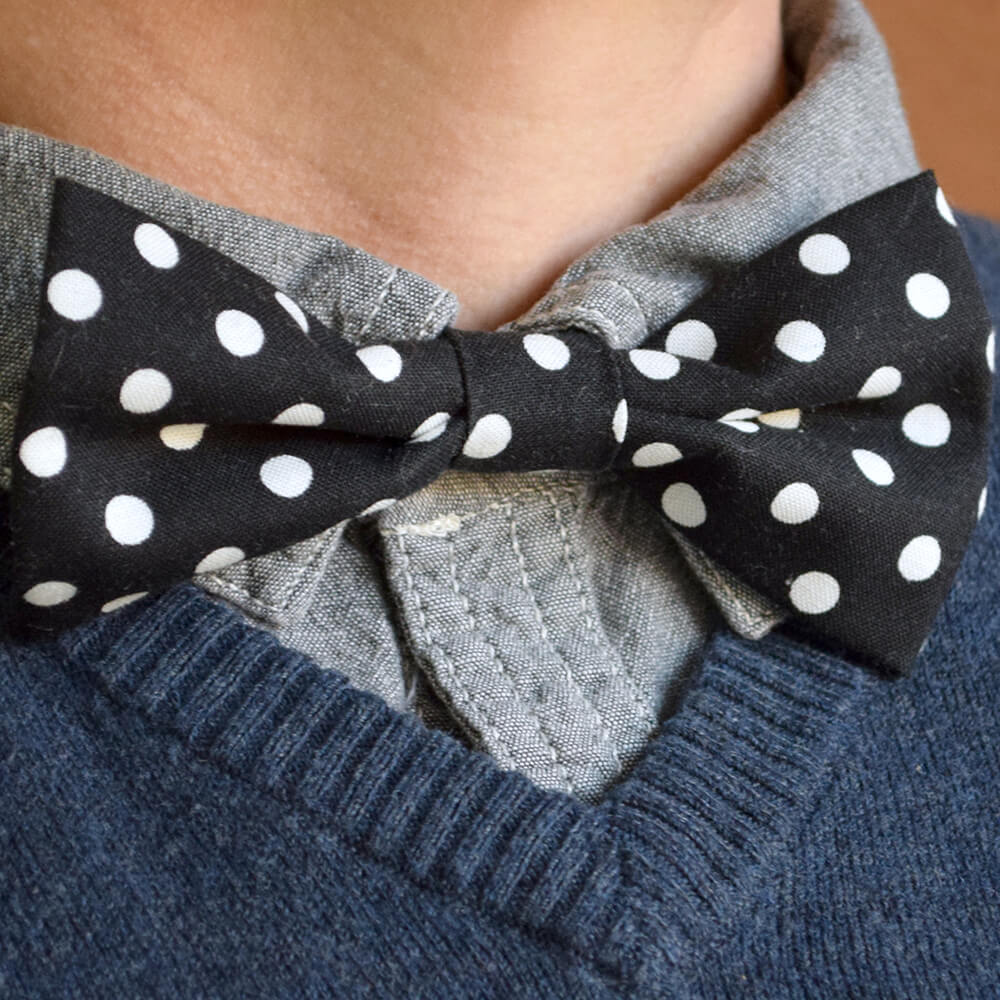
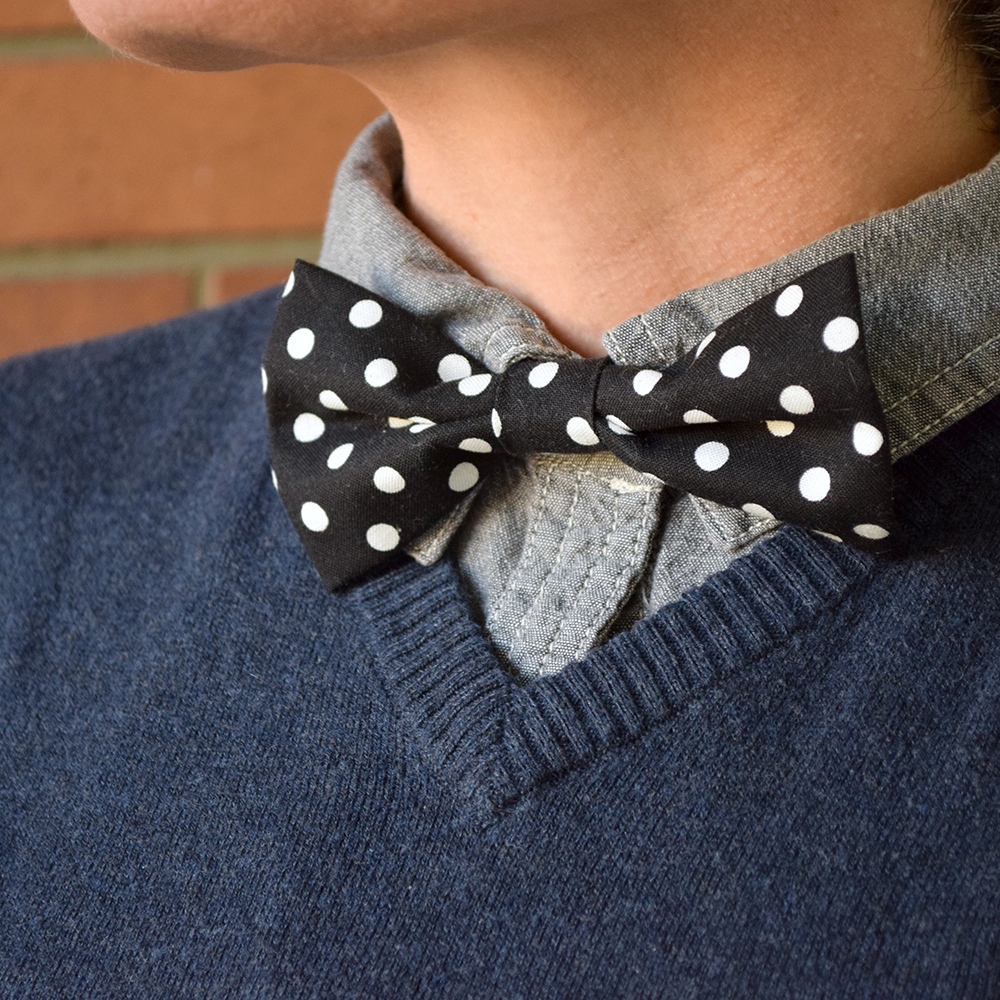
The final step is to attach the bow.
With the small piece (made from the 3 by 2 inch rectangle), fold one end in about 1/4 of an inch and sew to the back of the bow.
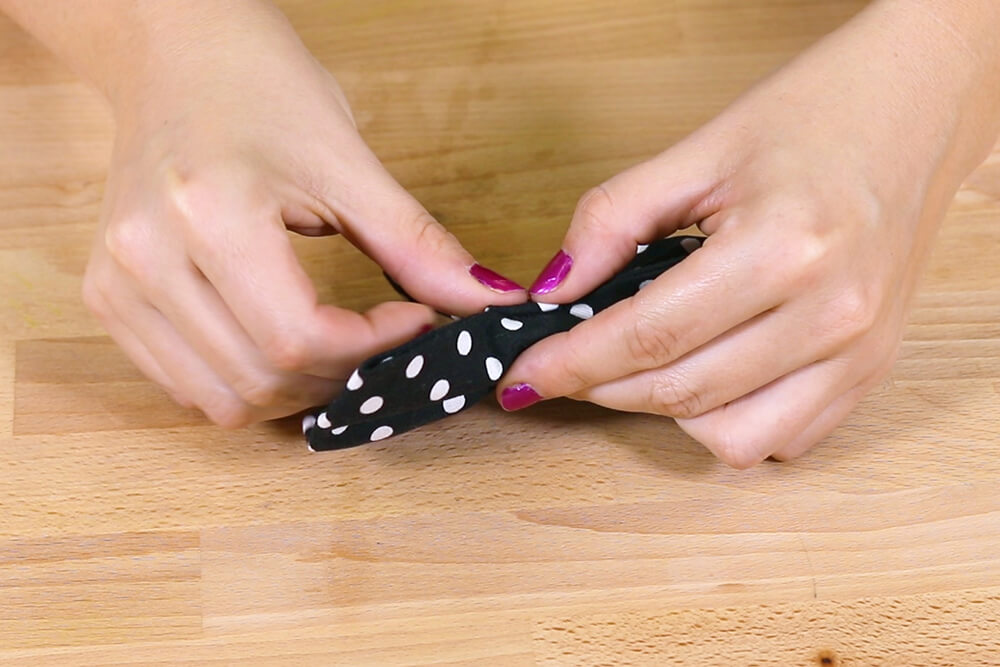
Make sure you stitch through both the band and the bow.
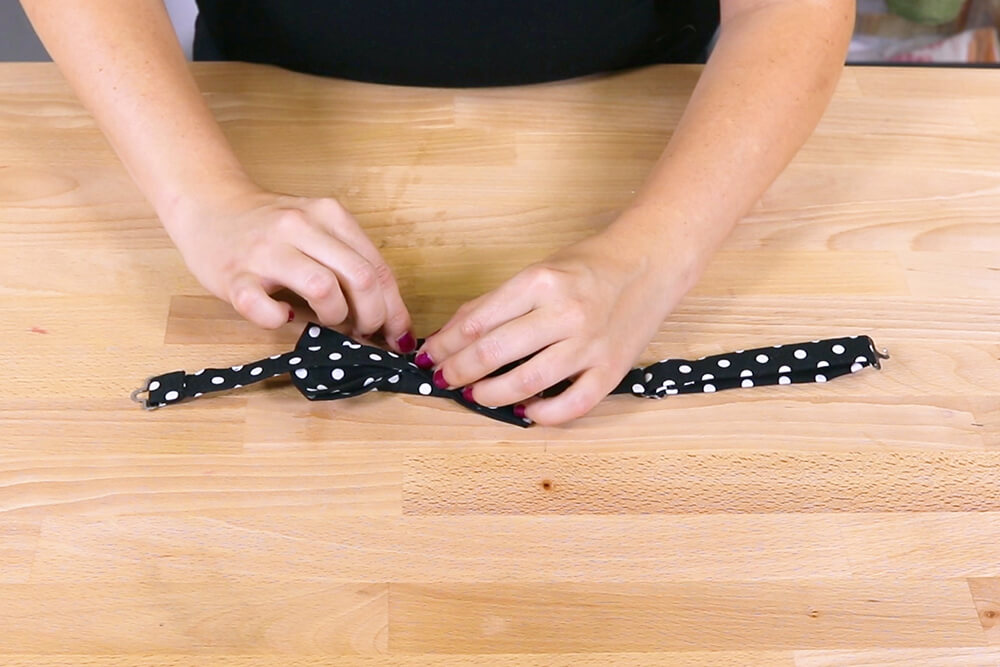
Place the bow on to the band about halfway between the slider and eye pieces.
Wrap the strip around to the back of the band. Fold the end in about a 1/2 inch and stitch.
And that’s it!
Ready to make one of your own? Check out our selection of cotton prints:
-
{{#each productSuggestedQueries.results}}
- {{query}} {{/each}}
-
{{#each categories.results}}
- {{html title}} {{/each}}
{{html attributes.description}}
{{/if}}-
{{#each queries.results}}
- {{query}} {{/each}}