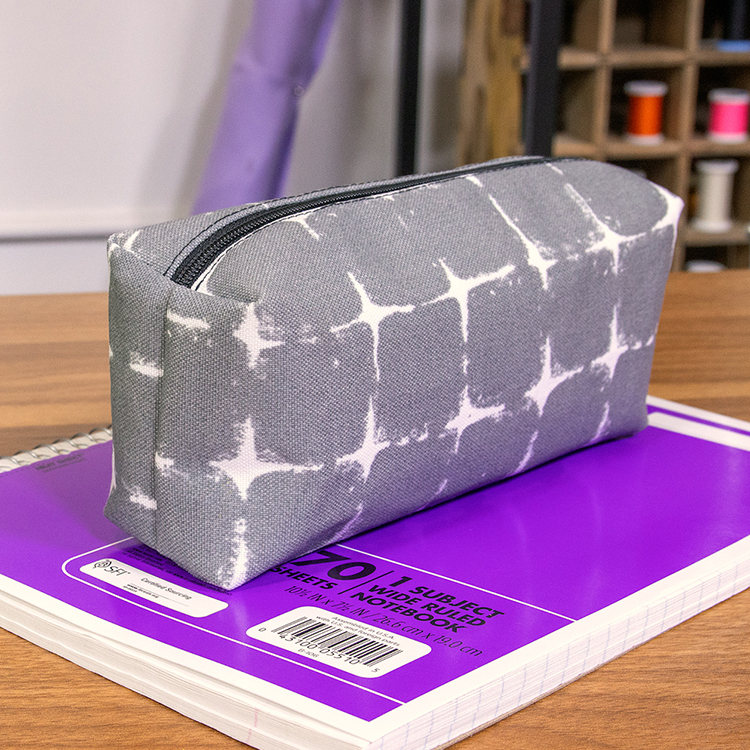
How to Make a Boxed Pencil Pouch
- By Cameron
- Intermediate
- 45 minutes
Learn how to make a boxed pencil pouch with this easy step-by-step sewing tutorial. This beginner-friendly project is perfect for organizing pens, pencils, makeup, craft supplies, and more.
Materials
Related Products


Video
Instructions
Cut out the fabric pieces
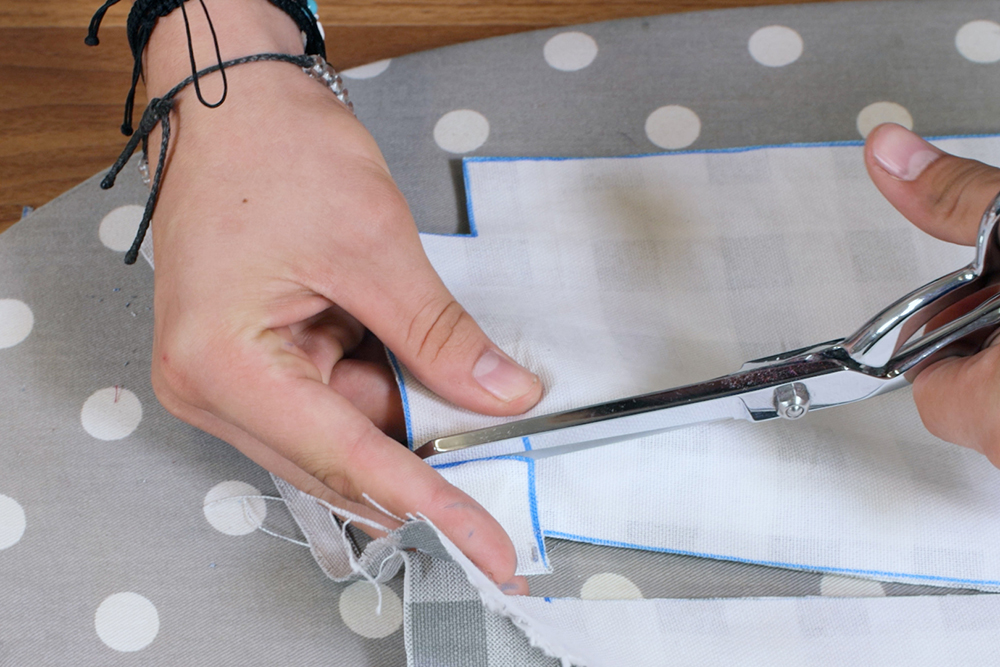
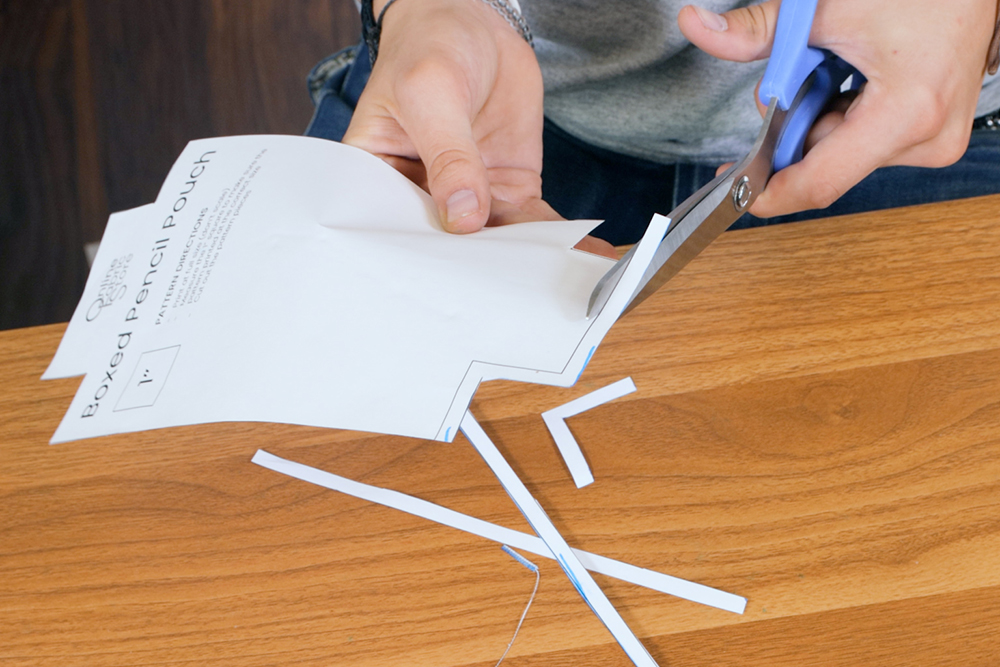
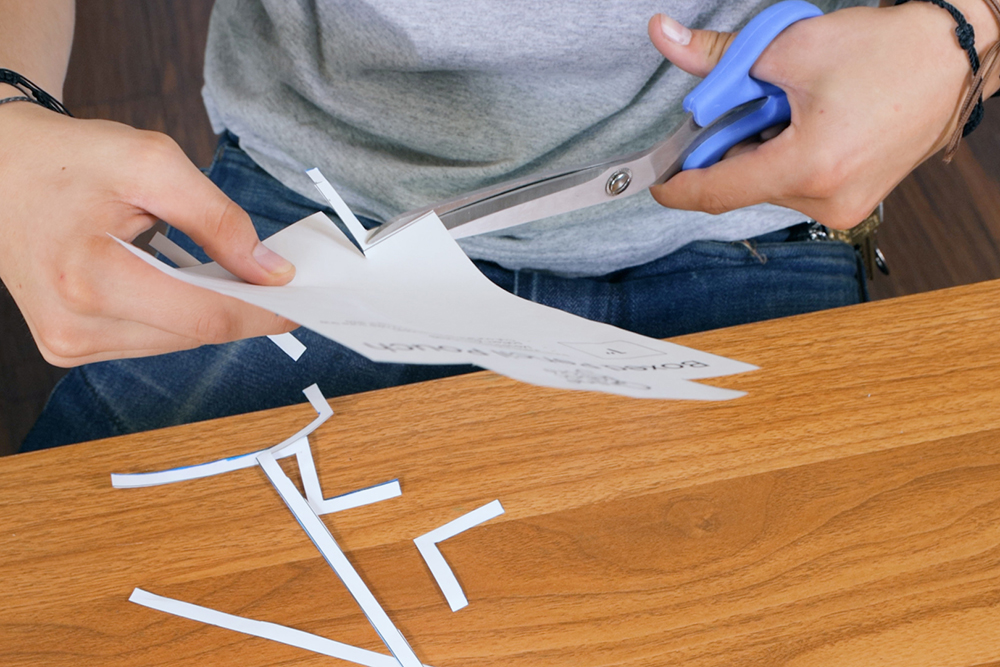
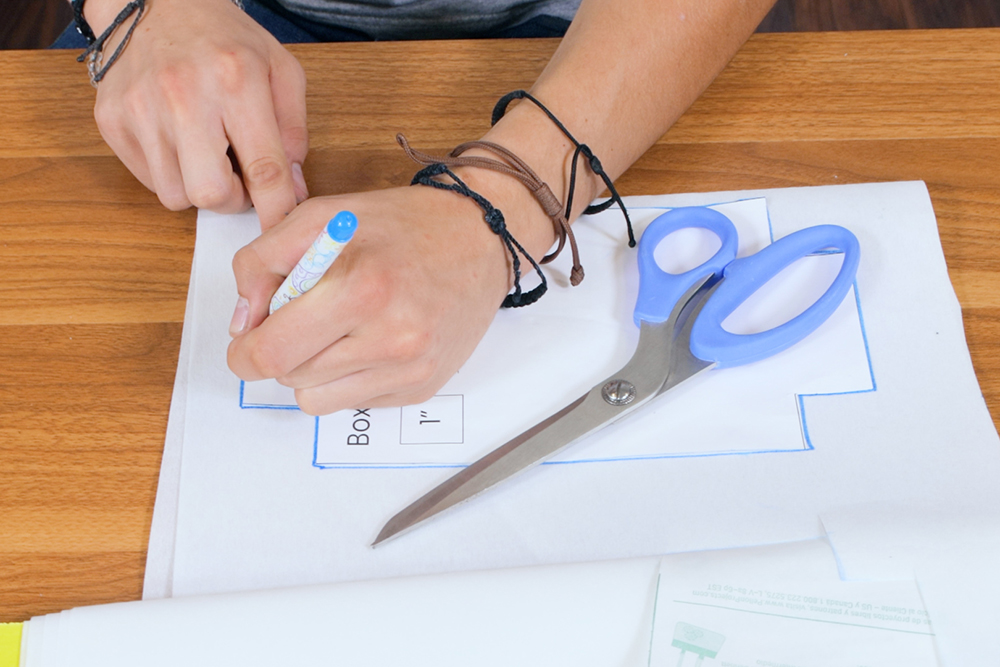
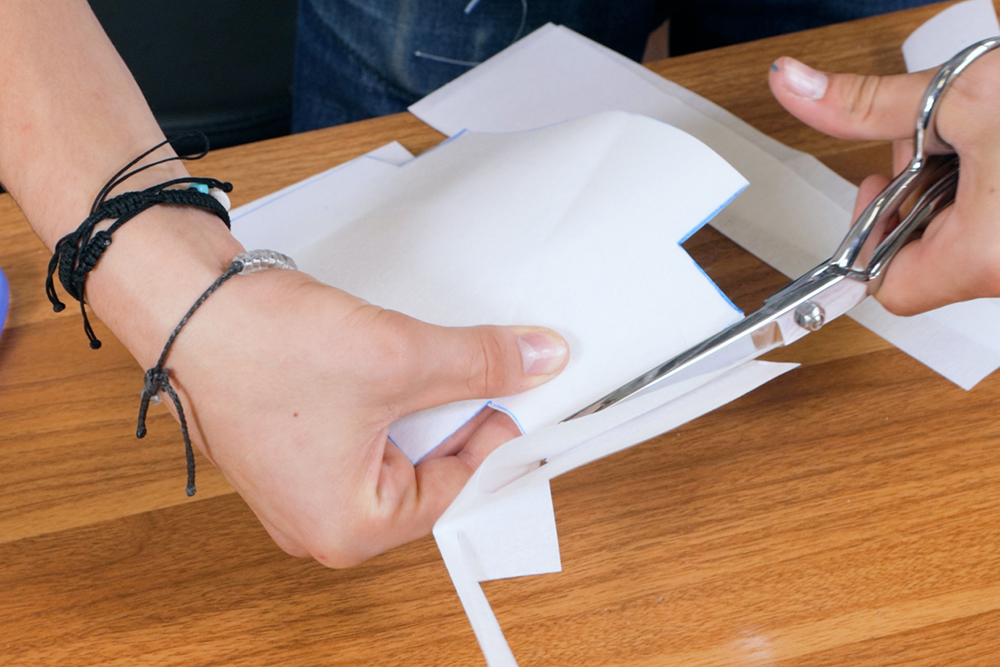
Print and cut out the pattern. Use the pattern to cut two pieces of the outer fabric and two pieces of the lining fabric.
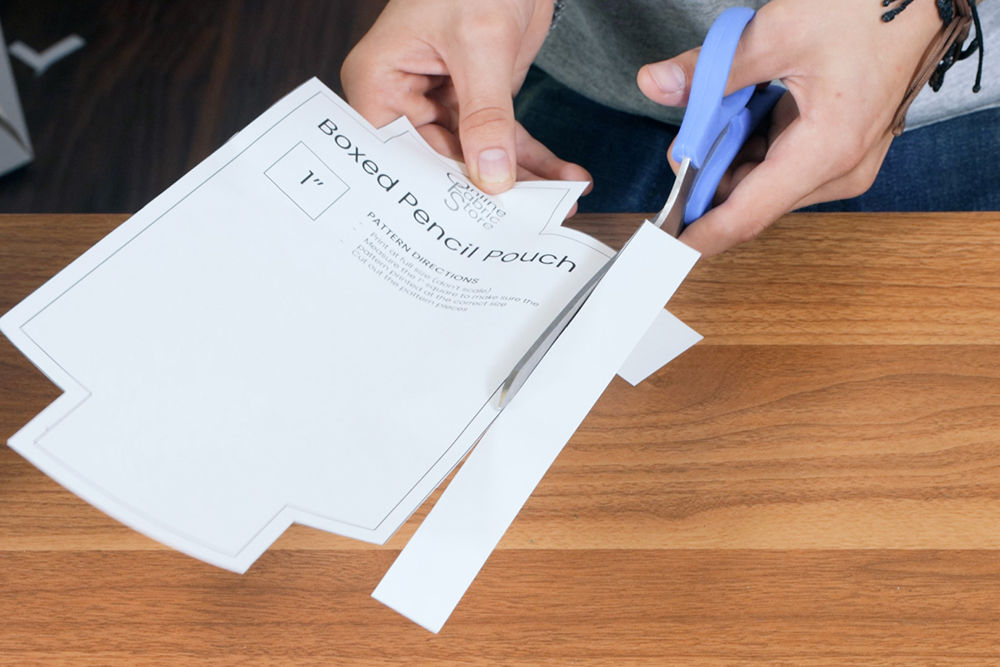
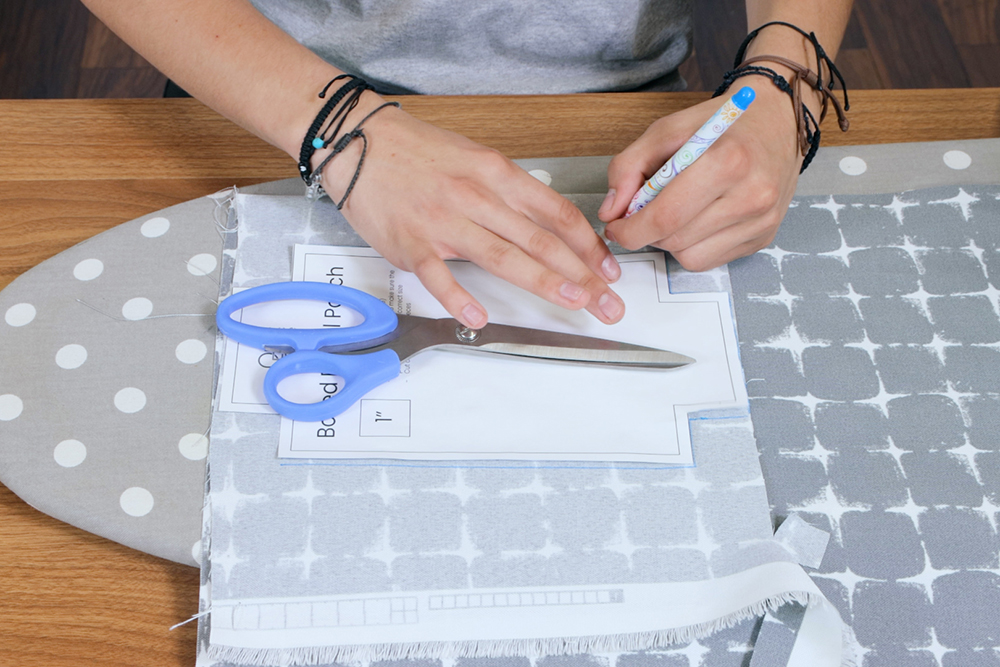
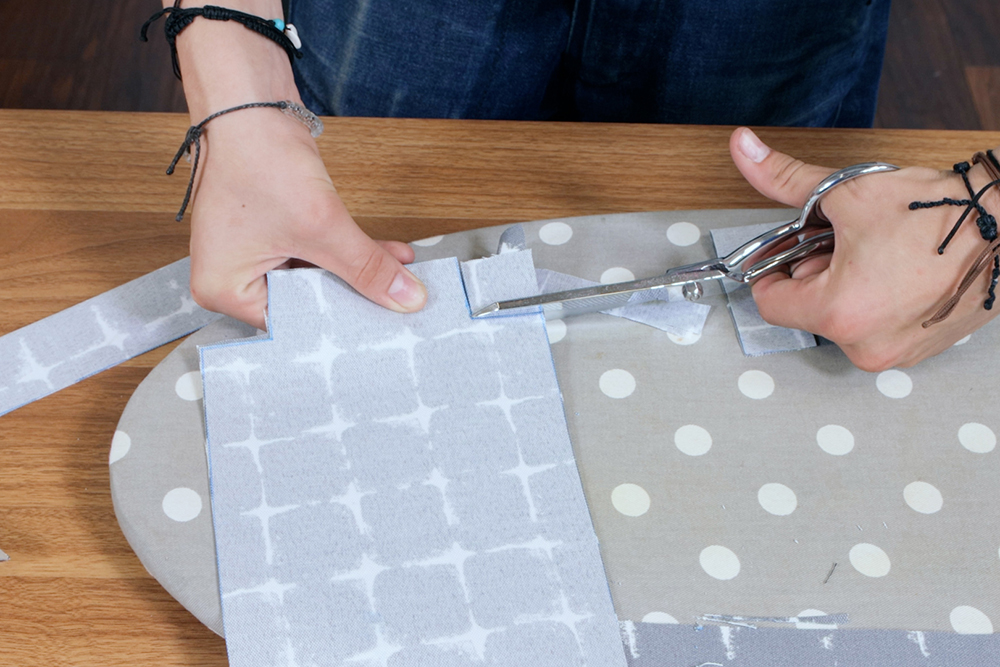
Cut the seam allowance off the pattern and use this to cut two pieces of interfacing.
Construct the pouch
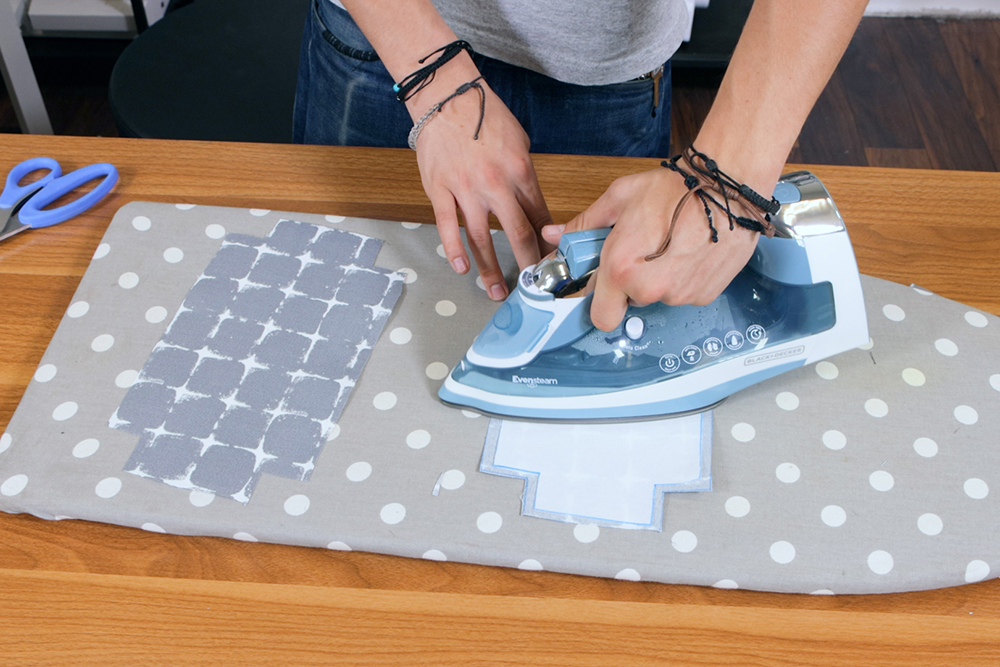
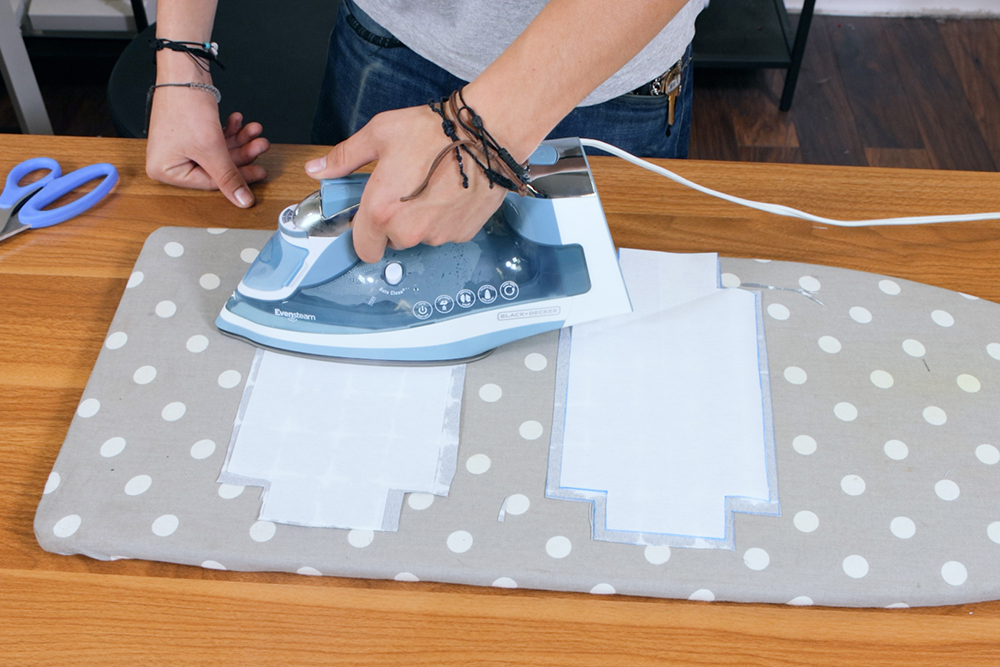
Fuse the interfacing to the wrong side of the outer fabric pieces.
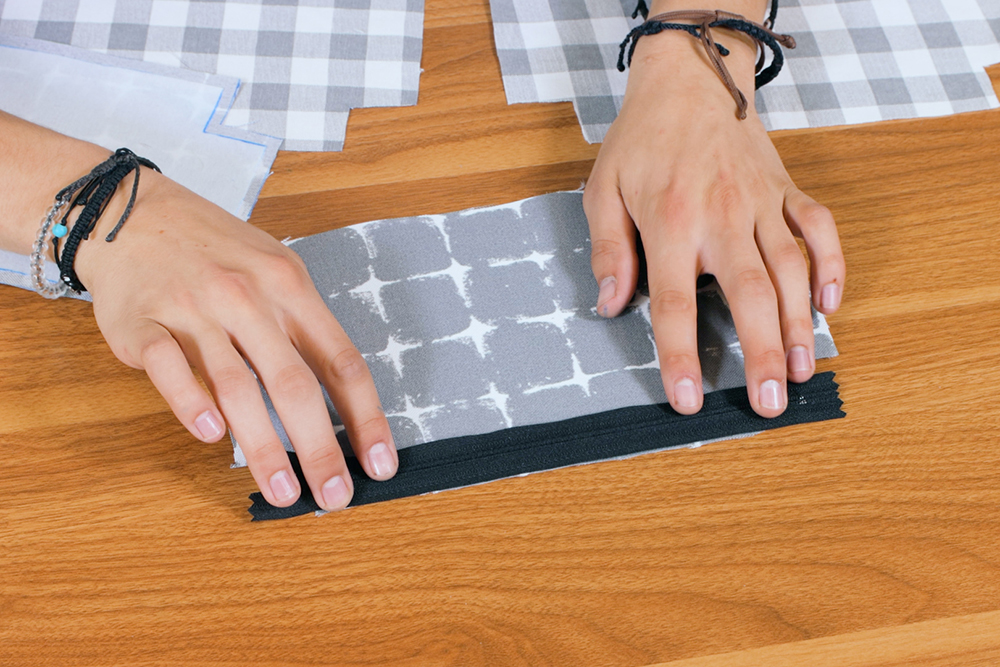
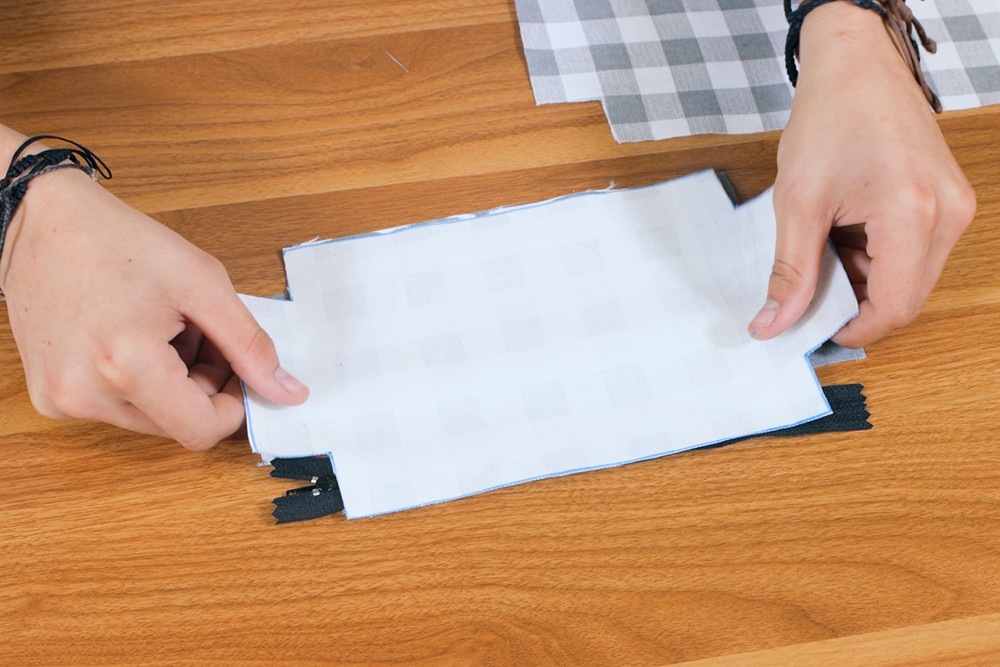
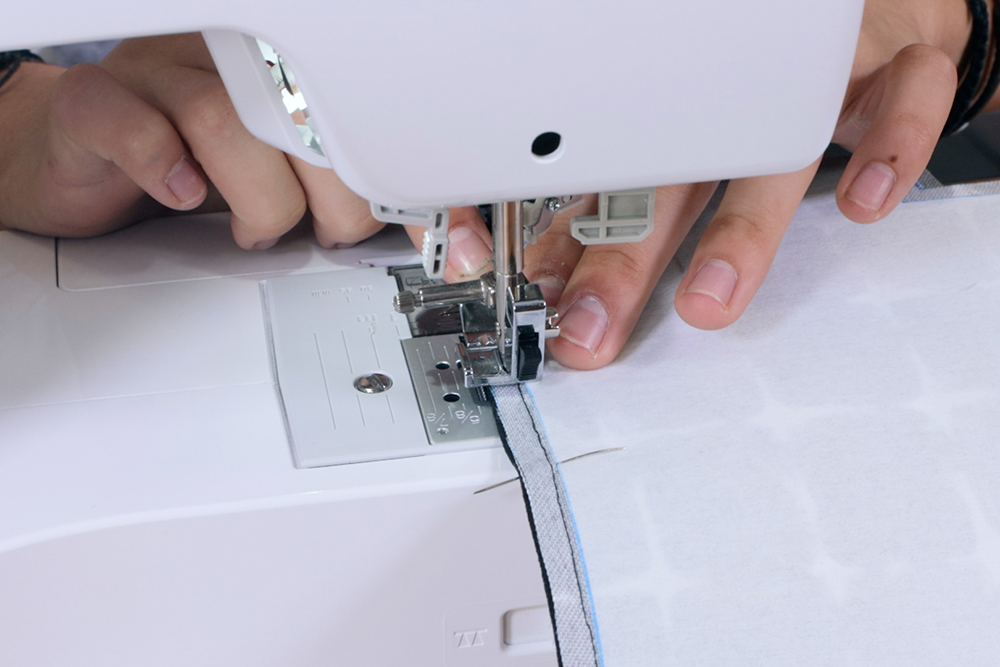
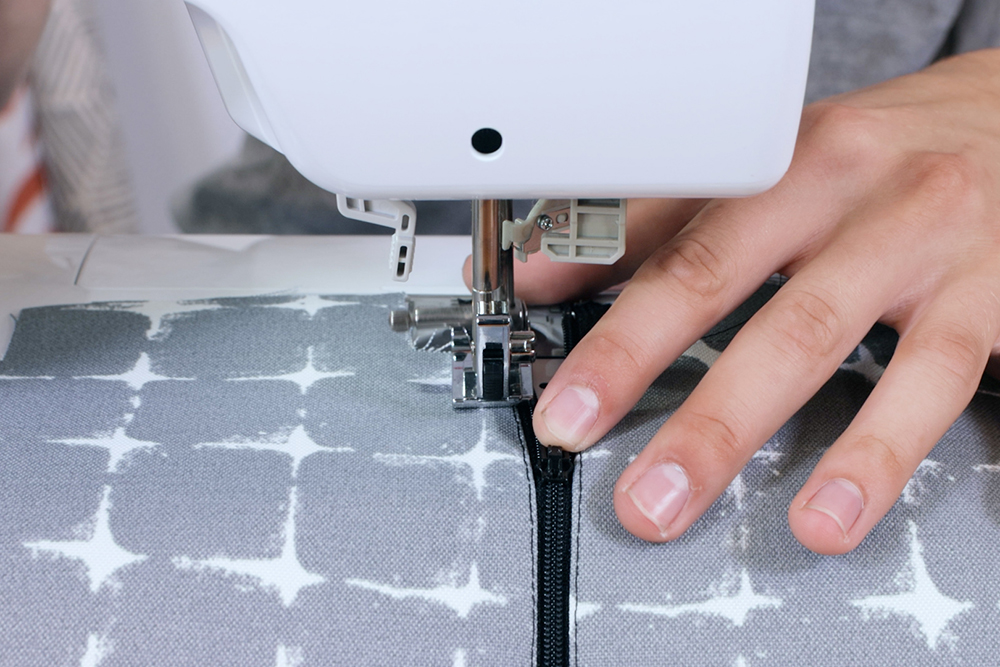
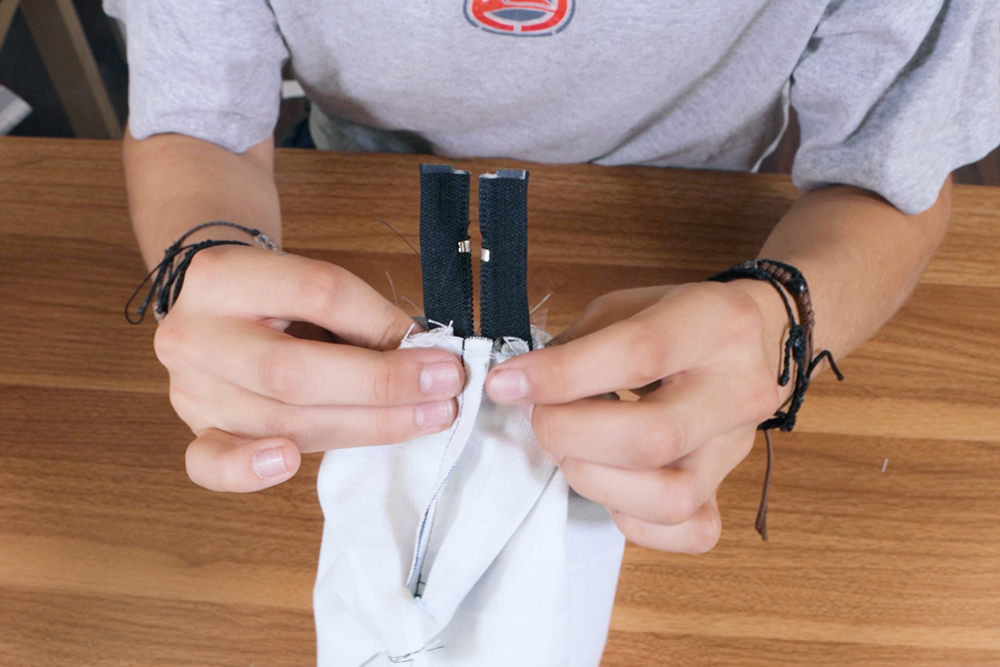
Place the zipper at the top of an outer piece and place the lining on the zipper. Pin in place and sew with a 1/2 inch seam allowance.
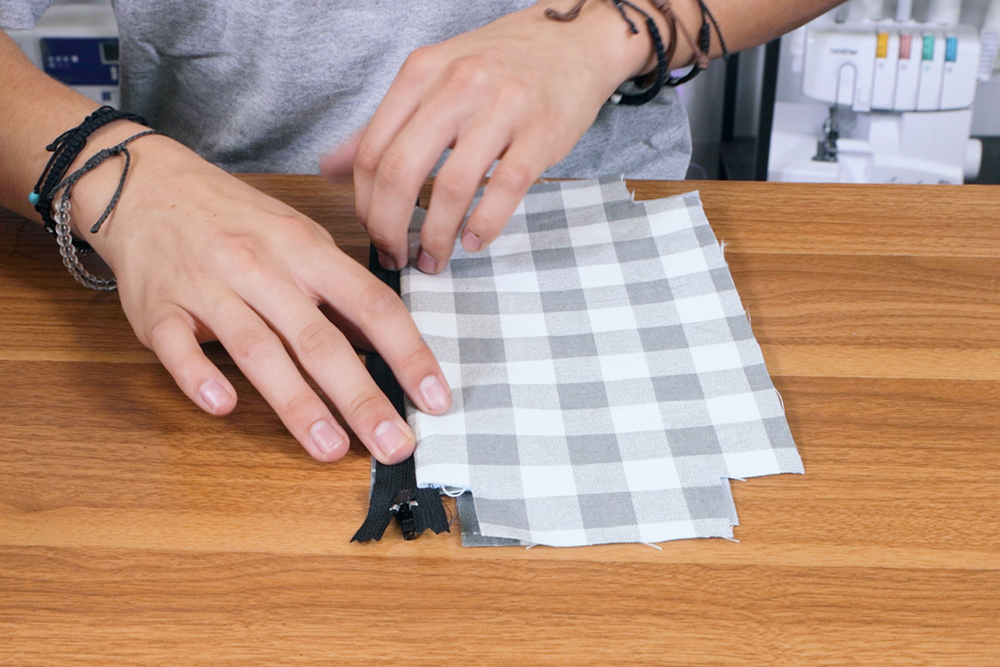
Sandwich the other end of the zipper between the other outer and lining pieces. Pin and sew like before.
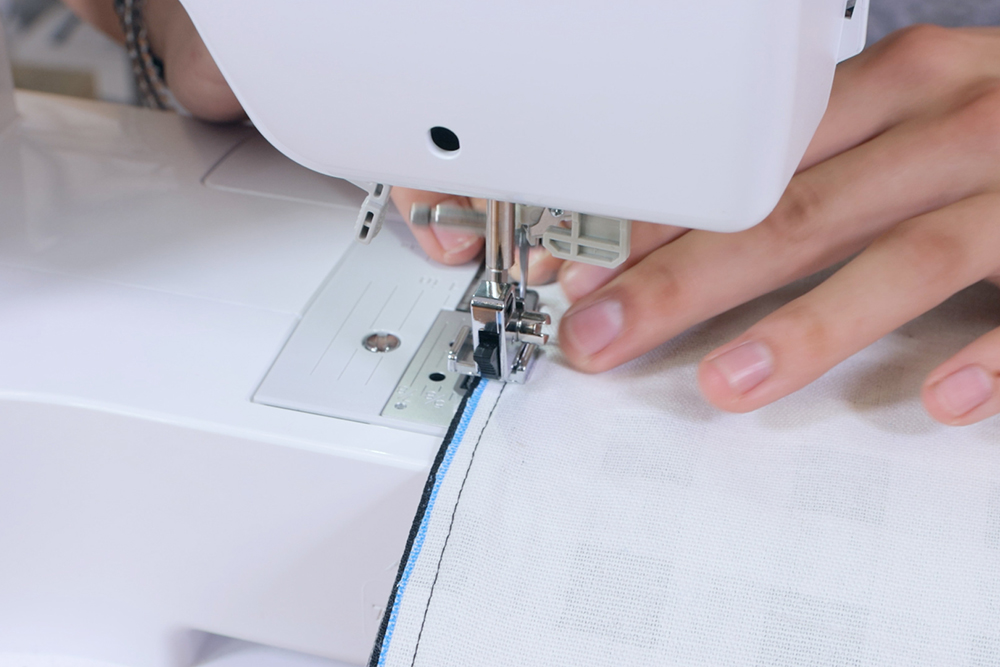
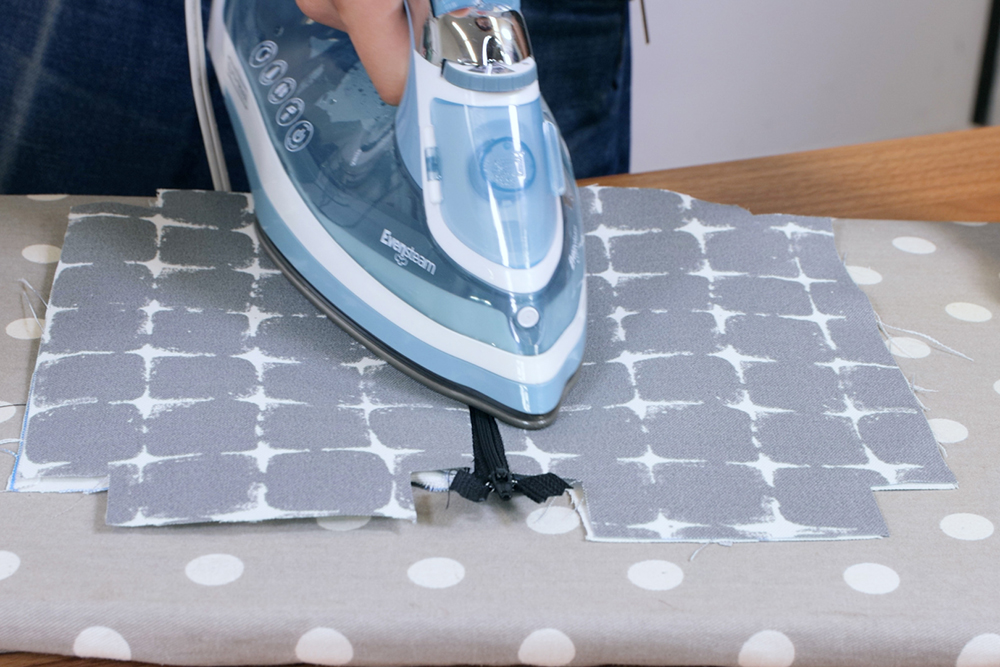
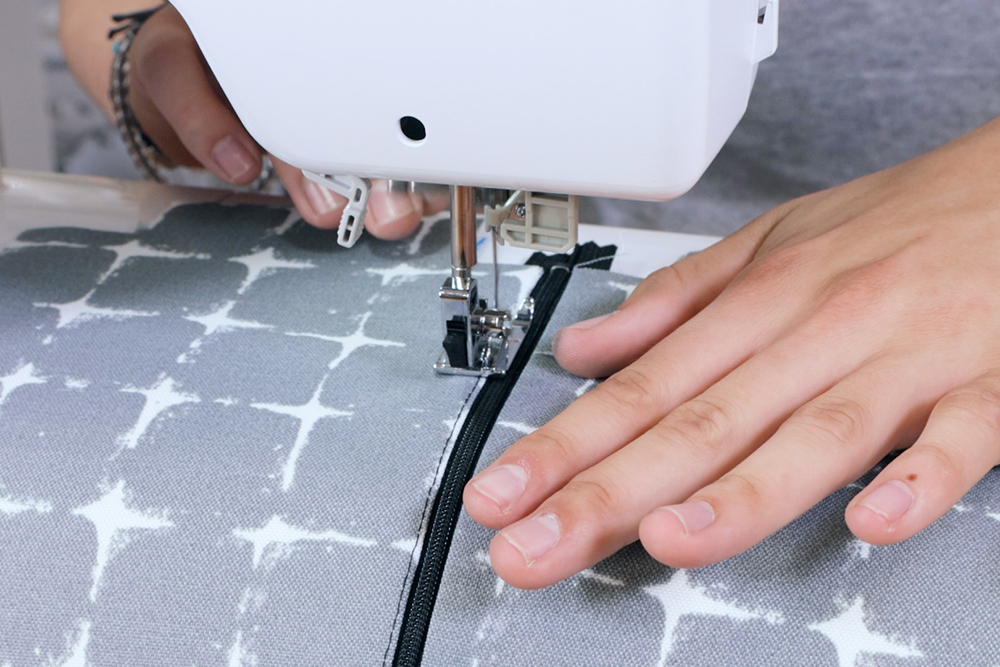
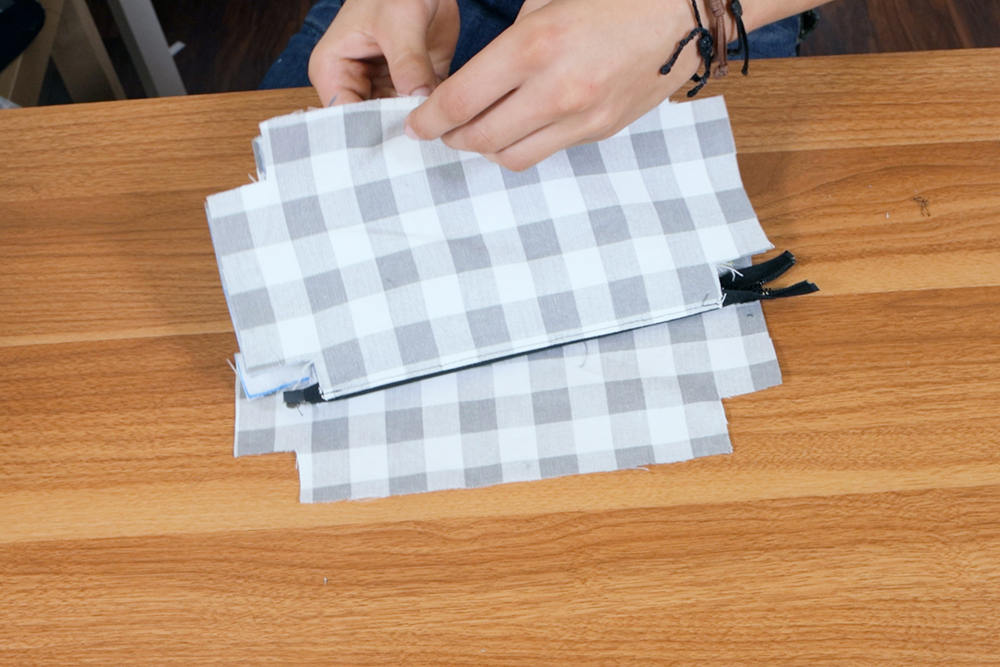
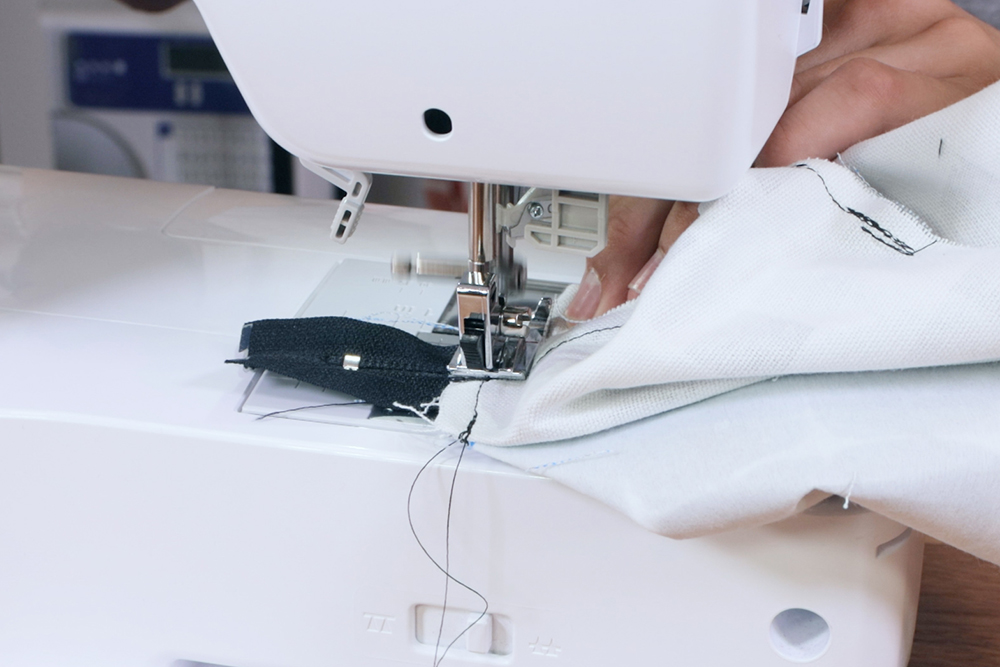
Open up to the right side and iron the seams. Top stitch both sides close to the edge of the fabric.
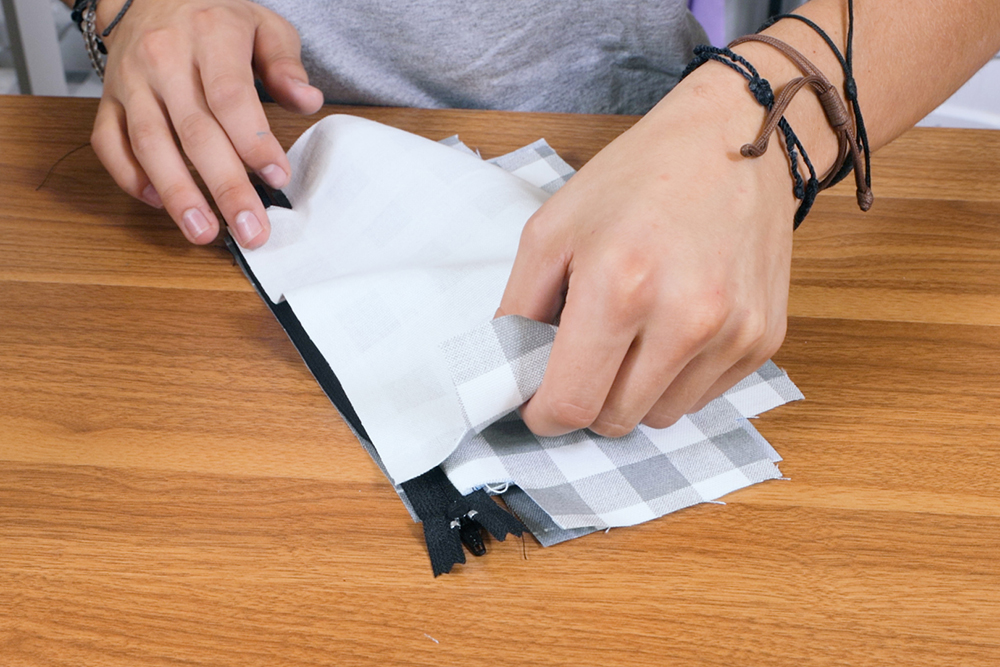
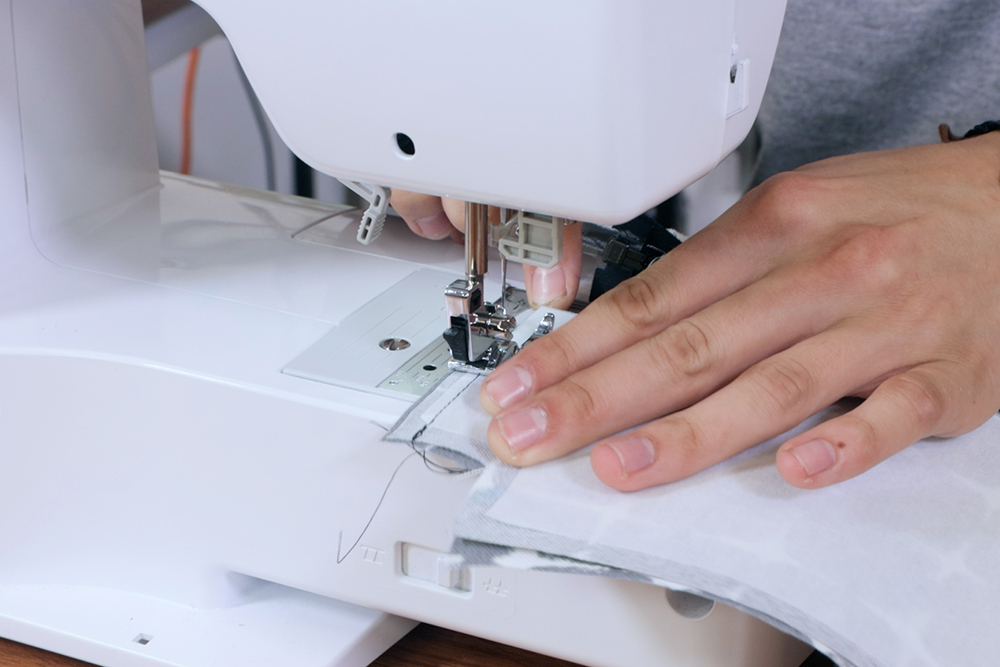
Place the outer pieces and lining pieces together with right sides facing. Sew the bottom and sides. Leave a gap at the bottom of the lining.

Trim the ends of the zipper if necessary.
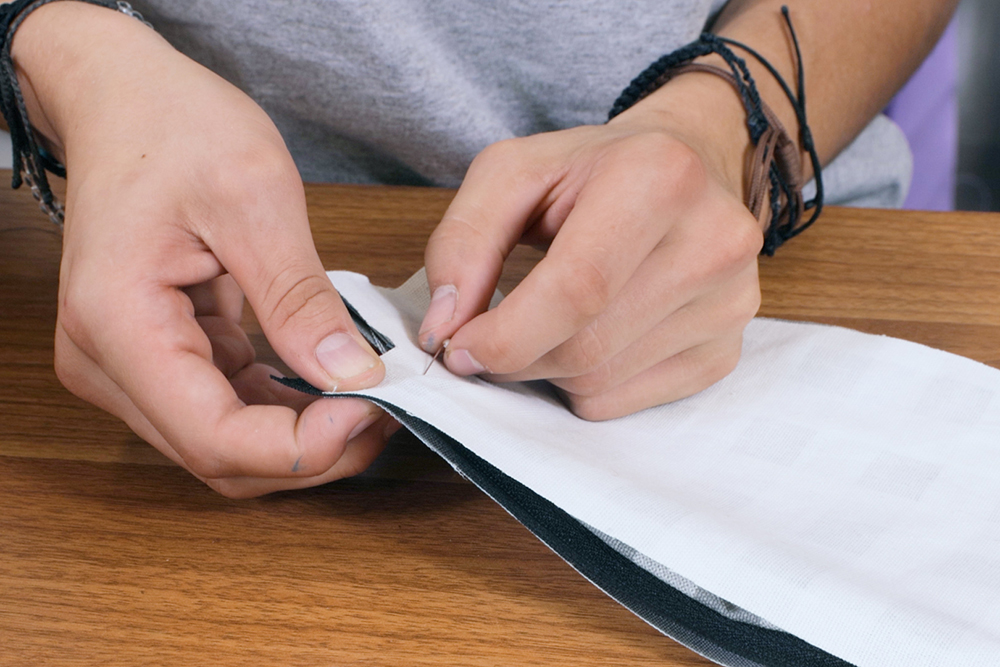
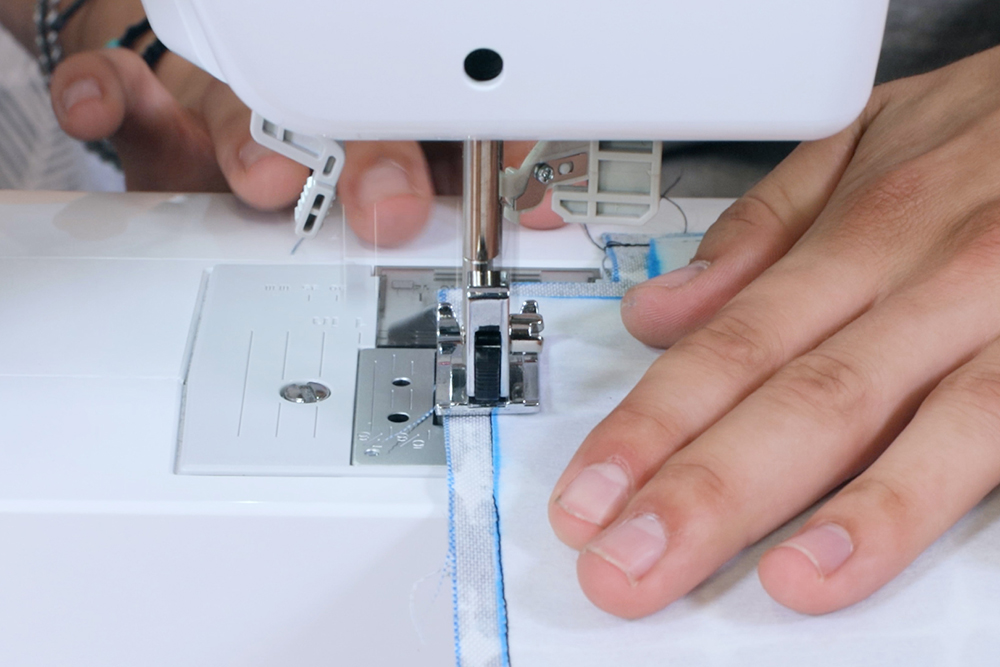
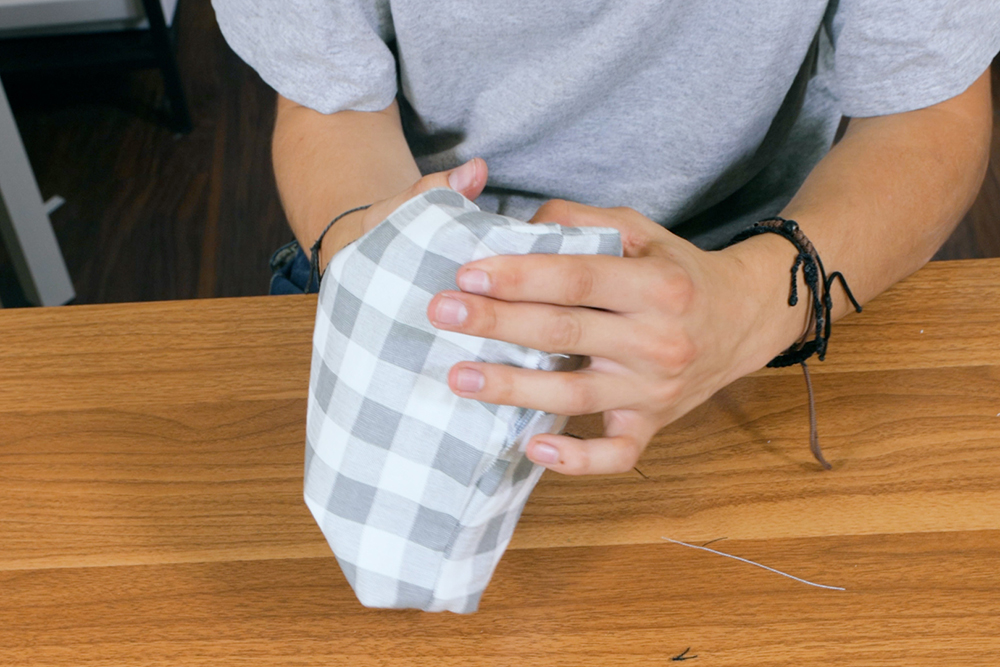
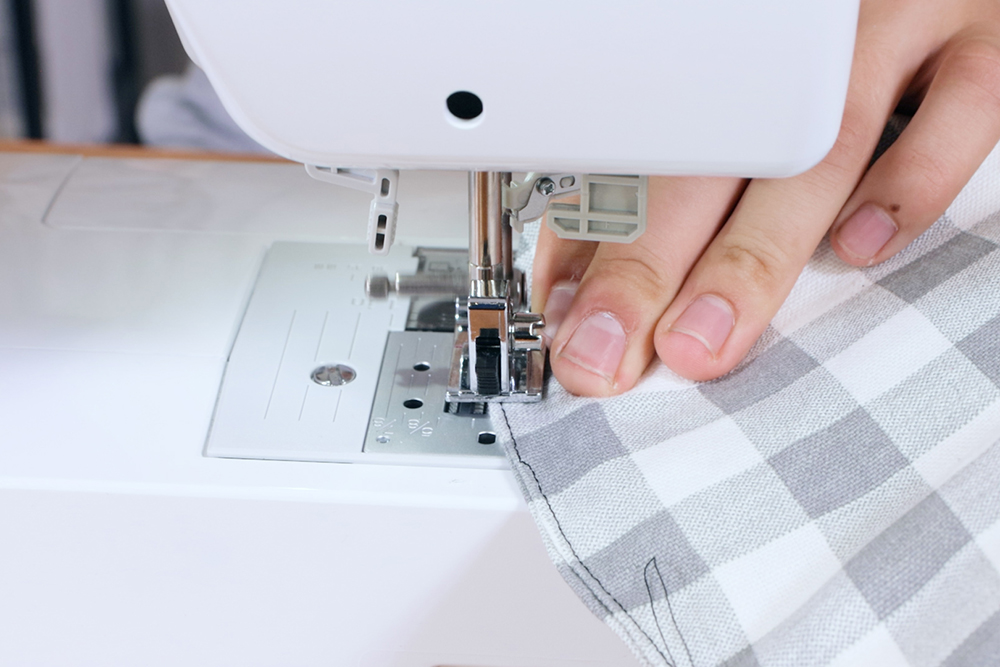
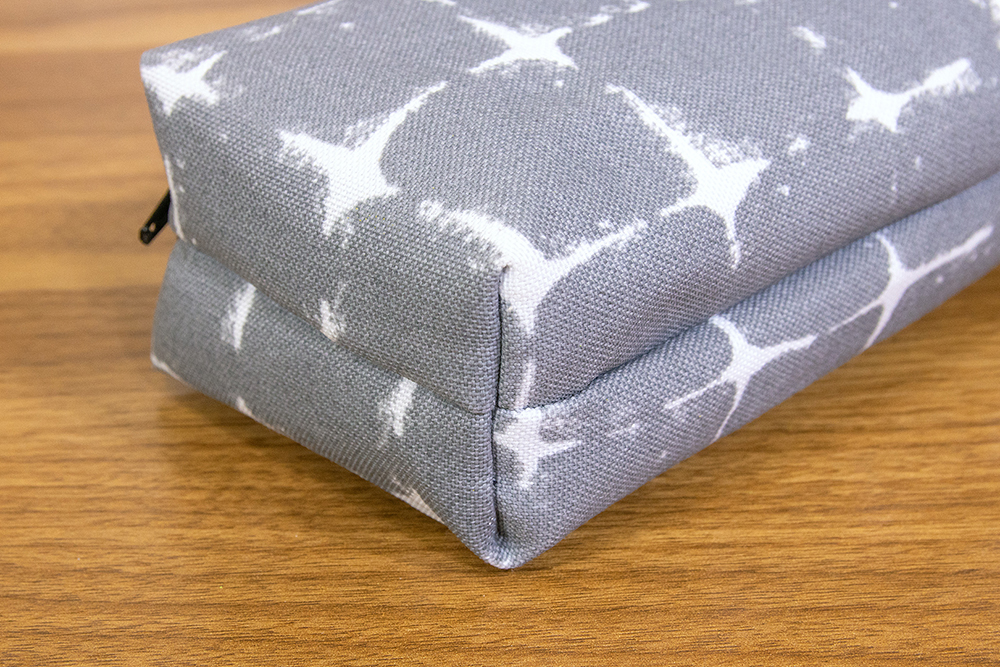
For the corners, unfold and pinch the fabric so the seam is lined up in the middle. Sew across with a 1/2 inch seam allowance and repeat for the other corners.


Turn right side out through the opening of the lining. With the zipper open, sew across the bottom of the lining.

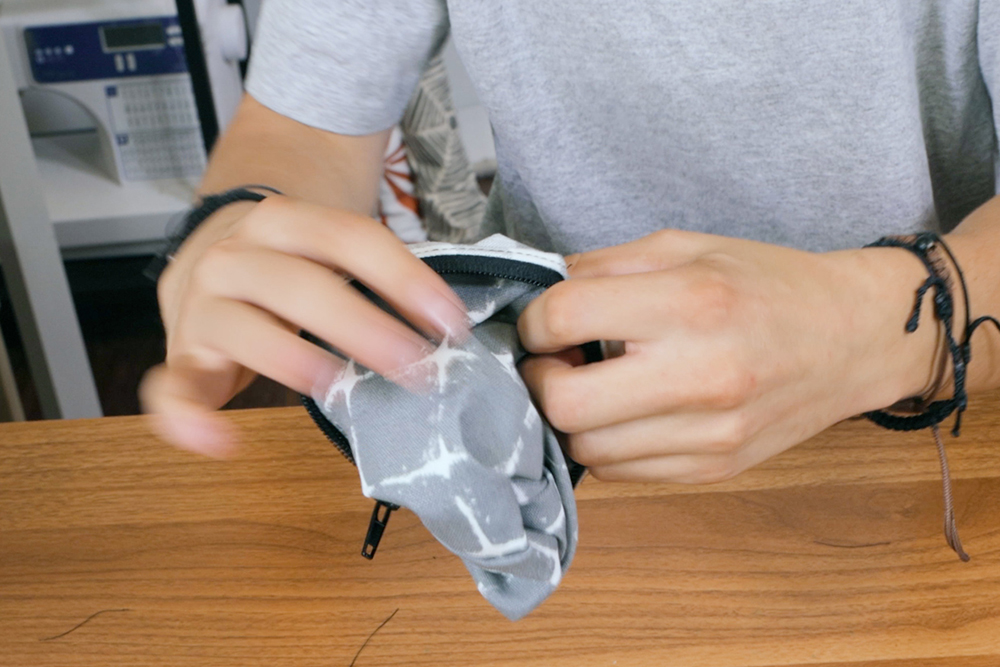
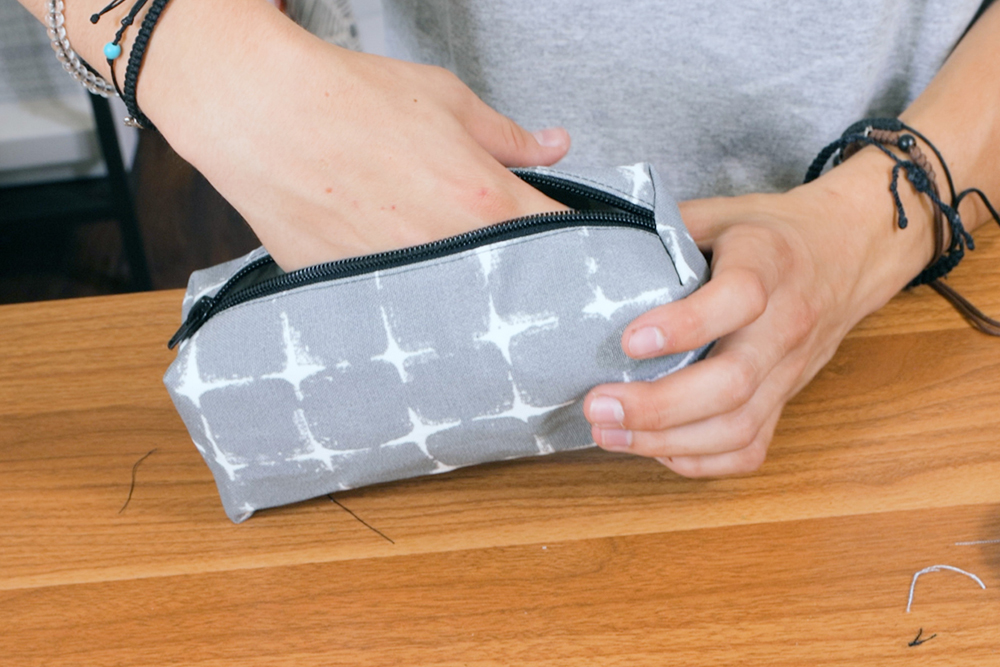
Insert the lining into the outer fabric through the zipper opening and poke out the corners.
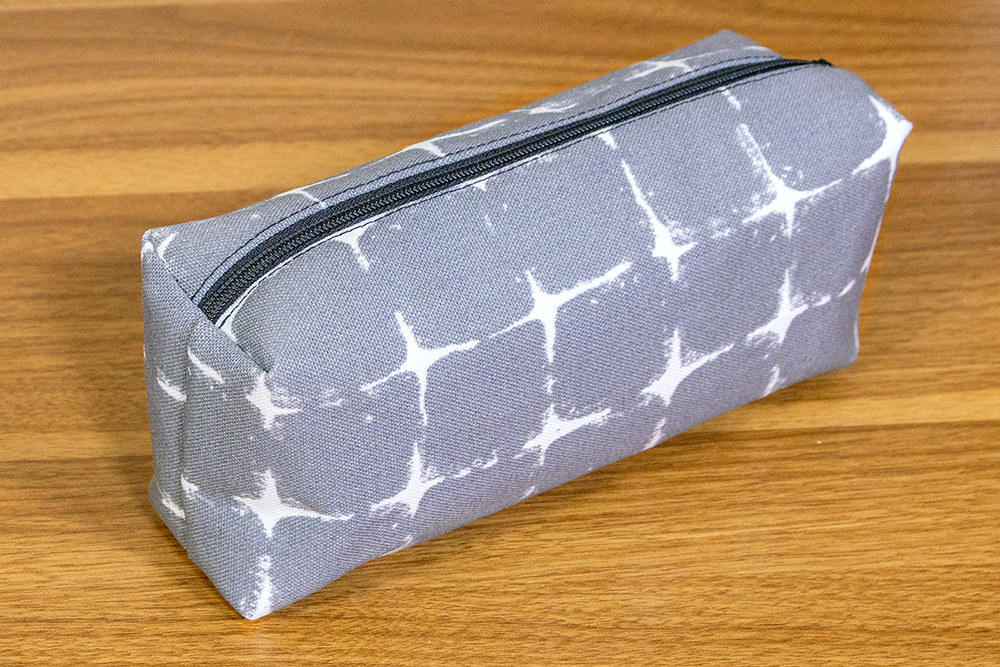
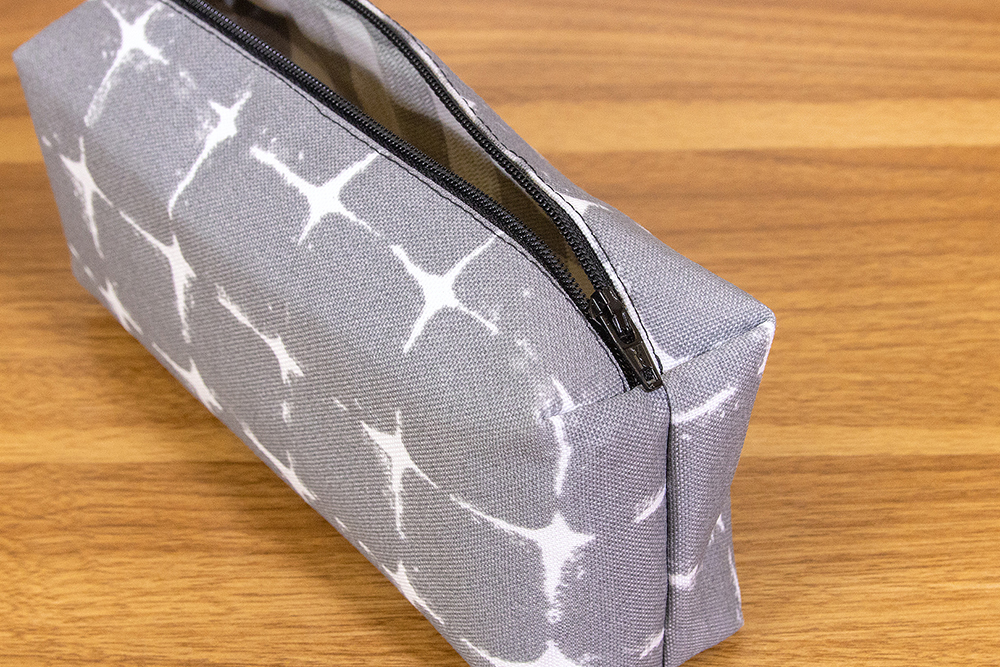
Your pencil pouch is ready to go!
-
{{#each productSuggestedQueries.results}}
- {{query}} {{/each}}
-
{{#each categories.results}}
- {{html title}} {{/each}}
{{html attributes.description}}
{{/if}}-
{{#each queries.results}}
- {{query}} {{/each}}