How to Make a Catnip Blanket
- By Cathy
- 30 minutes
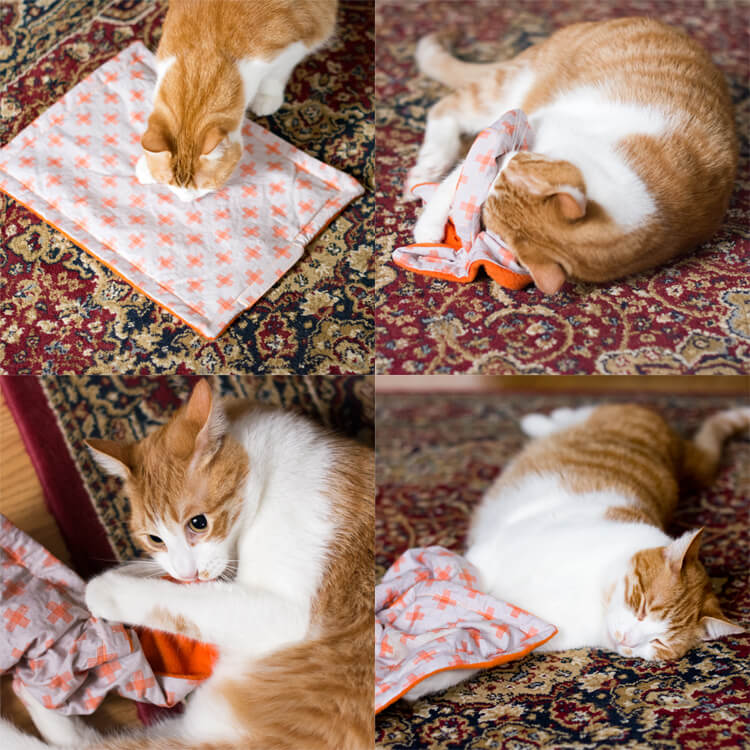
Hi, I’m Cathy. I was trying to figure out a way to let my cats enjoy some nip without making a mess, and thought ‘What would happen if I sandwiched some of that good stuff between fabric?’… Well, it turned out to be pretty simple to do, and they loved it. So if you’re someone like me who doesn’t know a whole lot about sewing, but you still want to make something that’s pretty quick and easy for your fur babies, this is the tutorial for you, so let’s get started.
Want to get the printable PDF instructions?
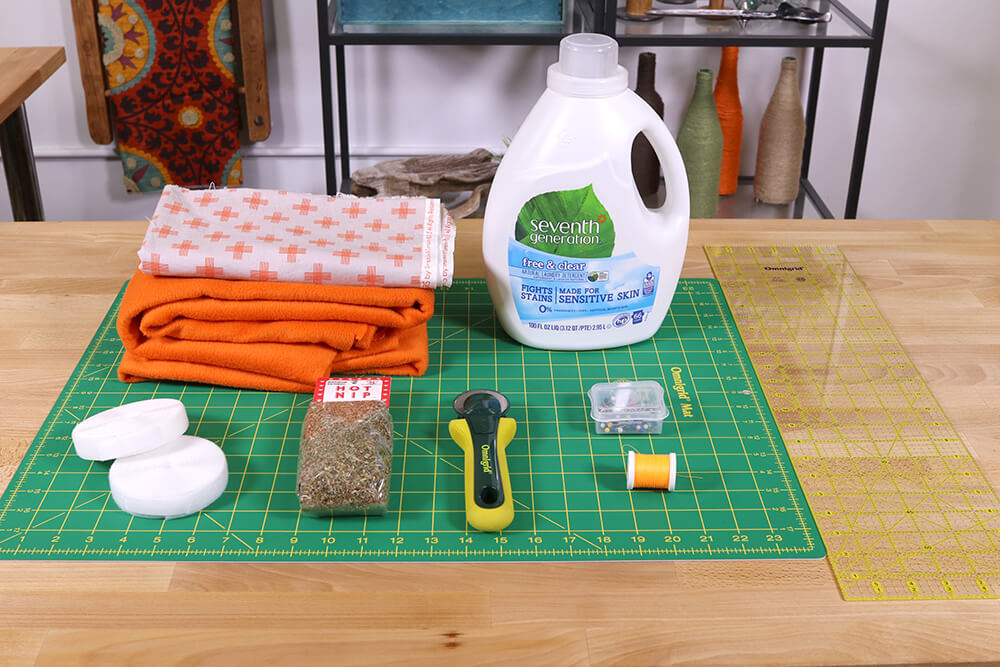
Materials
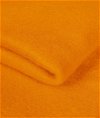
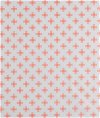
- Cotton Fabric
- Fleece Fabric
- Scissors, or a rotary cutter and cutting mat
- Pins
- Thread
- Sew-On Velcro (optional)
- Catnip (optional)
- Natural Laundry Detergent
Related Products


Video
Instructions
Step 1: Pre-wash your fabric
First, pre-wash your fabric. I chose to use a natural laundry detergent that’s free from fragrances and dyes because I knew my cats would be trying to bite and rub on the fabric. They can be pretty particular when it comes to new scents and I can’t imagine regular laundry detergent tasting all that good, so…. you’re welcome, cats.
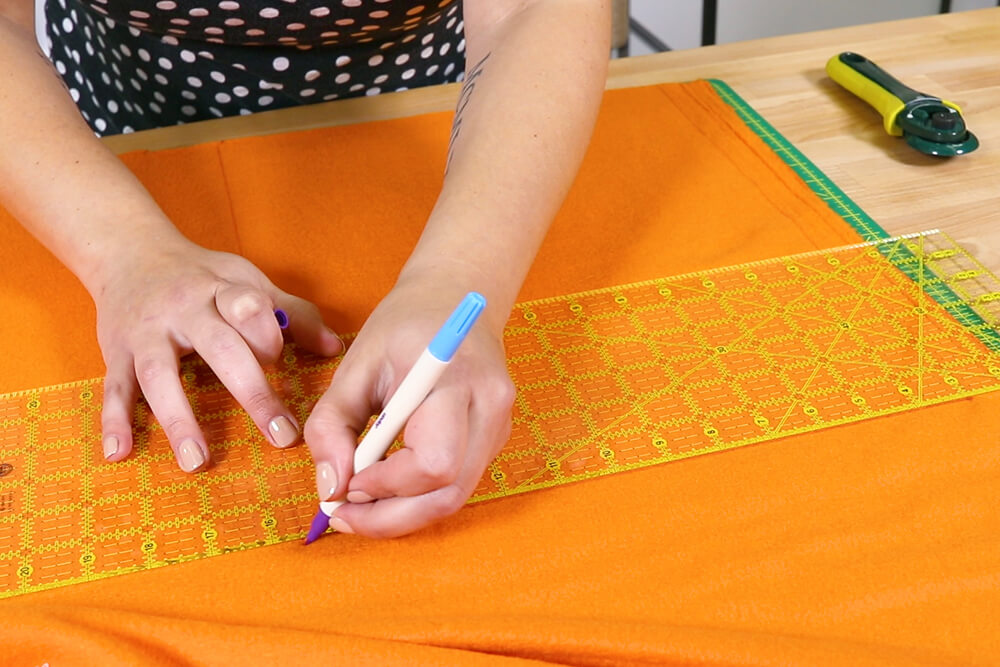
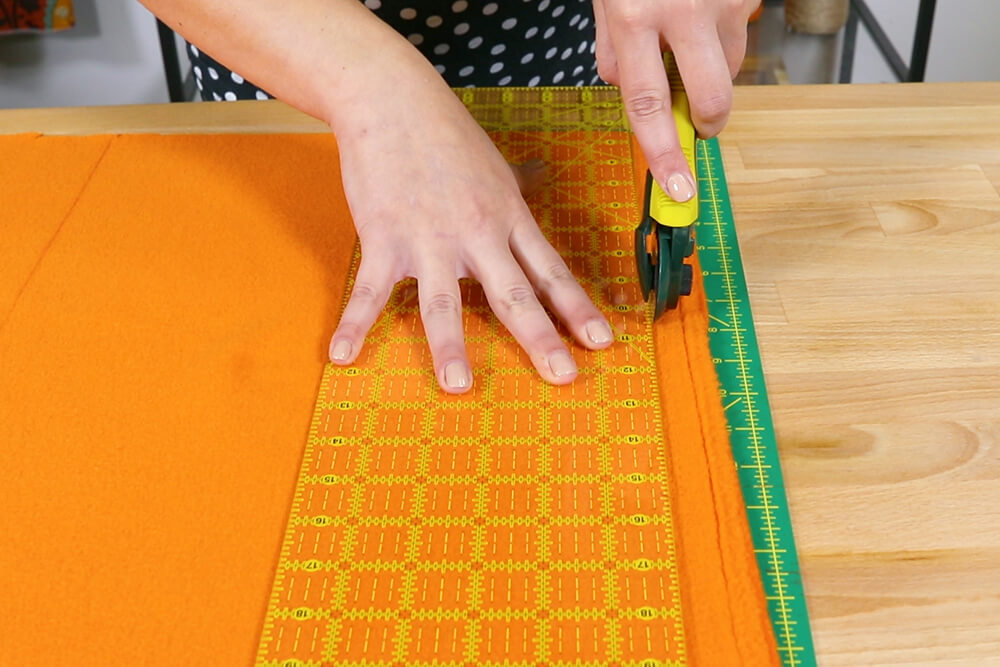
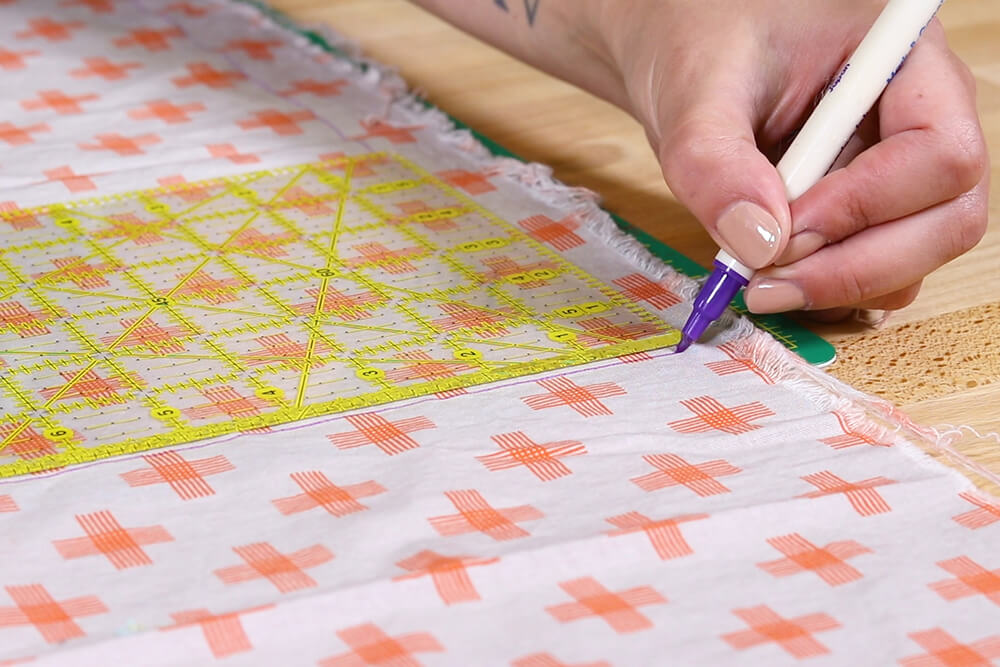
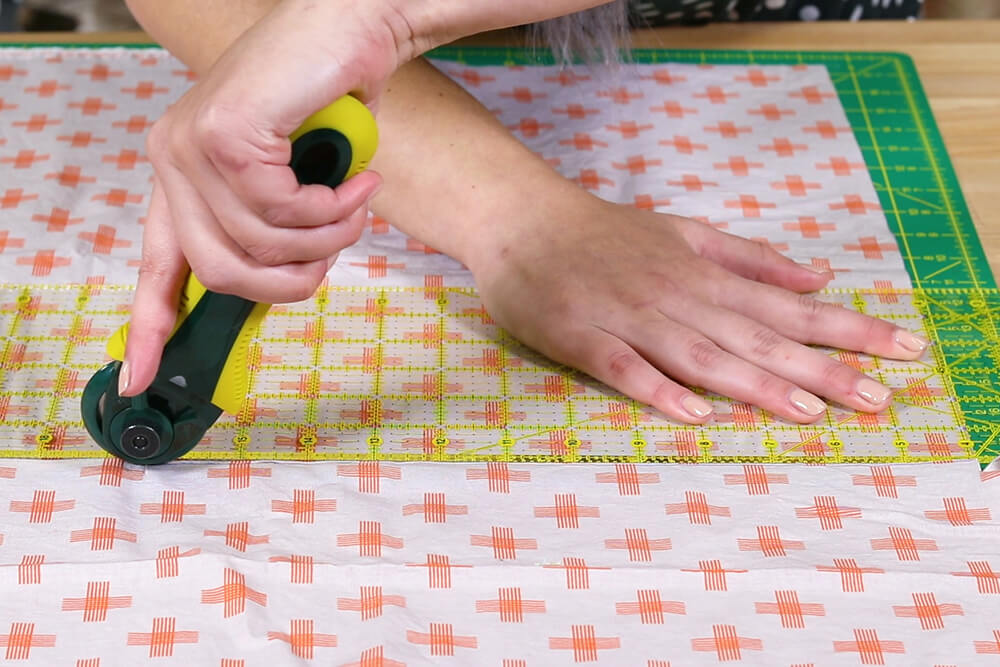
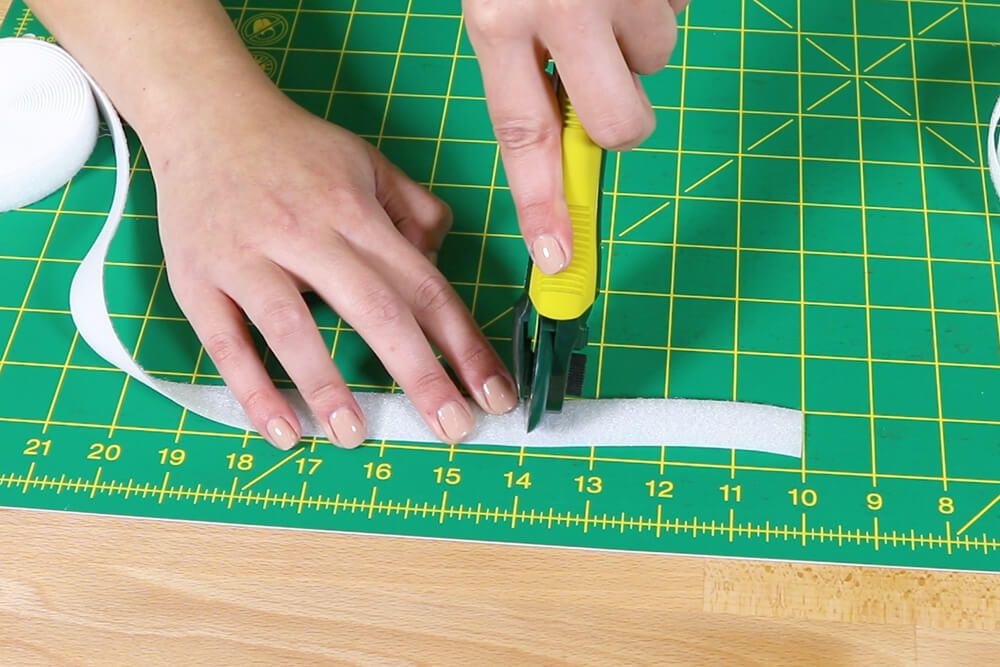
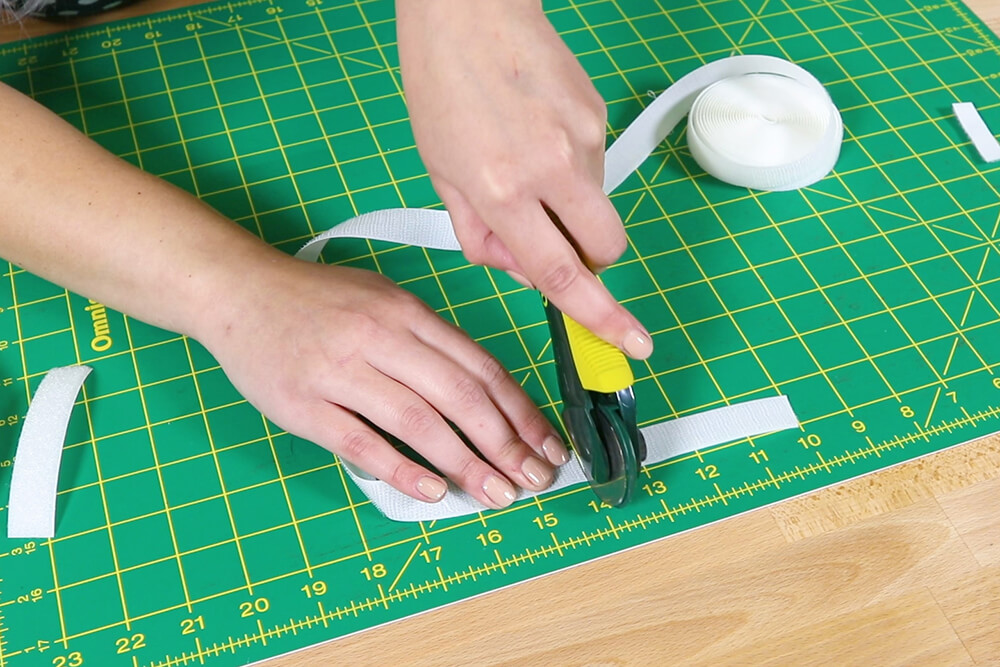
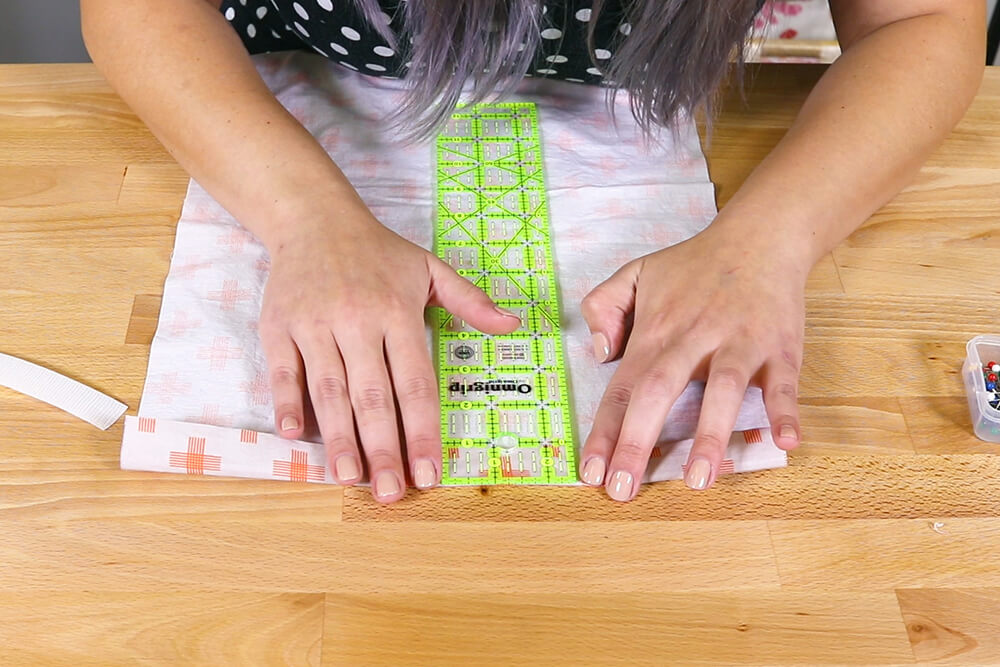
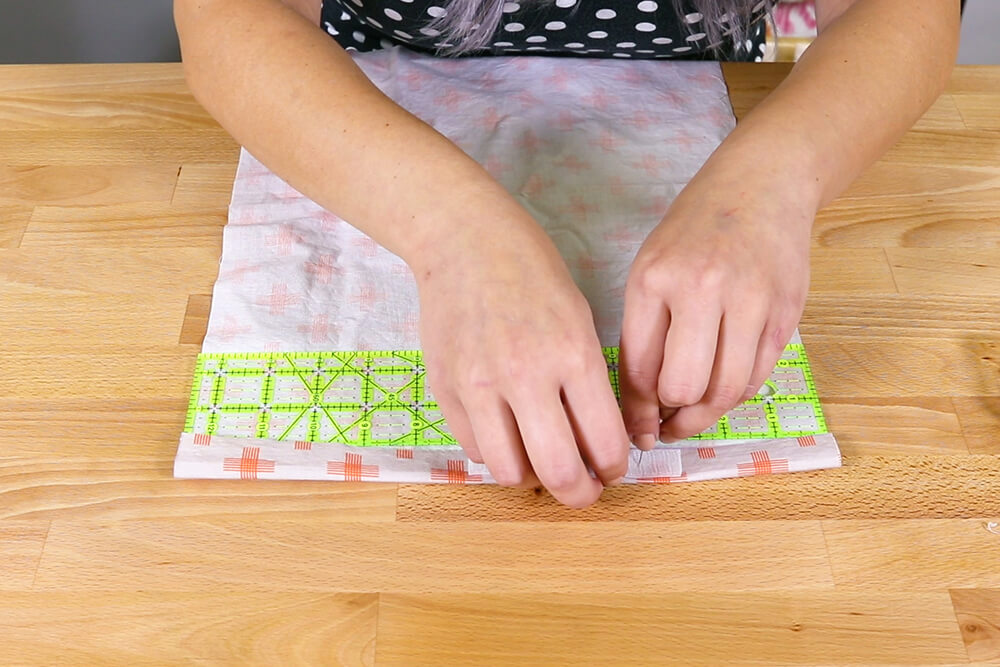
Step 2: Measure & cut your fabric and Velcro (optional)
Measure, mark, and cut a 12.5” x 17” piece out of each of your fabrics. I’m using fleece and a matching cotton print.
If you want to be able to eventually add more catnip to the blanket, you may want to add a Velcro opening. Cut out a 4” strip of both the hook and loop sew-on Velcro.
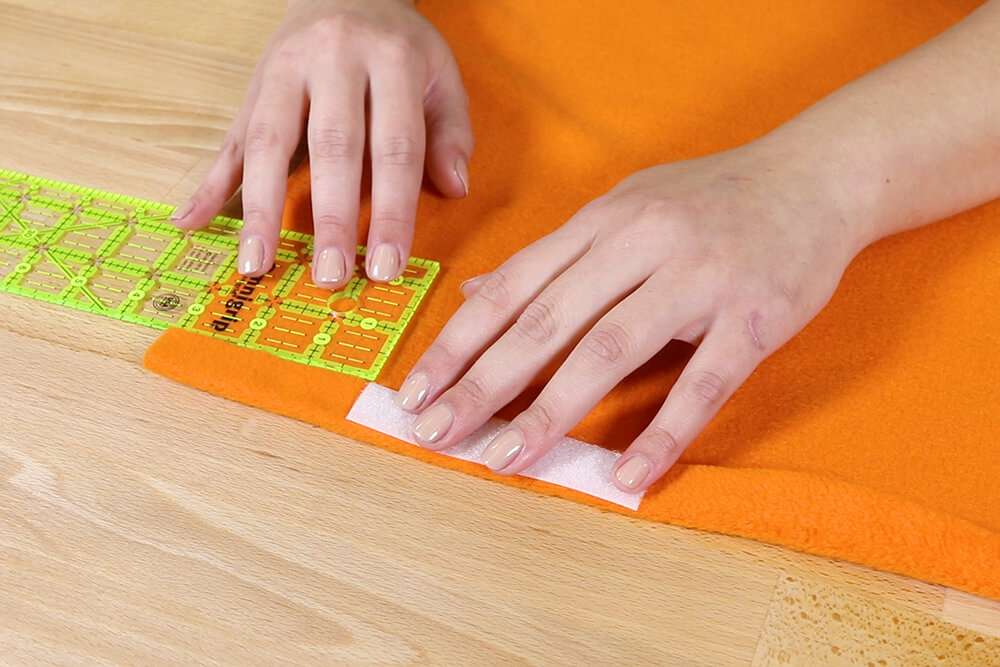
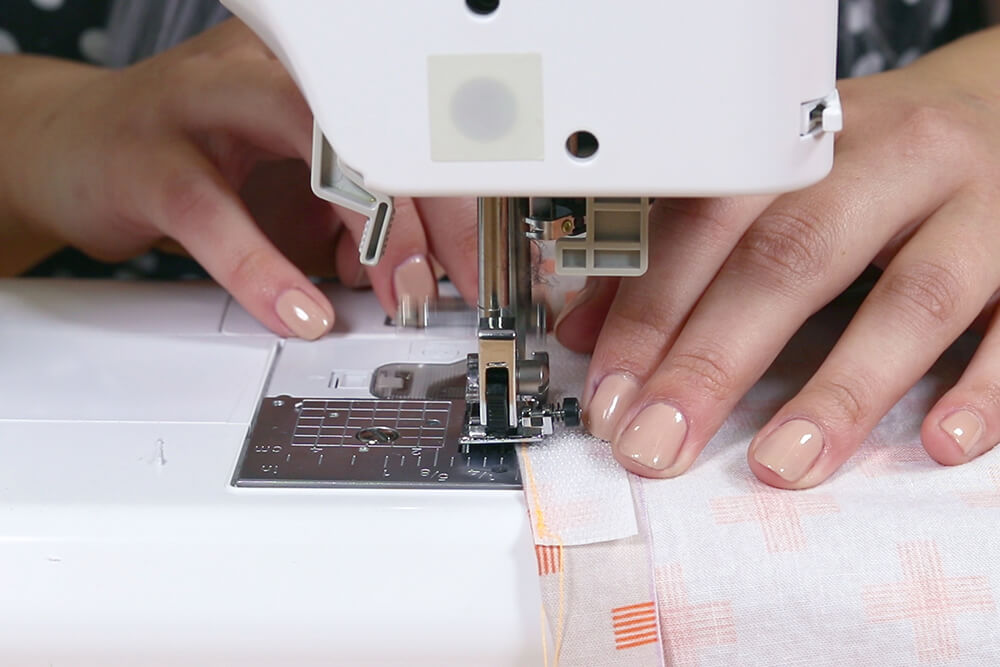
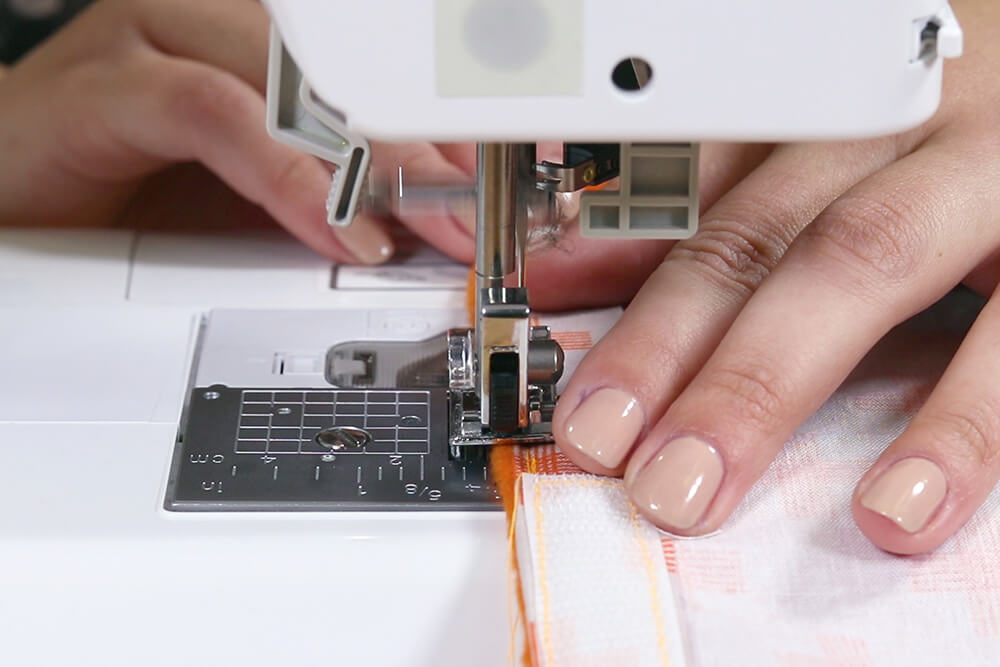
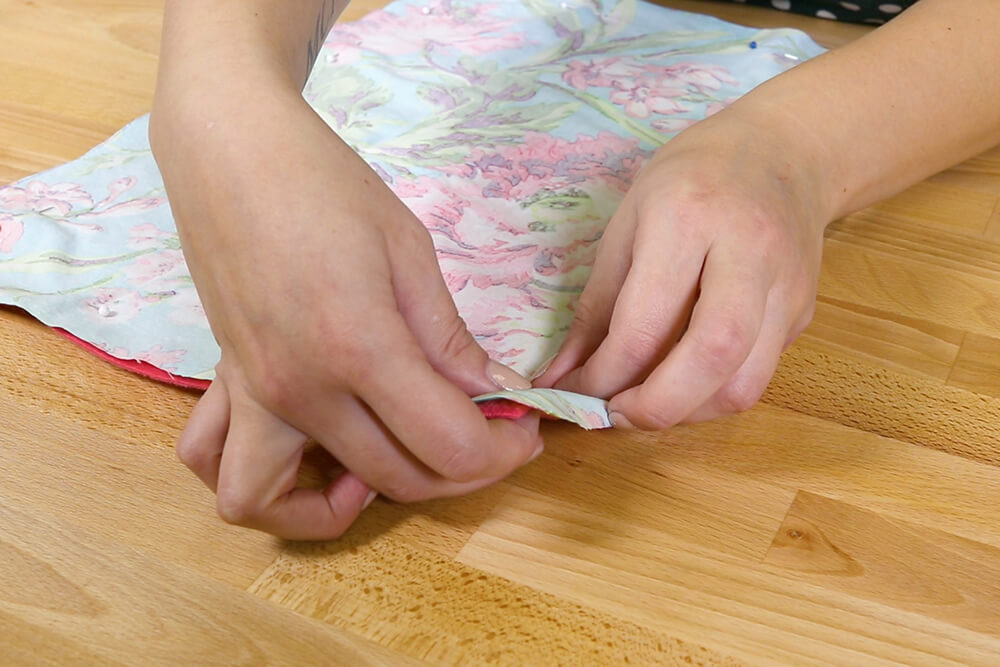
Step 3: Attach the Velcro
With the wrong side of my cotton print facing up, I’m going to fold back a little more than 3/4” on one of the shorter sides. If I were using 1” Velcro, I’d fold back a little more than 1”, and so on.
Pin the hook side of the Velcro about 3” away from the left corner and about 1/8” from the top.
It might look better if the Velcro is centered on the fabric, but it made it more difficult for my cats to open the blanket when the Velcro is placed slightly off-center.
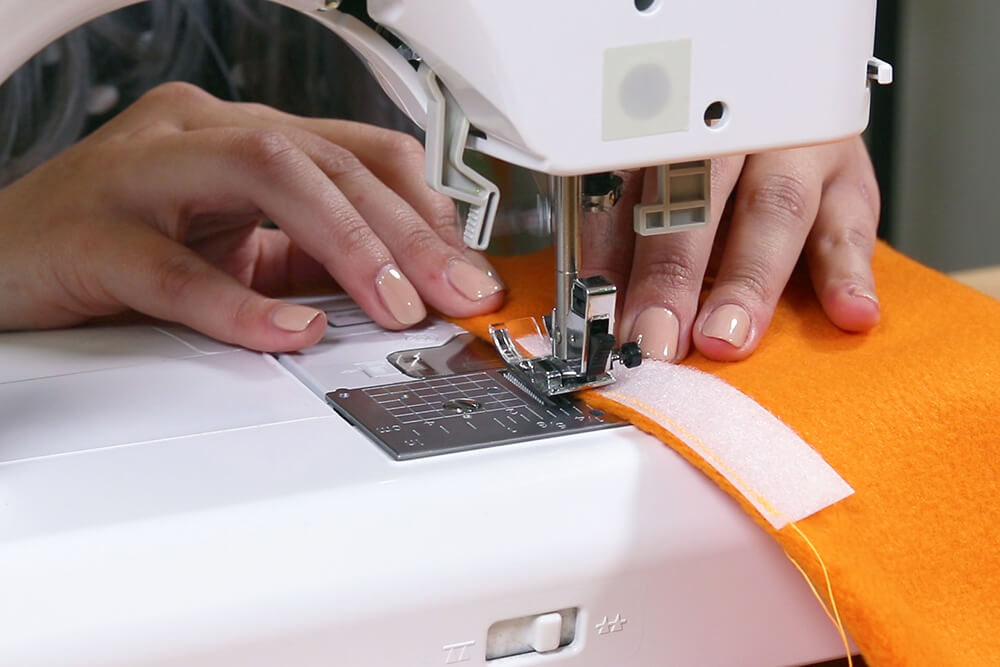
On the fleece fabric, wrong side facing up, I’m going to fold over a little more than ¾” as well, but I’m going to pin the loop side of the Velcro 3” away from the right corner this time. You’ll see why in a second.
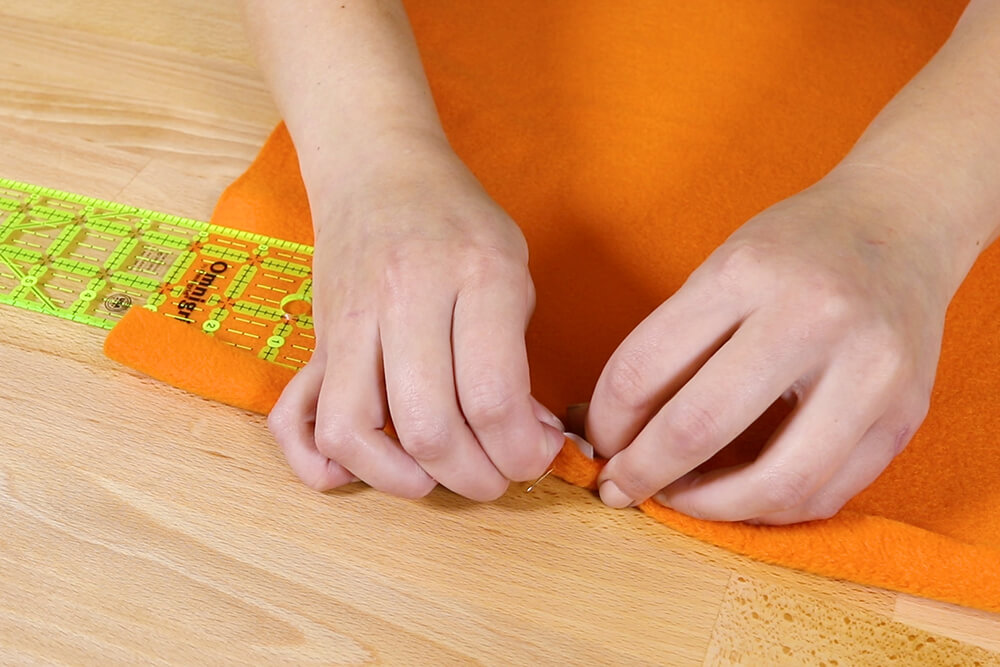
Sew the Velcro to each piece of fabric. Don’t forget to backstitch!
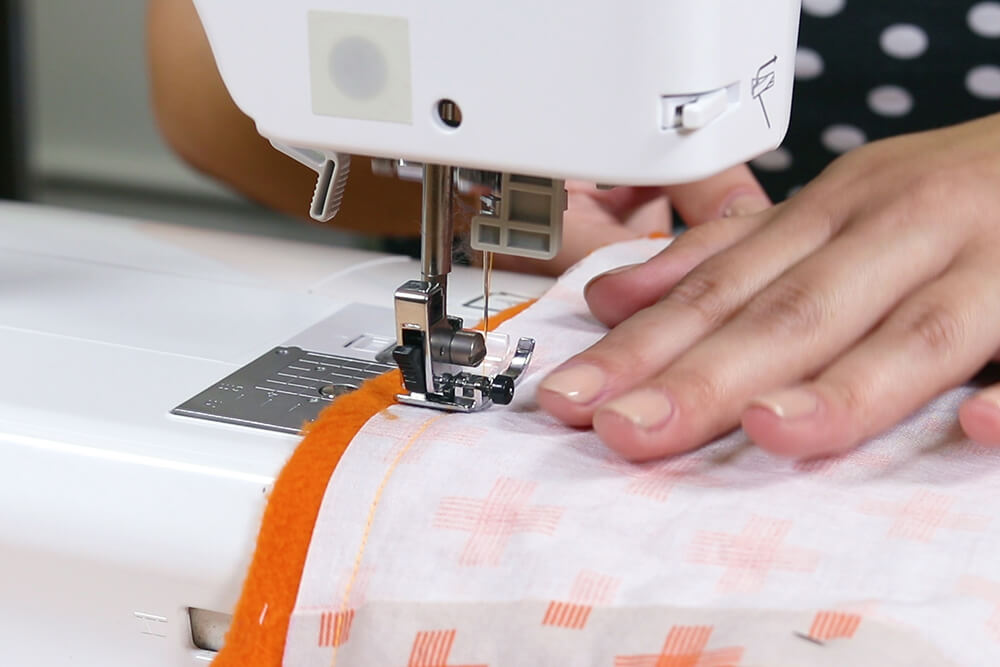
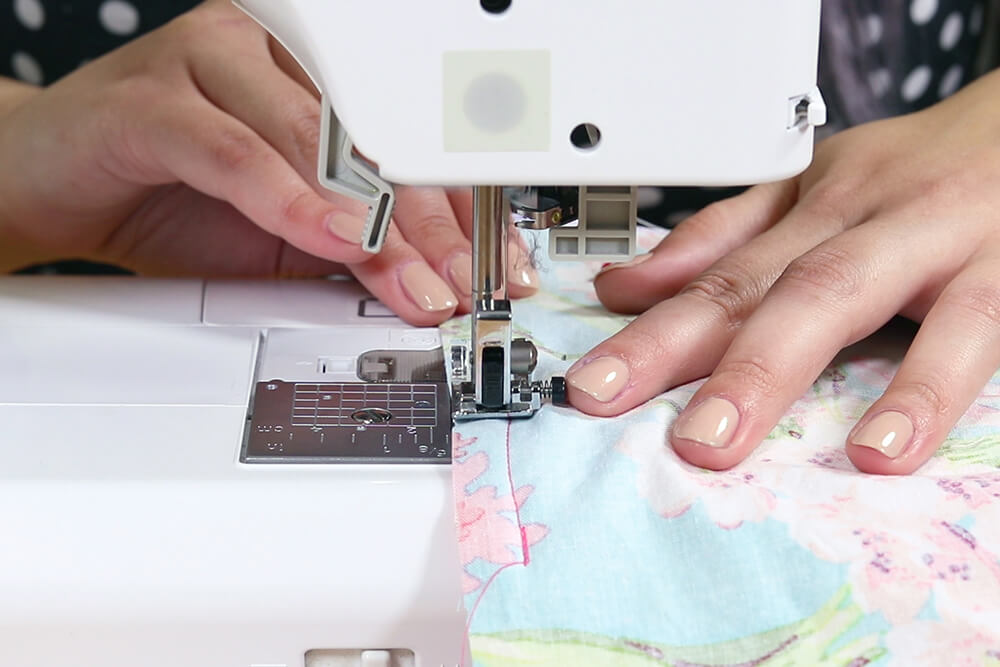
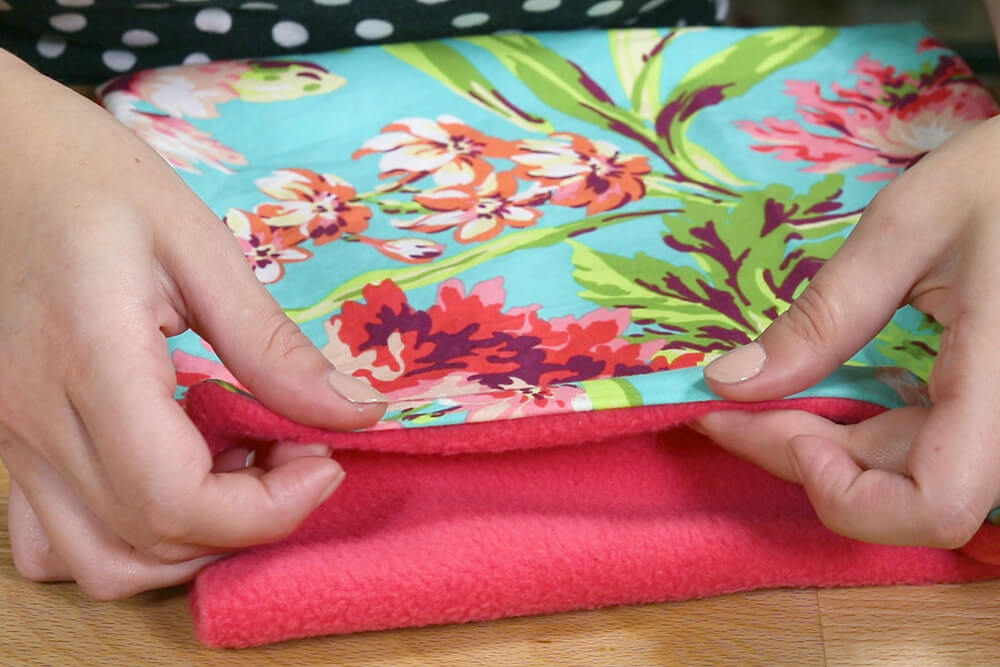
Step 4: Sew the blanket together
Take both pieces of fabric, right sides facing each other, and pin them together. Make sure the Velcro lines up and both pieces are facing outward.
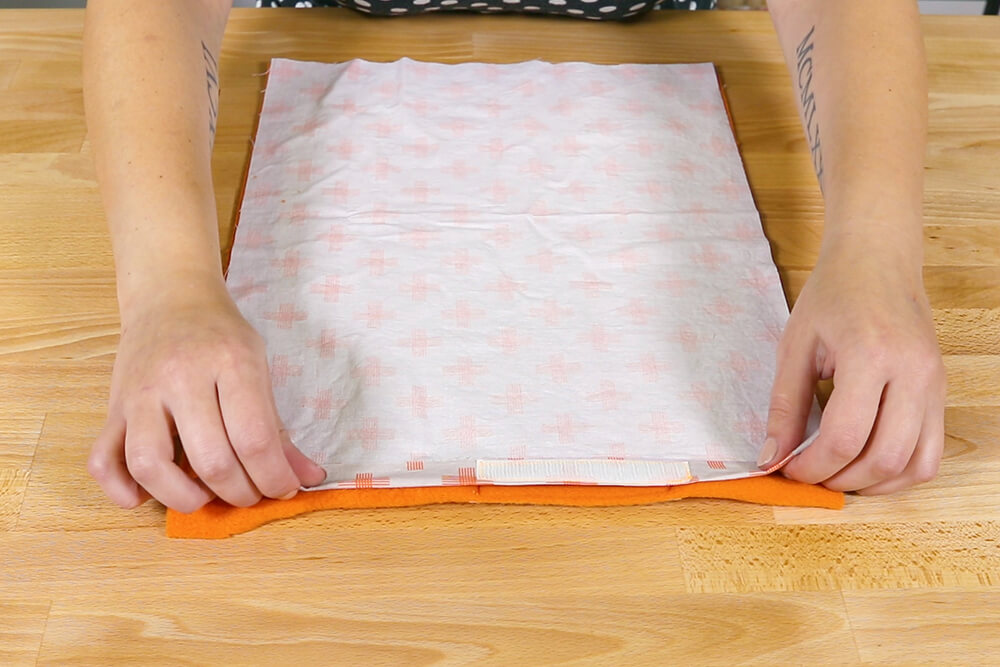
Sew around the edge starting at one end of the Velcro, and stop at the other. Use a 1/8″ seam allowance on the Velcro side so that it aligns with the topstitching of the Velcro. Use about a 1/4″ seam allowance on the other edges.
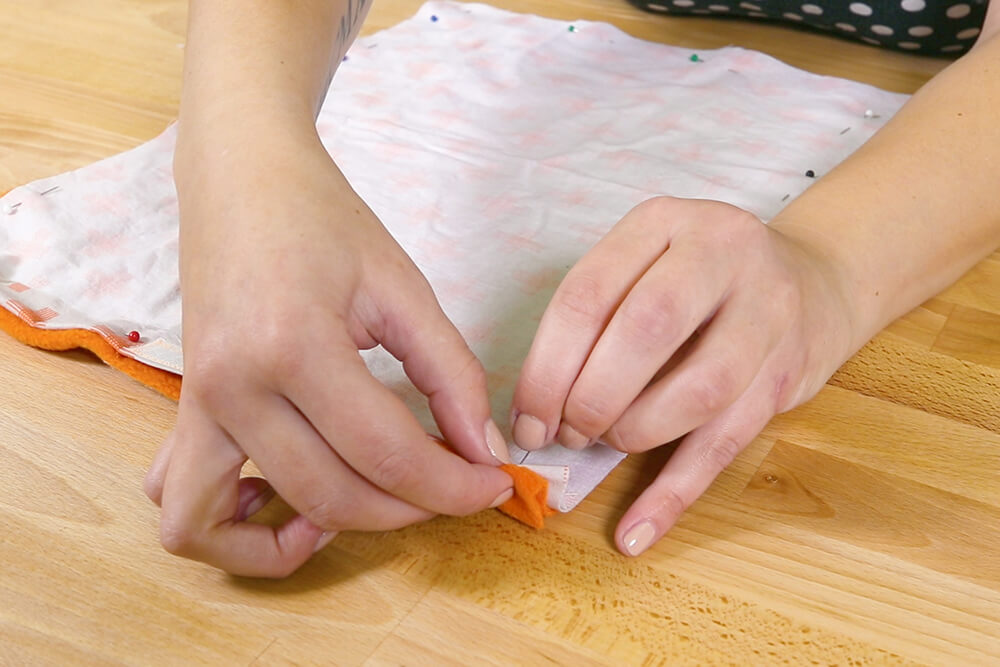
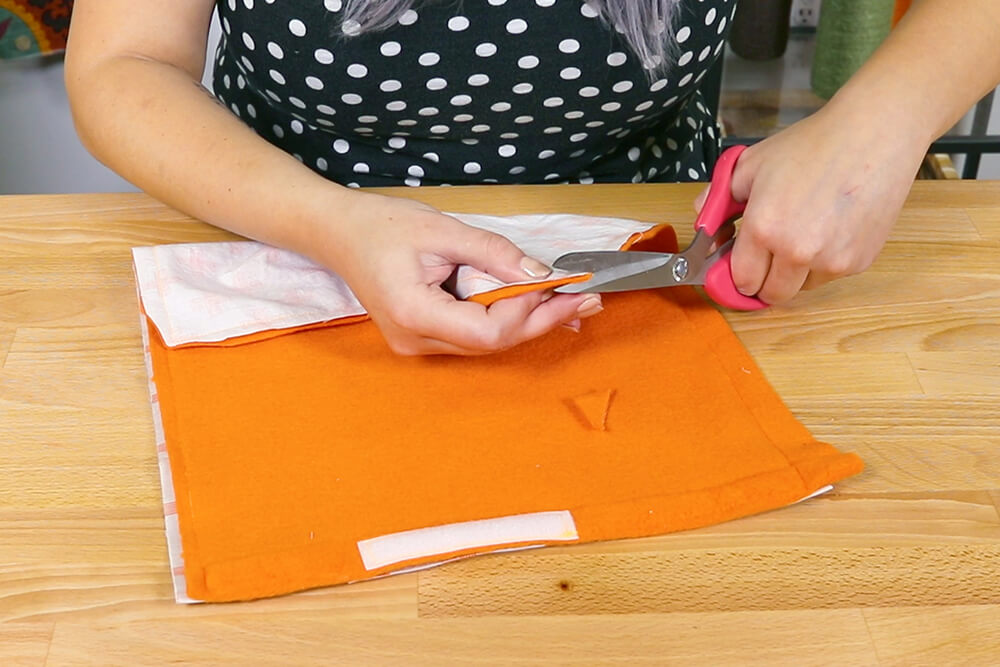
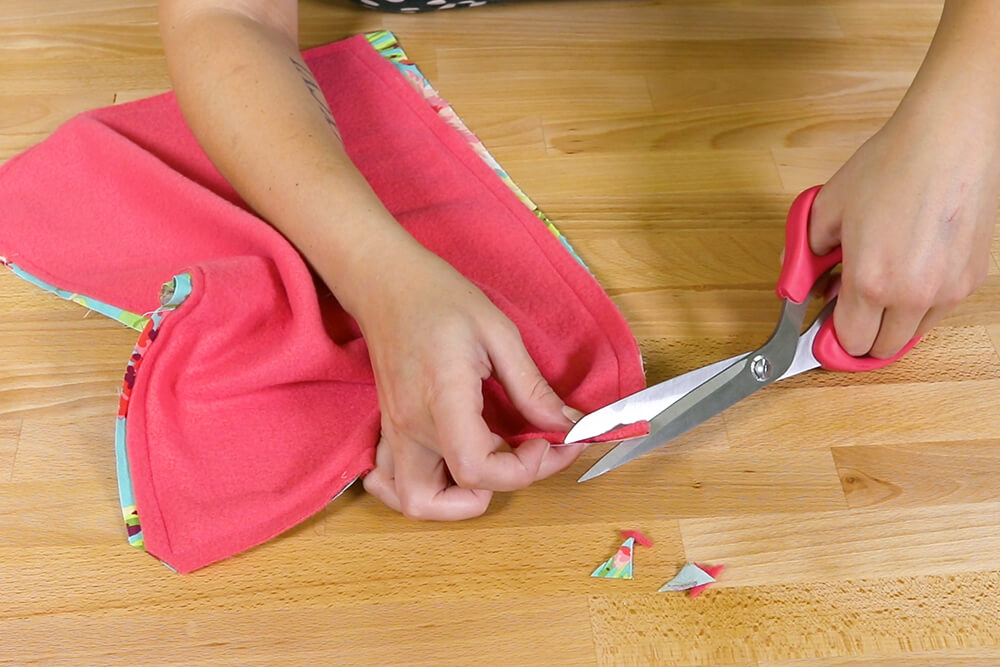
Step 5: Snip the corners & turn right side out
Snip the corners and trim off any excess fabric before you turn the blanket right side out. Be careful not to cut the stitch.

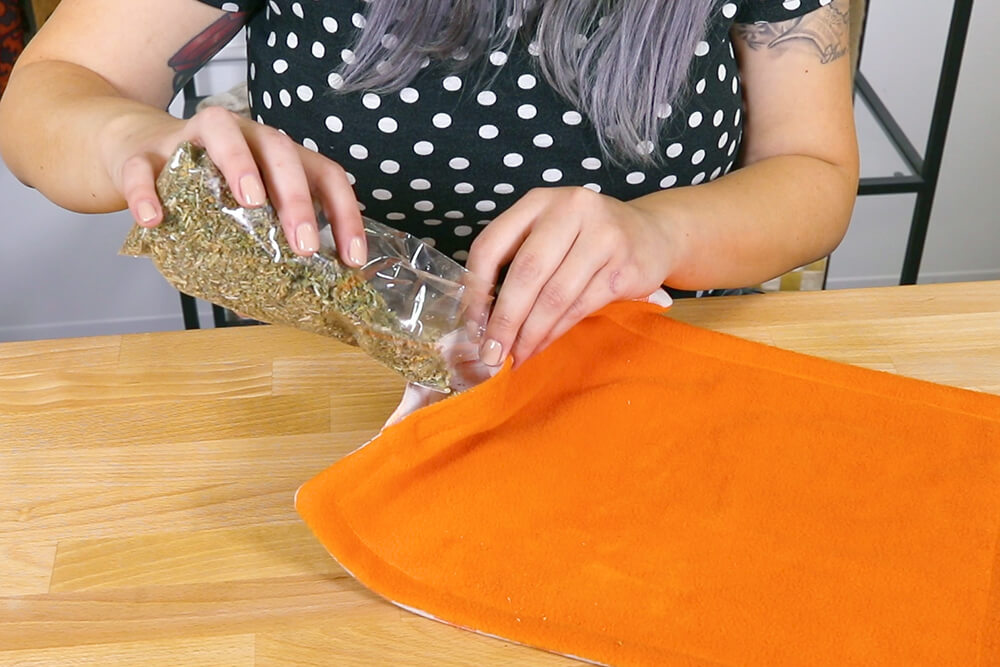
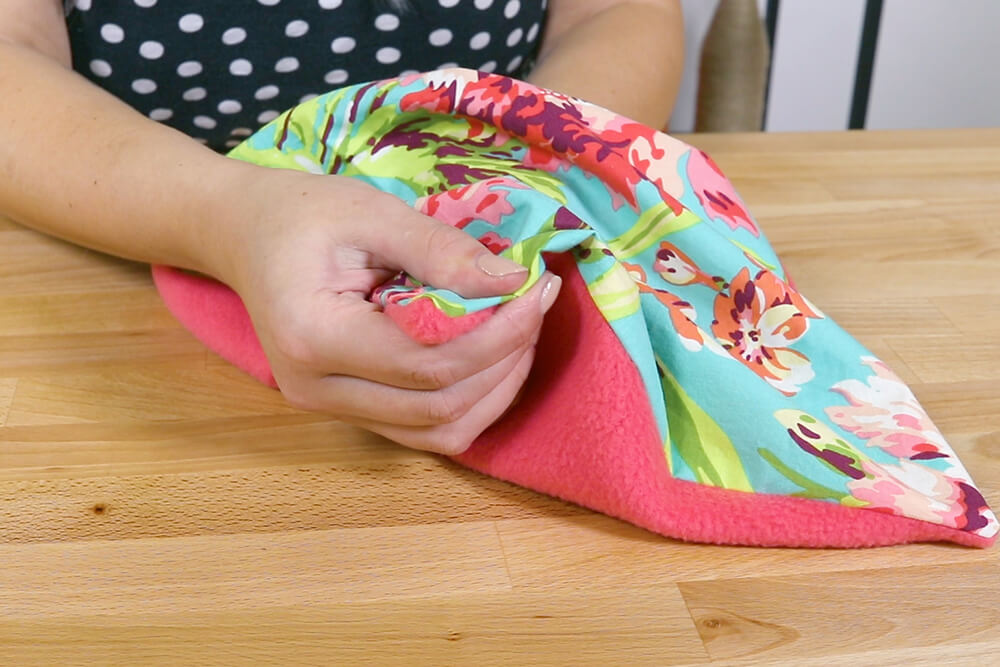
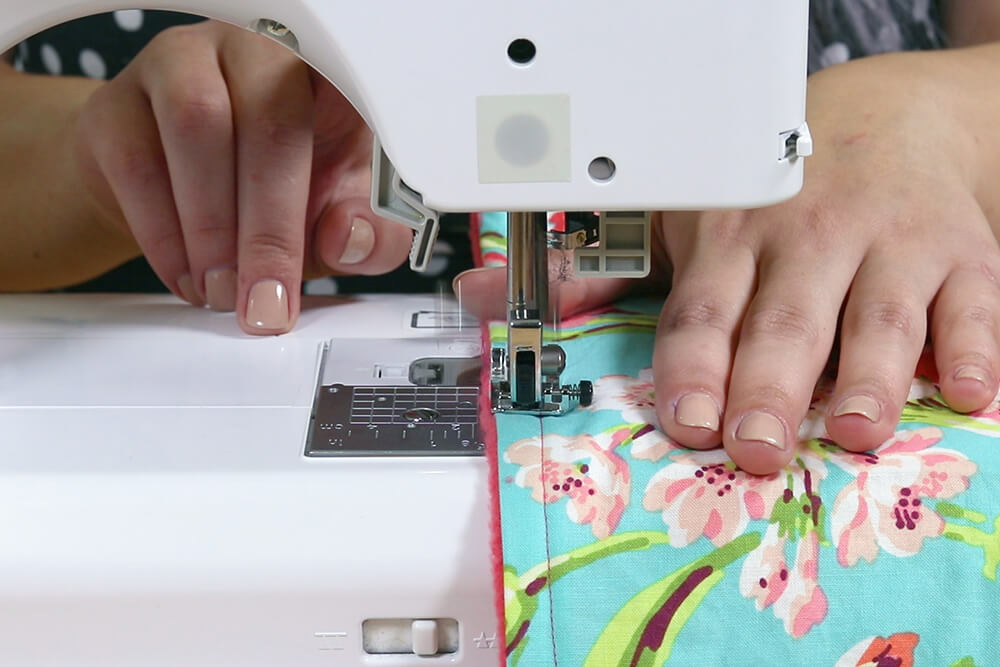
Step 6: Topstitch and add catnip
Topstitch around the edges with a 3/4″ seam allowance. Make sure not to sew the opening shut.
Finally, add as much or as little catnip as you’d like!
If you’re making a blanket without an opening, here’s what you need to do.
Pin your fabric together with right sides facing. Sew around the edges with a 1/4″ seam allowance. Leave an opening of about 4 inches.
Snip the corners to reduce bulk. Be careful not to cut the stitch.
Turn to the right side and poke out the corners.
If you want to add catnip, make sure to add it before top stitching!
Fold the opening inwards and top stitch around the perimeter of the blanket.
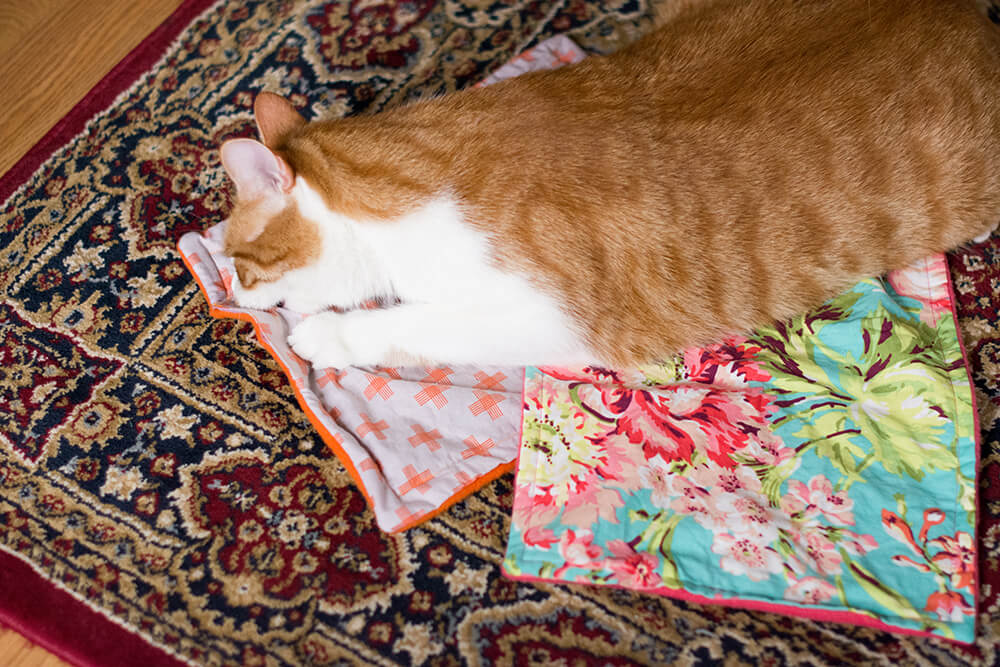
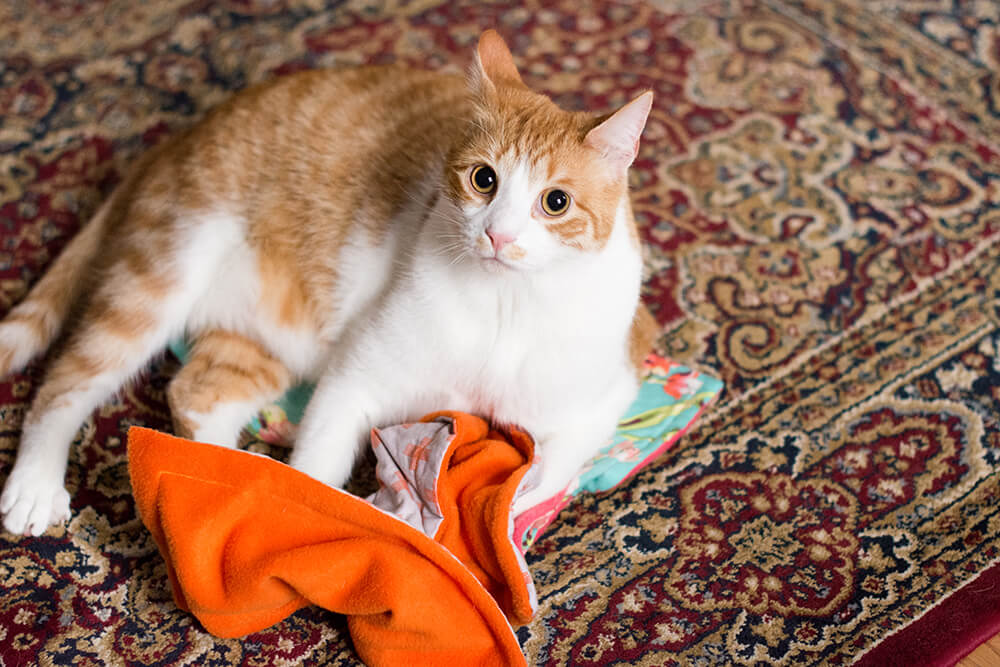
And it’s done!

Ready to make your own pet blanket? Click Here to shop Cotton Fabric.
-
{{#each productSuggestedQueries.results}}
- {{query}} {{/each}}
-
{{#each categories.results}}
- {{html title}} {{/each}}
{{html attributes.description}}
{{/if}}-
{{#each queries.results}}
- {{query}} {{/each}}