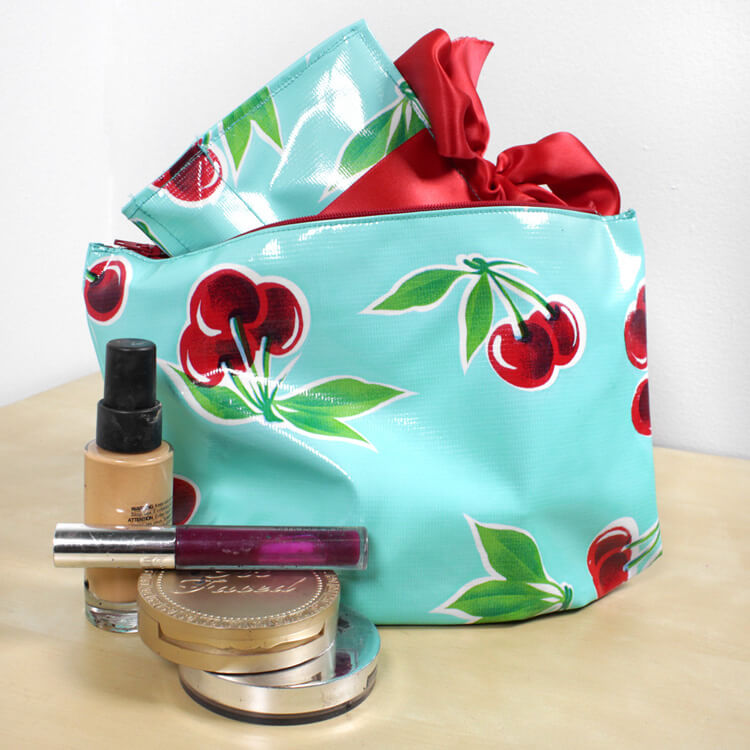
How to Make a Cosmetic Bag With Brush Holder
- By Jen
- Intermediate
- 1 hour 30 minutes
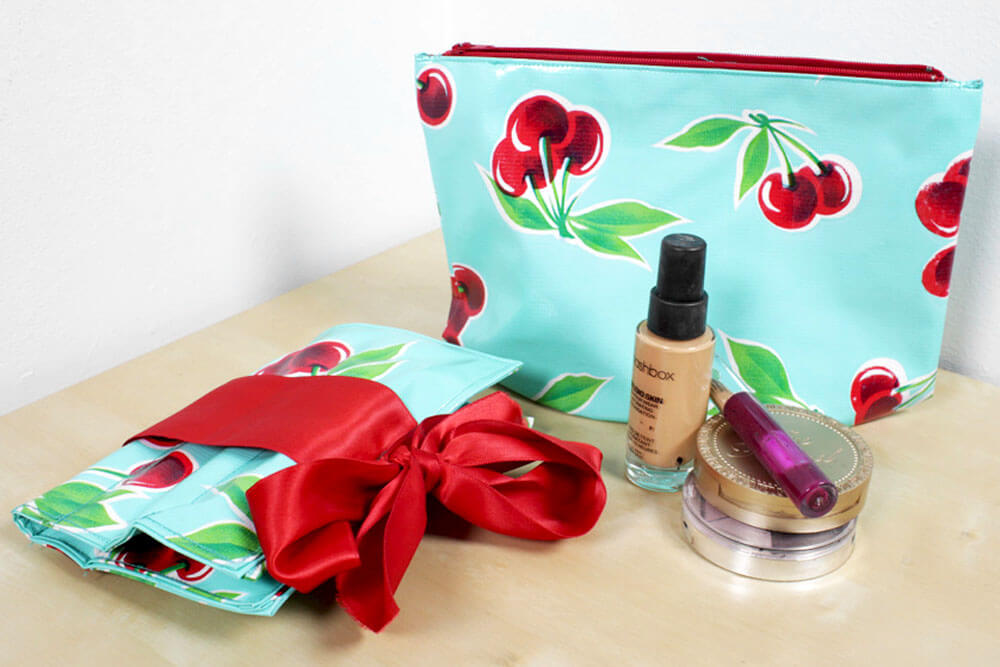
This DIY tutorial will teach you how to make your own cosmetic bag and brush holder out of oilcloth fabric and ribbon. It’s an average size and has an easy design making it simple to sew and construct. The size of this makeup bag is great because it will hold all the essentials and is small enough to travel with.
Sign up to our mailing list to get the FREE pattern and printable PDF instructions.
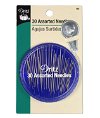
Materials
Related Products


Video
Instructions
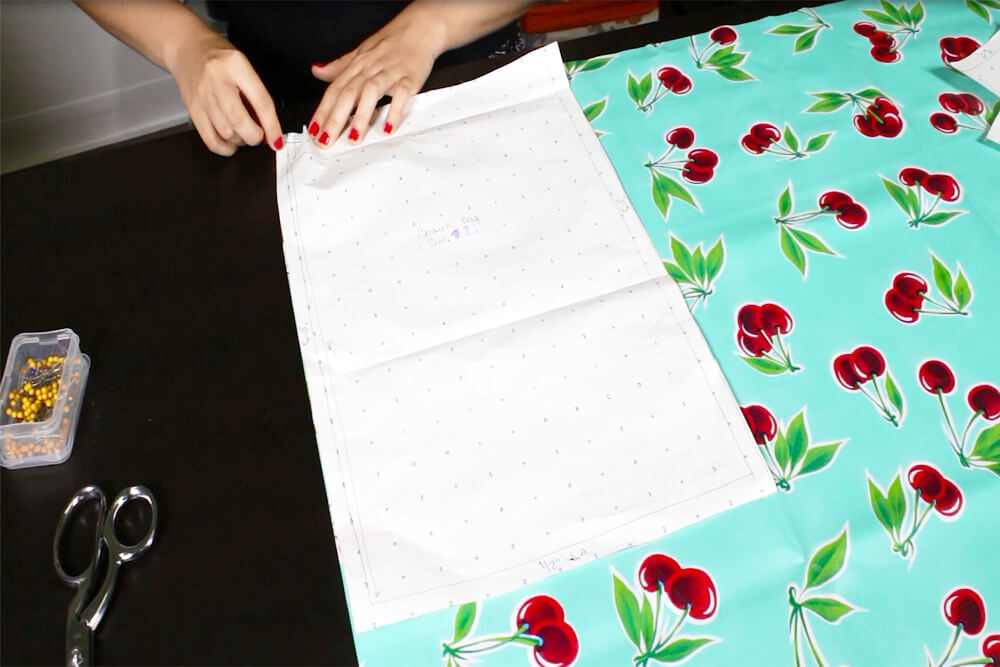
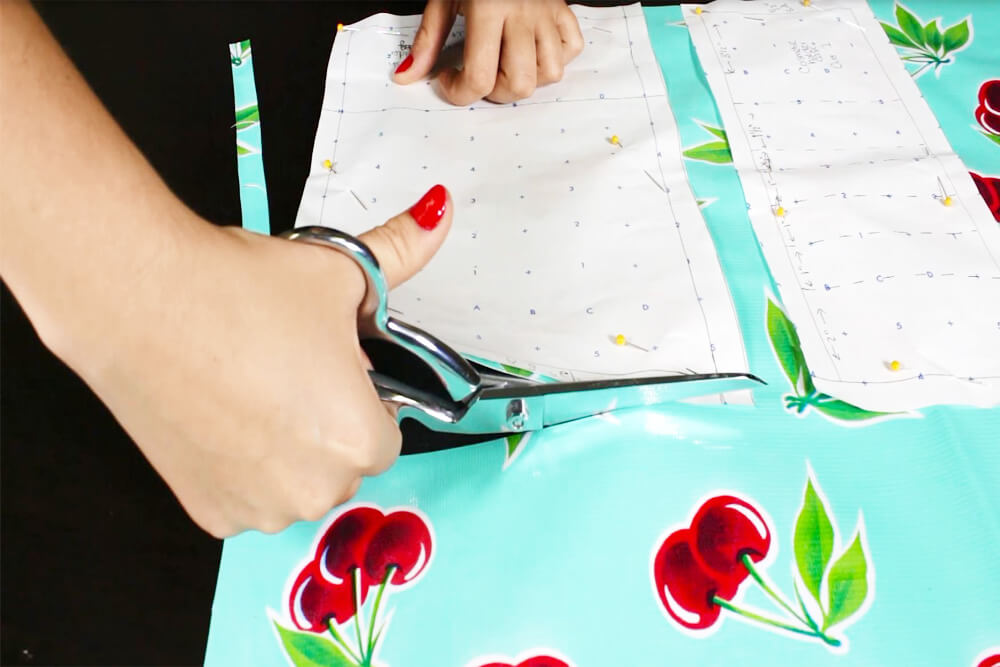
Step 1: Pin & cut the patterns
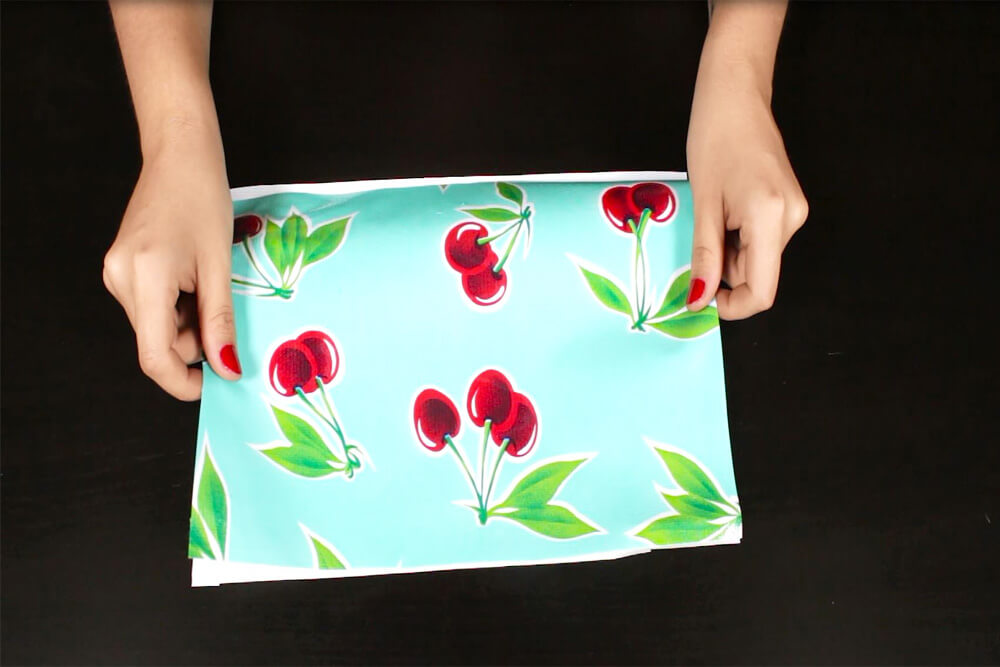
First, lay the oilcloth fabric right side up. Then pin all three pattern pieces to the oilcloth and cut. For the brush holder, cut a second piece for the lining.
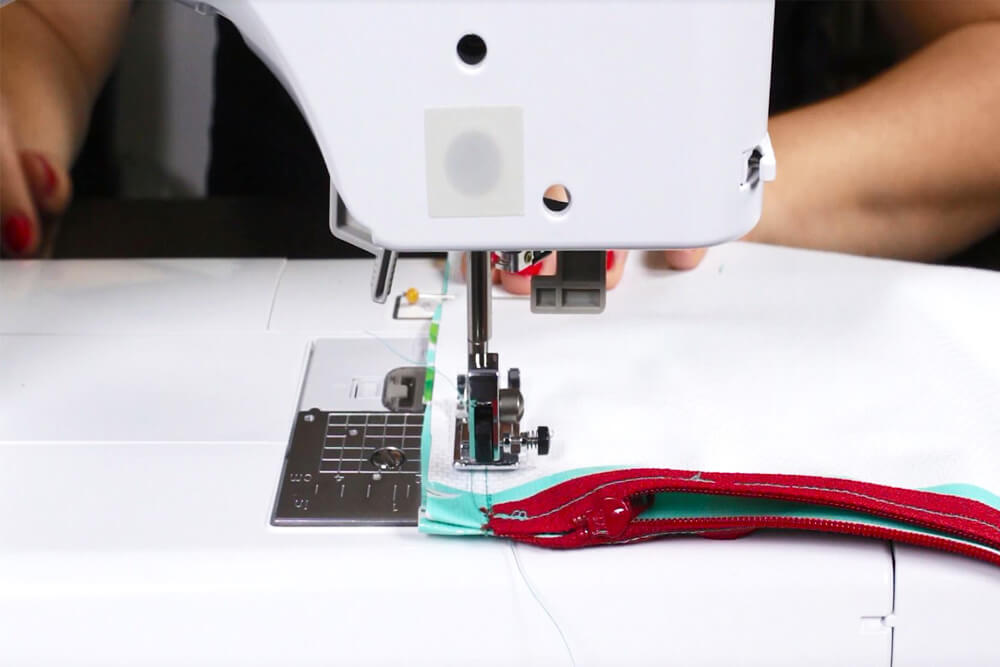
Step 2: Stitch the cosmetic bag zipper
Tip: Pins will leave small holes in the oilcloth, so use binder clips instead to avoid this.
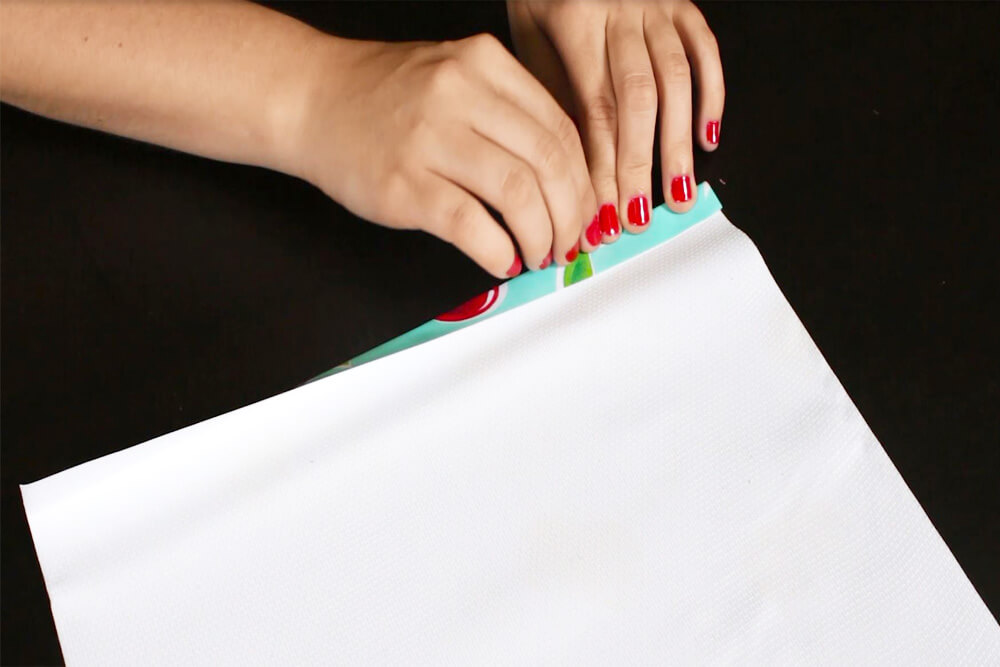
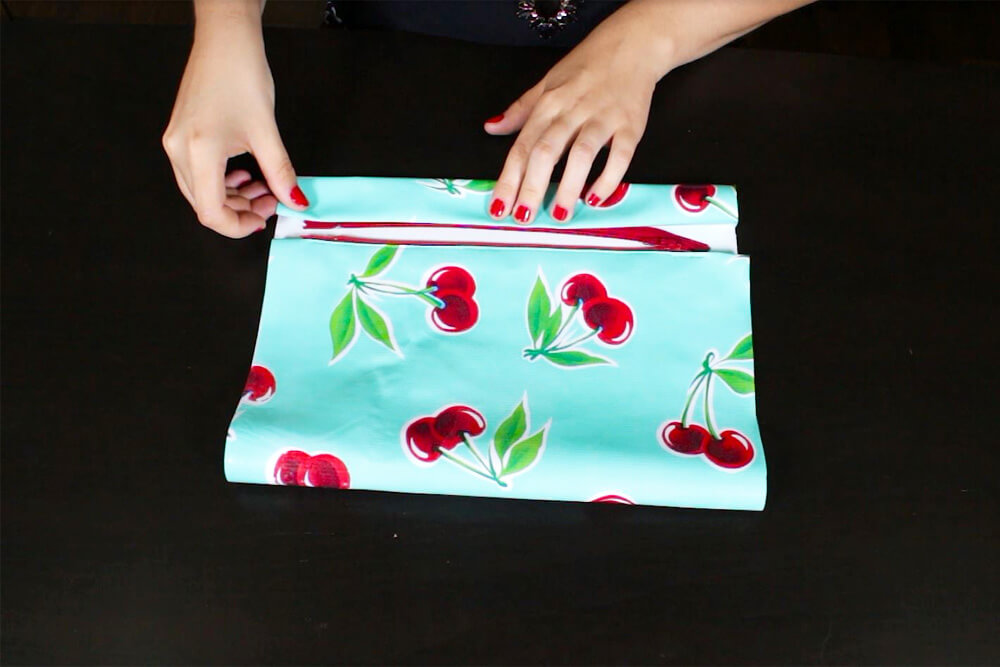
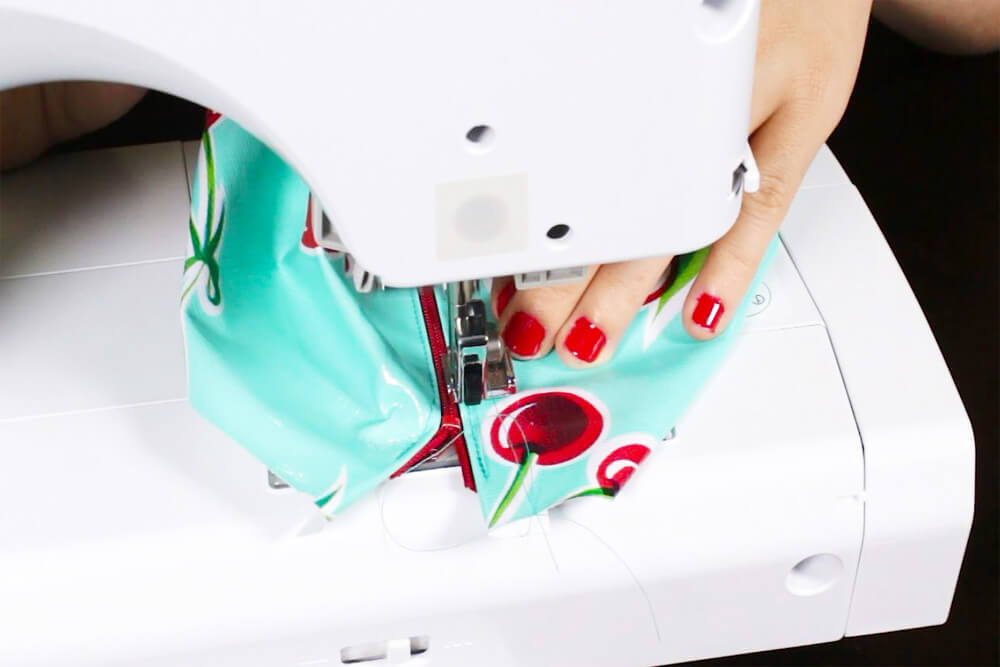
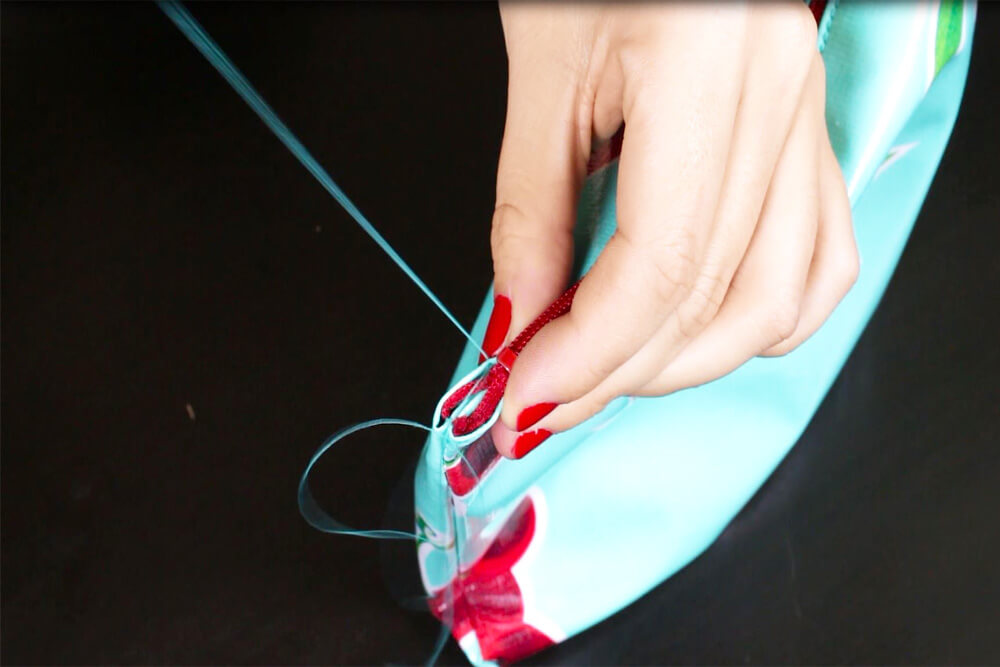
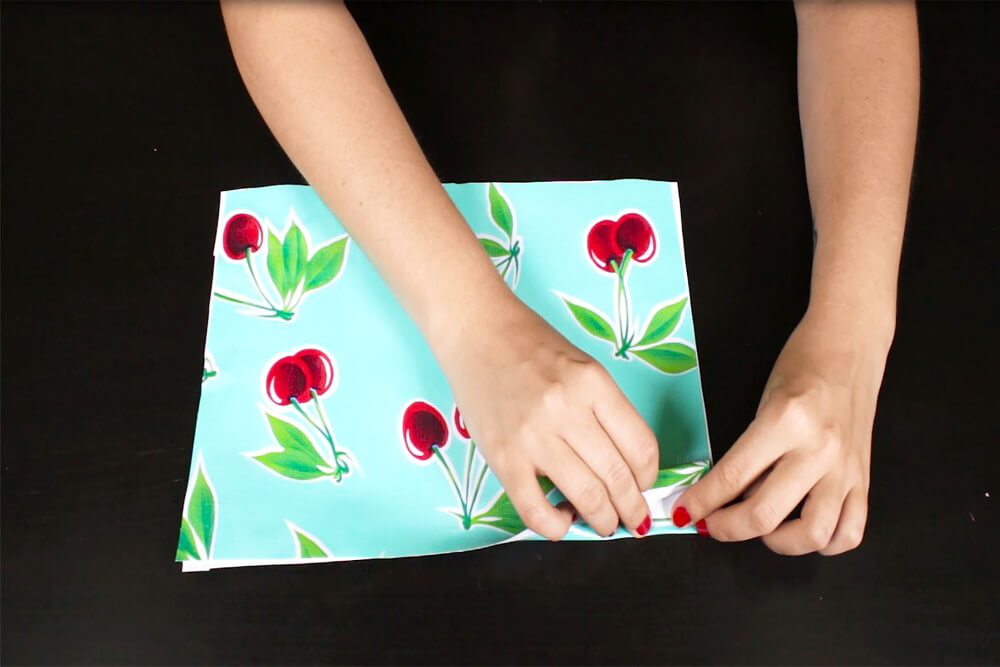
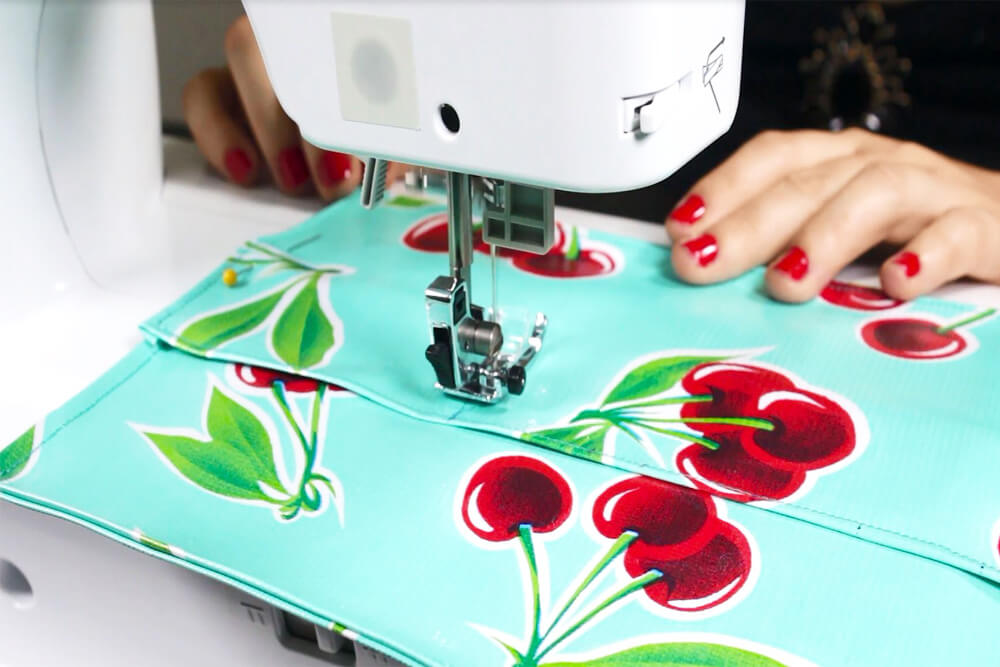
First, remove the pins and pattern from the cosmetic bag piece. On the short ends, fold the edge over a ½” and press with your fingers to make a crease. With the zipper open, center it evenly on one end and pin. Stitch along the fold line using a zipper foot.
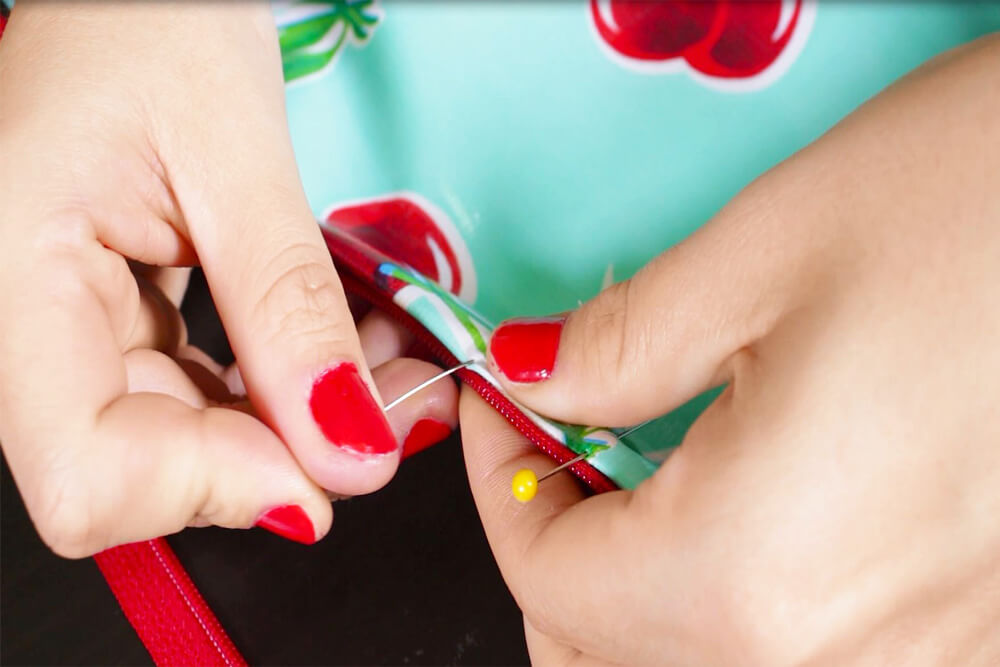

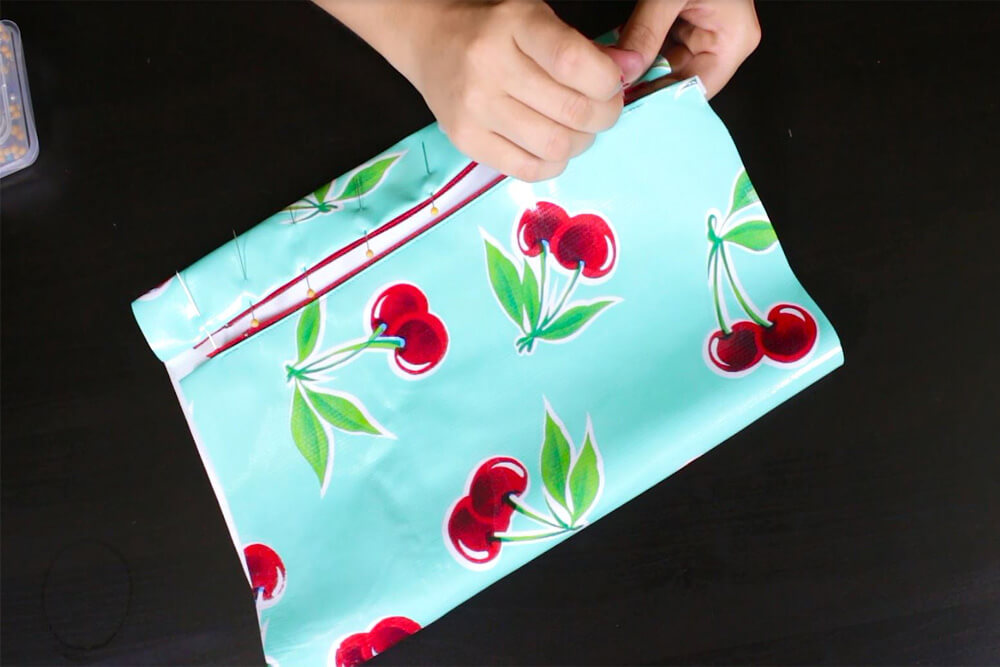
Take the other end, pin, and stitch to the zipper.
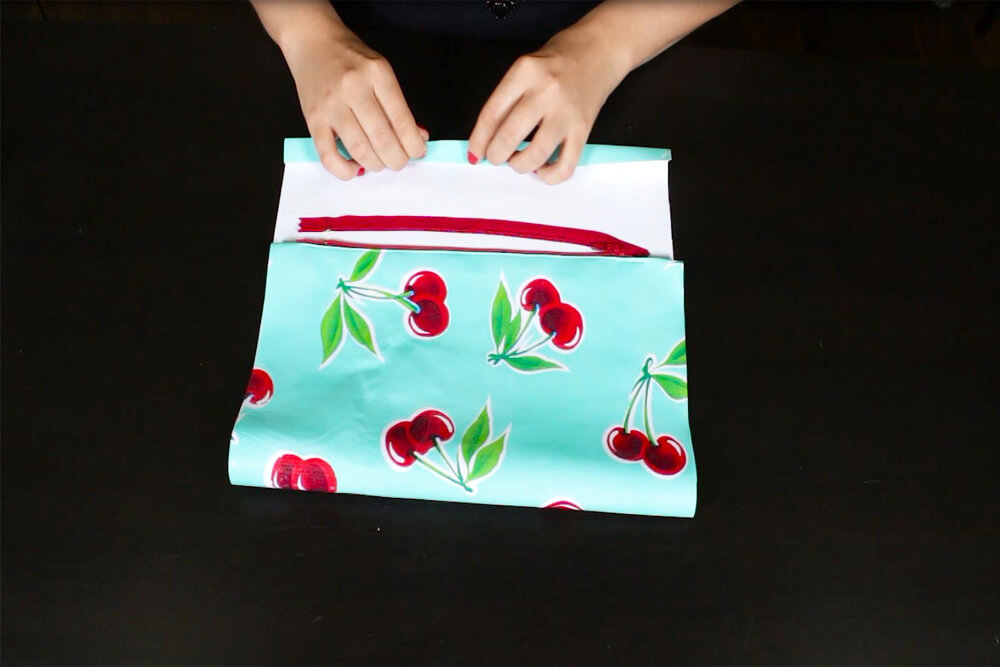
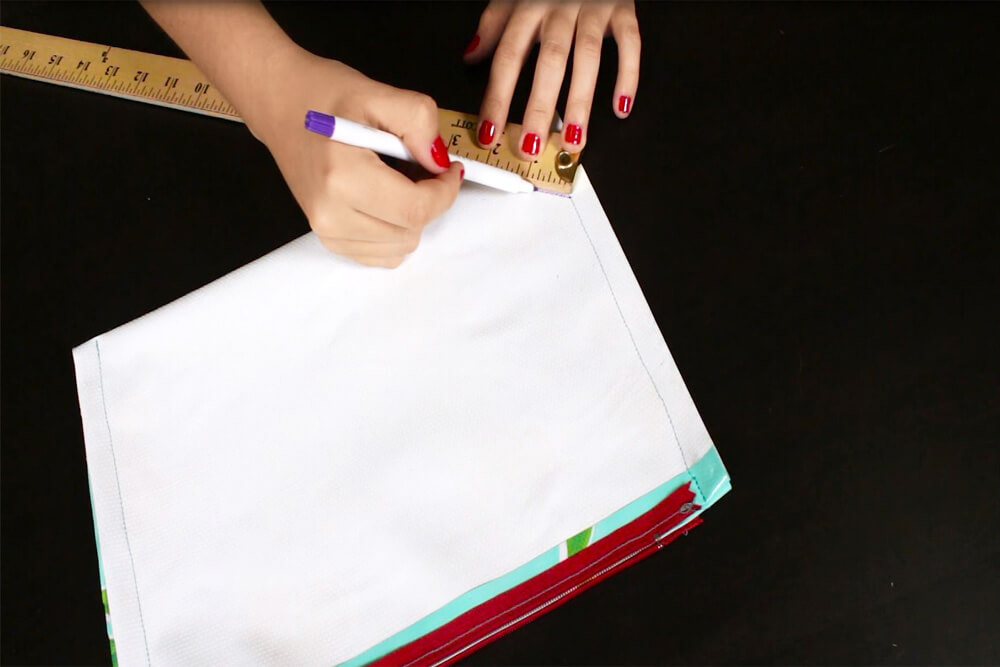
Step 3: Stitch the sides and bottom
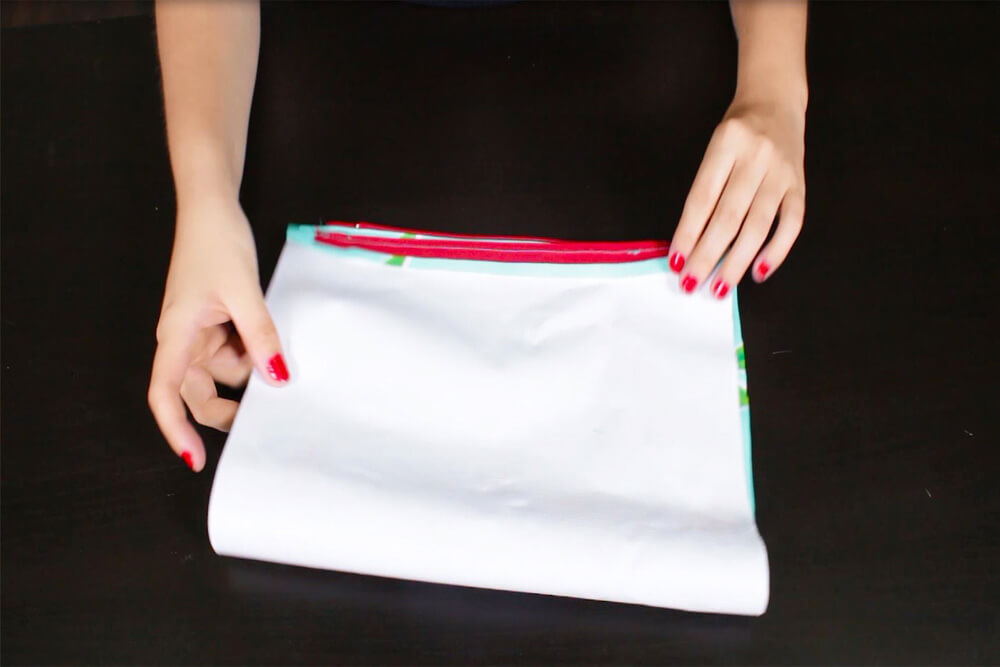
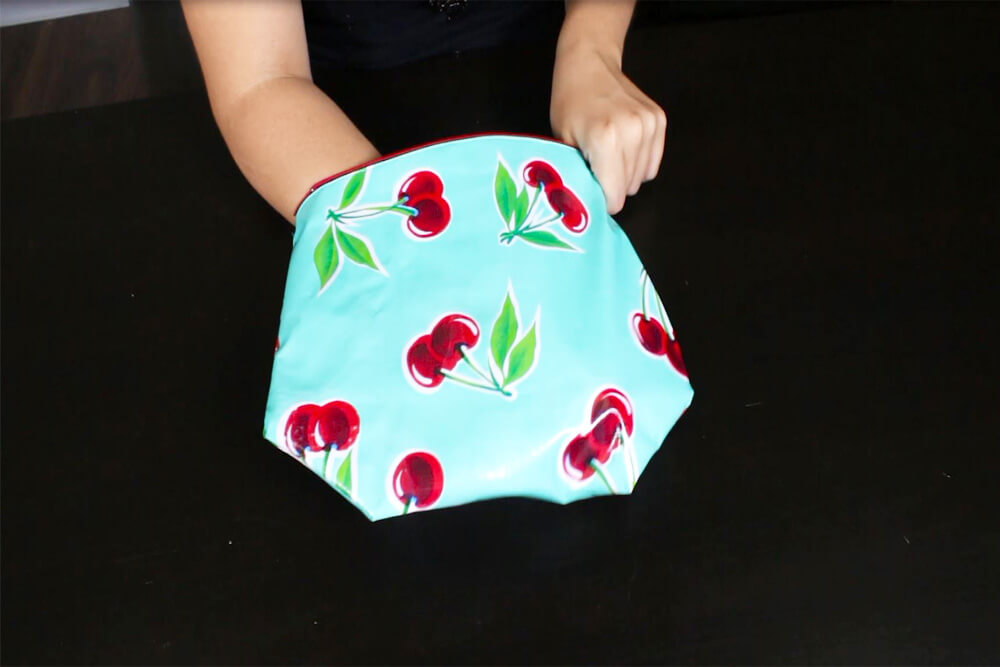
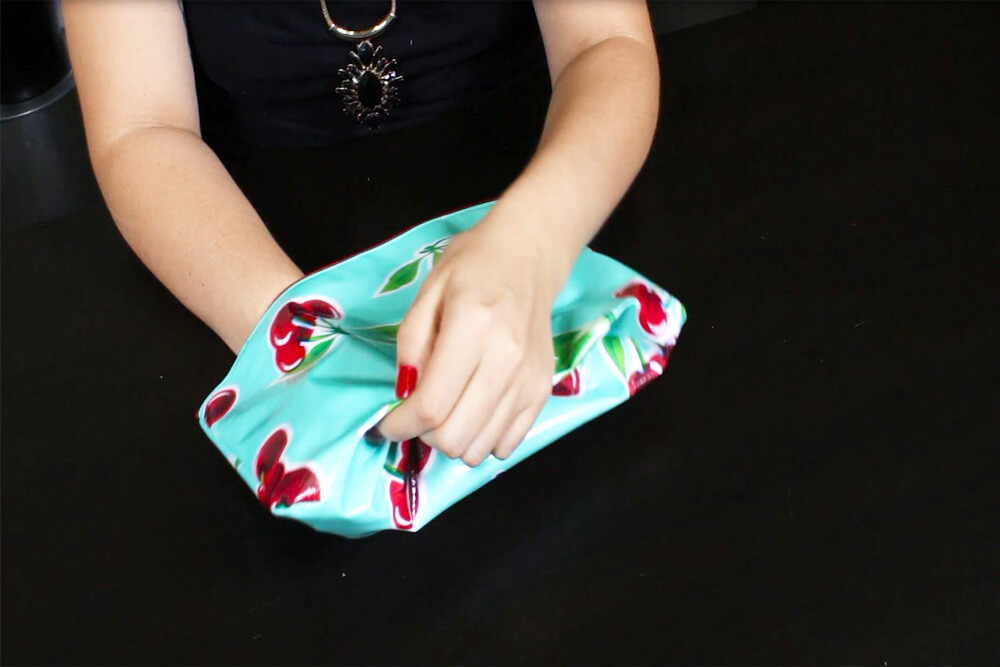
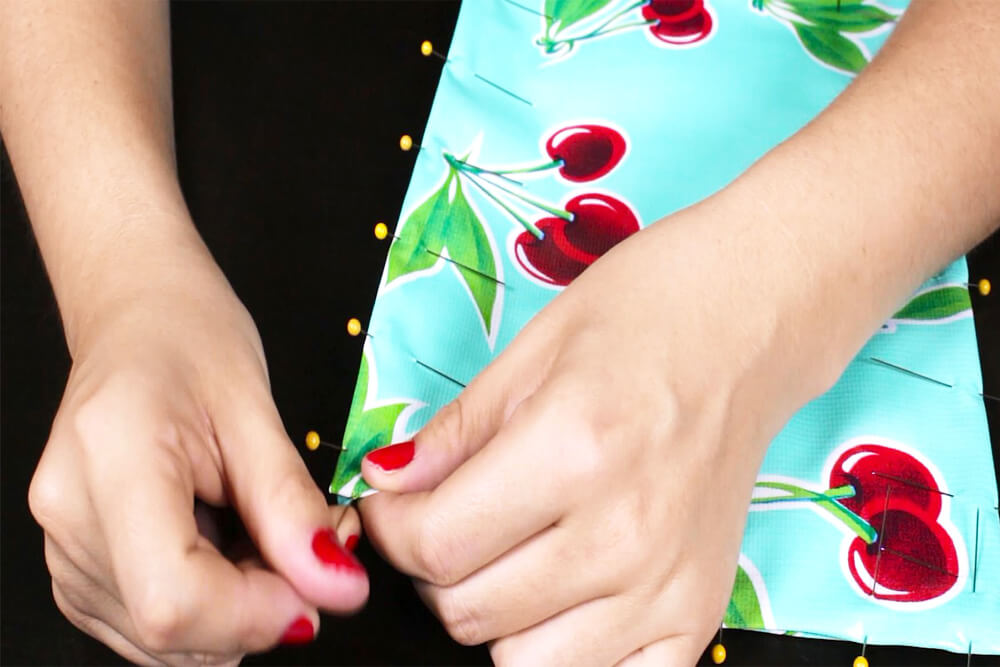
Move the zipper before you reach the end. First, fold the bag inside out. Pin the sides and stitch with a 1/2 inch seam allowance. Back stitch at the top and bottom.

At each bottom corner, measure 3 inches across from the side seam allowance to the bottom. Stitch on the lines and cut leaving a 1/4 inch seam allowance. Fold to the right side through the zipper opening. If needed take an object with a pointy end and use it to help pop the corners out. The push the corners inward to create a flat surface on the bottom. Hand stitch the corners closed and the cosmetic bag is complete.
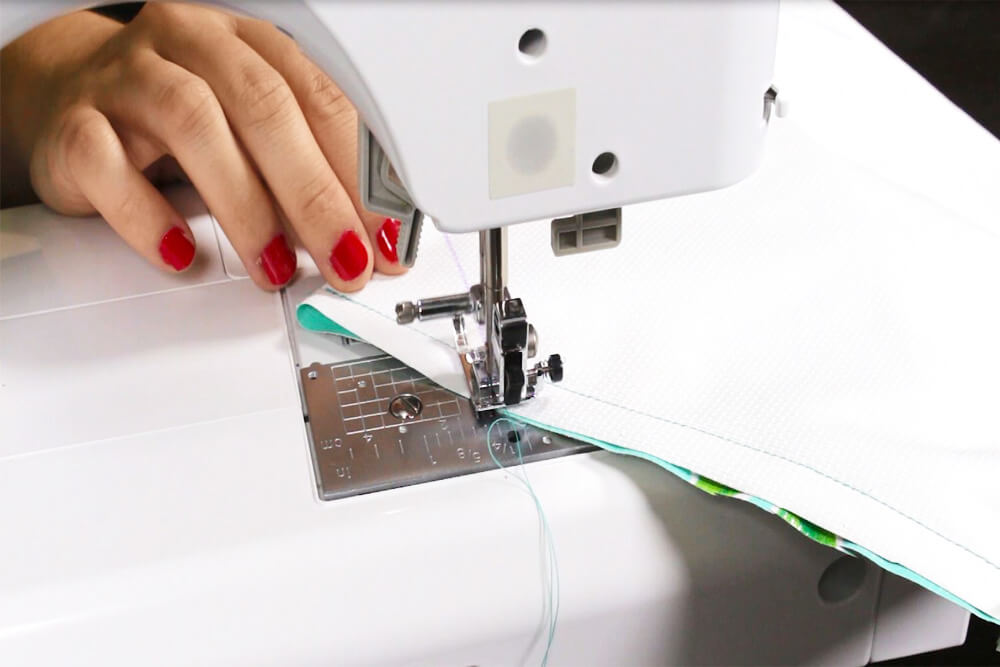
Step 4: Finish the edges
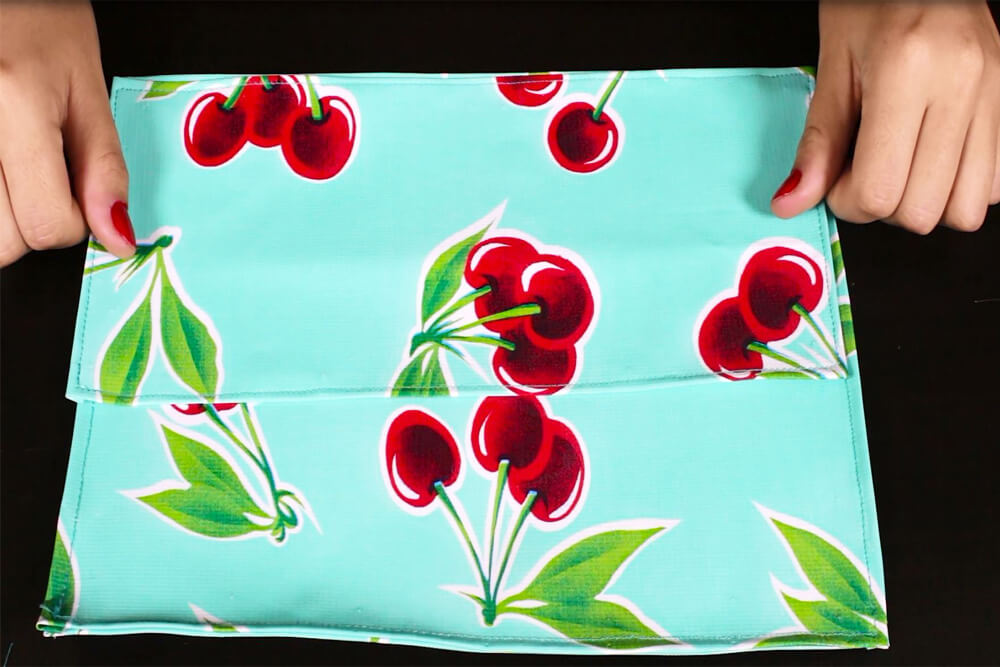
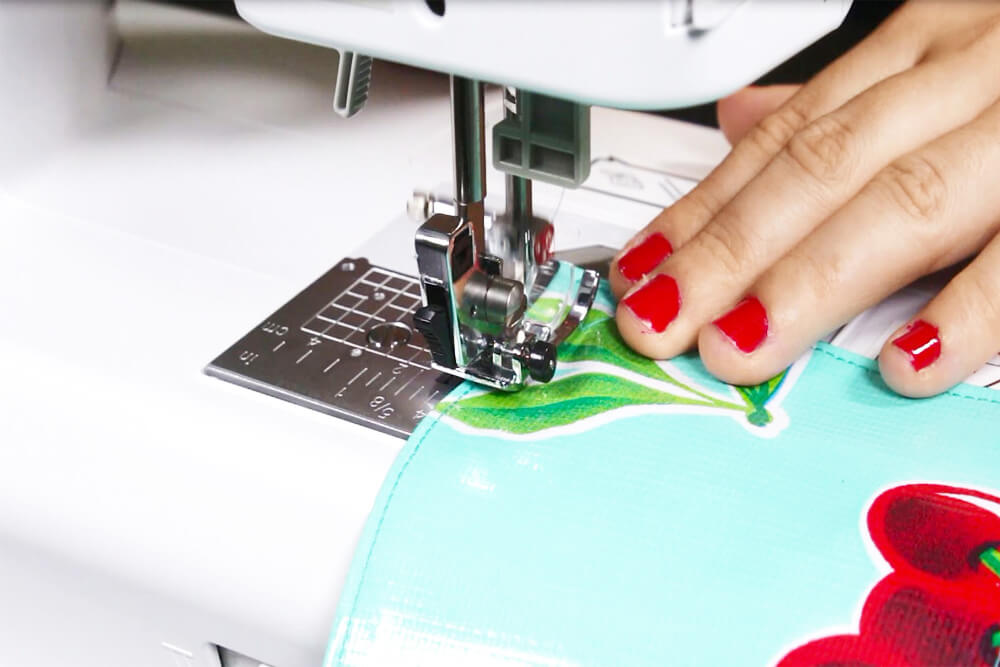
Remove the pins and patterns from the brush holder pieces. Place the large pattern pieces together with the wrong sides facing each other. Fold the edges inward 1/4 of an inch and pin. Stitch along the edge using a 1/8 inch seam allowance.

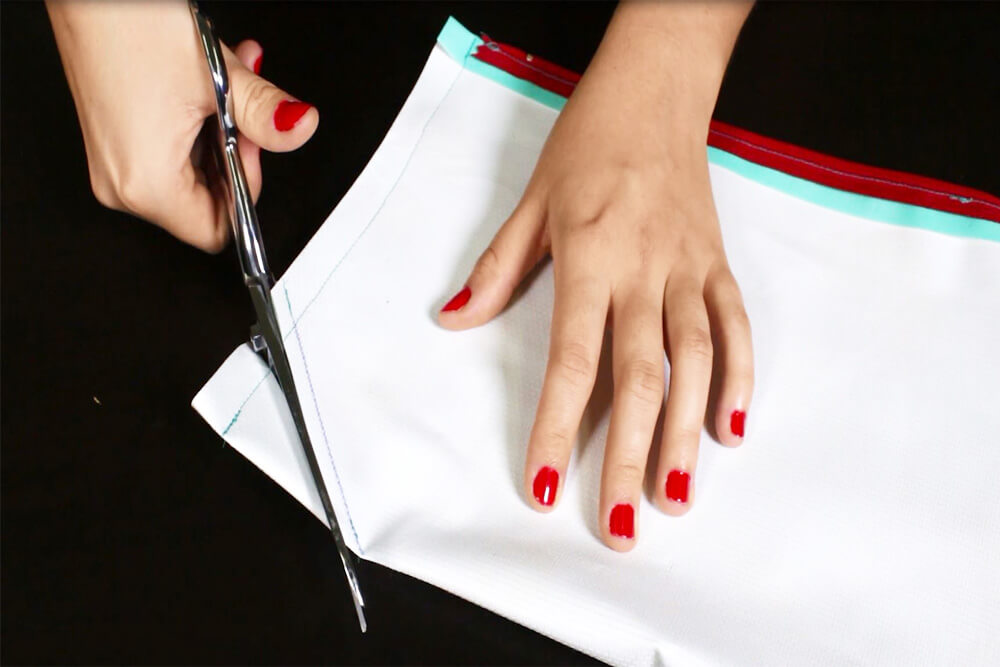
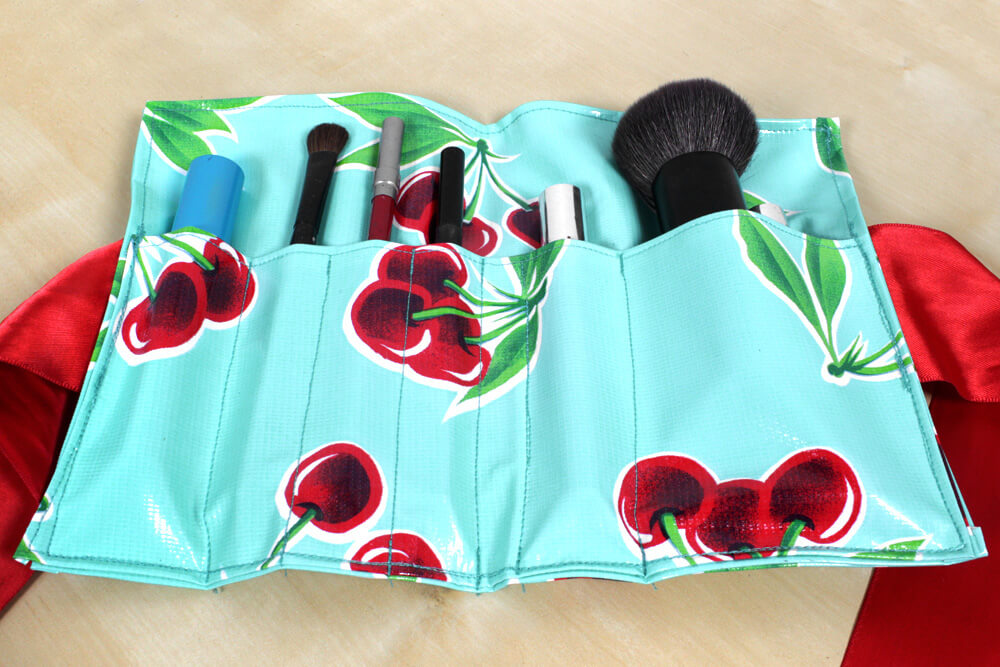
Step 5: Stitch the brush holder
Take the small rectangle and fold the edges over 1/4 of an inch. Pin and stitch around all four sides. Place this piece at the bottom of the large rectangle with the right side facing up.
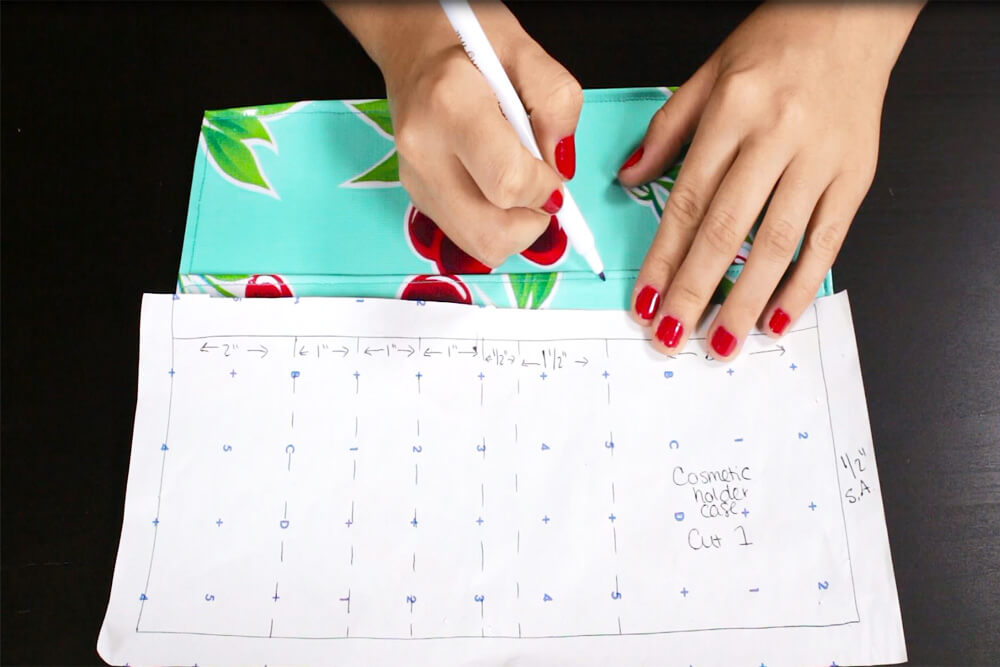
Pin the sides to help keep it in place. Take the pattern piece and mark where the stitch lines are. Use this as a guide for stitching the pockets. From each point, stitch a straight line down to the bottom. Stitch along the sides and bottom of the small rectangle.
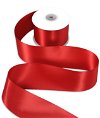
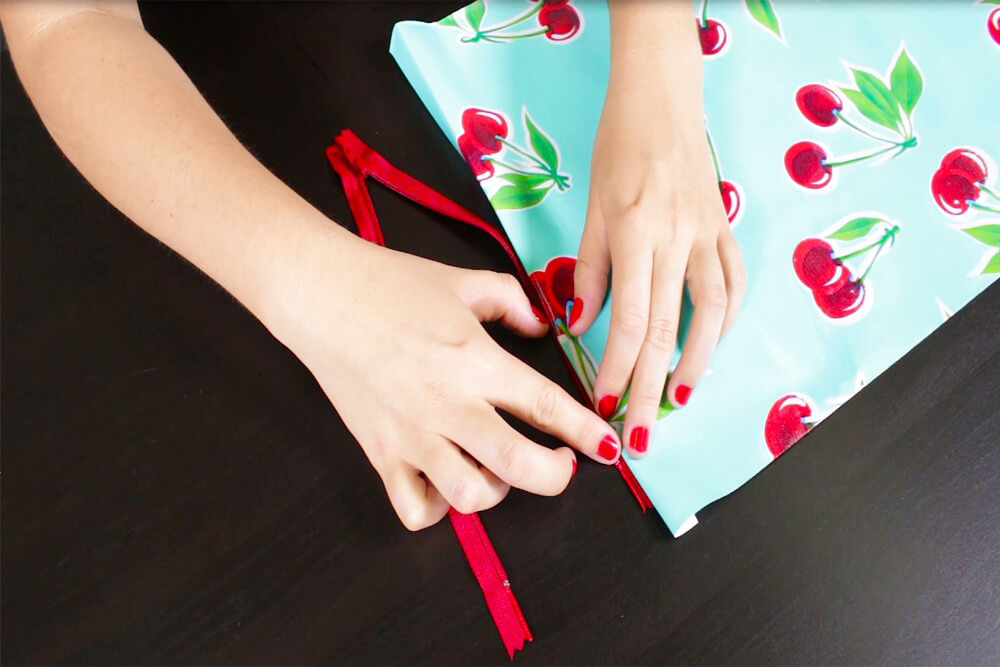
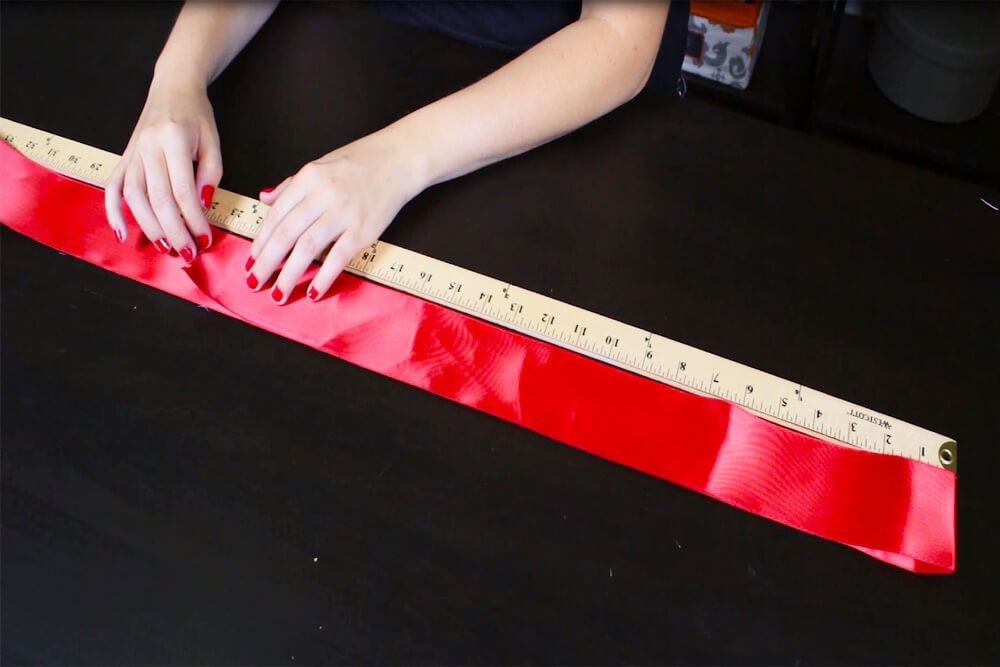
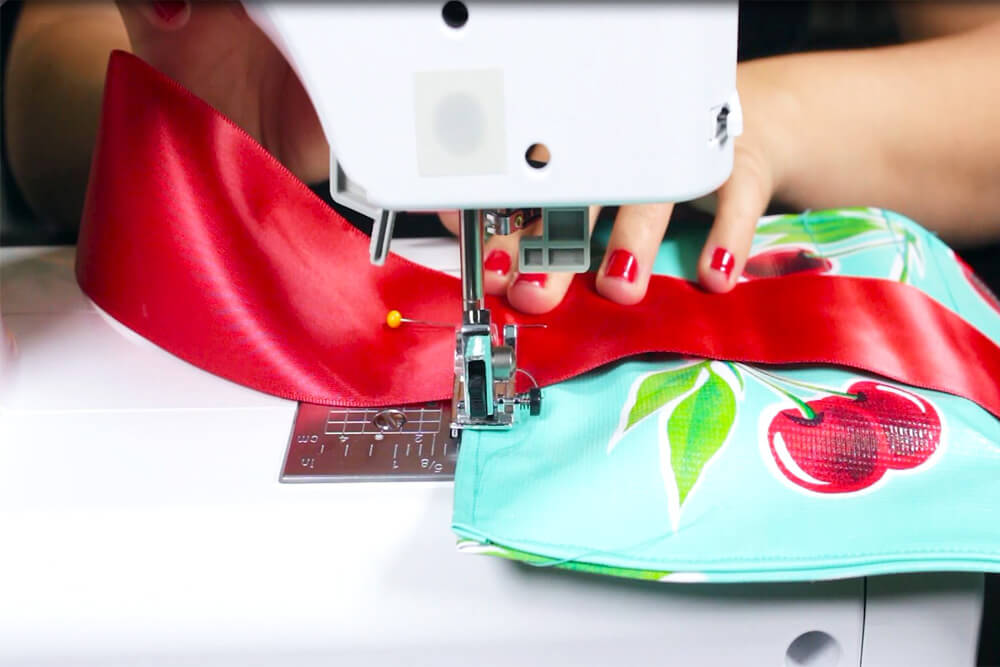
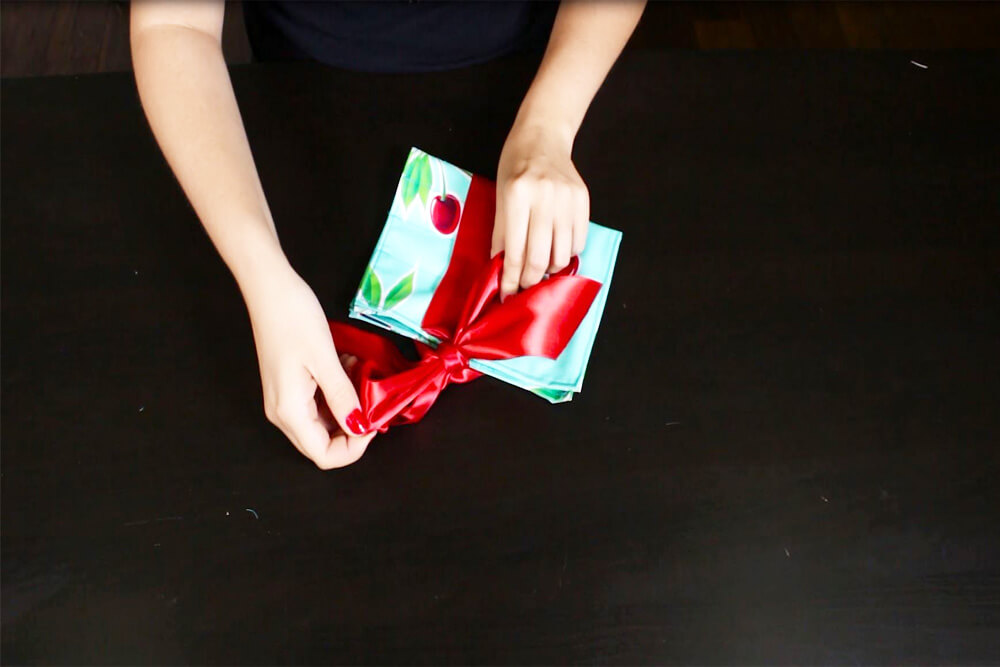
Step 6: Attach the ribbon
Depending on how long you want the ribbon, measure a yard and a quarter to a yard and a half of the ribbon and cut at an angle. Place the center of the ribbon on the back of the brush holder and pin each side. Stitch with a 1/4 inch seam allowance on both sides. Fold the case in half and tie the ribbon to make a bow. The brush holder is now complete.
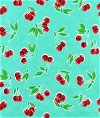
Can't decide what print or color? Click here to browse all of our oilcloth.
-
{{#each productSuggestedQueries.results}}
- {{query}} {{/each}}
-
{{#each categories.results}}
- {{html title}} {{/each}}
{{html attributes.description}}
{{/if}}-
{{#each queries.results}}
- {{query}} {{/each}}