How to Make a Dog Collar
- By Alyssa
- 30 minutes
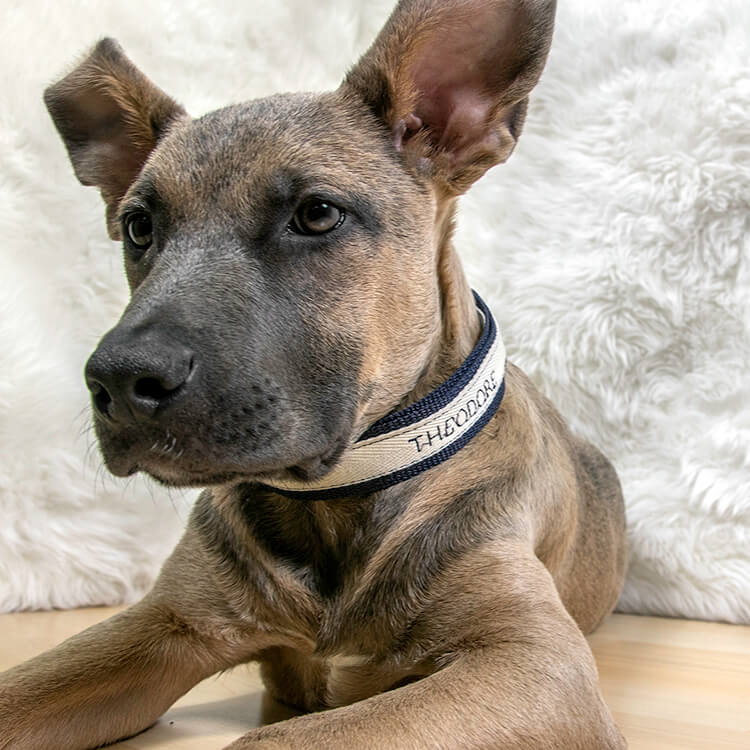
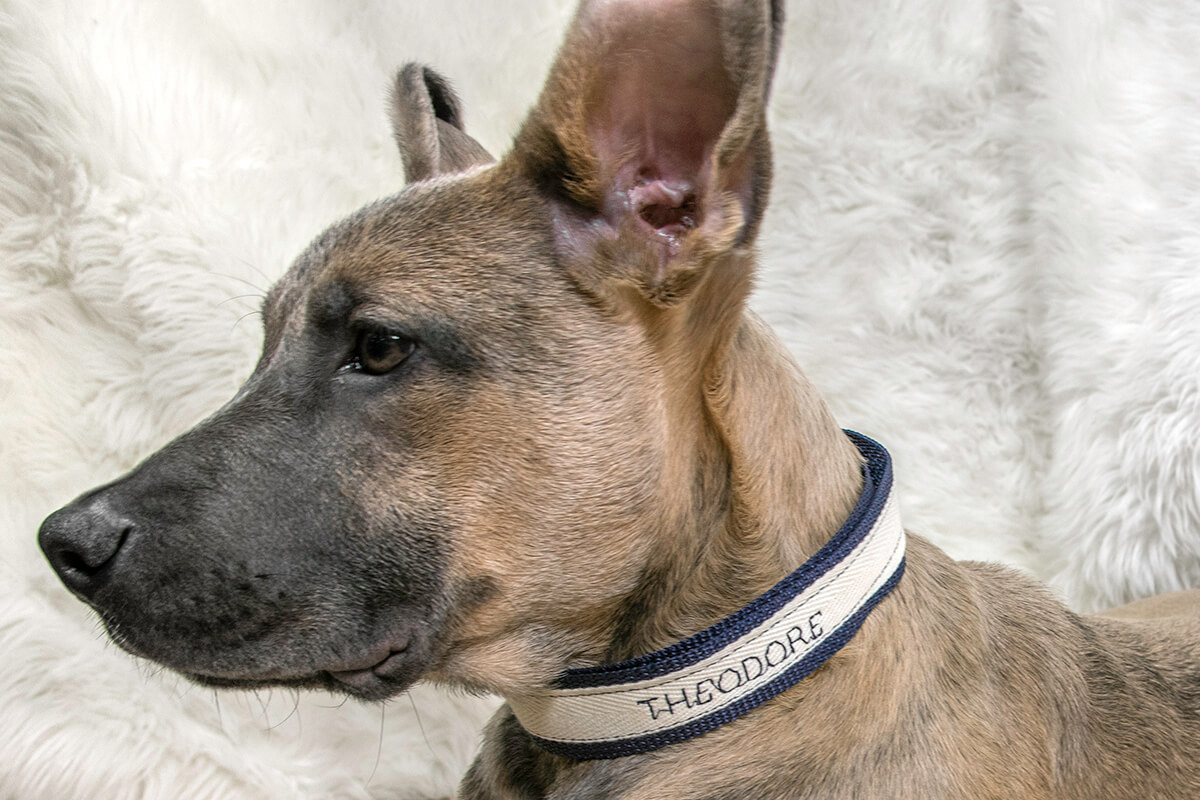
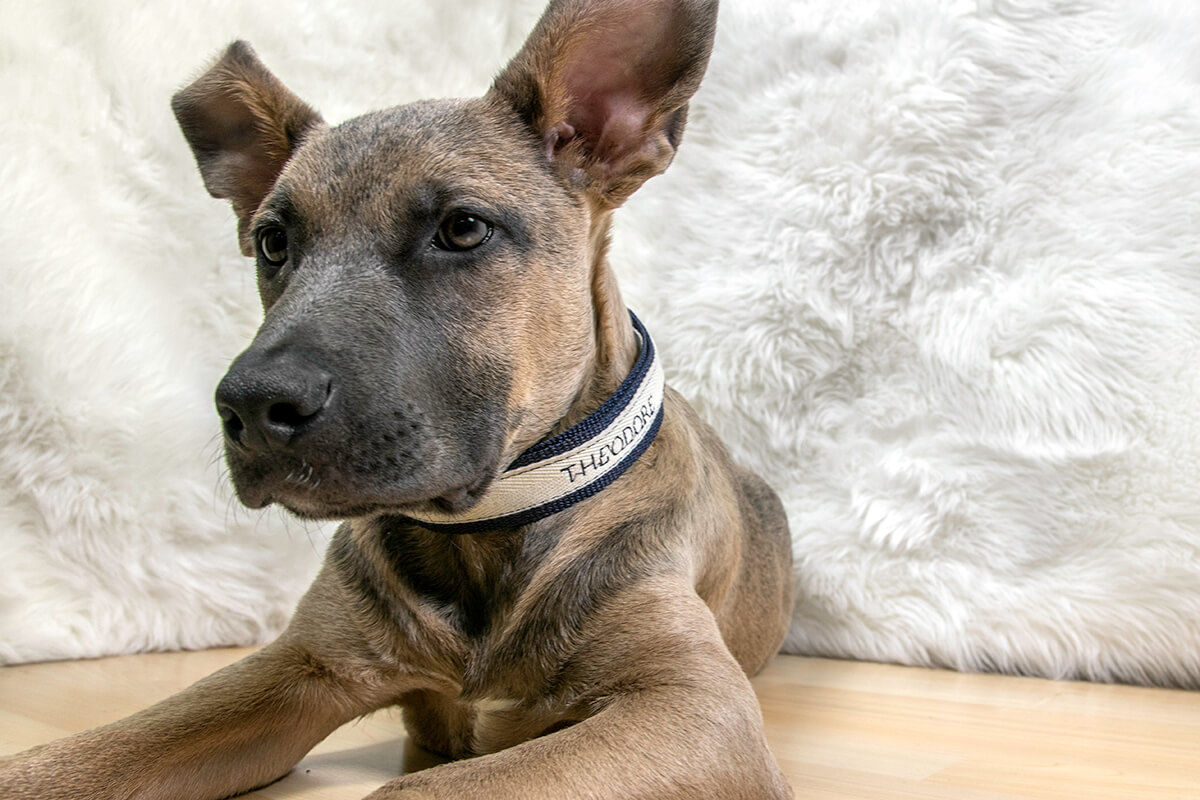
For weeks I was looking for the right kind of dog collar for my new puppy Theodore.
I wanted something that was personalized but I don’t love traditional dog tags, I find that they always fall off and it was really important to me that he never would be without my contact information on him.
I keep a collar on my dogs at all time, so I figured that the best way to keep my information on him was going to be embroidering it into the actual collar.
So I decided that I wanted to make a really simple adjustable dog collar for Theo so it would look nice, and could grow with him as he grew, so I didn’t have to ever worry about him getting lost.
Materials
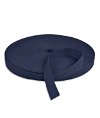
- Polypropylene Webbing
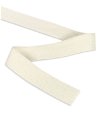
- Cotton Twill Ribbon
- Scissors
- A Lighter
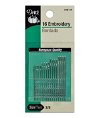
- Sewing Needles
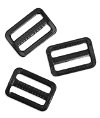
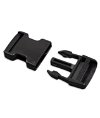
- A Buckle and Slide
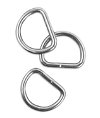
- A D Ring
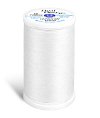
- Thread
- Interfacing
- Sewing Machine

Related Products

Video
Instructions
Step 1: Cut Webbing to Length
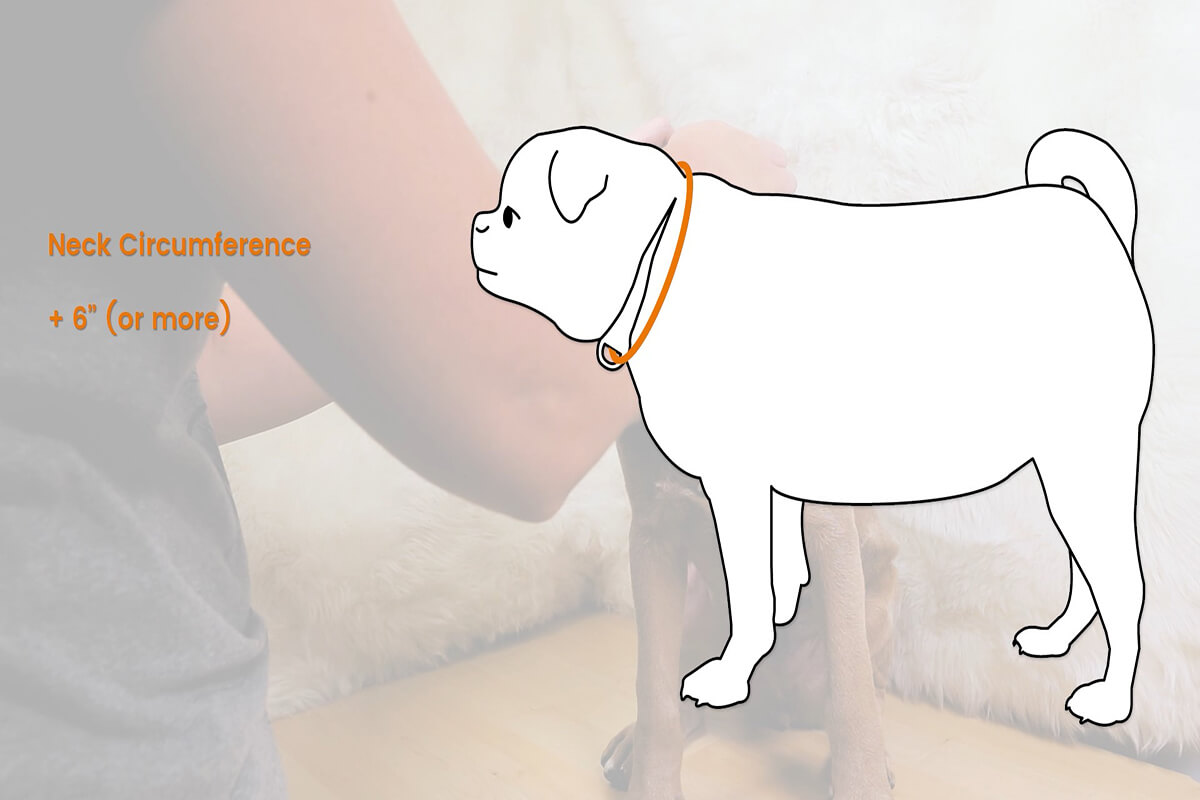
Theodores measurement at the time was 12” so I am making my collar about 25” to account for growth because he’s just a puppy.
You are going to want to get an approximate measurement of your dogs neck. If your dog is fully grown, you will want to add about 6 inches to that measurement for seam allowance.
Cut your webbing to length finish the ends. See our how to finish webbing tutorial for details.
Also cut a piece of ribbon to the same length.
Step 2: Sew
Choose a different colored thread for the decorative stitches so they really stand out. The great thing about this project is that it is super customizable, so you can make it any way you want it.
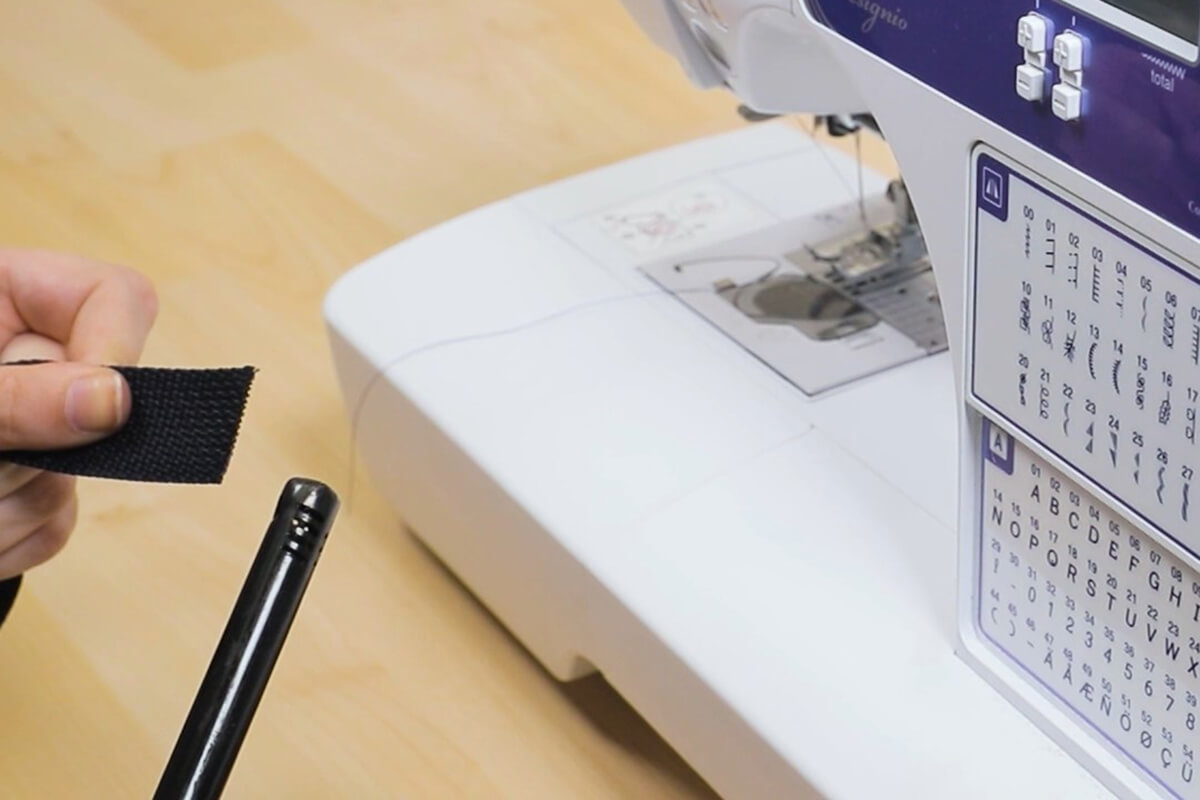
Center the ribbon on your webbing and sew close to the edge down both sides.
I ended up making a few more for my friends dogs, and on those I put a little piece of lightweight interfacing between the ribbon and the webbing and it made the embroidery really pop, so while it is not shown in this video I do recommend taking that extra step to get a nice crisp looking stitch.
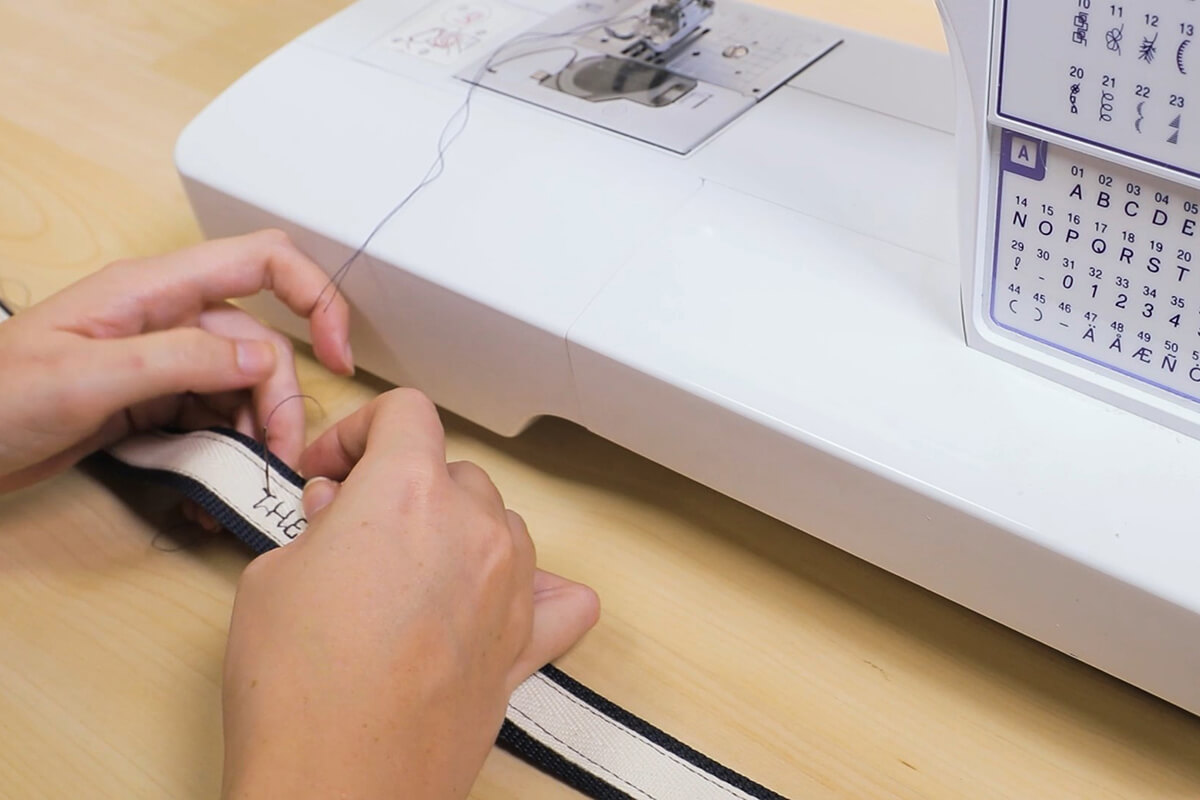
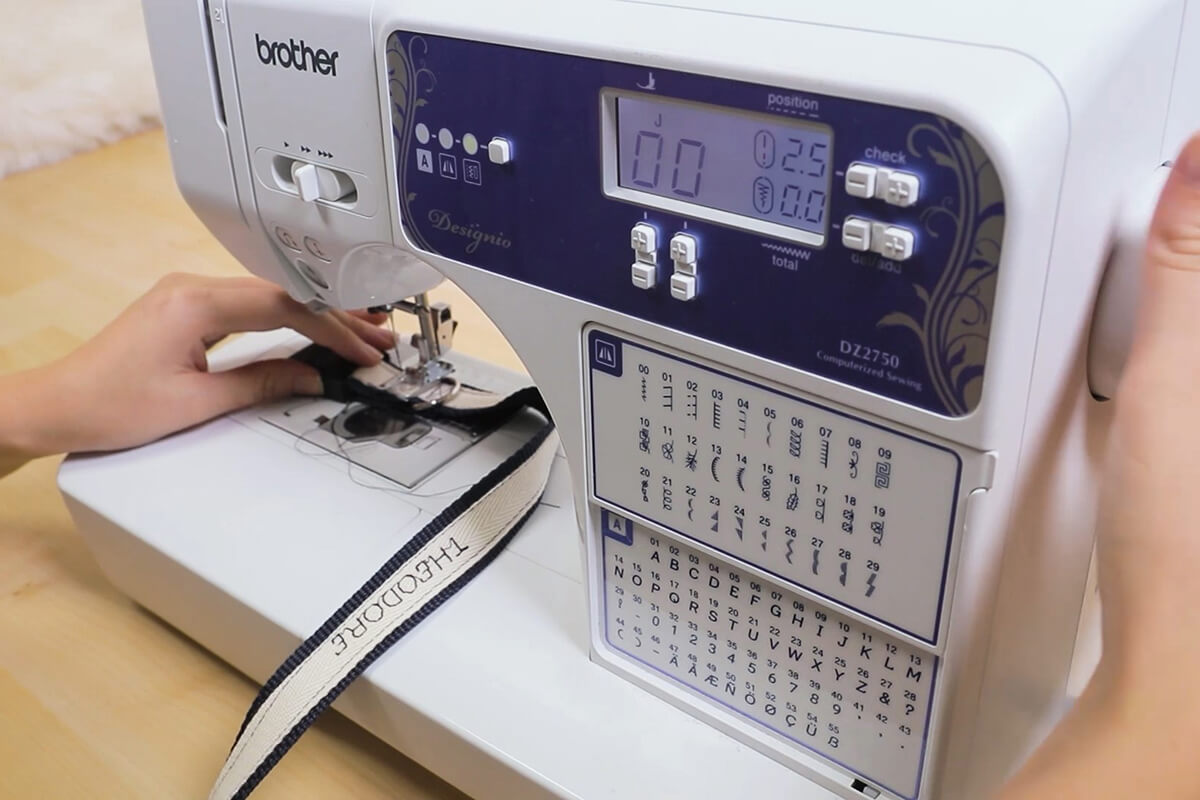
Step 3: Embroider
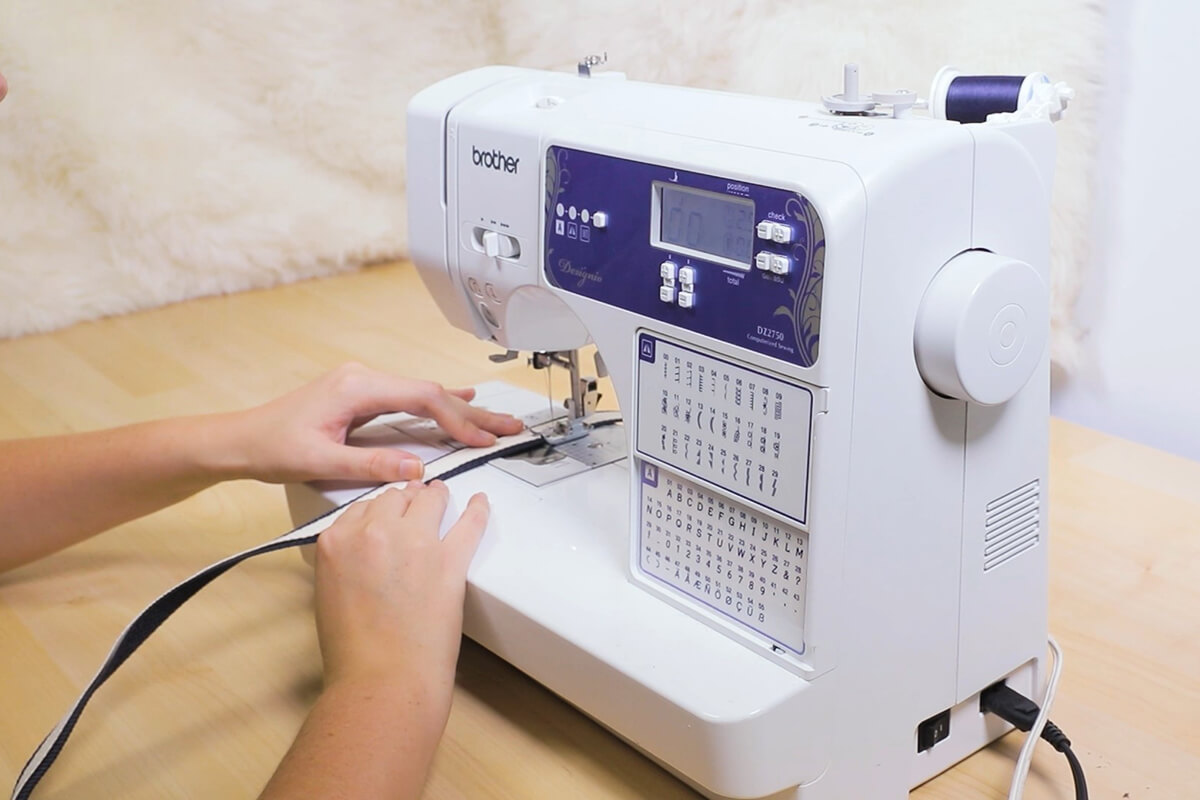
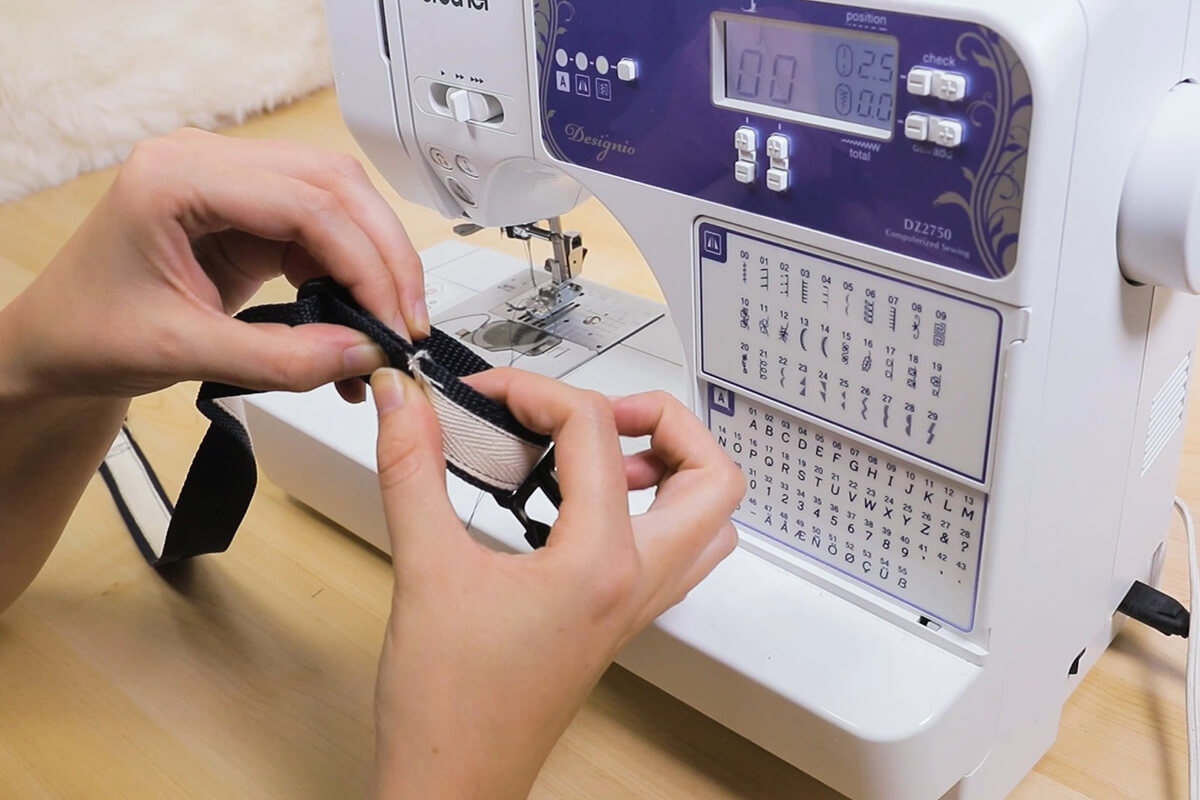
Now comes the fun part. If you have a sewing machine that does embroidery stitches like mine you are in luck because this is going to be super easy for you. If you don’t, no worries! You can absolutely do this step by hand it will just take a little longer.
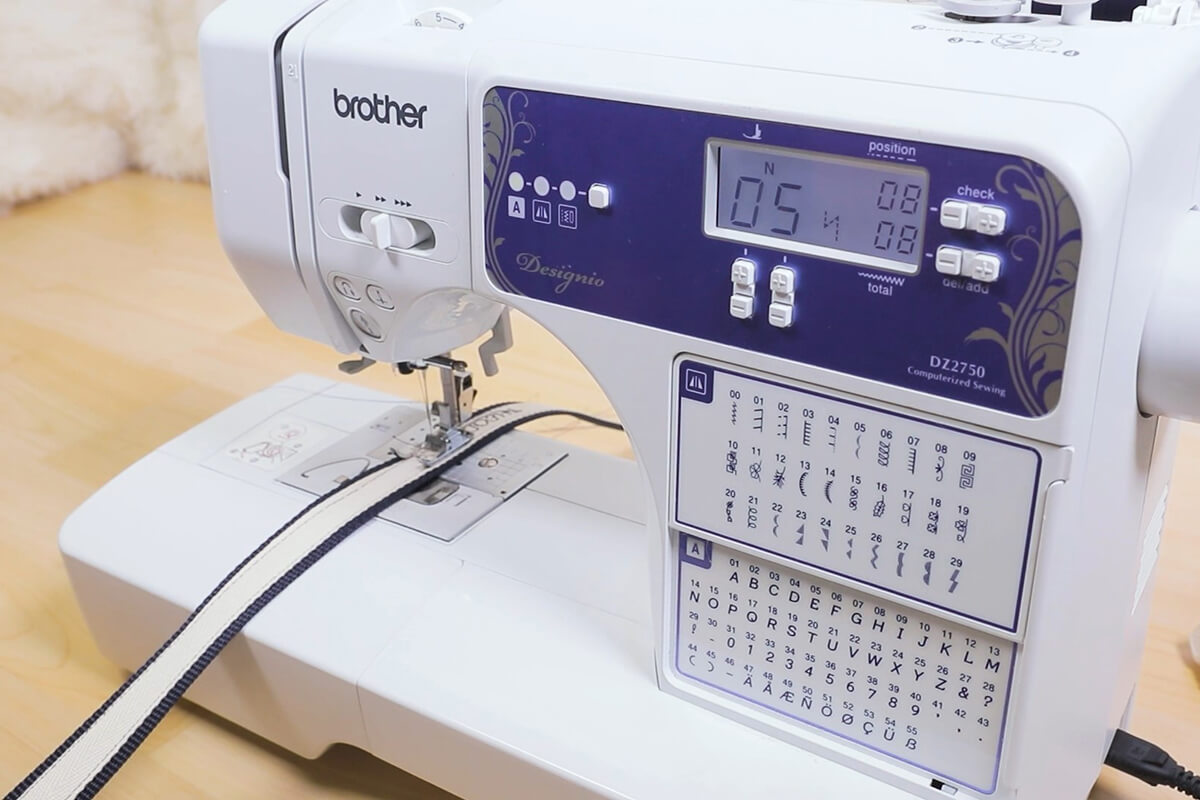
For my Brother Machine, I had to change the presser foot, unplug the peddle, and punch in the characters I wanted in order. Then I placed my webbing in the machine, put down the foot, and pressed the button that has a down arrow and it started embroidering for me. I looked up how to do this in my sewing machine manual and it was super easy. I also embroidered my number into the collar so someone could contact me if Theo was ever lost.
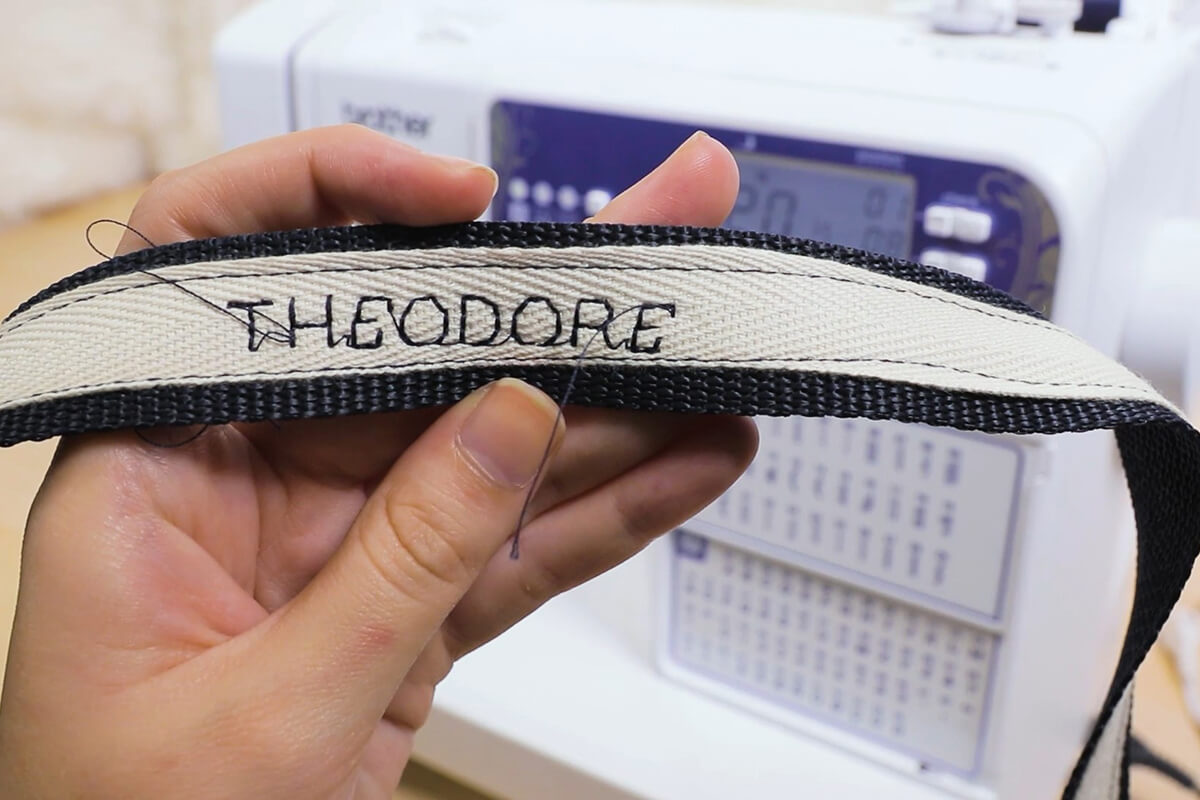
Leave extra string on both ends of the embroidered piece. With a needle, I pushed the top string to the underside side right next to the bobbin thread and tied it off so the embroidery would not come undone.
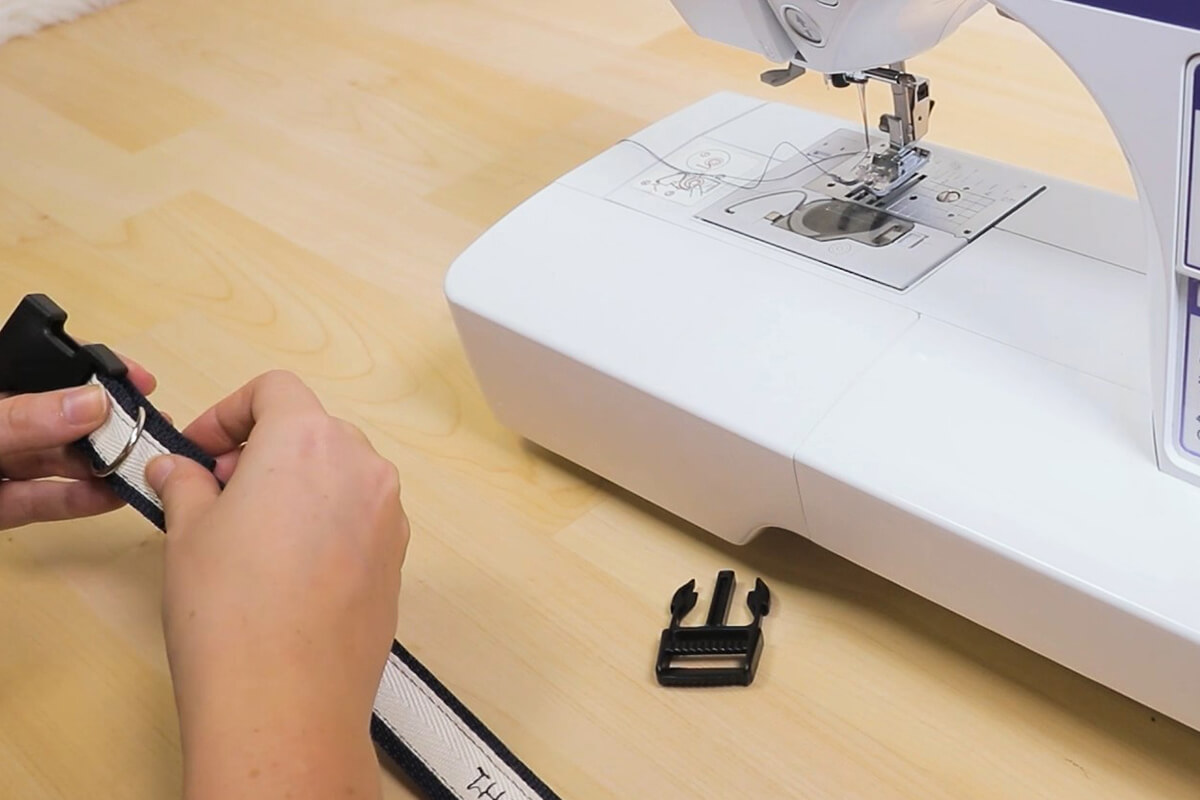
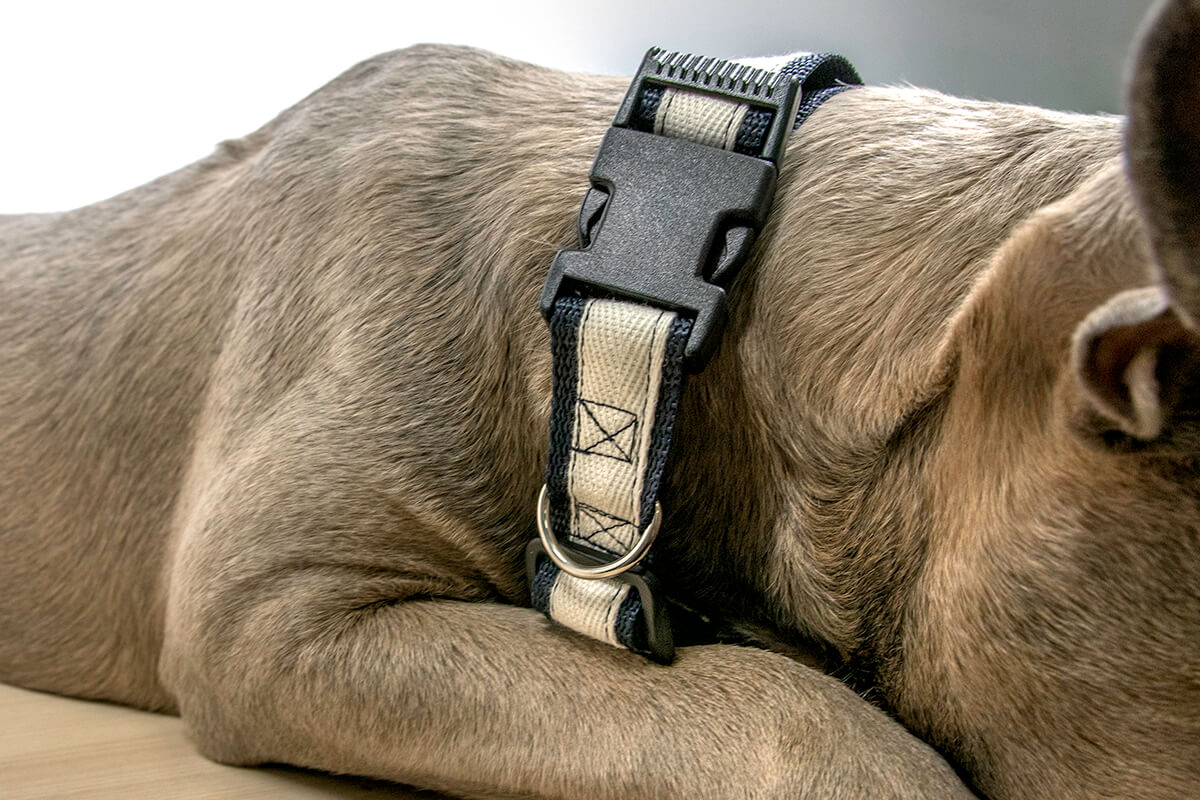
Step 4: Attach Hardware
String your d-ring onto one end of your webbing. Also take this end and loop it through the female side of the buckle and pull the tail so that it is over and just past the underside of the d-ring.
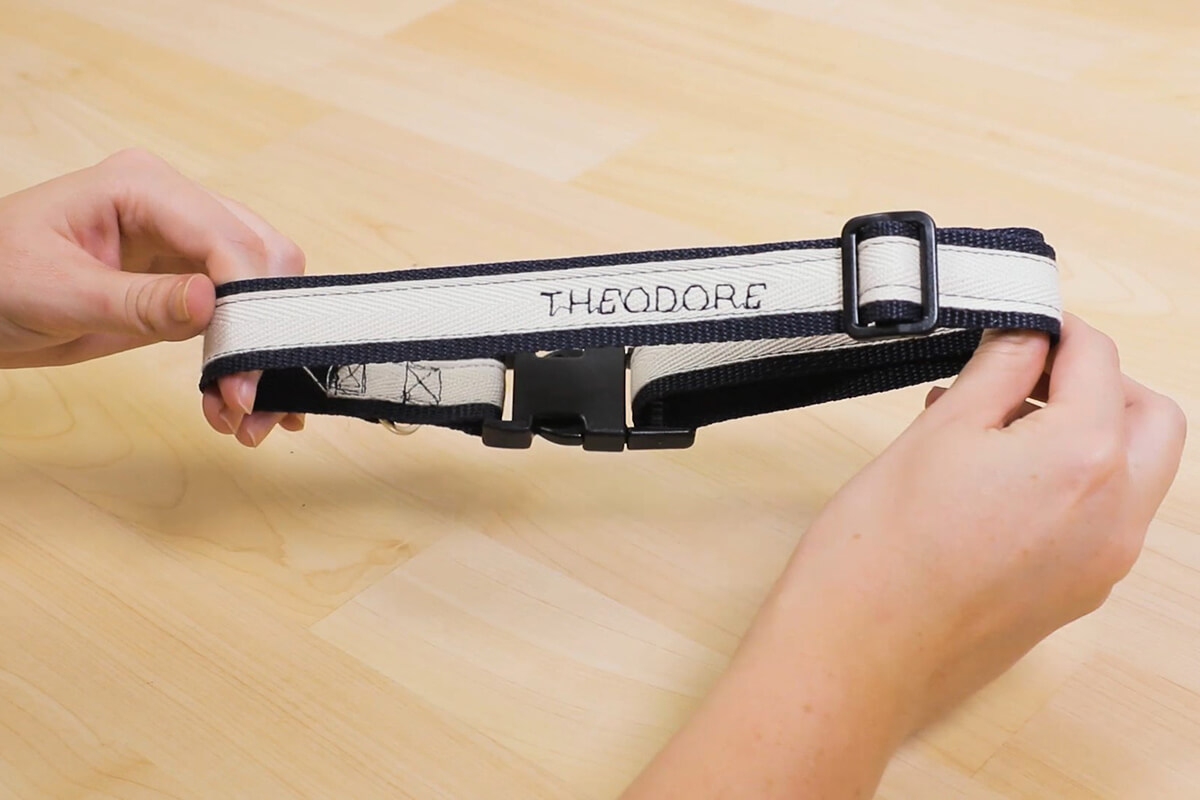
You are going to want to sew two boxes with an X through them on either side of the d-ring. This will keep the ring and the buckle in place.
Now string your slide buckle onto the open end of webbing going up and over the center post and then back down through the other side.
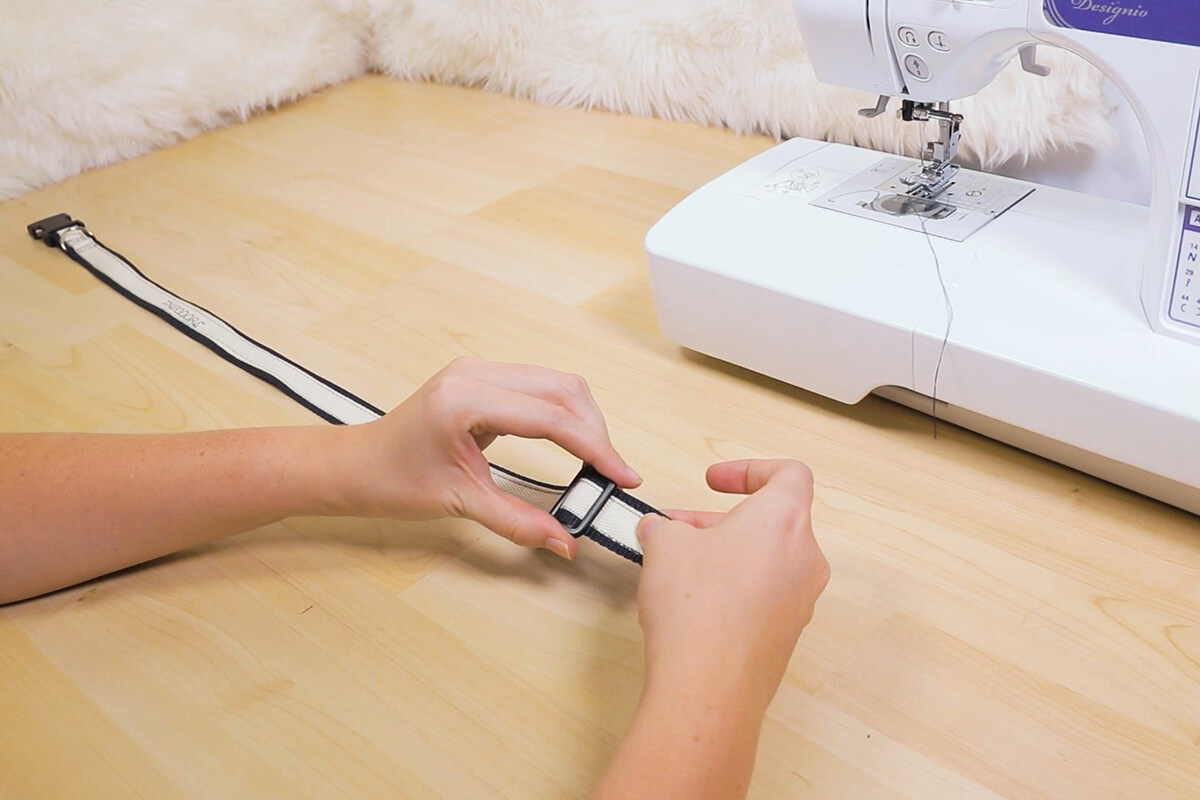
Then string the male side of the buckle on this end of webbing the same way, up through the one side, over the center post, and then back down through the other side.
Now take the webbing that is around the slide buckle and pull it up a little creating a loop so you can get to that center bar easily.
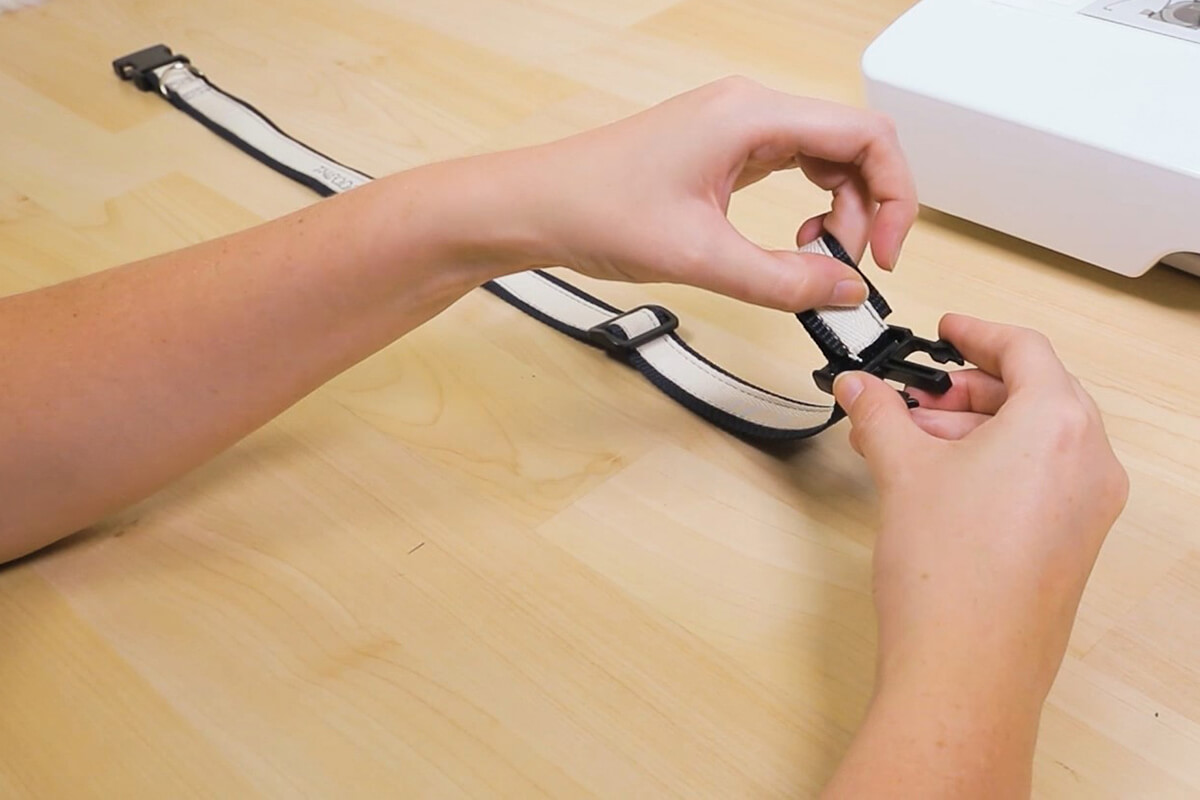
With the end of the webbing that you just put through the male side of the buckle, bring it up and over the center bar of the slide strap on the side closest to the buckle and then back down through the other side.
Pull the webbing through just a little bit and pinch the end to the piece that you just looped through the slide strap.
There will be three rows of webbing right on top of each other in this area. The original that you put through the strap slide, and then two that you just created by going in underneath that. You want to sew those two bottom pieces together, the ones that just created the loop underneath. Don’t sew the two bottom layers to the top layer or the strap slide will not be adjustable.
And now your dog collar is complete.
Find Other OFS Pets DIY Projects Here
-
{{#each productSuggestedQueries.results}}
- {{query}} {{/each}}
-
{{#each categories.results}}
- {{html title}} {{/each}}
{{html attributes.description}}
{{/if}}-
{{#each queries.results}}
- {{query}} {{/each}}