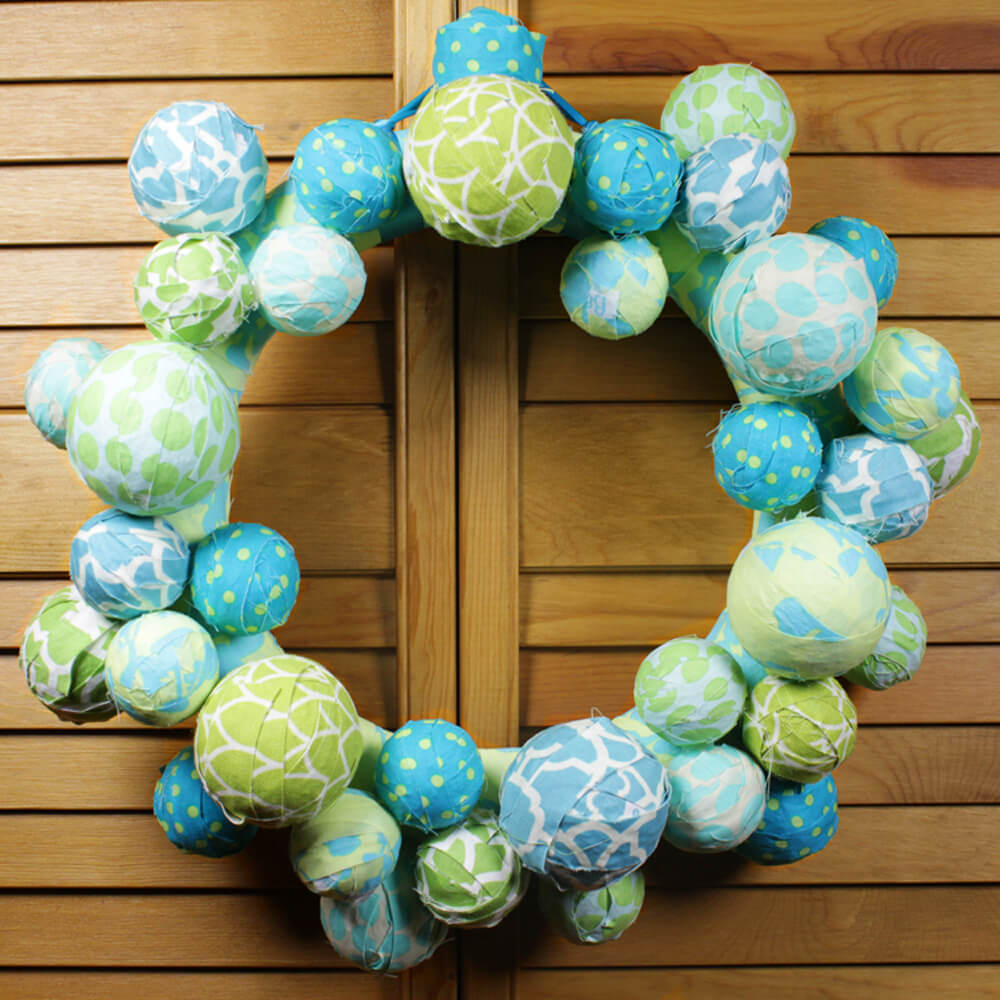
How to Make a Fabric Ball Wreath
- By Jen
- Beginner
- 1 hour 30 minutes
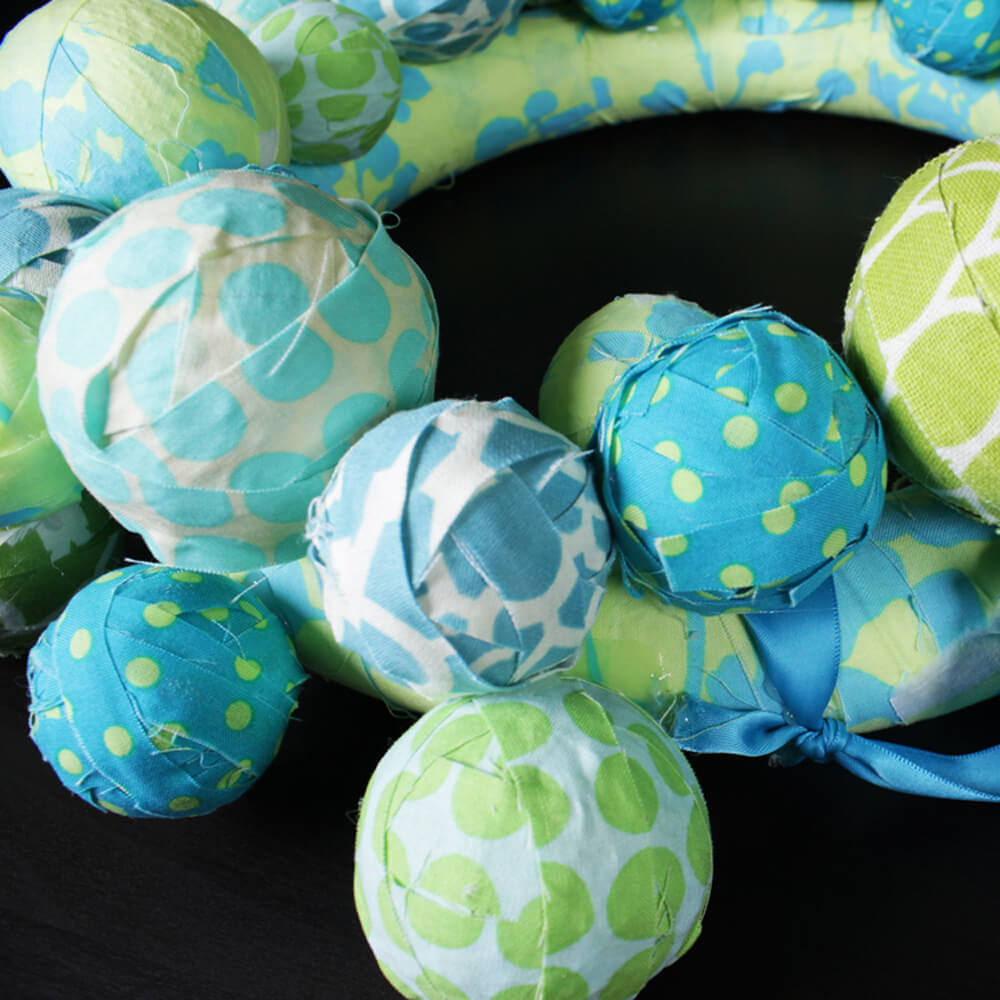
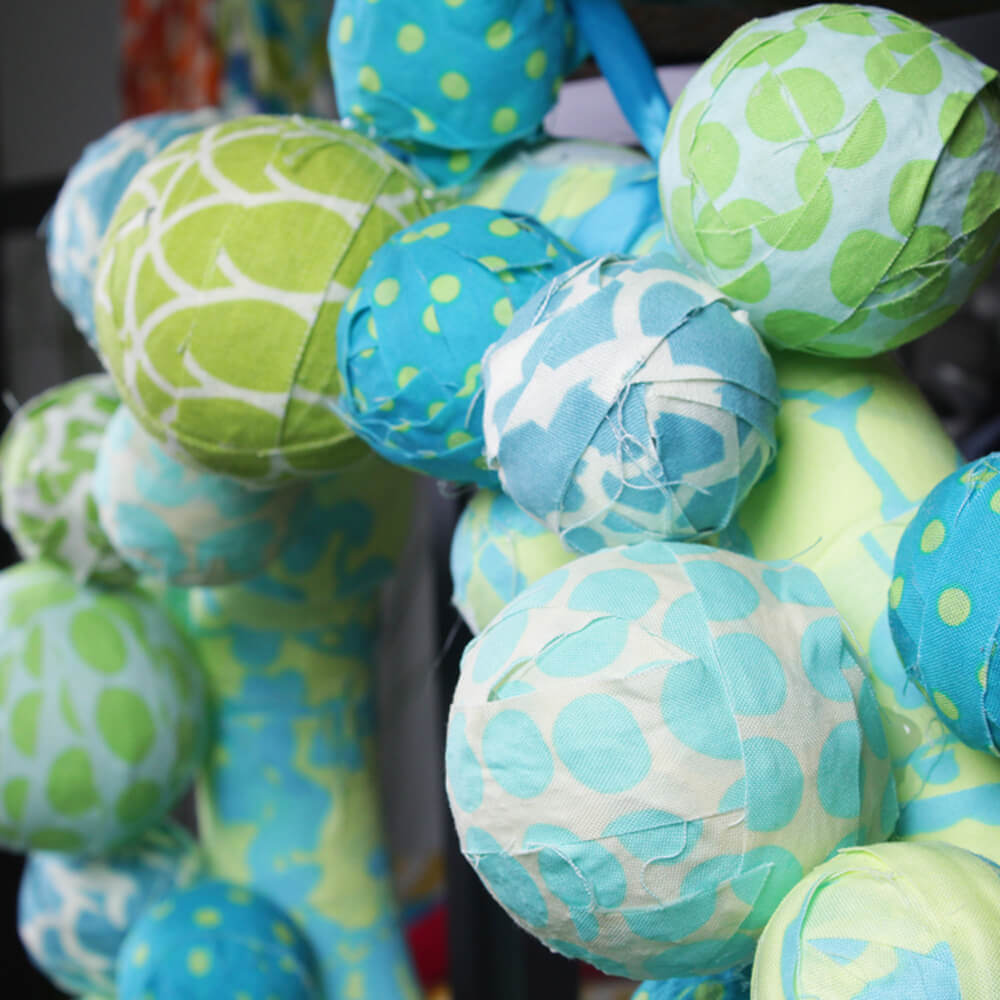
This fabric wreath is great to hang because it displays a range of colors and prints. There is no sewing involved, just cut and glue. If the wreath is going to be outdoors, outdoor fabric is a great option because it’s water and sun resistant.

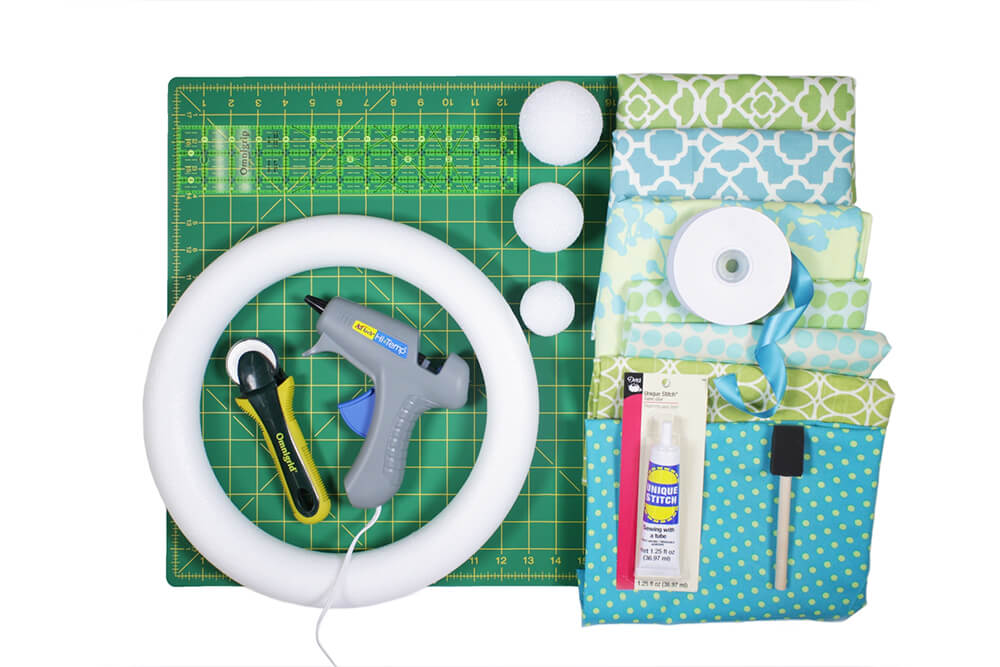
Materials
- Cotton Prints
- Dritz Unique Stitch Fabric Glue
- Rotary Cutter
- A Rotary Cutter Mat
- 7/8" Turquoise Double Face Satin Ribbon
- A Ruler
- A Hot Glue Gun
- A Styrofoam Base
- Styrofoam Balls
- A Paint Brush
Related Products


Video
Instructions
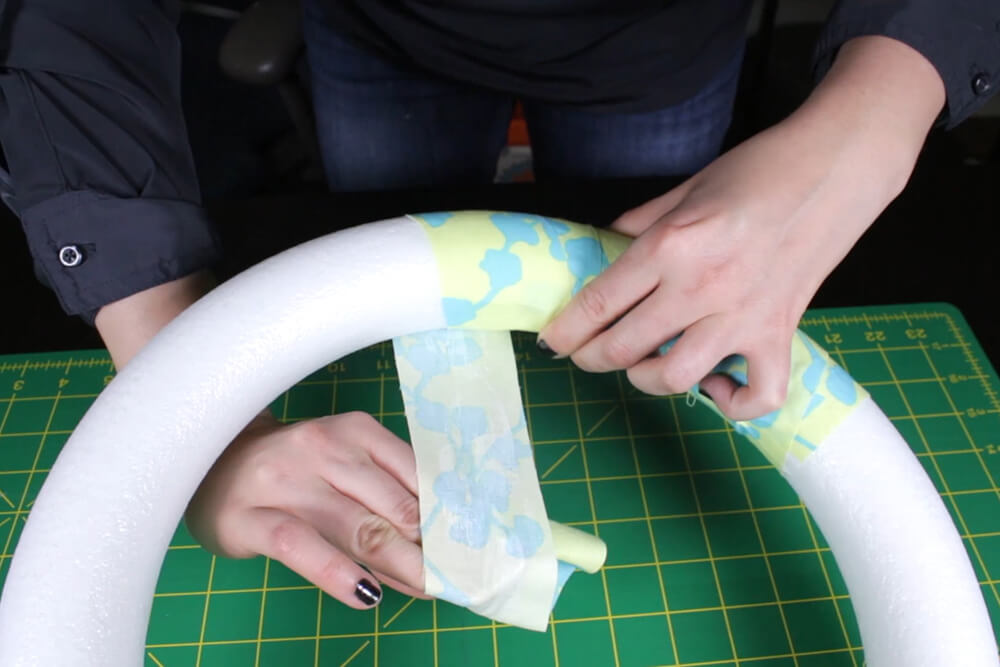
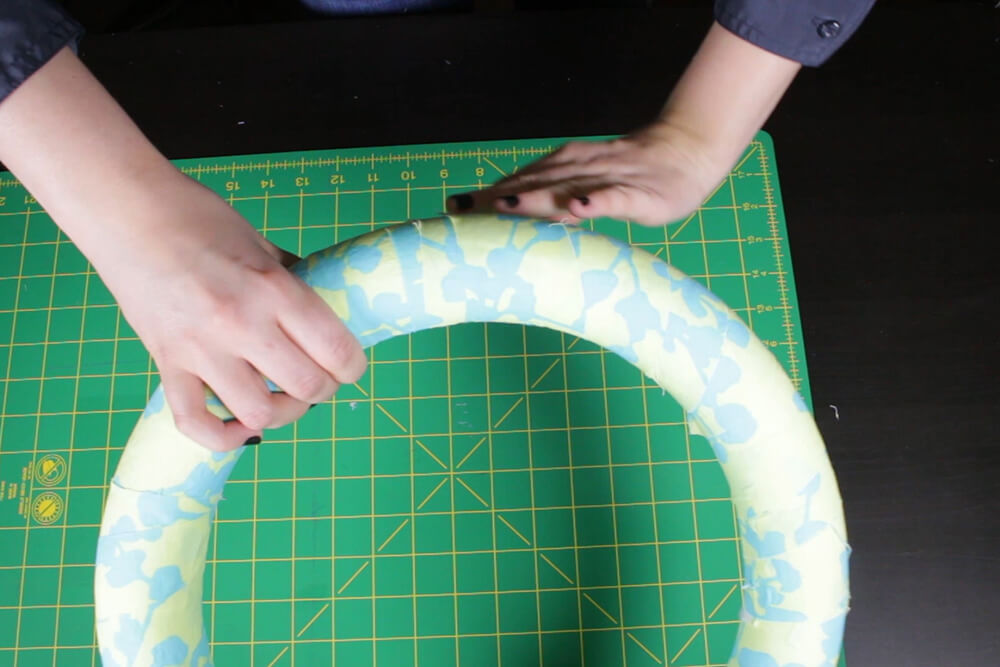
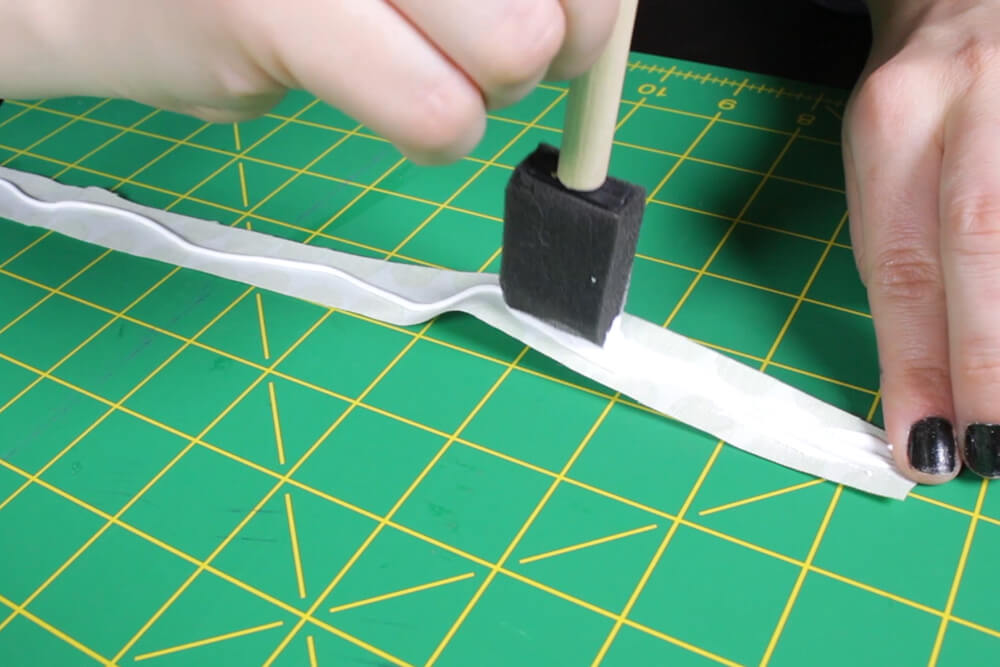
Step 1: Glue the styrofoam circle
Cut 2 inch wide strips out of any of the fabrics. Paint the fabric glue to the wrong side of the fabric. Wrap the strip of fabric around the styrofoam circle and smooth it out as you’re gluing. Glue several strips of needed to complete the circle.
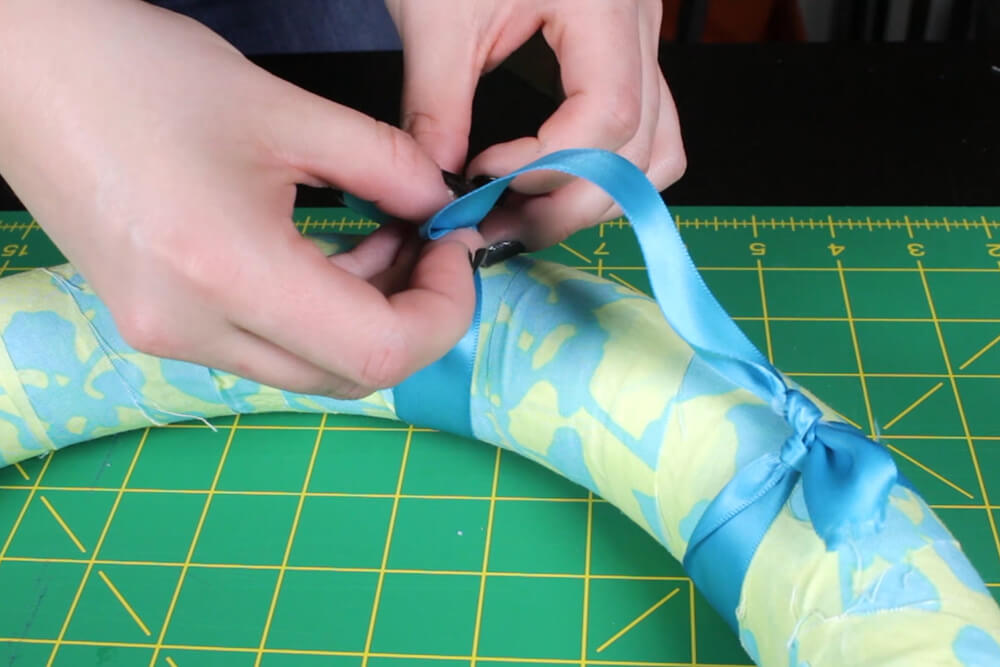
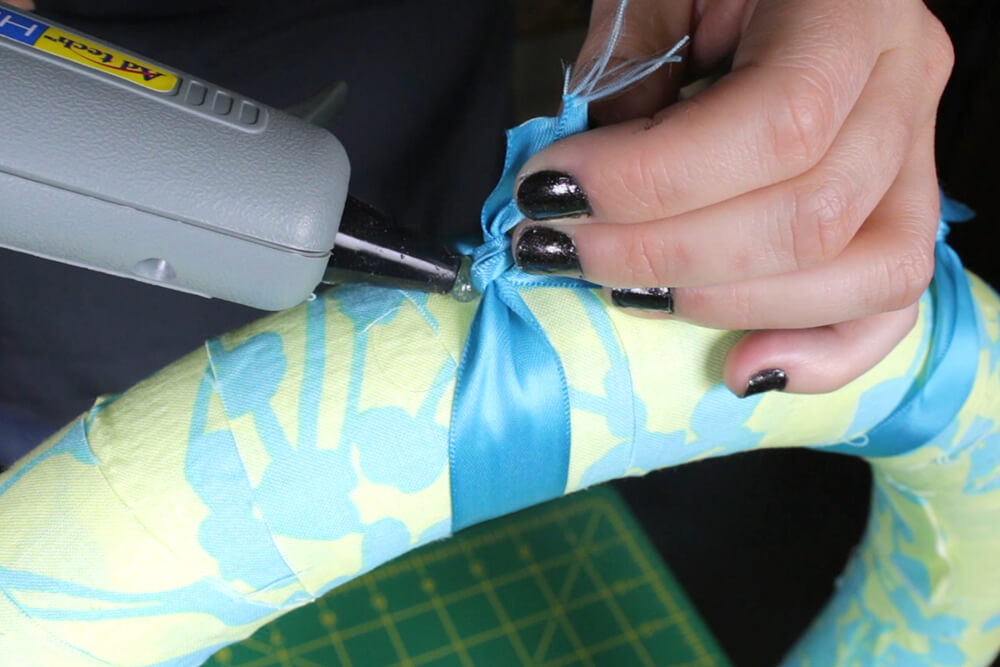
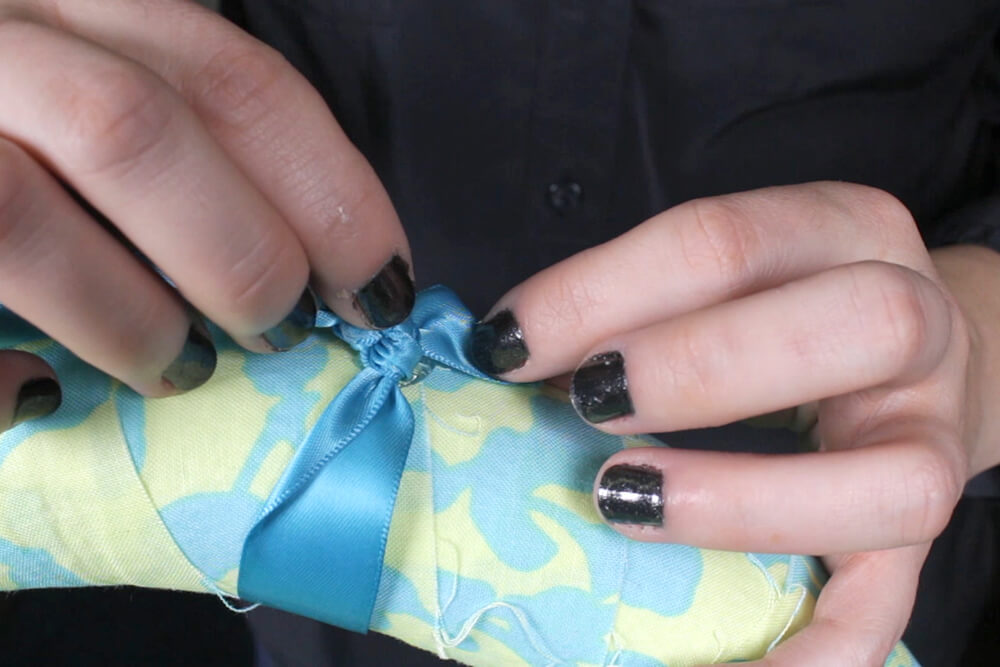
Step 2: Attach the ribbon
Cut a 24 inch long piece of ribbon and tie both ends to the Styrofoam circle approximately 4 inches apart. Take the glue gun and glue the knots to the frame so it’s more secure.
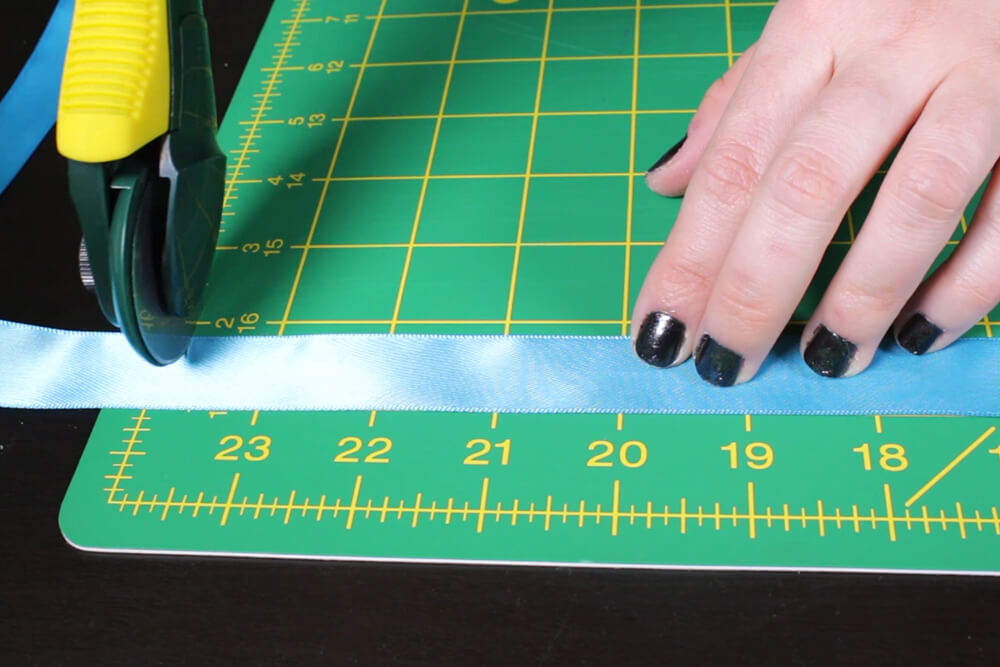
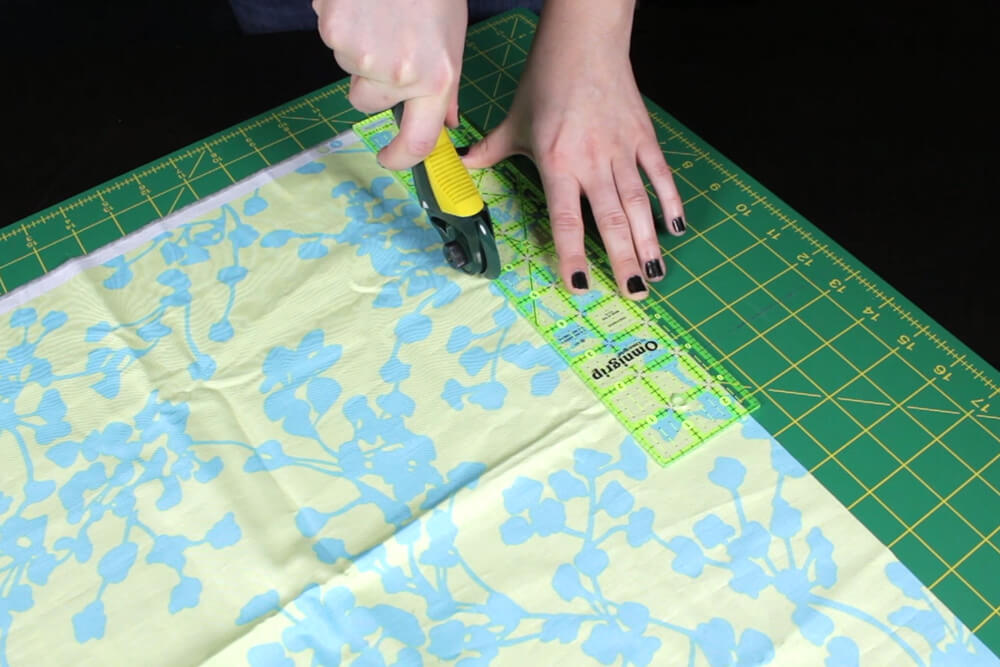
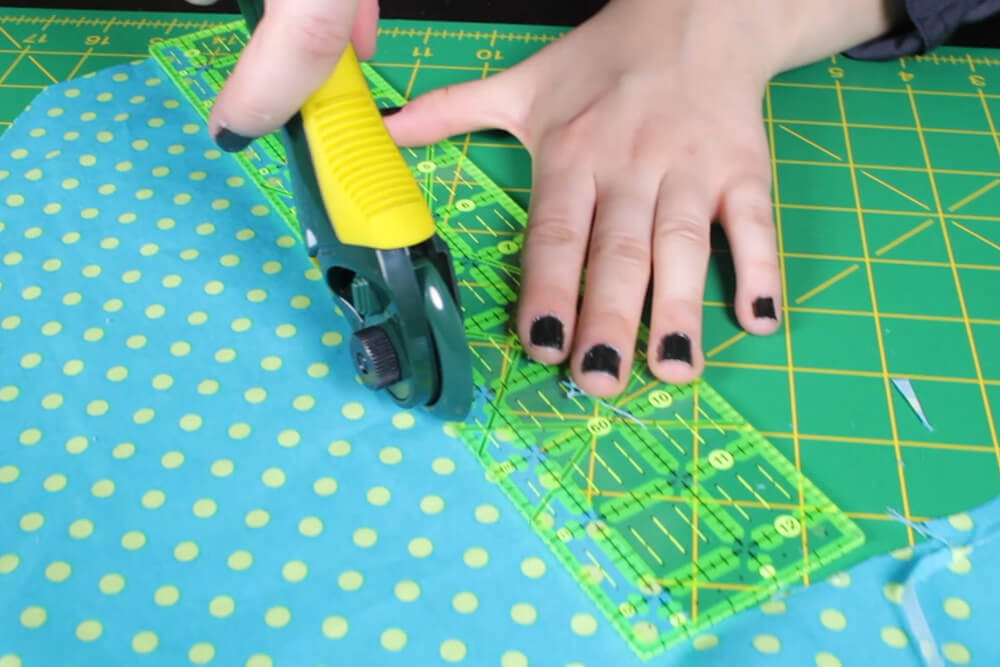
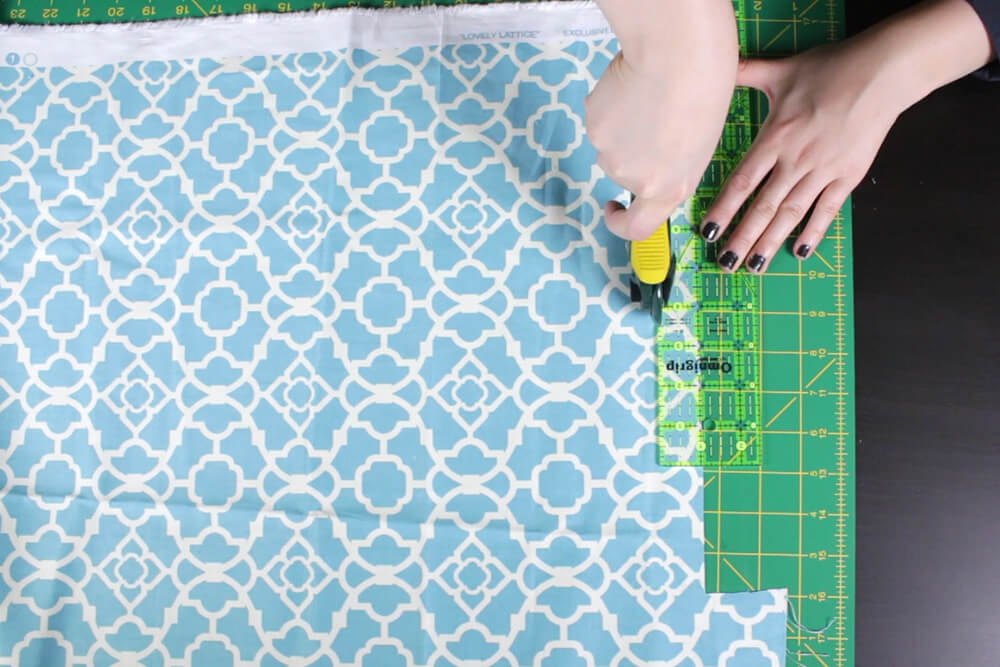
Step 3: Cut the strips of fabric
For the small size Styrofoam balls, cut 1/2 inch wide strips out of any of the fabrics. For the medium size ones, cut 3/4 inch wide strips. For the large Styrofoam balls, cut 1 inch wide strips. The strips should be about 15 inches long. It will take 4 to 5 strips for each of the Styrofoam balls. You can use any fabric you want for the different sizes, by mixing and matching them.
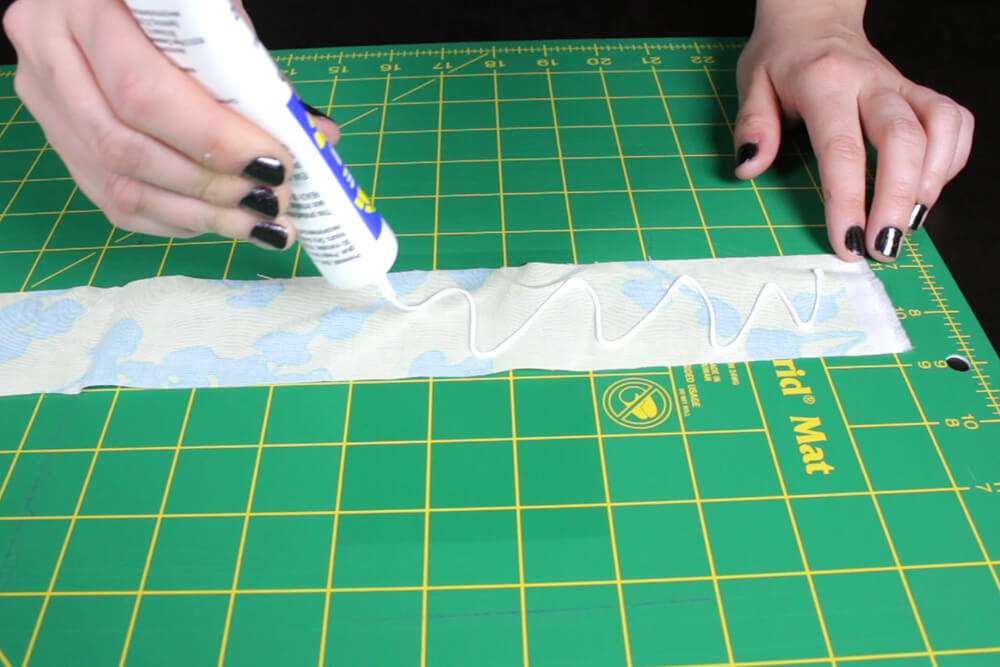
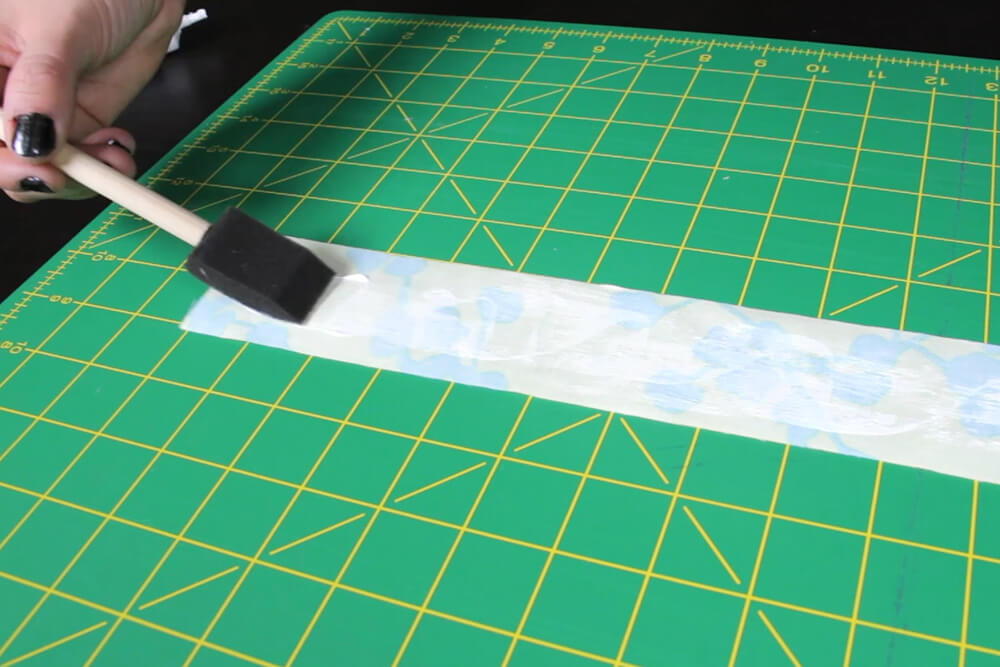
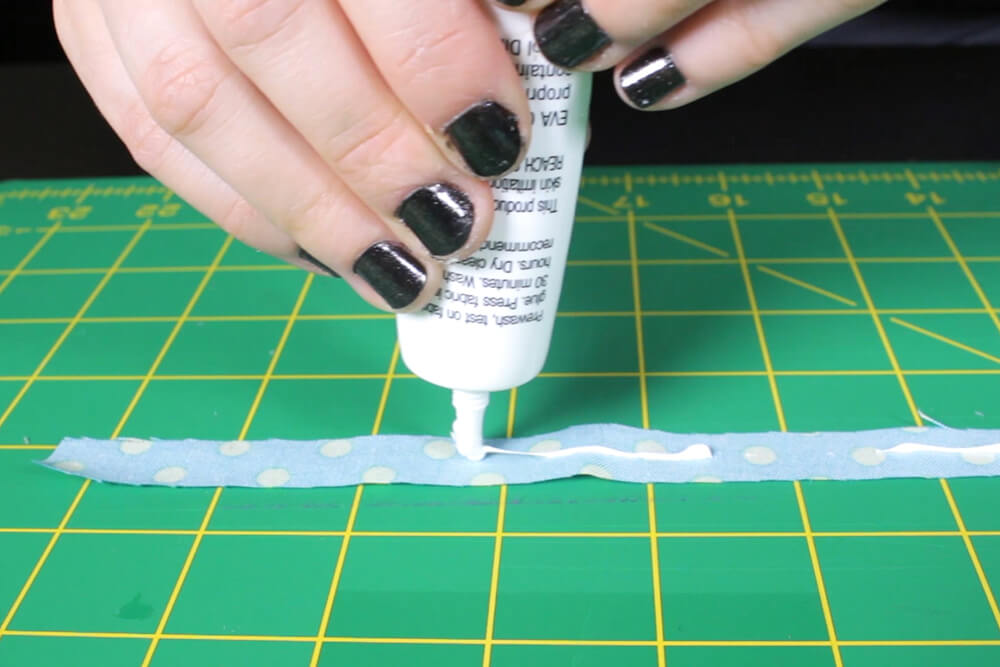
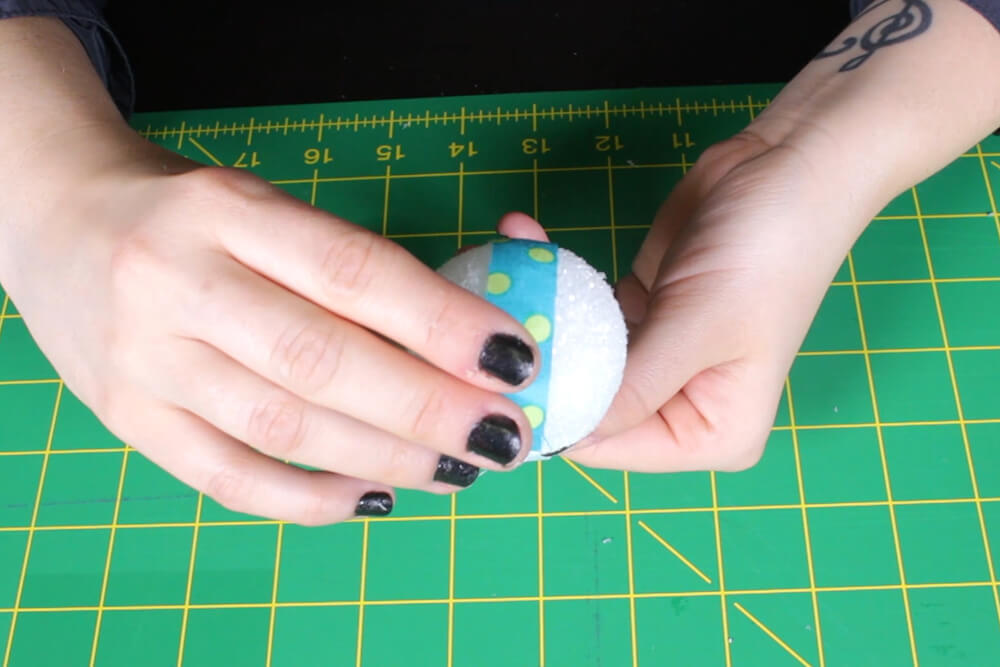
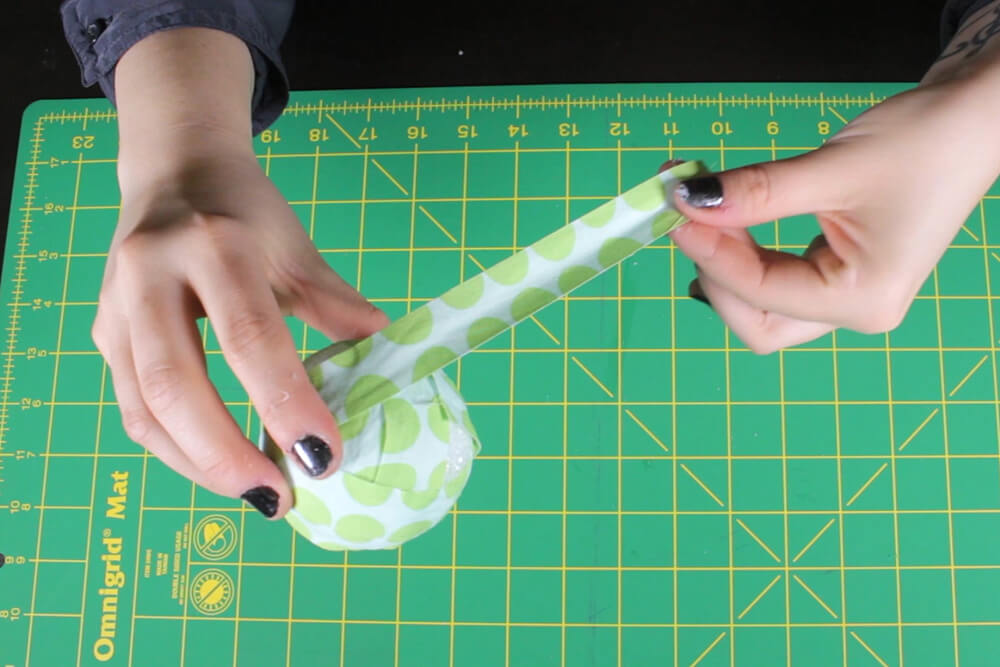
Step 4: Glue the fabric strips
On the wrong side of the fabric, glue along the strip and smooth it out with a paintbrush. Wrap the strip around the styrofoam ball. Do the same for the other strips, wrapping them in different directions. Smooth it out as you go. If you’re using a large print, it’s best to use it on the large styrofoam balls so you can see the pattern. Continue this until all the balls are covered.
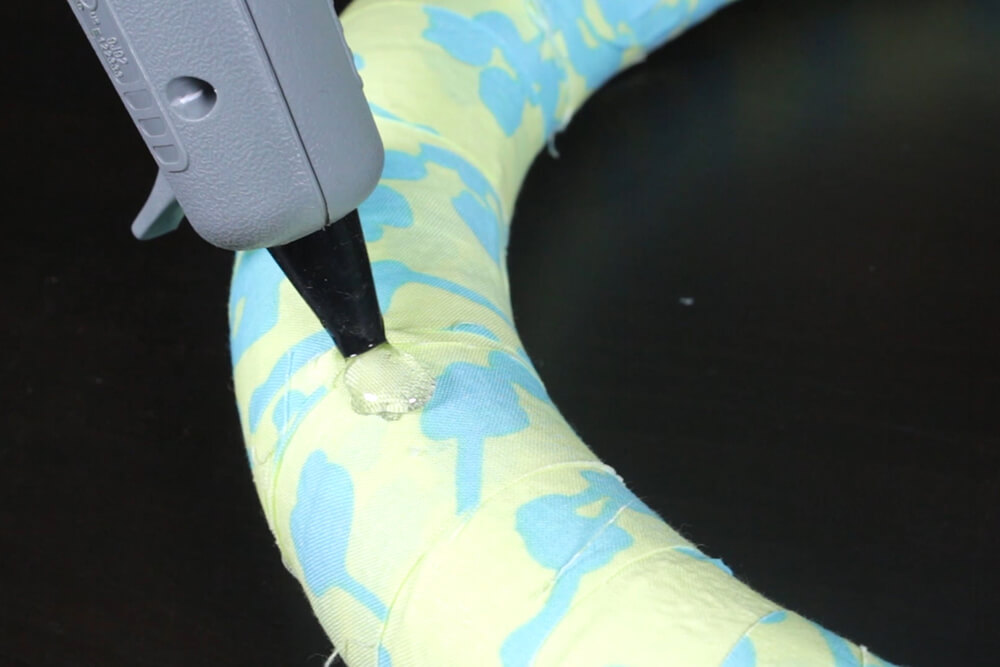
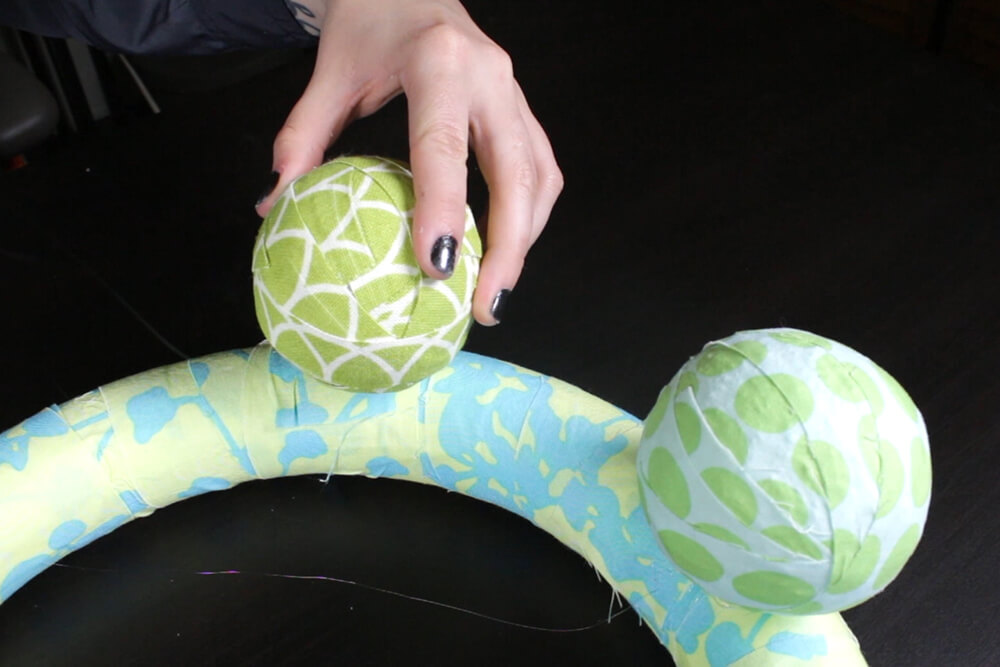
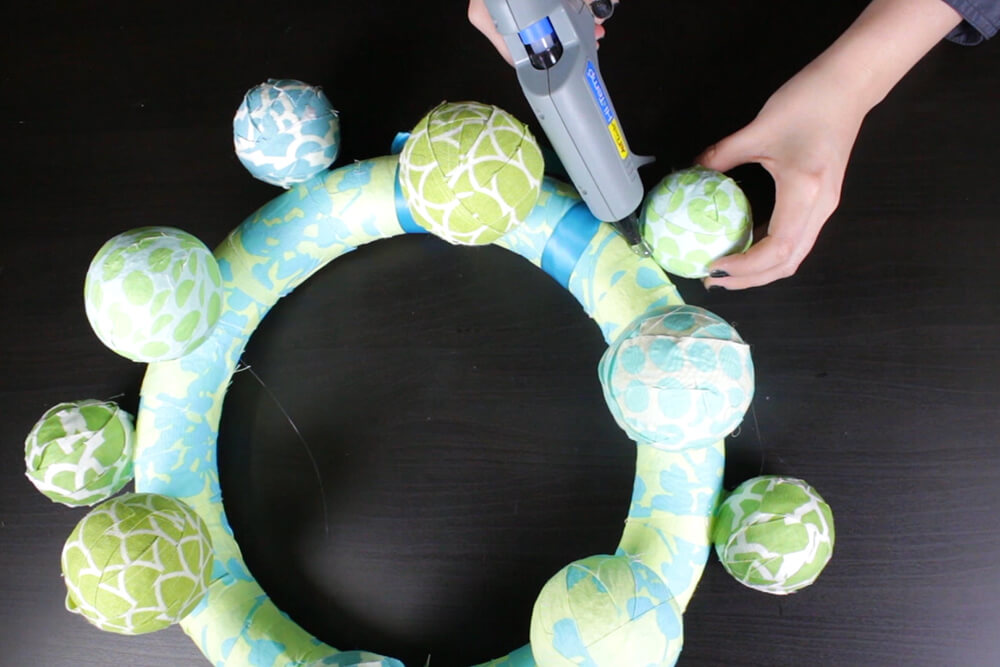
Step 5: Glue the styrofoam balls to the wreath
Starting at any point you like, take the hot glue gun and glue the styrofoam balls to the frame. Start with the larger sizes and fill in the spaces with smaller ones. Once you’ve reached the end, your fabric ball wreath is complete.

Looking for cotton prints? Click here.
Cache time: 1:26:54 AM
{{#if products.results.length}}
{{/if}}
{{#if (or categories.results.length content.results.length queries.results.length productSuggestedQueries.results.length contentSuggestedQueries.results.length)}}
{{#each products.results}}
 {{attributes.brand}} {{html title}}
{{#unless (eq price undefined)}}
{{attributes.brand}} {{html title}}
{{#unless (eq price undefined)}}
{{#if (lt salePrice price)}}
On Sale
{{currency salePrice}} ({{salePercentOff price salePrice}})
orig. {{currency price}}
{{else}}
{{#if attributes.lowestvolumeprice}}
{{currency attributes.lowestvolumeprice}} - {{currency price}} {{uomLabel attributes.unitofmeasure}}
{{else}}
{{currency price}} {{uomLabel attributes.unitofmeasure}}
{{/if}}
{{/if}}
{{/unless}}
{{#if rating}}
{{#if productSuggestedQueries.results.length}}
{{productSuggestedQueries.title}}
{{/if}}
-
{{#each productSuggestedQueries.results}}
- {{query}} {{/each}}
-
{{#each categories.results}}
- {{html title}} {{/each}}
{{#if attributes.imagepath}}
{{/if}}
{{/each}}
{{/if}}
{{#if queries.results.length}}
{{queries.title}}
{{#if attributes.description}}
{{html attributes.description}}
{{/if}}-
{{#each queries.results}}
- {{query}} {{/each}}