How to Make a Fabric Flower Bouquet
- By Clara
- Beginner
- 15 minutes per flower
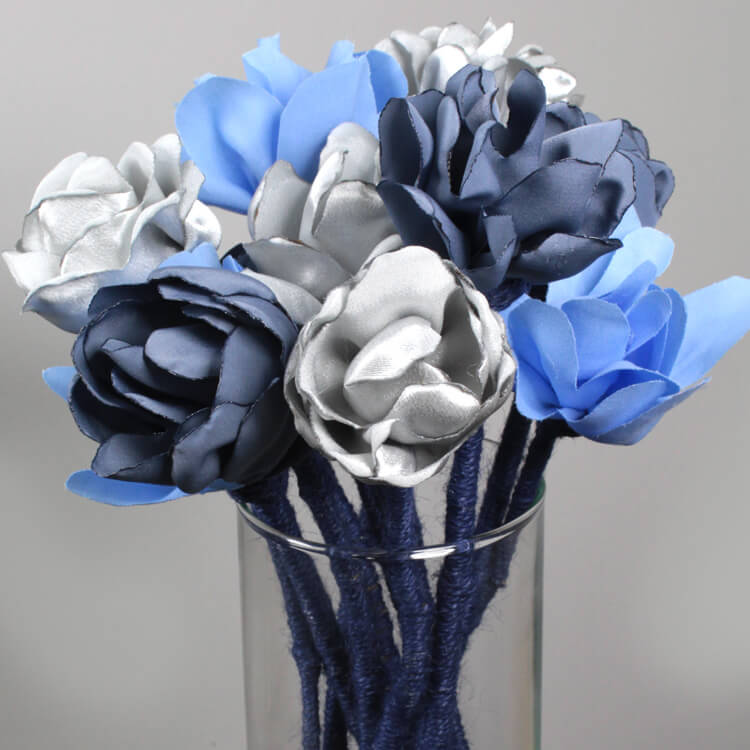
A fabric flower bouquet makes a beautiful center piece or decorative accent that will last. Fabric Flowers can be made using many different techniques. I’m going to make a version that has a stem so they can be arranged in a vase.
Want to get the printable PDF instructions? Sign up to our mailing list to download the PDF.
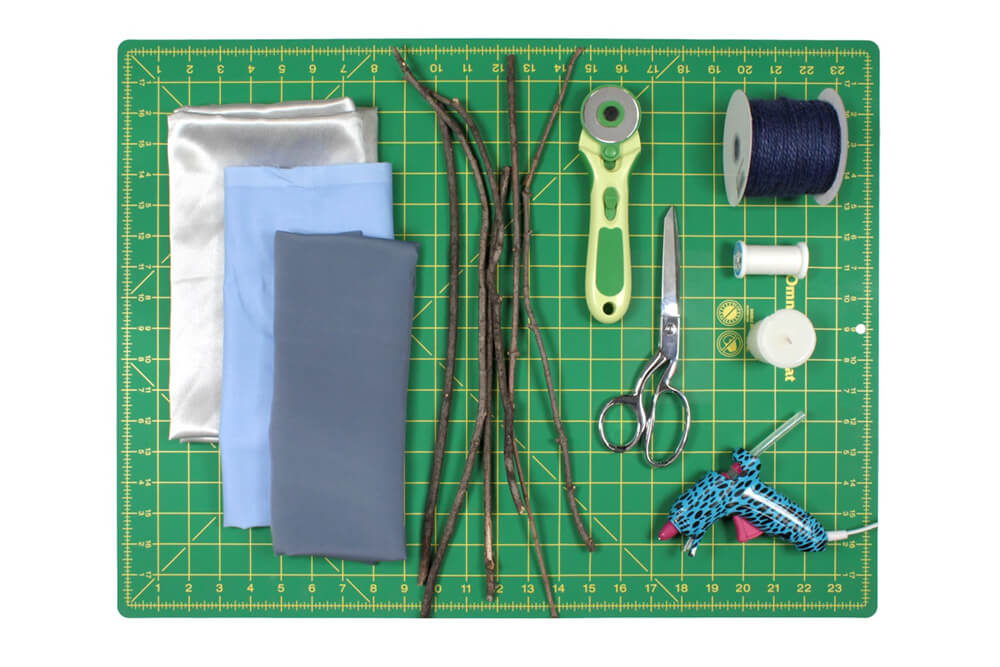
Materials
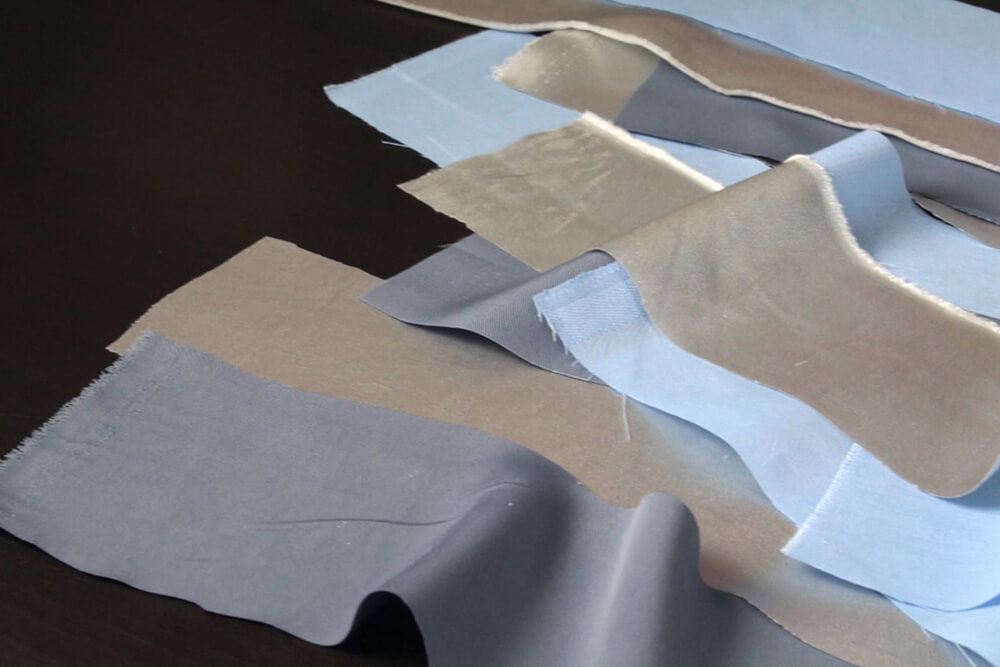
- Lightweight fabric like broadcloth, peachskin, and satin
- Jute twine
- Thread
- Scissors
- Rotary cutter (optional)
- Hot glue gun
- Wooden dowels or sticks
- Lighter or candle (optional)
Related Products


Video
Instructions
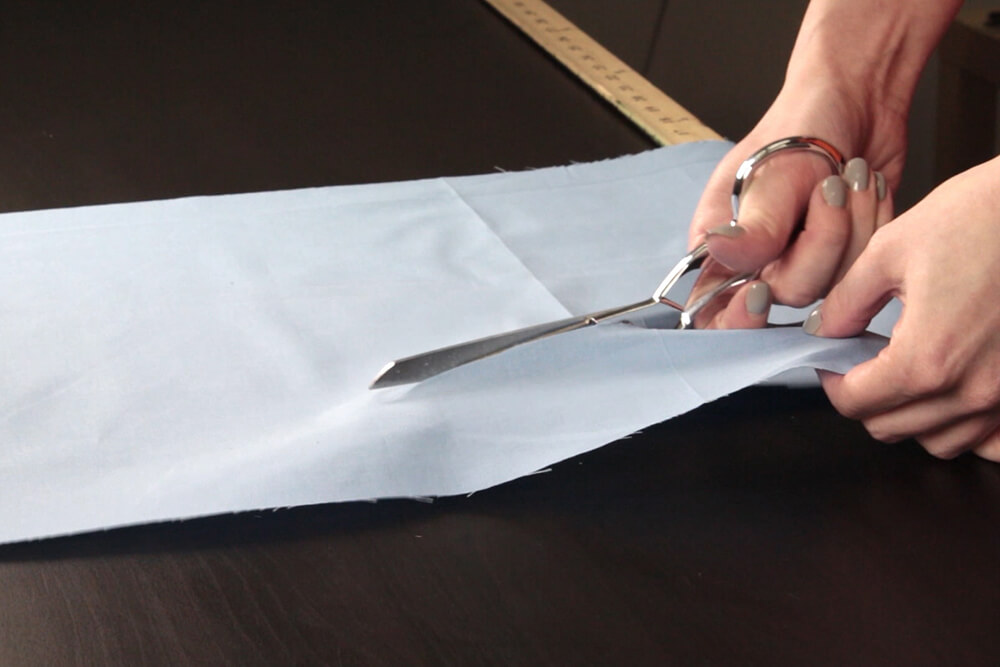
Step 1: Cut the fabric
First, cut a strip of fabric that’s about 2.5” wide and 24” long.
I’m making a bouquet of flowers using broadcloth, peachskin, and crepe back satin. Any lightweight fabric will work.
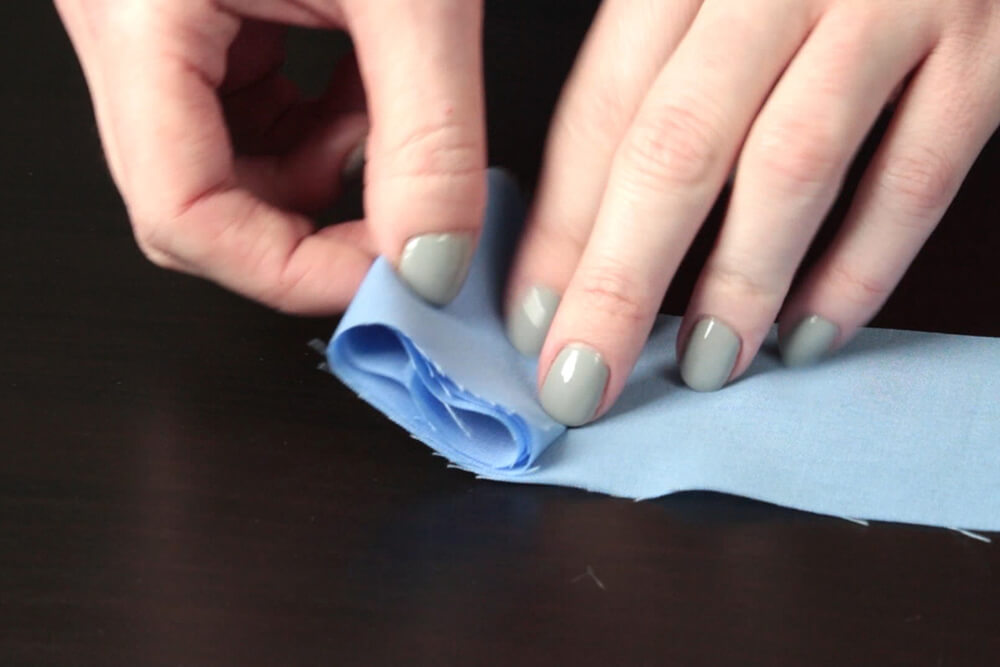
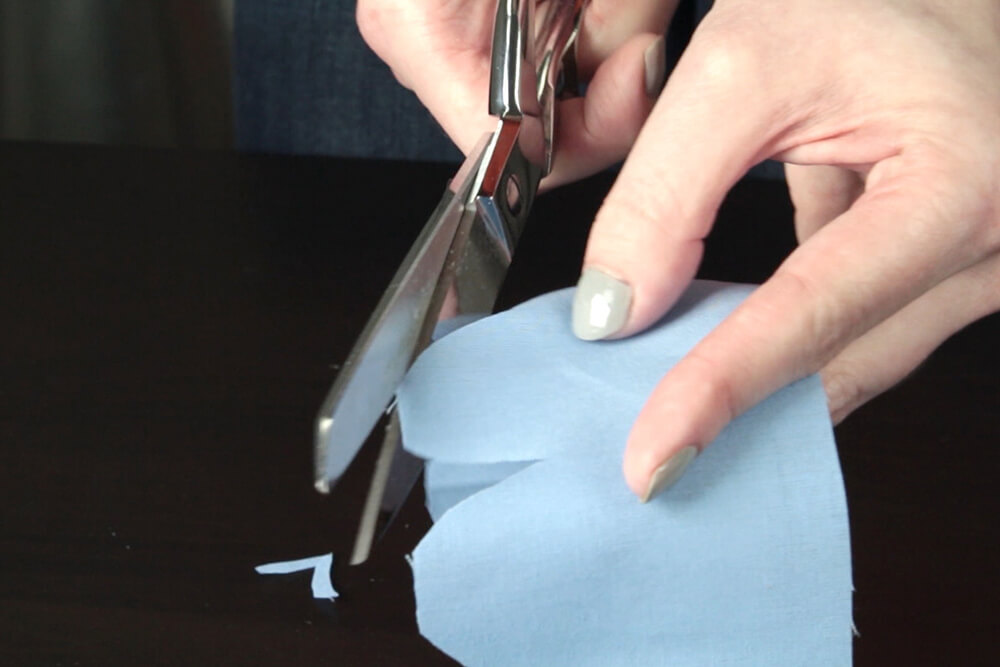
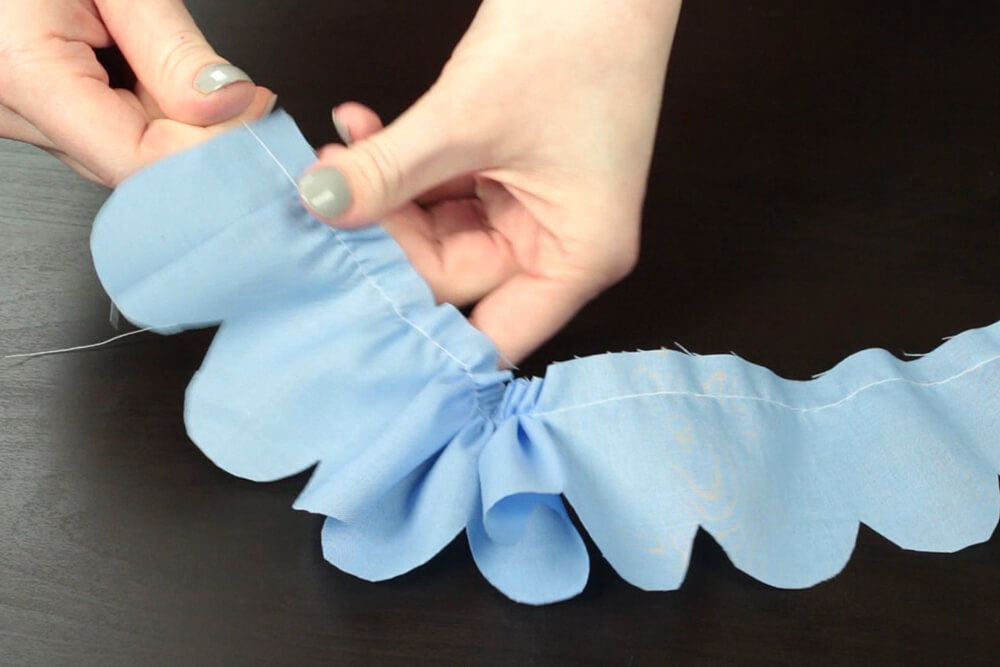
Step 2: Make petals
Roll the fabric up so that it’s about 1 ½ inches wide. Round off the corners of one of the ends with scissors. This creates petals when it’s unfolded. Some of the petals will need a little more shaping, but they don’t need to look perfect.
If you’re using a polyester fabric like satin, you have the option of heating the edges of the fabric with a lighter or candle. This melts the fabric slightly, so the edges don’t fray. It also creates a bit of a puckered edge, which is a nice effect for the petals.
If you’re using a cotton fabric, leave the edges raw.


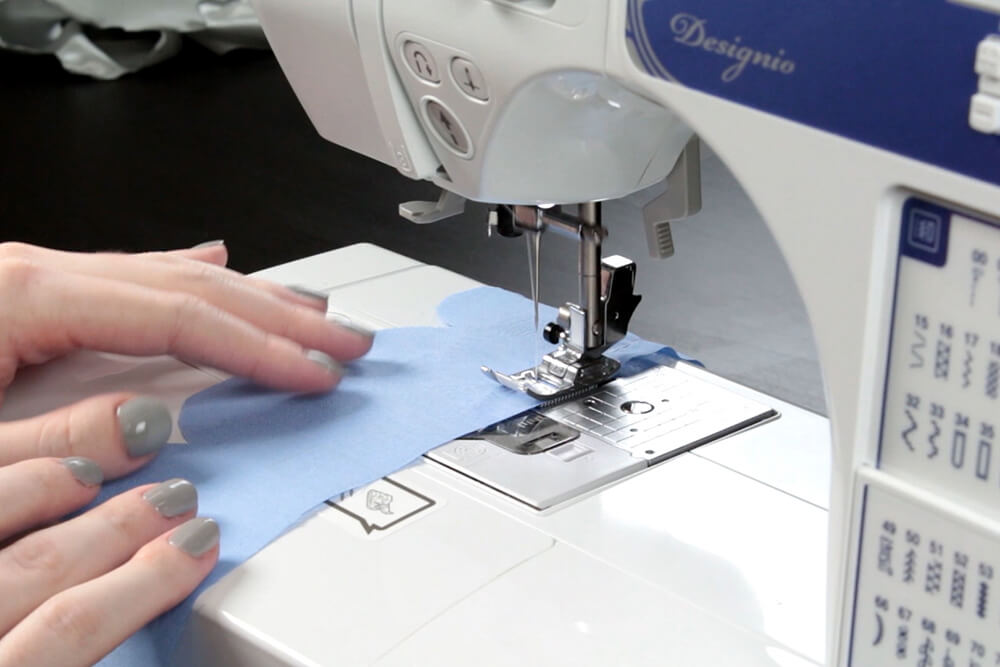
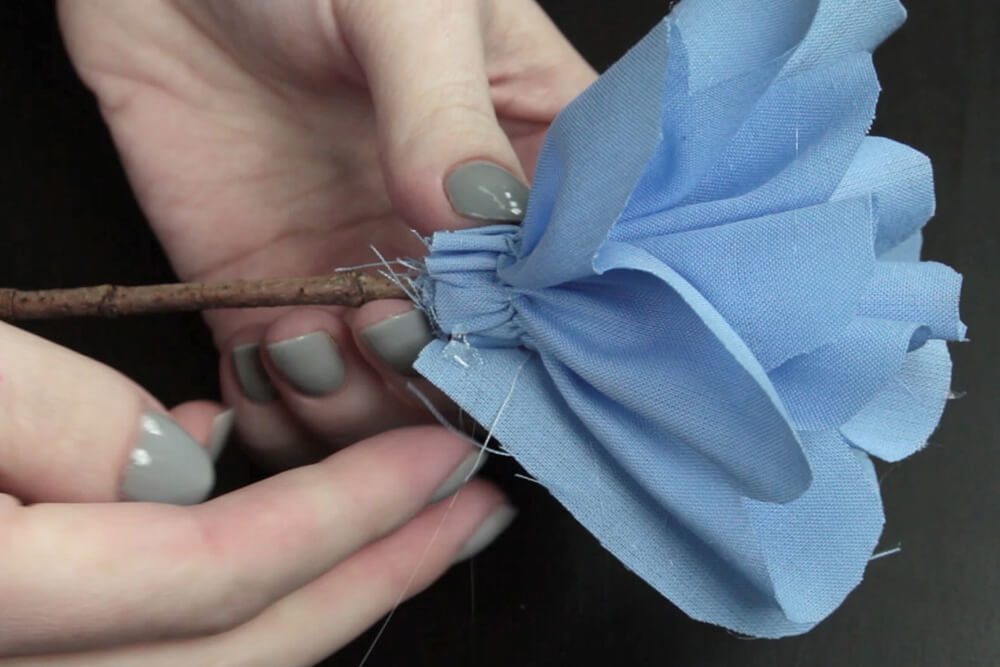
Step 3: Gather the fabric
Next on your sewing machine, select the straight stitch and make the stitch length as long as it will go.
Sew down the length of the fabric about 1/2” from the straight edge.
Take one of the threads and pull on it, so the fabric gathers.
If you don’t have a sewing machine, you can do this by hand using a running stitch.
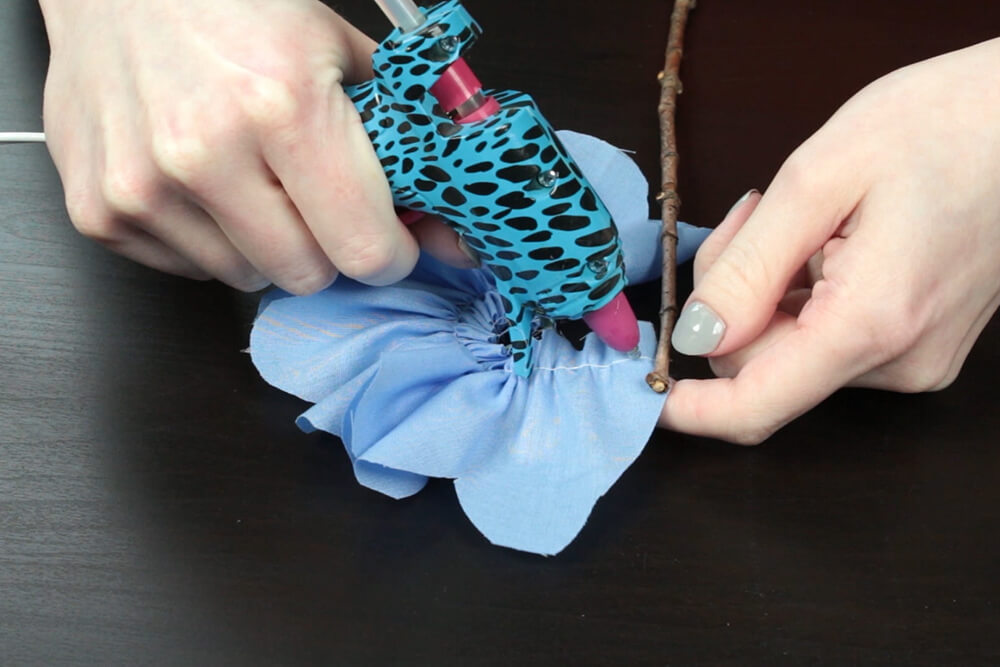
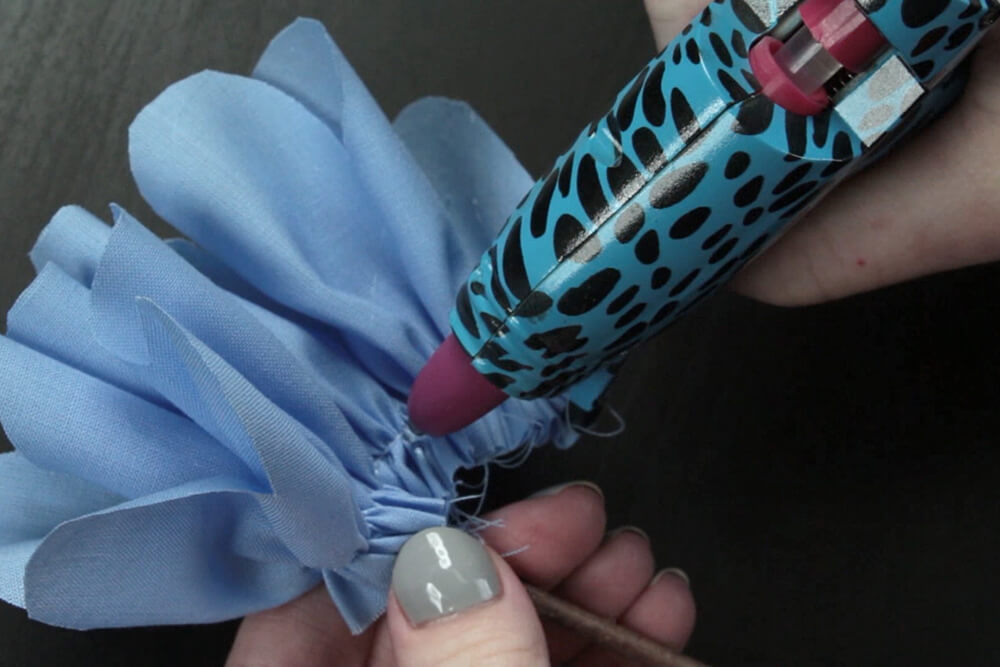
Step 4: Glue fabric to stem
Next take your stick or dowel and put a dab of hot glue near the top to attach the fabric. Wrap the fabric around the stick, securing it with hot glue.

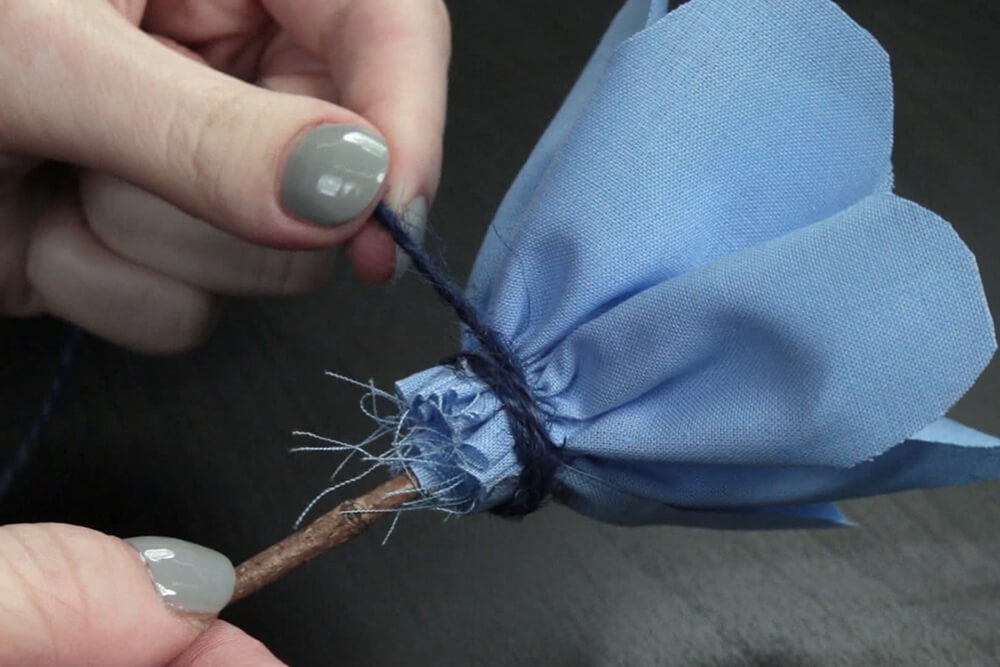
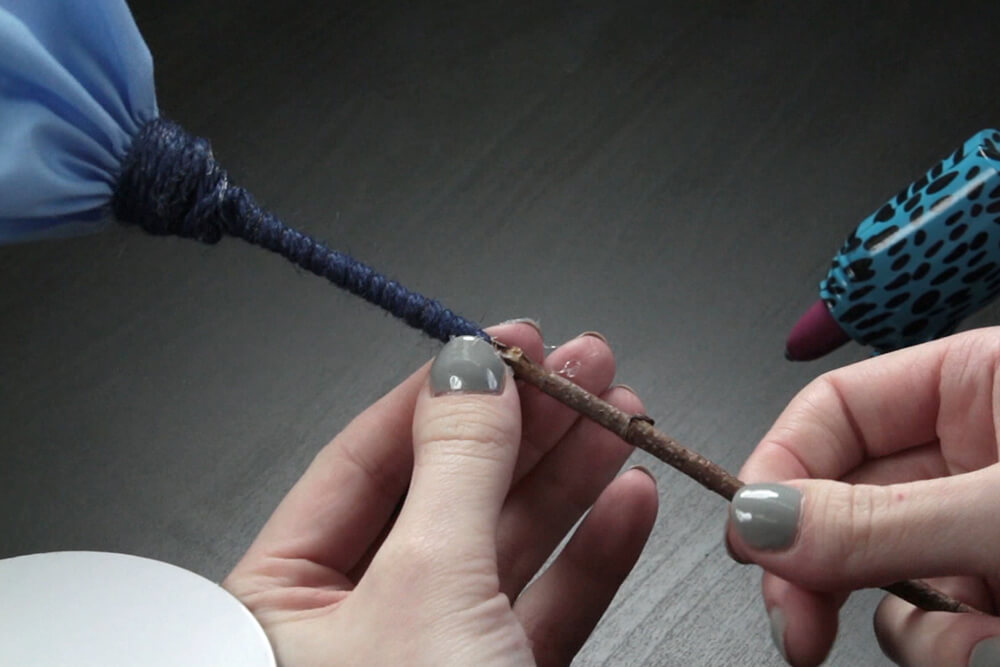
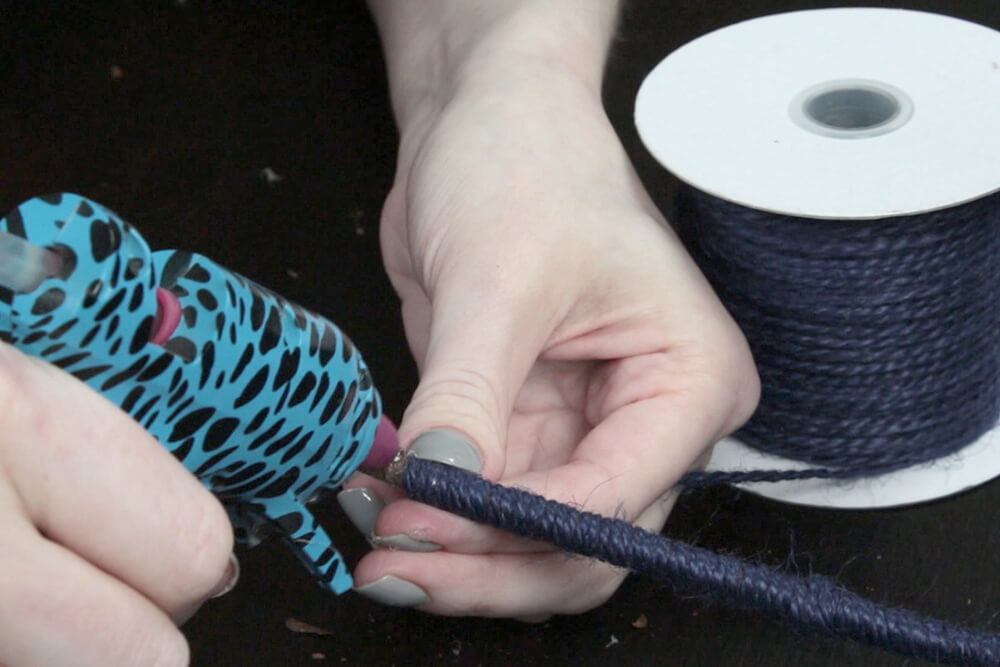
Step 5: Add twine to stem
Finally, take twine and hot glue it to the base of the flower and wrap it around, until the bottom of the flower is covered. Continue to hot glue and wrap the rest of the stick.

Use jute twine for a variety of craft projects.
-
{{#each productSuggestedQueries.results}}
- {{query}} {{/each}}
-
{{#each categories.results}}
- {{html title}} {{/each}}
{{html attributes.description}}
{{/if}}-
{{#each queries.results}}
- {{query}} {{/each}}