How to Make a Fabric Woven Wire Basket
- By Clara
- Beginner
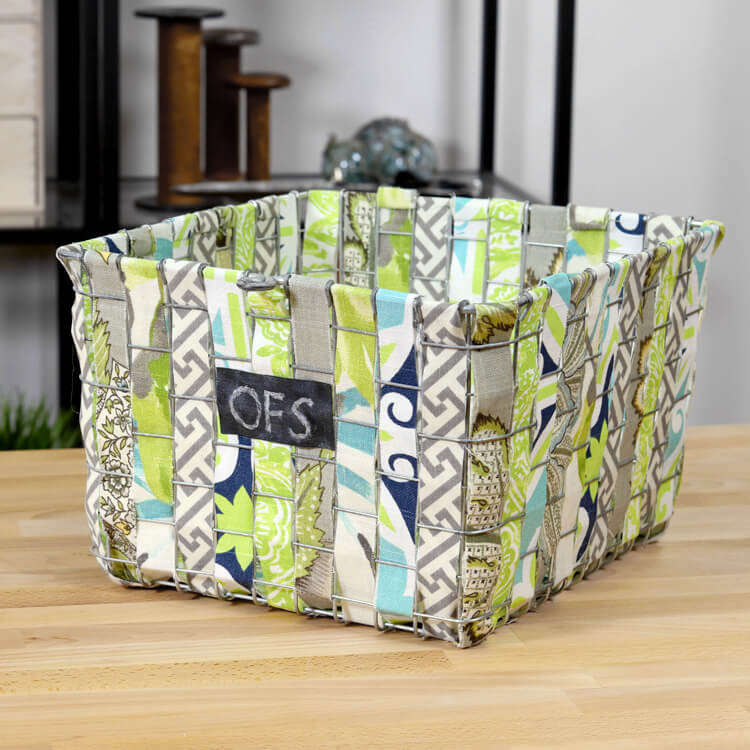
We picked up this industrial wire basket at the world-famous Brimfield Antique Flea Market. This is a basket from Kaspar Wire Works, but you can find this type of wire basket many places. I’m going to weave strips of fabric through it to make a unique decorative storage basket. This is a no sew project that’s great for using all your old scraps of fabric on.
Materials
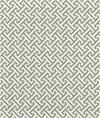
Related Products


Video
Instructions
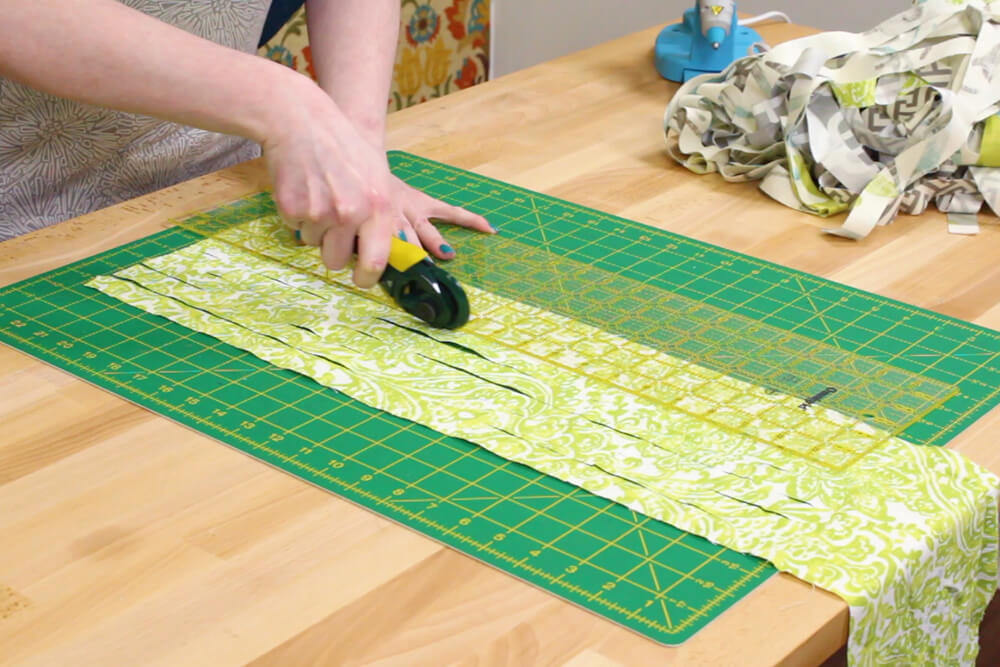
Step 1: Cut Strips of Fabric
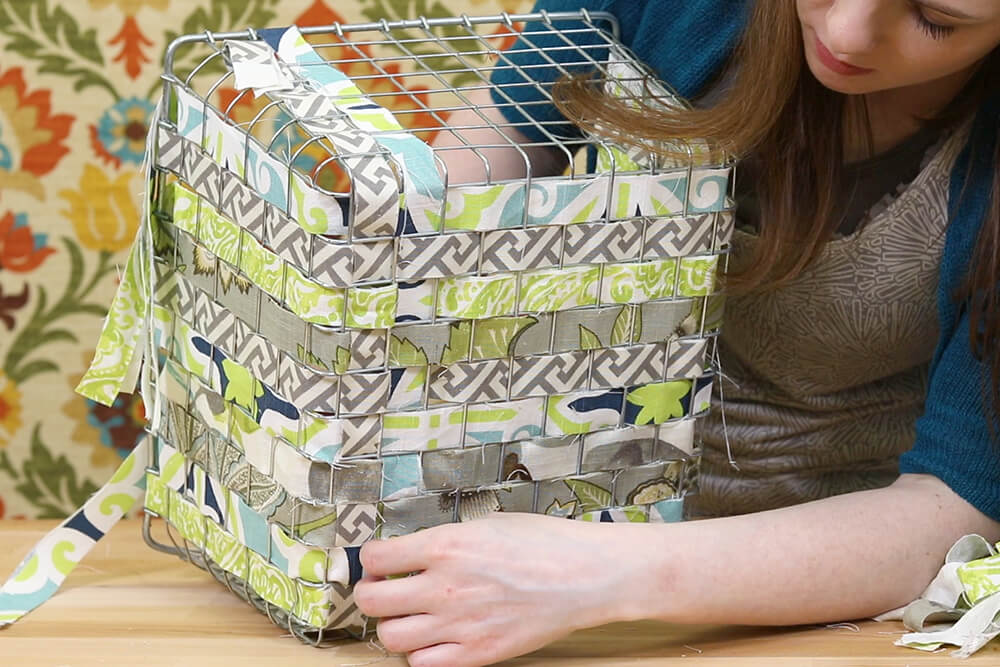
There’s about an inch of space between the wires, so I’m going to cut inch wide strips of fabric with a rotary cutter. The strips should be long enough so they can go down, across the bottom, and up twice because the fabric will be doubled up.
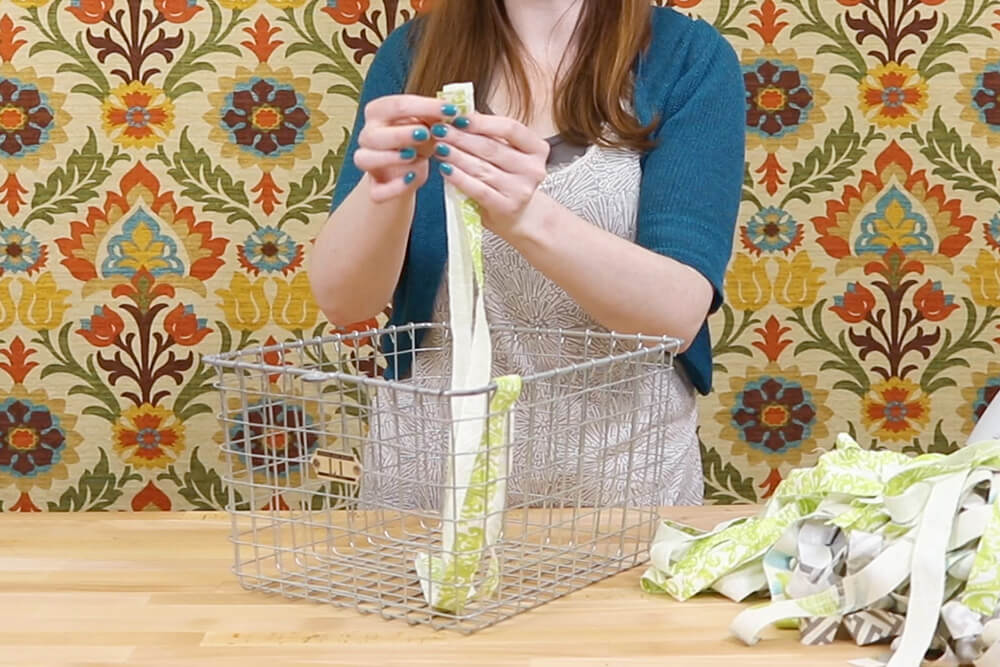
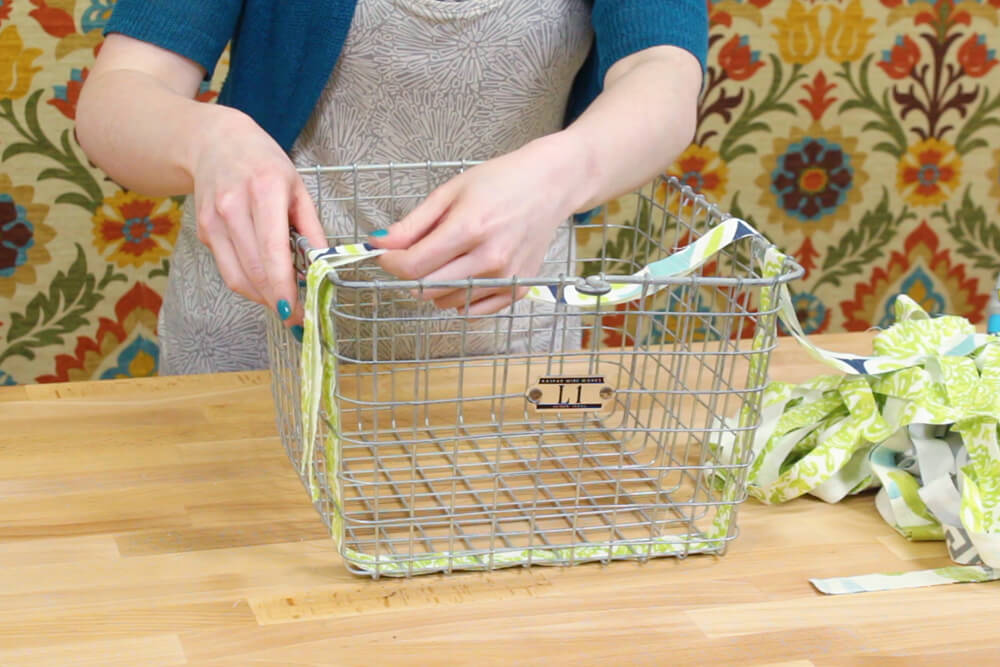
Step 2: Weave the fabric
Pull one end of the fabric through the top wire so that the ends match up. Weave the fabric over and under the wires. Continue weaving the same way across the bottom and up the other side.
Leave the ends loose for now to hot glue later.
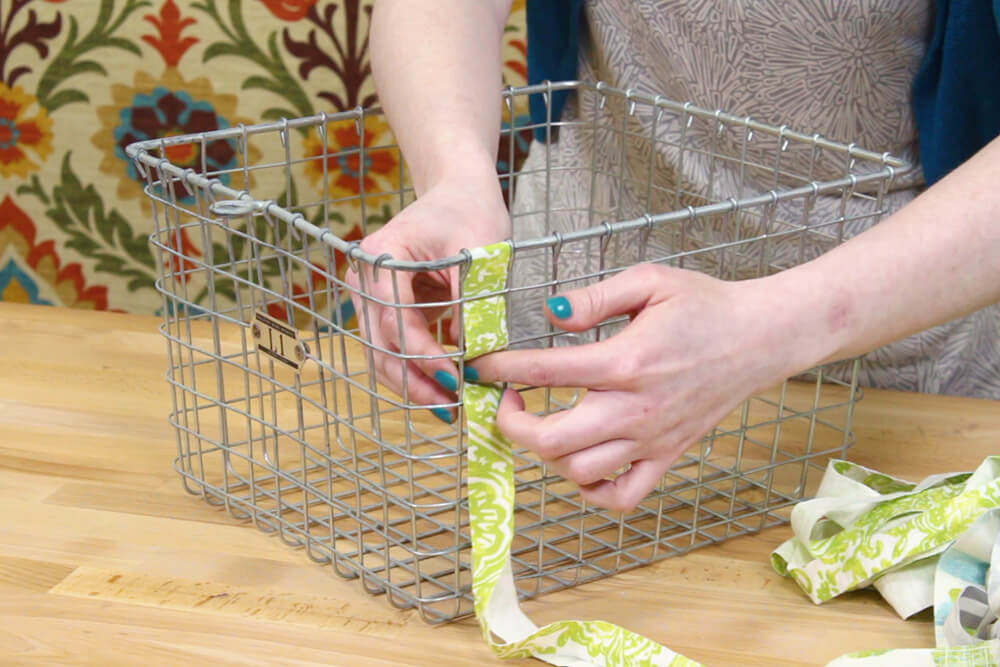
Beginning at the opposite side from where you started, weave another strip of fabric. Go over the wires that you went under on the first strip and vice versa.
Continue weaving until the sides and bottom are filled.
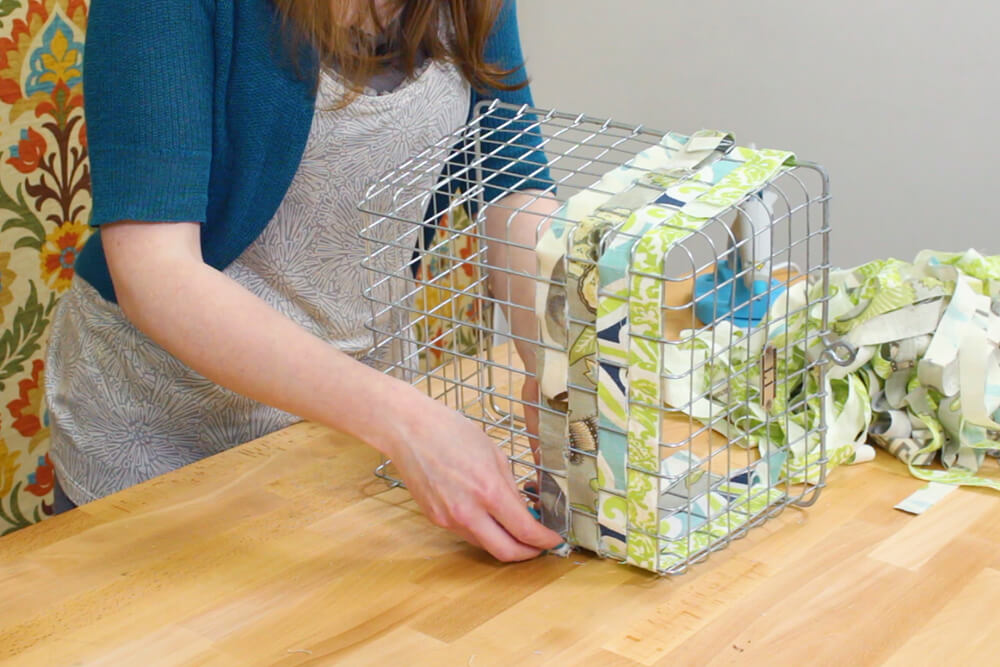
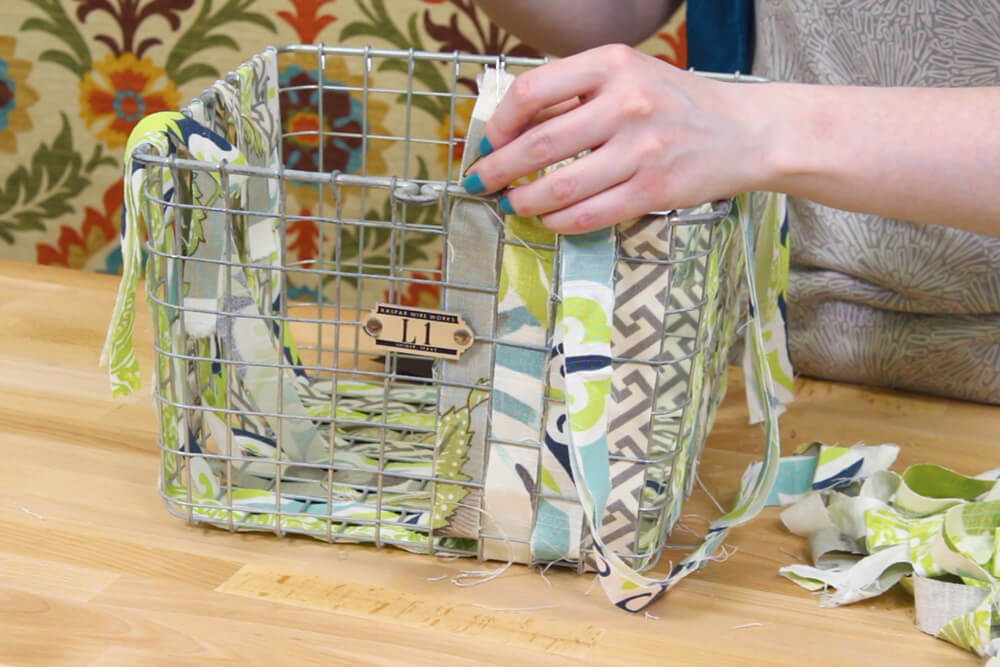
Skip the corners for now and weave strips down the front, across the bottom and up the back. When you get to the bottom, start weaving the fabric over and under the other strips of fabric. It helps to attach a safety pin to the end.
I’m going to continue like this until I get to the label on the front.
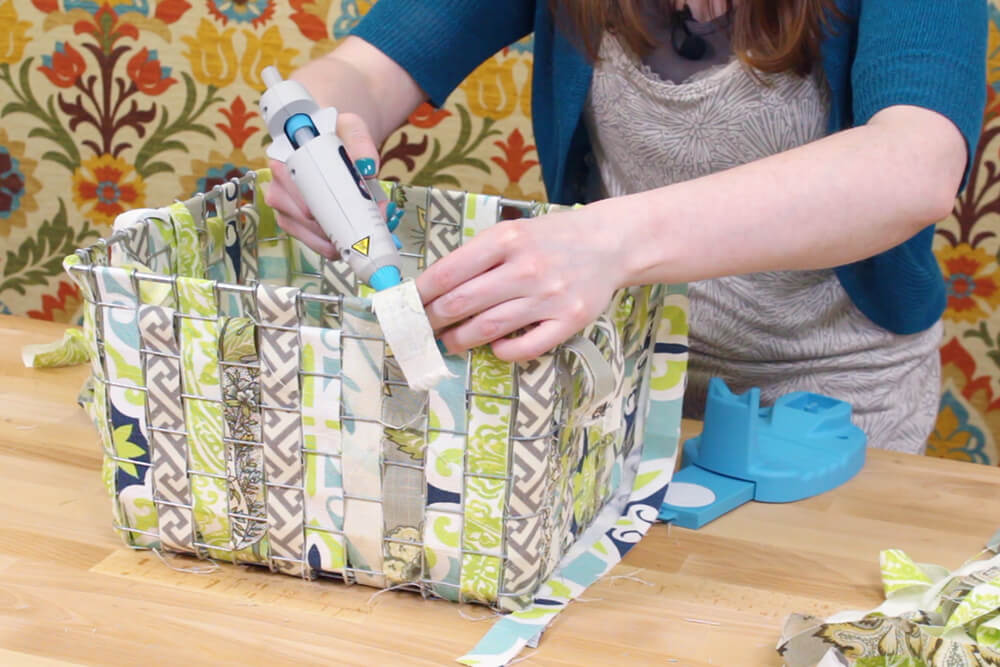
To cover the label on this basket, I’m going around the back side of the label so that you can’t see it from the inside. I’ll cover it up with a new label made out of chalkcloth later.
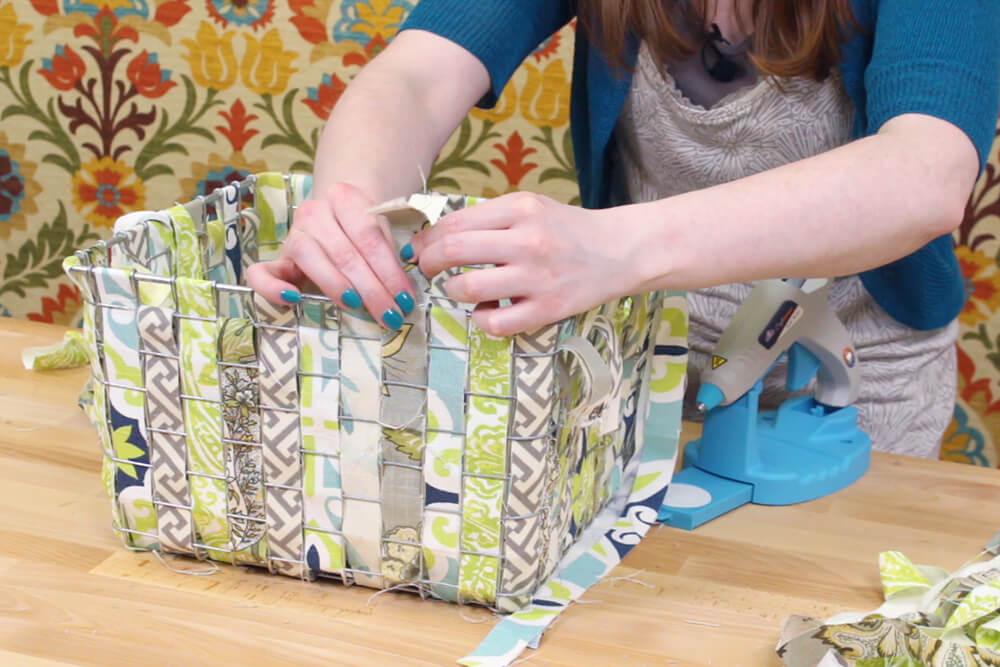
This basket has a loop on the front that I can’t go over, so I’m just going to glue the fabric to the back of it.
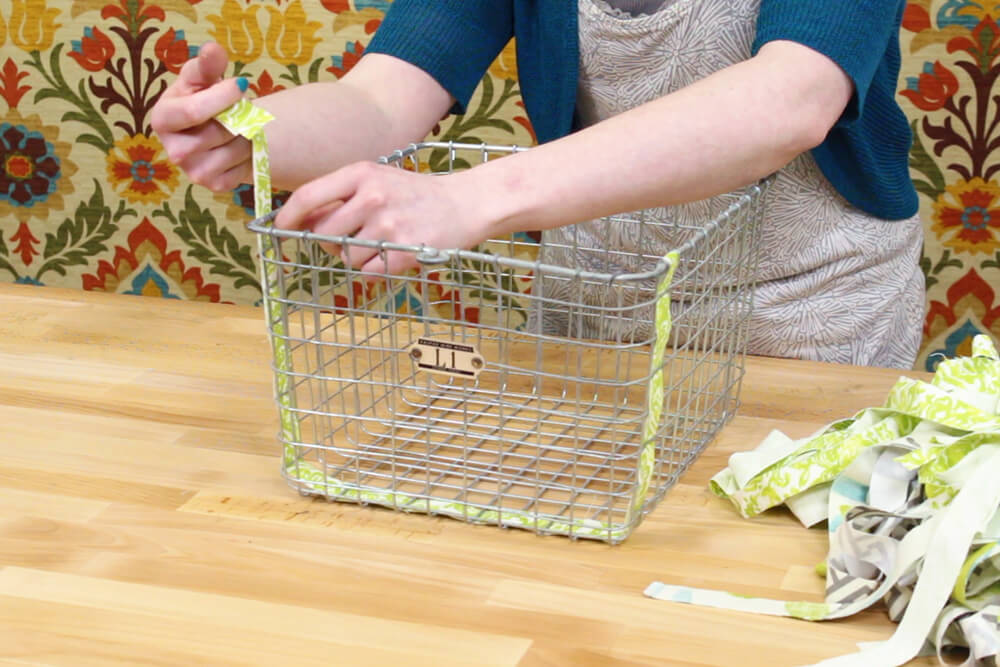
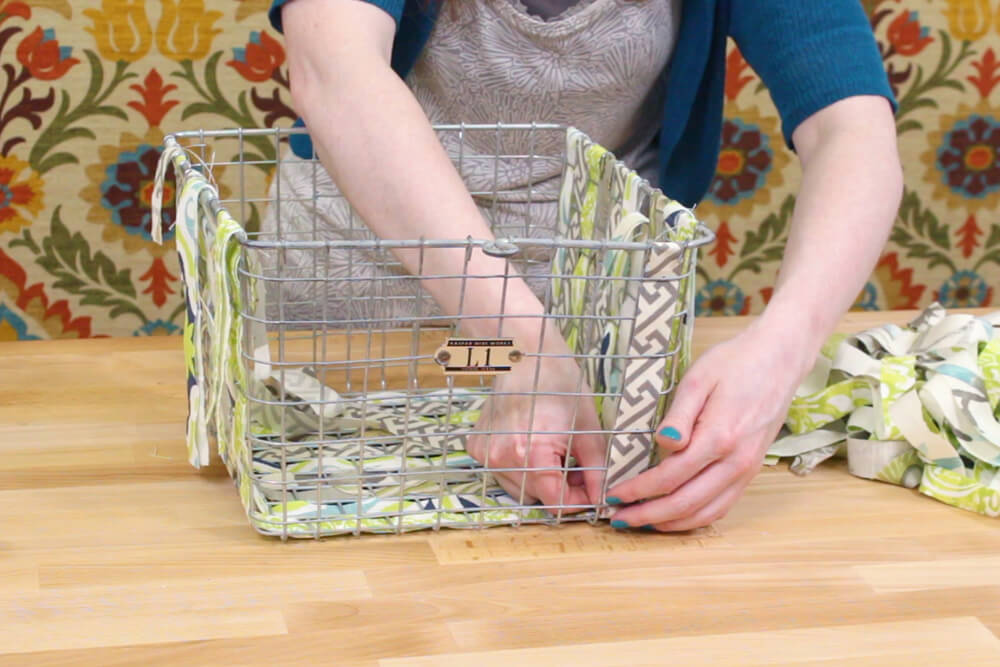
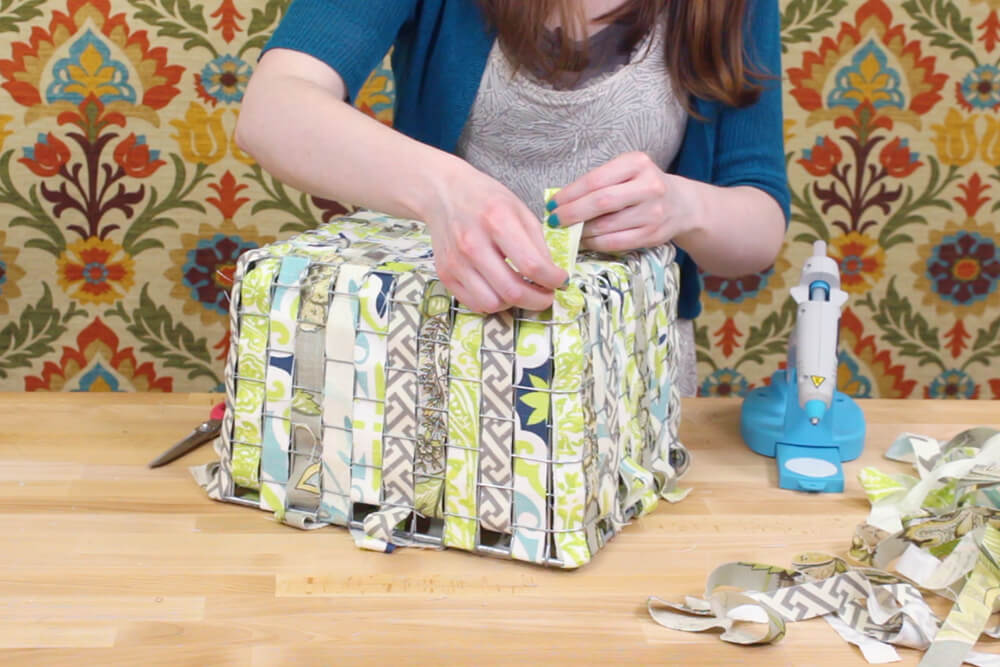
Continue until just the corners are left.
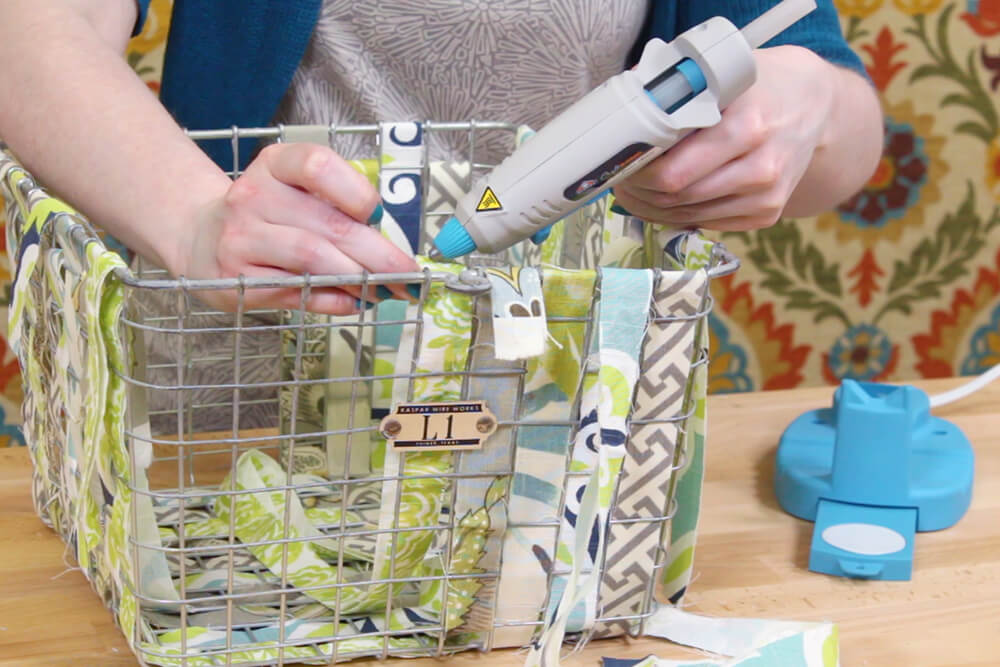
Weave down the corner and stop when you get to the bottom.
Tack the two sides of the strip together with glue. Then pull it between one of the strips at the bottom and glue it so it stays there.
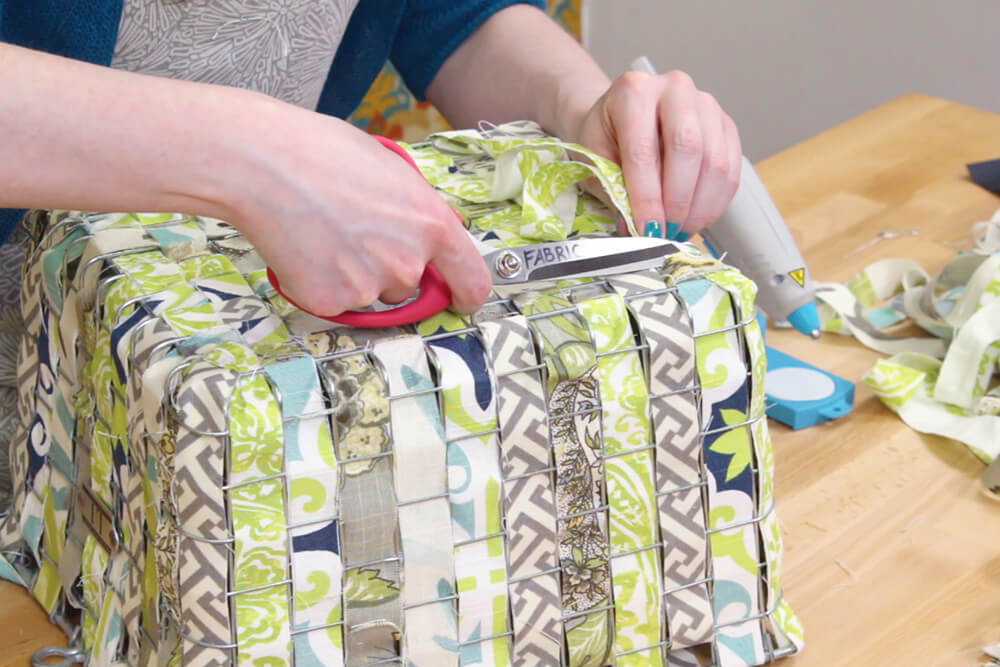
Cut the extra fabric off so the ends are hidden between the strip.
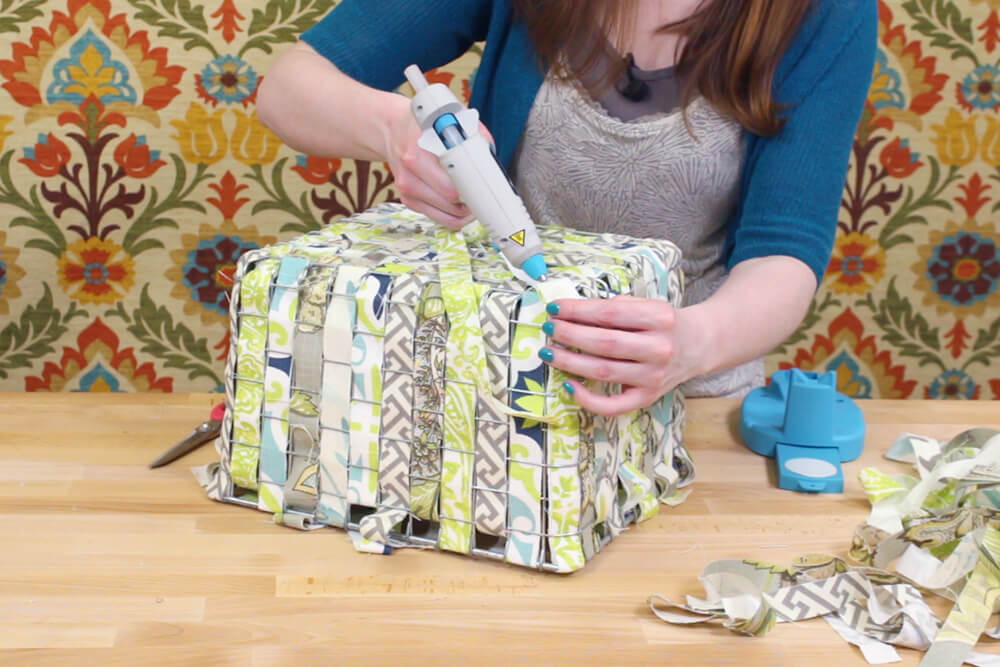
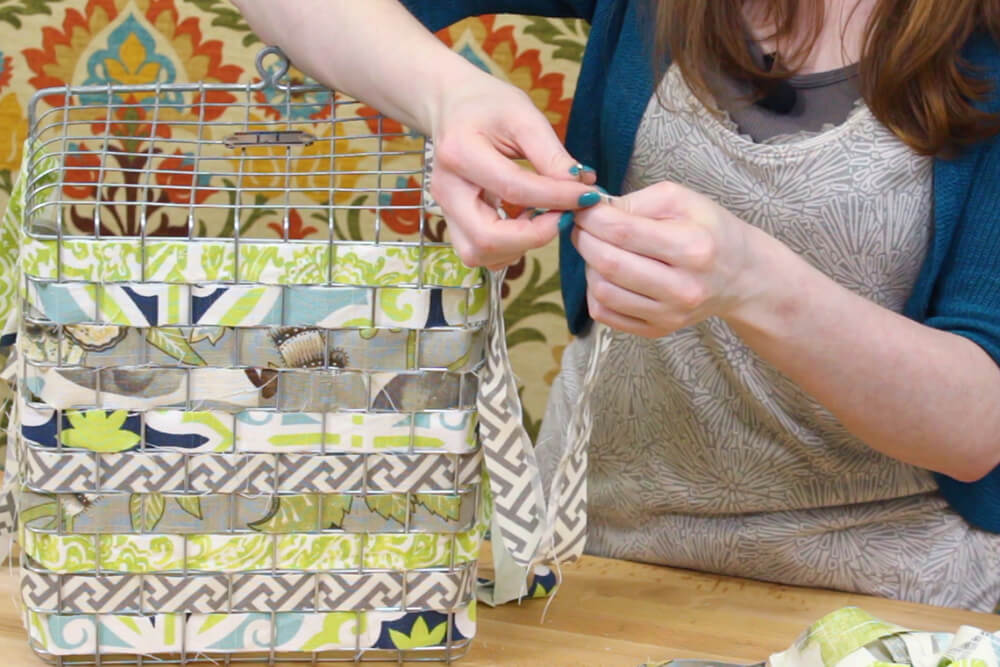
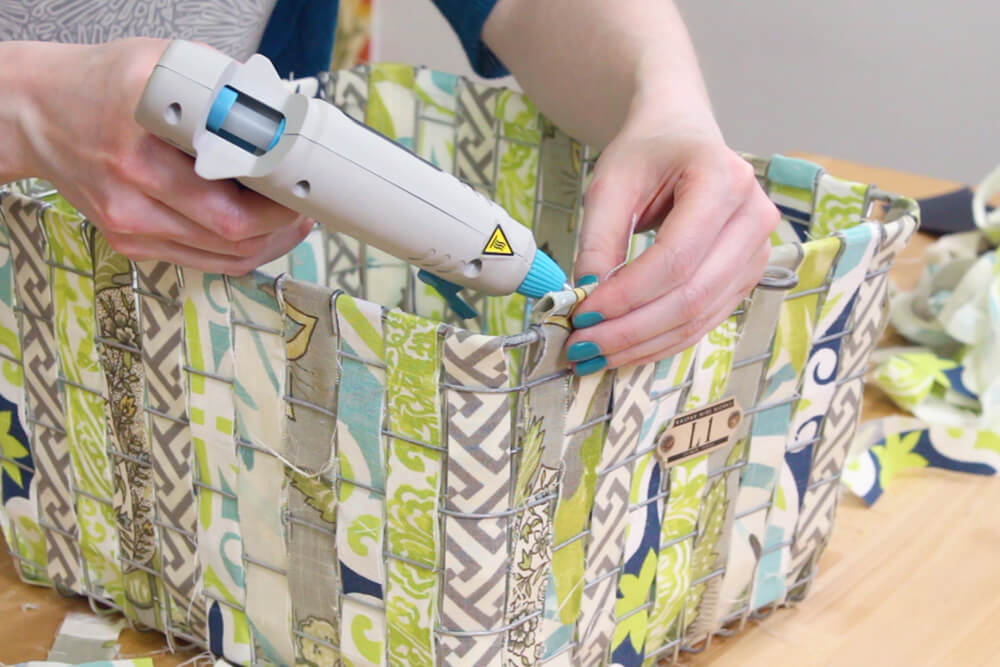
Step 3: Glue the ends
To glue the ends, first glue the strip together above the top of the basket. Cut off the extra fabric so there’s about an inch left. Fold under the end and glue it down.
Make sure to pull the fabric tight before gluing it. Repeat the same thing for all the other ends.

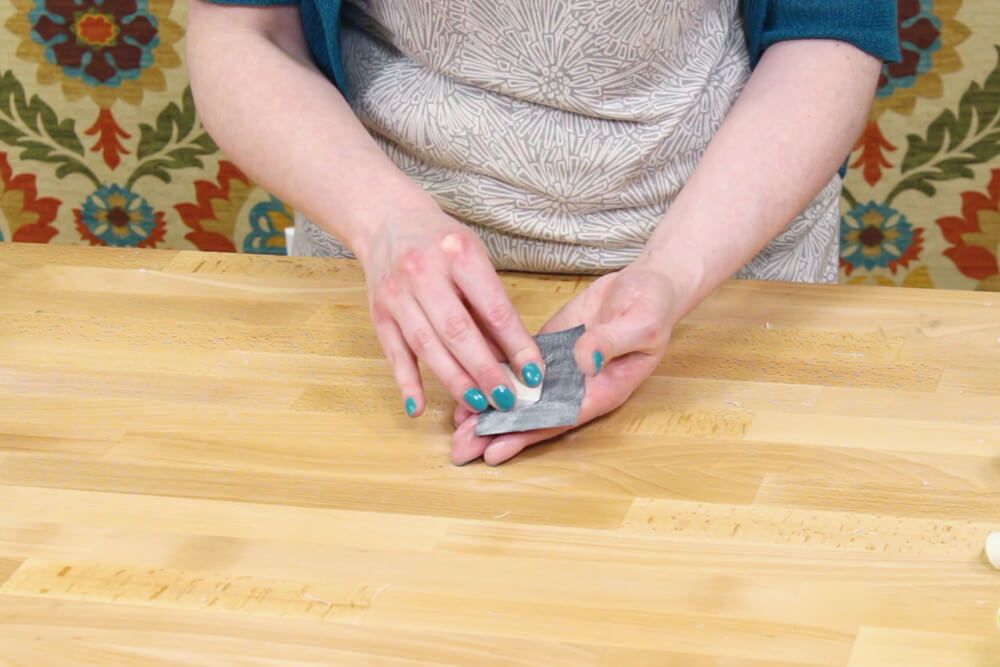
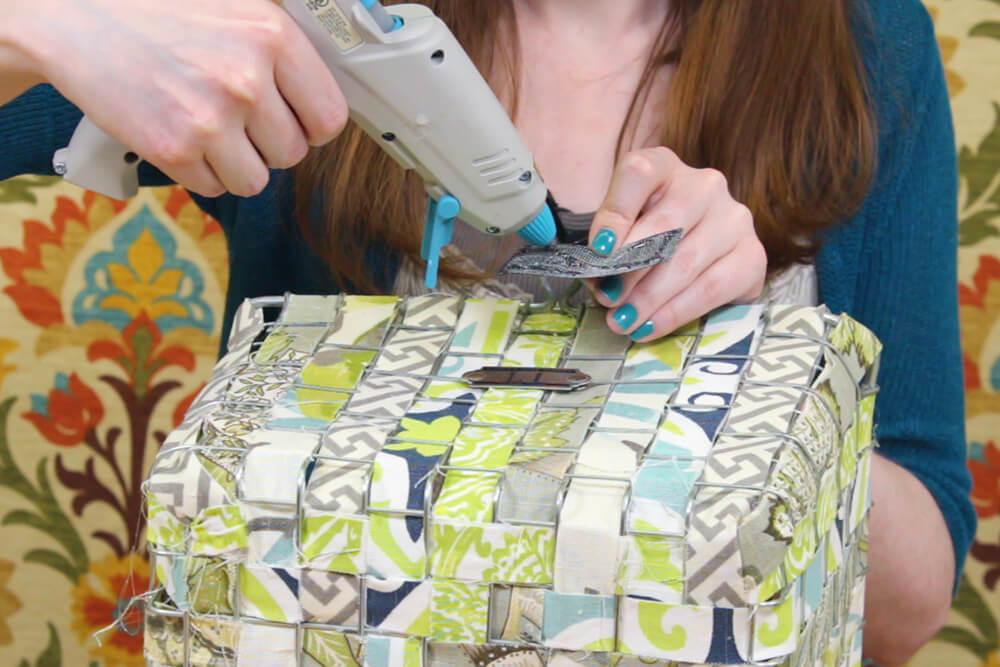
Step 4: Add a label
The chalkcoth for the label has to be cured first. Rub a layer of chalk on it, then wipe it off, put more chalk on it, and wipe it off again.
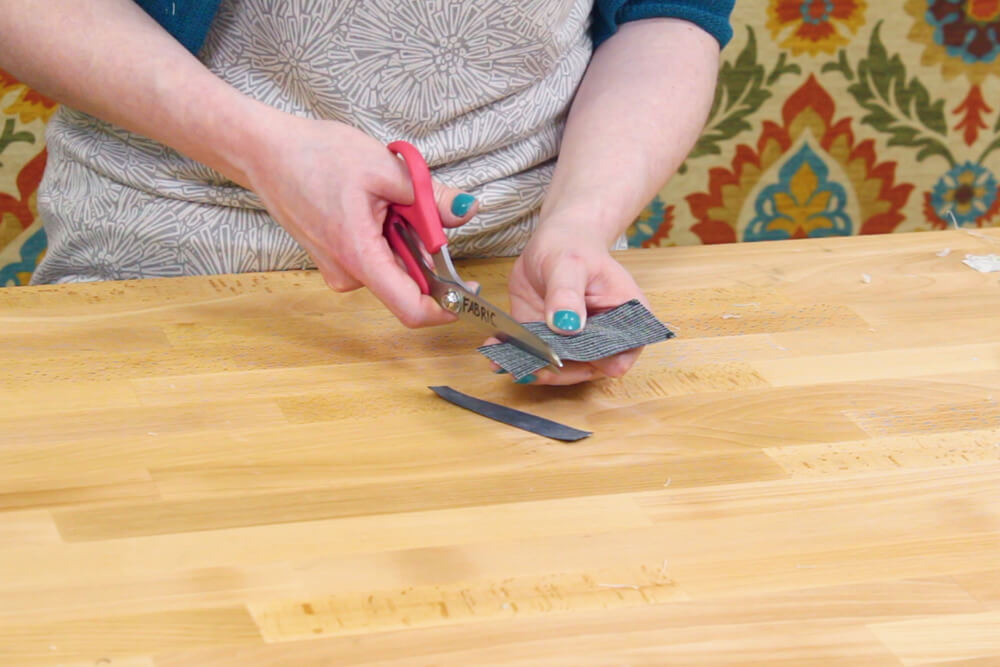
I’m going to cut it to the size I want, which is about 1½ by 3 inches.
Finally hot glue the chalkcloth on to the original label, making sure to glue the corners down well.
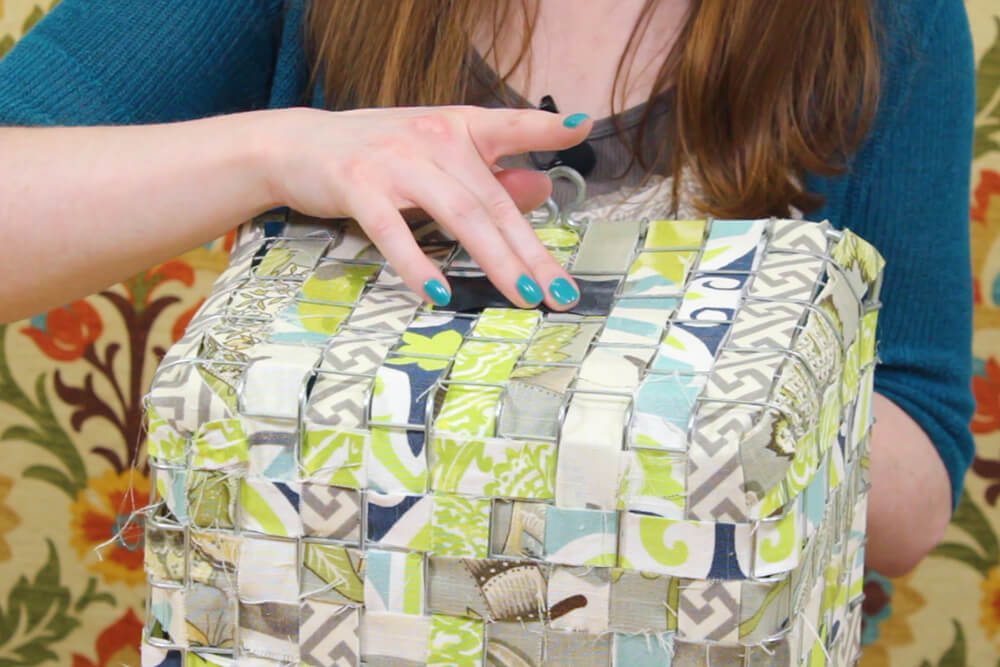
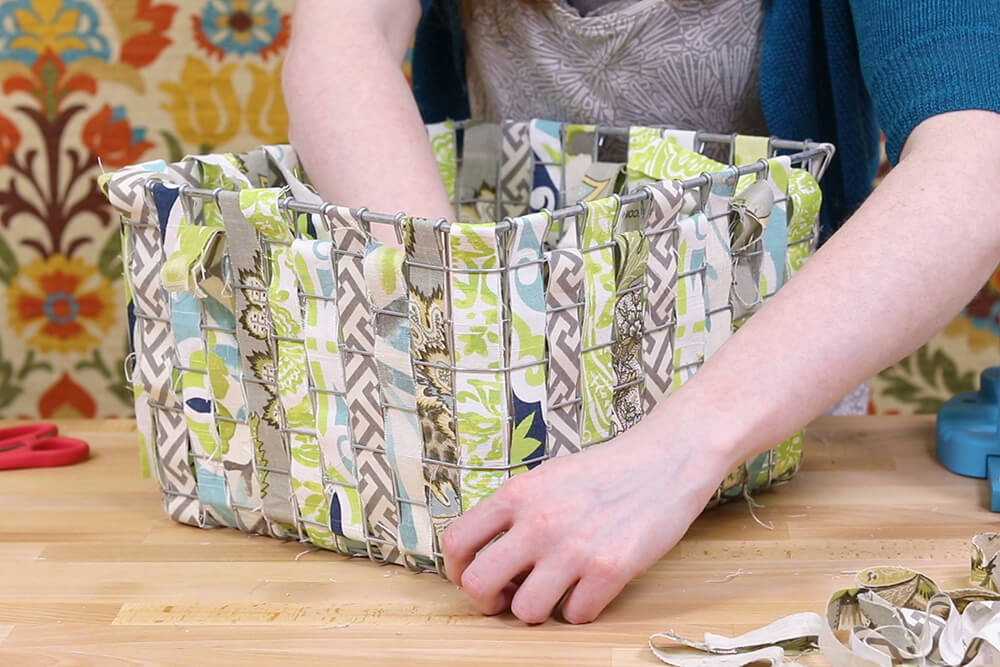
The edges are left raw for a rustic look, but you can tidy them up by cutting off any long threads that frayed while weaving.
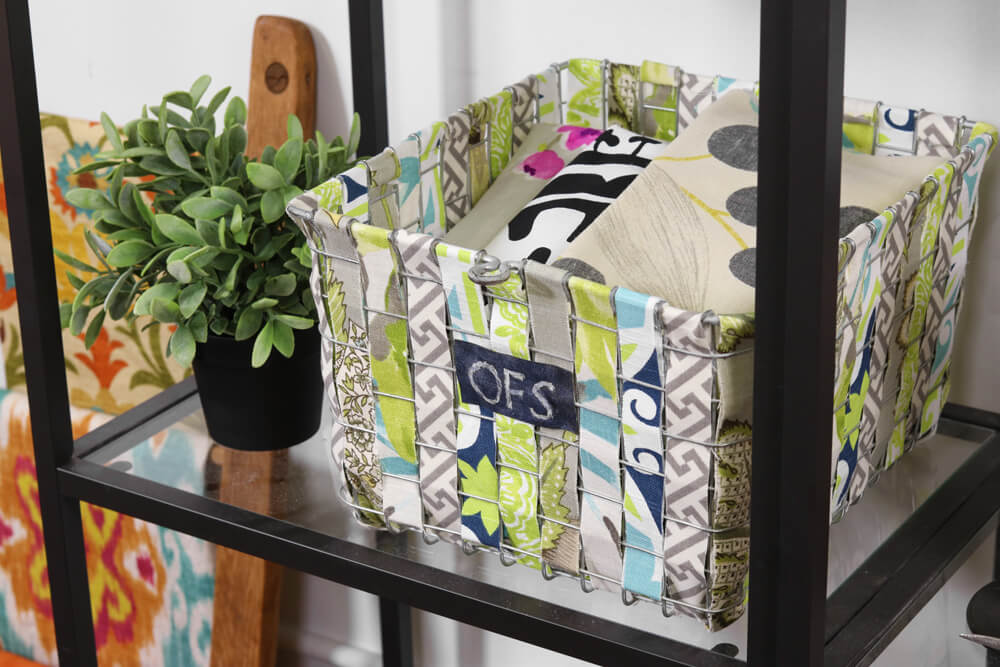
The basket is done!

-
{{#each productSuggestedQueries.results}}
- {{query}} {{/each}}
-
{{#each categories.results}}
- {{html title}} {{/each}}
{{html attributes.description}}
{{/if}}-
{{#each queries.results}}
- {{query}} {{/each}}