How to Make a Hanging Pocket Organizer
- By Clara
- Intermediate
- 3 hours
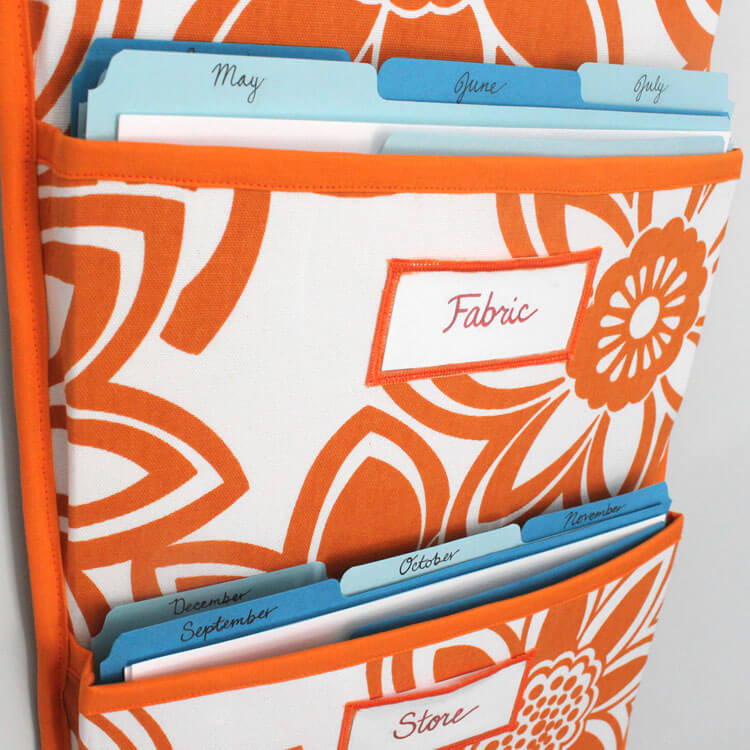
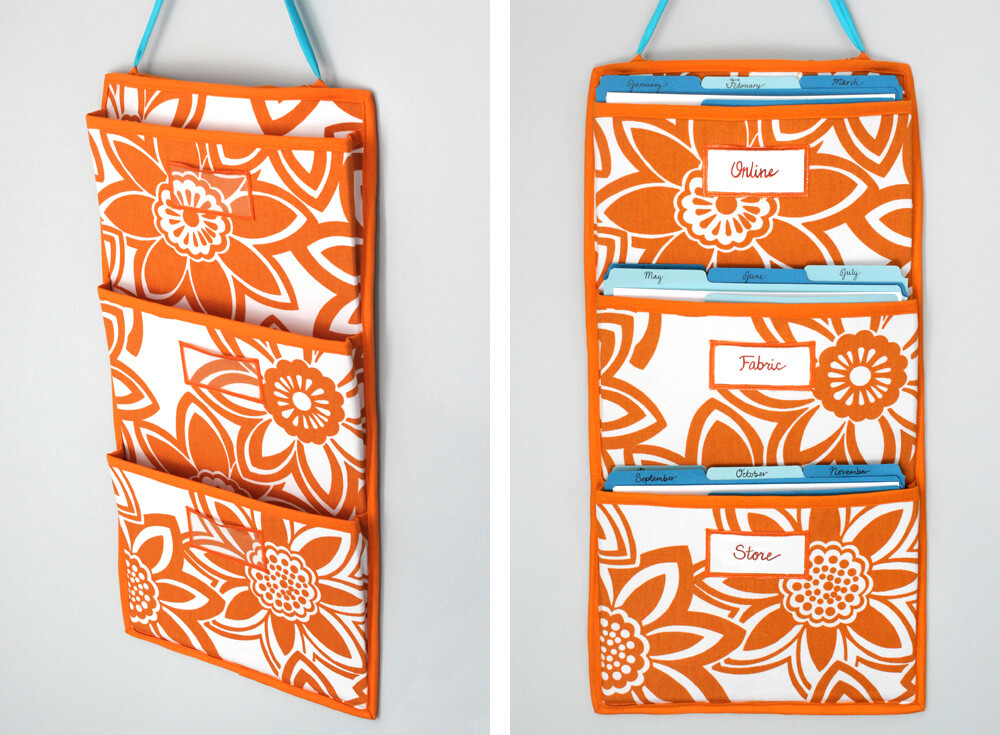
Pocket organizers are handy to hold many different things for many different ages. Kids can use it for toys and storybooks, teens can organize homework by subject, and adults can use it to brighten up their cubicle or office. You can add more pockets or change the size to meet your organizational needs. This one is perfect for the office or work space because it is sized to fit file folders. You also have the option of adding clear pockets for labels.
Materials
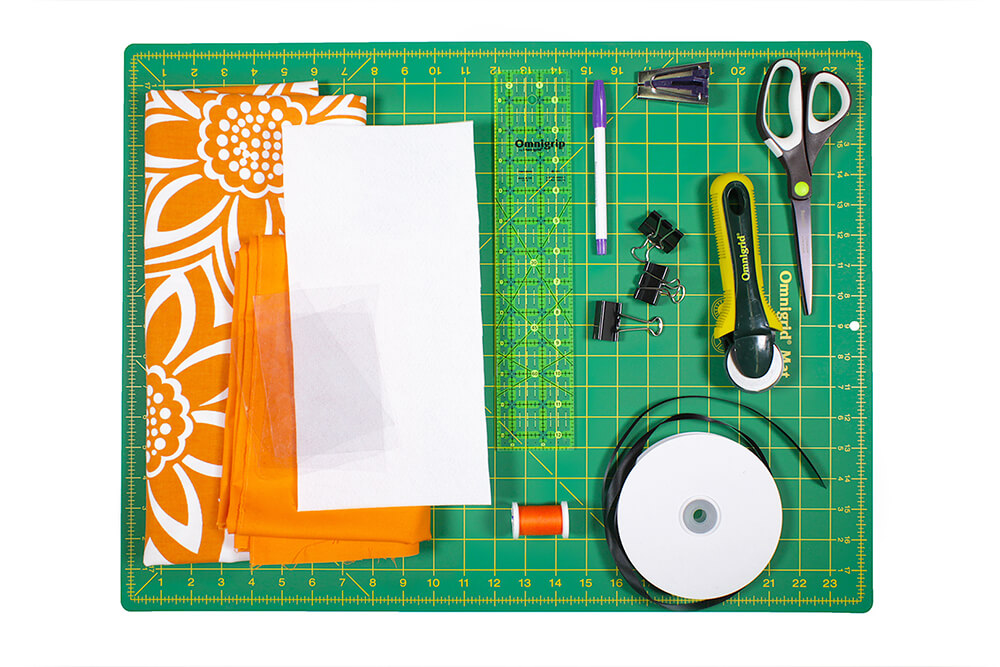
Related Products


Video
Instructions
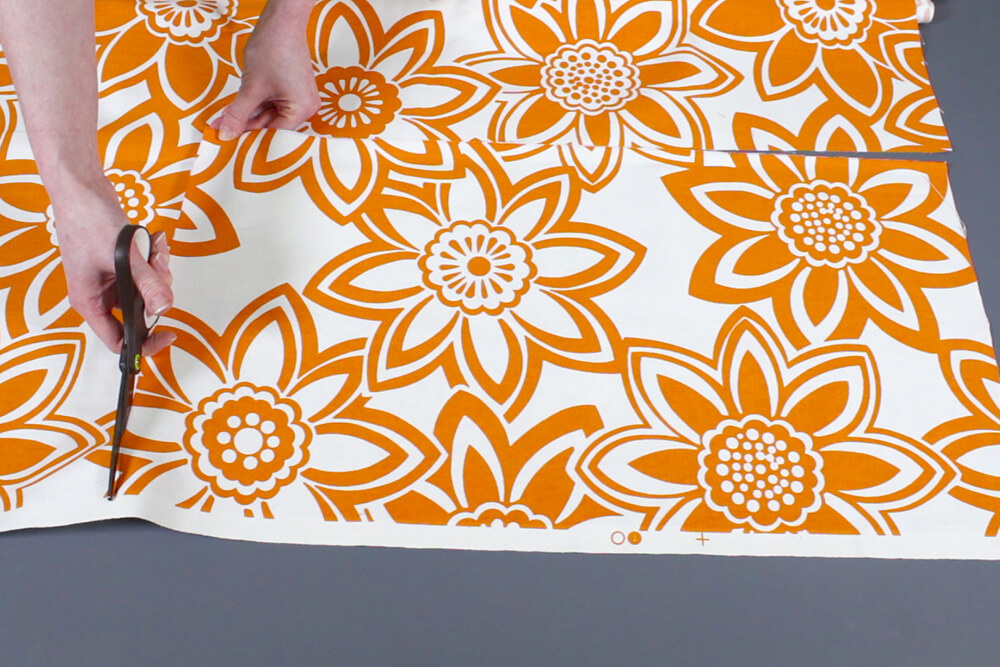
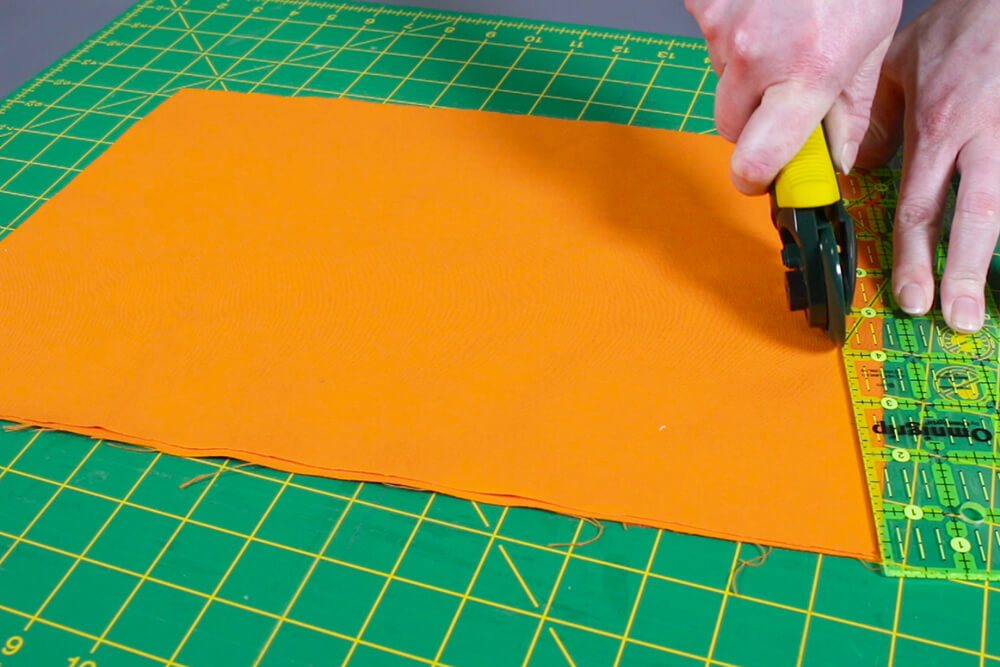
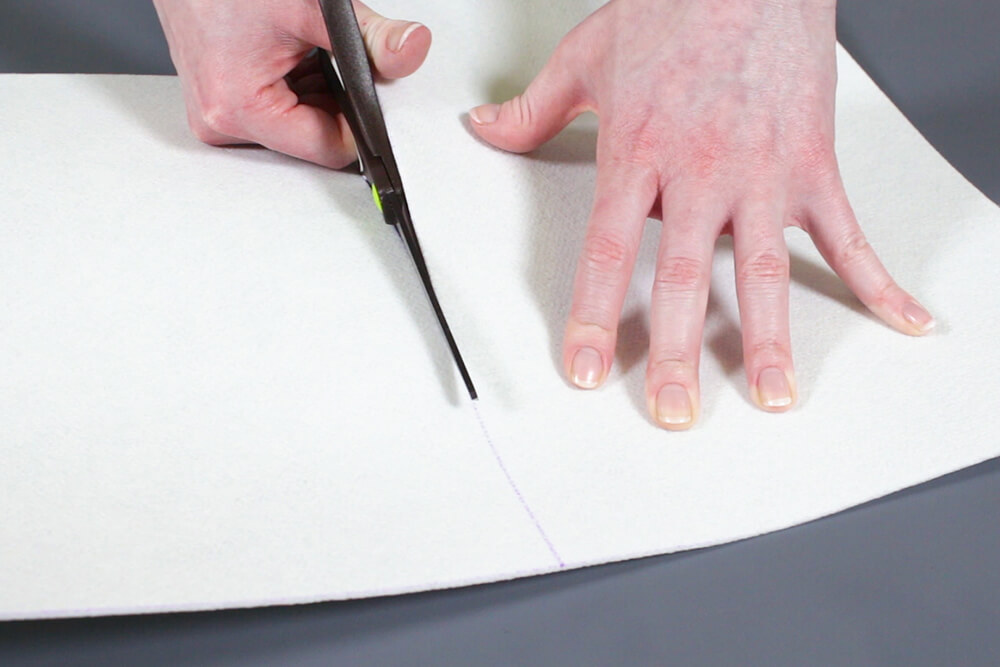
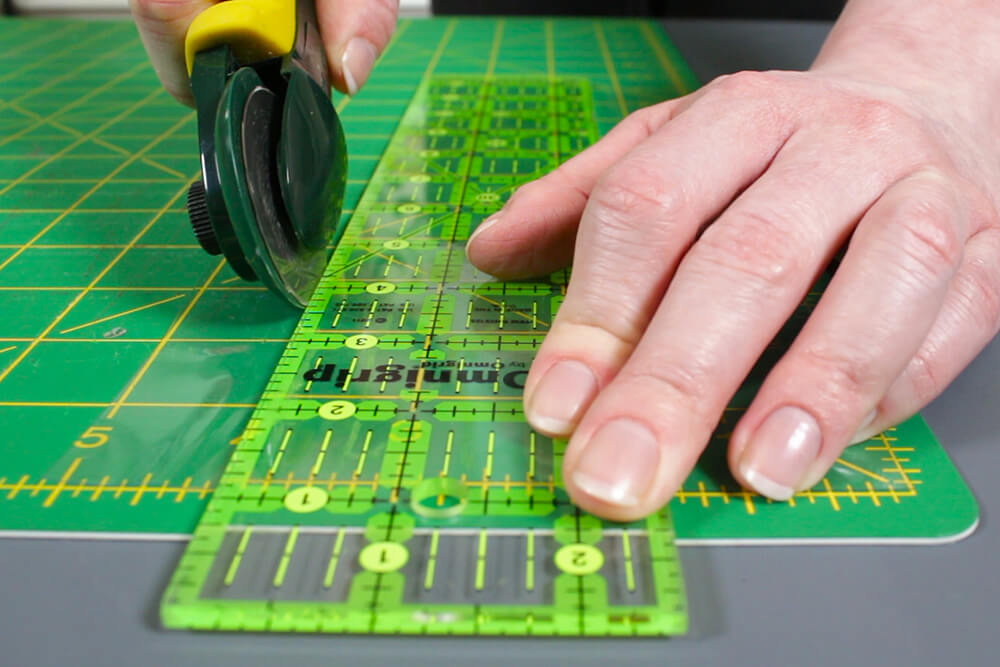
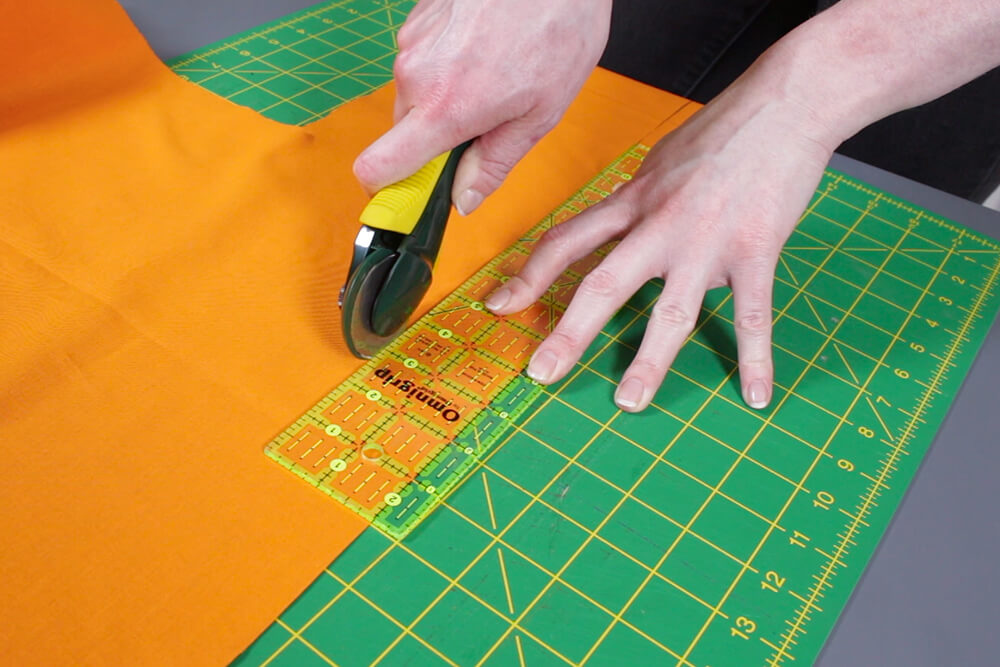
Step 1: Measure & cut the fabric
If your fabric has a directional pattern, make sure it’s running vertically on the large pieces and horizontally on the smaller pieces.
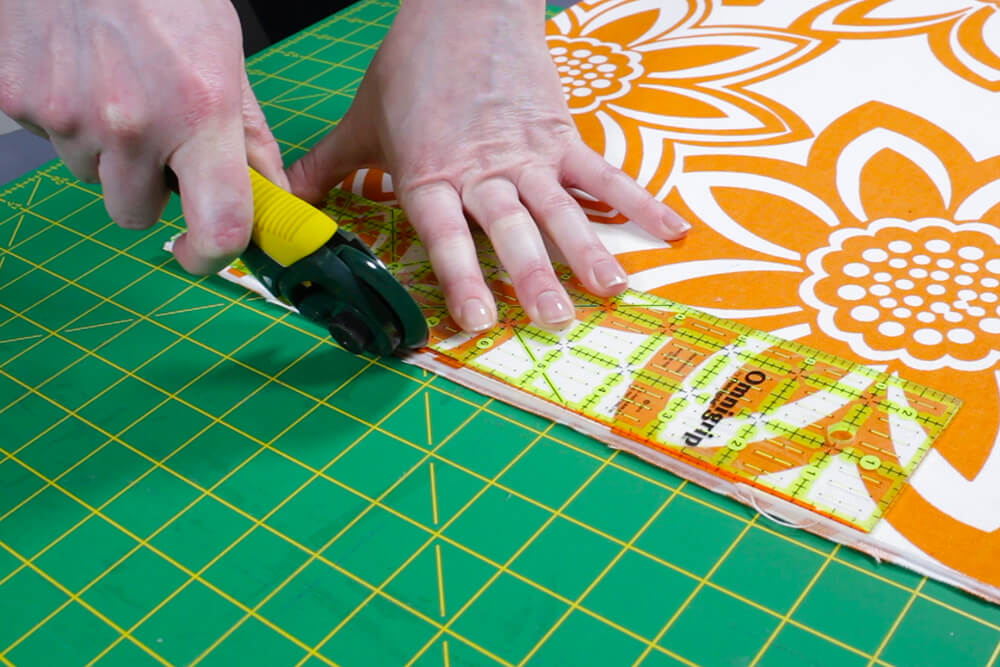
From the main fabric, cut 2 pieces that are 13” x 26”. Then cut three 9½” x 15½” pieces, which will be the fronts of the pockets.
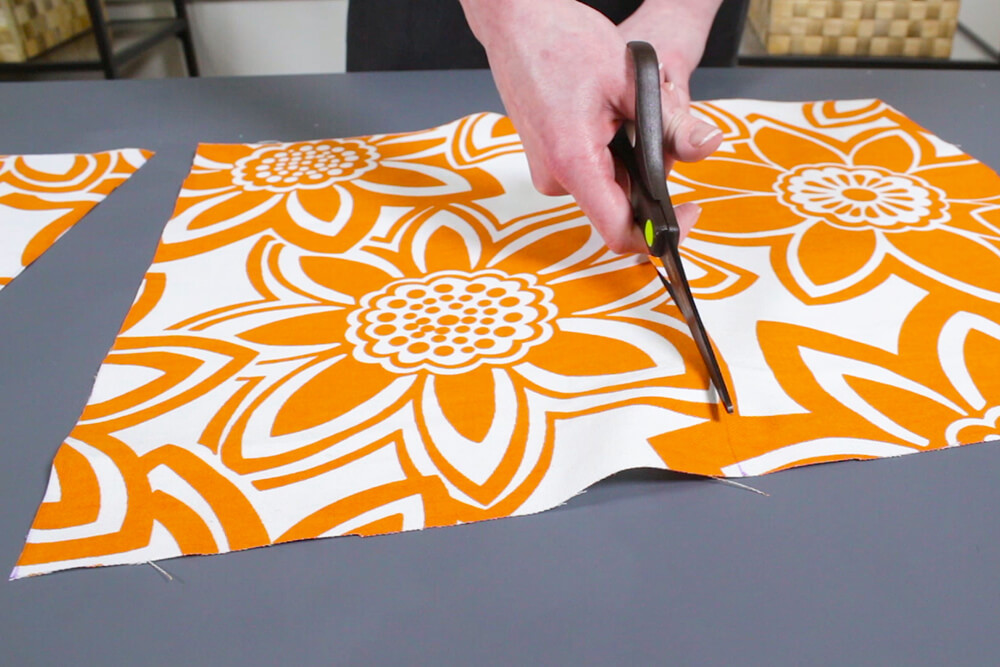
Cut 3 more 9½” x 15½” pieces from your second fabric. On each of these pocket pieces, measure in 1½” from the bottom corners. Draw a line from these marks to the top corners and cut.

From the stabilizer fabric, cut one 13” x 26” piece and three ¾” x 12¼” pieces.
For the label pockets, cut three 2” x 4” pieces of clear vinyl.
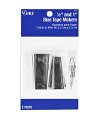
You could also use pre-made bias tape if you prefer.
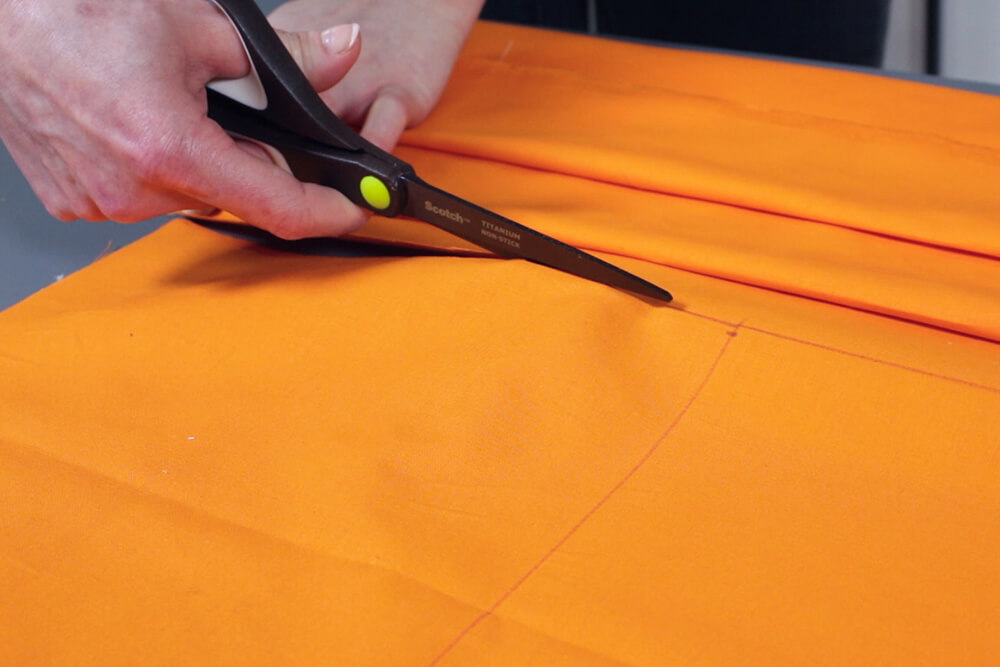
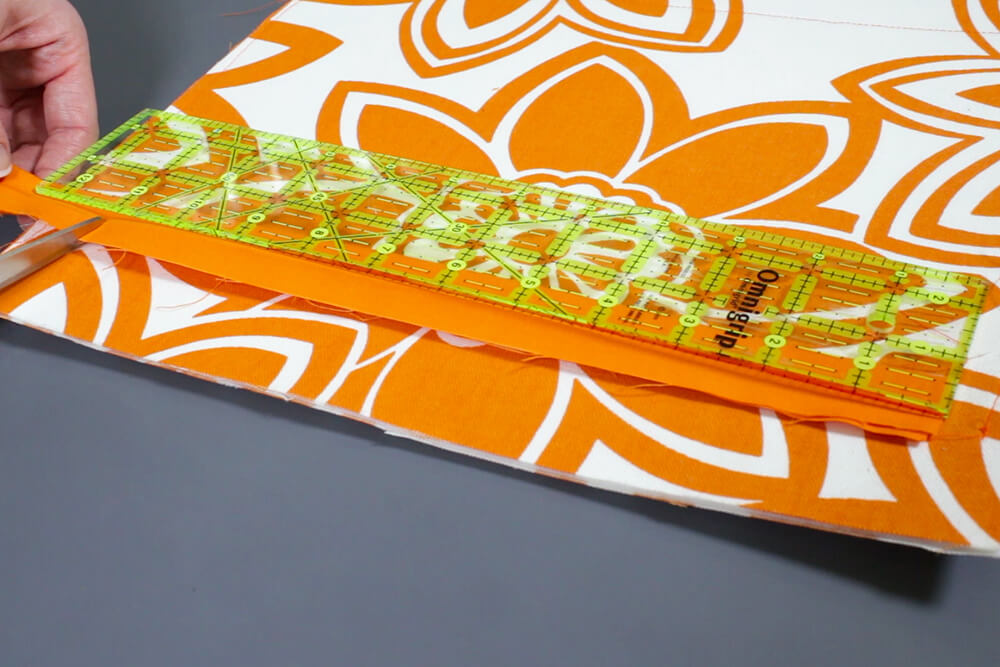
Finally, cut out 2” strips for the bias tape. Since there won’t be any curved corners, the fabric doesn’t have to be cut diagonally on the bias. You’ll need 12 feet total.
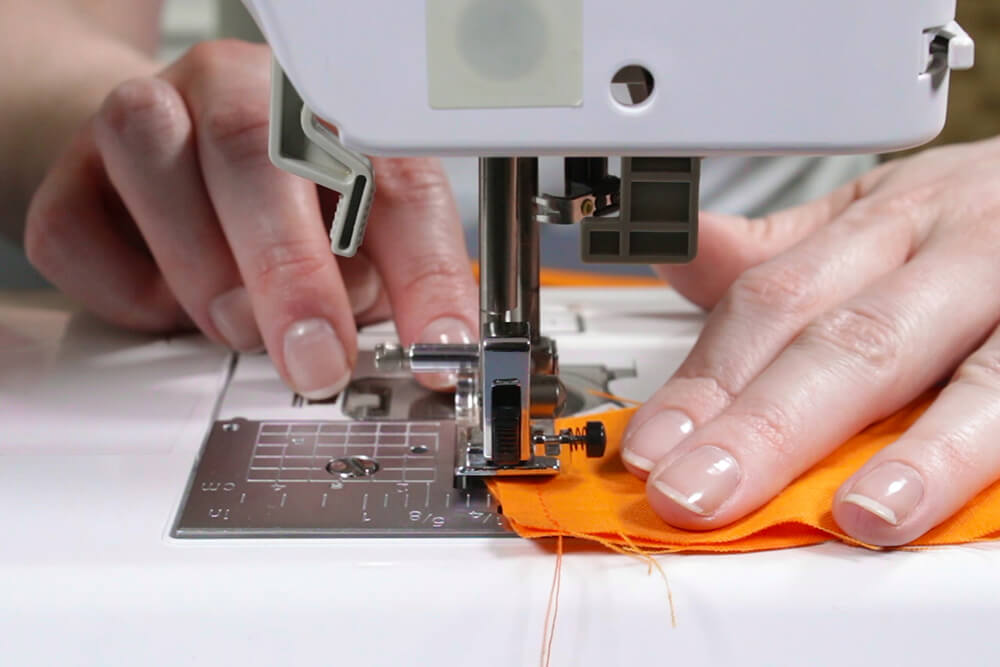
Step 2: Make the pocket fronts
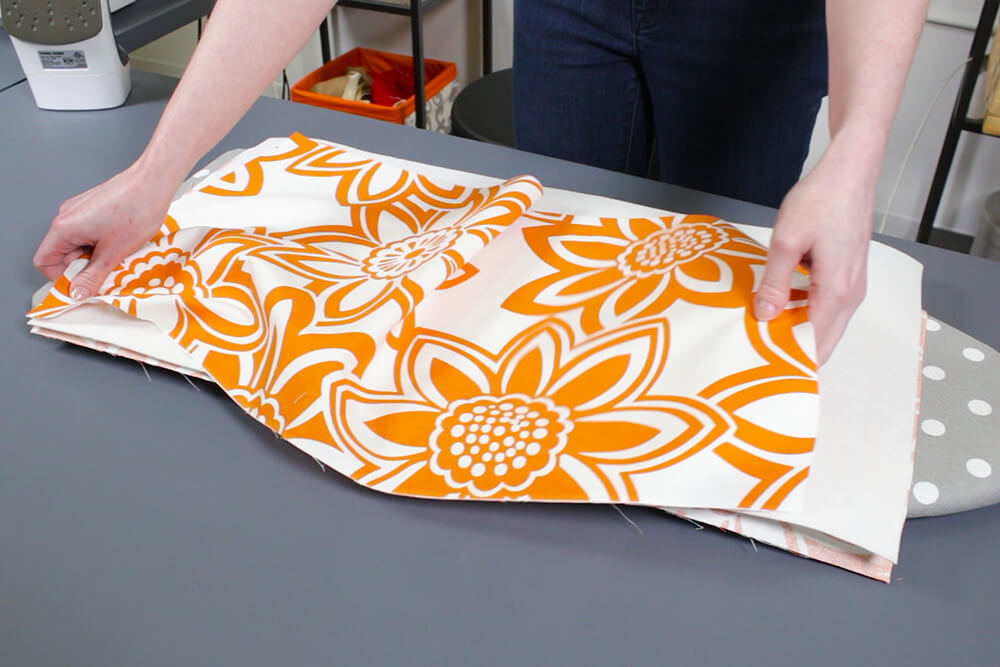
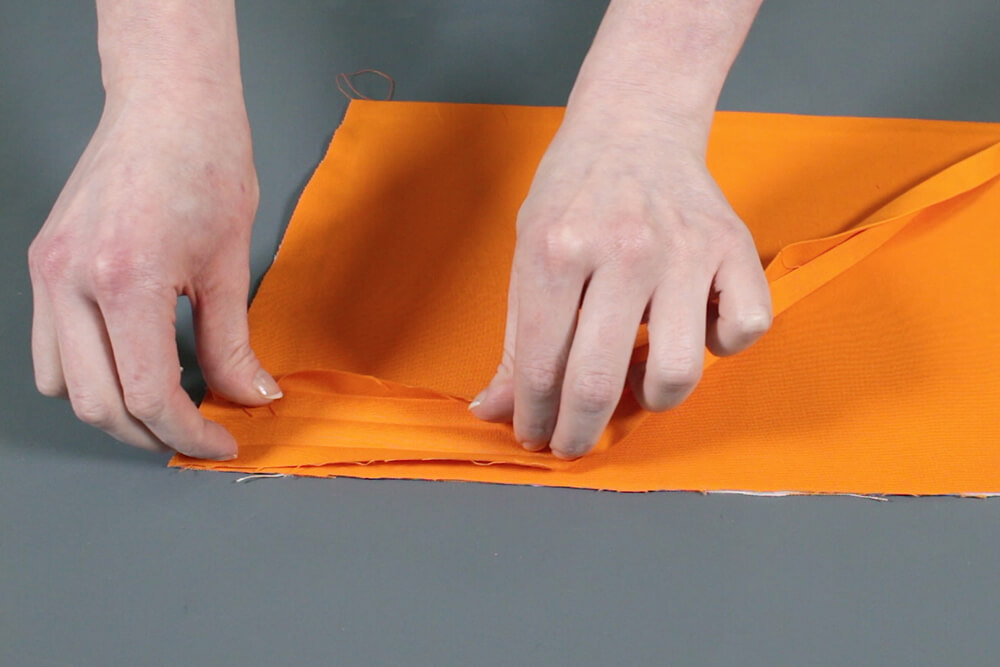
Take a front and back pocket piece and put them together with right sides facing. Sew the shorter (bottom) side with a ½” seam allowance.
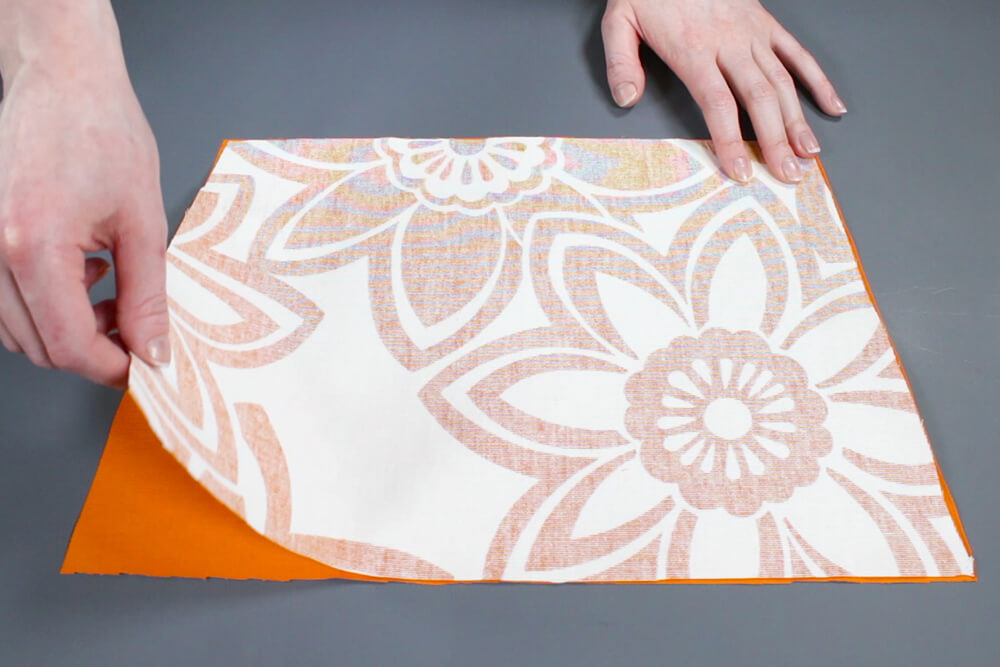
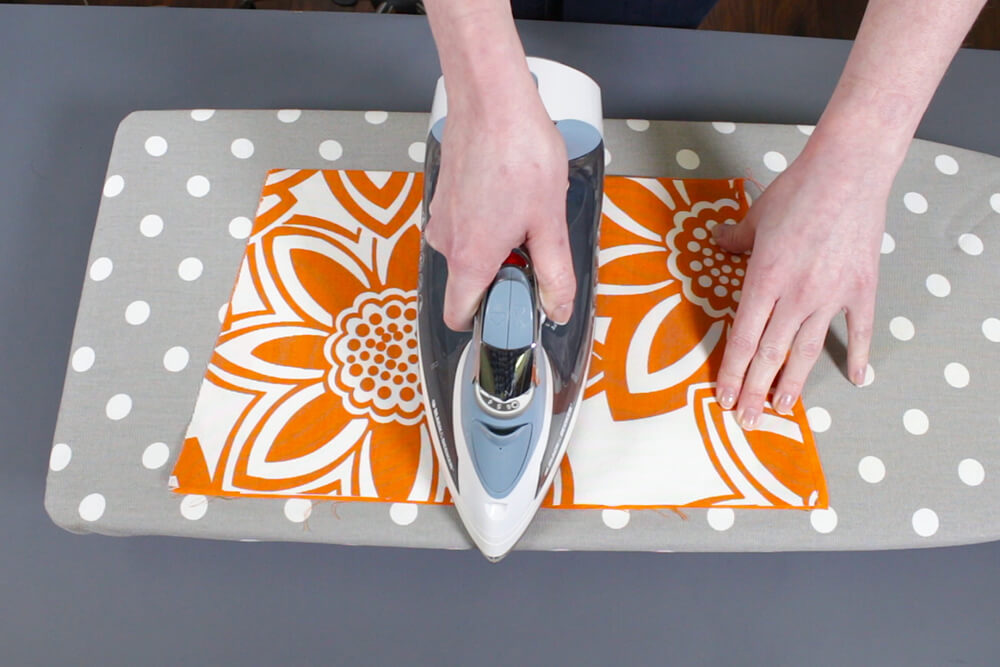
Press the seam open, flip it so the right sides are facing out, and iron.
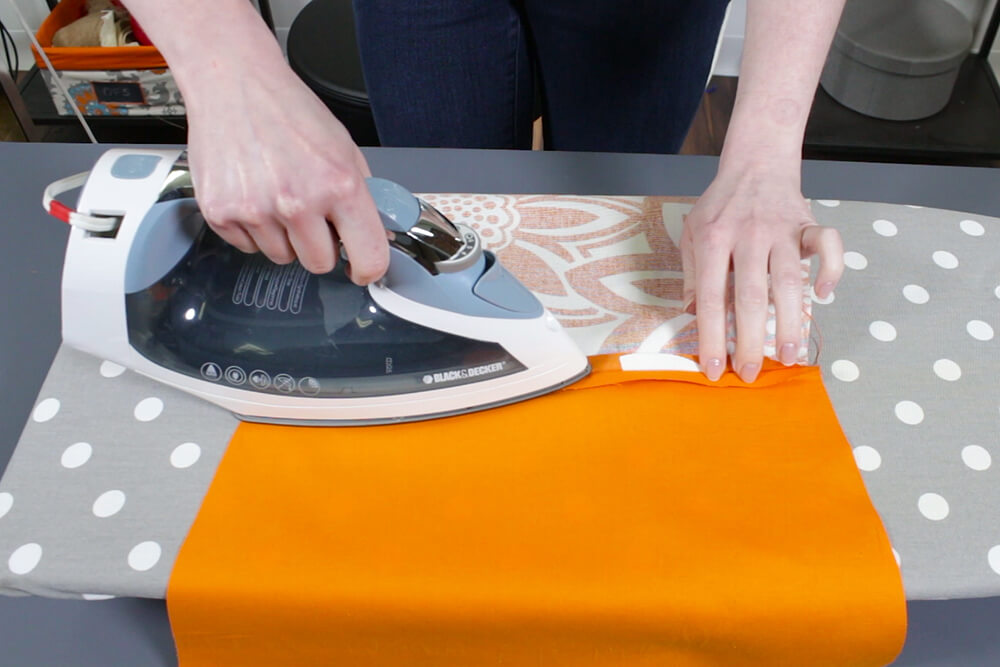
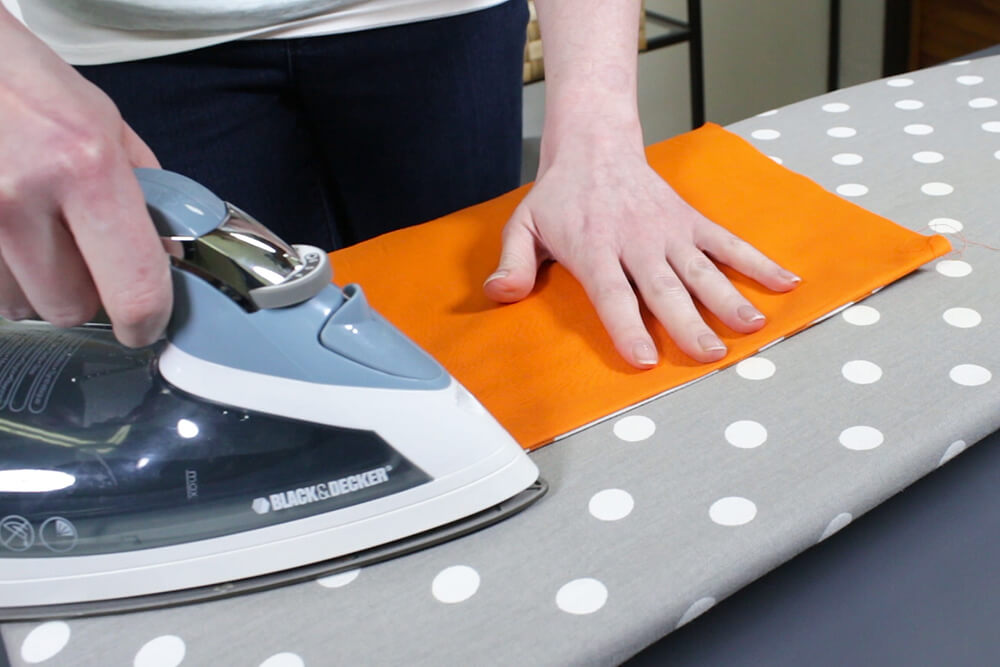
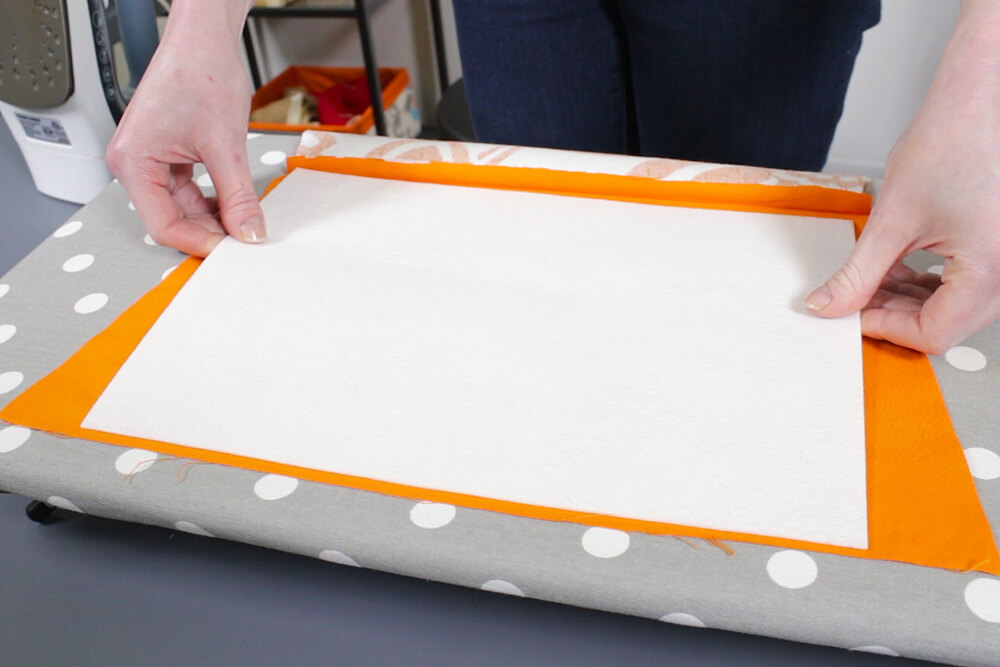
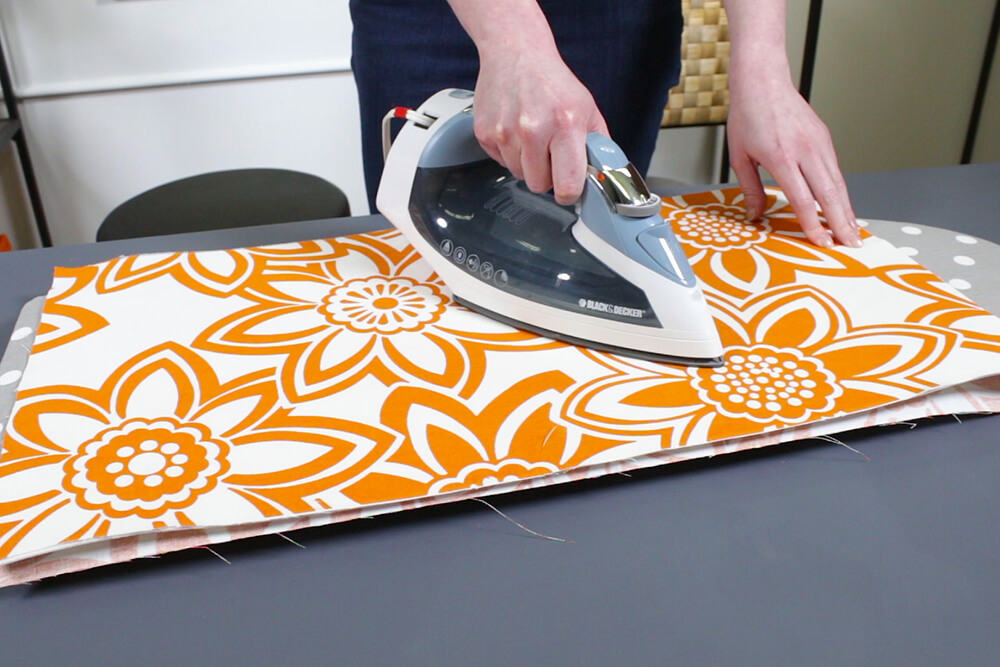
Take a stabilizer piece and put it between the fabric so it is centered and lined up with the top edges. This should leave ¼” of space at the bottom.
Iron on high to fuse the pieces together. Make sure all parts get at least 5 seconds of continuous heat. Then flip it over and iron the other side.
Repeat for the other pockets.
Put the remaining stabilizer piece between the two large pieces of fabric and iron to fuse them together.
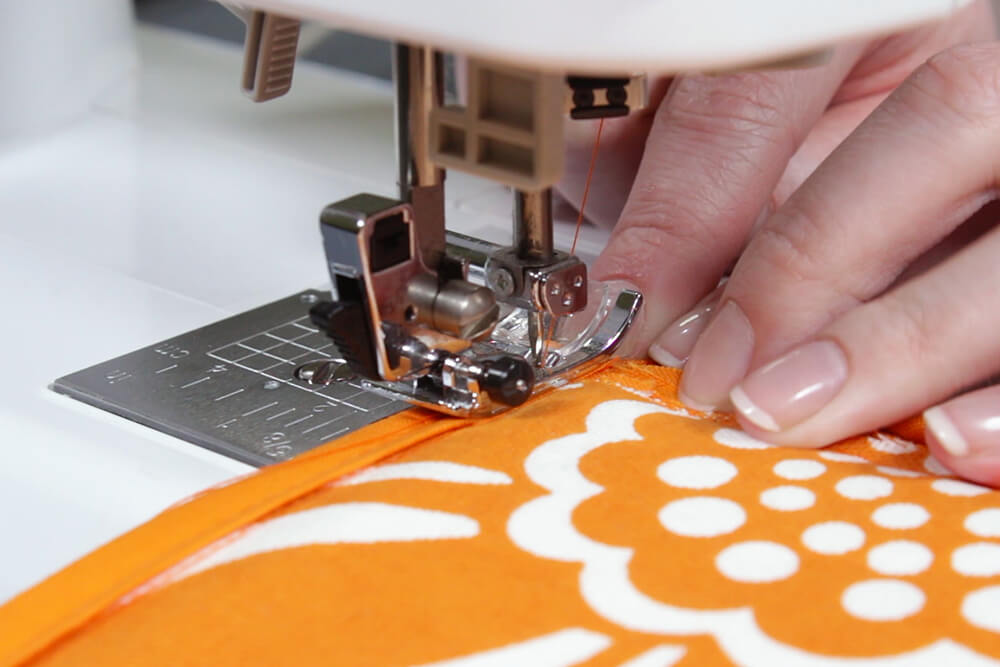
Step 3: Add trim to the pockets
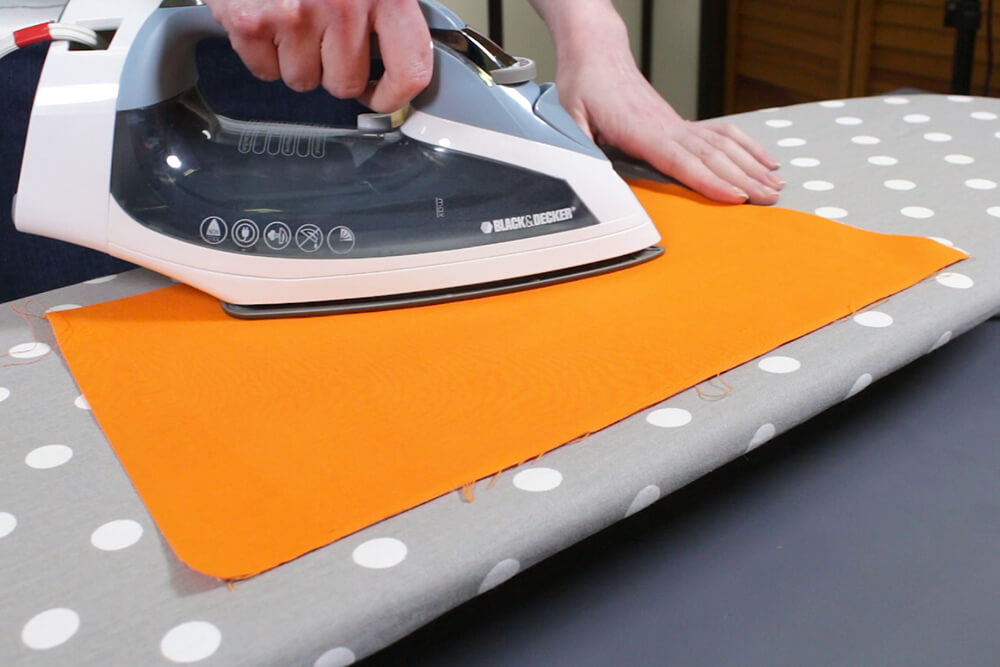
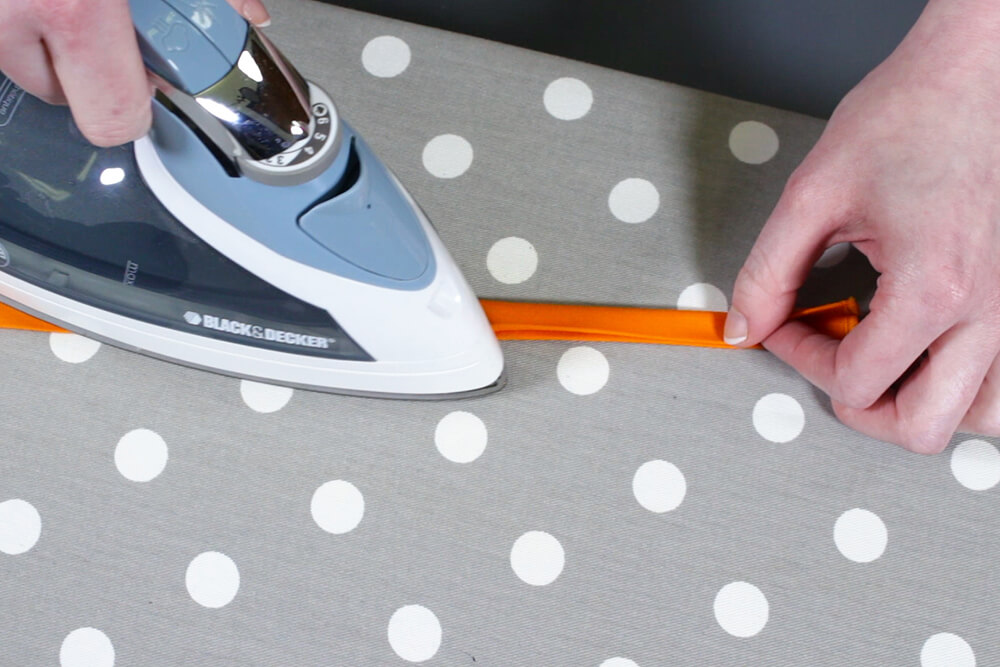
Feed the 2” strips through the bias tape maker and iron the fabric as it comes out. Fold the fabric in half and press again.

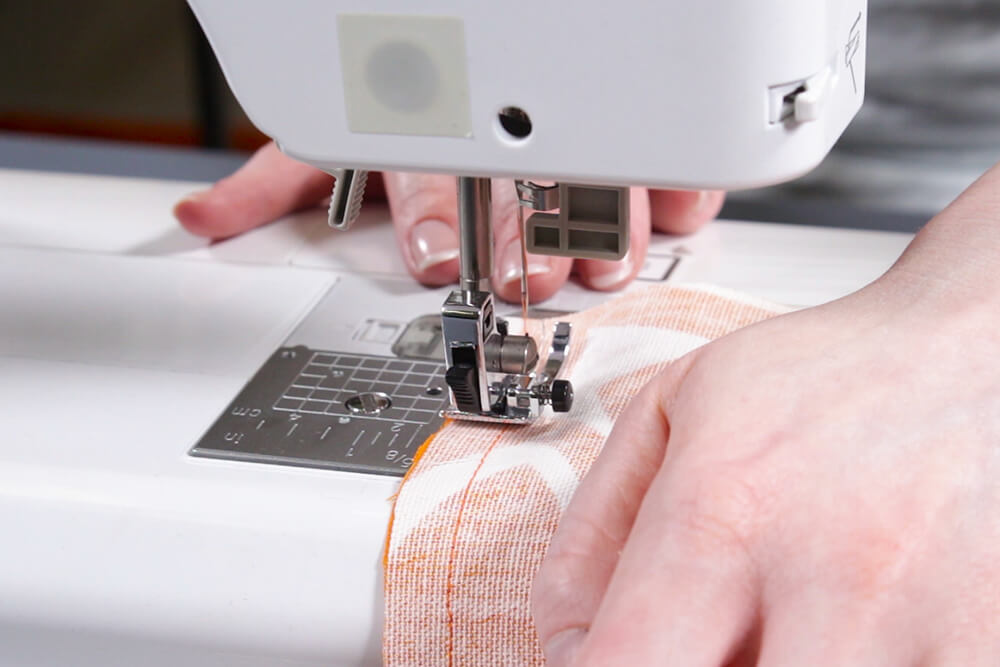
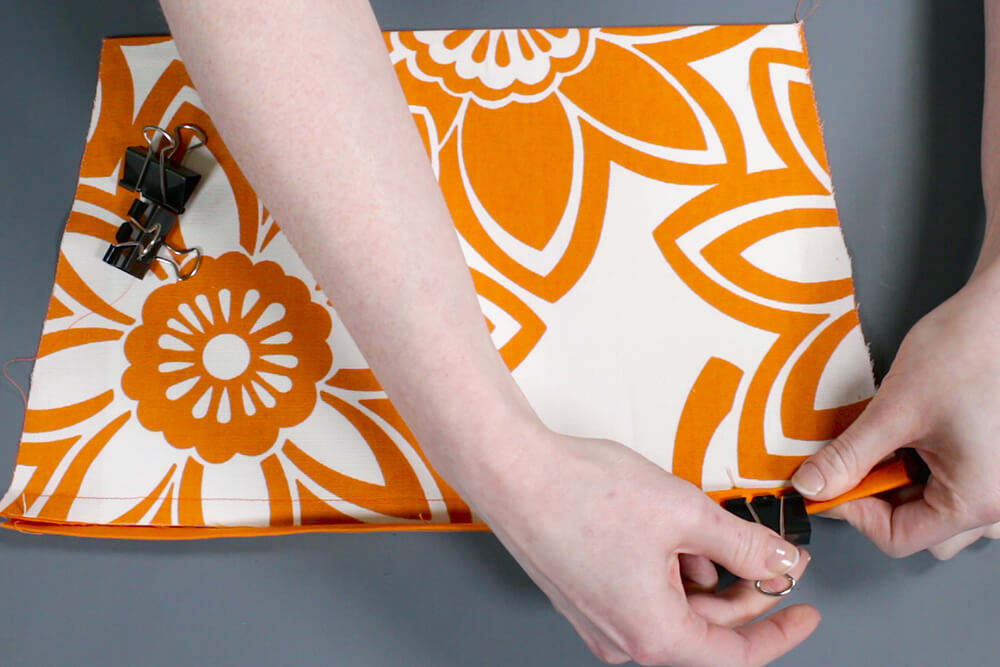
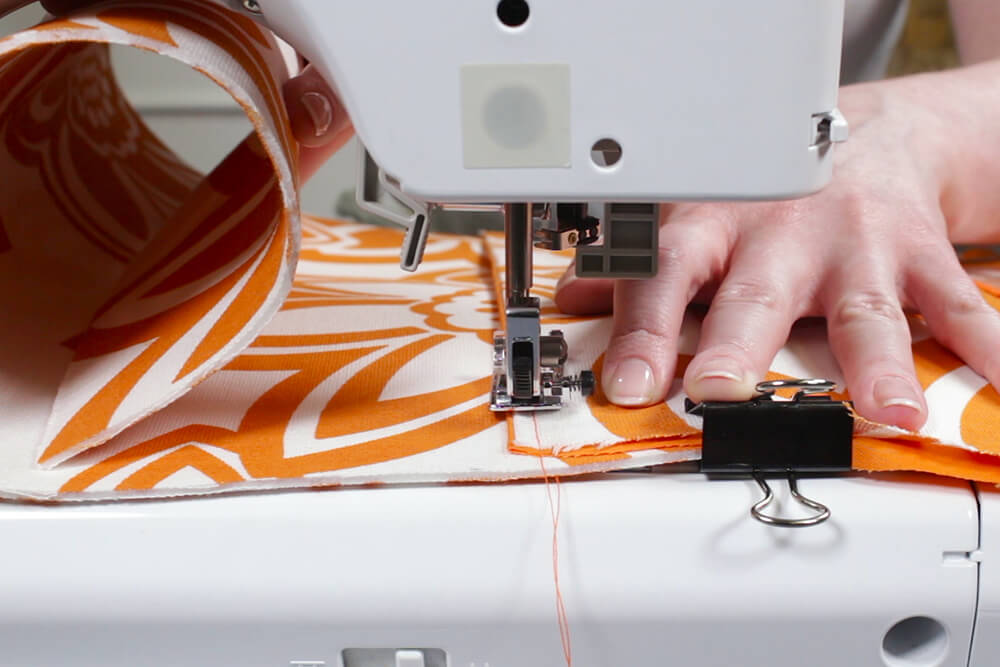
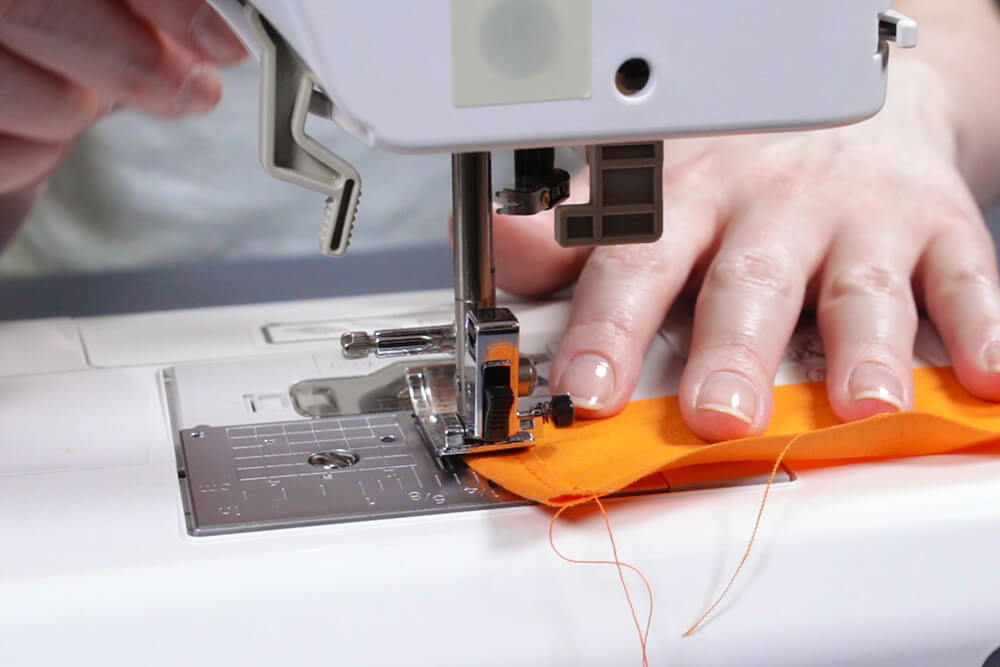
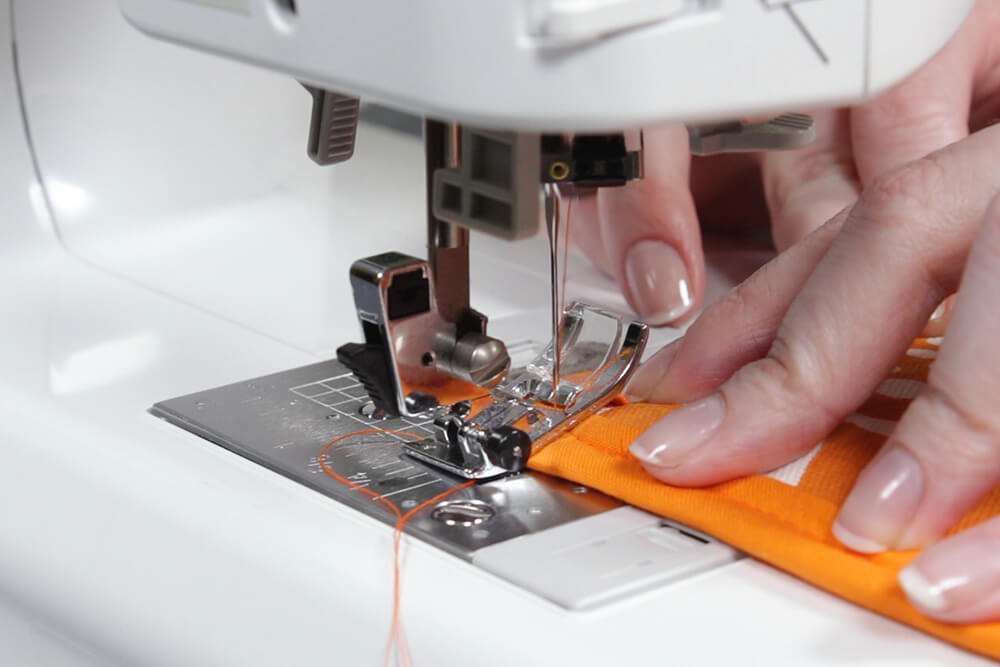
Unfold a piece of the trim and line it up on the back of one of the pocket pieces. Sew down the ½” crease.
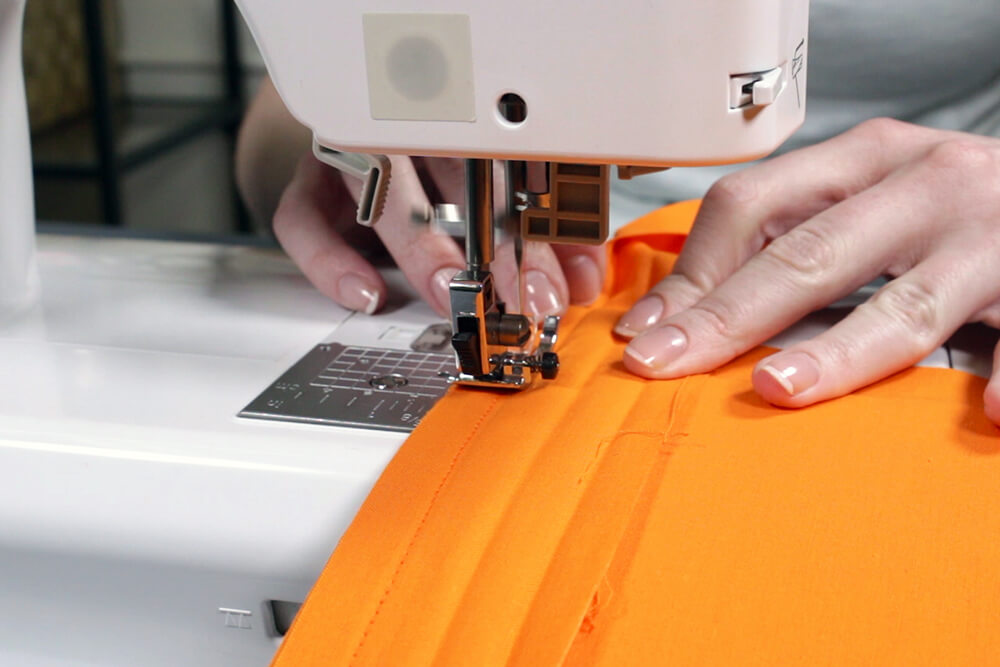
Use binder clips because the thick stabilizer is difficult to pin.
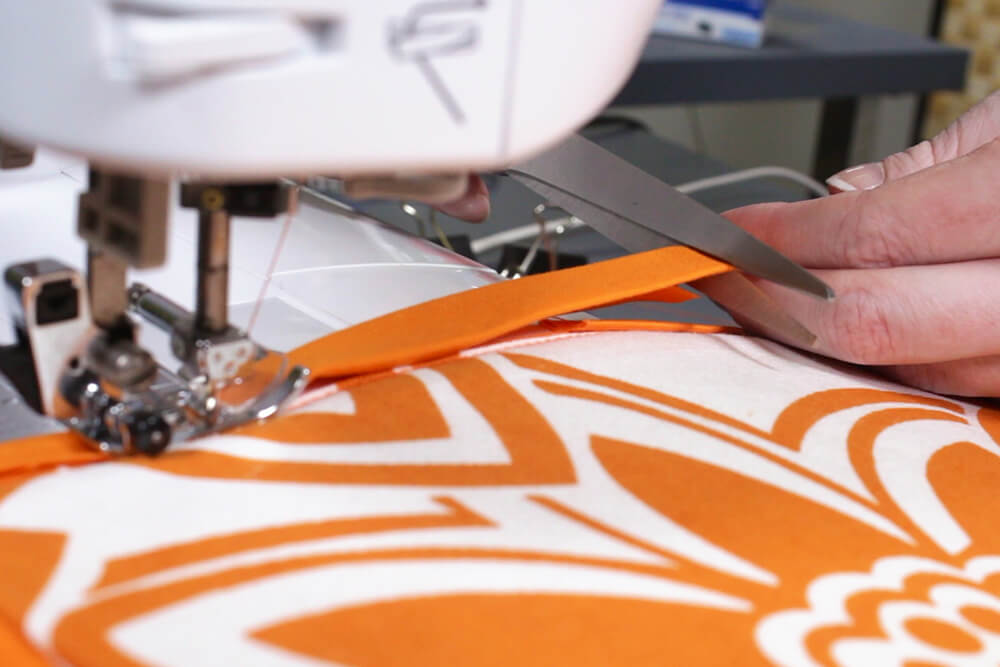
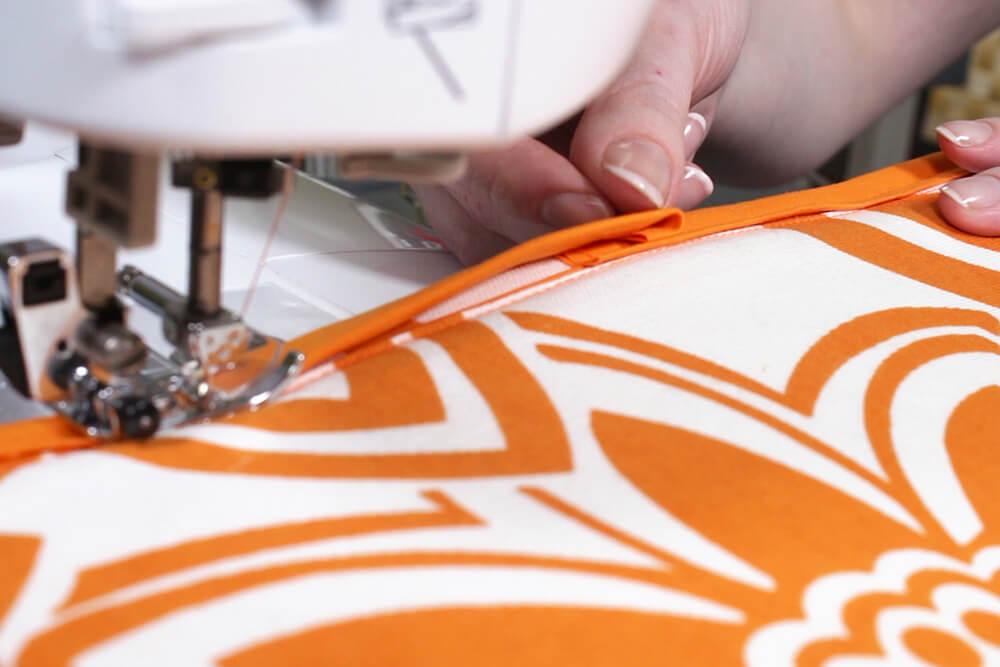
Fold the fabric to the front, clip in place, and sew close to the edge. Repeat for the other pockets.

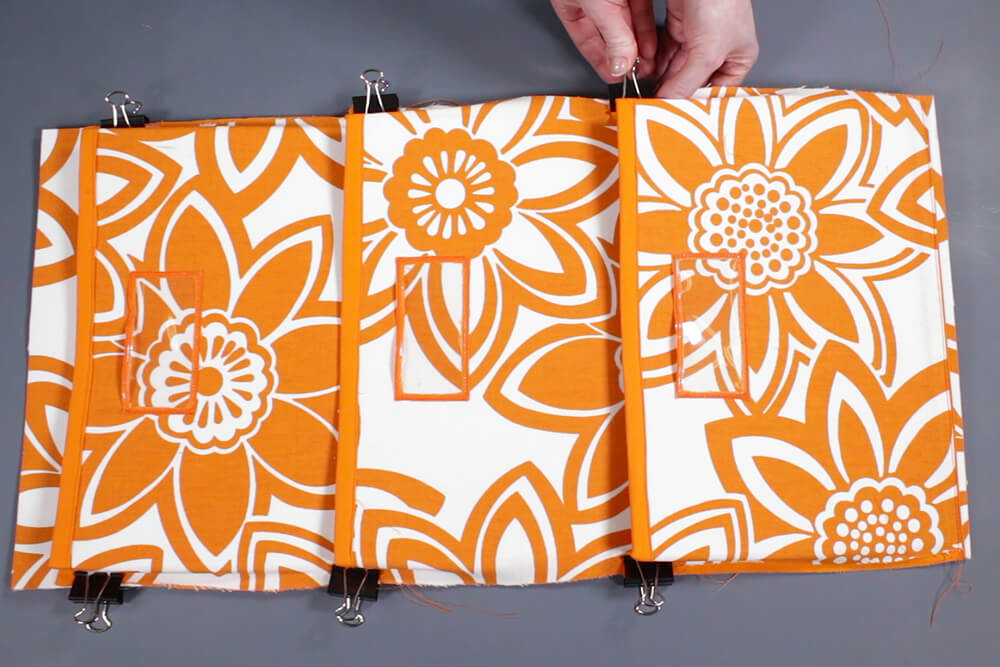
Step 4: Make clear label pockets (optional)
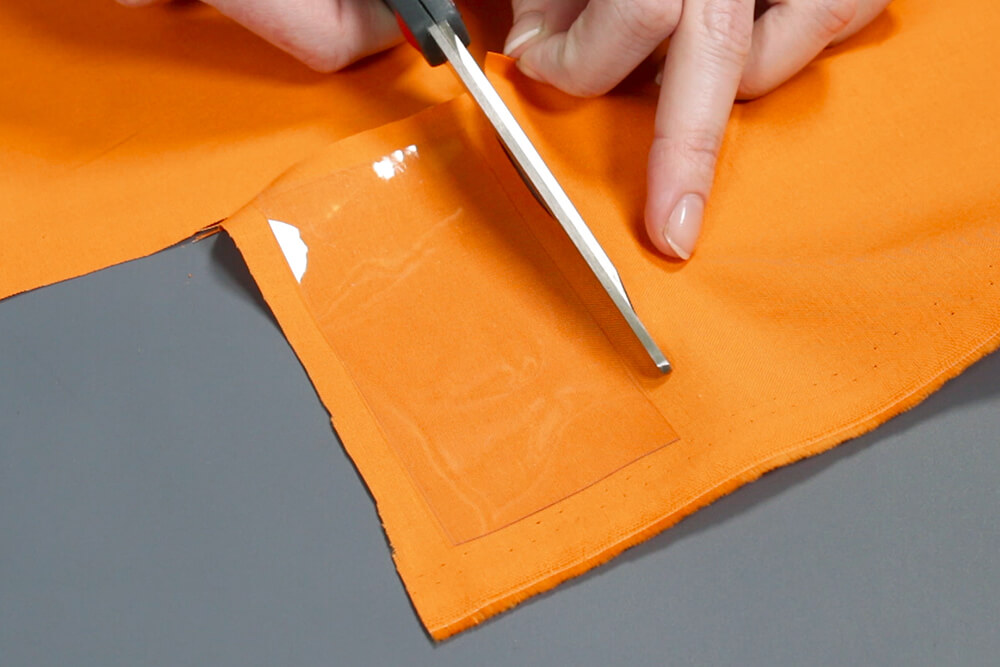
Cut a piece of the accent fabric that’s larger than the vinyl and place the vinyl on top. Sewing the clear vinyl is easier if you can clearly see the edges. Use a marker that’s the same color or something that will come off to draw lines around the clear vinyl.
Use a zig zag stitch set to .8 mm long and 4 mm wide. Sew around the piece of vinyl so that the stitches are right at the edge. At the corners, sew all the way to the end and stop when the needle is at the point of the corner in the down position. Lift the foot to pivot the fabric. Lower the foot and continue to sew all the way around.

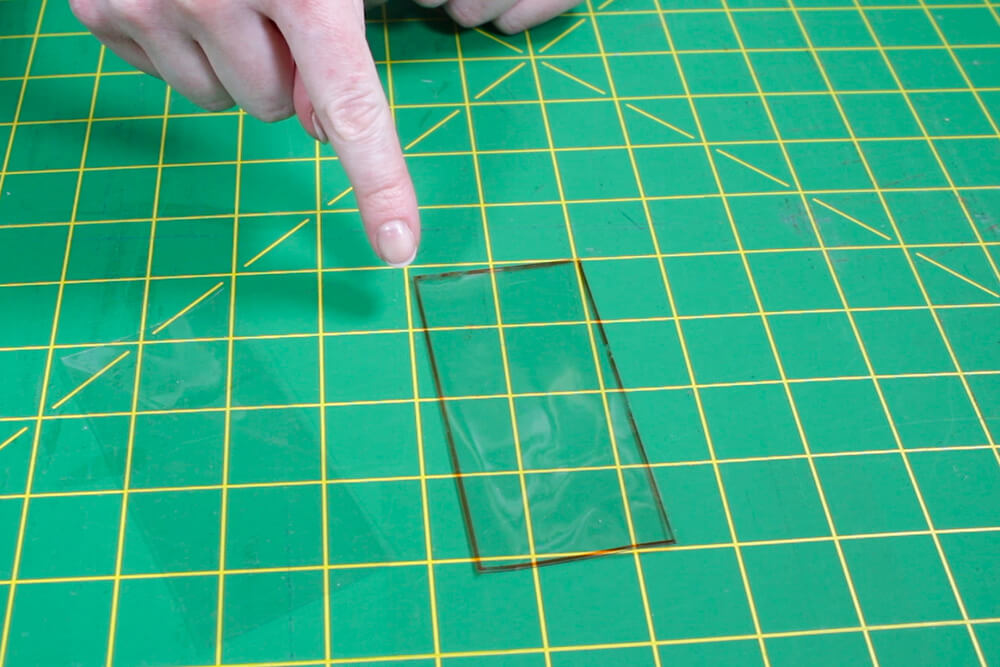
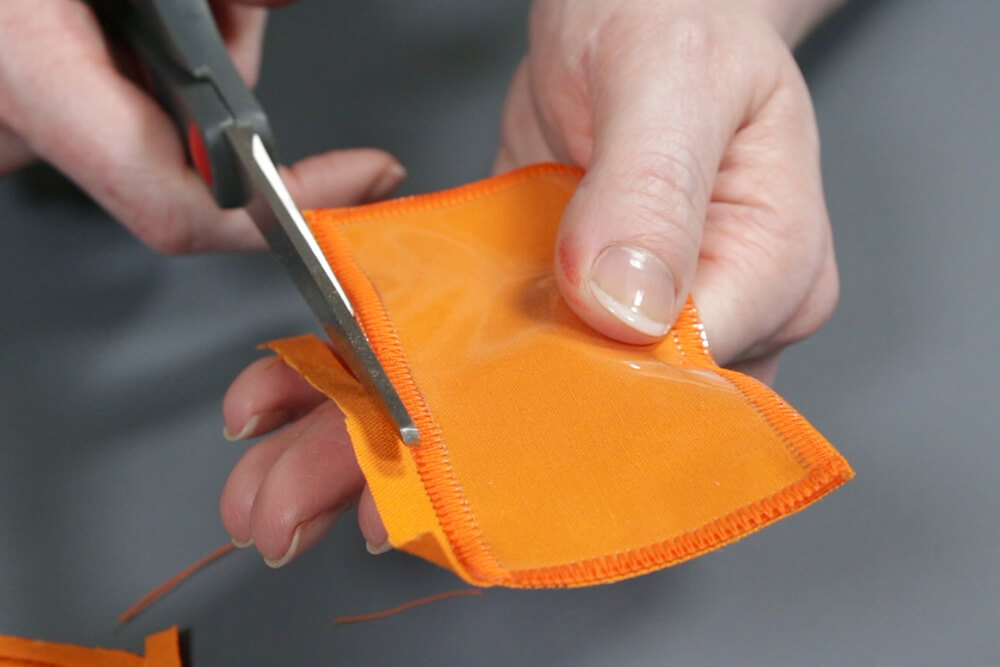
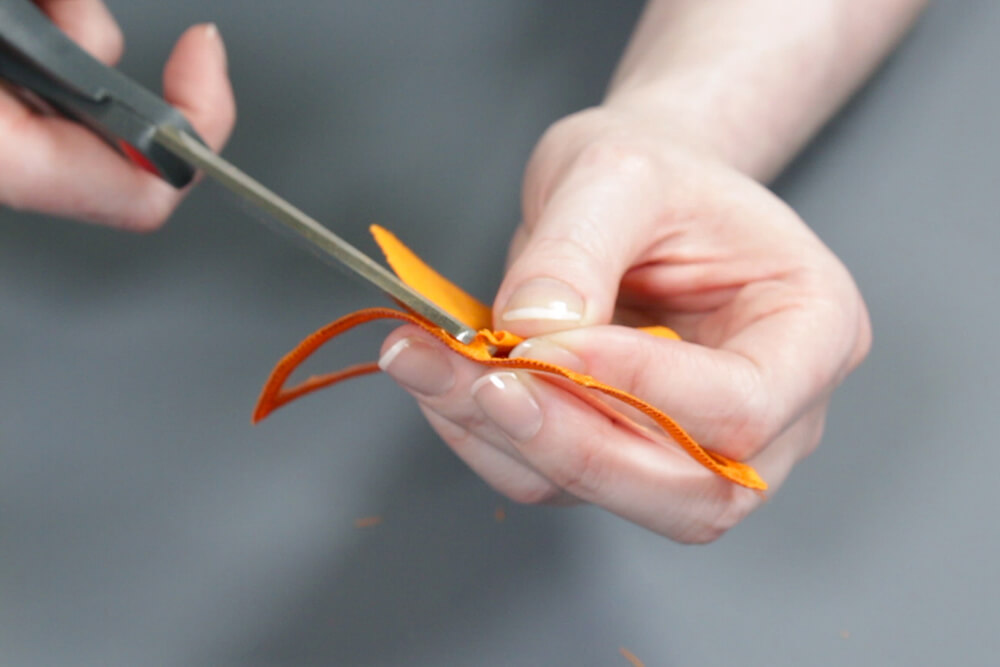
Cut the accent fabric as close as you can to the stitches without cutting into them on both the outside and inside of the zig zag stitches.
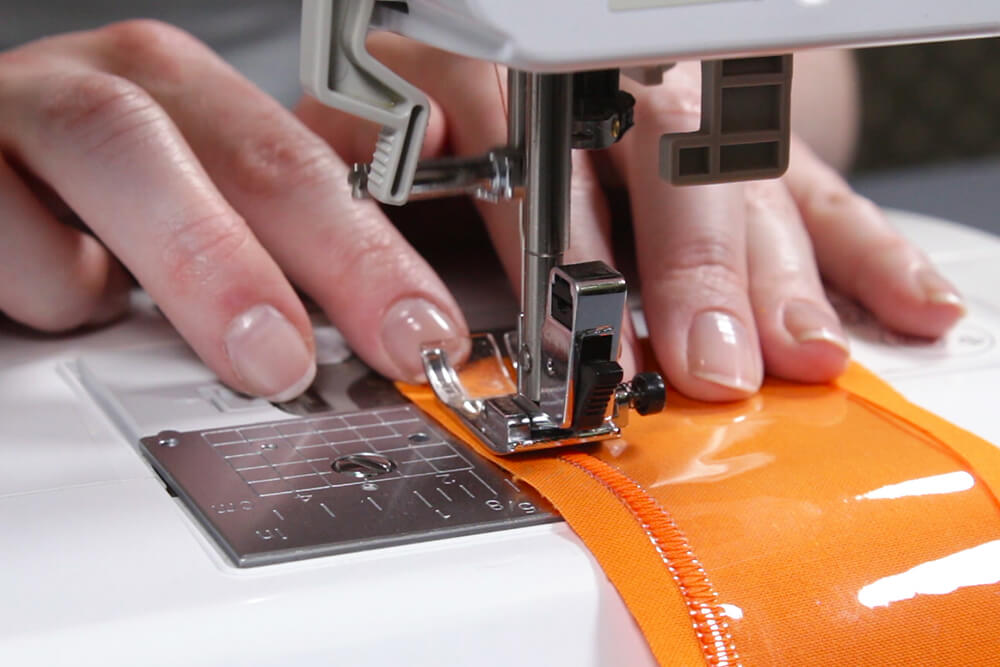
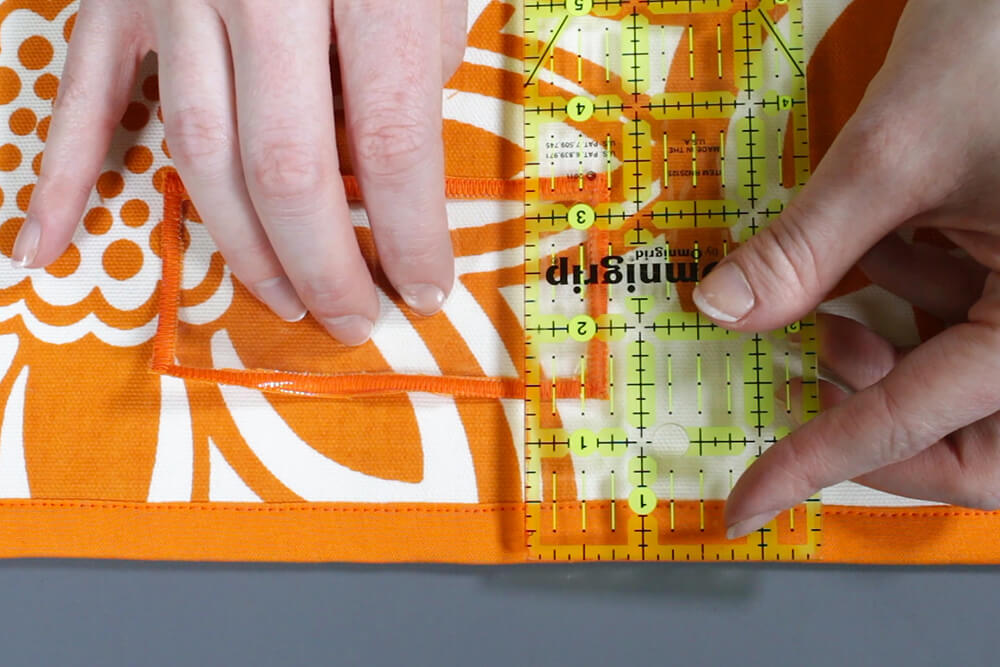
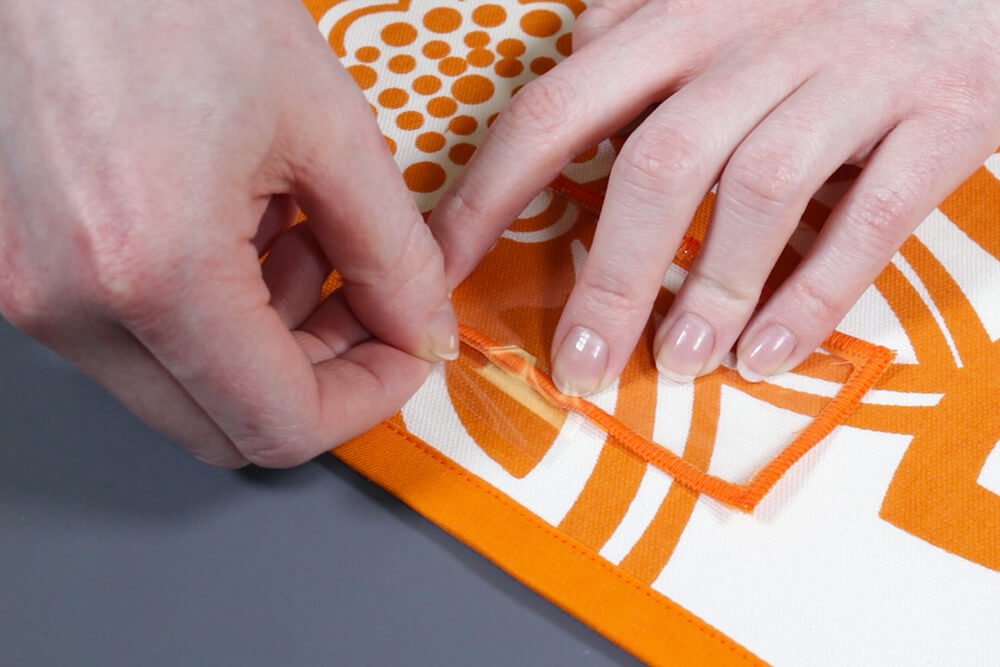
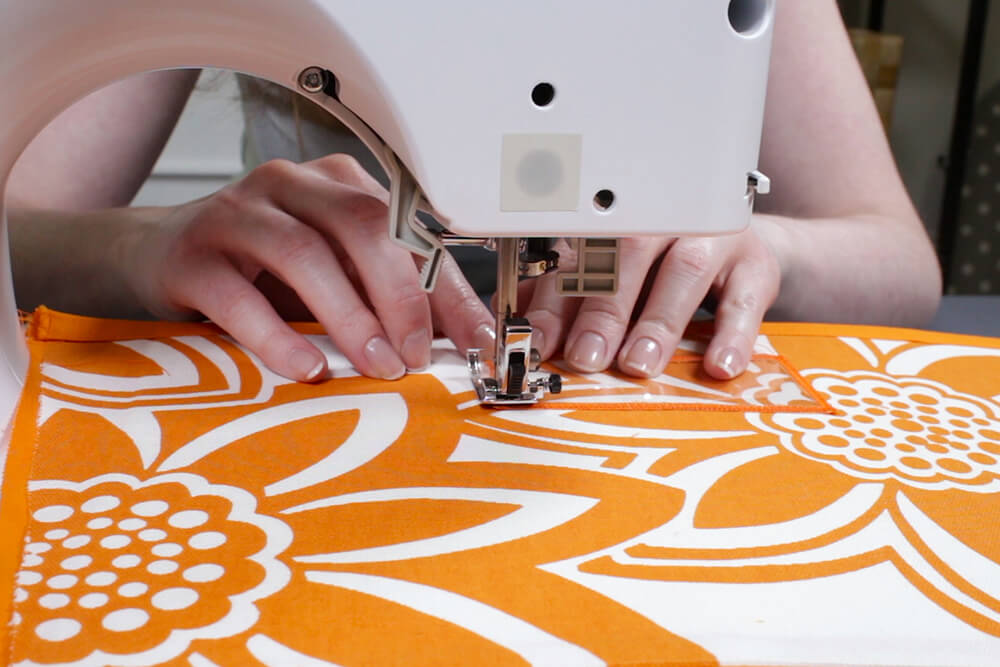
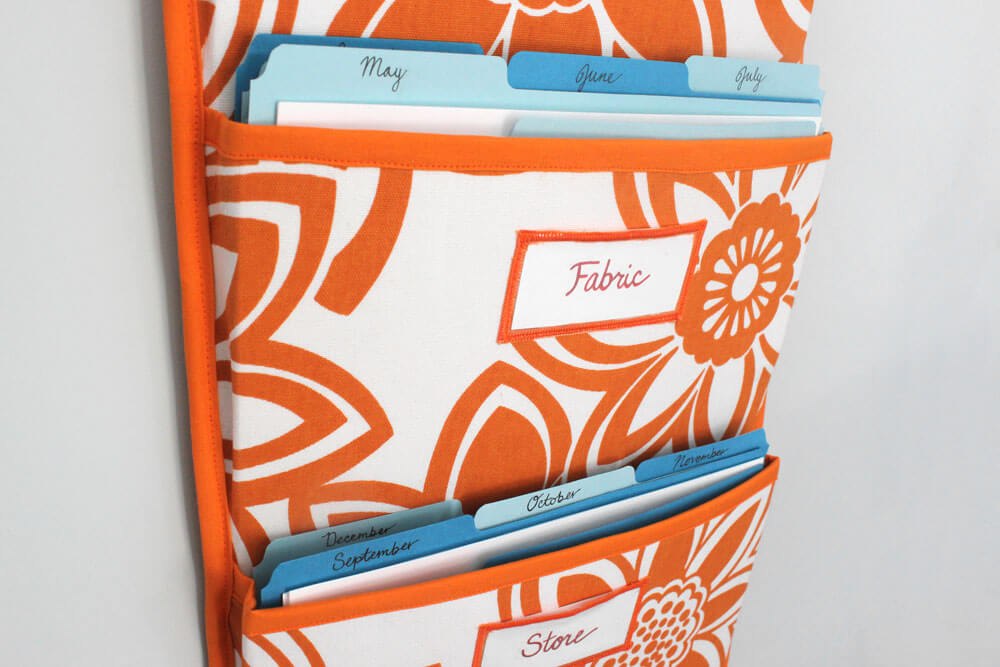
Place the label pocket 1½” from the top of one of the pockets so that it’s centered on the piece of stabilizer. Hold it in place with tape. Don’t tape on the vinyl itself to avoid leaving residue. With a straight stitch sew around the sides and bottom. Remove the tape as you sew. Backstitch at the beginning and end. Repeat to make the remaining label pockets.
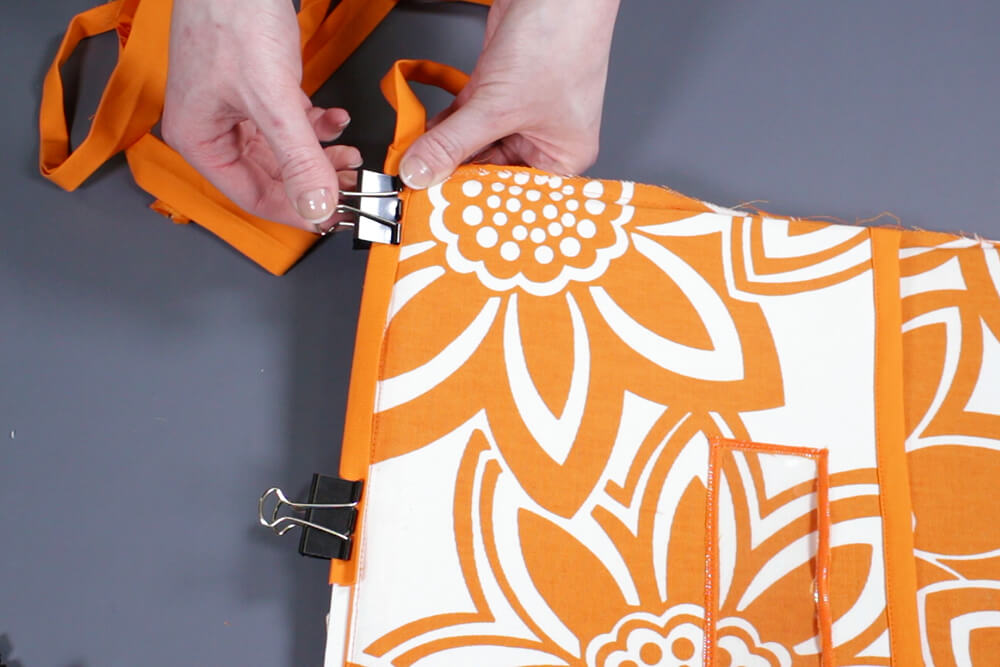
Step 5: Attach the pockets
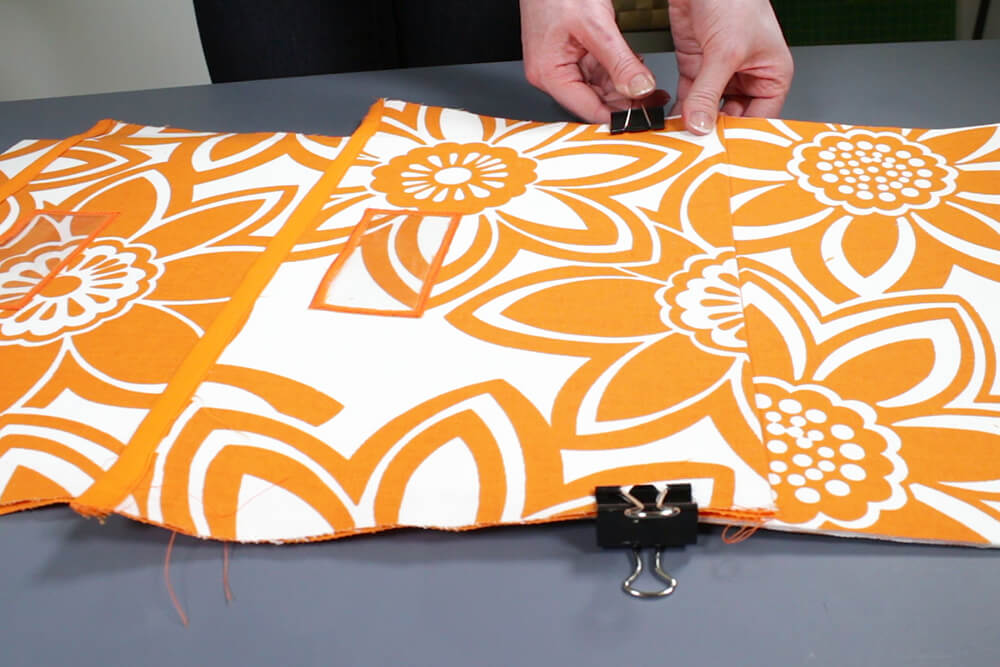
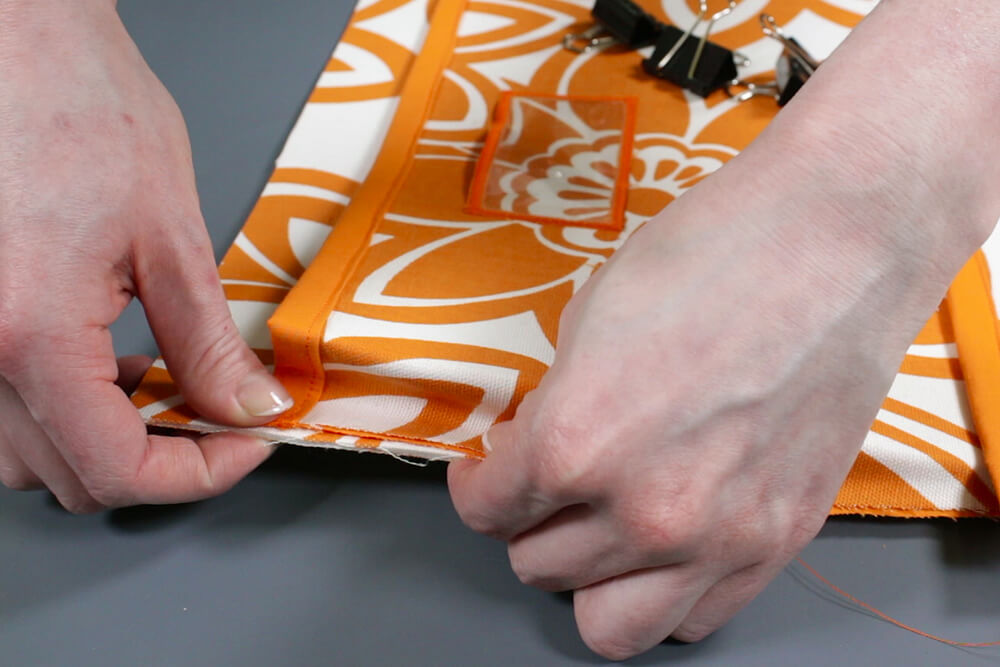
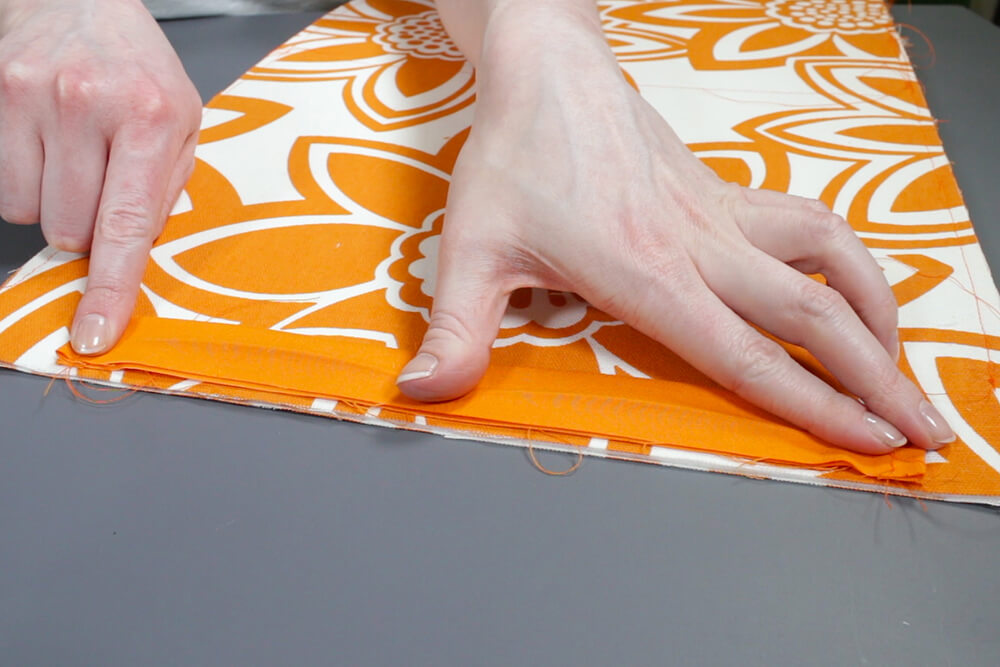
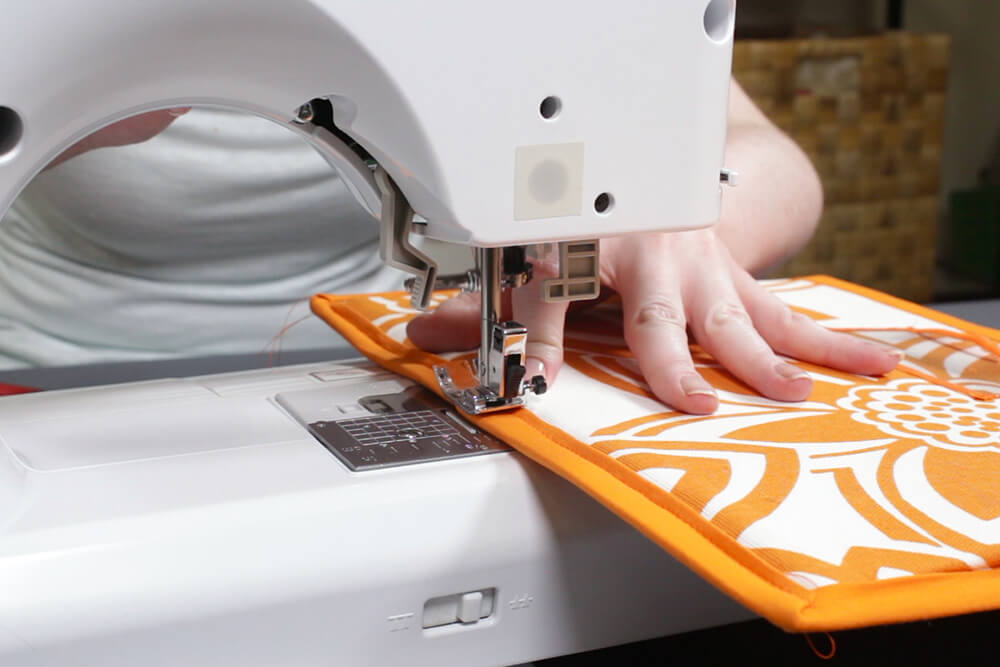
Trim the sides of the backing piece for clean edges. Place the first pocket 1½” from the top. Sew along the bottom of the pocket, about 1/8” from the edge.
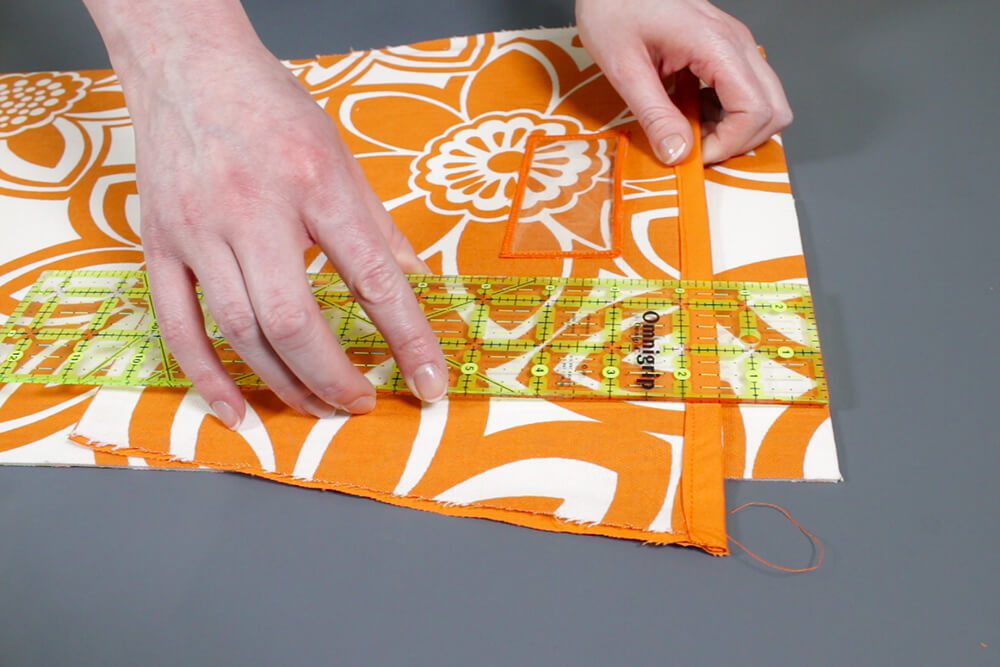

Overlap the next pocket 1½” over the first, clip and sew. Overlap the last piece 1½” again. There should be roughly ¼” at the bottom. Clip and sew.
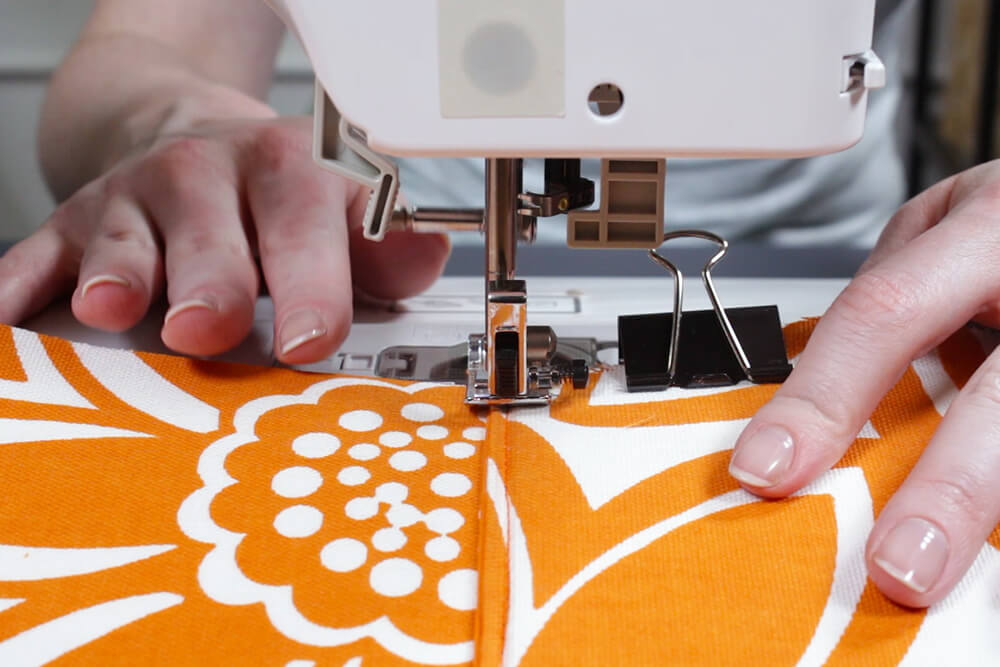
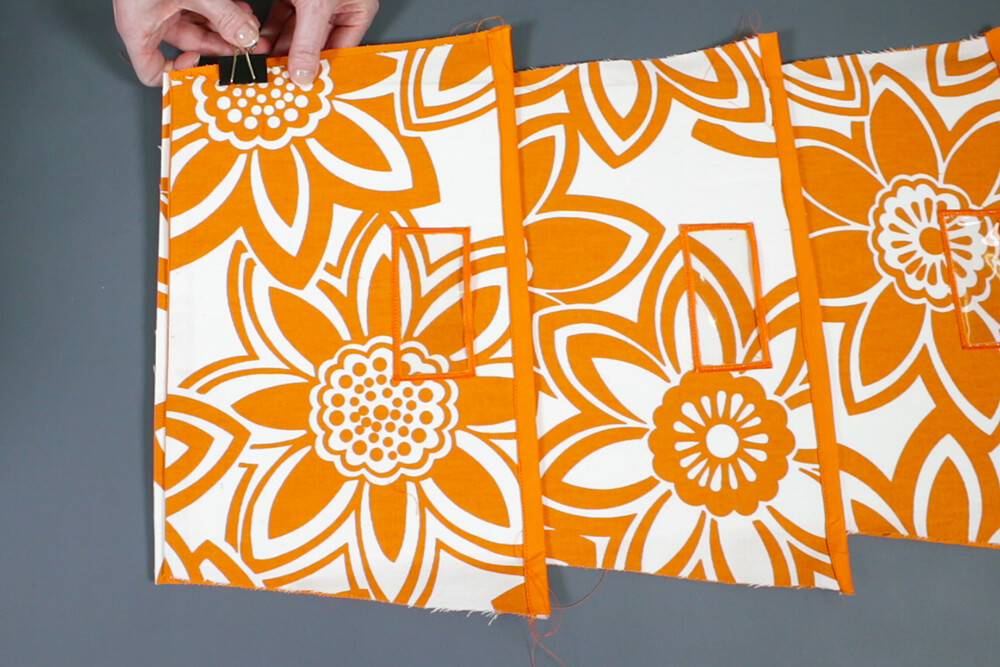
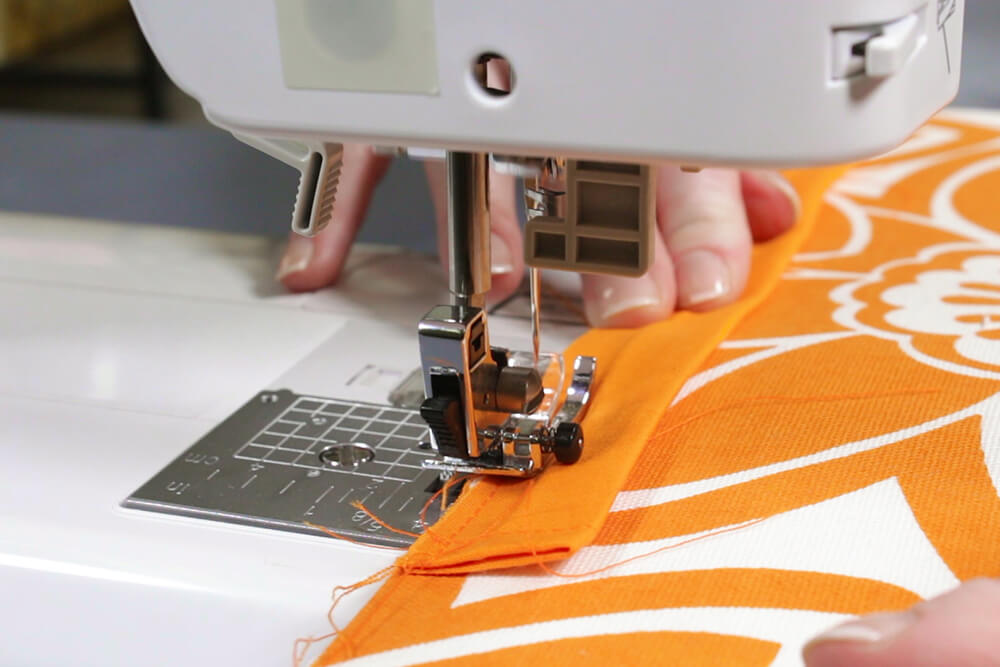
To sew the sides of the pockets, align the diagonal edges so they are even with the sides of the backing and clip. Sew all the way down the side about ¼” from the edge. This will be covered up later, so it doesn’t have to be neat. You may have to make adjustments as you go so the stabilizer doesn’t interfere with the foot. Do the same for the other side.
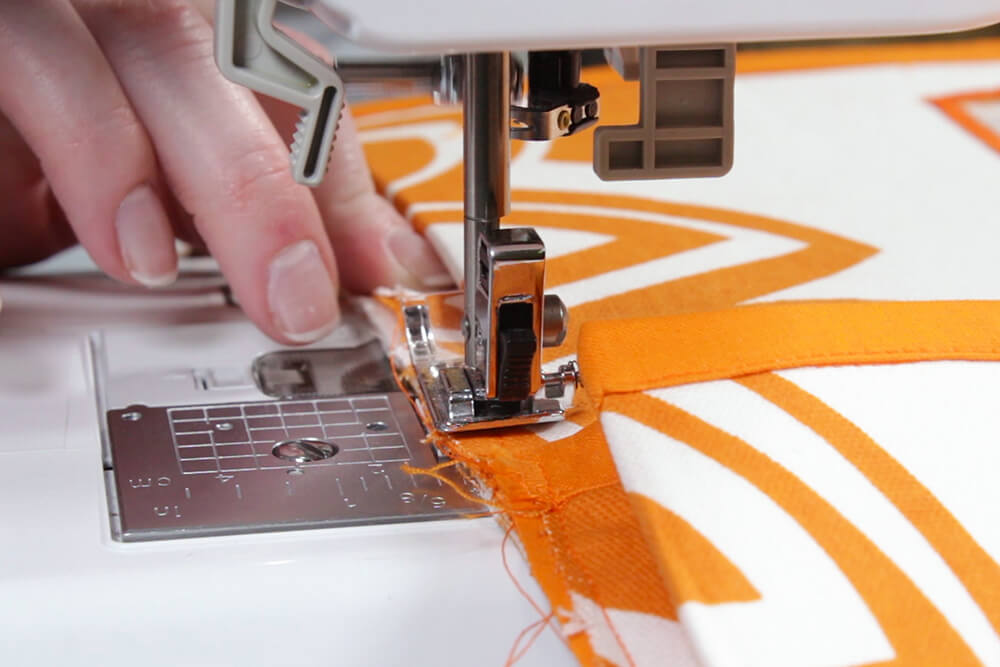
Step 6: Add the trim
To make a tube for the ribbon to go through at the top, cut a 12” piece of the bias tape. Fold the ends in ¼” and sew. Fold it in half lengthwise and center it on the back with the raw edges lined up with the top. Sew about ¼” from the edge.
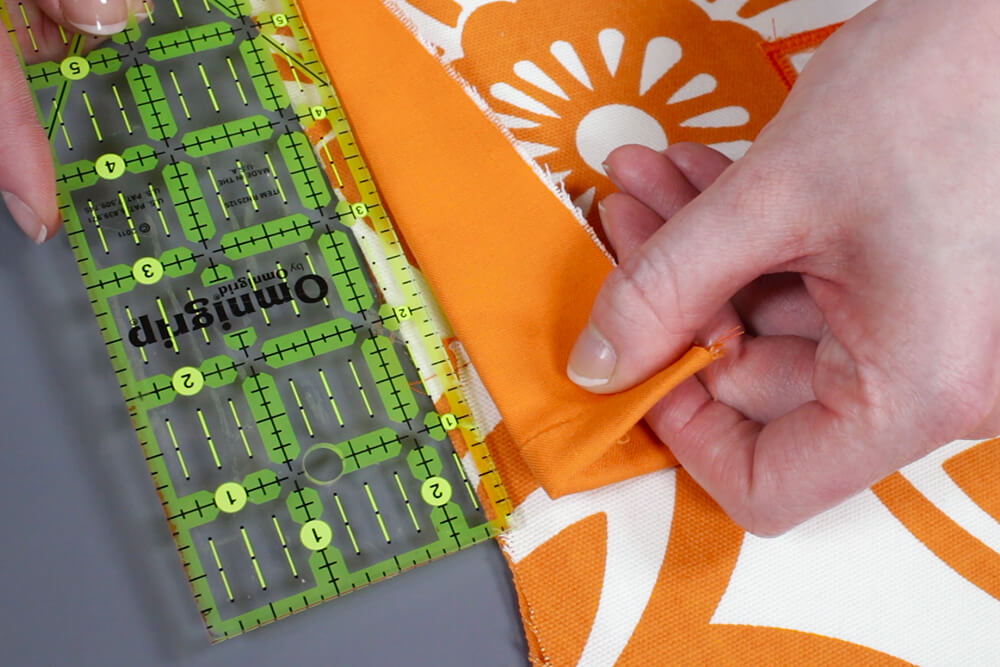
You can sew the bias tape with a diagonal seam, but it’s not all that important for this project.
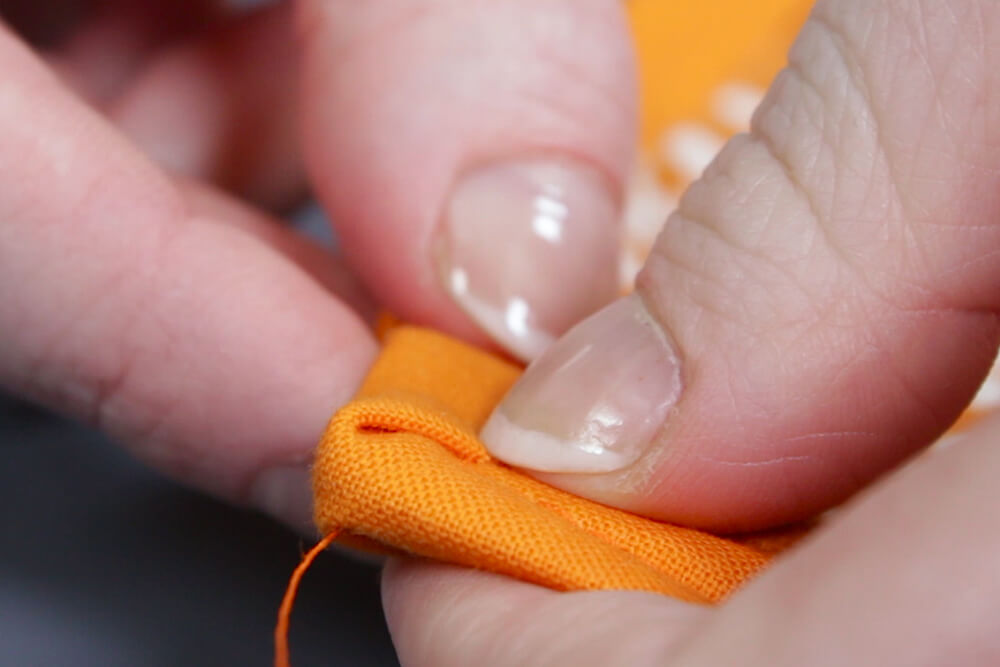
Unfold the remaining pieces of bias tape and sew the ends together to form one long piece.
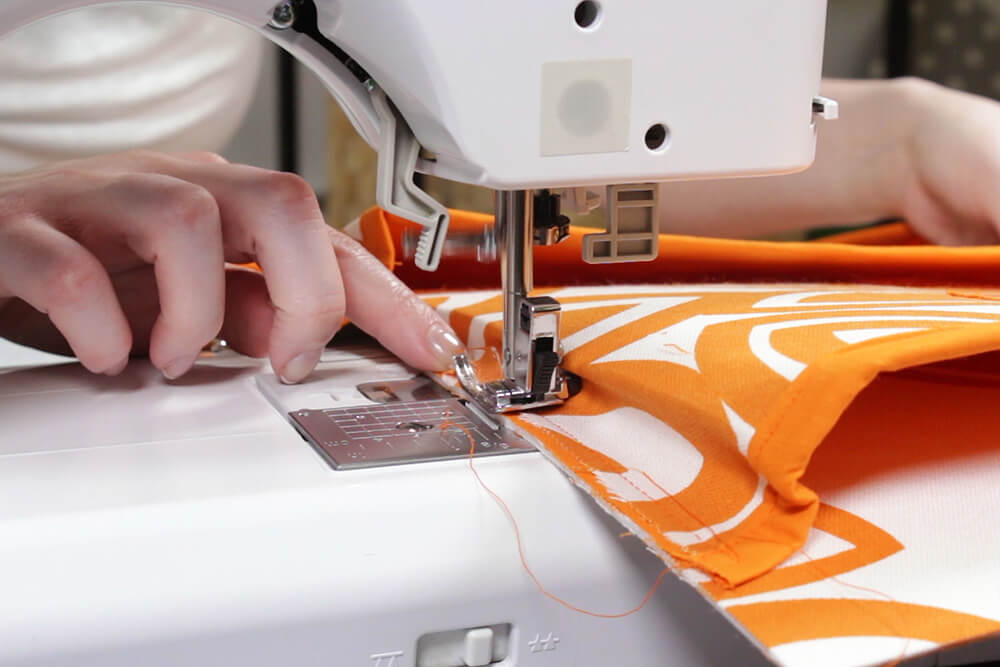
Starting at the bottom, clip on the trim at least past the first corner. You’ll need to make adjustments as you sew, so clipping all the way around isn’t necessary.
Sew all the way to the end of the first corner. Fold the trim down so a 45 degree angle is created on the front and back. Sew all the way around. When you get close to the beginning, trim off extra trim, fold the end under and finish sewing. Backstitch at the end.
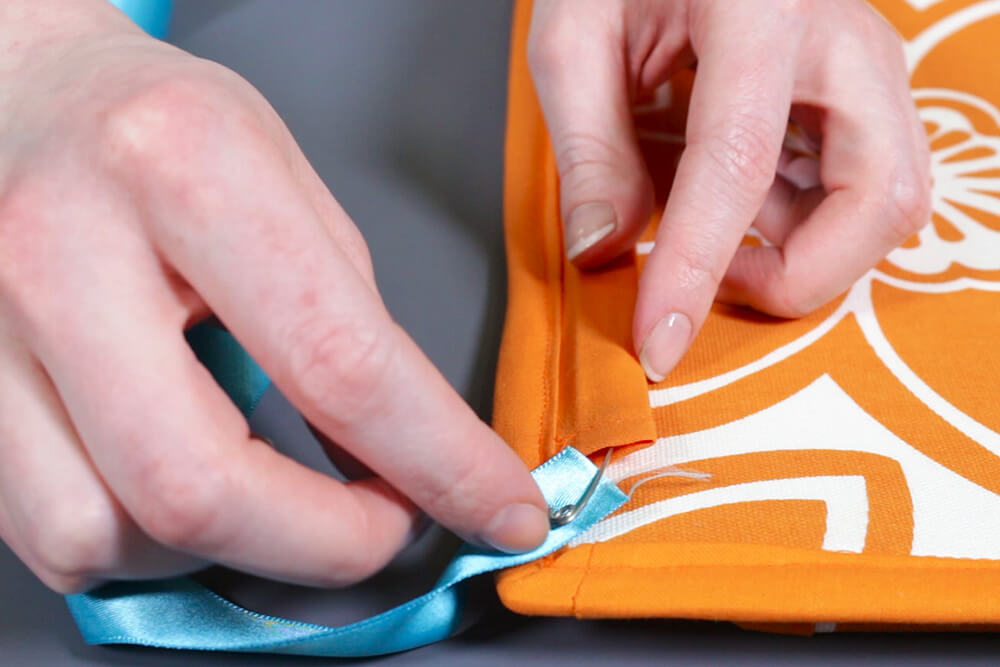
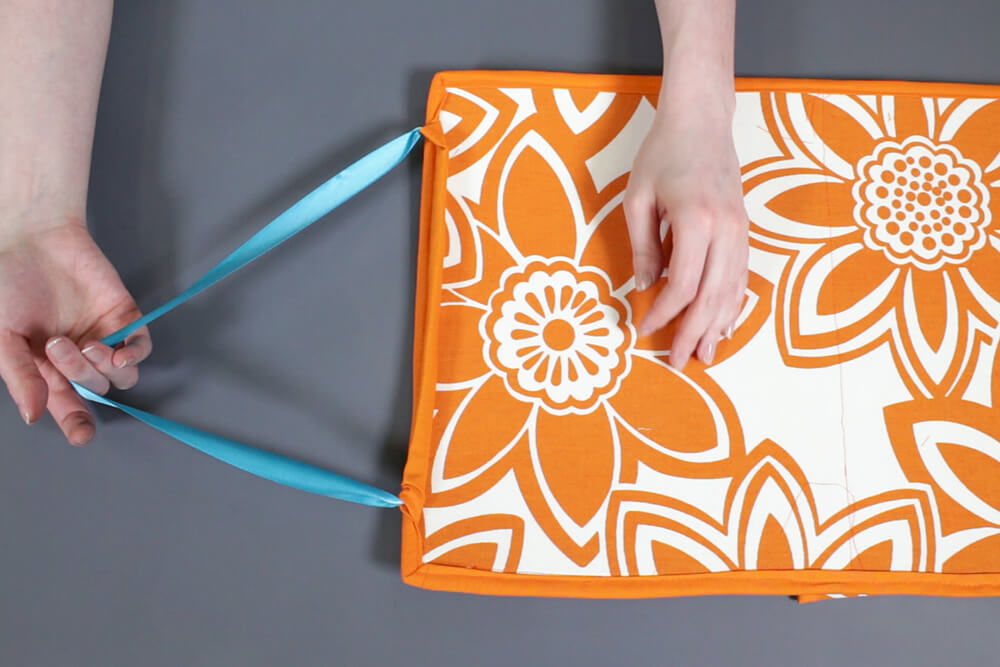
Step 7: Add ribbon for hanging
Pull the ribbon through the tube on the back with a safety pin.
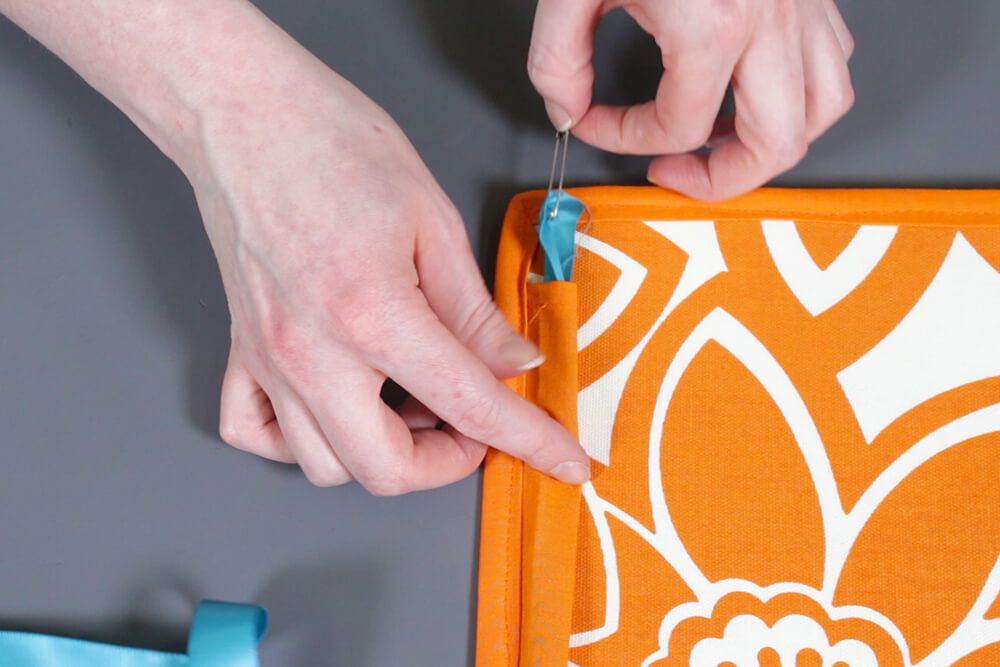
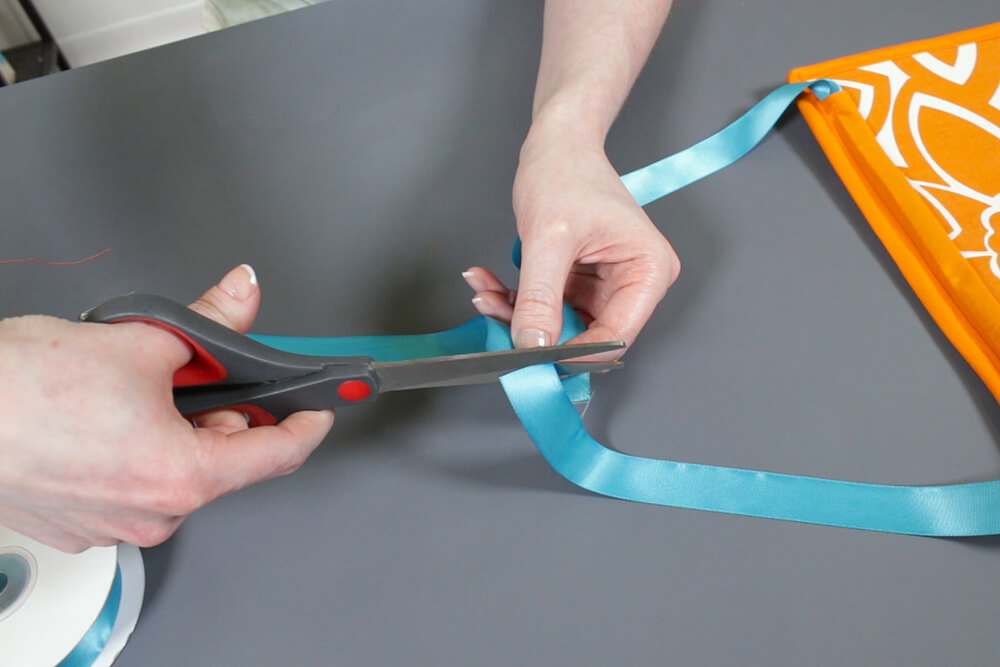
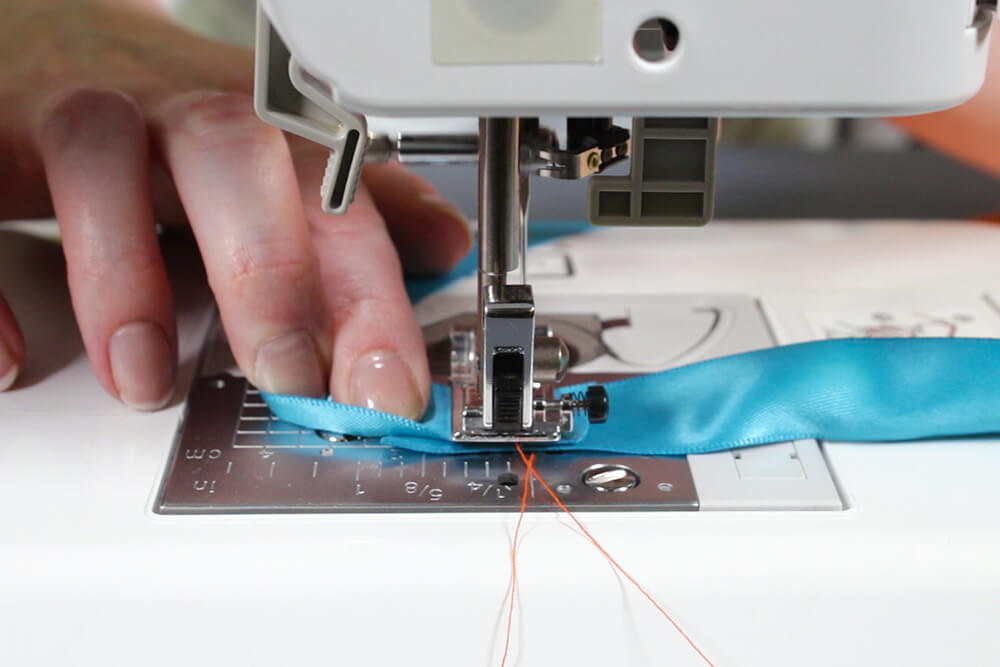
Cut the ribbon to the length you want and sew the ends together. Slide the seam into the tube so it’s hidden, it’s ready to hang.
Like this print? Find more Golding fabric here in different colors and patterns.
-
{{#each productSuggestedQueries.results}}
- {{query}} {{/each}}
-
{{#each categories.results}}
- {{html title}} {{/each}}
{{html attributes.description}}
{{/if}}-
{{#each queries.results}}
- {{query}} {{/each}}