How to Make a Jewelry Organizer
- By Jen
- Beginner
- 30 minutes
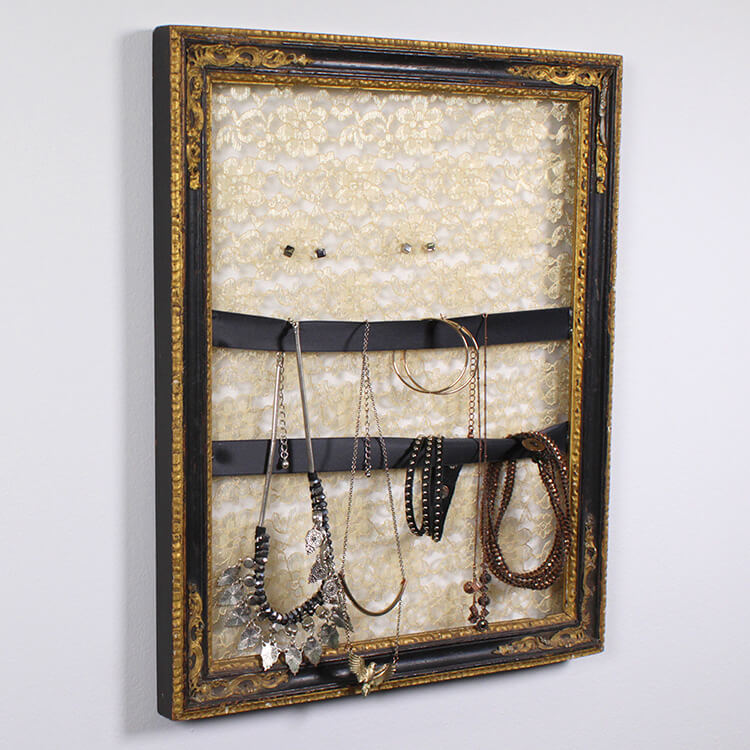
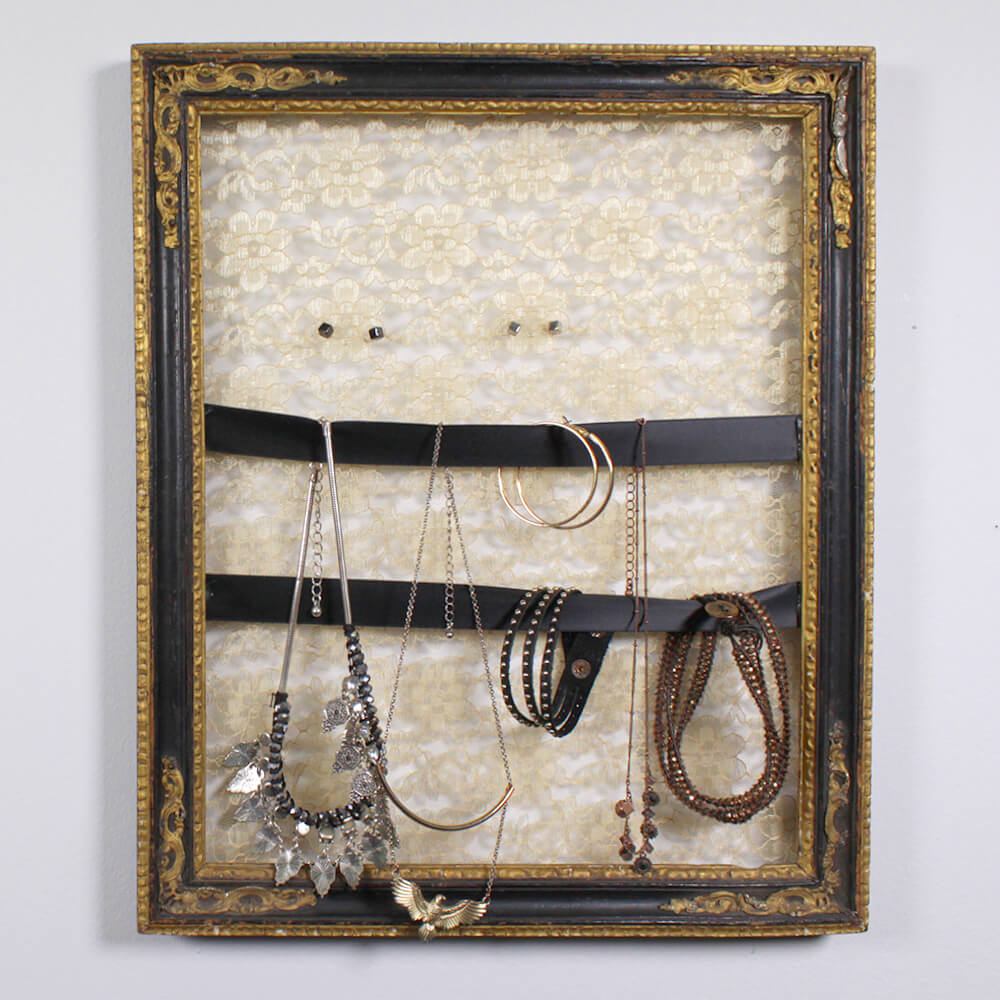
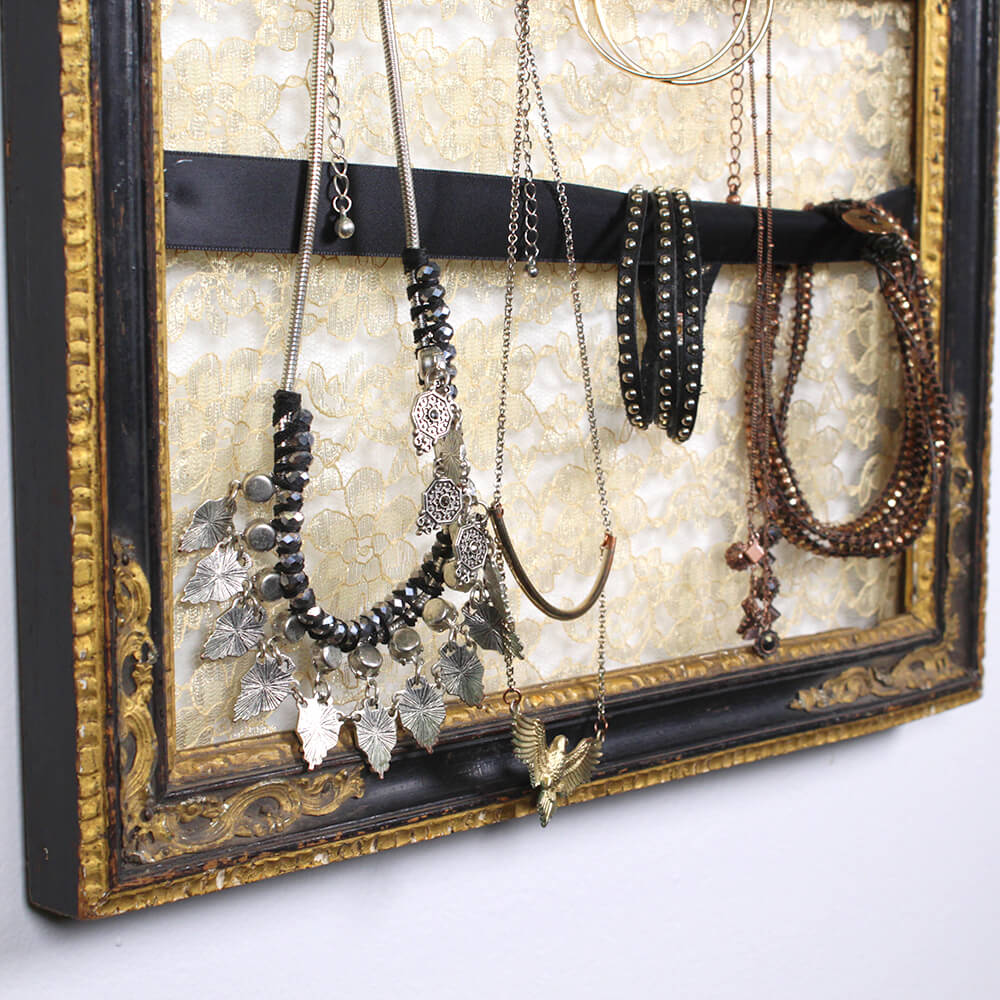
A jewelry organizer is a great way to hold all your jewelry together in one place without it all getting tangled. This quick and easy jewelry organizer is made from an old frame. The lace is for earrings, and the ribbon is for bracelets and necklaces. You can hang this frame or lean it up against a wall.
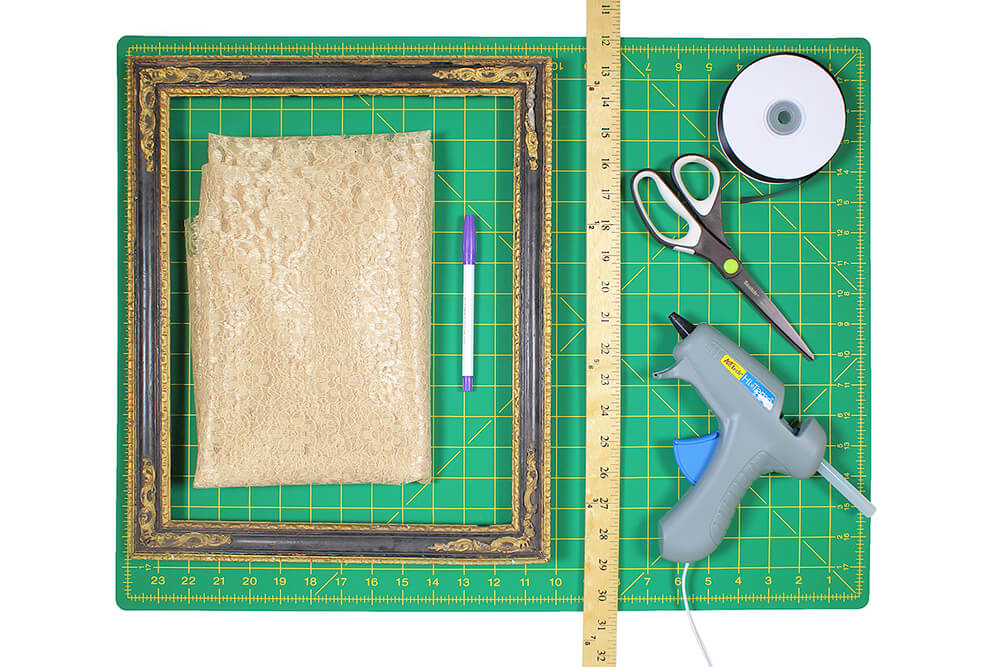
Materials
Related Products

Video
Instructions
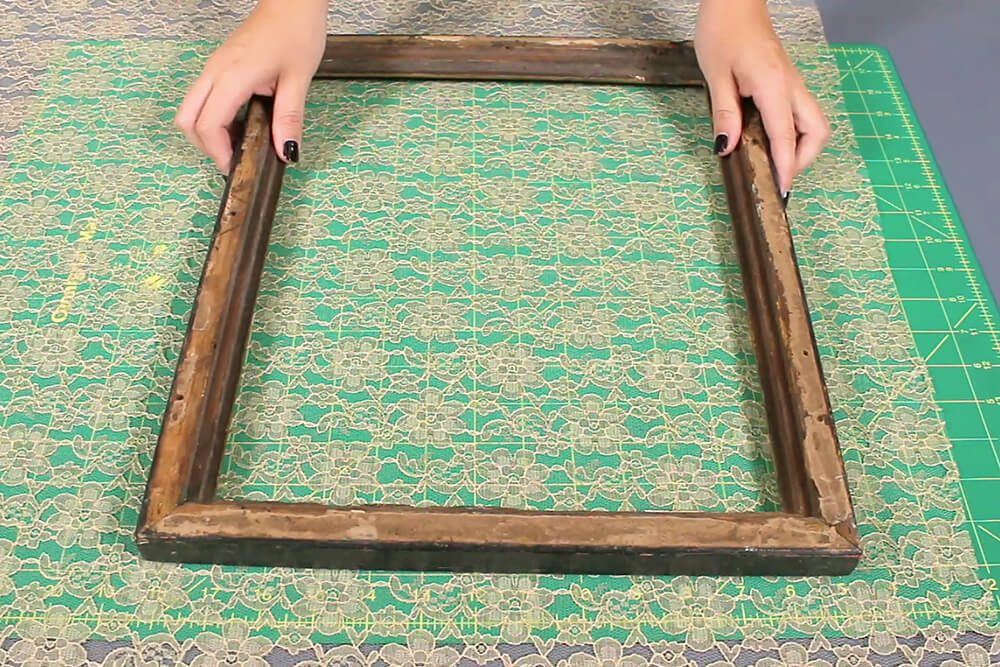
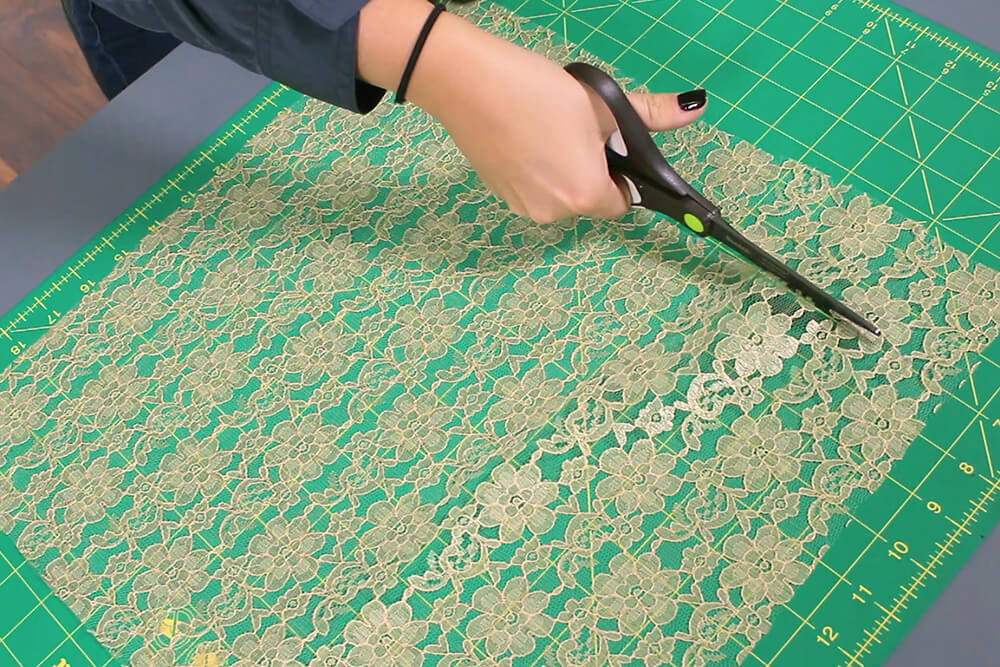
Step 1: Cut the lace & ribbon
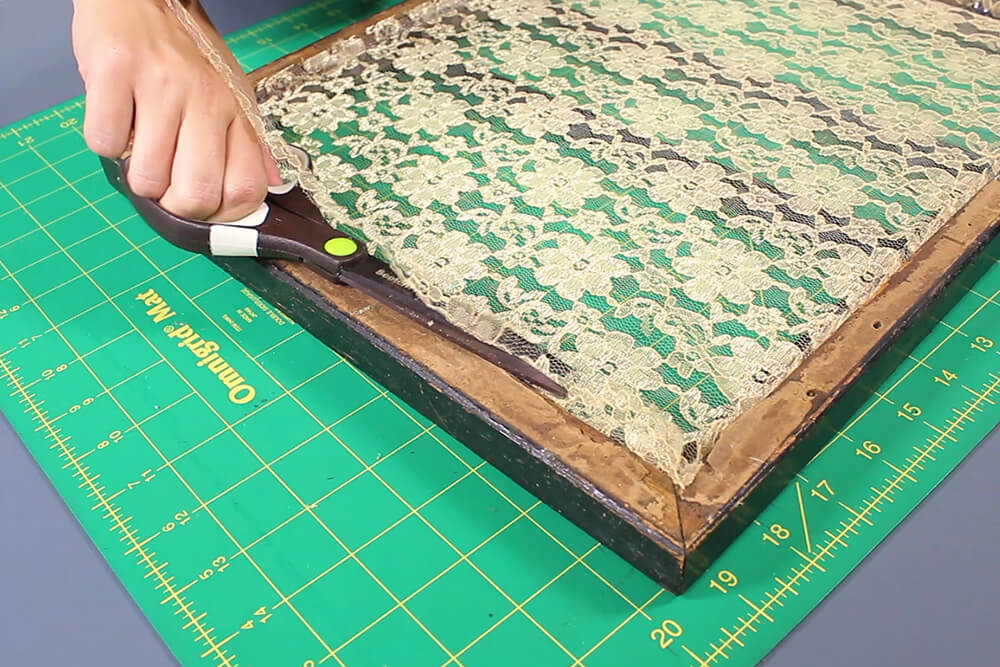
Take the frame and place it on top of the lace. Trace around the frame and cut.
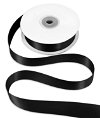
Cut two pieces of ribbon that are at least as long as the width of the frame.

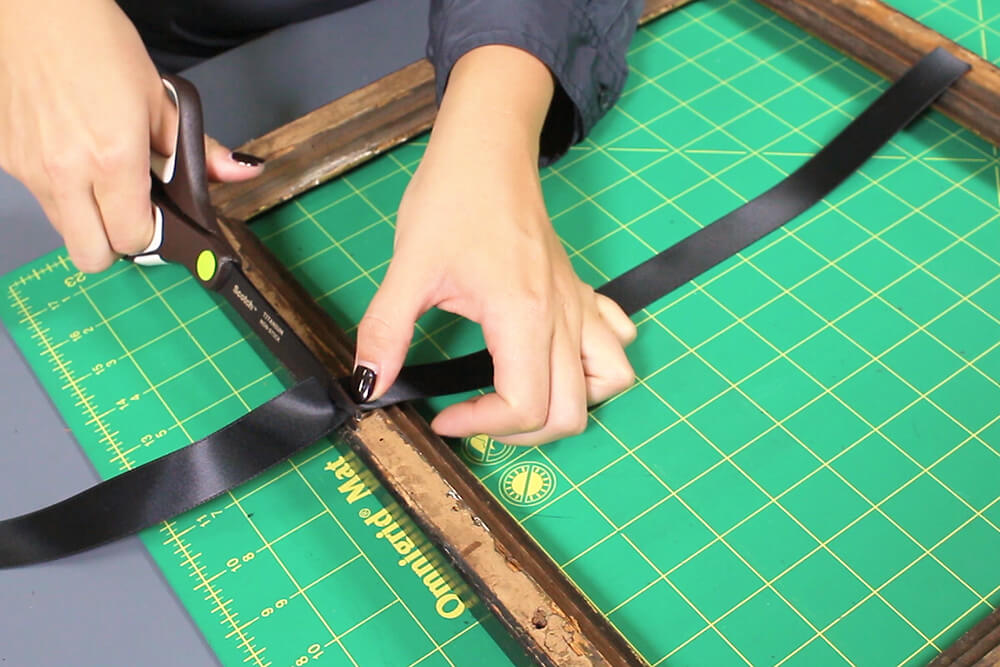
Step 2: Glue the lace & ribbon
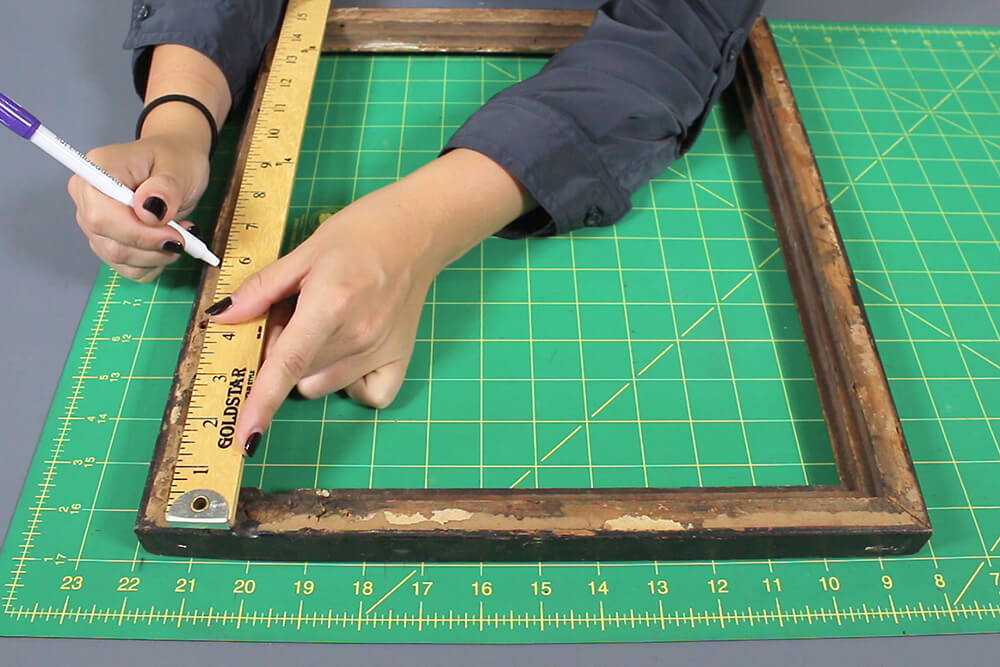
Place the frame face down. From the top measure down 6” on each side and mark. From that point, measure down 3” and mark on each side.

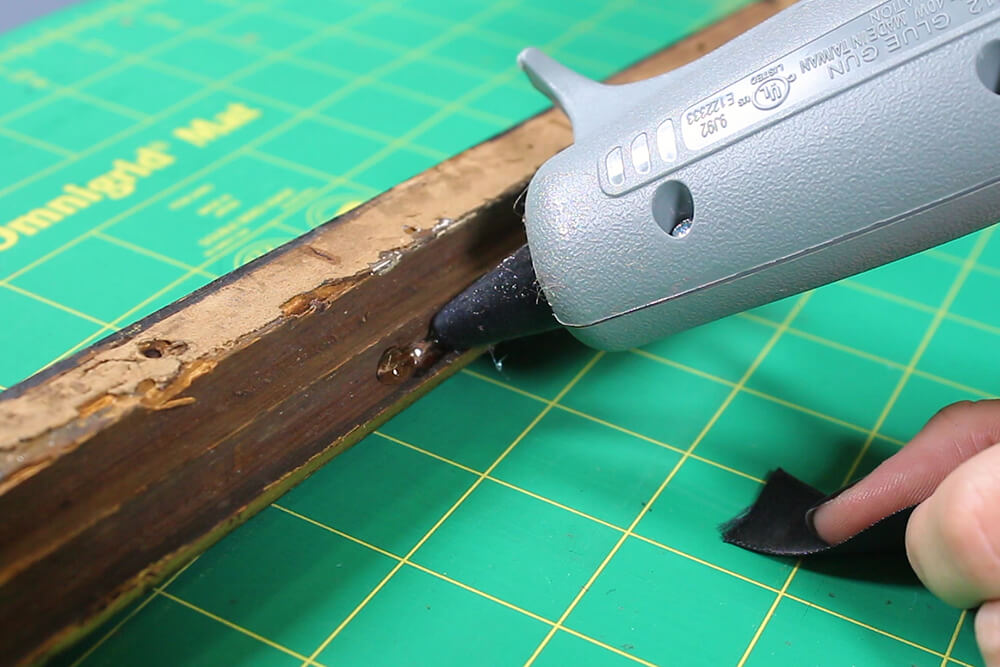
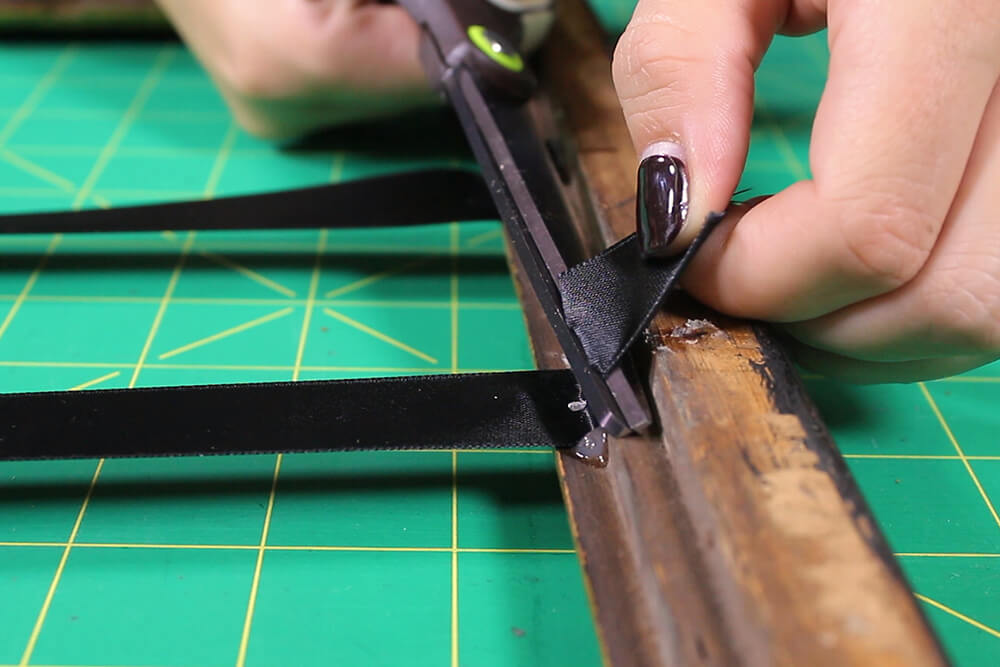
Glue the ends of the ribbon to the inside ridge where the marks are. This frame has multiple ridges and I’m using the first ridge for the ribbon. Let it sit and dry for a few minutes, and cut off the extra.


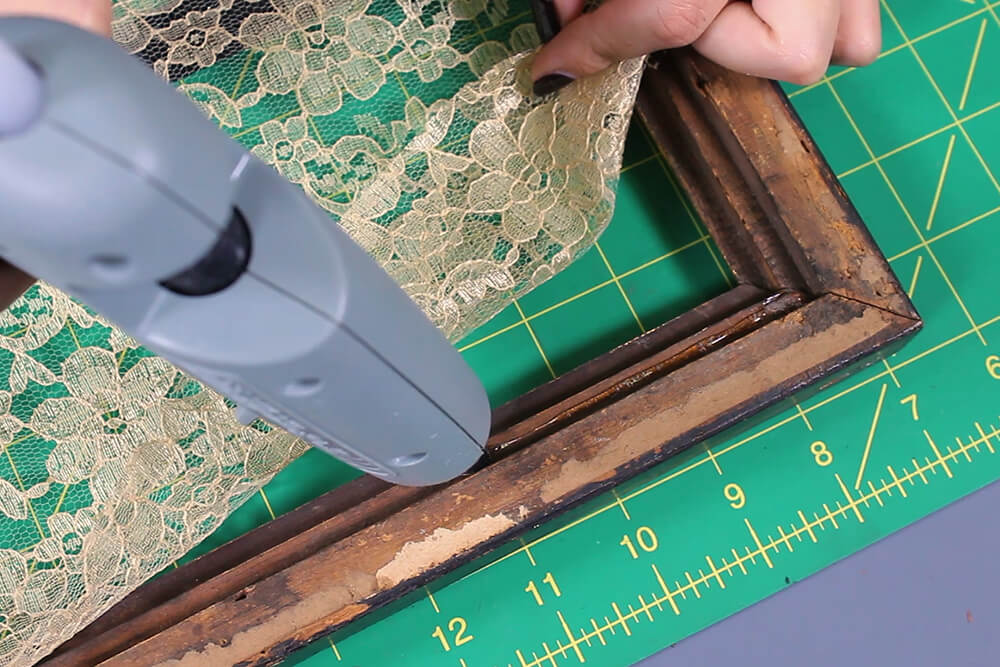
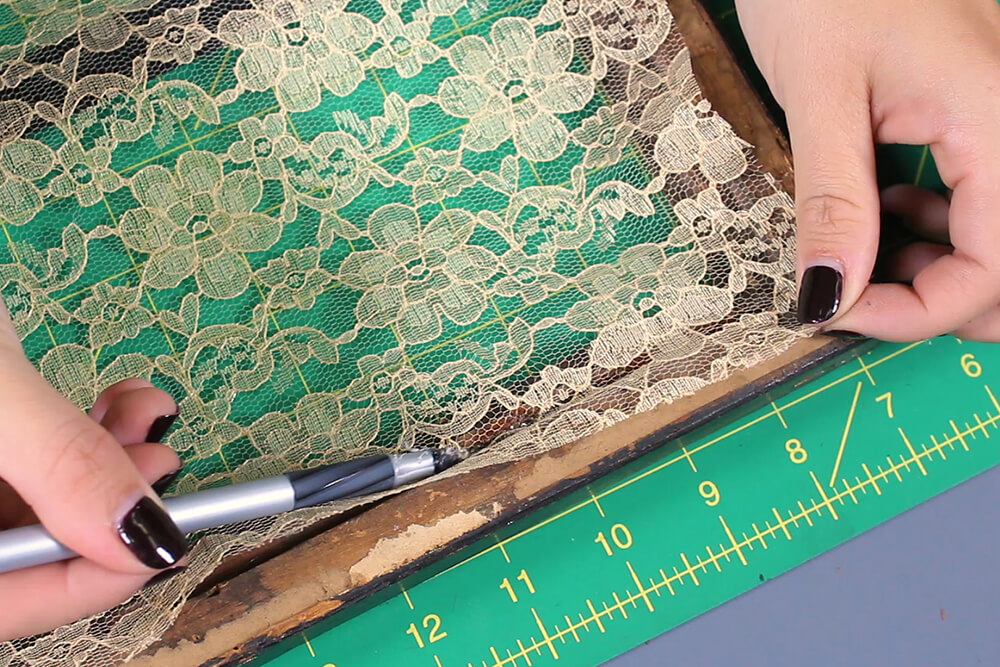
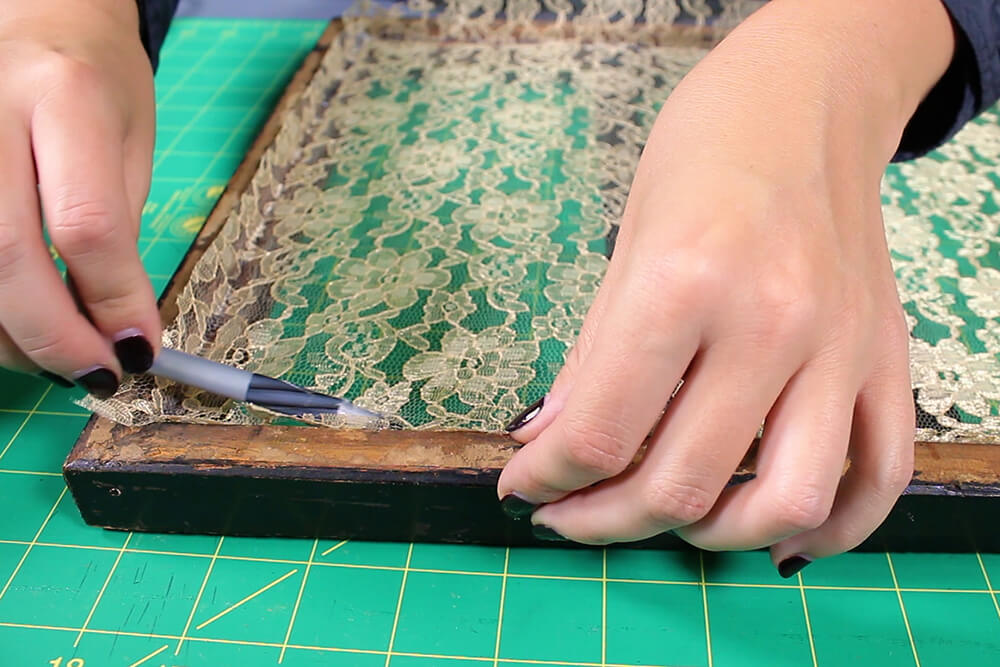
With the right side facing down, start gluing the lace around the sides of the ridge. This time I’m using the second ridge. It’s best to use an object like a pen to press the lace against the glue so you don’t burn yourself. Trim off the extra lace and it’s done.
Looking for a specific color? Check out our selection of lace fabric!
-
{{#each productSuggestedQueries.results}}
- {{query}} {{/each}}
-
{{#each categories.results}}
- {{html title}} {{/each}}
{{html attributes.description}}
{{/if}}-
{{#each queries.results}}
- {{query}} {{/each}}