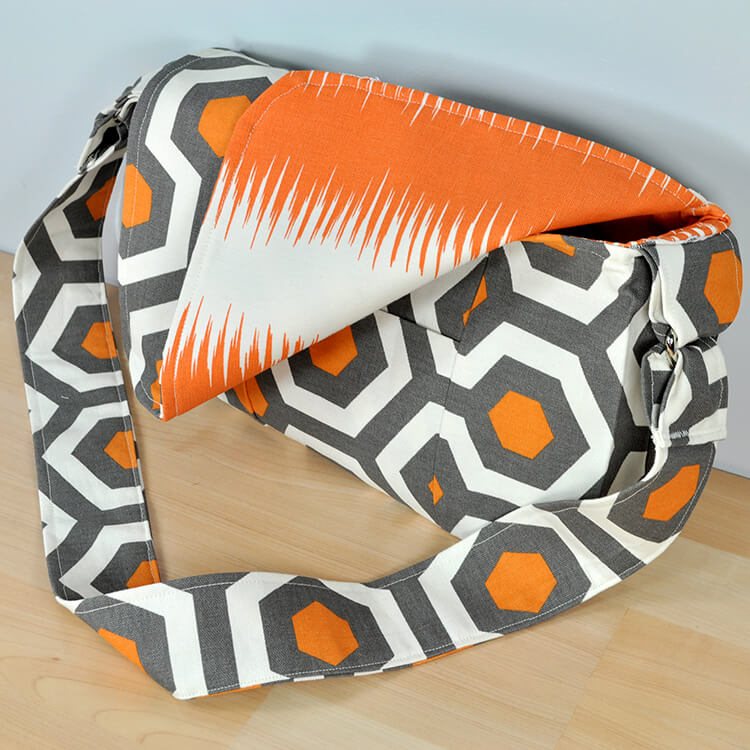
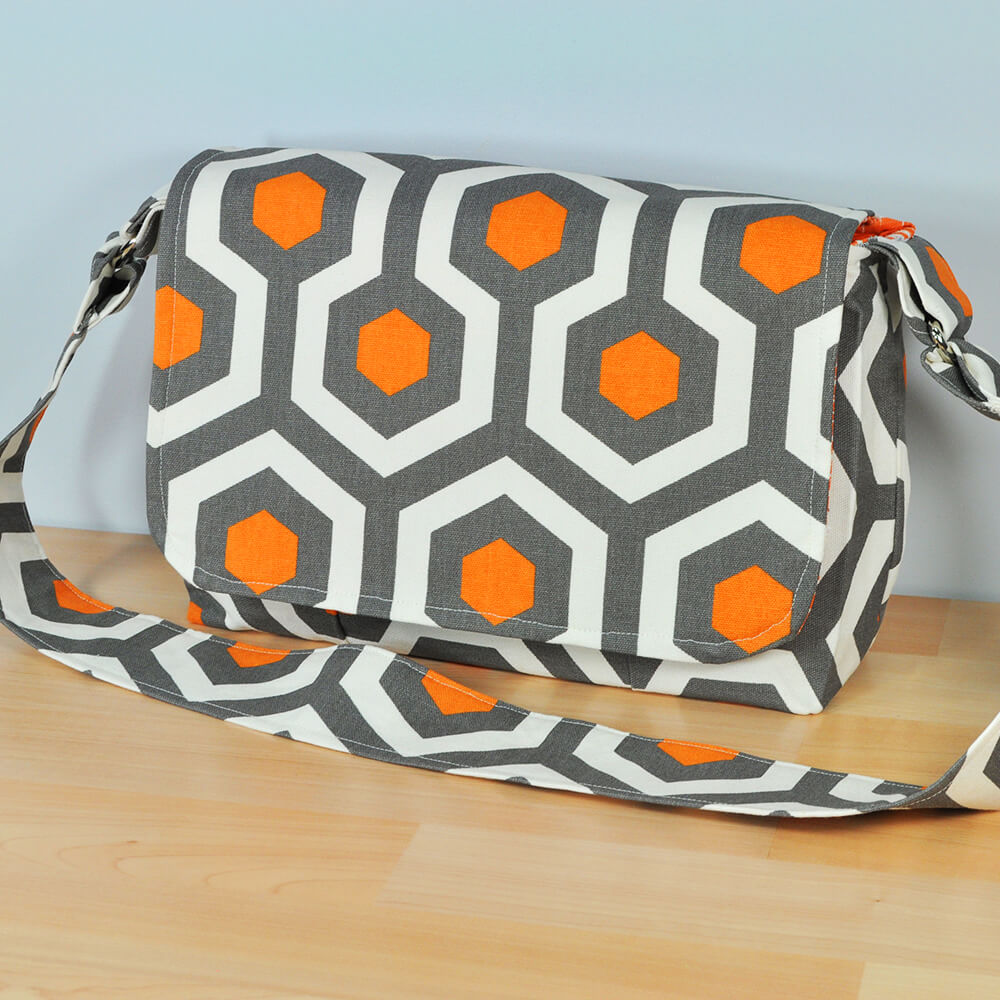
How to Make a Messenger Bag
- By OnlineFabricStore
- Intermediate
- 2 hours 30 minutes
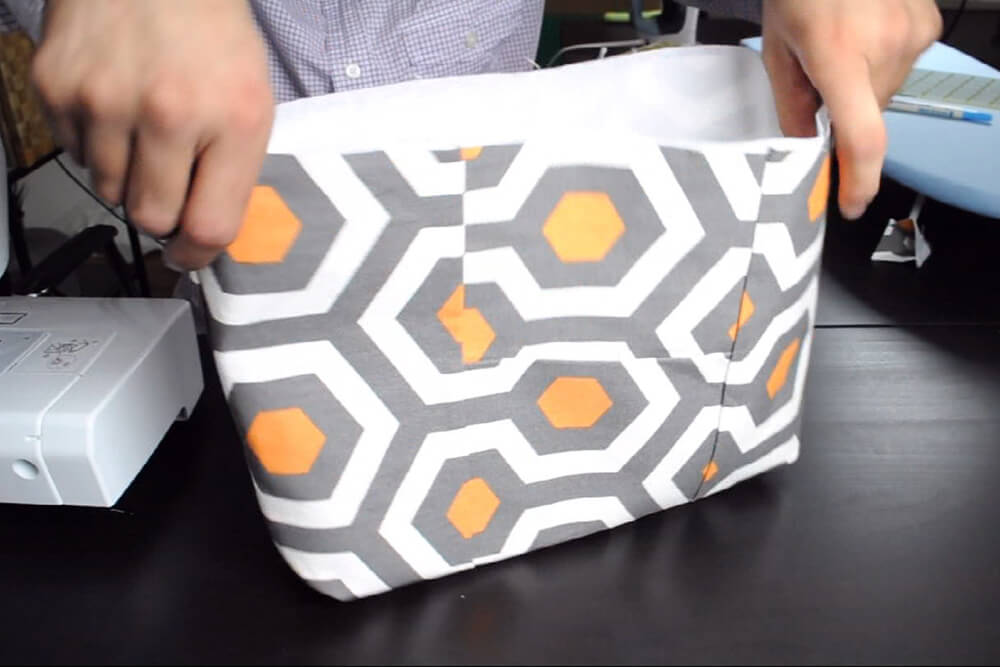
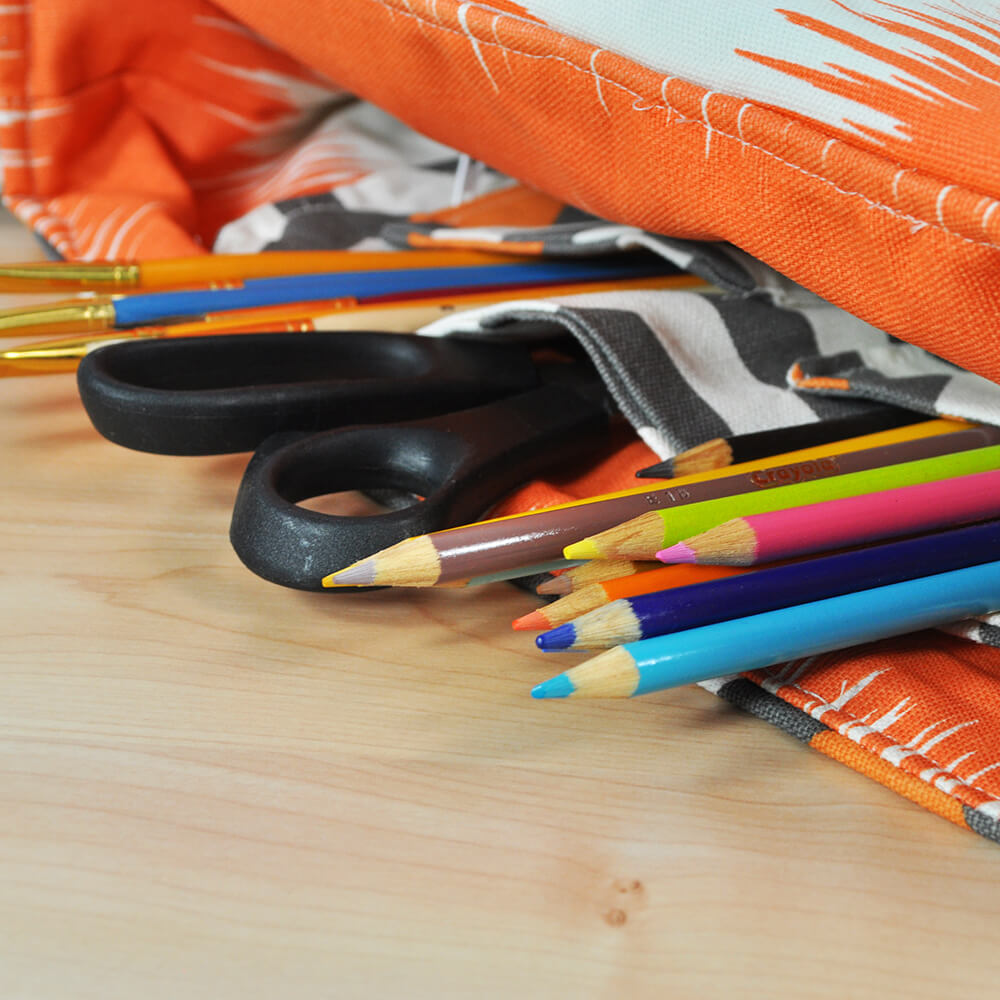
Messenger bags are great for any and all organizational needs, especially school supplies like notebooks, pens/pencils, and laptops. Here we used two 100% cotton fabrics, one for the outside and one for parts of the lining, but you can use just one fabric for both if you prefer.
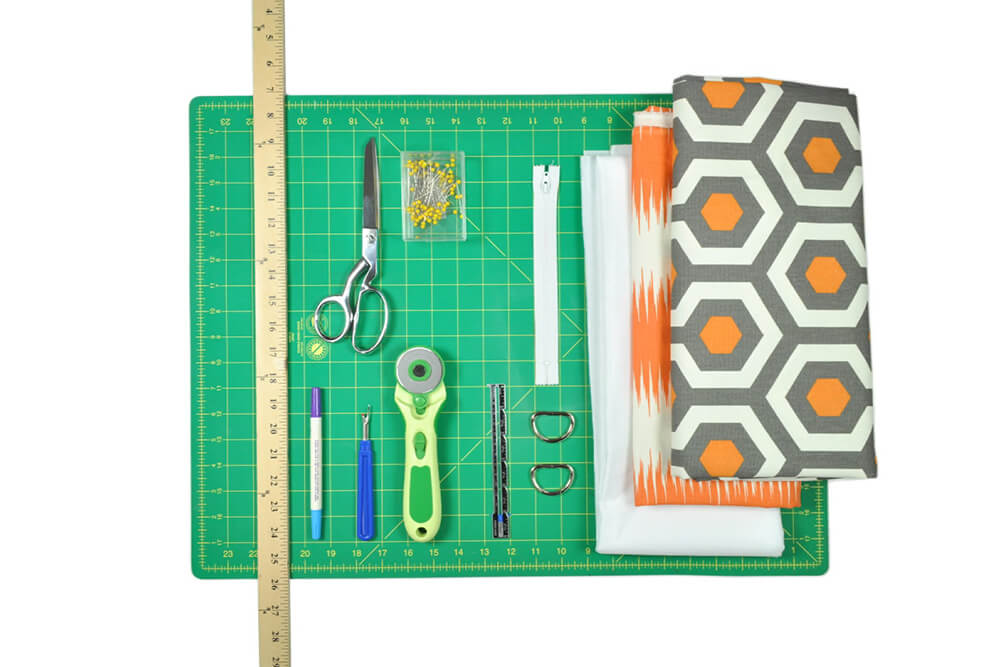
Materials
Related Products
-
 Knife Edge Dressmaker's Shears - 8"
-
 Sewing Gauge with Sliding Marker
-
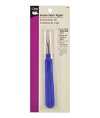 Deluxe Seam Ripper
-
 Dual Duty XP Thread - White, 500 Yards
-
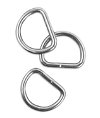 1-1/4" Nickel D-Ring
-
 25 Assorted Craft Needles
-
 175 Quilting Pins - Size 28
-
 45mm Rotary Cutter
-
 18" x 24" Cutting Mat with Grid
-
 #911FF Fusible Featherweight Interfacing - White
-
 YKK 9" White #3 Closed End Zipper
Video
Instructions
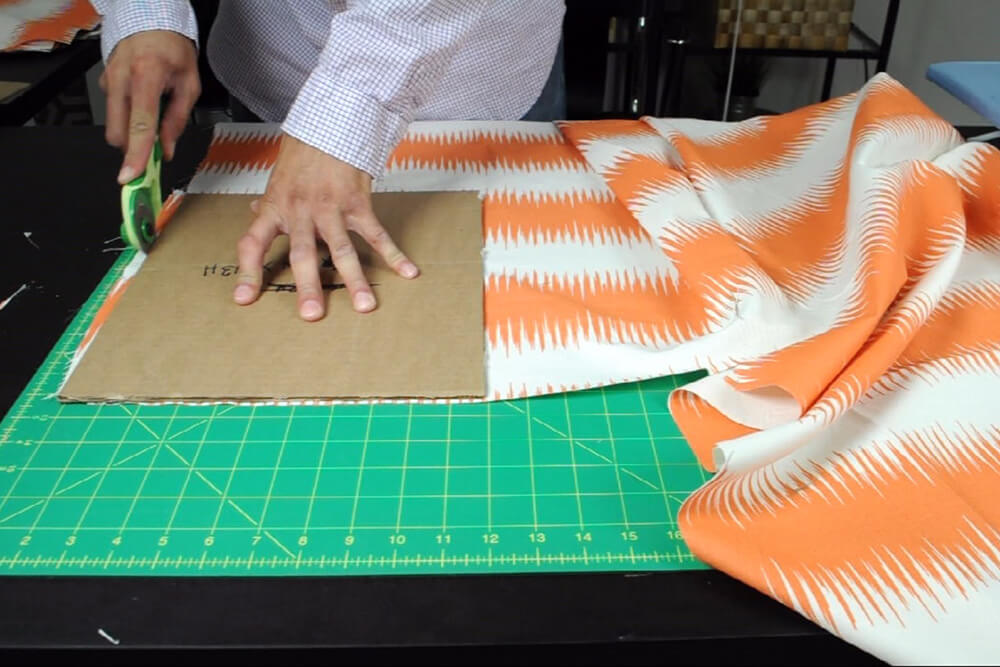
Step 1: Measure & cut the fabric
First we’re going to start by cutting out all the pieces. We made templates from cardboard to help speed up this process. We suggest you do the same as it’ll help with creating this and future bags.
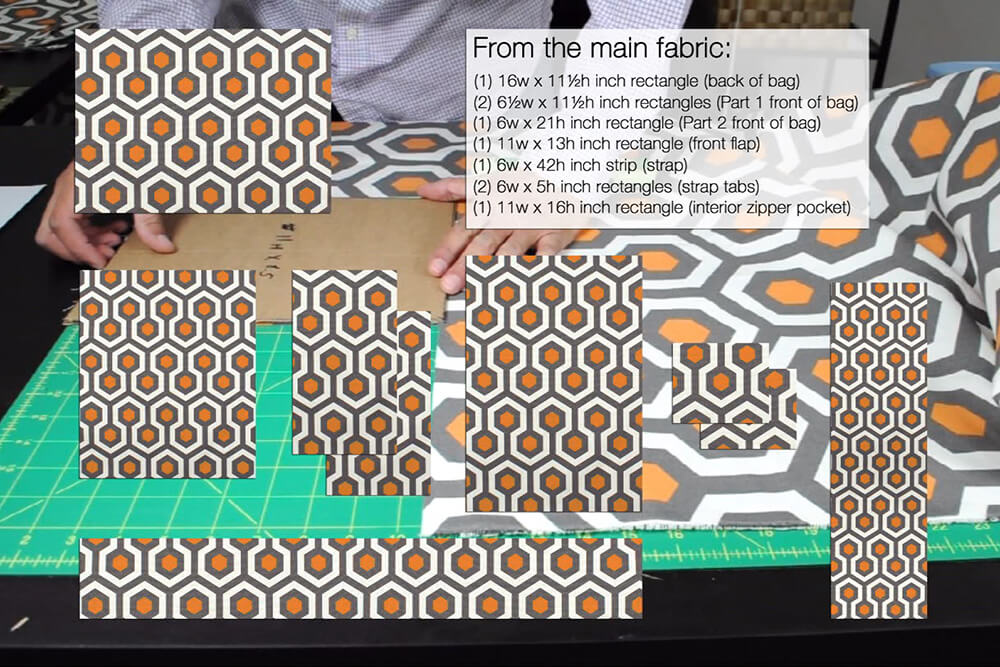
From the Main Fabric, cut:
- (1) 16w x 11½h inch rectangle (back of bag)
- (2) 6½w x 11½h inch rectangles (Part 1 front of bag)
- (1) 6w x 21h inch rectangle (Part 2 front of bag)
- (1) 11w x 13h inch rectangle (front flap)
- (1) 6w x 42h inch strip (strap)
- (2) 6w x 5h inch rectangles (strap tabs)
- (1) 11w x 16h inch rectangle (interior zipper pocket, if you want everything inside the bag to be the same fabric, use the lining fabric for this)
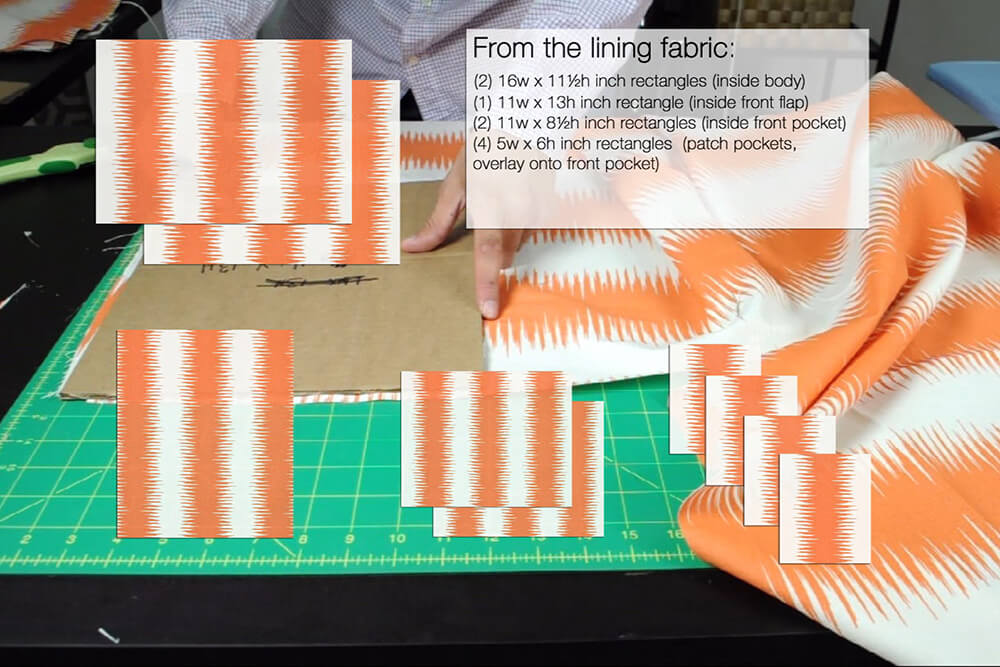
From the Lining Fabric, cut:
- (2) 16w x 11½h inch rectangles (inside body)
- (1) 11w x 13h inch rectangle (inside front flap)
- (2) 11w x 8½h inch rectangles (inside front pocket, can use the main fabric for this but if you want everything inside the bag to be the same fabric, use the lining fabric)
- (4) 5w x 6h inch rectangles (patch pockets, overlay onto front pocket, can use main fabric for this, but if you want everything inside the bag to be the same fabric, use the lining fabric)
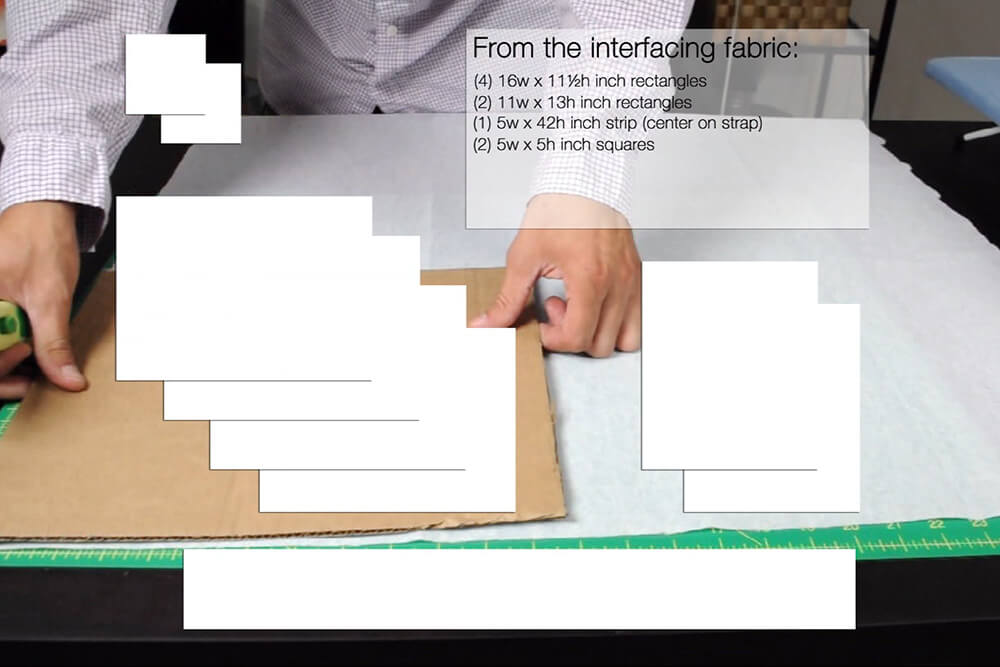
From the interfacing, cut:
- (4) 16w by 11½h inch rectangles
- (2) 11w by 13h inch rectangle
- (1) 5w by 42h inch strip (one inch narrower allowing no interfacing in the seam allowance)
- (2) 5w by 5h inch squares
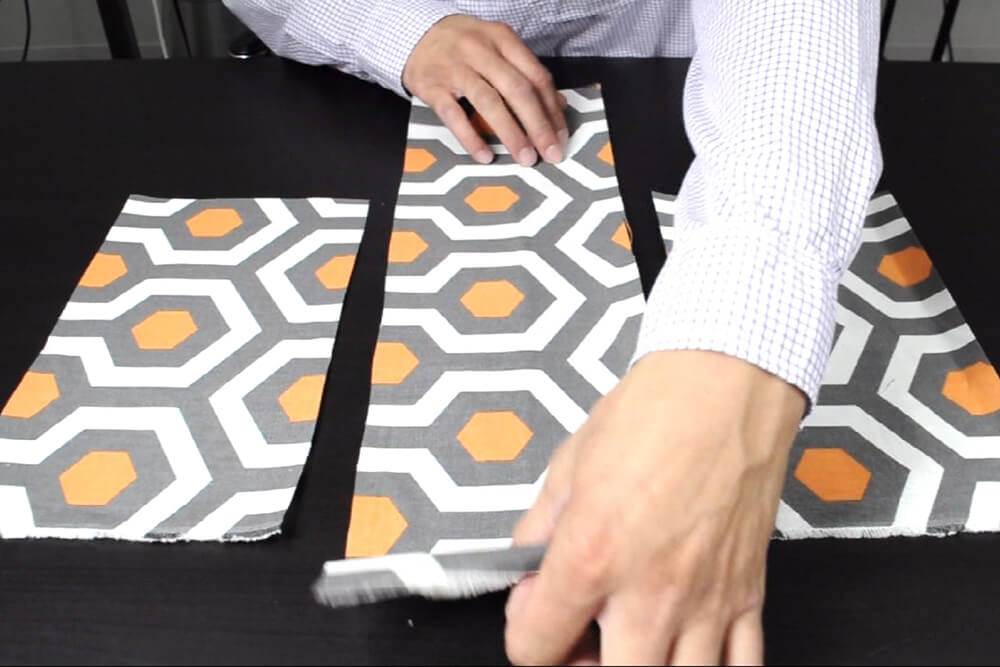
Step 2: Assemble the front panel and fuse the interfacing
Unless otherwise noted, use a 1/2 inch seam allowance for all stitches.
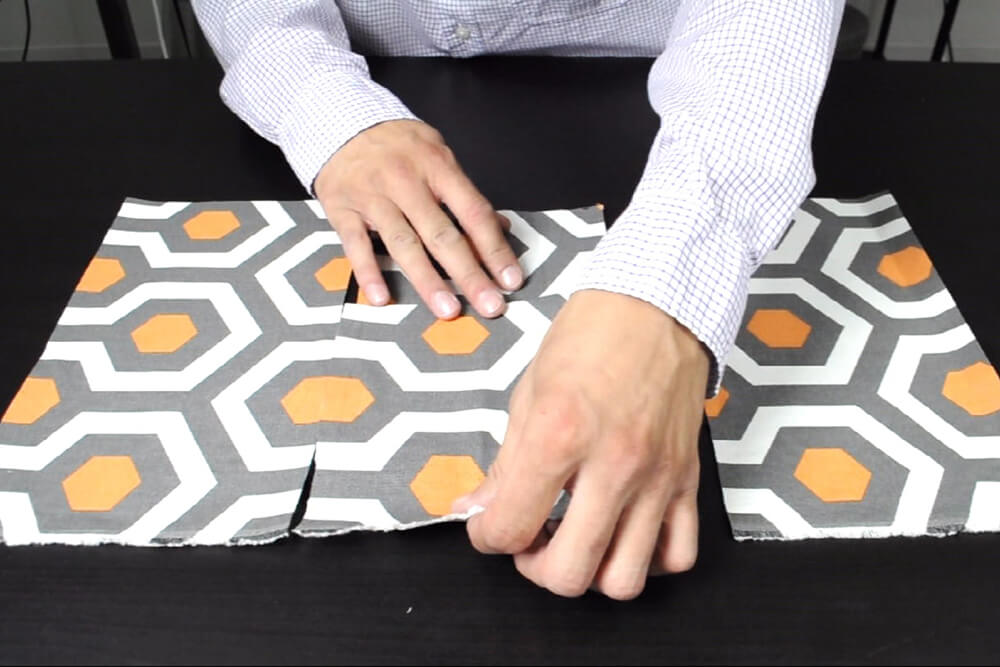
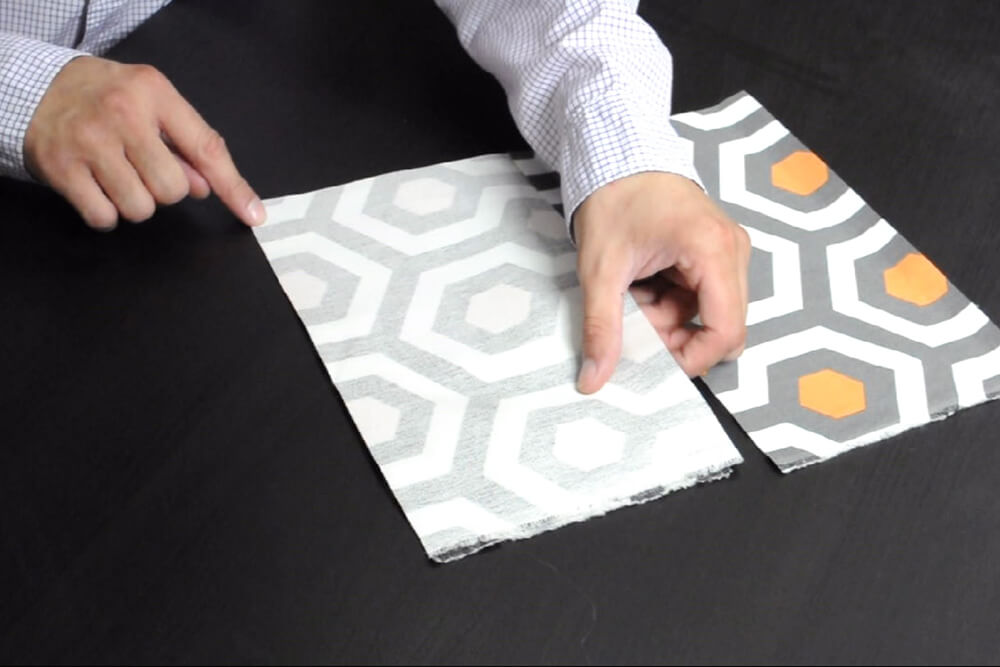
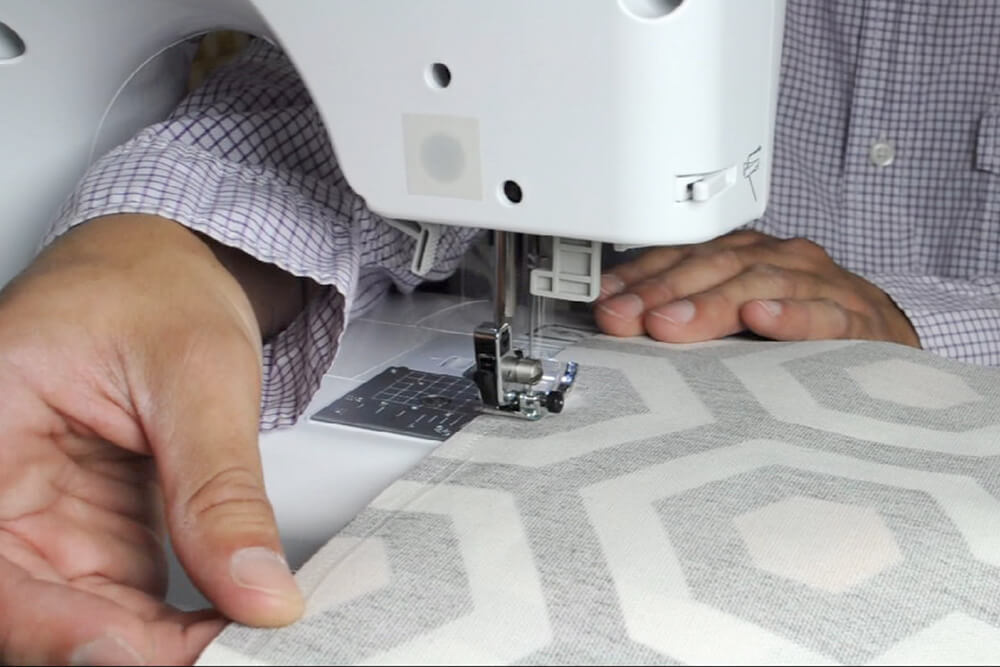
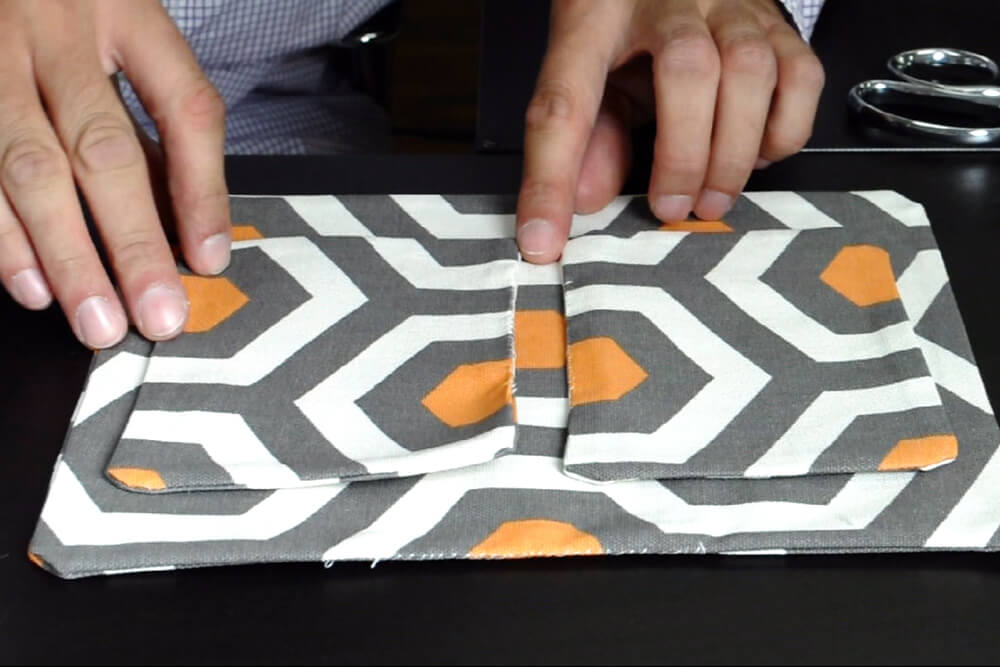
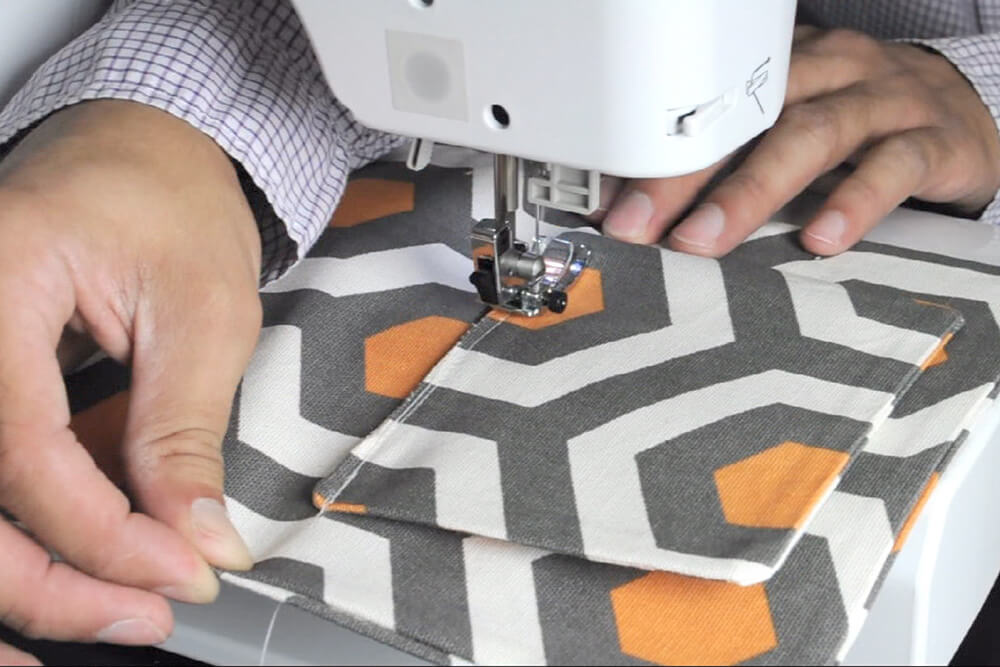
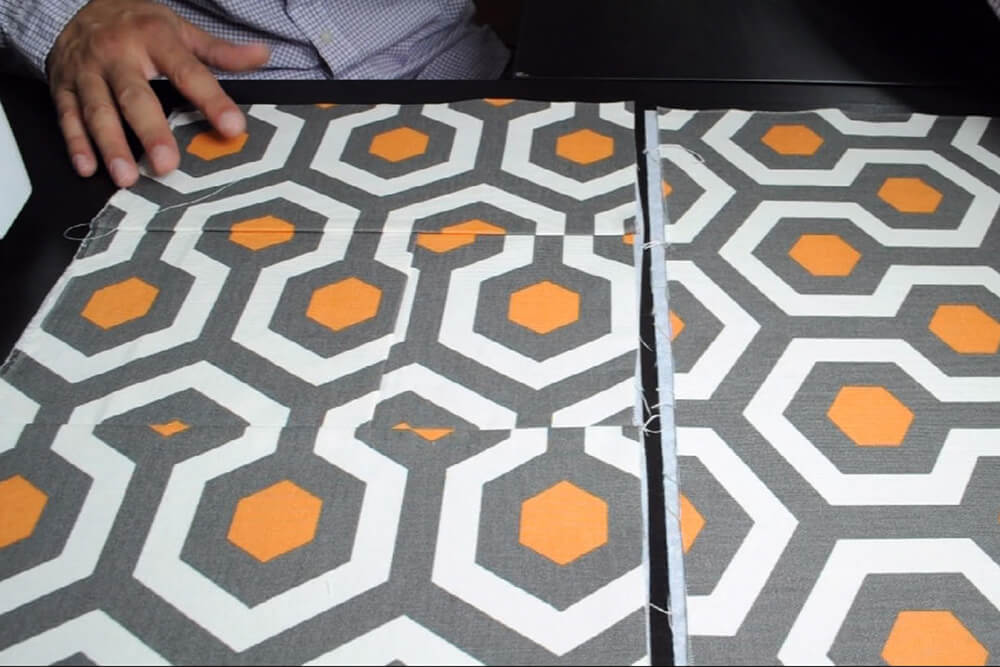
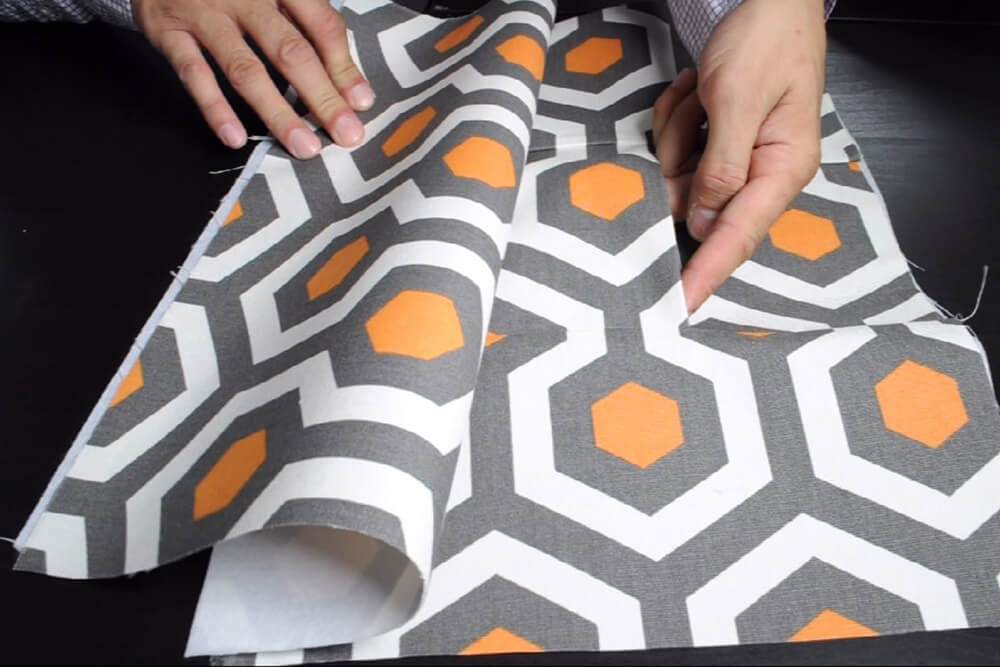
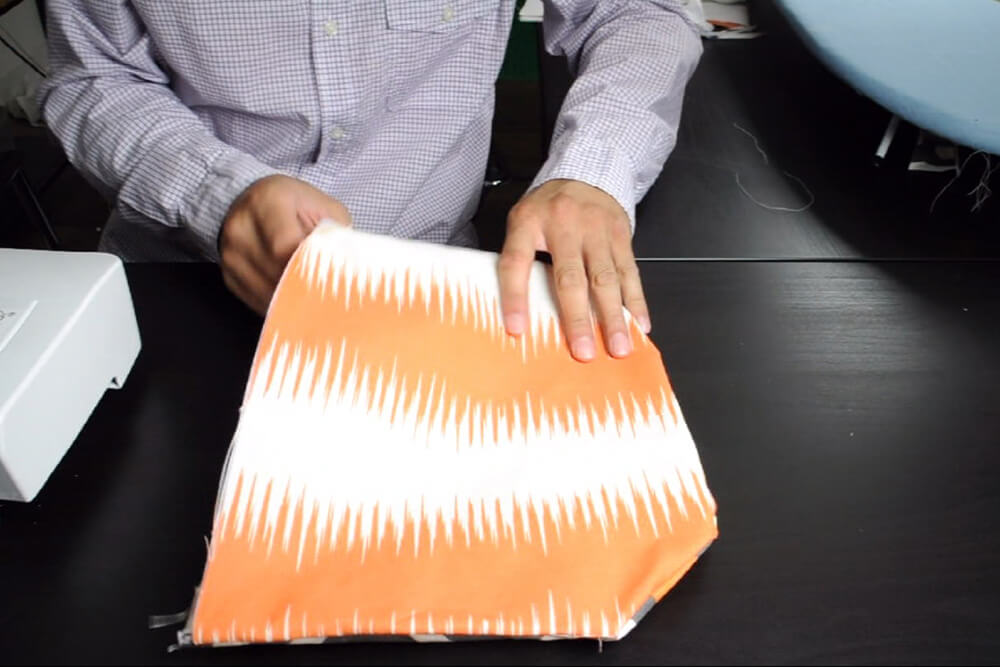
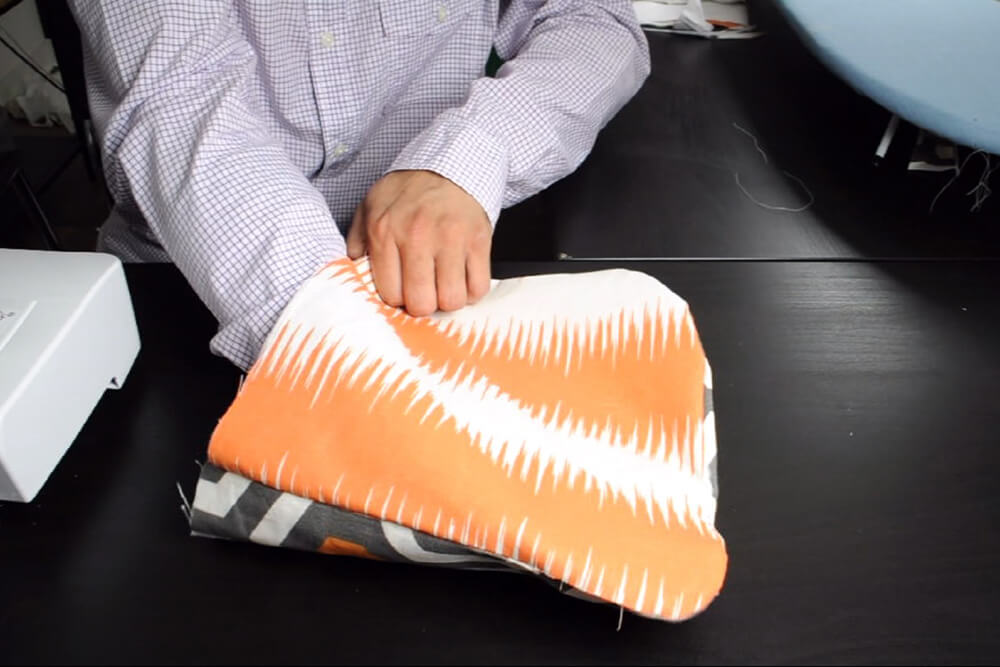
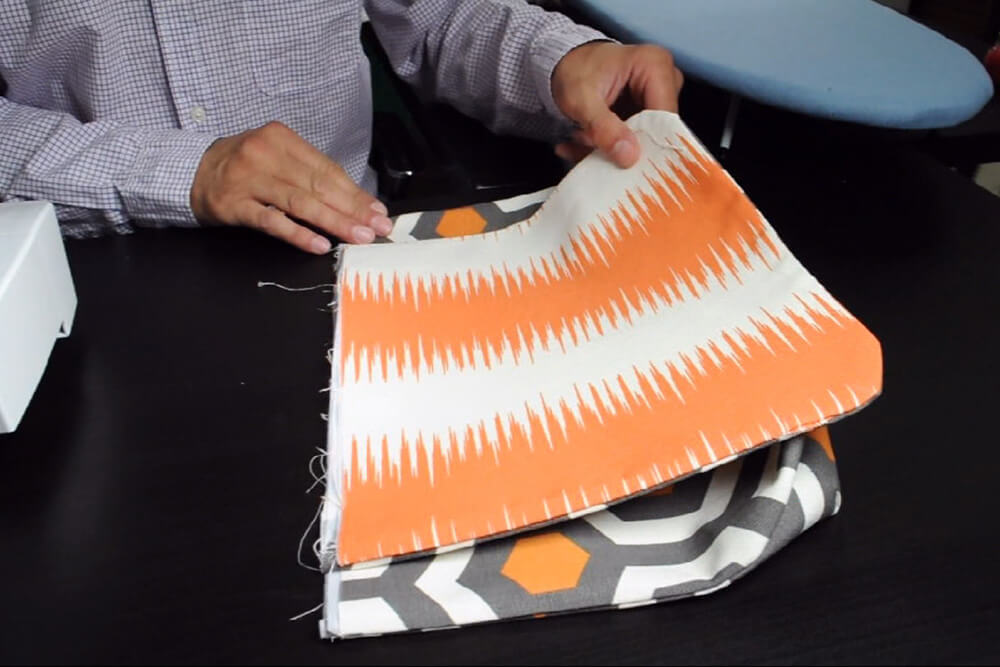
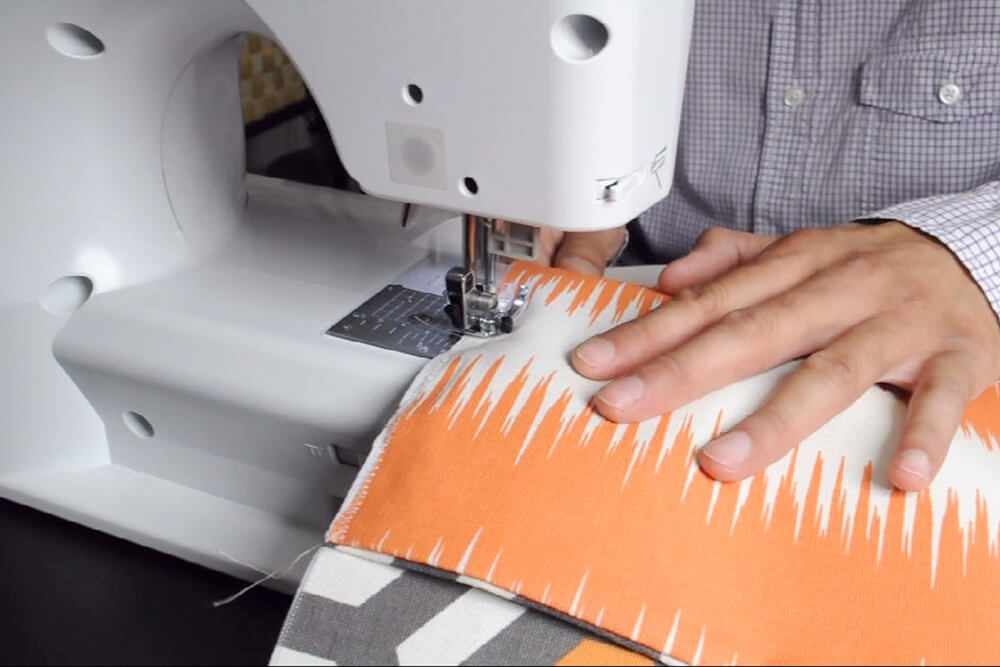
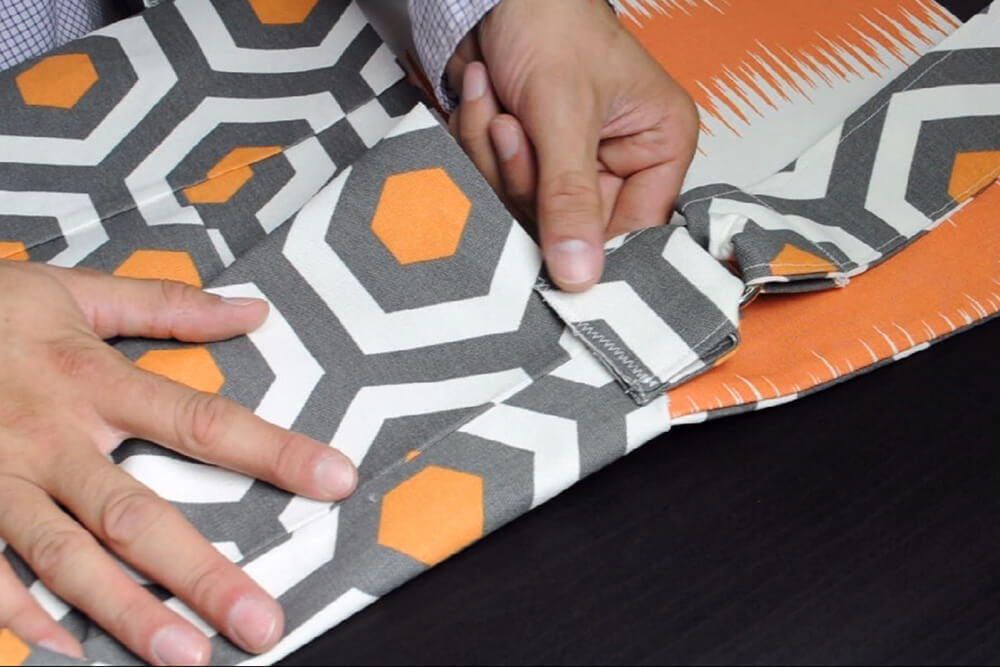
Next, assemble the front panel. From the main fabric, fold the (1) 6½w x 21h inch piece into a tri-fold to form the shape of a “Z”. We’ll use (1) 6½w x 11½h inch piece and place it down right sides facing each other. Sew one side and do the same for the second on the opposite side.
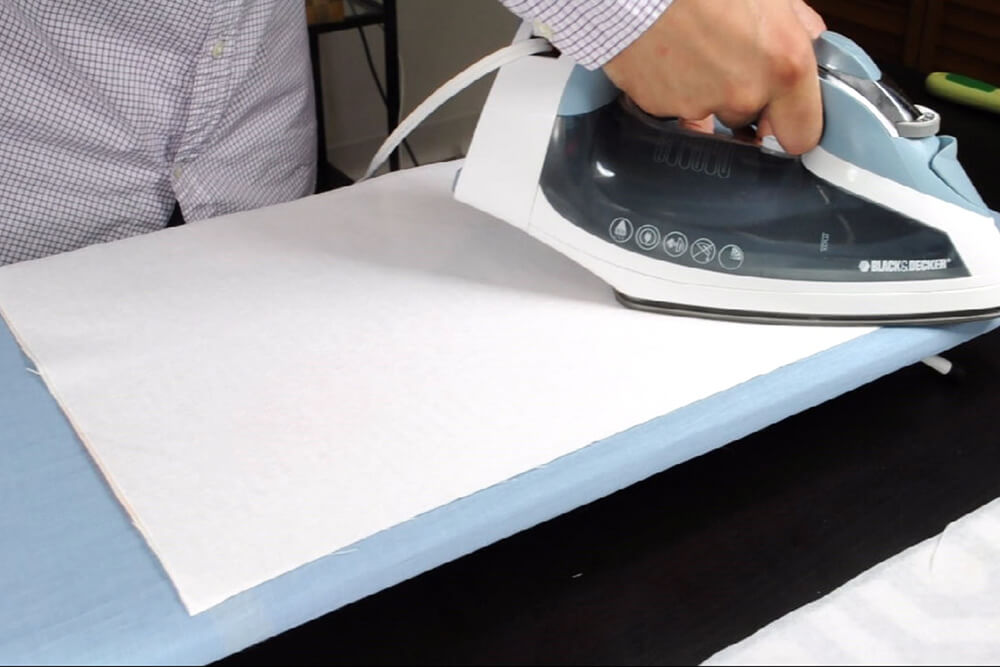
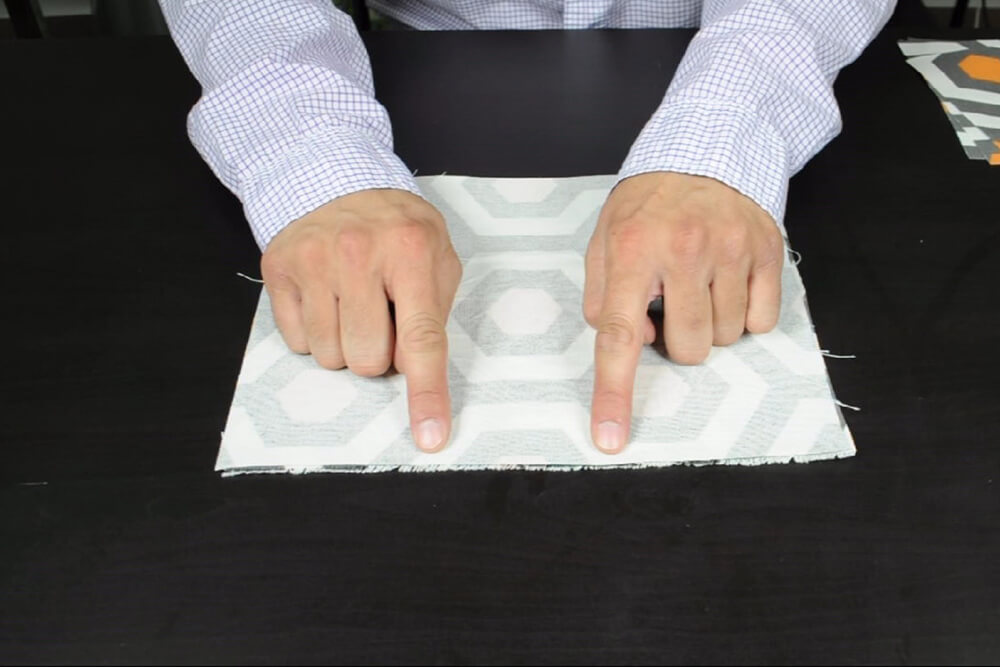
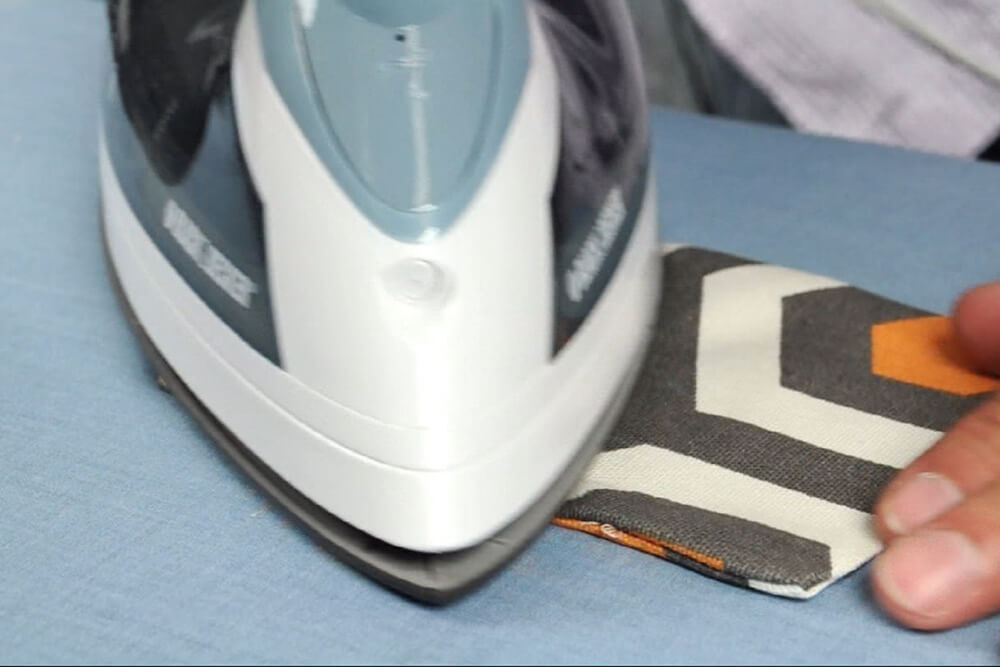
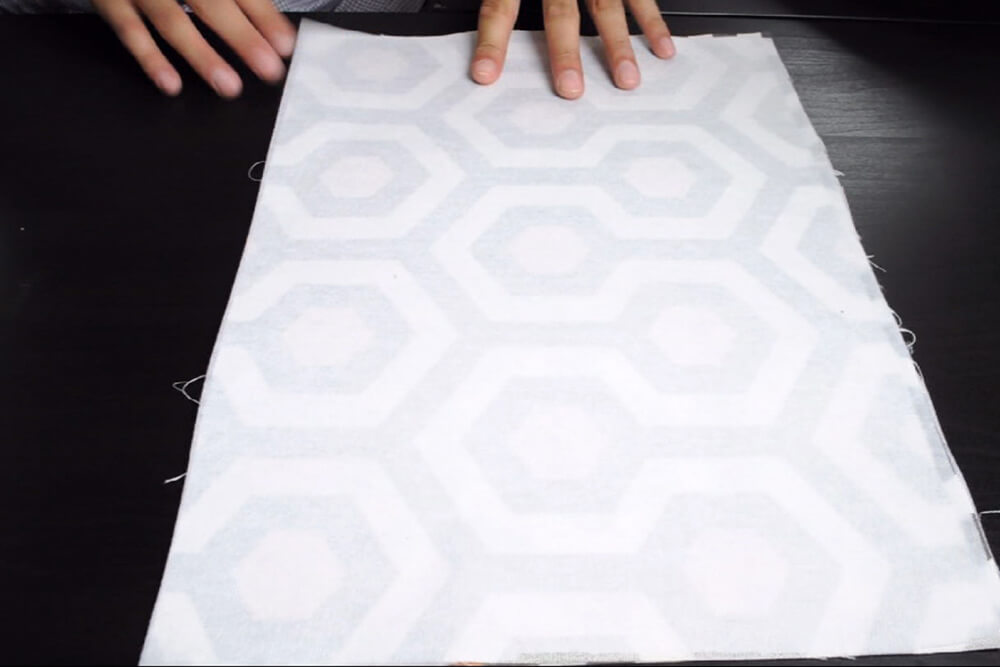
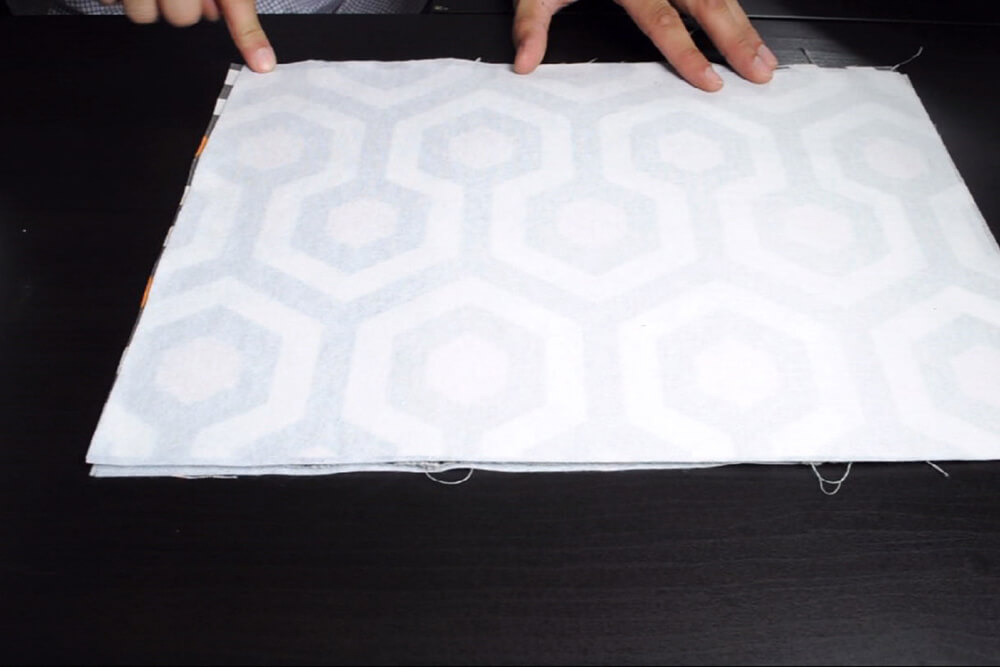
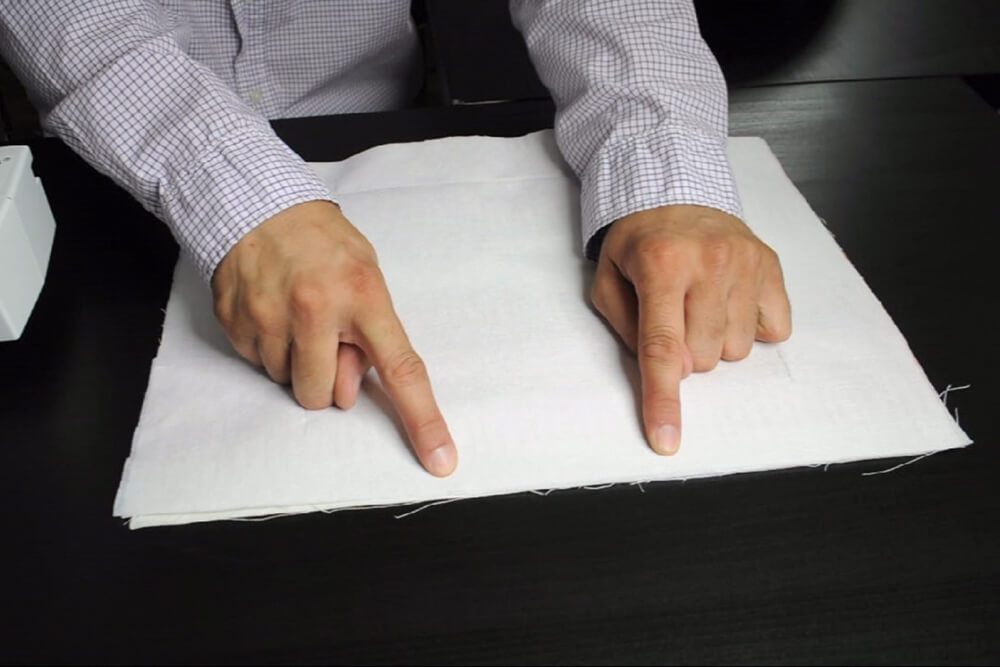
Use an iron to fuse the interfacing. The soft side faces upwards, where the course side fuses to the fabric. Fuse the interfacing to the back of our newly constructed front of the bag, the back of the bag, the front and back of the flap, the two inside body pieces, the strap and strap tabs. (every piece except the inside pockets)

Step 3: Construct the inside pockets
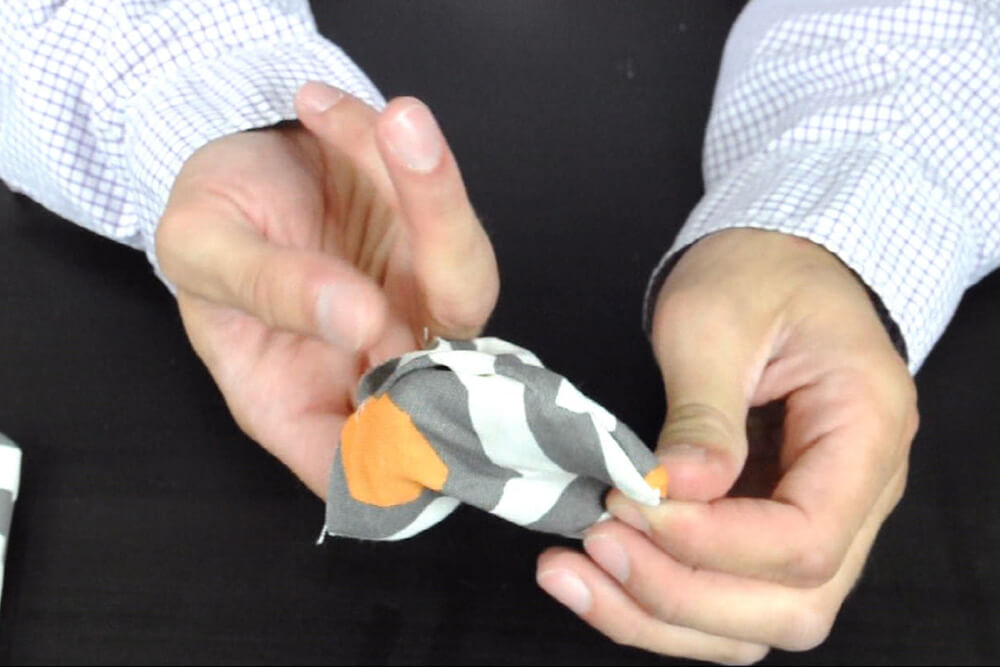
Next, construct the inside pockets. From the lining fabric (or main fabric if you used that instead), place the (2) 11w x 8½h inch pieces right sides facing each other. Sew the left, top, and right sides. Sew the bottom as well, leaving a couple inches open in order to turn the fabric right side out. Repeat this step for the other two pockets with the (4) 5w x 6h inch pieces of fabric.
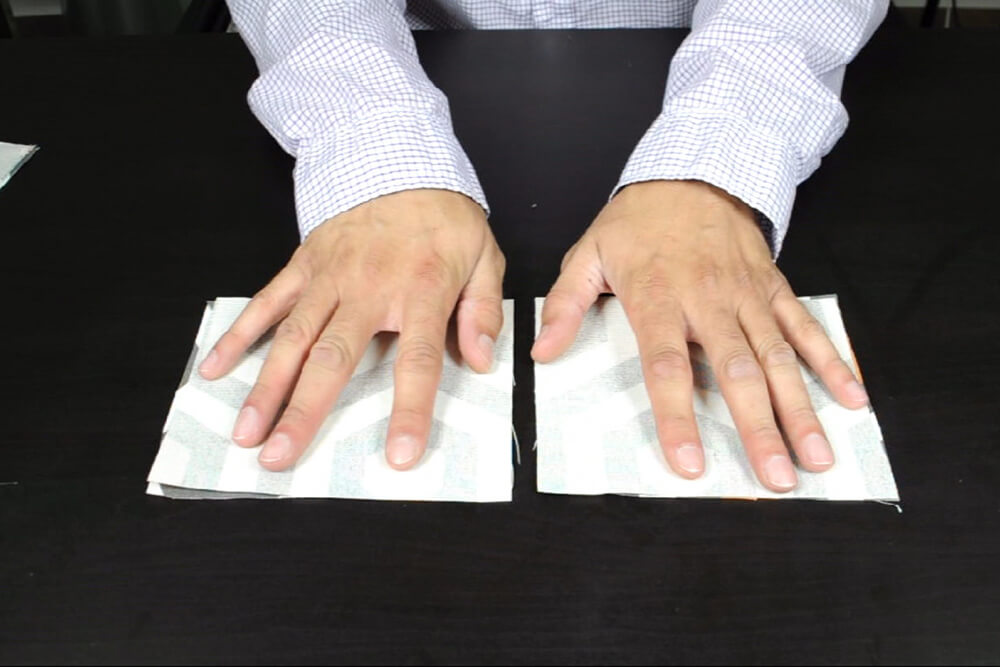
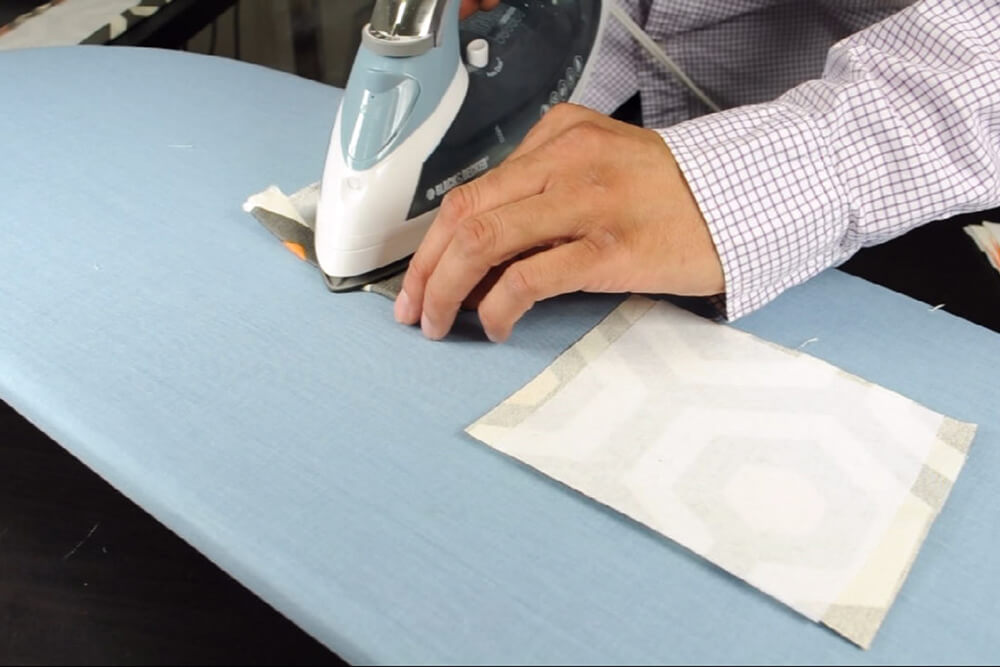
Trim the corners to allow them to flatten out better. Turn the fabric right side out through the opening. Push out your corners and iron the pockets. Where the opening is, fold it into place and iron. This will get sewn shut in the next step.
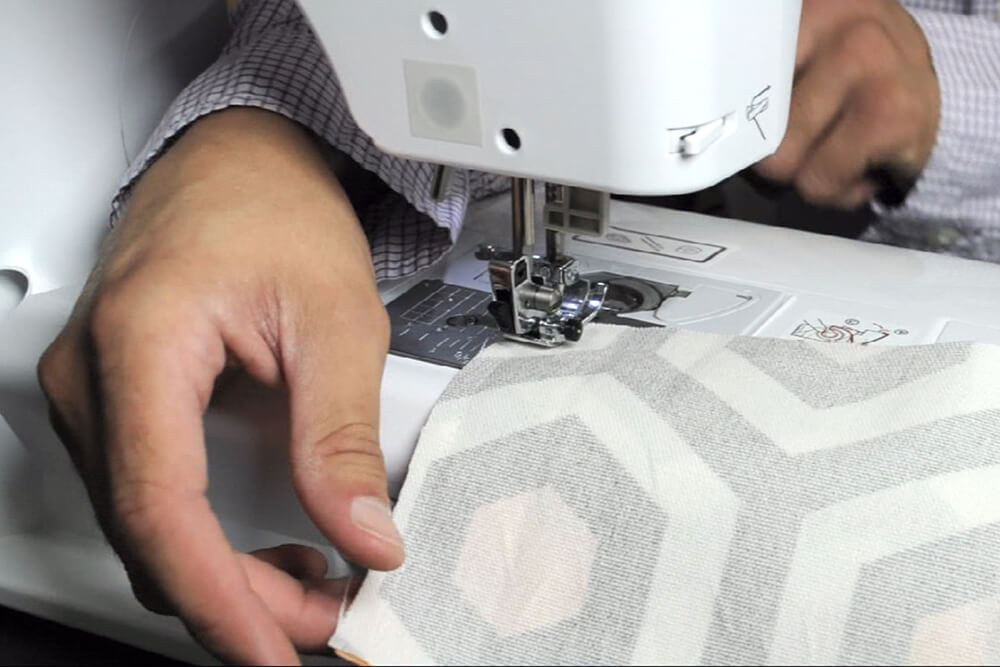
Construct the two smaller pockets by sewing them onto the inside front pocket. Sew the left, bottom and right sides, leaving the top open to form the pocket. Repeat for the second pocket. Reversing your stitch on the corners will form bar tacks for extra support.
Construct the larger pocket by sewing the 11w x 8½h inch piece of fabric onto the back inside body piece. Sew the left, bottom, and right sides, leaving the top open to form the pocket. Clean up any lose threads.
Step 4: Construct the zipper pocket and join the outside
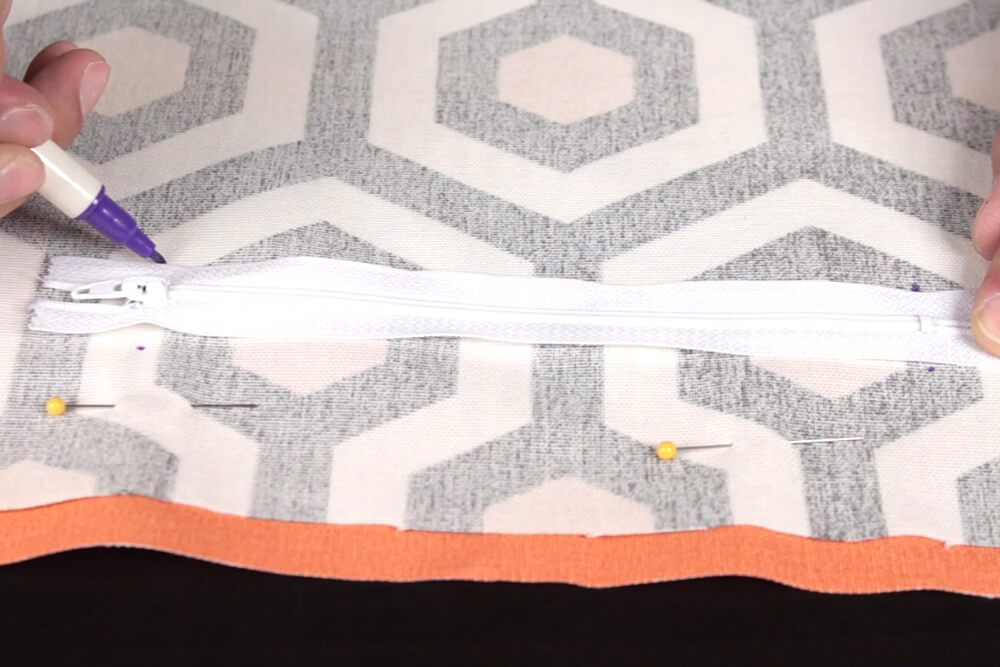
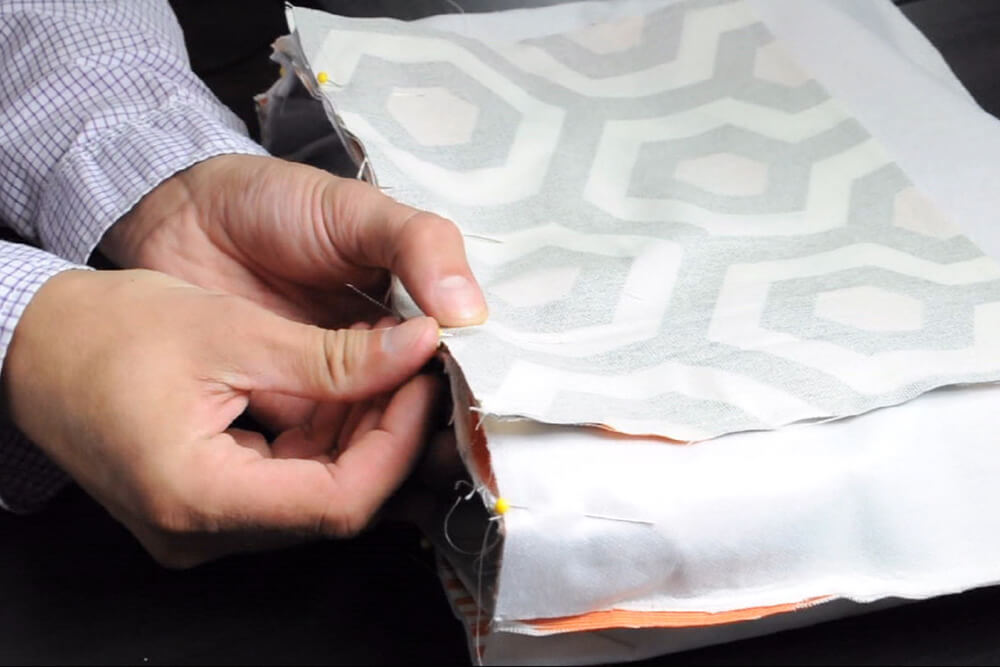
Next, construct the zipper pocket. From the lining fabric use the second inside body piece and place right side up. Place the fabric for the interior zipper pocket from the main fabric on top (perpendicular to the lining piece), right side facing down. Pin the two in place.
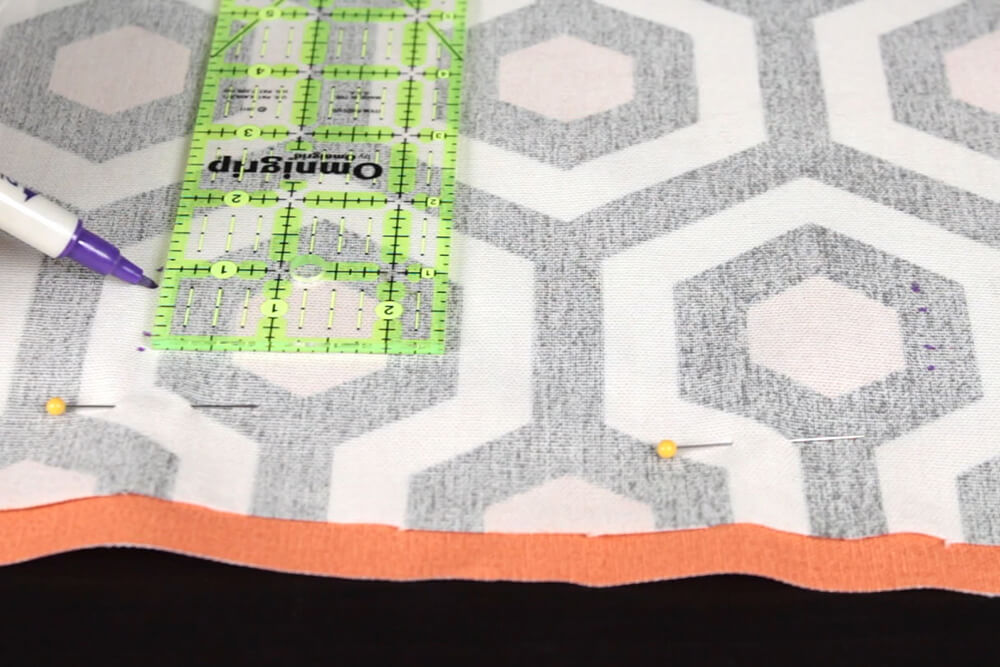
Place the zipper 2 inches from the top. Mark at the top and bottom where the zipper head and stopper are. Using the ruler, measure inwards by a quarter of an inch and mark again on both sides.

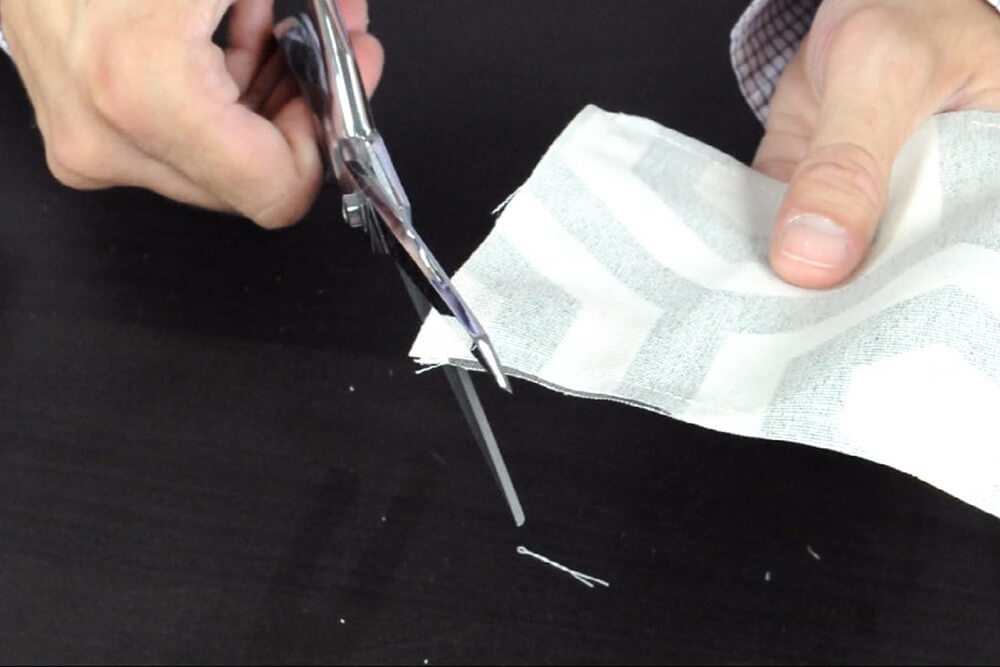
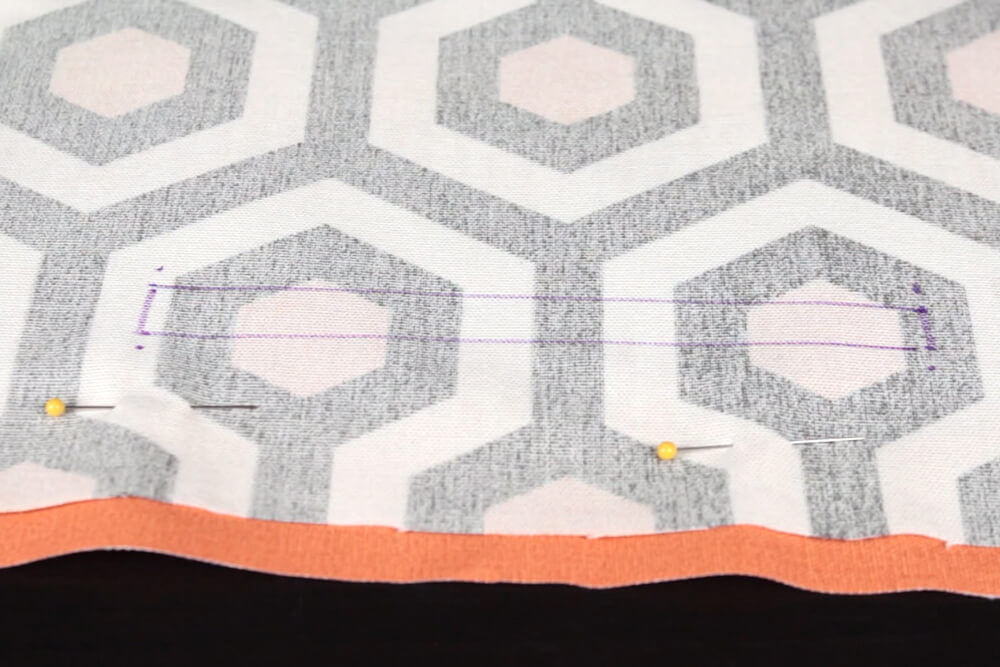
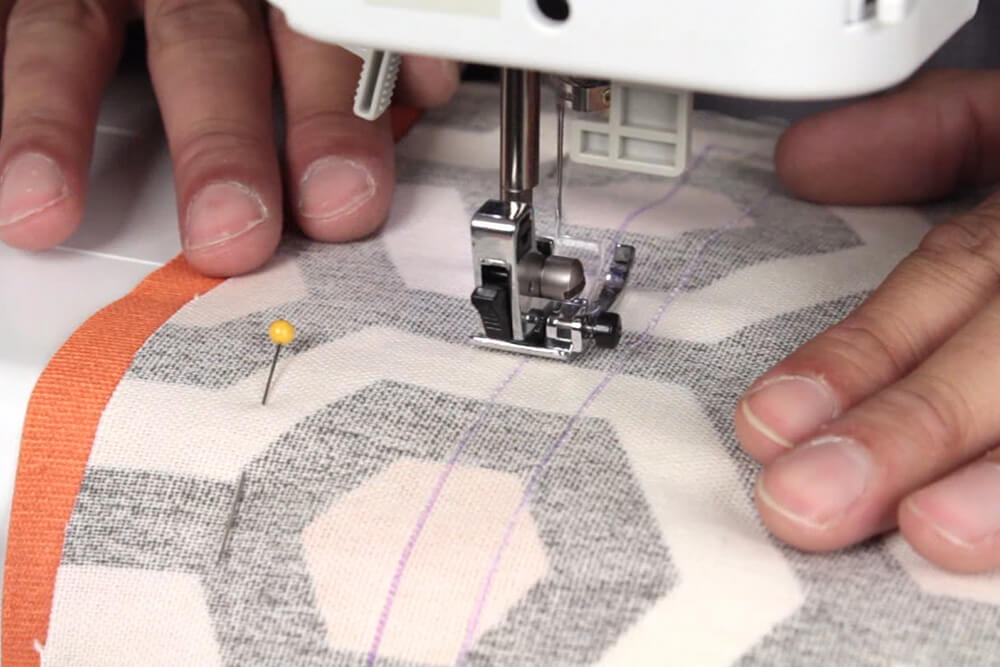
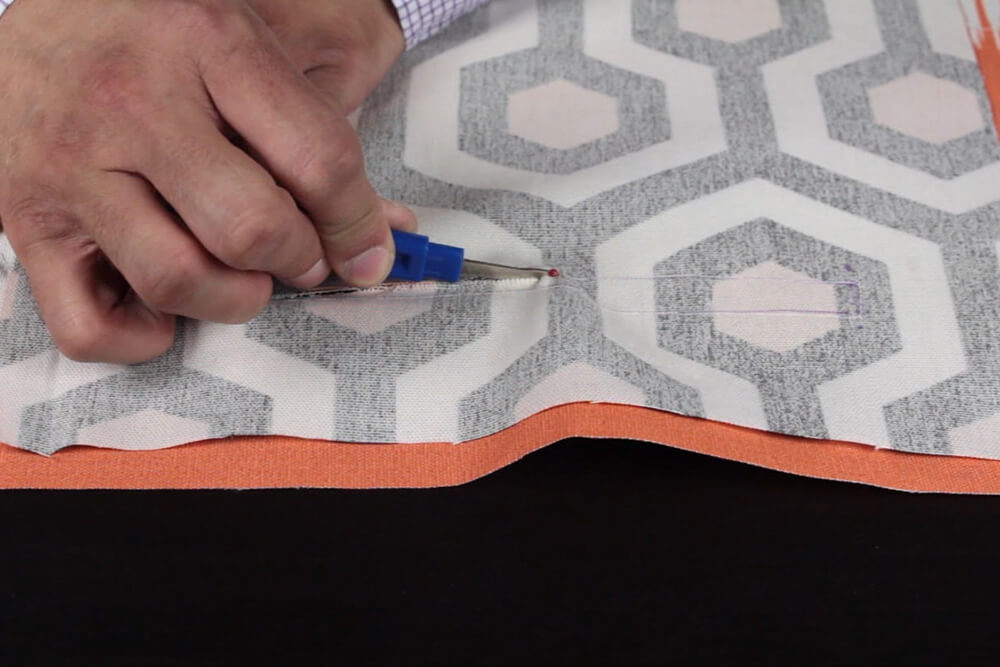
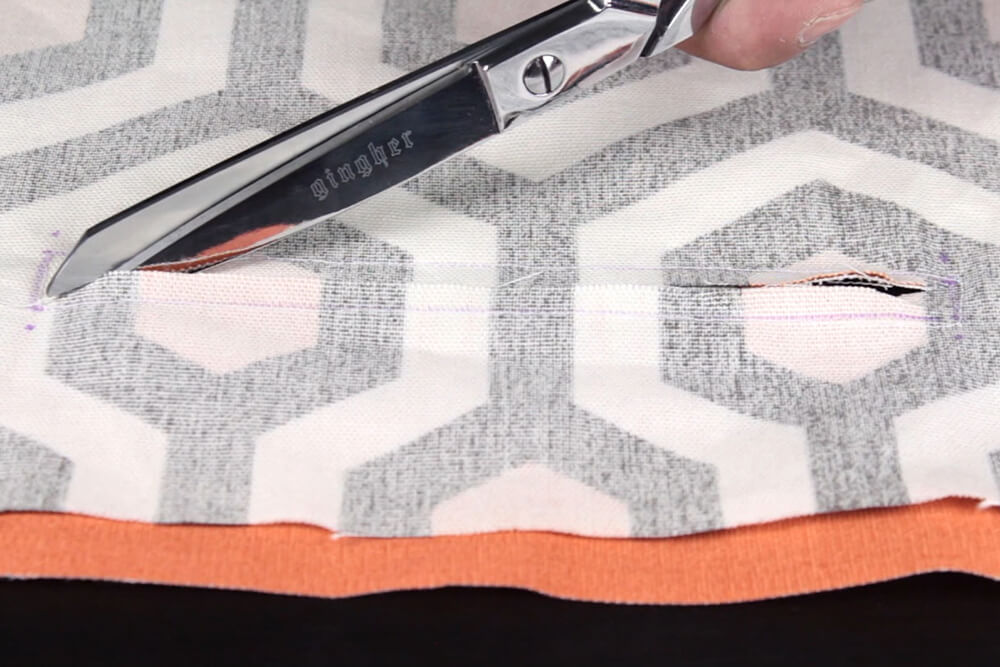
Draw straight lines connecting these marks, this is where the zipper opening will be. Sew on and around the marks and remove the pins. Leaving a half inch at the start and before you finish, use a stitch ripper or scissors to cut down the middle of the rectangle you just sewed. Cut a “Y” shape on both sides.
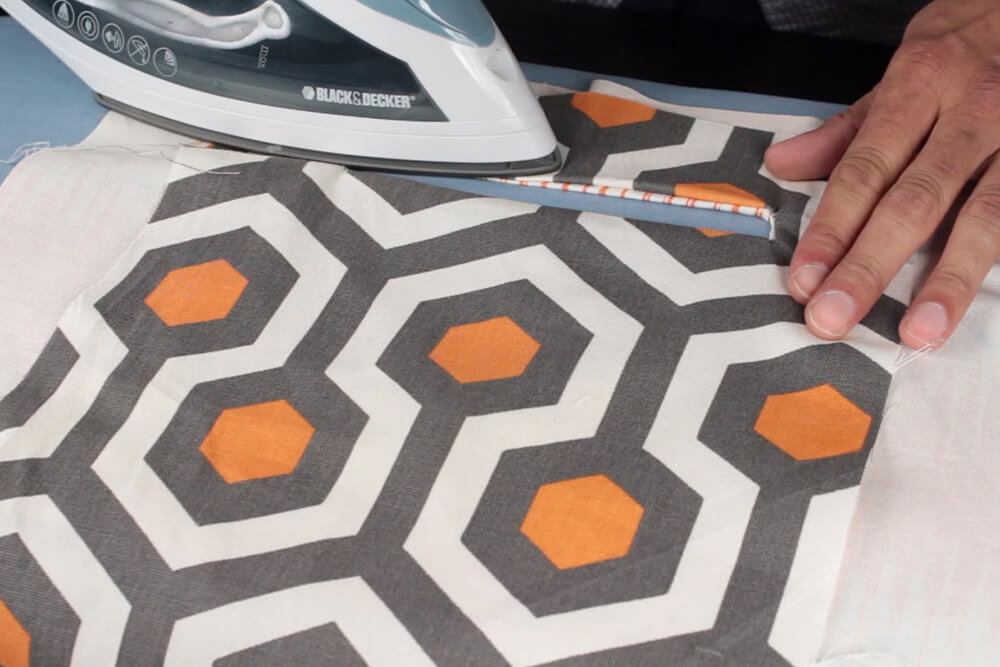
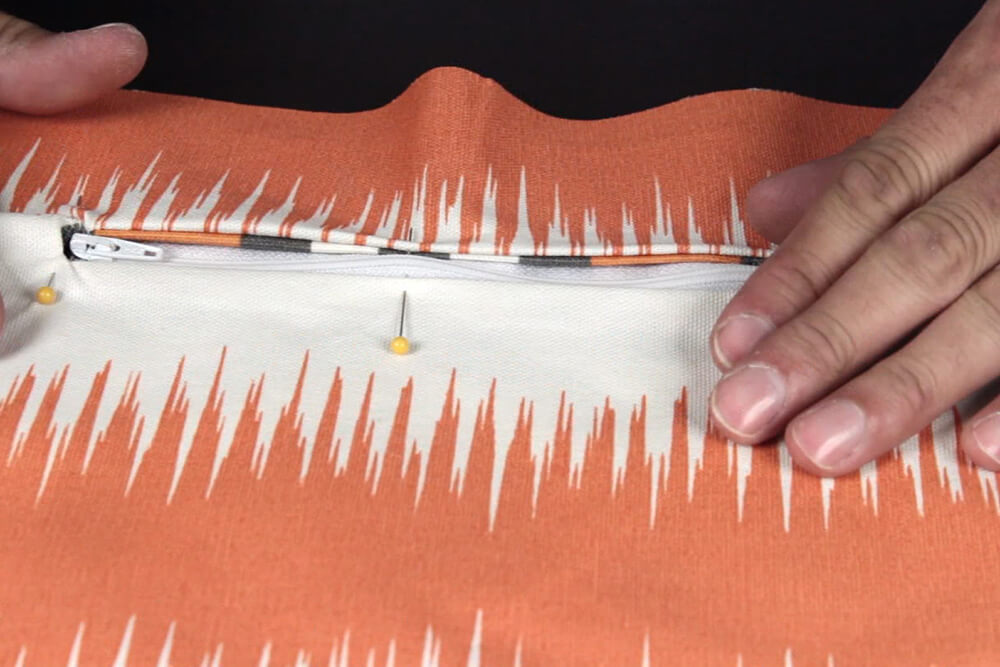
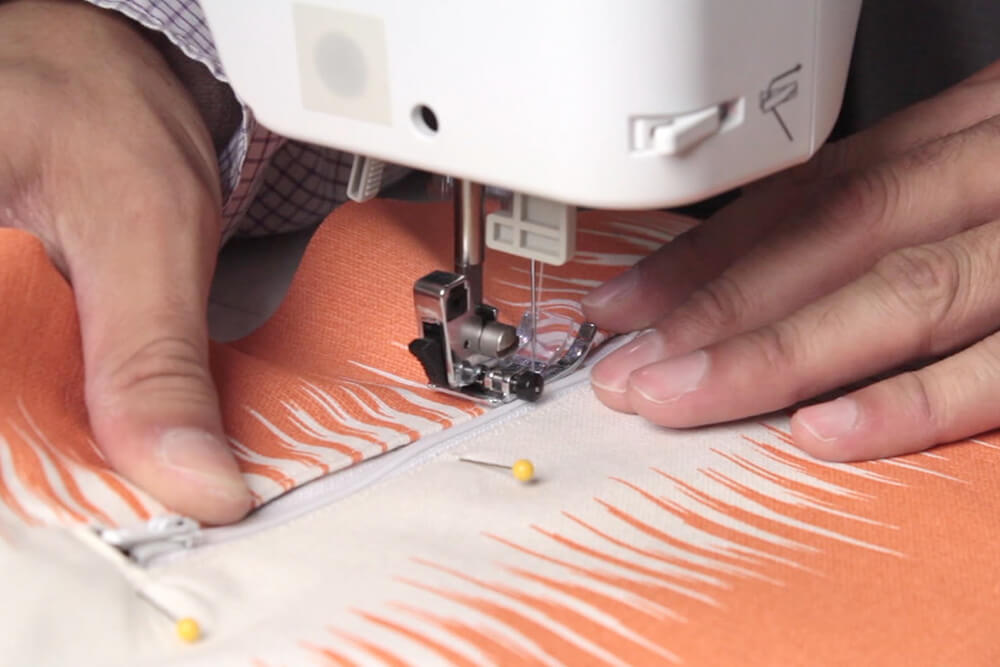
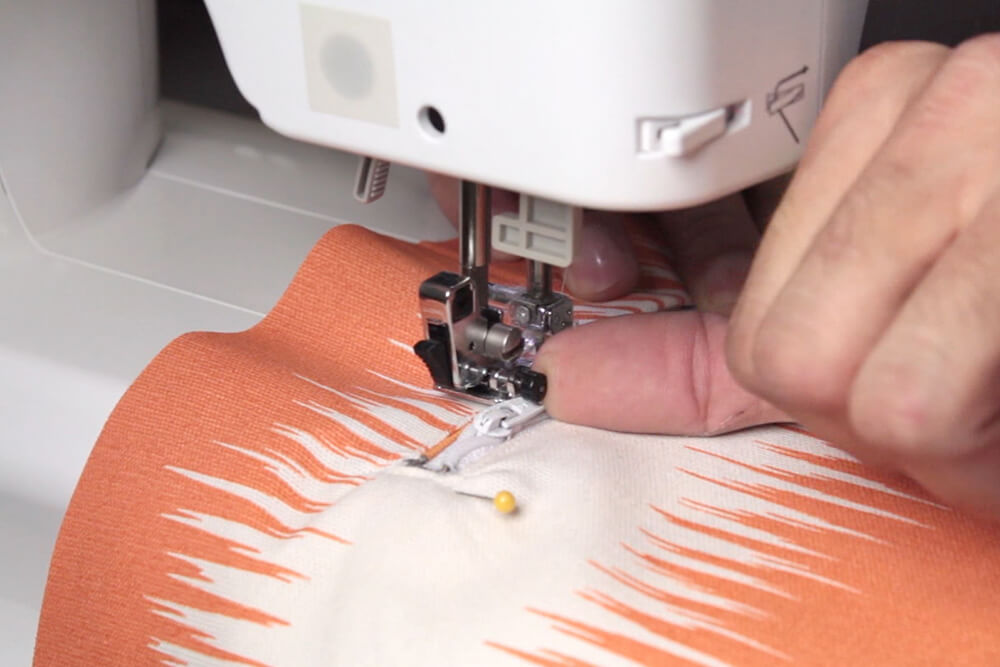
Turn the pocket through the opening and iron it down as flat as possible on both sides making sure you can’t see the lining fabric on the opposite side along the seam. Using pins, secure the zipper along the opening with the lining facing up. (The zipper should be placed underneath when pinned so it shows through the opening). Make sure the zipper is spaced evenly.


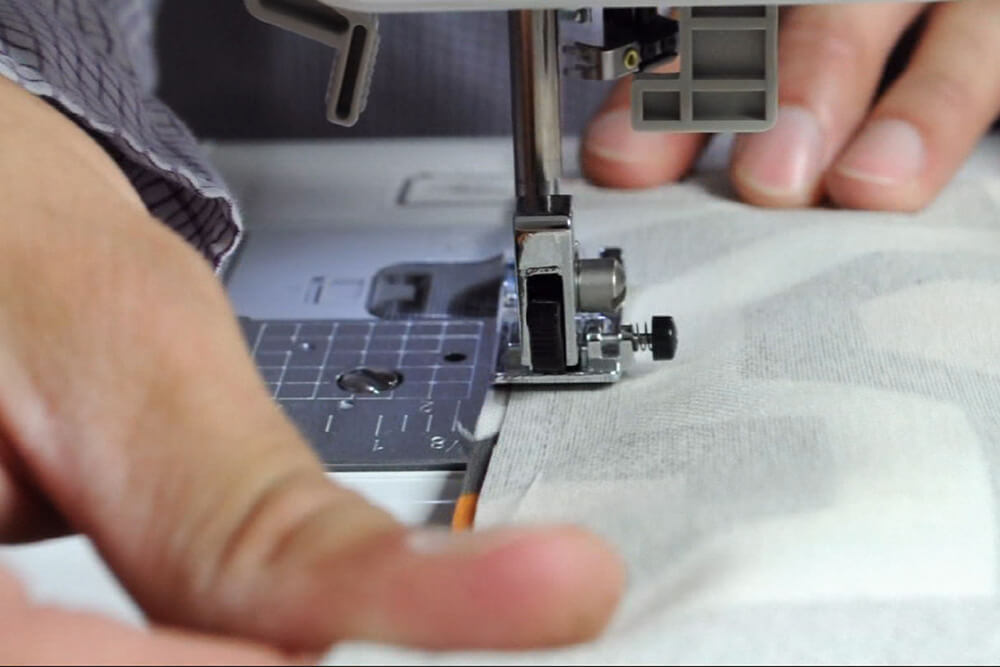
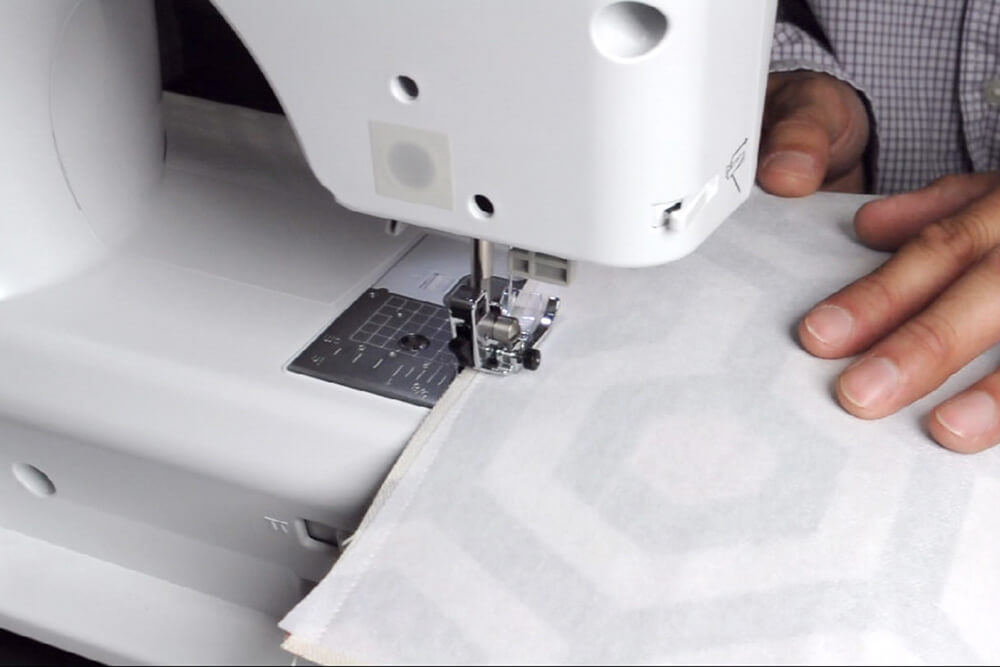
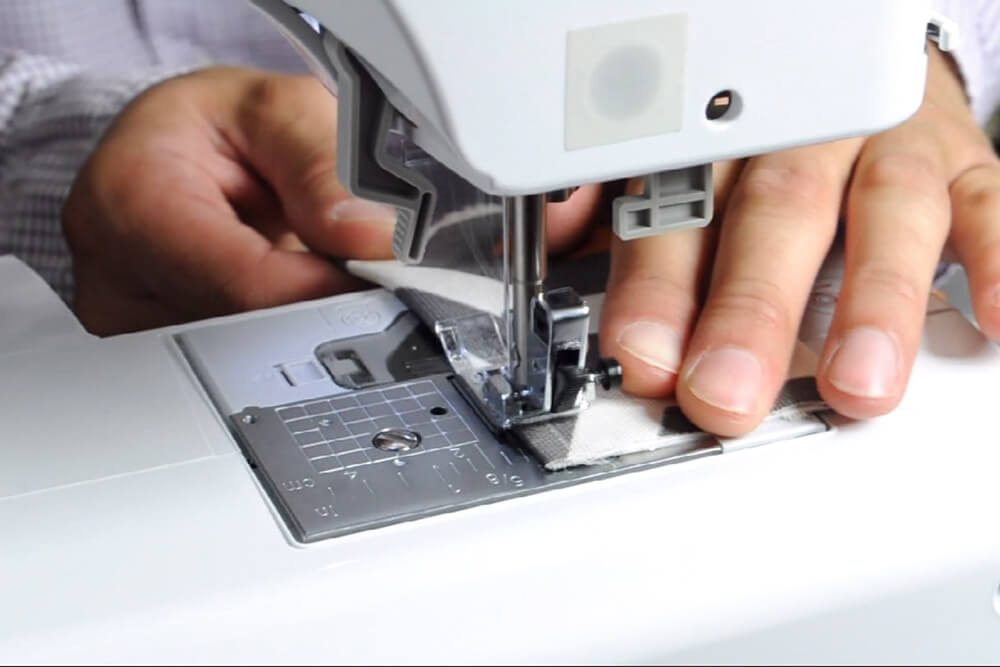
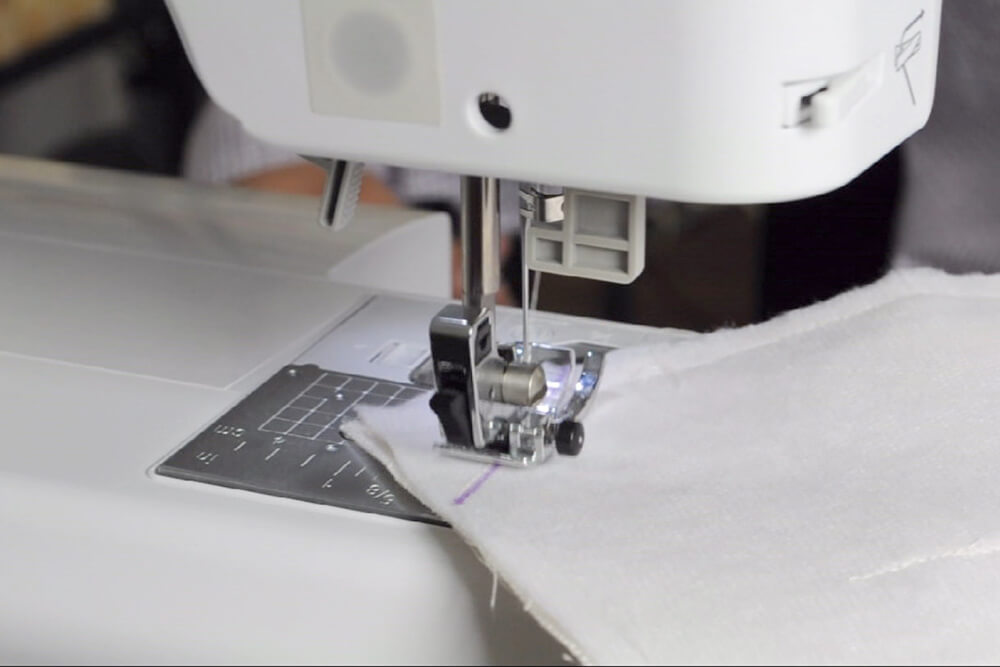
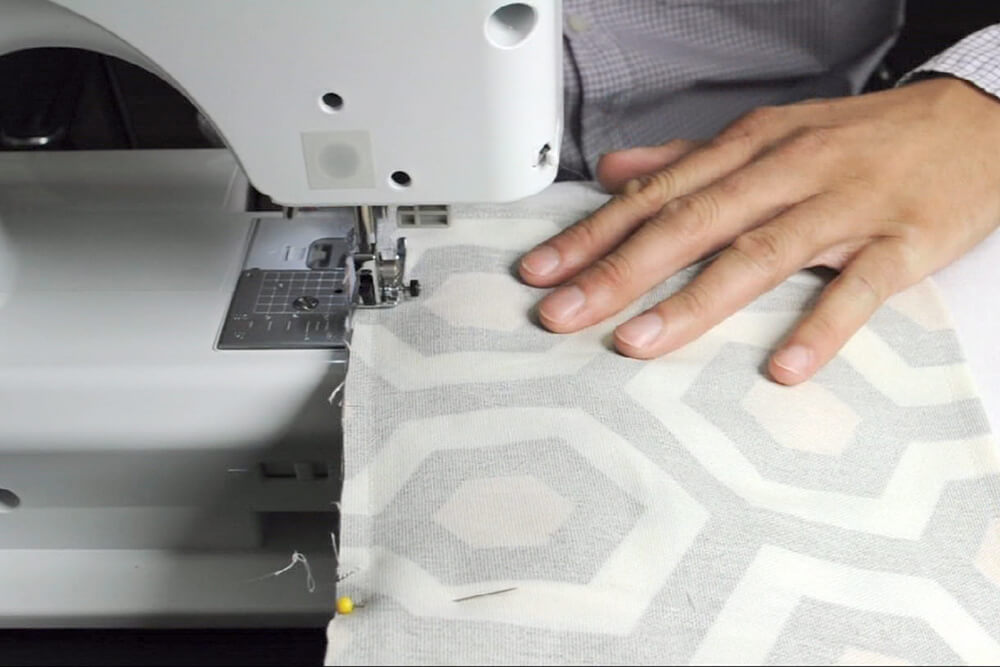
Position the needle all the way to the left. Sew along the edge of the opening leaving 1/8th inch distance from the zipper. Sew slowly to avoid any mistakes. You may have to avoid the head of the zipper, simply move it to another position while sewing. .
Fold the inside pocket piece in half and sew along the three open sides to close shut. Put this to the side.
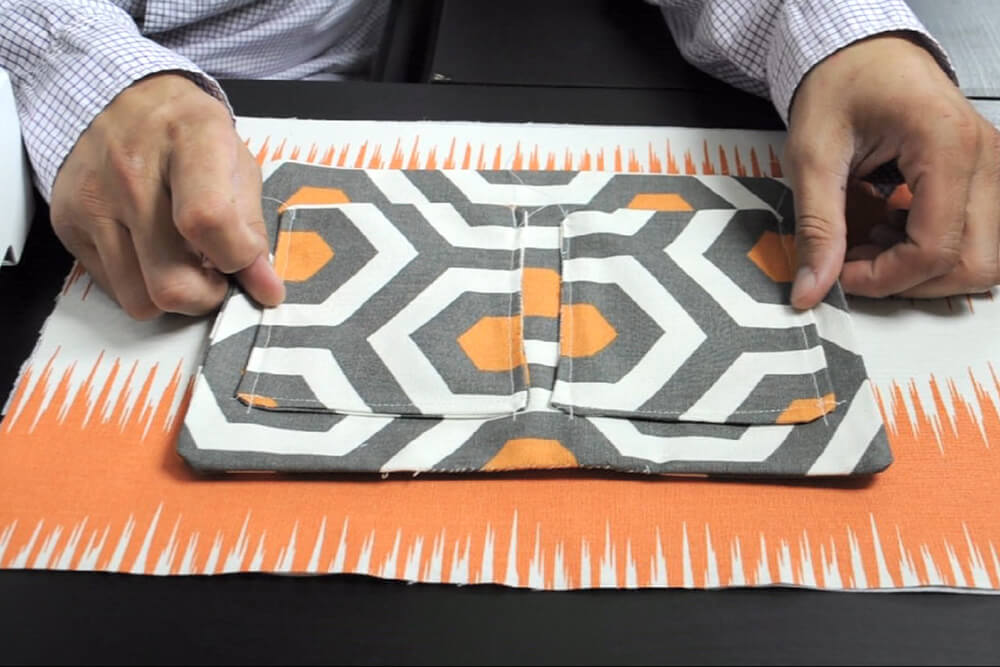
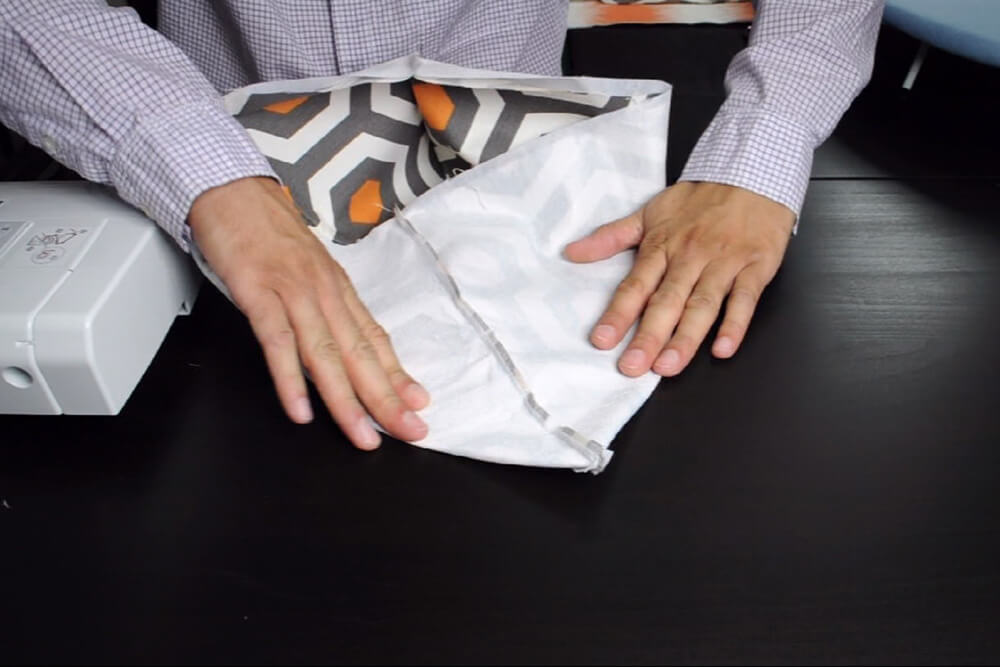
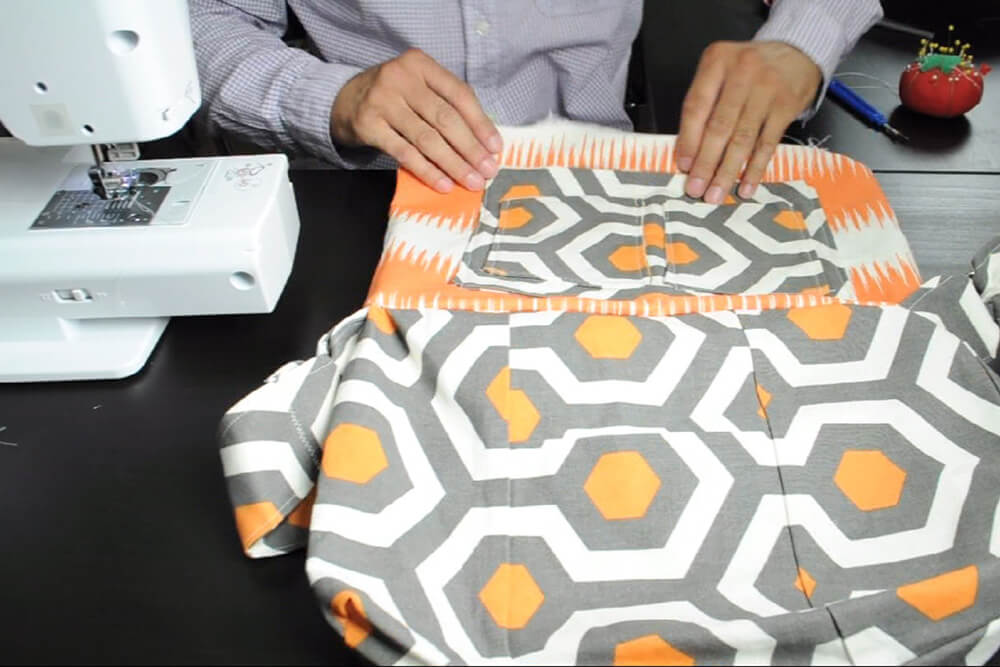
Take the two side pieces of the outside of the bag and lay them right sides facing each other. Be mindful of the direction of your pockets during this placement. Sew around the left, bottom and right sides.
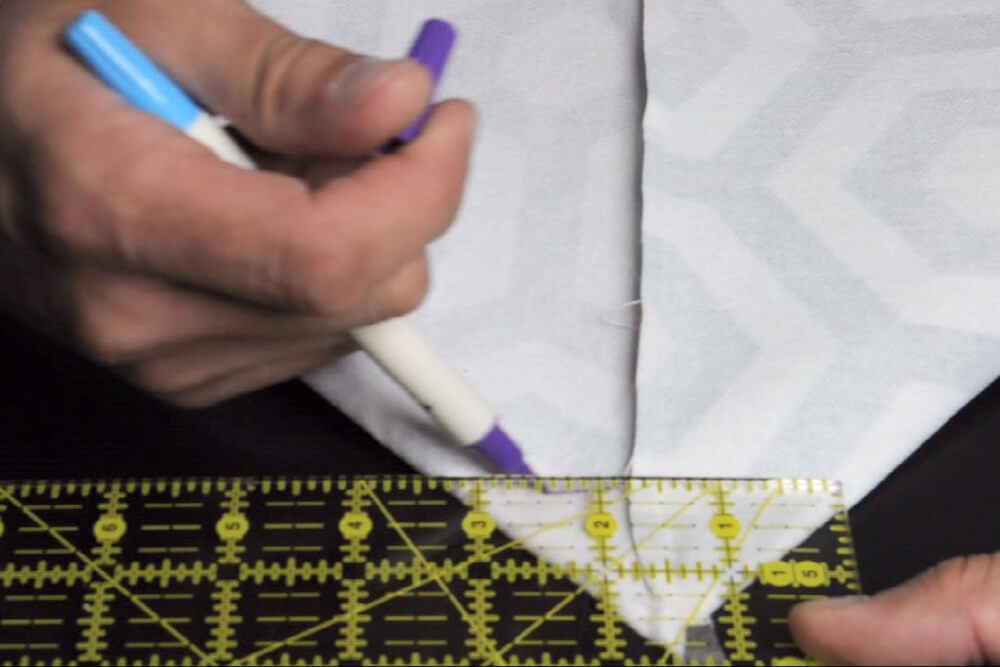
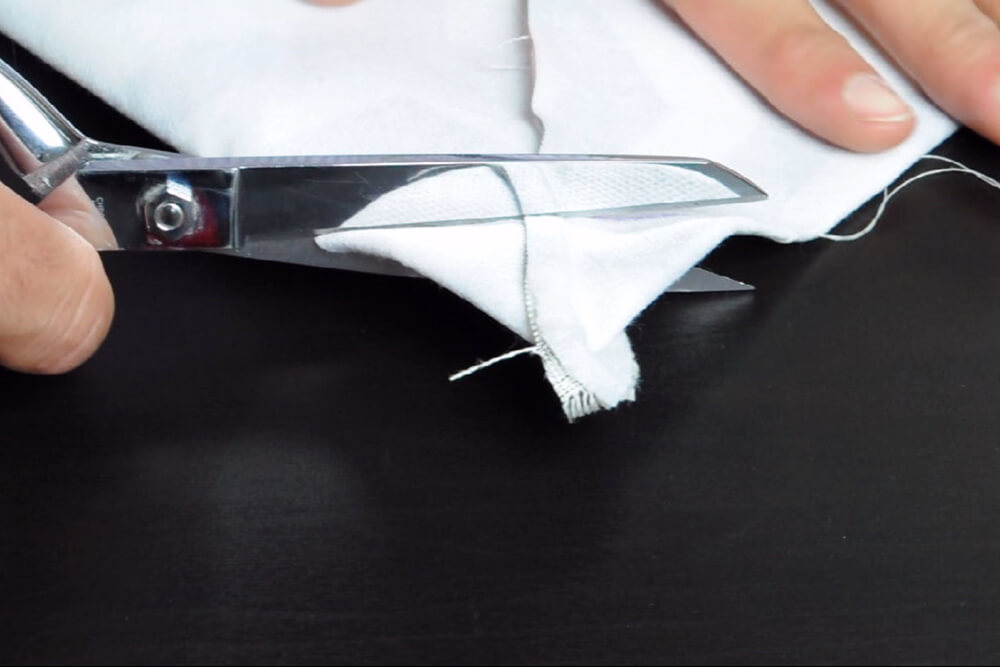
Open the bag and fold one side to line up with the middle inside seam to the bottom seam. Crease the corner and make a mark at 3 inches wide by 2 inches high. Sew along the mark. Cut the corner off at the edge of the seam. Turn the bag right side out and put this to the side.
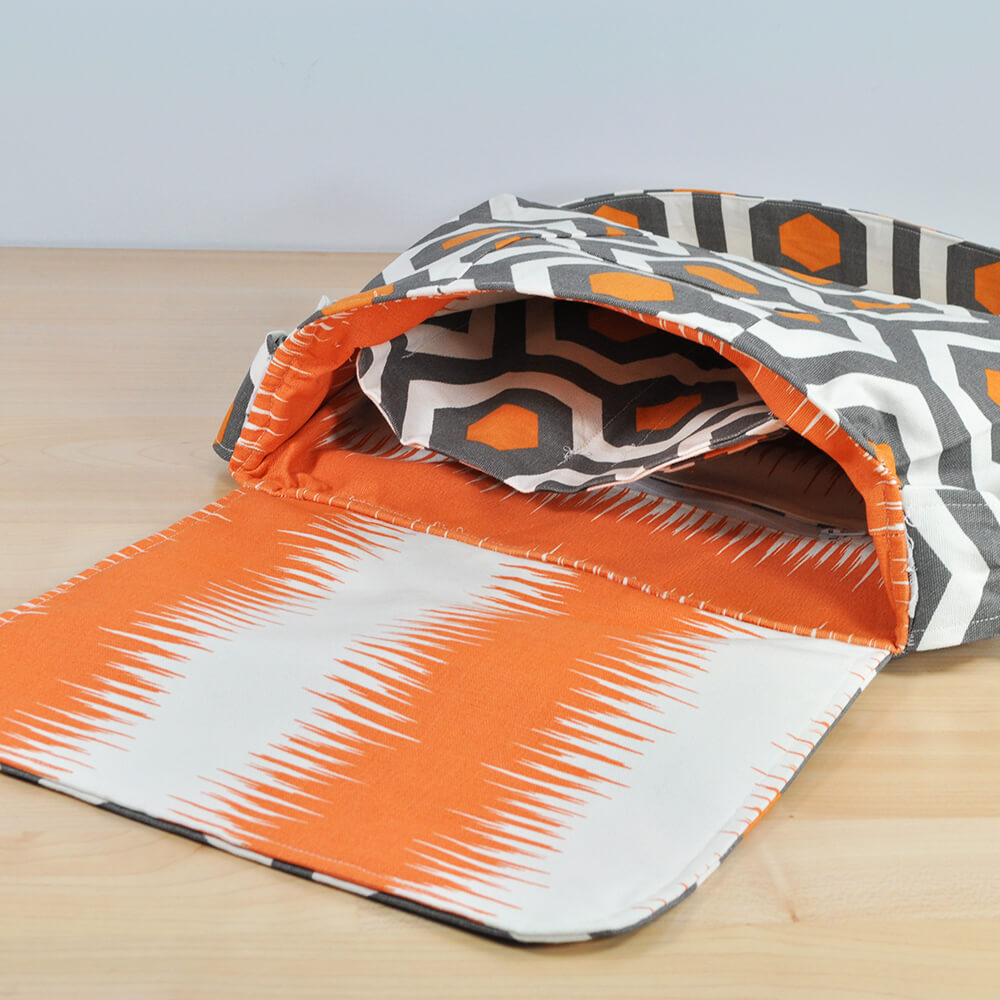
Step 5: Construct the flap
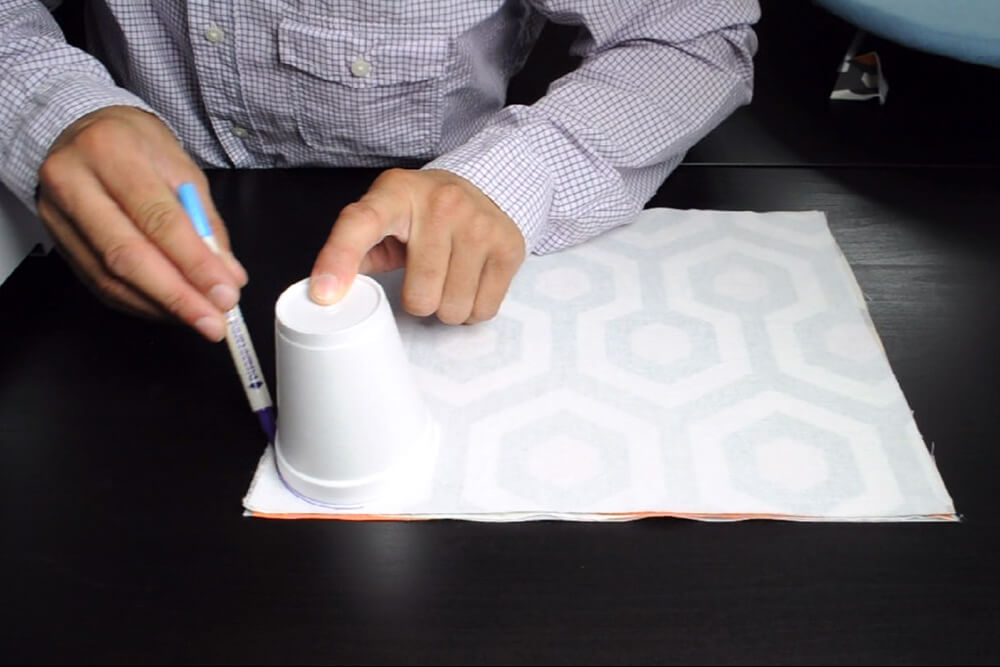
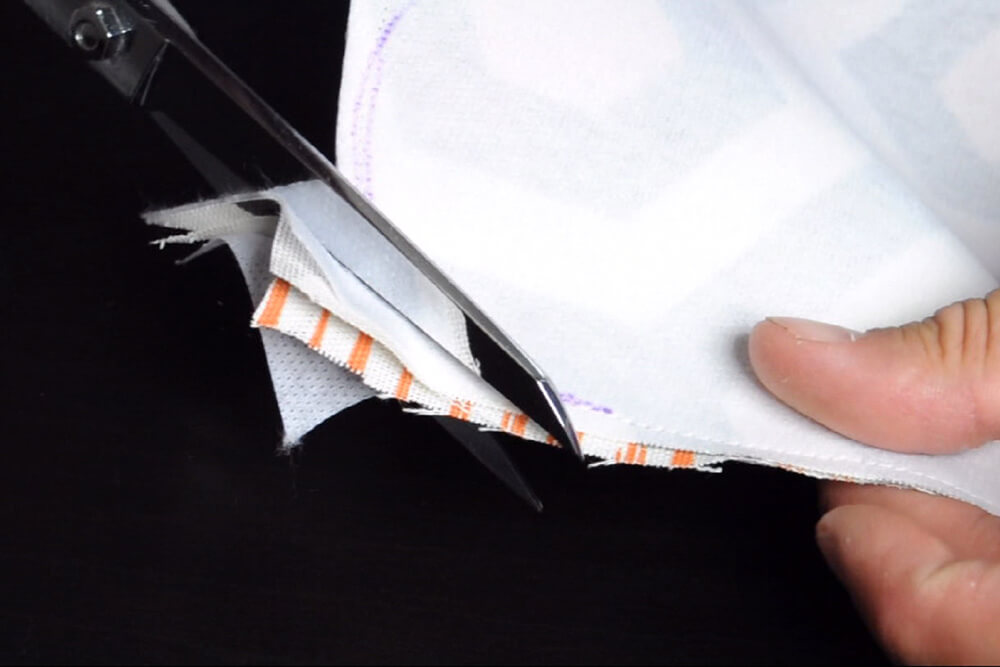
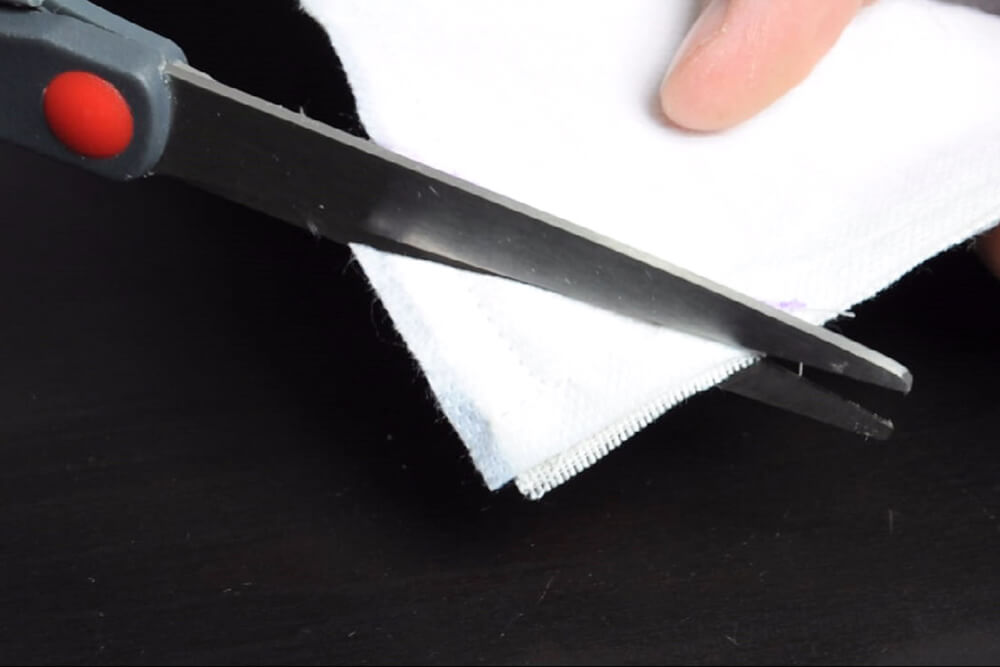
Next, construct the bag’s flap. Place the 11w x 13h inch piece of fabric from both the main and lining fabrics, right sides facing each other. Use a cup to make round edges on the corners ¼ of an inch from the outside. Sew the left, bottom, and right sides together. Being mindful that the “13h” is your length. Cut excess around the corners and cut “V” shapes around the corner for a rounder edge.
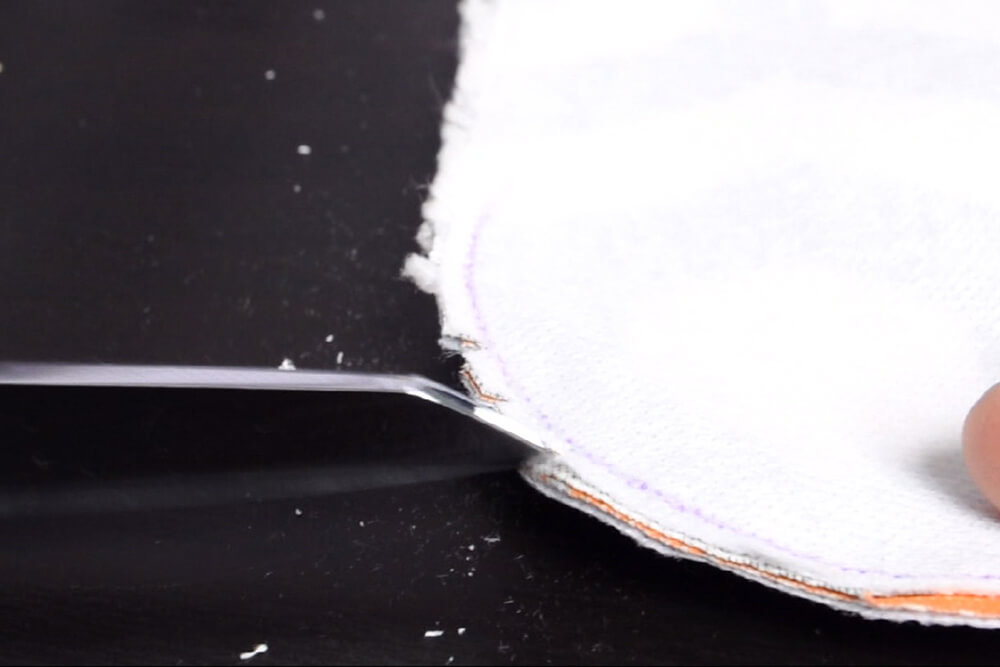
Turn the flap right side out and iron. At this point, you can top stitch a quarter of an inch around, or you can wait until the very end.
Center the flap with the flap’s lining fabric facing up on top of the main fabric on the back side of the bag. Zigzag stitch across to attach the flap, constructing bar tacks on both sides for support. You should have a couple inches on both side from where the flap is centered.
Step 6: Construct the strap
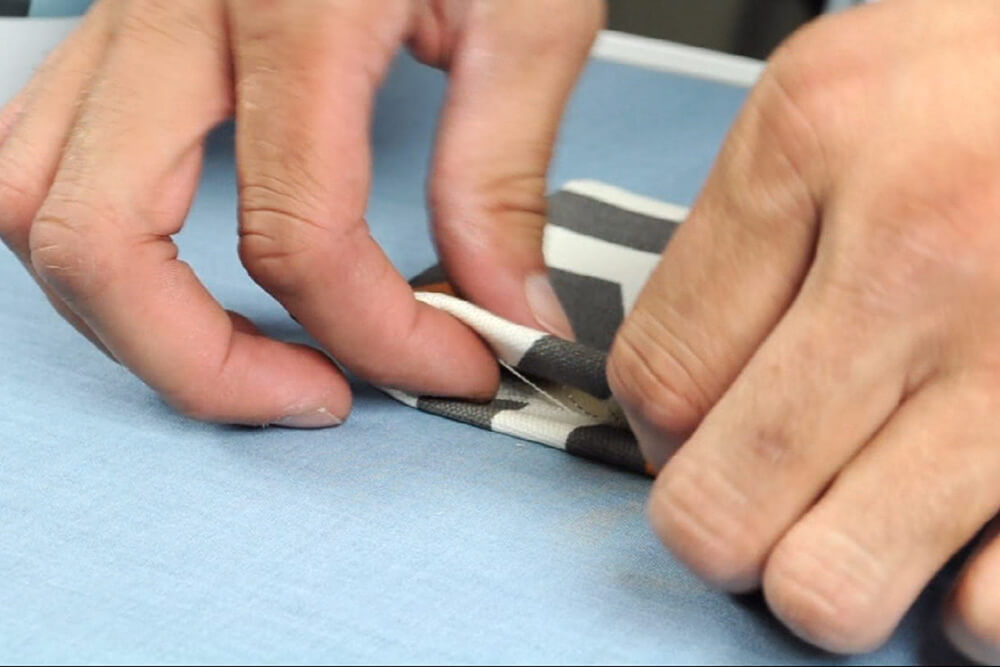
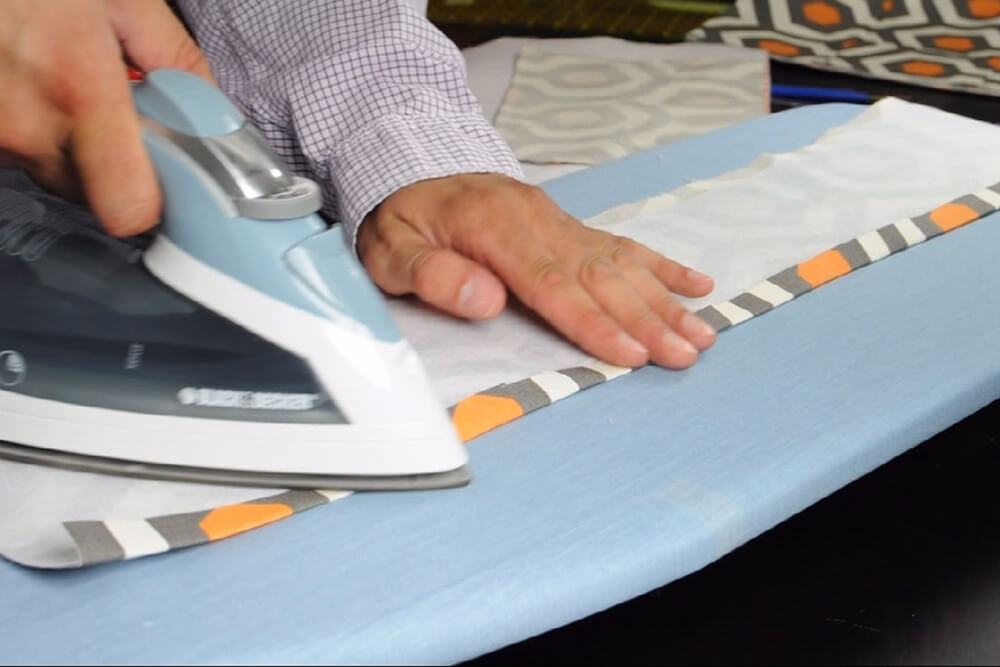
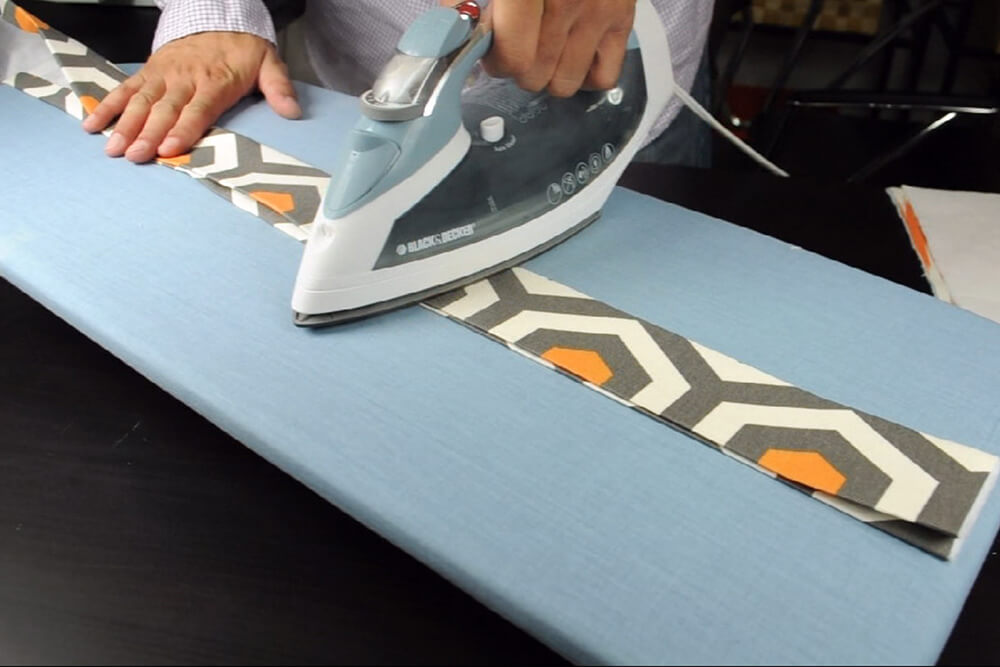
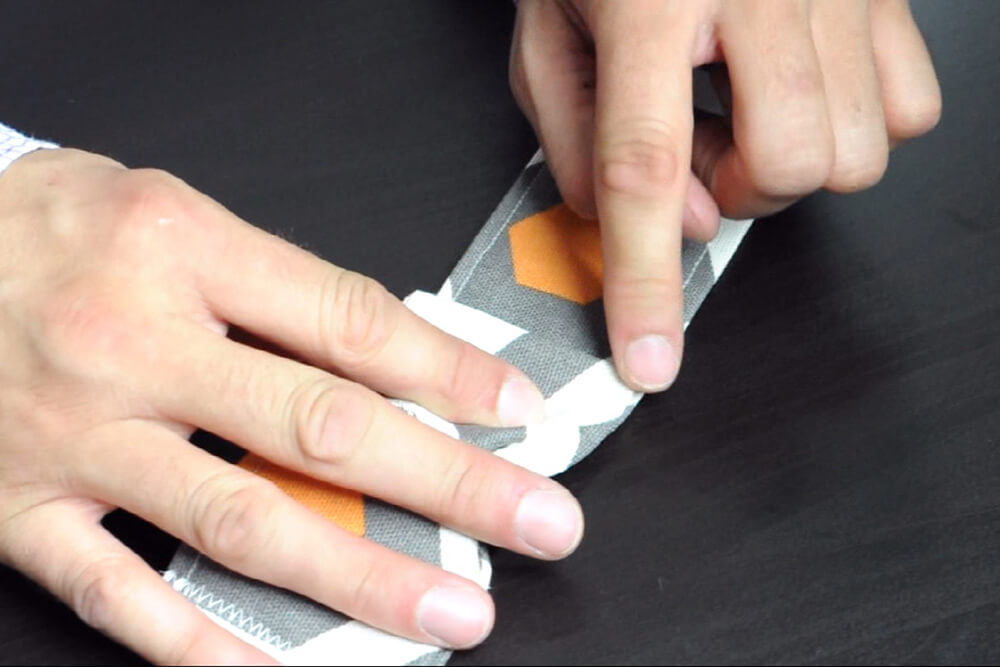
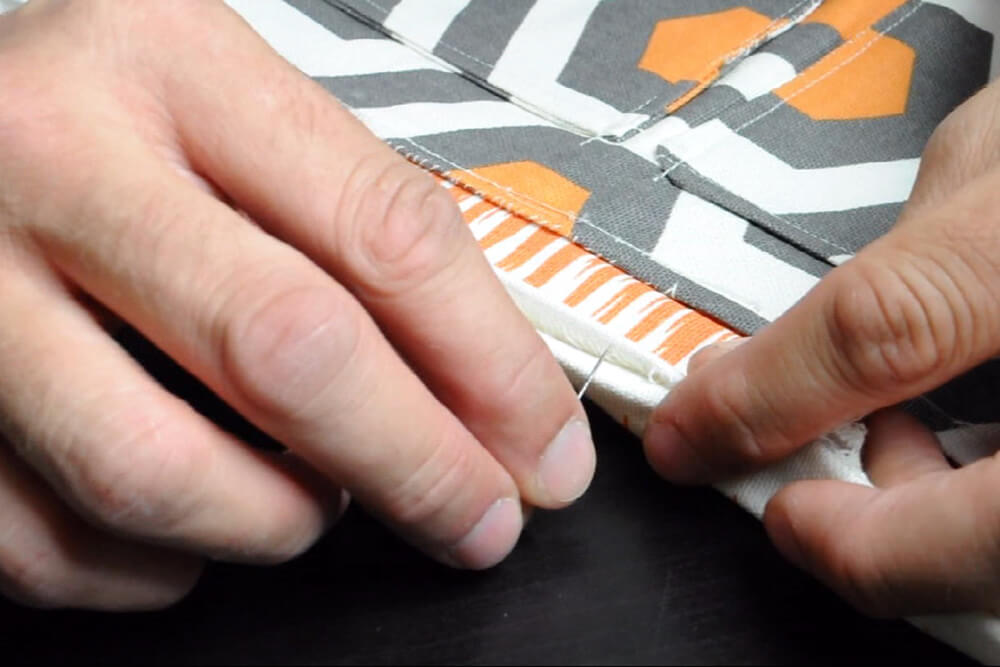
Next, construct the bag’s strap. For both strap pieces, fold up a half inch on the sides from where the interfacing stops and iron flat. Fold lengthwise so the folded edges meet and iron again. Do the same process for the (2) 6w x 5h inch pieces for the strap tabs.
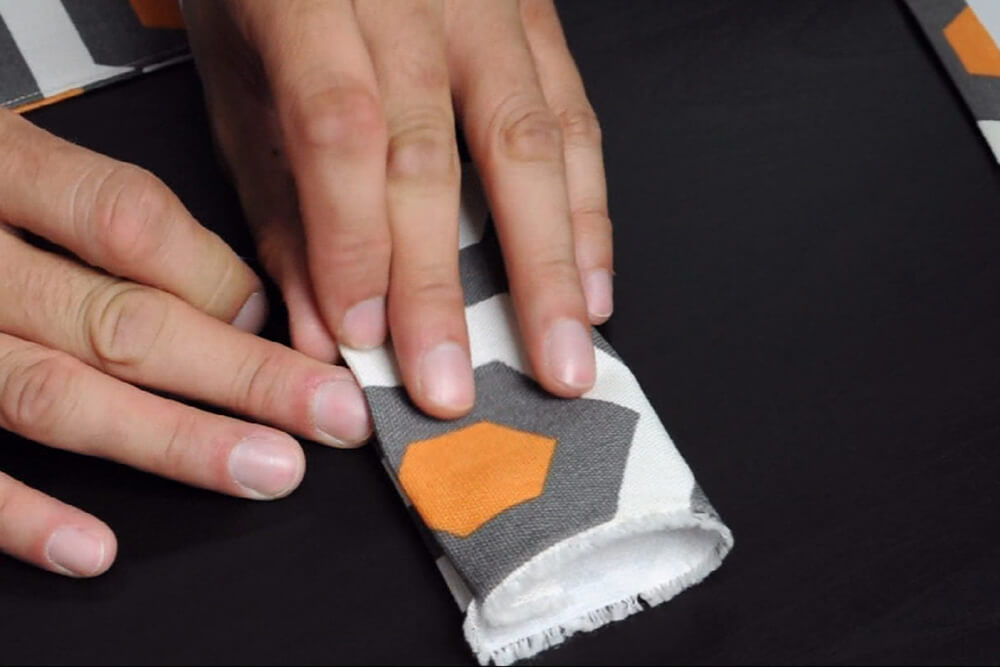
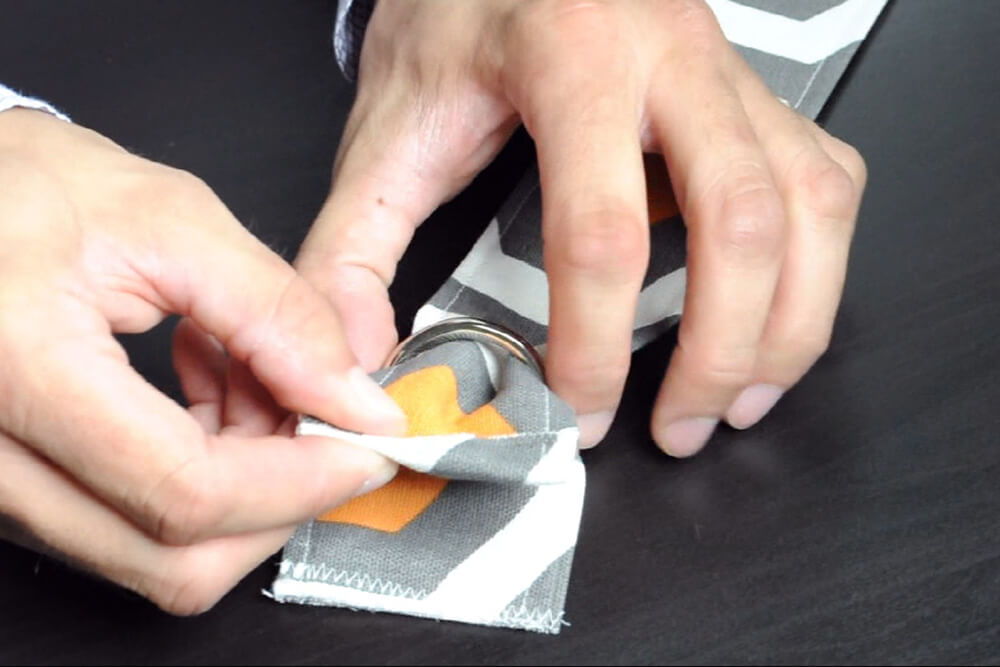
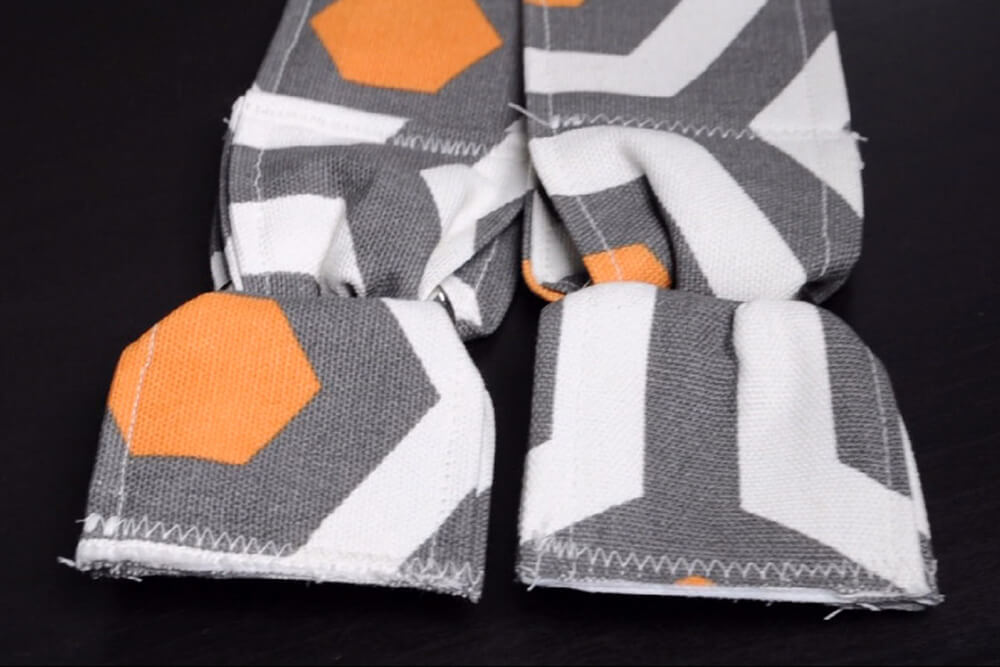
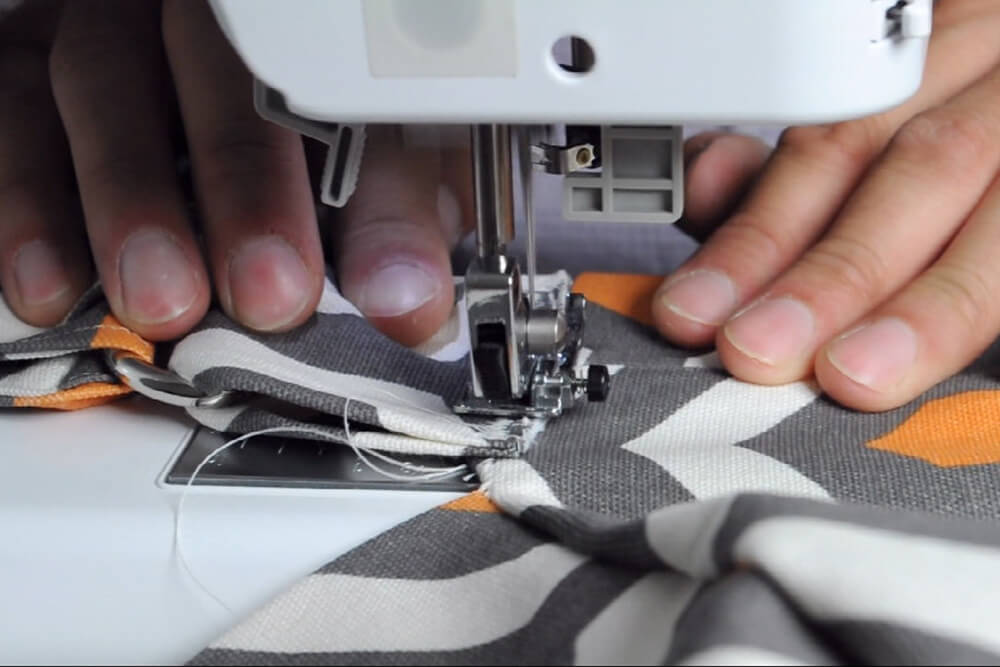
Sew the tabs and strap shut along the open side, leaving the raw ends open. Top stitch the opposite side as well. Use a D-Ring and fold one of the tabs around it. Zigzag stitch across the bottom.
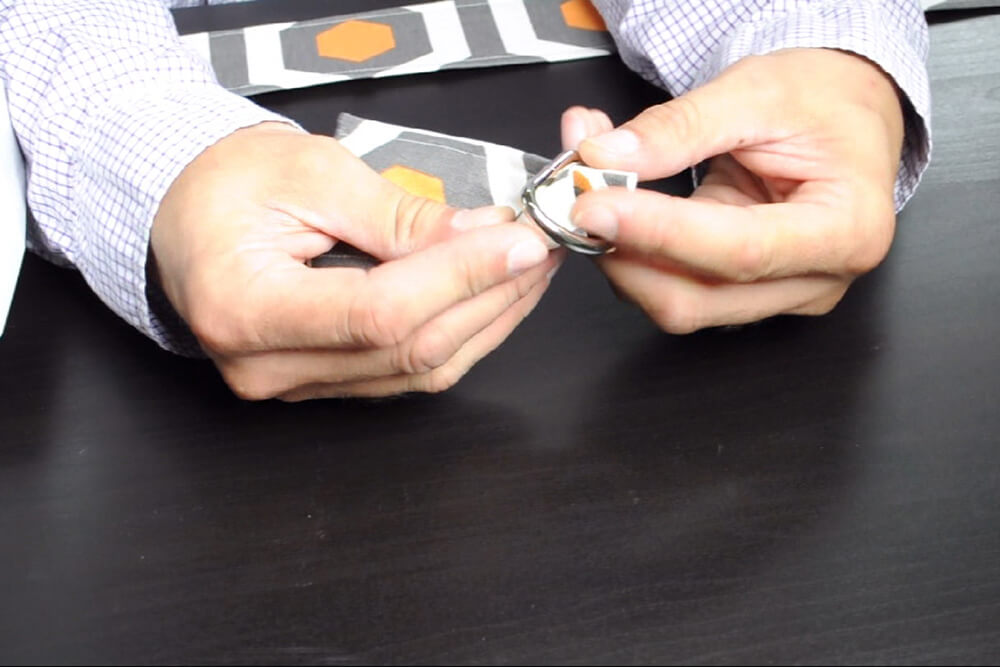
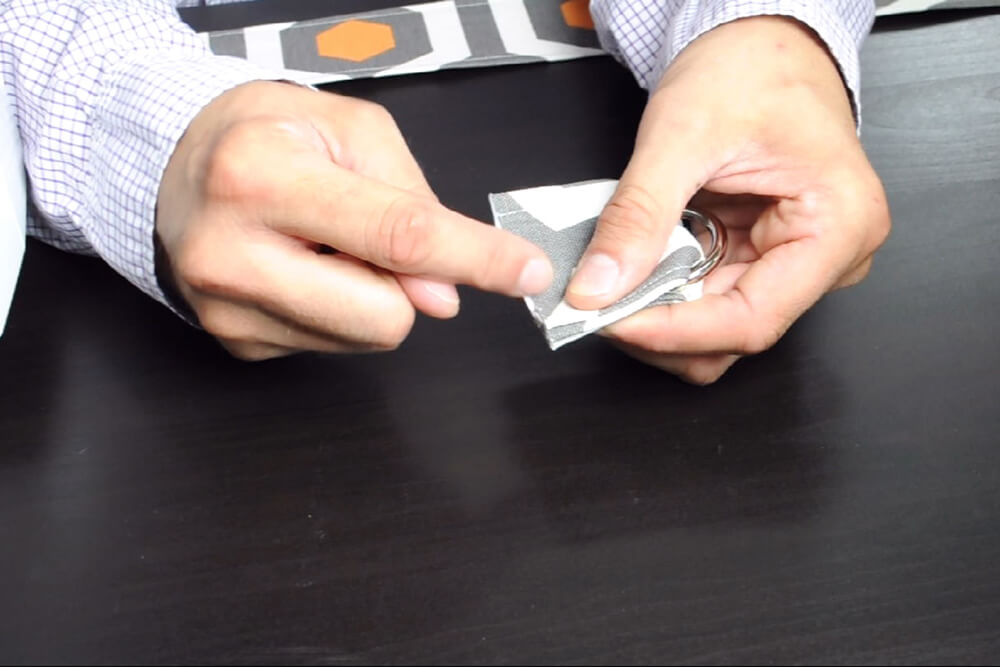
Fold one end of the strap into the same D-Ring. Fold over a ¼ of an inch, then fold again overlapping the D-ring. Zigzag stitch shut. Repeat this process for the other side. The straps seems should be on the inside facing each other.
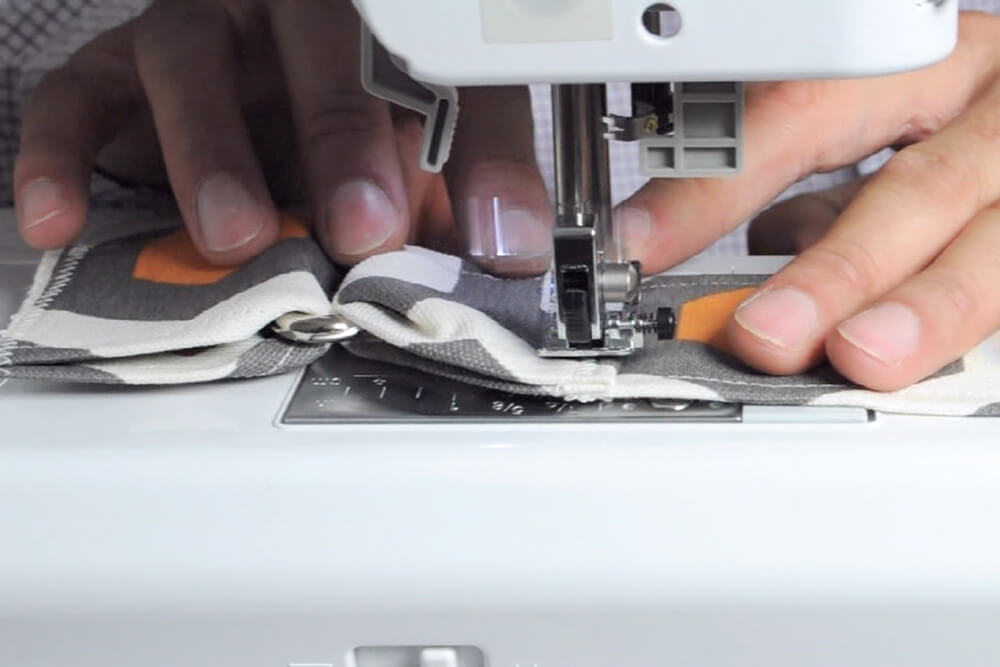
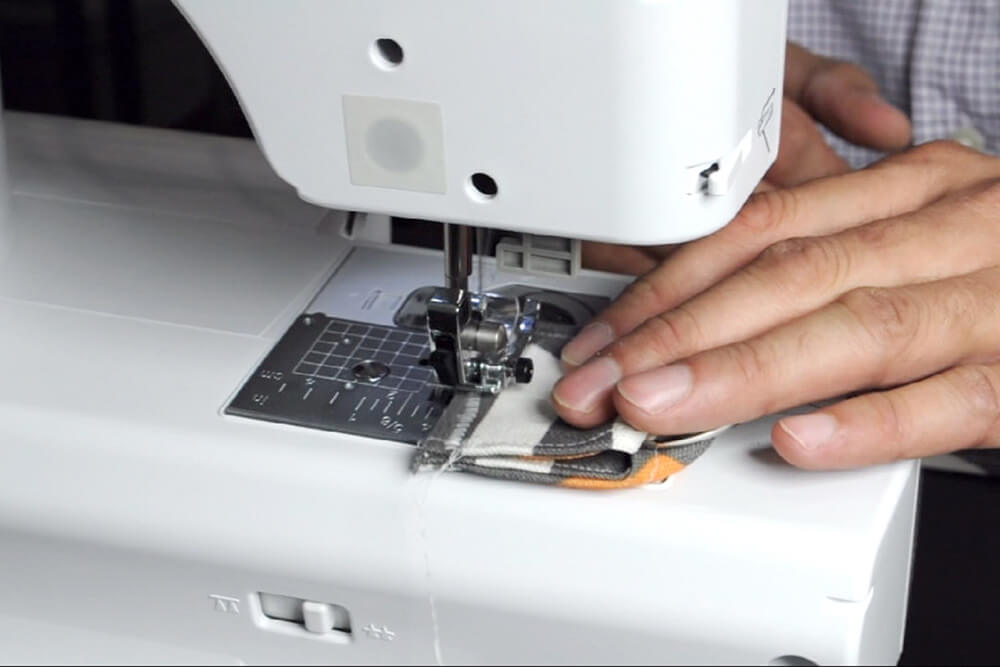
Sew the strap tabs to the outside of the bag, centering the tab to the middle of the seam. At the top there should be a ¼ inch overhang. Make sure to do a reverse stitch to form a bar tack for extra support. Repeat this process for the other side.
Step 7: Combine everything
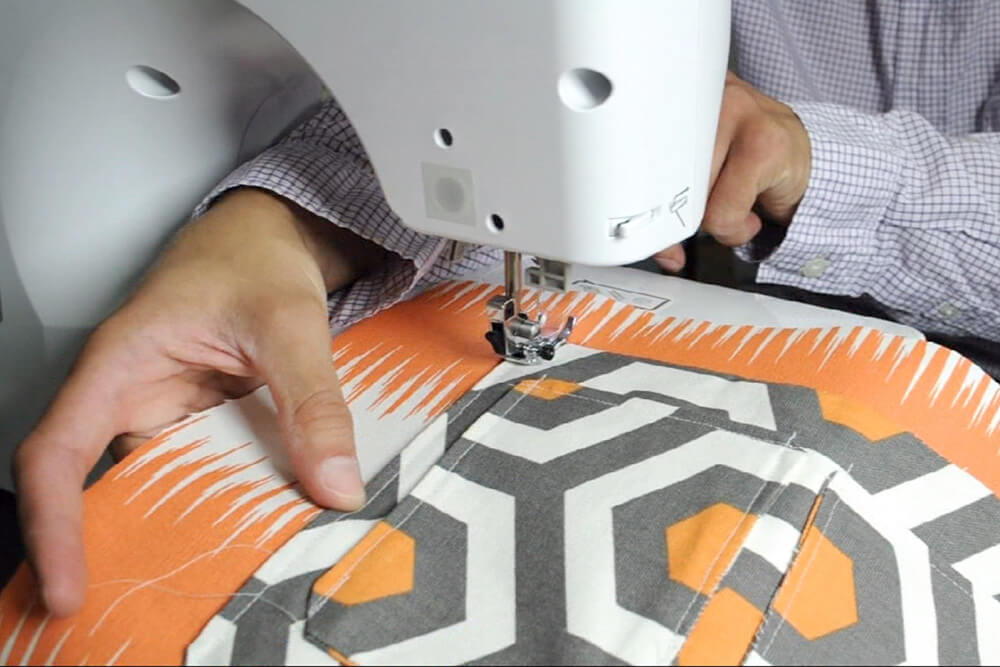
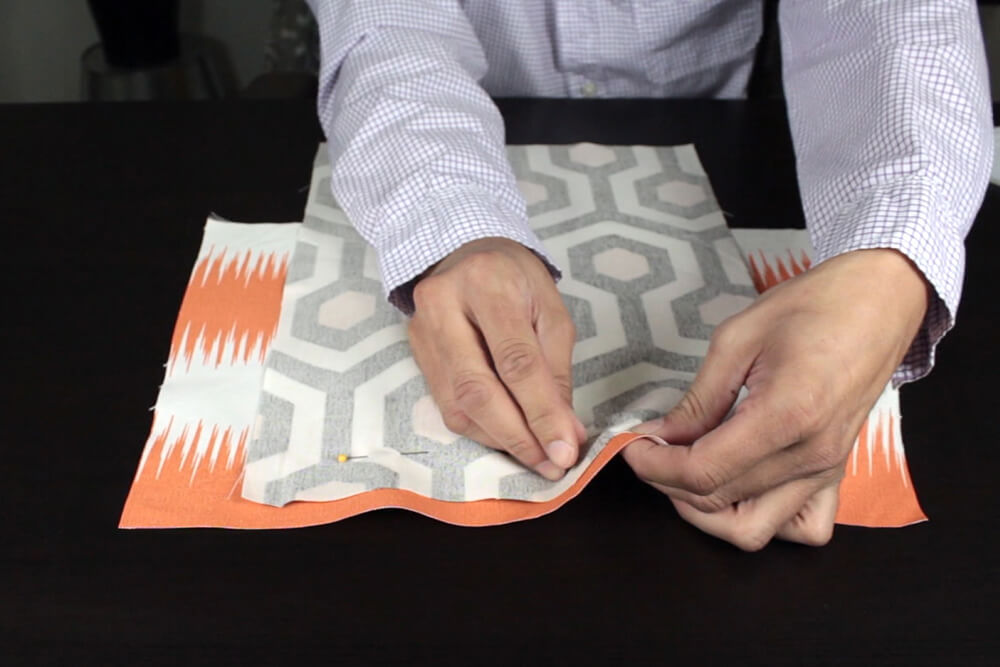
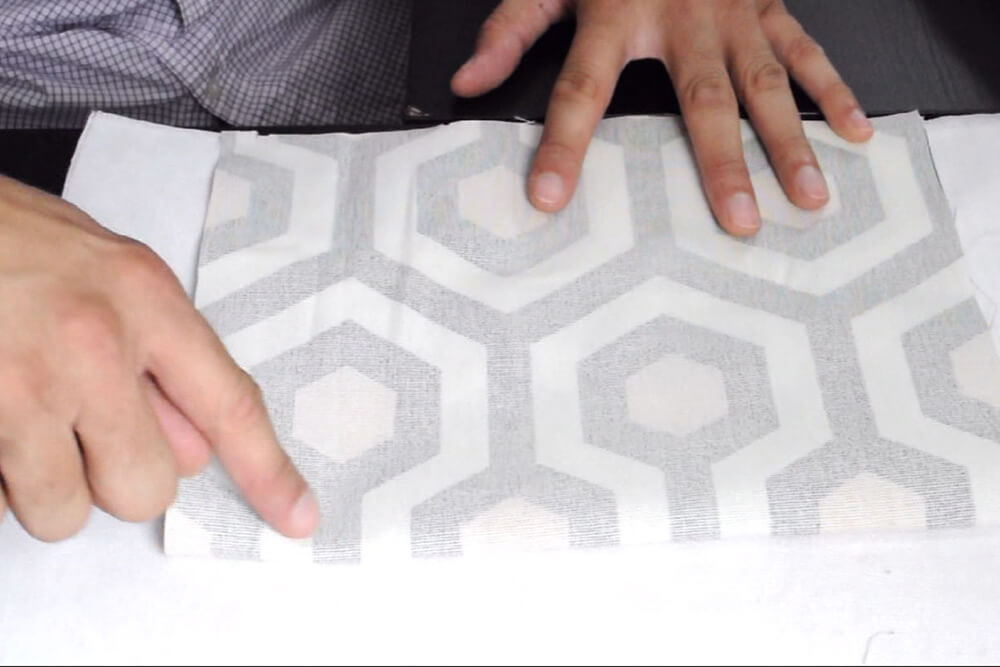
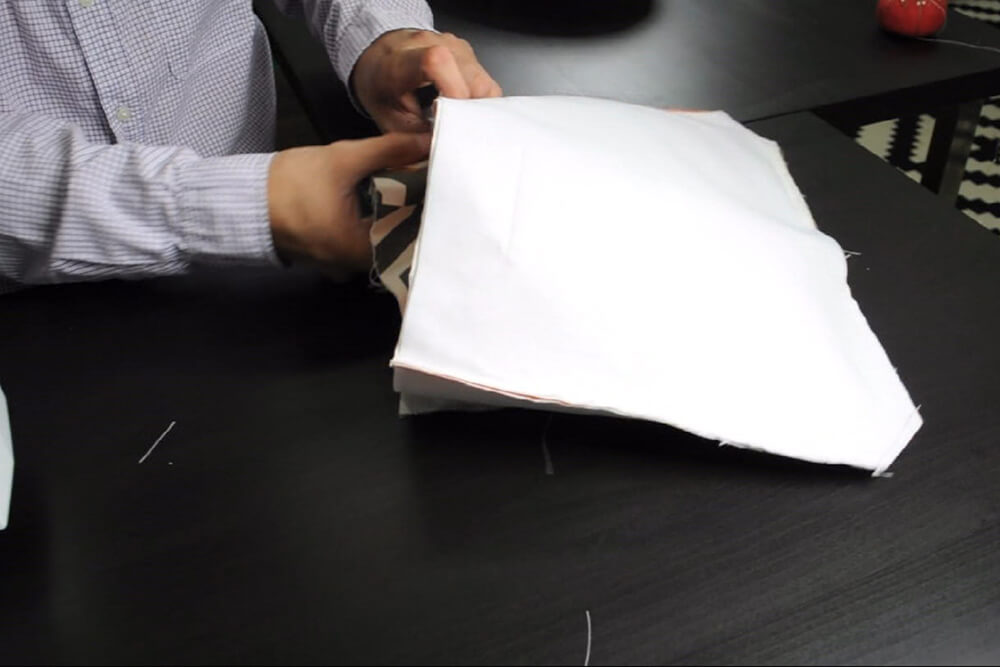
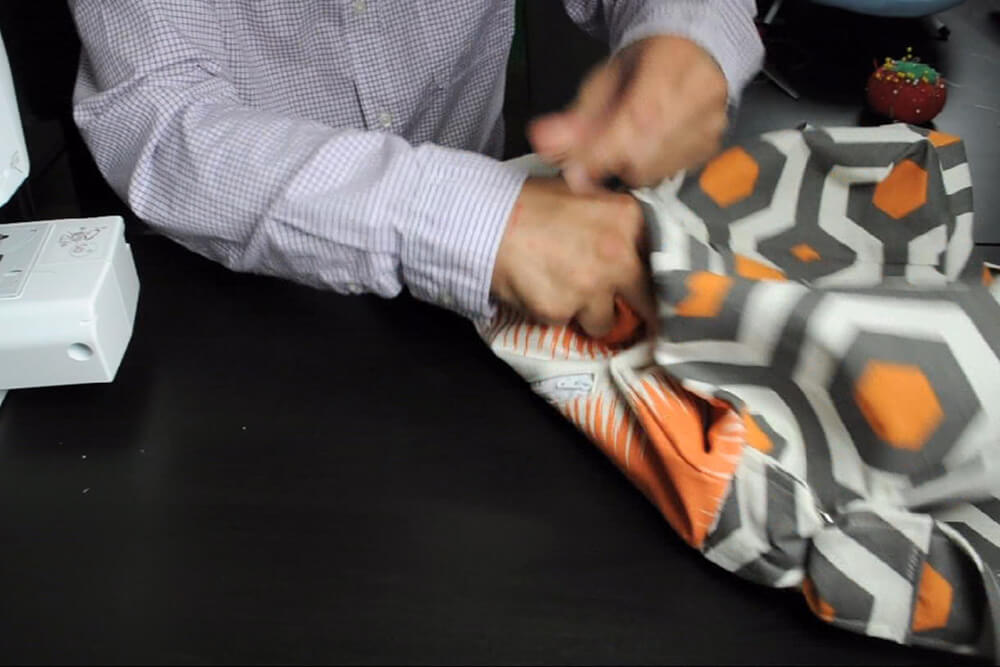
Next, sew the inside body lining together. Place the two lining parts right sides facing each other. Sew the left, bottom (keeping a 4 inch opening in the middle), and right sides. Be mindful of the directions of your pockets (the opening should be facing upwards and NOT sewn shut). Pleat the bottom corners as previously done with the outside of the bag.
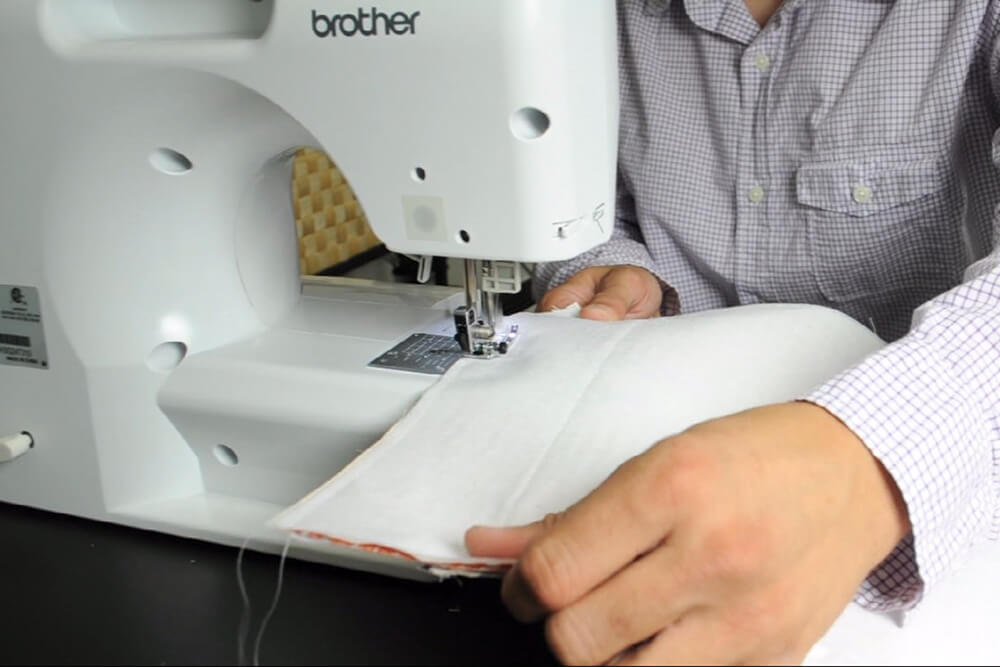
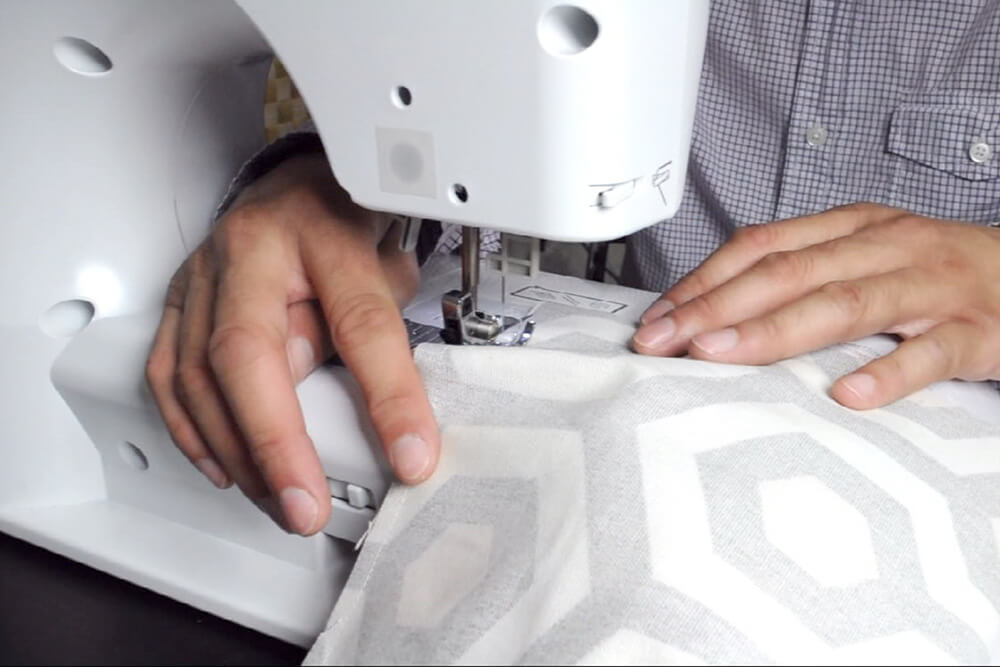
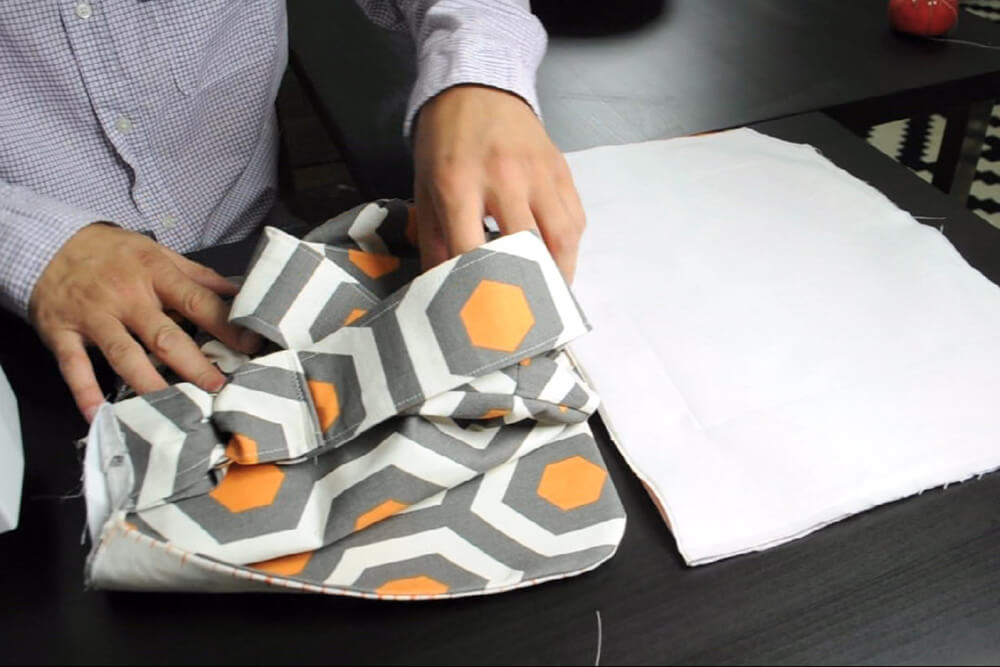
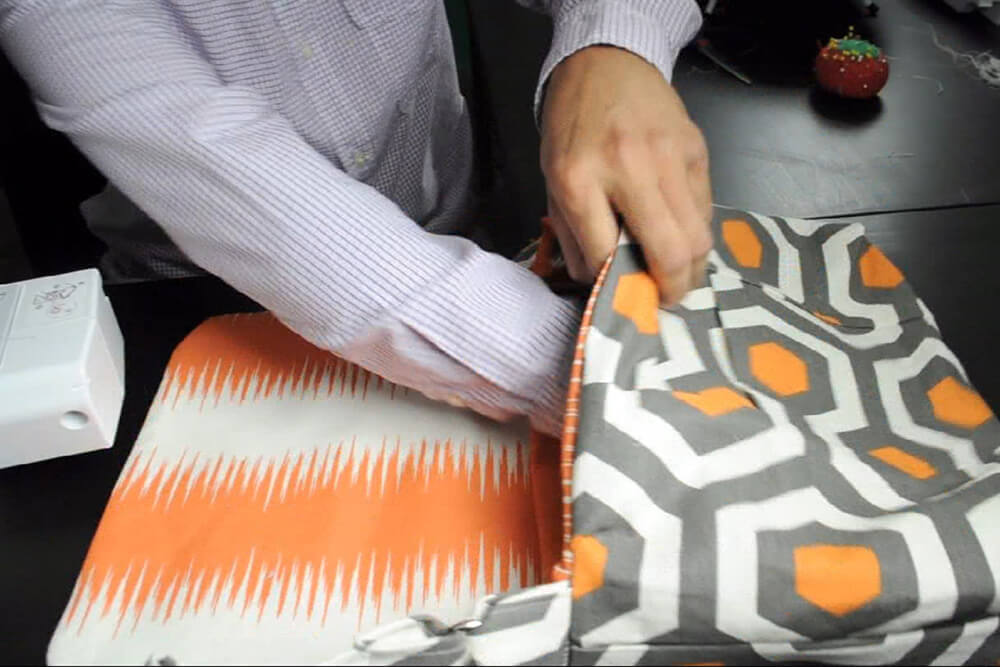
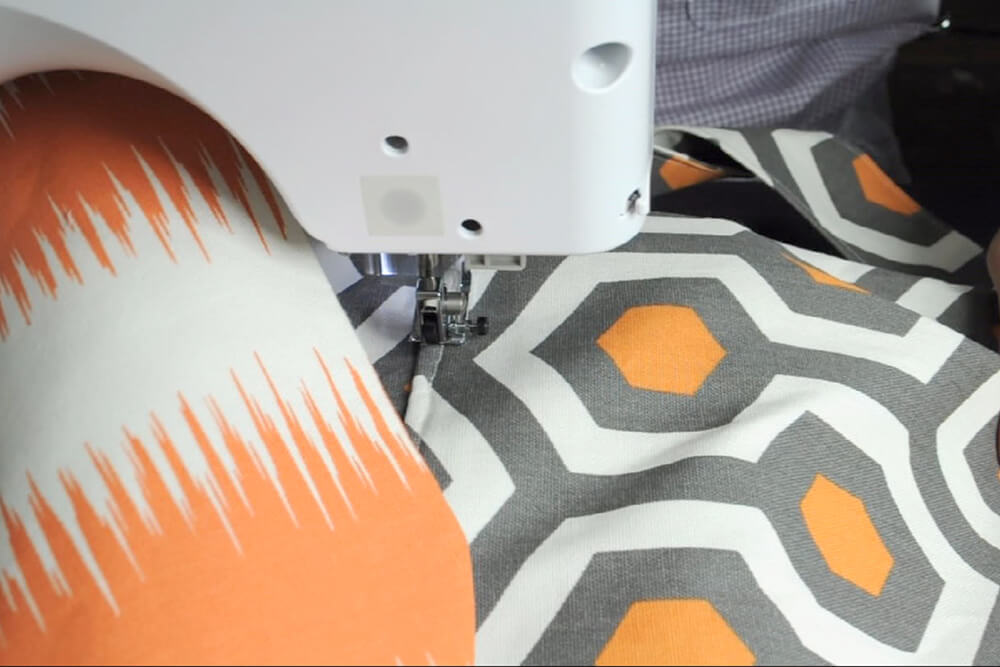
Fit the outside of the bag into the bag lining, making sure the strap is positioned correctly towards the bottom. Tuck in so that the top aligns evenly. Pin the interior and exterior together. Sew a half inch around the whole opening, removing pins as you go along.
Step 8: Reverse and complete
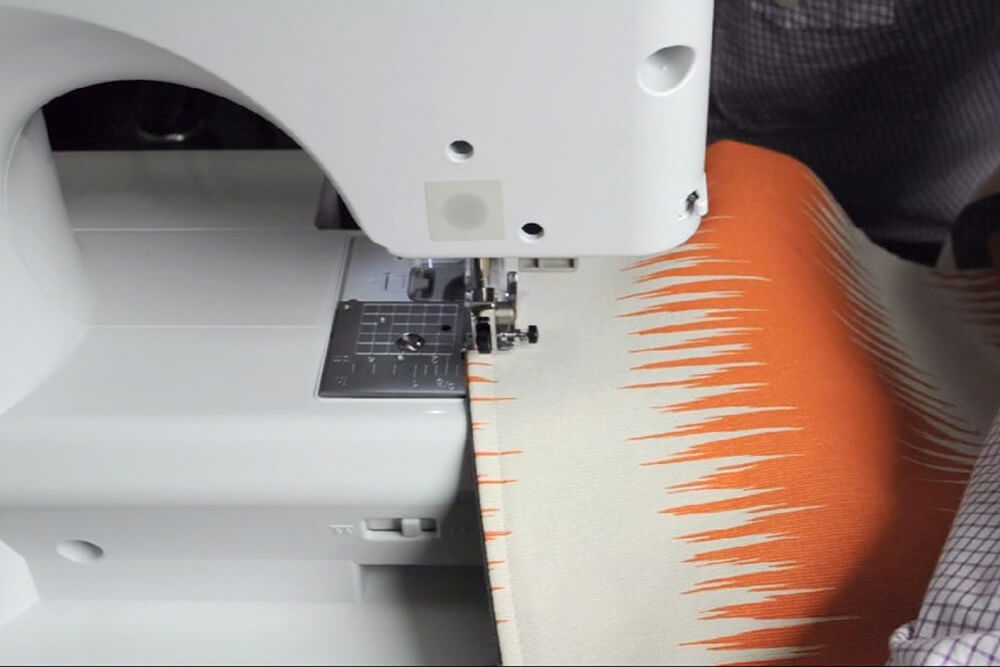
Finally, pull the insides out through the hole you left opened on the bottom. Work your back corners out first and pull out your material as best as possible. Iron the opening down to the quarter inch seam.

Sew an invisible stitch to close the opening in the lining. Push the liner back inside the bag and iron around the top, making sure the lining is pressed inside.

Top stitch around the entire top of the bag, as well as the flap unless previously done.
Ready to give it a go? Check out our wide selection of cotton prints!
-
{{#each productSuggestedQueries.results}}
- {{query}} {{/each}}
-
{{#each categories.results}}
- {{html title}} {{/each}}
{{html attributes.description}}
{{/if}}-
{{#each queries.results}}
- {{query}} {{/each}}