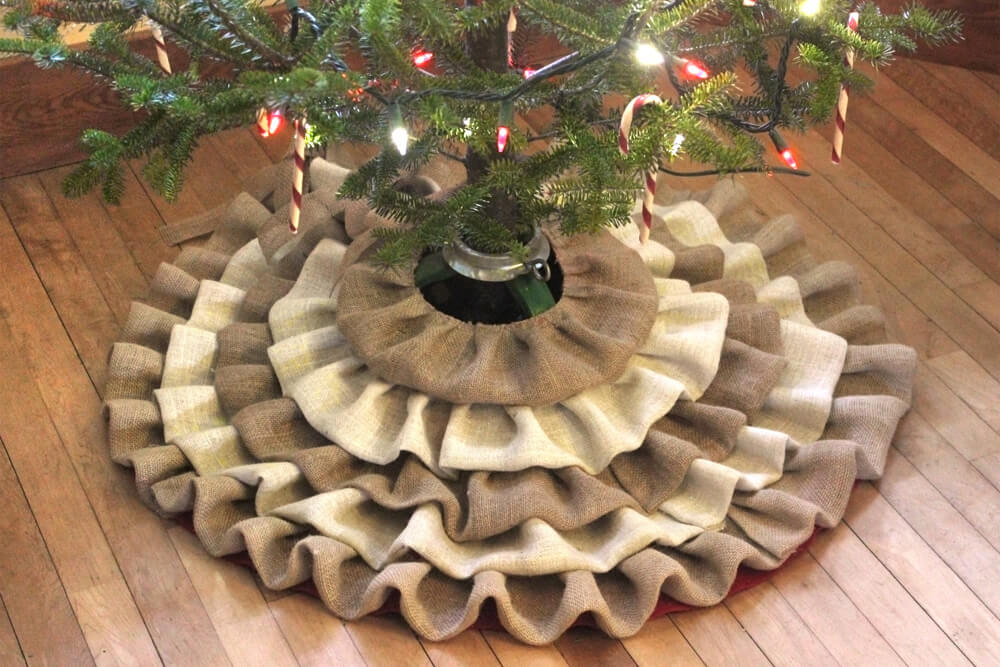
How to Make a No Sew Burlap Tree Skirt
- By Clara
- Beginner
- 2 hours
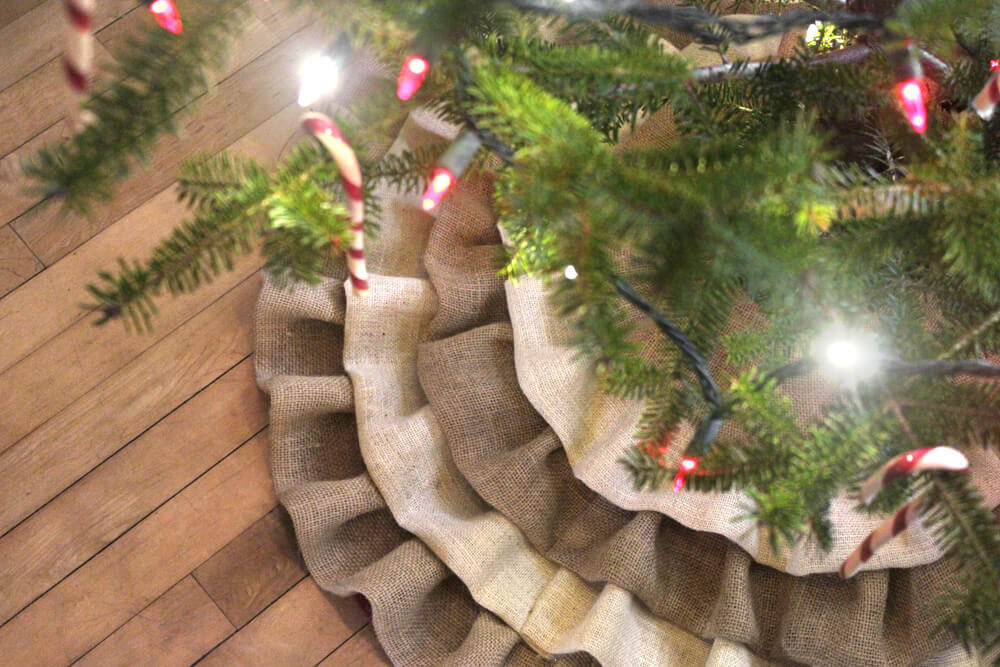
A tree skirt adds that finishing touch to your Christmas decorations. This tree skirt is an easy project that doesn’t require any sewing. The ruffled burlap is great for a rustic yet refined look. But if burlap’s not your thing, you can use any other material, like muslin, canvas, décor fabric or cotton prints to create a look that will compliment your other holiday decorations.

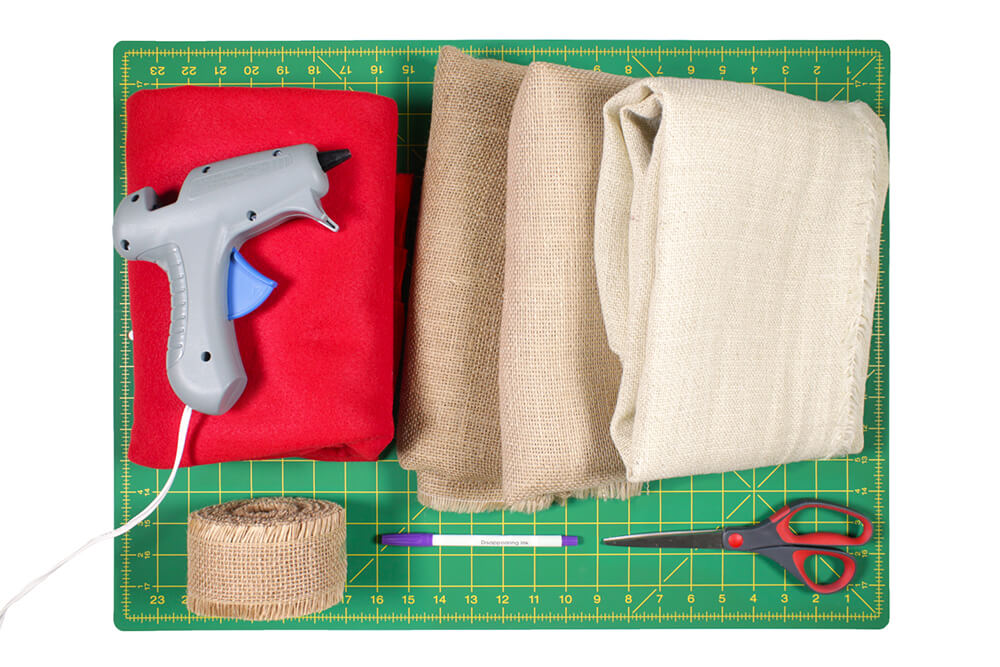
Materials
Related Products


Video
Instructions
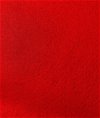
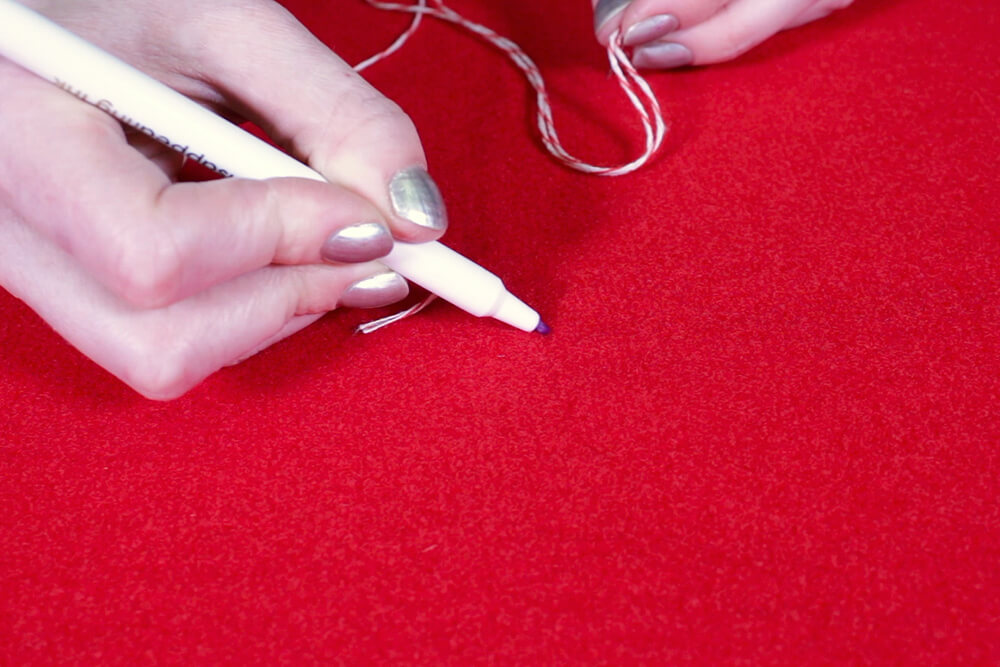
Step 1: Cut the base fabric
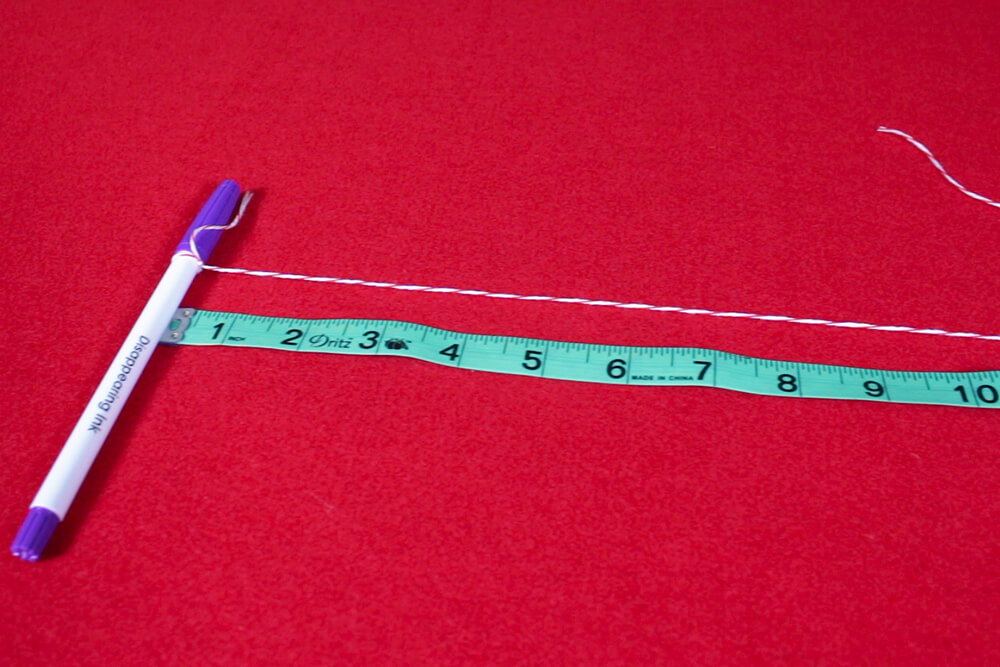
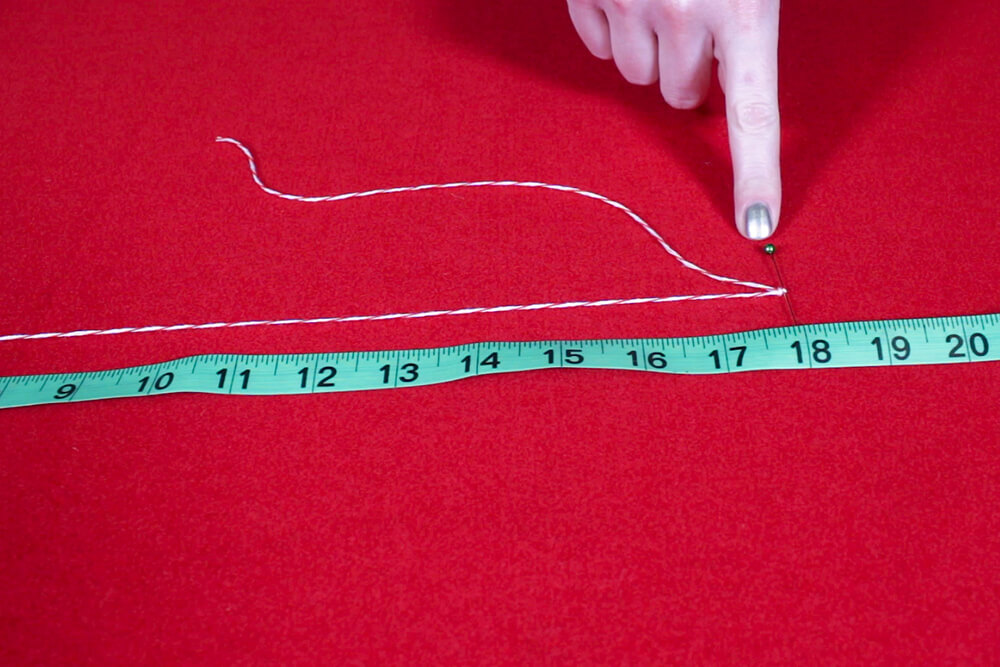
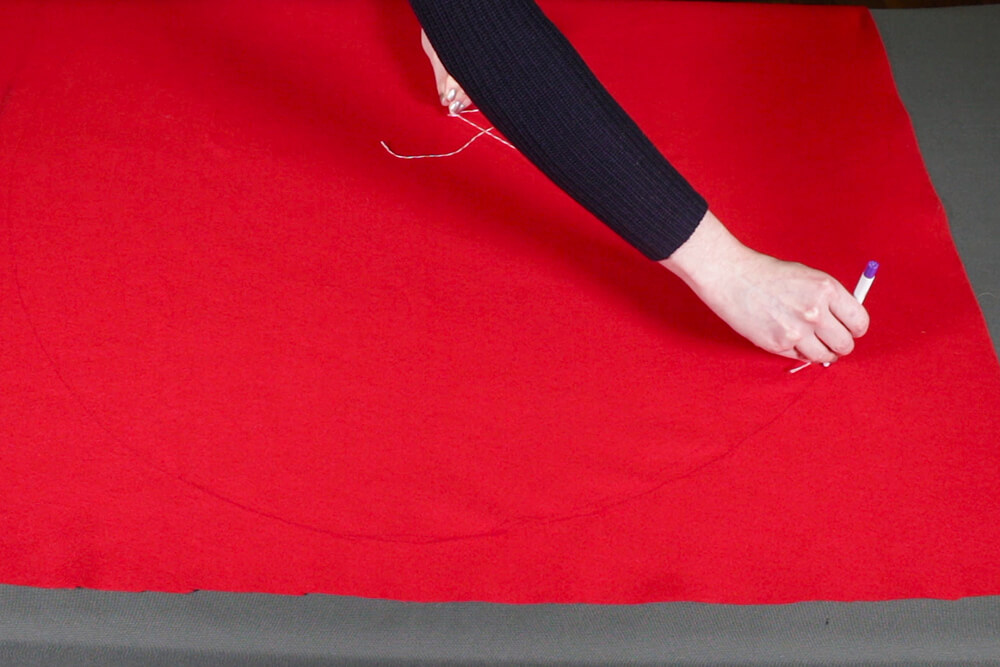
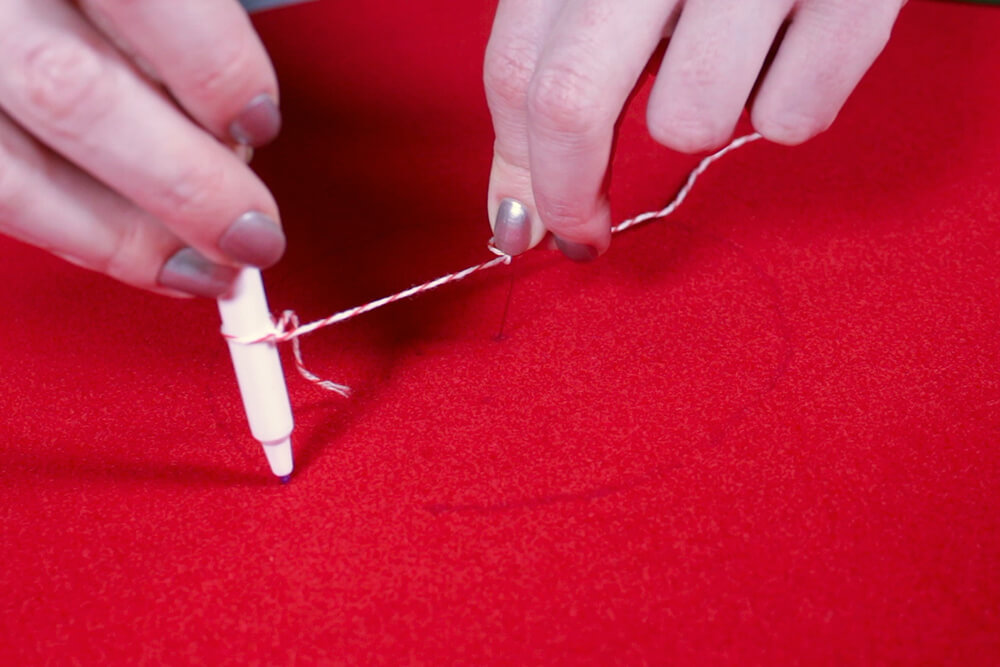
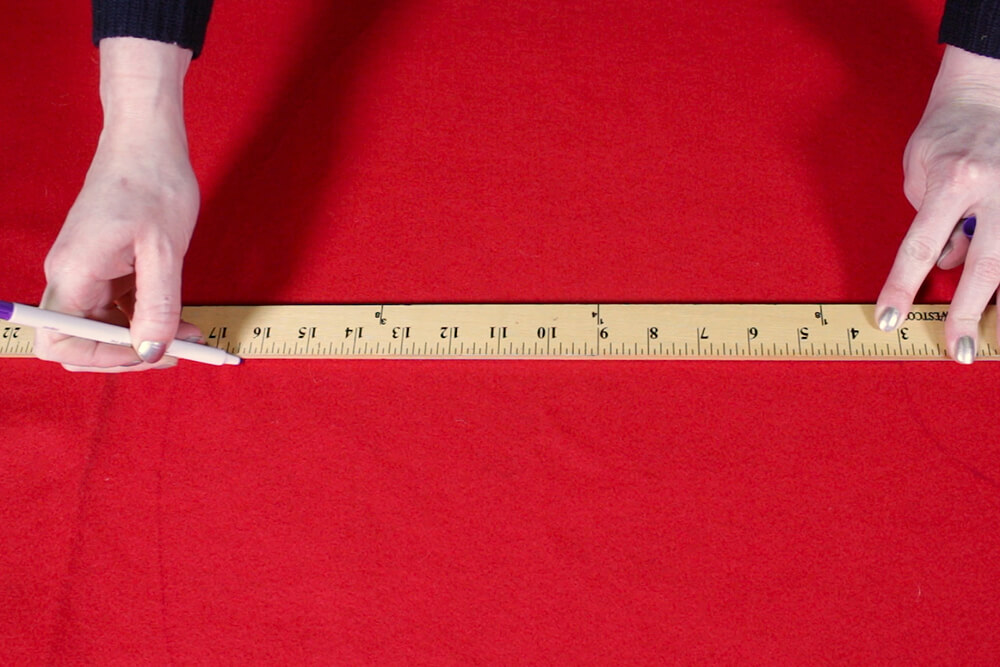
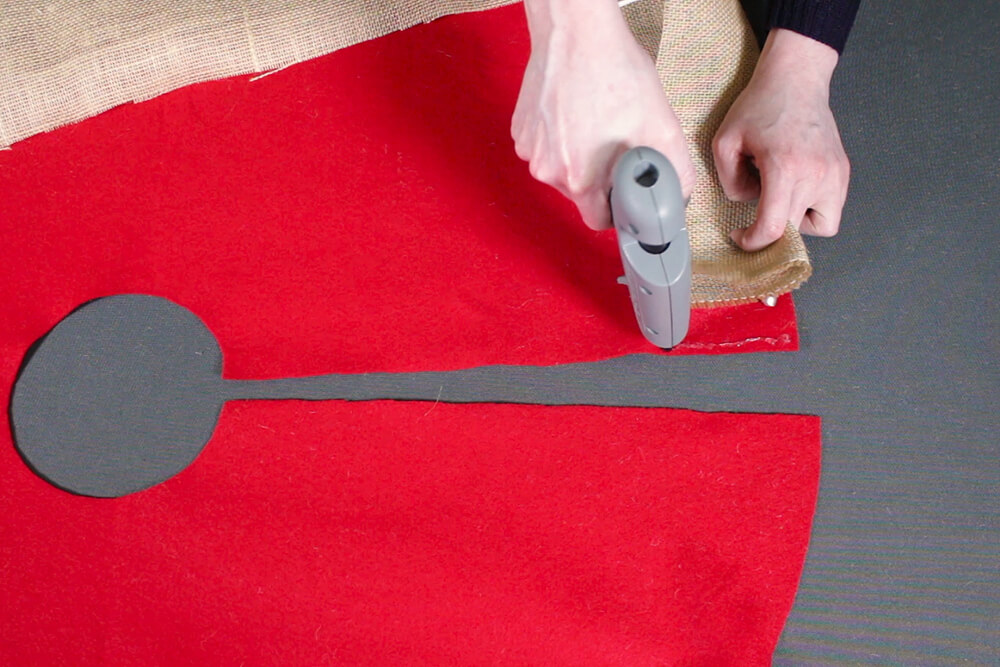
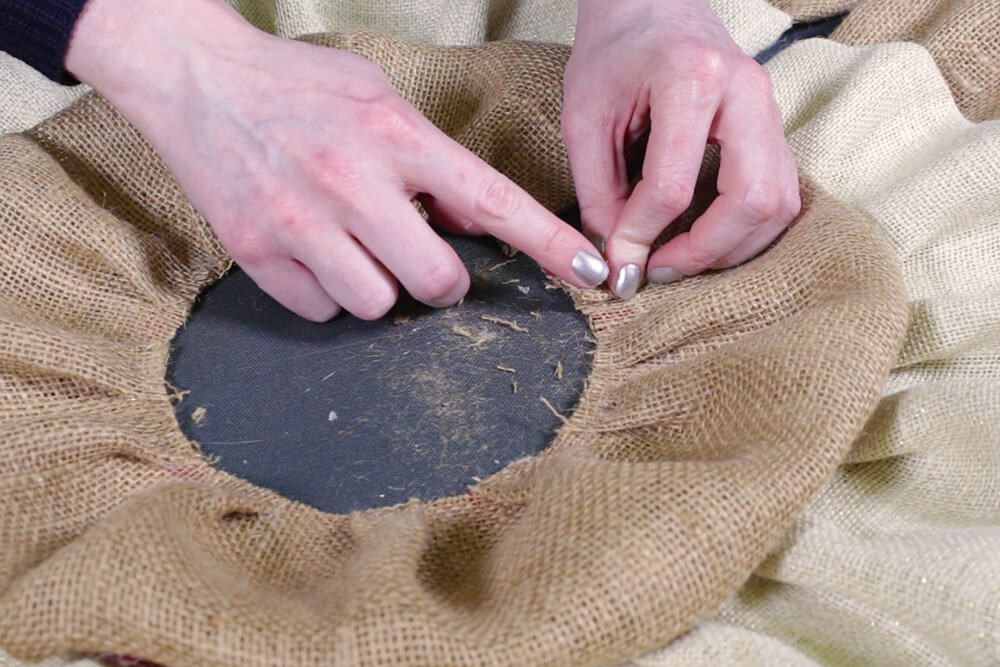
Make a mark in the middle of the felt. Use string, a marker, and a pin to draw circles. This tree skirt will be 3 feet wide, so I’m tying the marker 1 1/2 feet from the center. Use a pin or something with a point to hold the string on the center mark. Draw a circle all the way around. You can make your tree skirt any size you want.
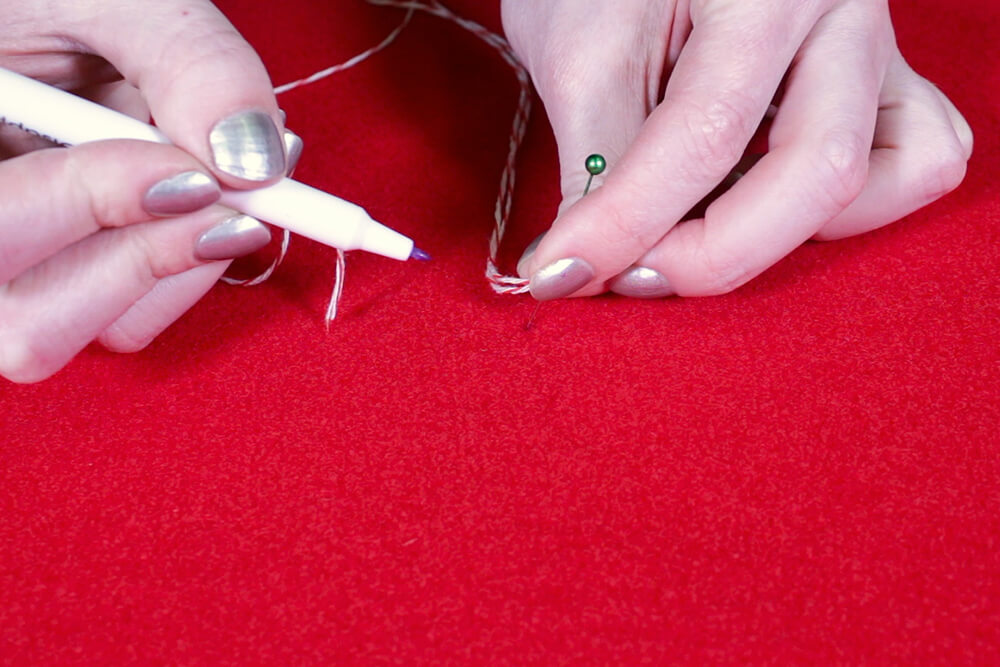
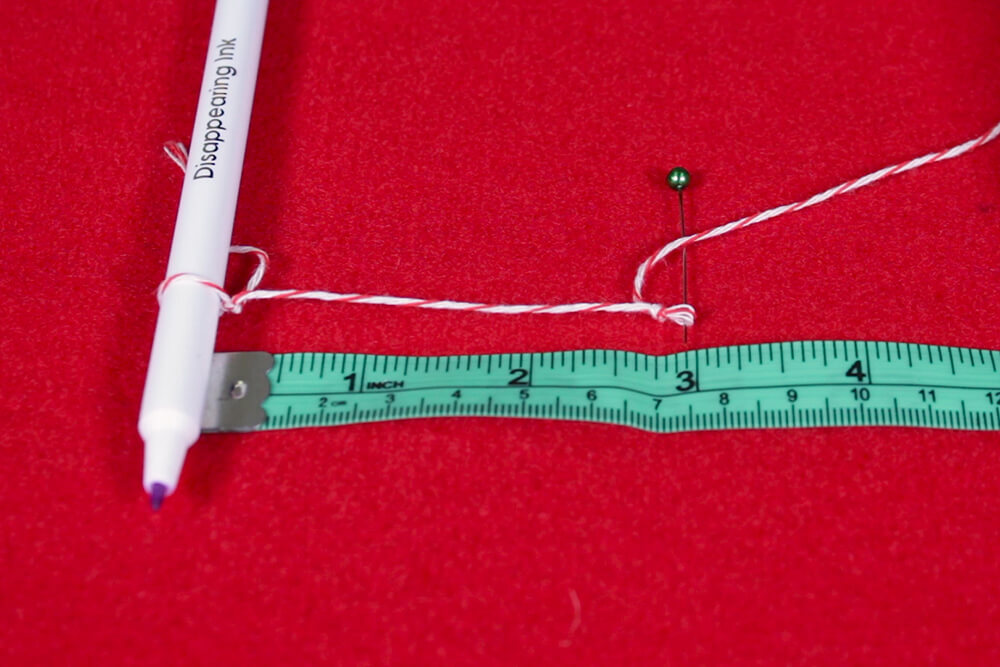
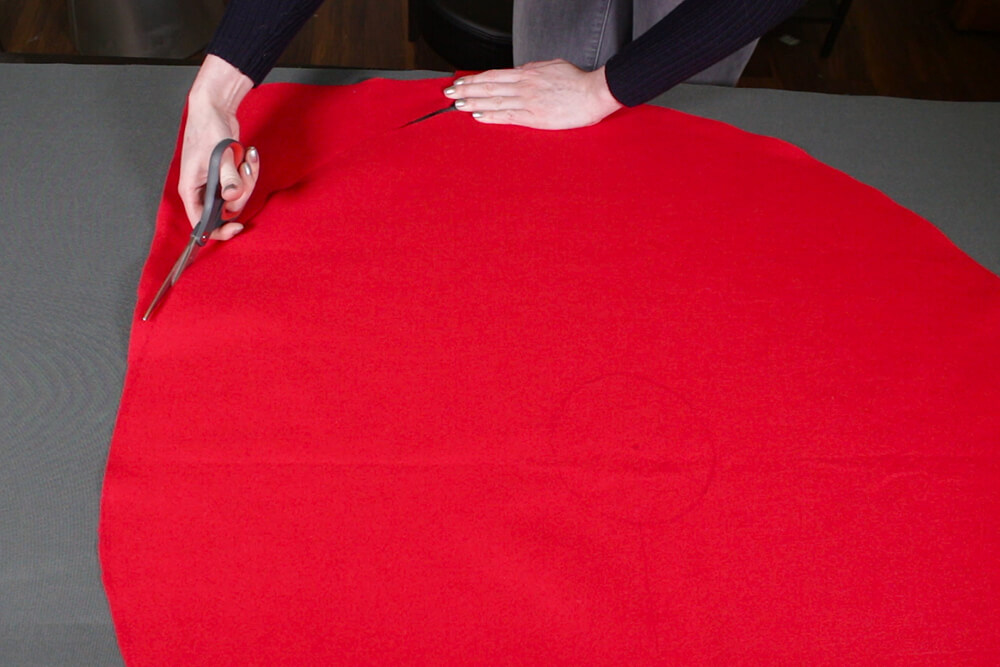
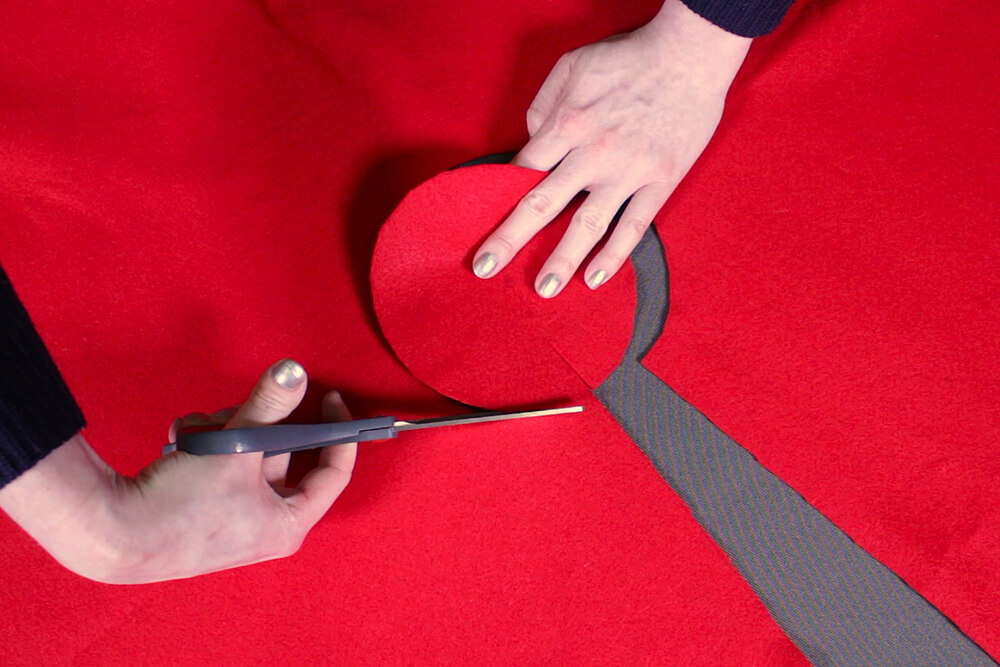
Then retie the marker so it’s 3 inches from the center to create a 6 inch circle. Also mark a line from the outer circle to the inner circle. Cut out the large circle, down the line, and around the small circle.
Step 2: Glue the burlap
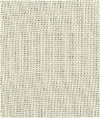
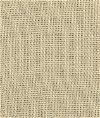
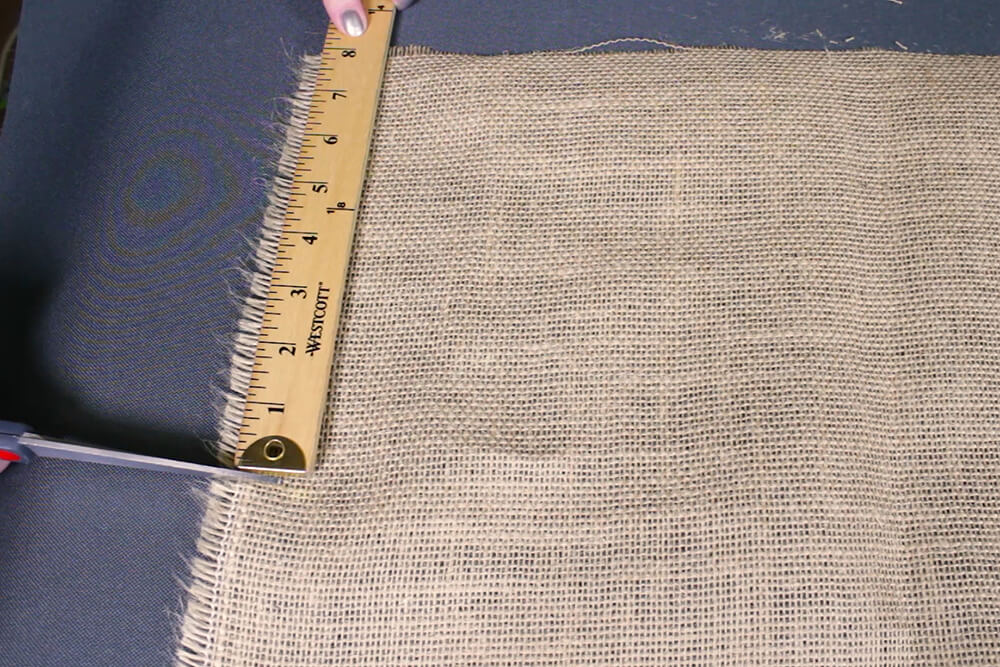
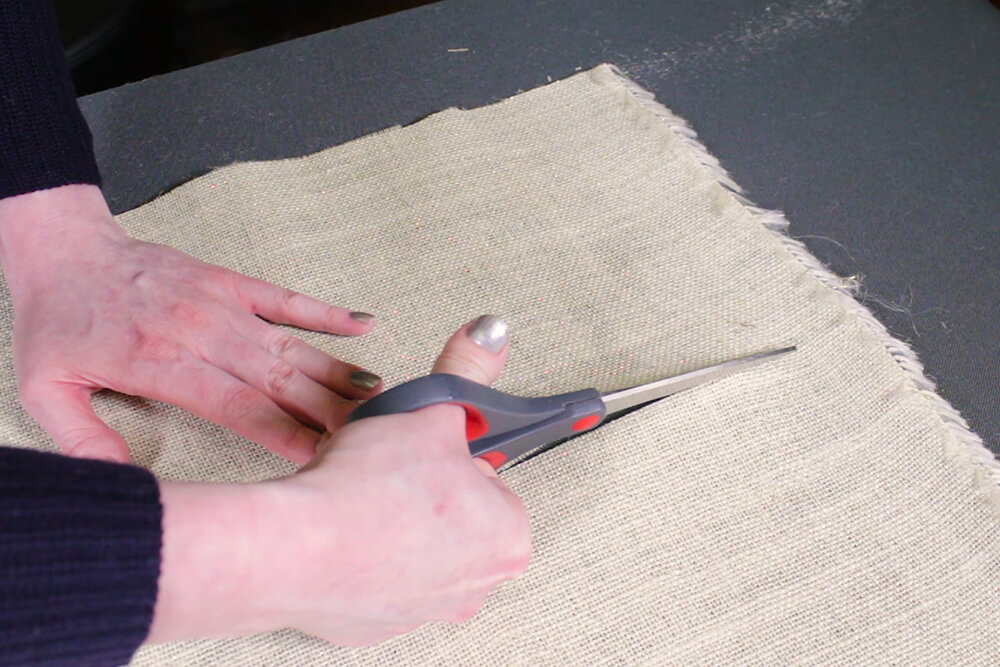
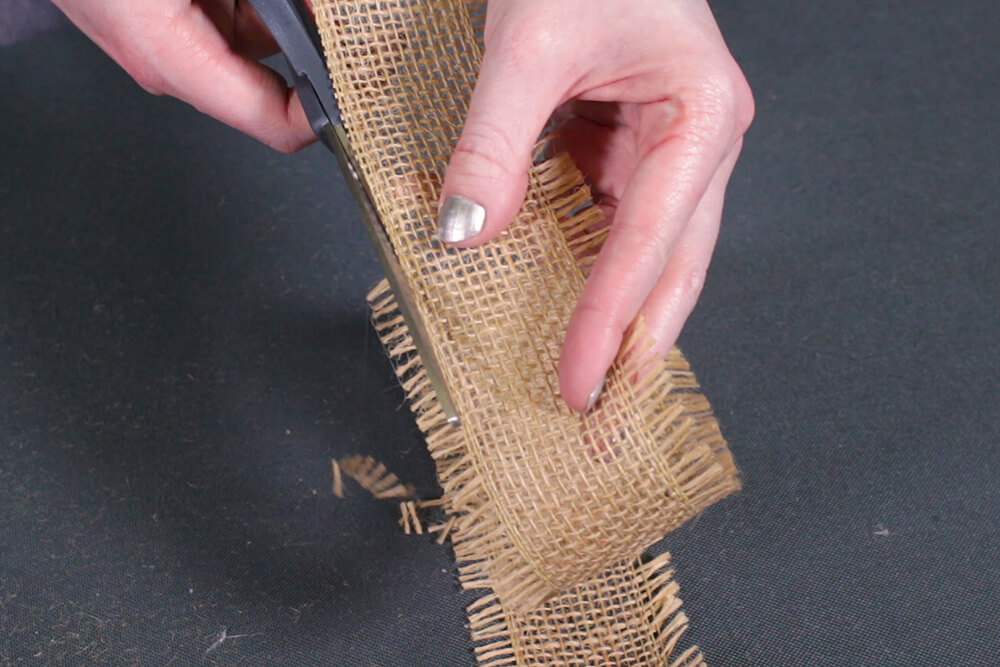
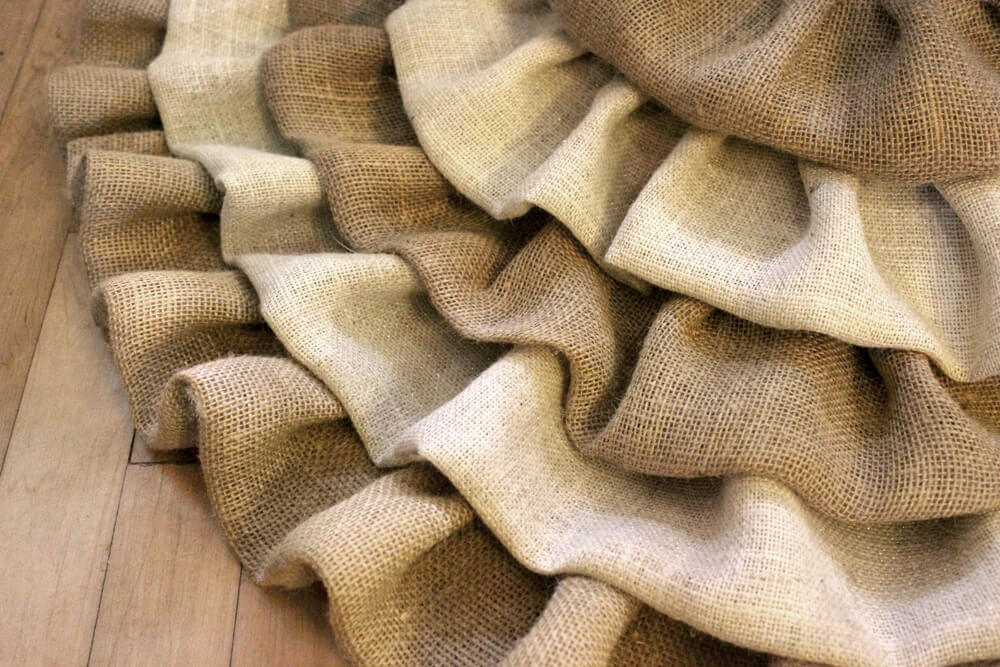
Next cut strips of burlap that are 8 inches wide. I’m going to use several colors of burlap.
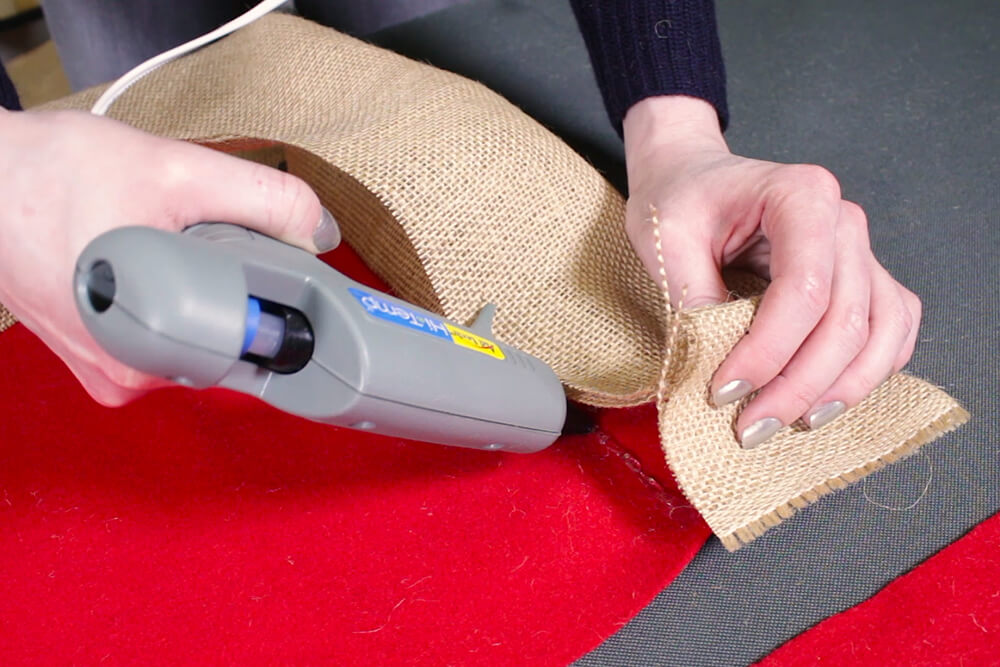
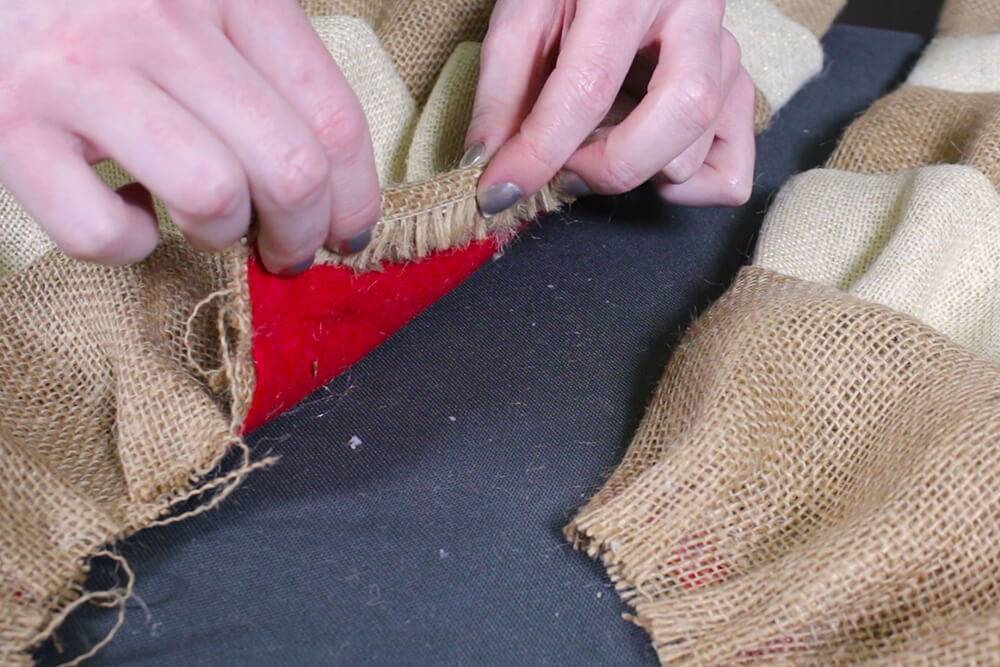
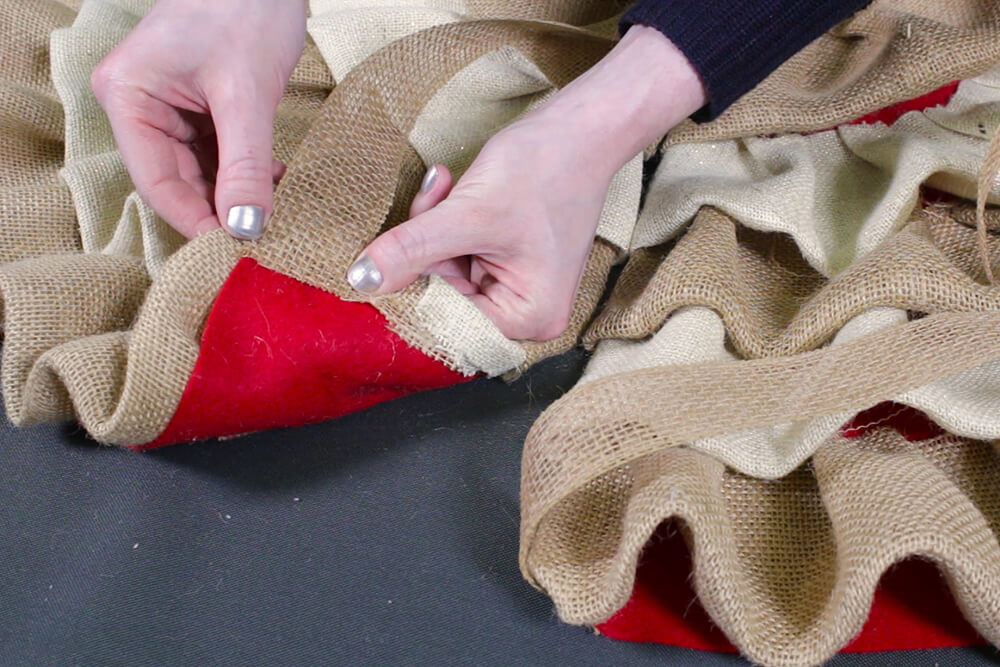
By folding the burlap in half, the raw edges aren’t exposed so it won’t fray. It also creates more volume.
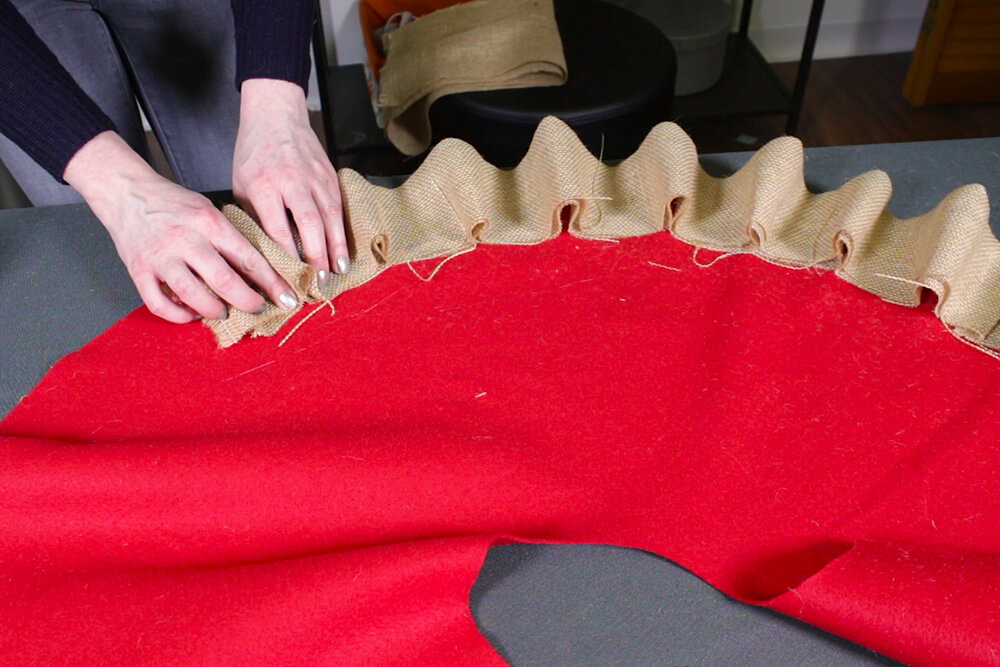
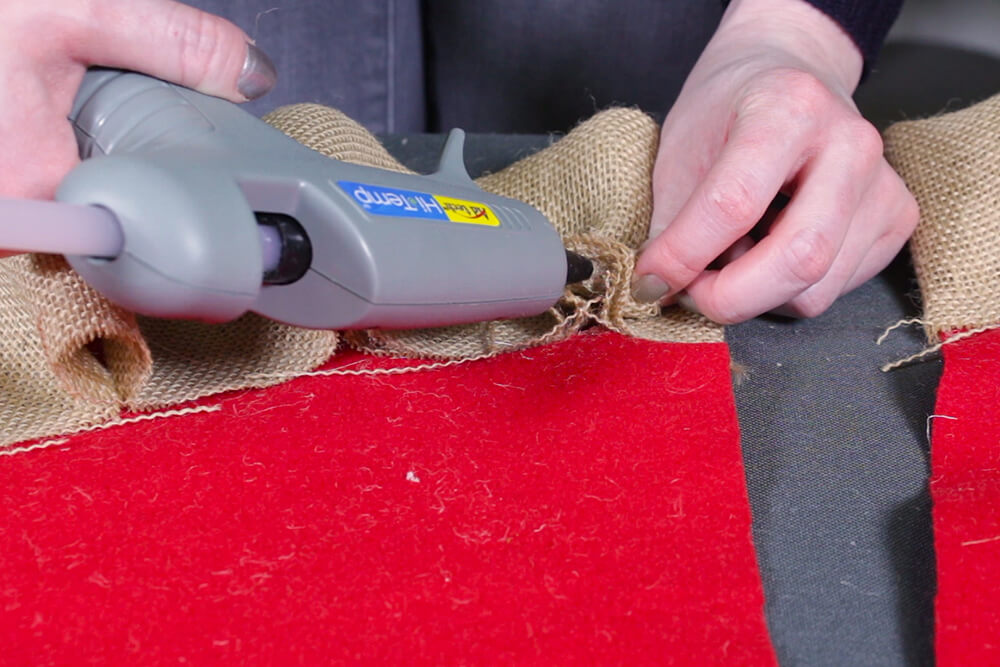
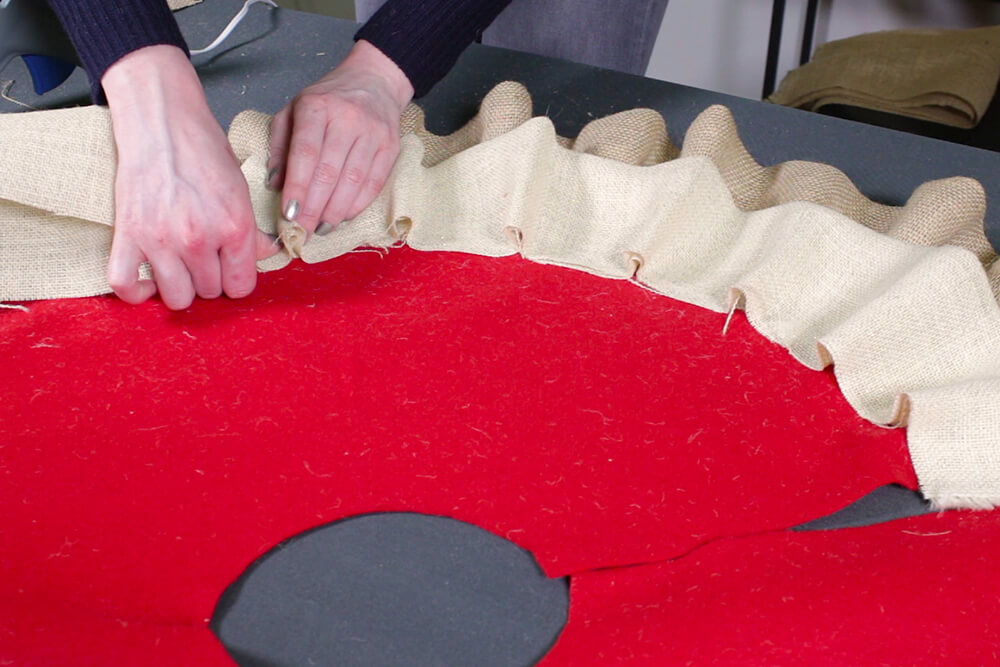
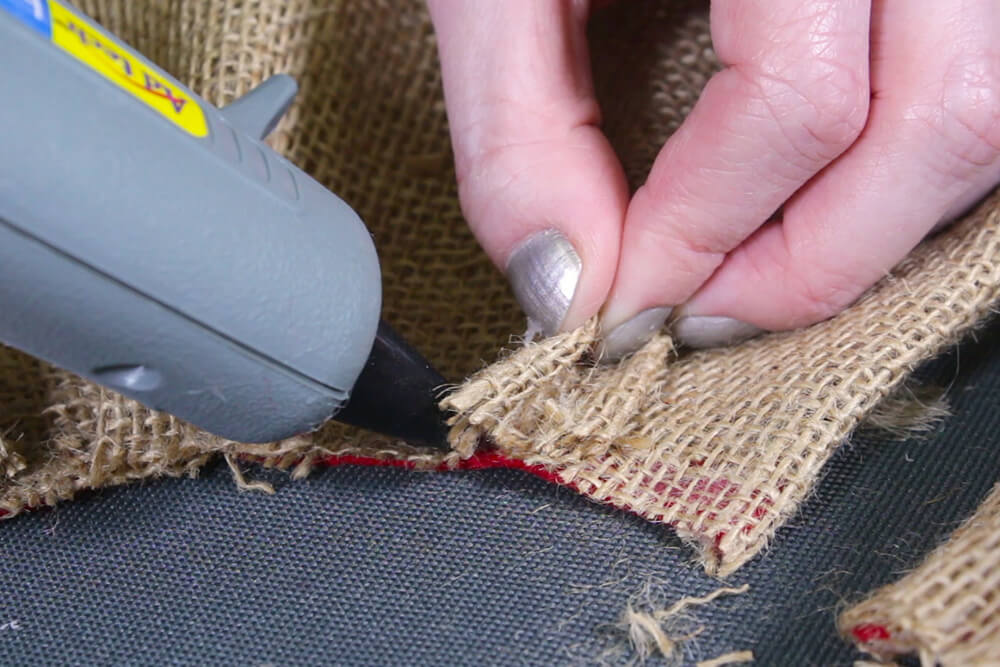
Fold one of the strips in half and glue it down so that it covers the edge of the felt. Create the ruffles by pinching the burlap and gluing it down. Continue to make pleats until you go all the way around the circle.
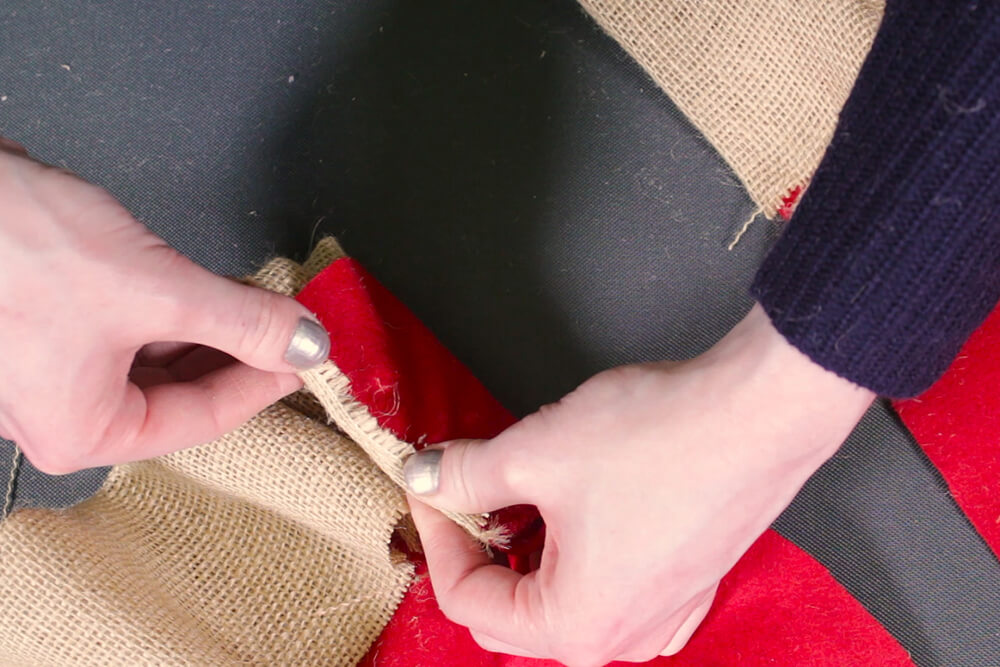
To add a new piece, just fold under the edge of the new strip and overlap it a bit with the first. At the end, cut it a little long and glue it to the back of the felt. Then glue down the center of each pleat so that they lie flat.
It works best to make larger pleats at the bottom and make smaller pleats that are closer together as you get towards the top.
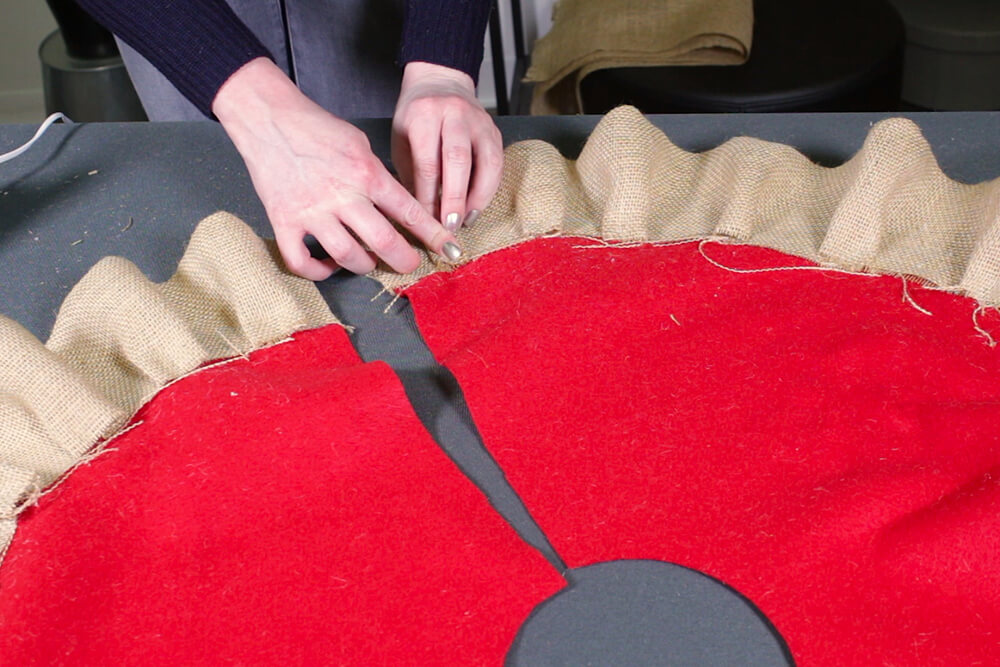
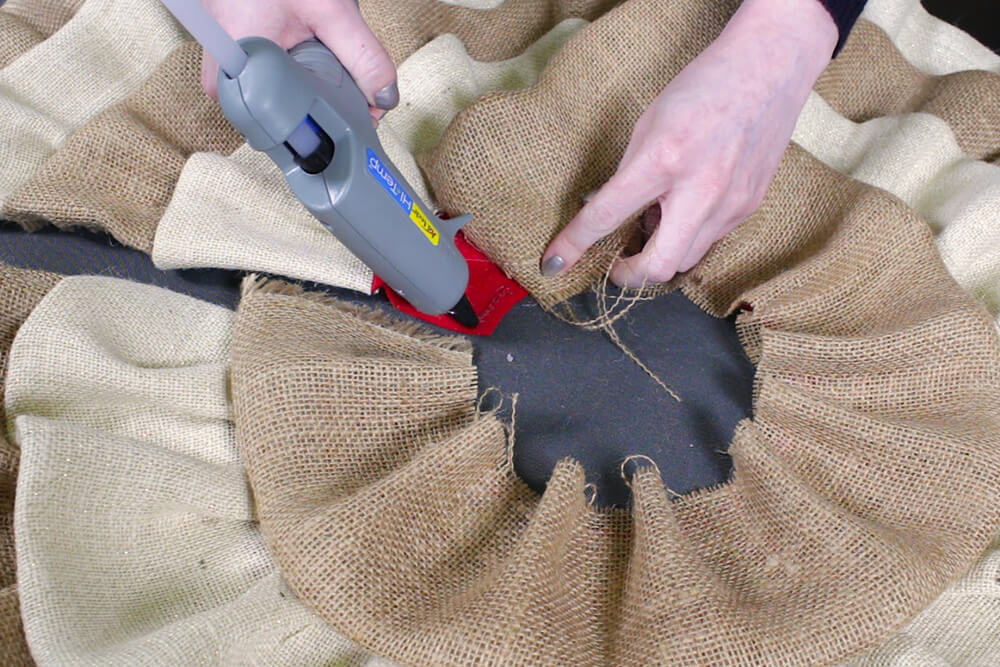
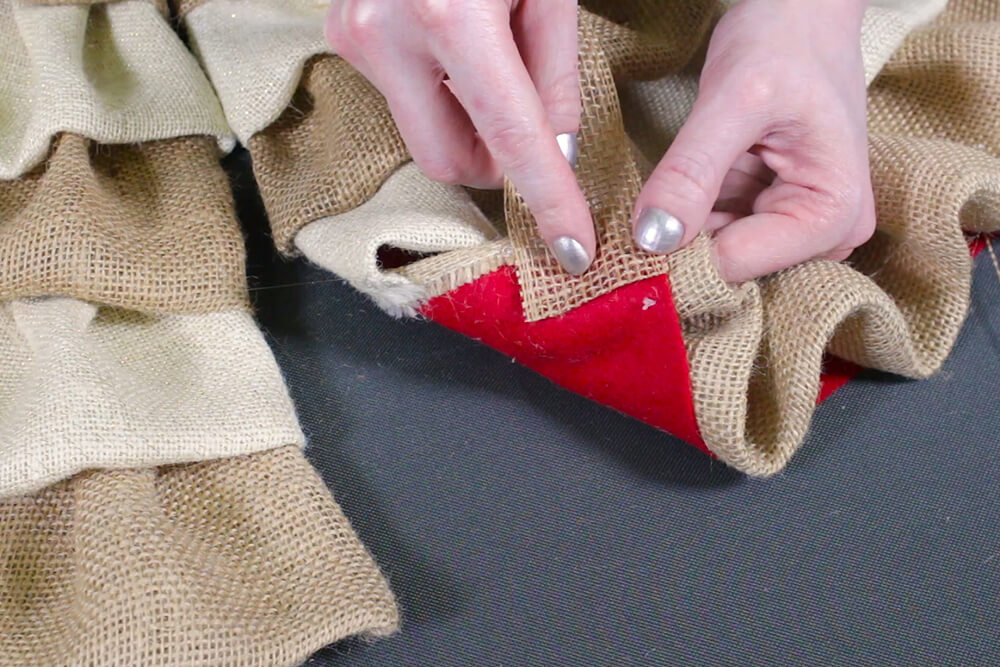
Repeat for the second layer, overlapping it with the first. Continue to add layers until you get close to the top.
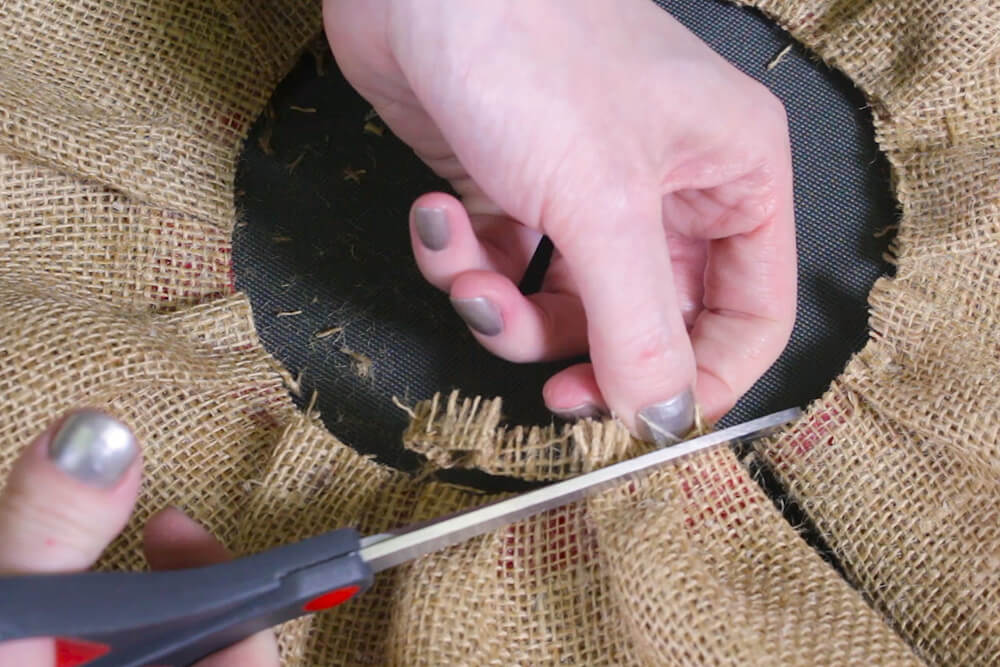
On the last layer leave some burlap overhanging the felt at the top. If you need to make the final strip a little bigger, you can fold it so the front side is wider than the back. Create small pleats all the way around. Again, glue down the center of each pleat so they lie flat. Fold under the sides and glue, then trim off the extra burlap at the top so it’s even with the felt. Glue down the burlap well so the raw edge won’t unravel.
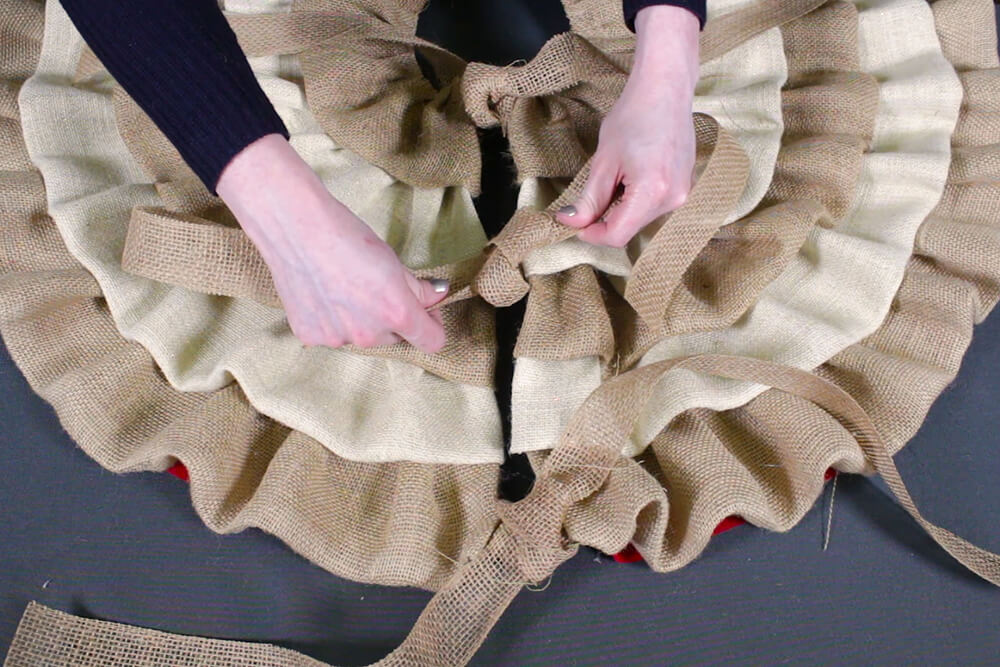
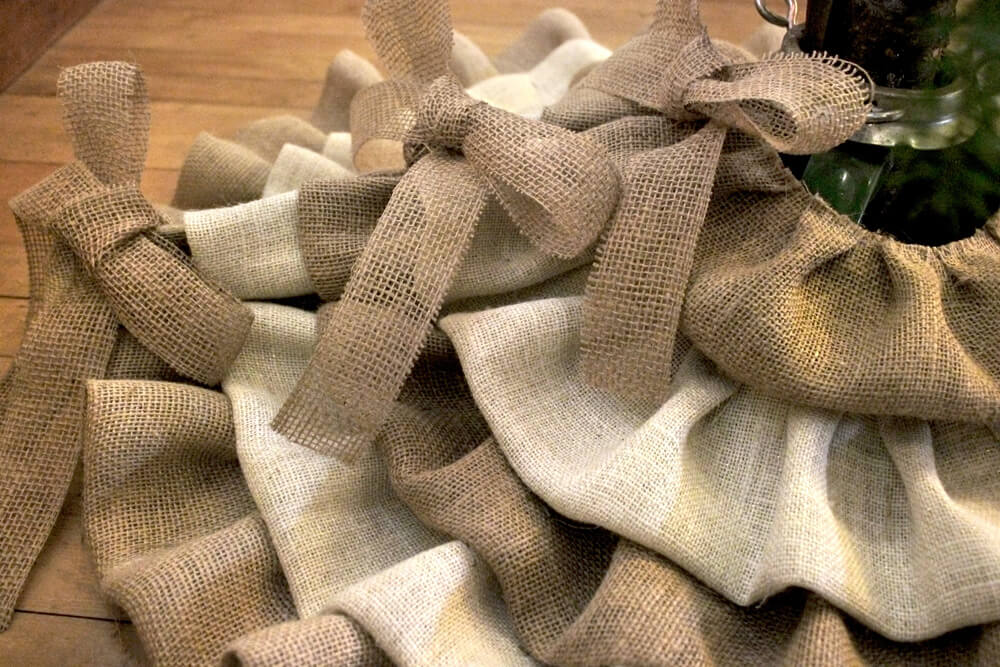
Step 3: Add ribbon
Finally, cut 6 pieces of ribbon about 2 feet long. You can use any ribbon you want. On this burlap ribbon, I’m cutting off the edges so it will tie easier. Glue the ends to the back at the top, bottom, and middle of the opening. Tie knots or bows to close it and the tree skirt is complete.

Ready to make it? Find our wide selection of burlap here.
-
{{#each productSuggestedQueries.results}}
- {{query}} {{/each}}
-
{{#each categories.results}}
- {{html title}} {{/each}}
{{html attributes.description}}
{{/if}}-
{{#each queries.results}}
- {{query}} {{/each}}