How to Make a No-Sew Valance
- By Clara
- Intermediate
- 2 hours
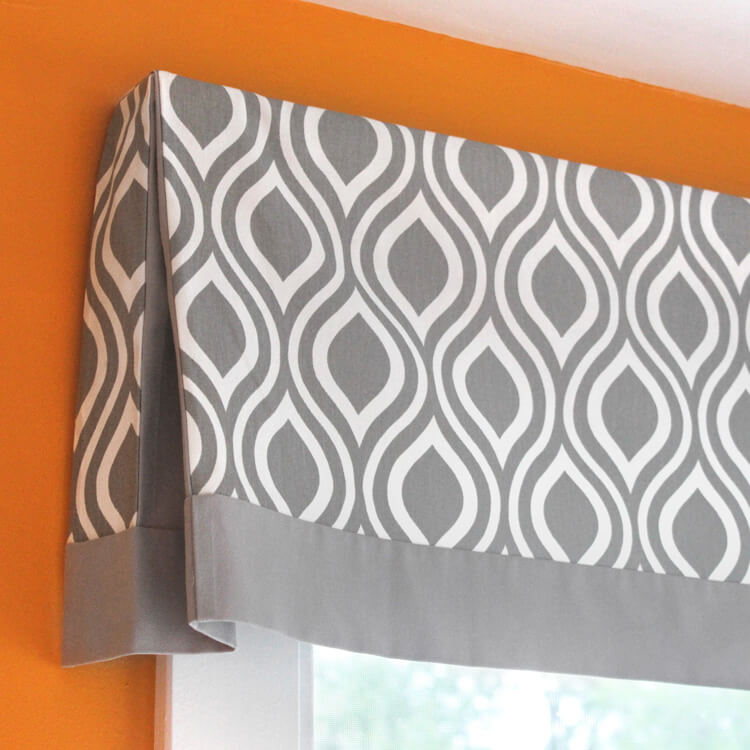
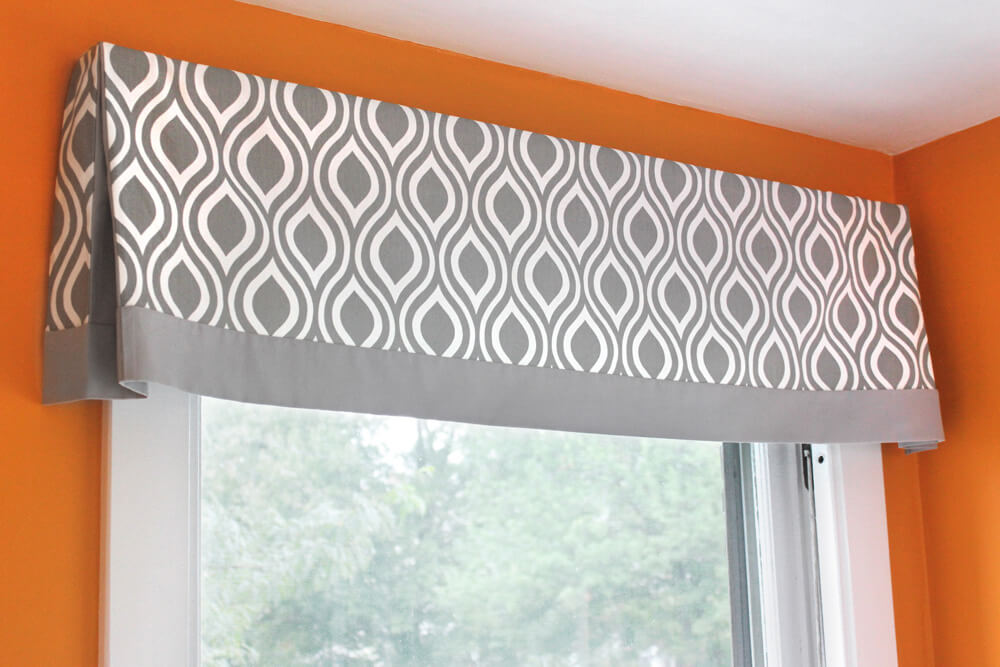
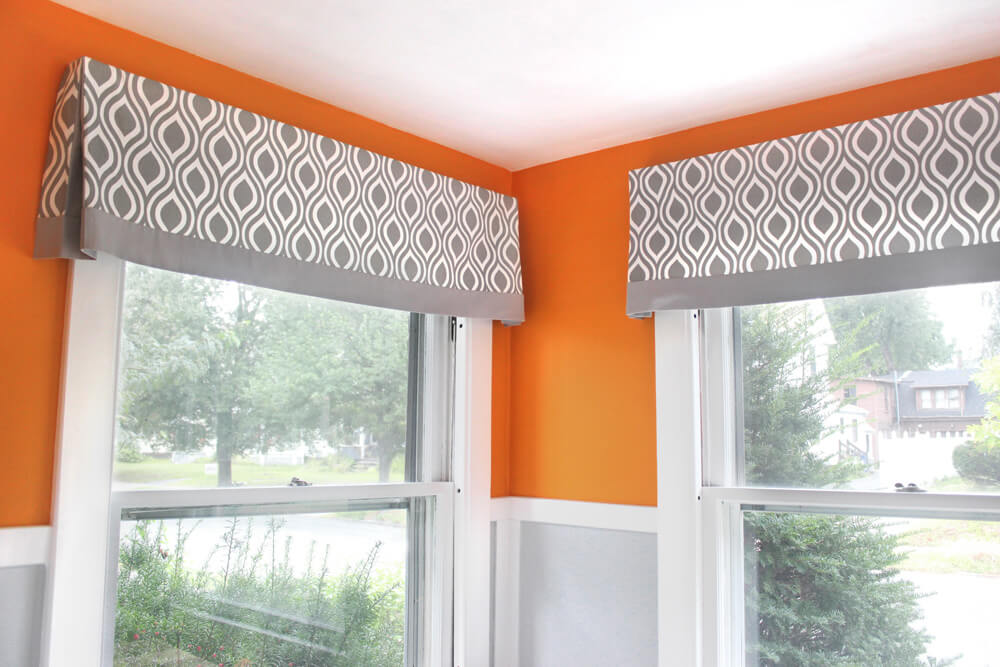
Learn how to make a no-sew valance that has pleats at the corners and an accent band at the bottom. This simple design will go with many décor styles.
You can also make variations with box pleats or add decorative trim to make it your own. Add this valance to existing curtains, sheers, or blinds, or make matching custom curtains!
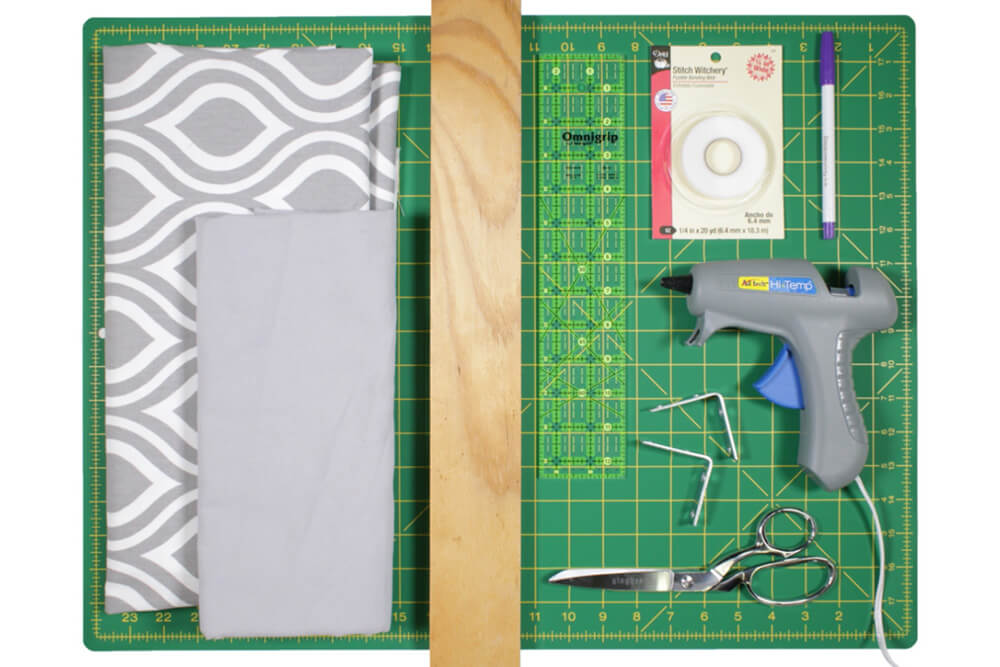
Materials
- Drapery Fabric
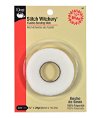
- 1/4" Dritz Stitch Witchery
- Scissors
- Ruler
- Fabric Marker
- Hot Glue Gun
- A piece of wood or plywood
- L brackets
- Iron
Related Products


Video
Instructions
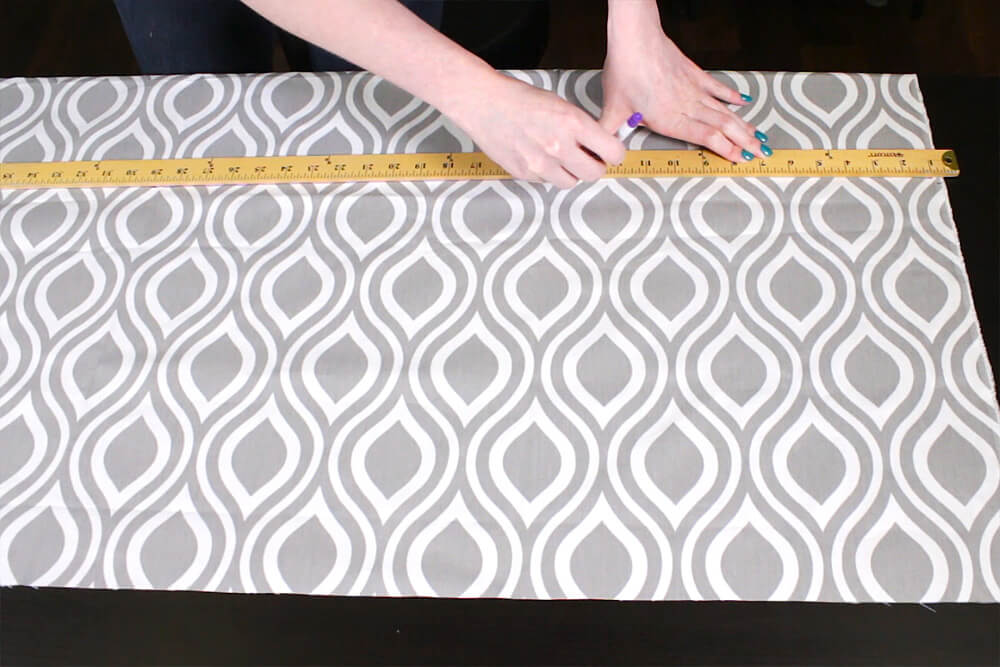
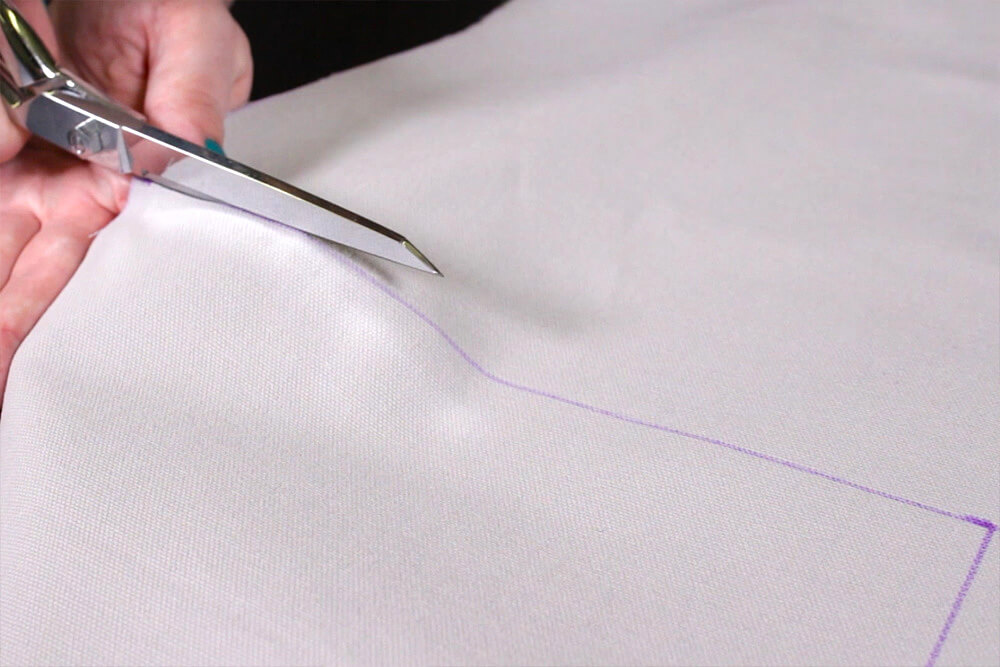
Step 1: Measure & cut the fabric
Measurements for this valance
Finished dimensions: 48″ wide, 2 ½” deep, & 12″ tall plus a 3″ band (total height of 15″)
Main fabric:
– Front: 48 ½” x 15 ¼”
– Sides: 3 ½” x 15 ¼” (2 pieces)Accent fabric:
– Band: 48 ½” x 6 ¼” (1 piece) and 8 ¾” x 6 ¼” (2 pieces) If your fabric is wide enough, you only have to cut one piece.
– Pleats: 5 ½” x 15 ¼” (2 pieces)
Cut your piece of wood to the width you want your valance to be. Generally 2 ½” to 3 ½” is a good depth for a valance, so a 2 x 4 (3 ½” wide) would work.
Everyone’s measurements will be different, so view the PDF diagram to figure out the dimensions to cut your fabric.
Fabric choice: Any drapery fabric that can withstand high heat from an iron, like cotton or linen, works well. I used Premier Prints, which has a lot of coordinating fabrics in prints and solids.
Step 2: Attach the pieces together
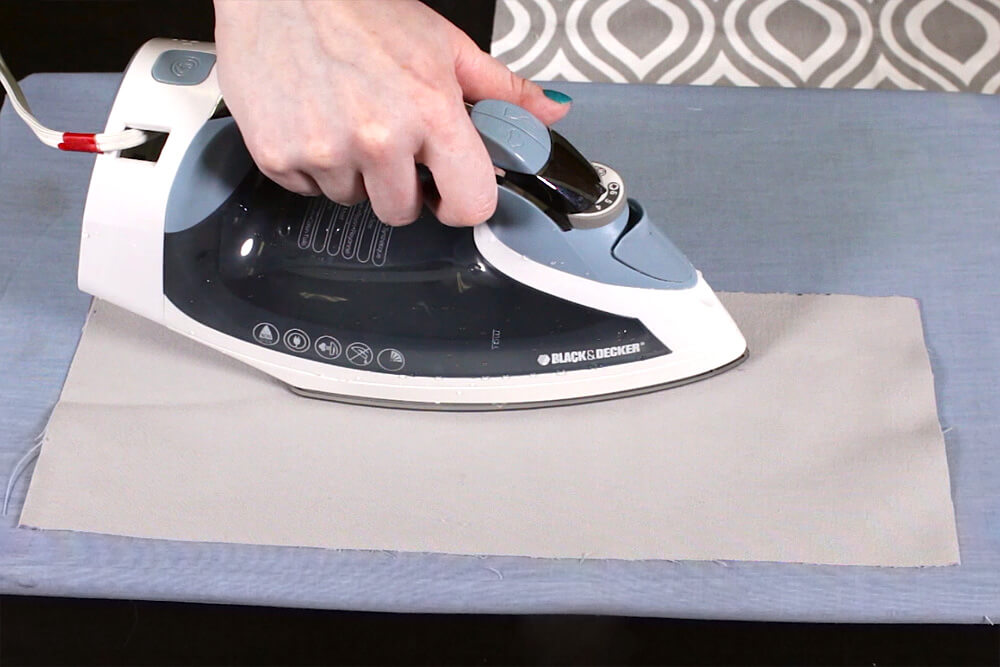
To attach the fabric, this no-sew project uses ¼” Dritz Stitch Witchery, which bonds the fabric together when ironed. Fabric glue is another no-sew alternative.
If you have the option of sewing the valance, using a sewing machine is faster and easier and the seams will come out a little less bulky. Just sew each seam with ¼” seam allowance instead of using the bonding tape. But the no-sew method is great for those without a sewing machine.
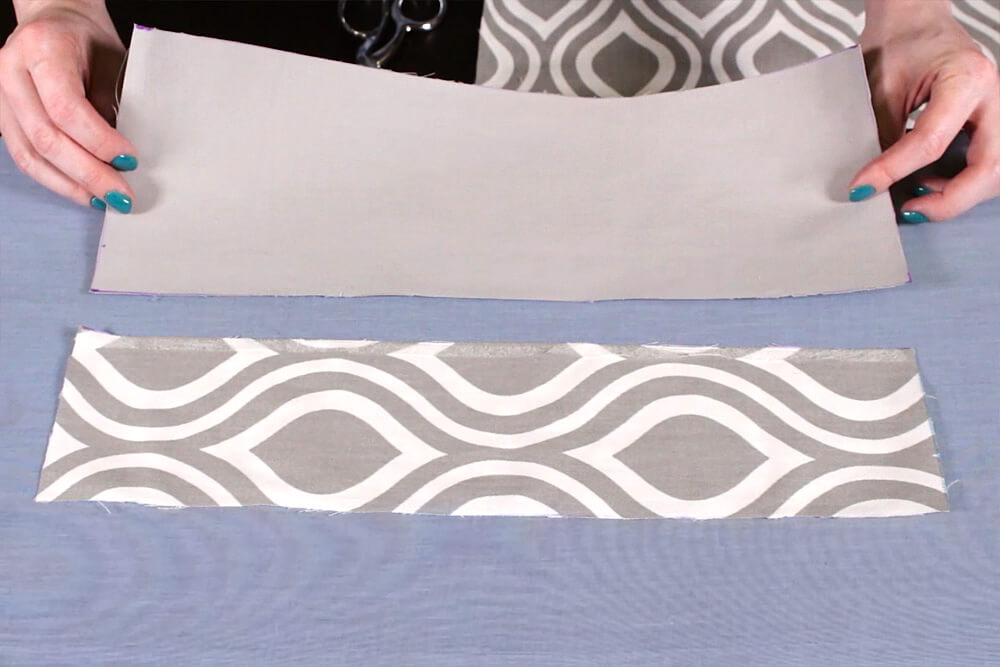
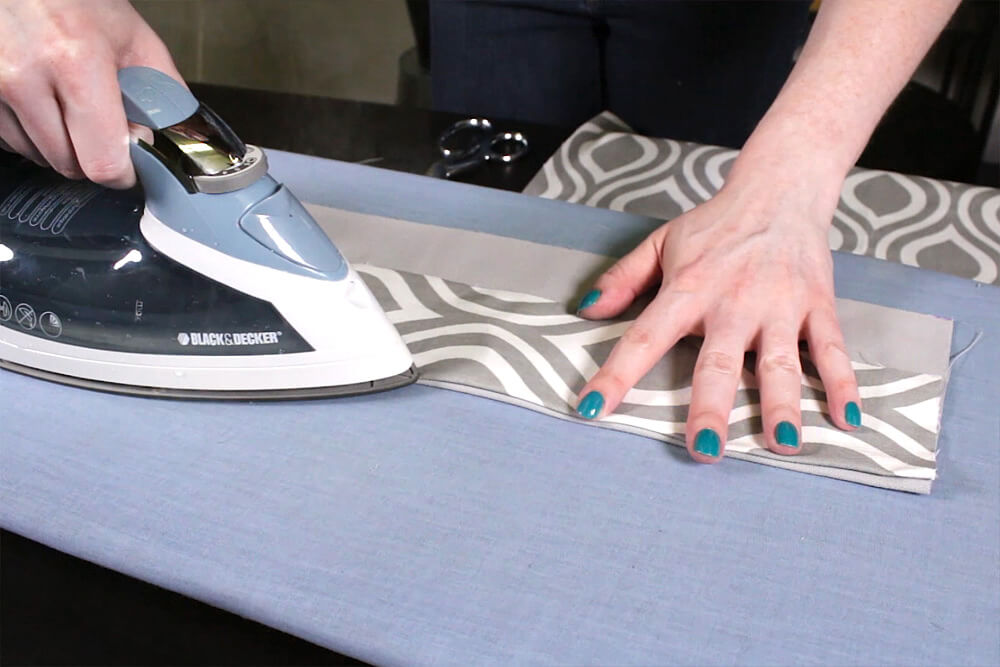
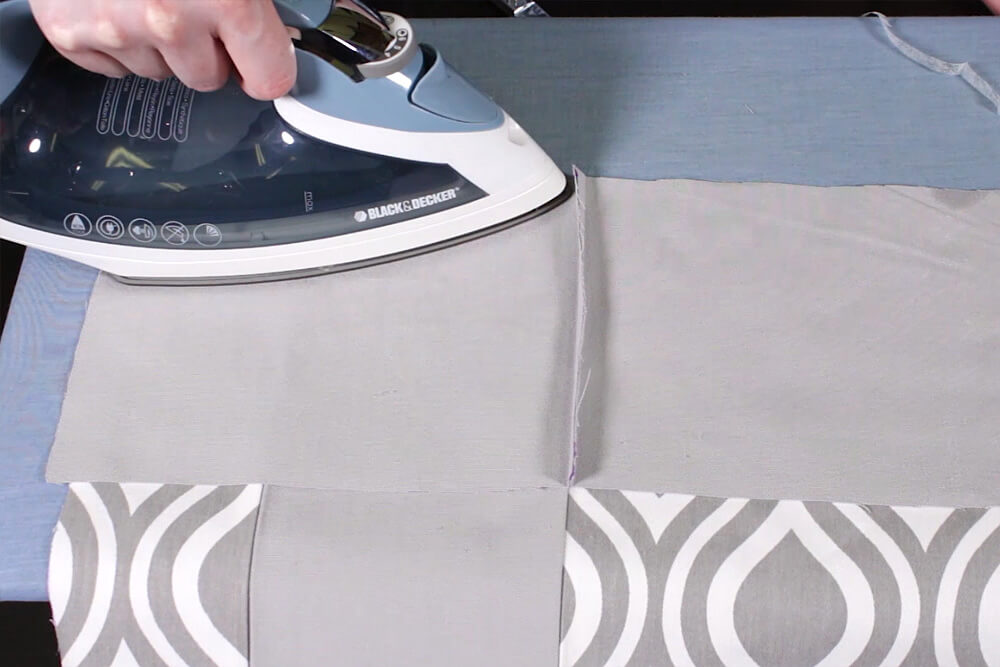
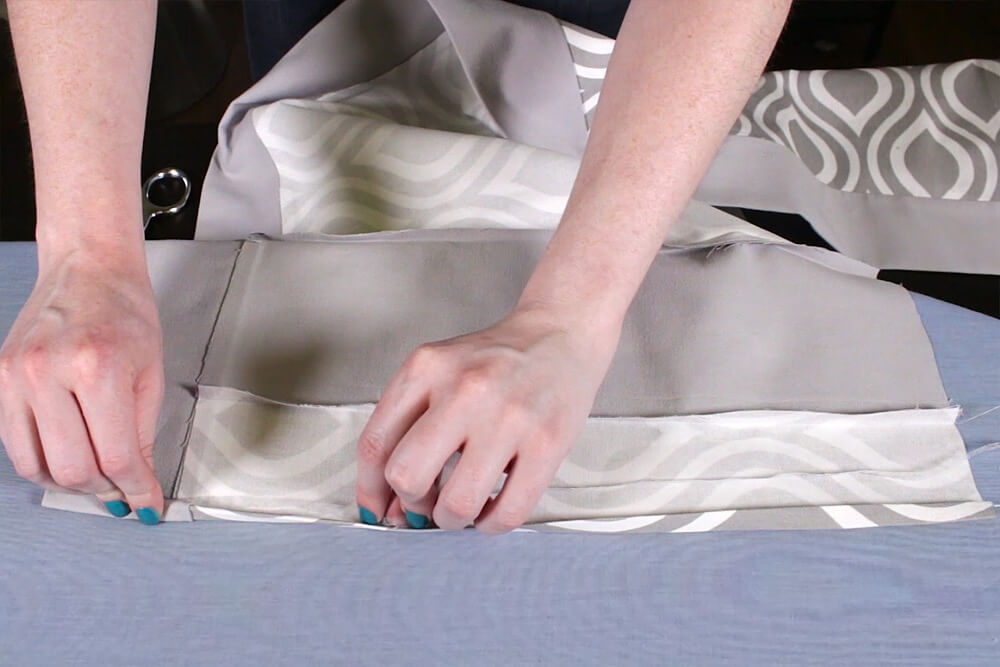
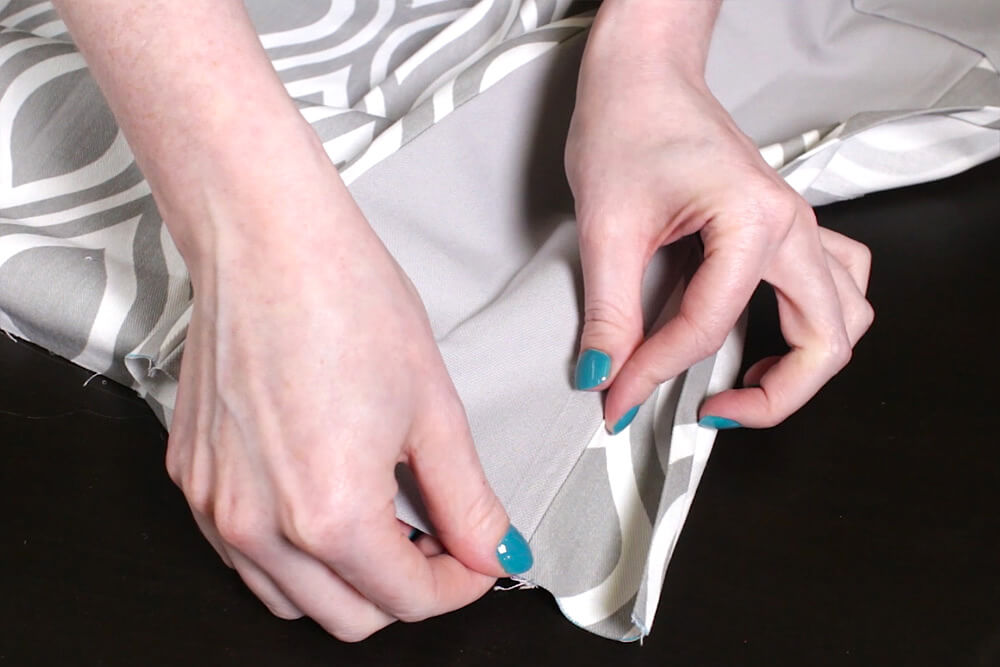
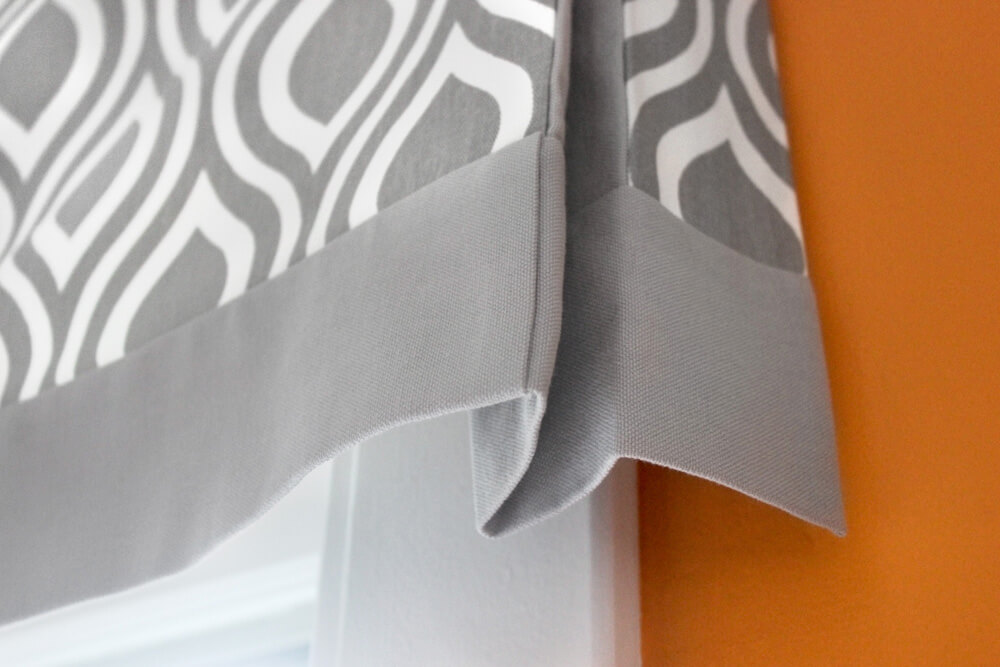
First put together the side, pleat, and front pieces, then attach the band piece(s). Refer to the diagram to see the layout of the different pieces. I start by attaching the left side piece (main fabric) and left pleat piece (accent fabric) and worked my way from left to right.
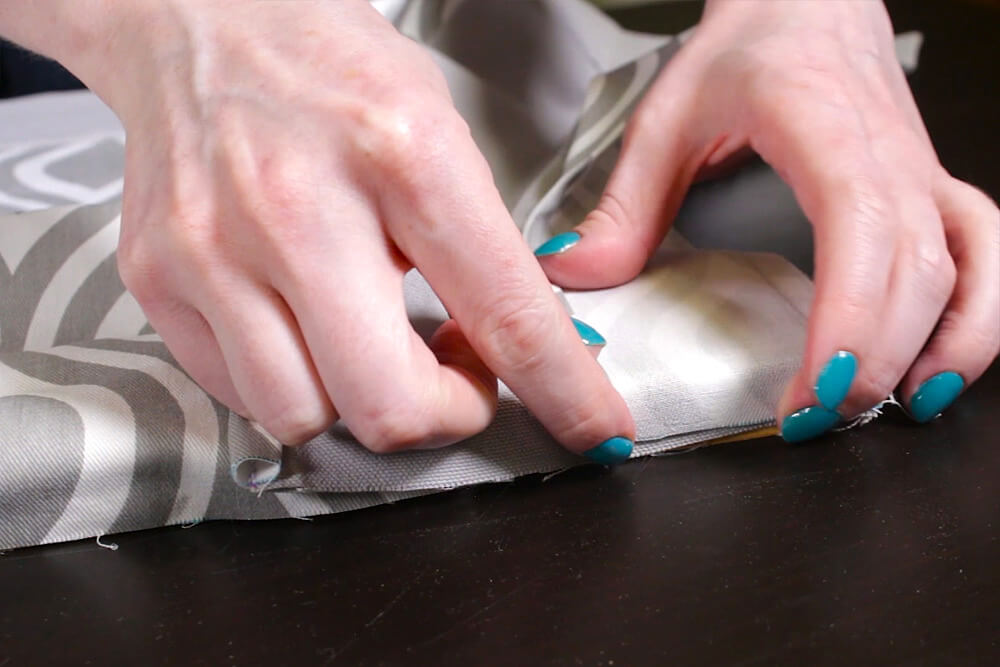
Lay one piece right side up and place the bonding tape on the edge of the fabric. With the steam setting on your iron, hold the iron over the Stitch Witchery without touching it. This will make it tacky and it will stick to the fabric.

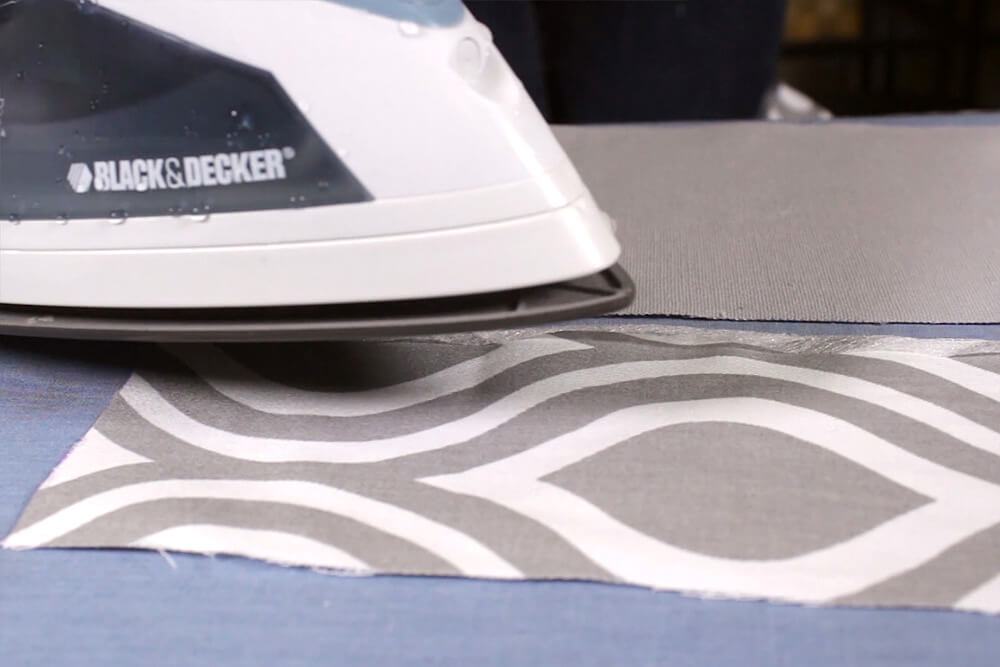
Then place the other piece on top with the right side down (if it has a right side). Hold the iron on the fabric for 10 seconds at a time to melt the tape. Turn the pieces over and repeat the ironing on the other side.
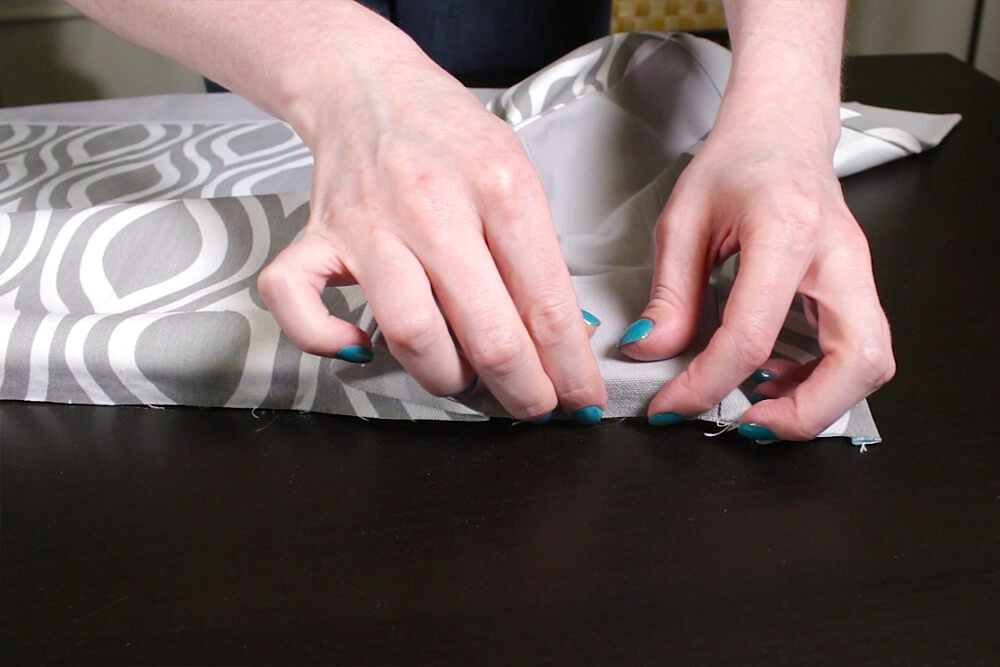
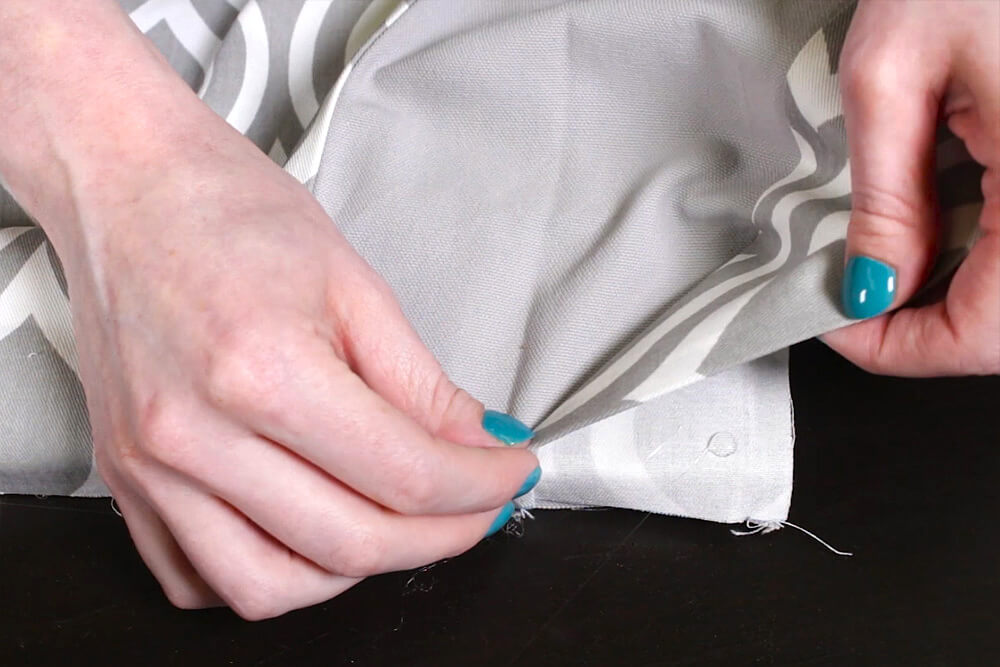
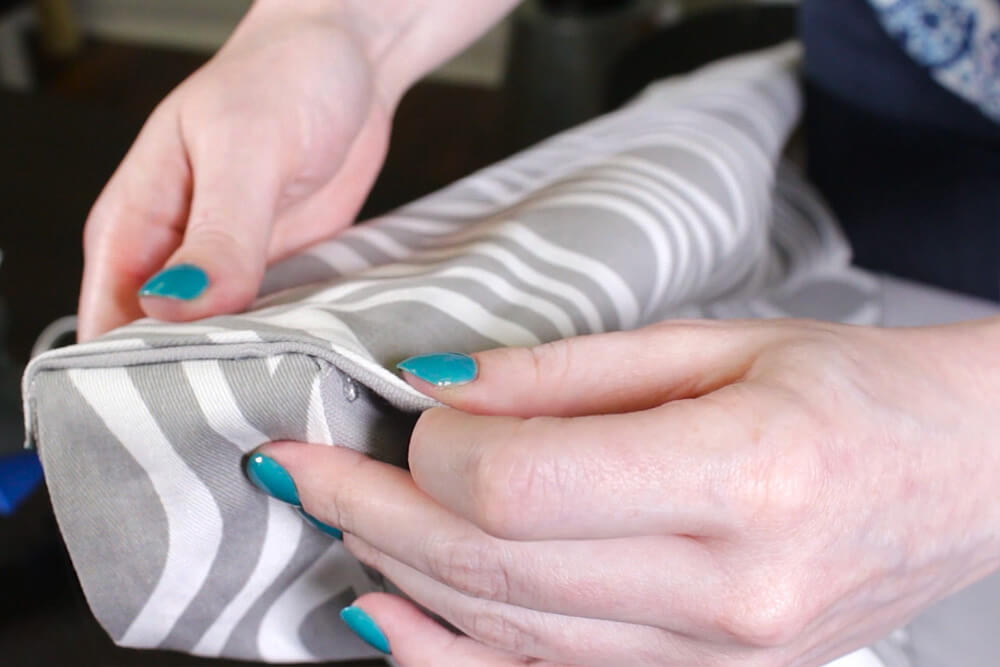
Turn it so the right sides are facing out and iron to make a sharp crease. Do the same thing for the rest of the seams on the side, pleat, and front pieces. Also, if you have more than one piece for the band, attach them together too.
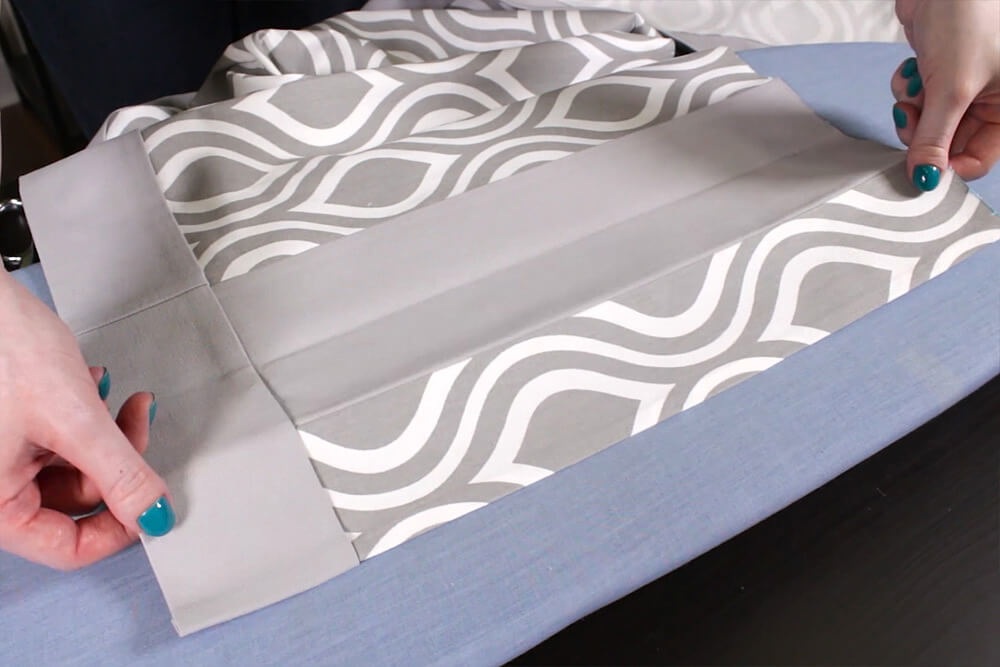
Add the bottom band last in the same way the other pieces were attached. Iron the seam flat.
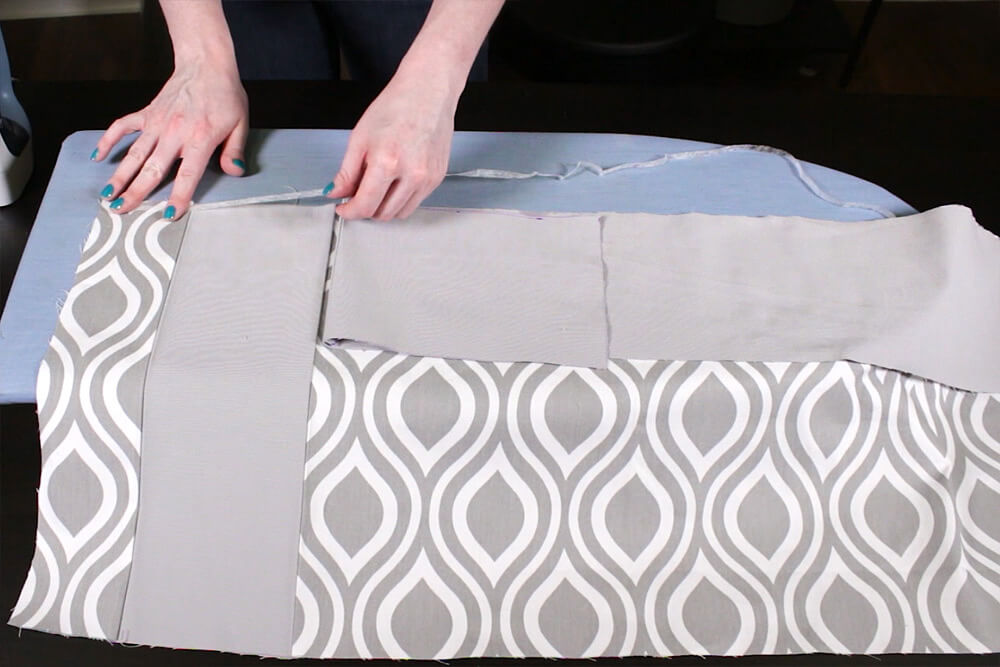
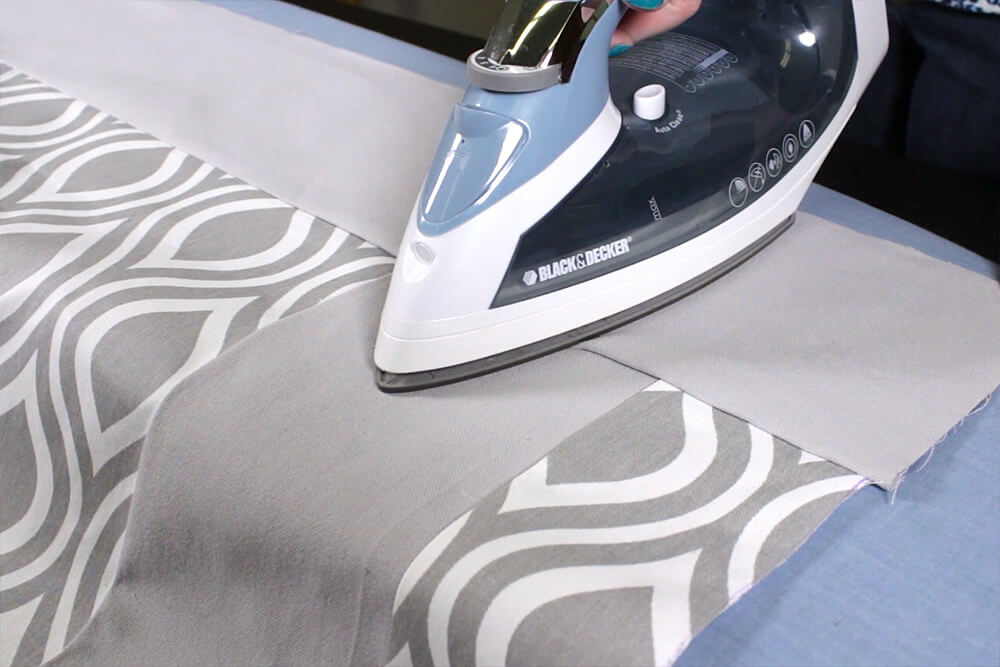
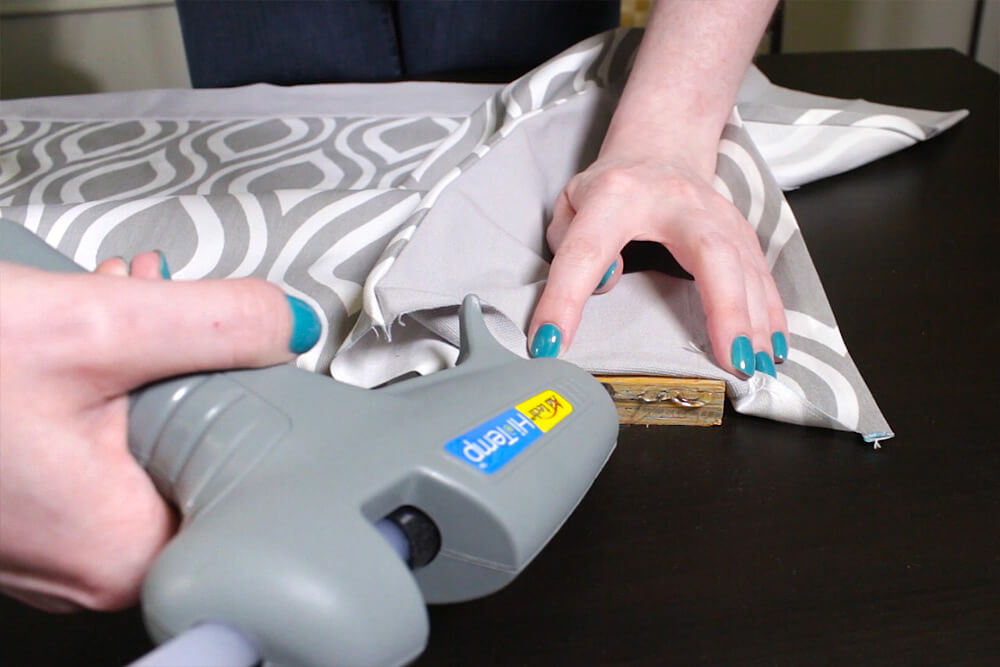
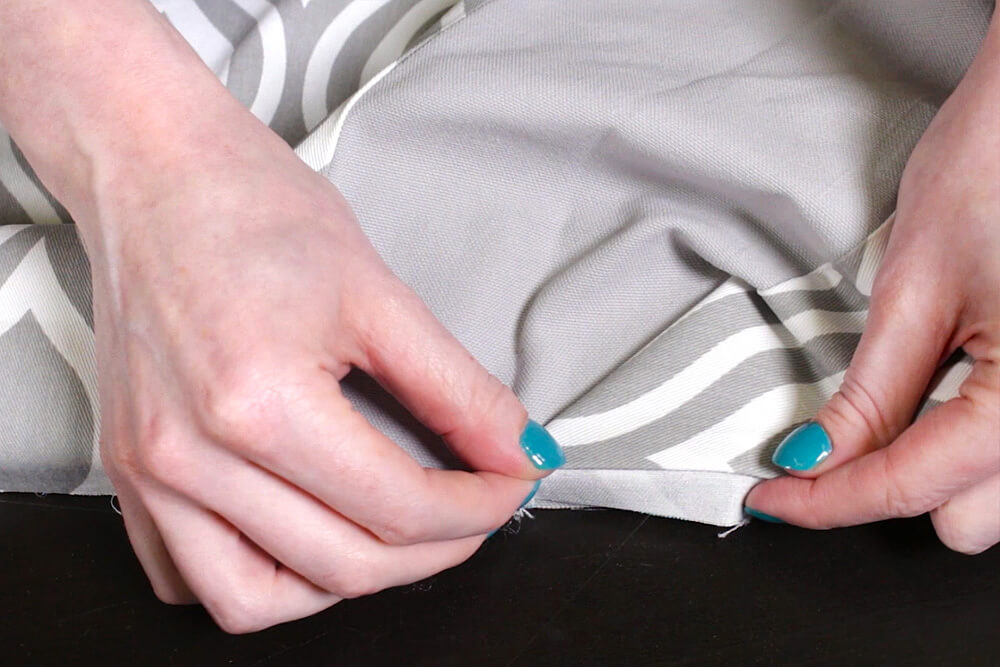
On the back, fold the bottom of the band up and place the raw edge under the seam where it’s attached to the top pieces. Iron the fold that’s formed at the bottom of the band. Slide the stitch witchery under the seam and iron.
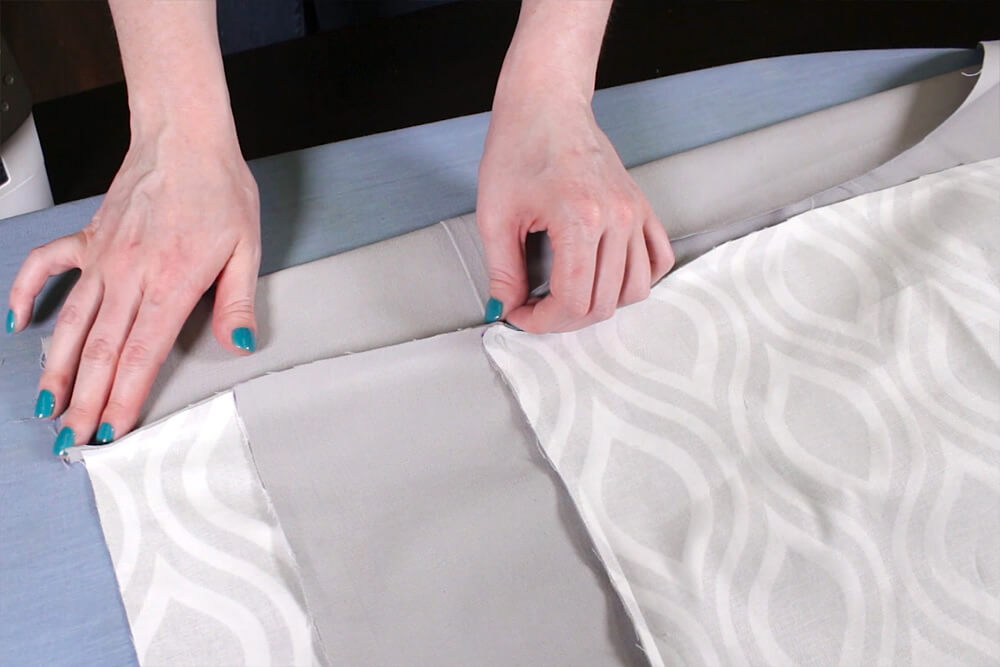

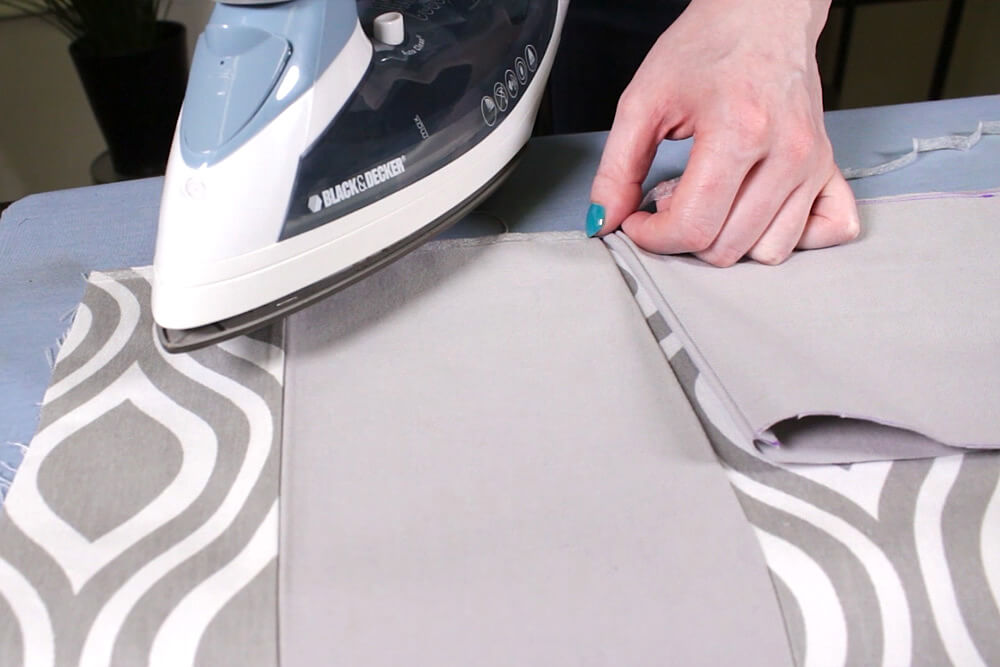
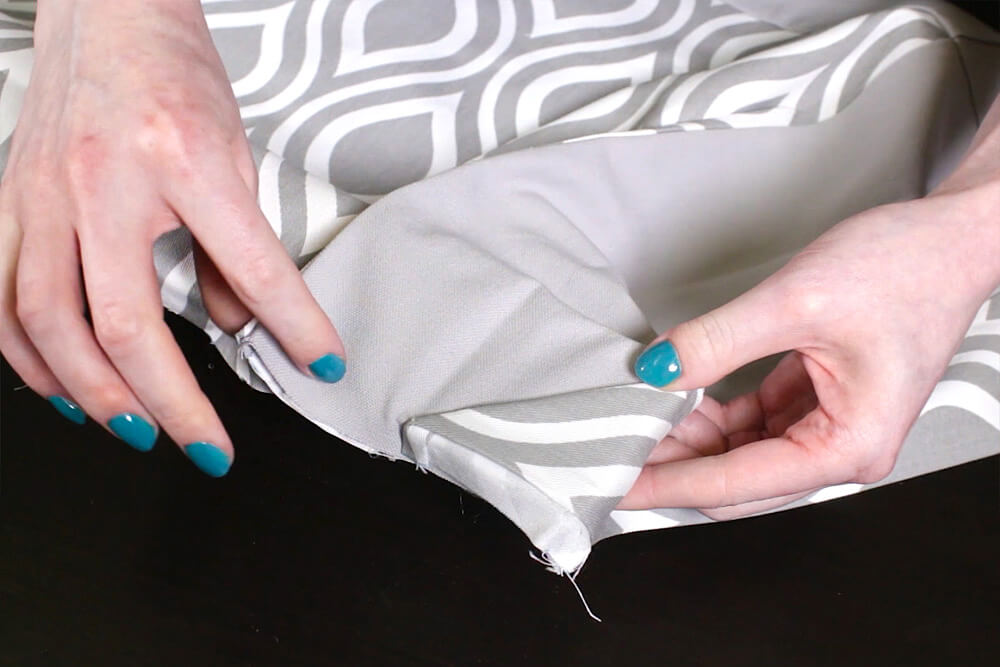
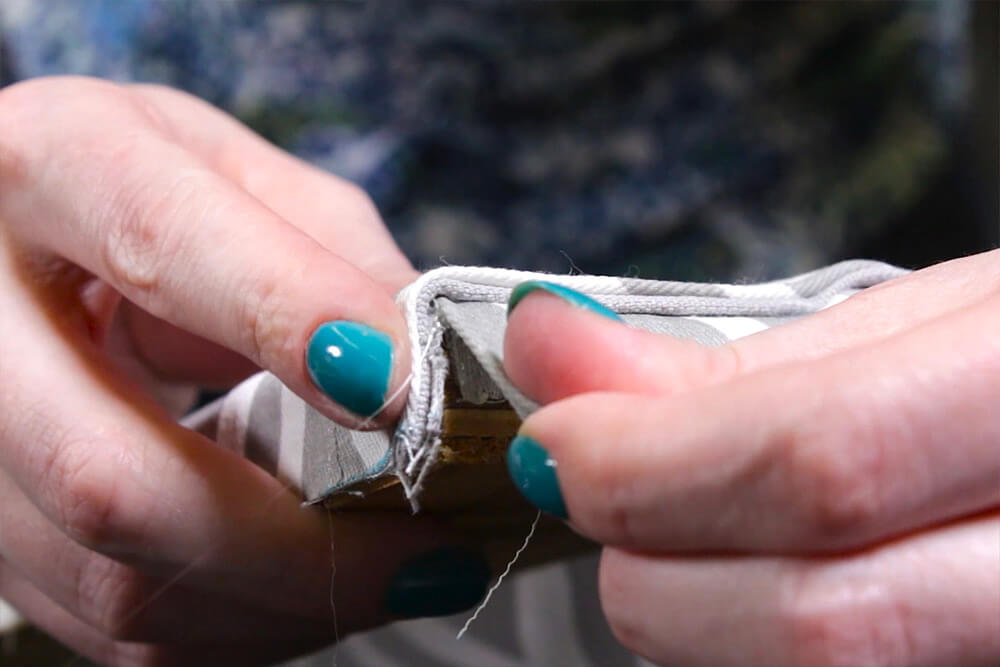
On the end, fold the sides over twice so that the width of the side piece is the same as the wood (2 ½” here). This will create a finished edge. Slide the stitch witchery under the fold and iron. Iron on the front side too. Repeat on the other end.

Make a crease where the pleats will be by folding the ends like an accordion and ironing.

Step 3: Attach the fabric to the wood
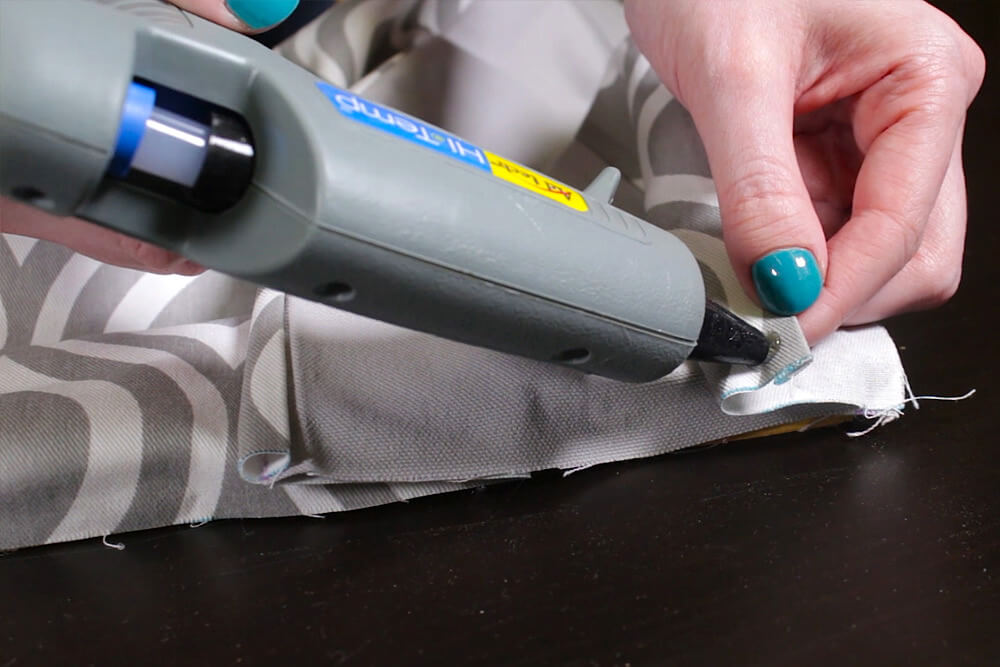
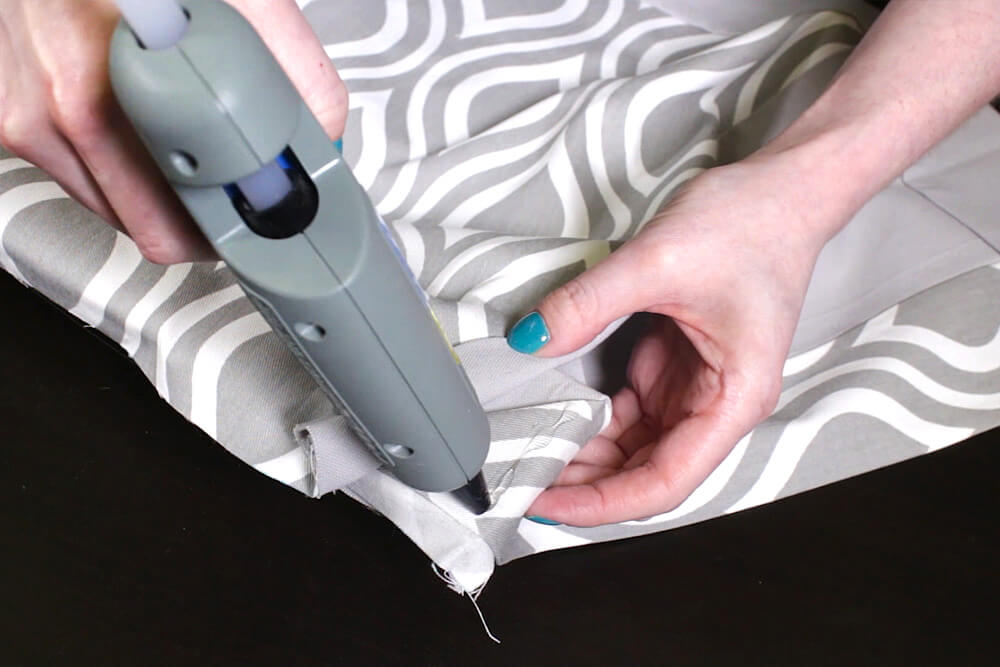
Lay the wood flat and center the fabric on it with the top overhanging ½”. Starting in the middle, hot glue the fabric to the back of the wood. You could use a staple gun instead if you prefer. Stop 5″ or 6″ before the ends of the wood.

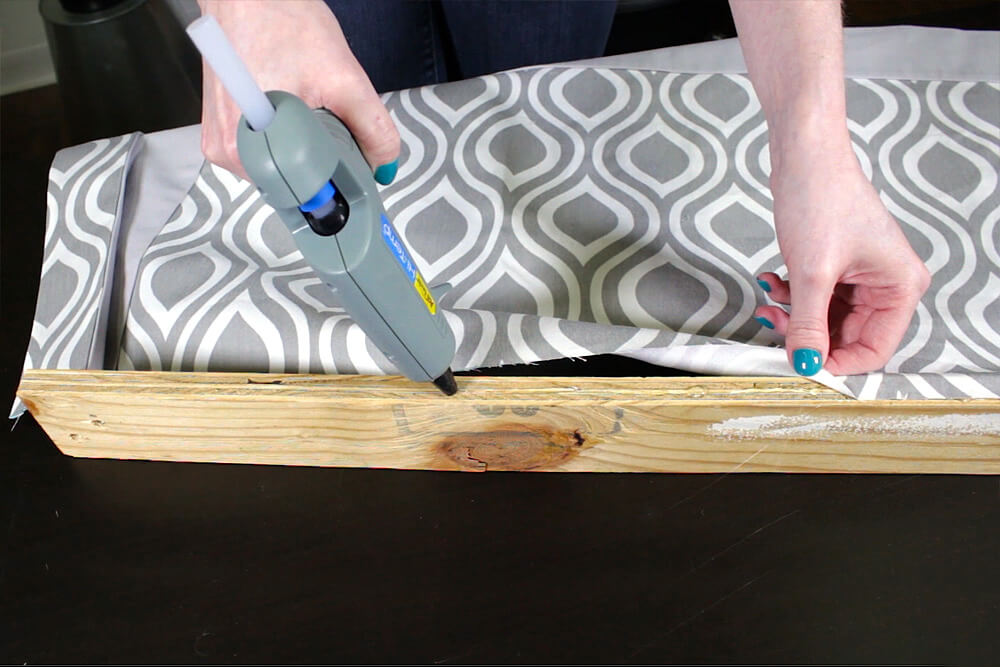
Line up the edge of the pleat with the end of the wood and glue it down. Also, attach this section of the pleat to the back of the wood.
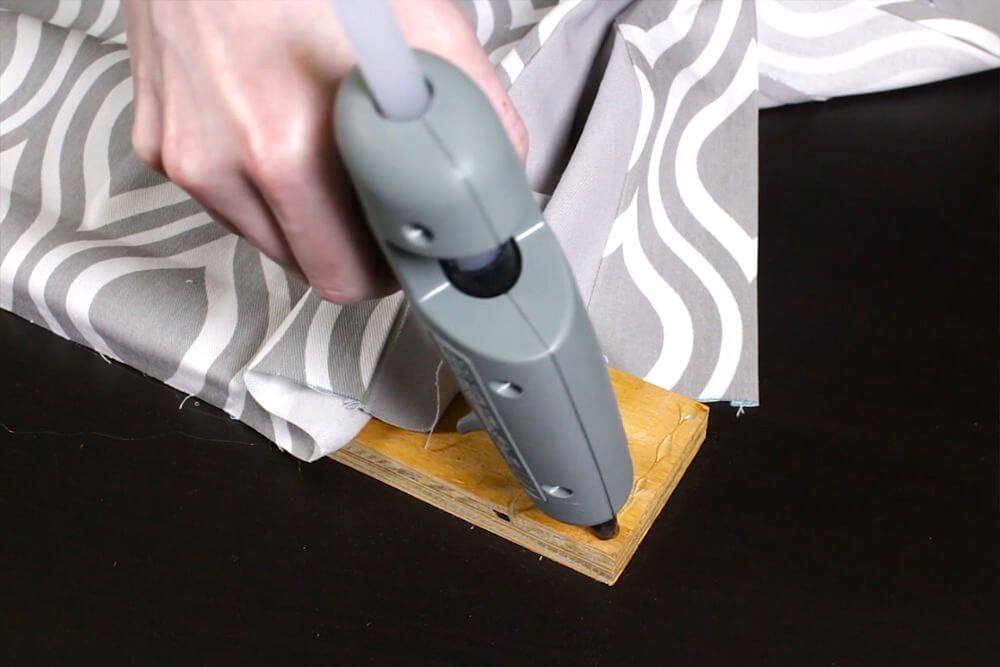
Fold the side flap up and glue the corner to the back. Then fold it back down so a 45 degree angle is created and glue it in place.
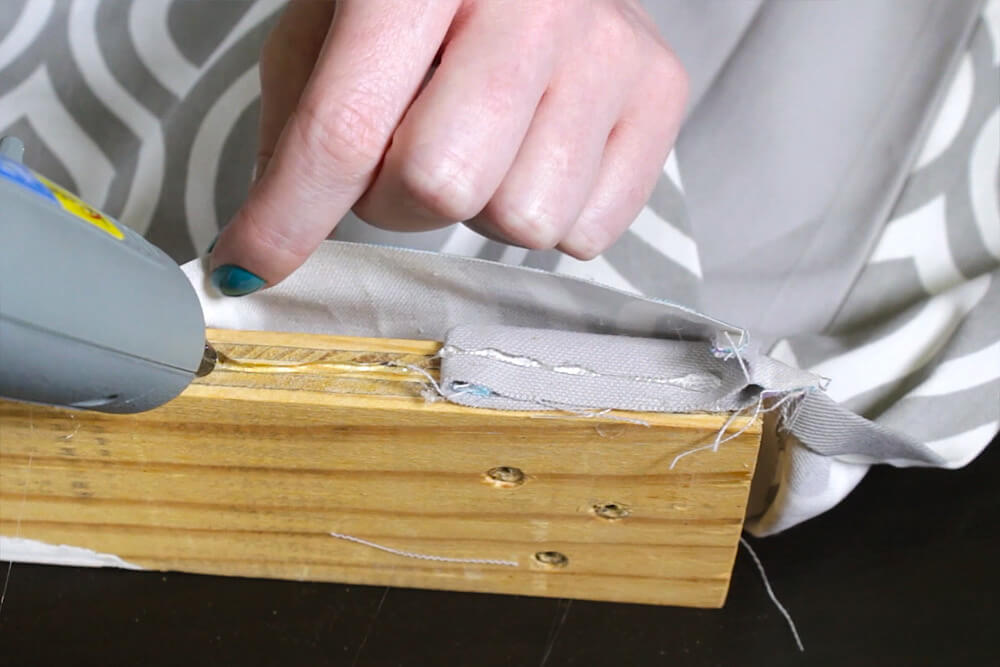
Fold on the pleat so the top is even with the edge and glue.

Finish attaching the fabric to the back of the valance, including all the layers of the pleat. Tack down the back and front corners. Repeat on the other end.
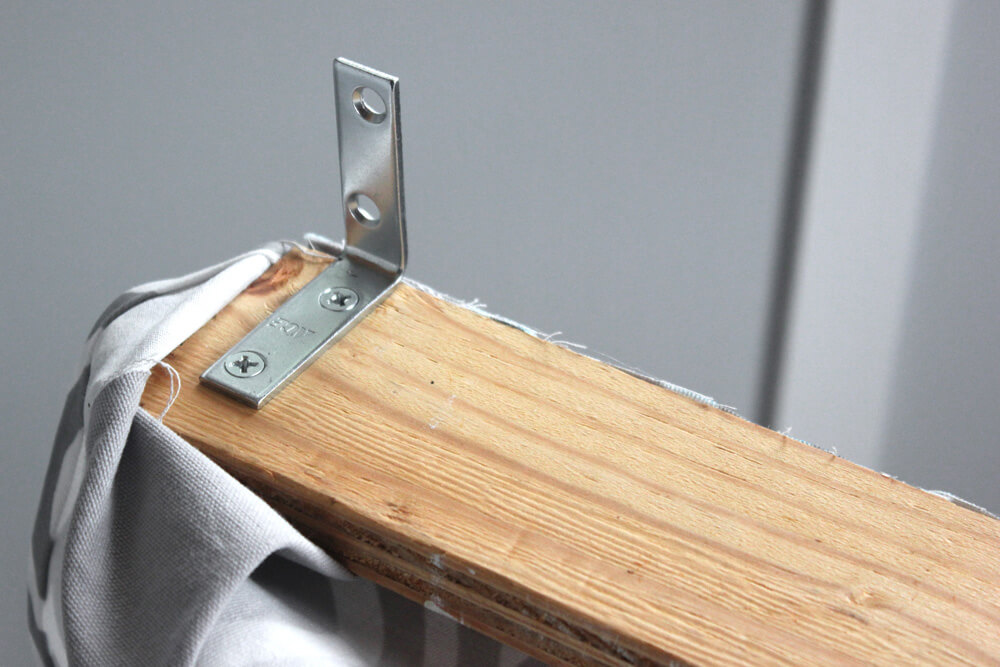
Step 4: Install the valance
Screw the L brackets (also called angle brackets or corner braces) to the bottom of the wood, about ½” from the ends and flush with the back edge of the wood. Then screw the brackets to your window trim or to the wall above your window. If you install it higher than the window, it won’t block much light and will make the window look bigger. The no-sew valance is complete!

Looking for drapery fabric? Find our great selection here.
-
{{#each productSuggestedQueries.results}}
- {{query}} {{/each}}
-
{{#each categories.results}}
- {{html title}} {{/each}}
{{html attributes.description}}
{{/if}}-
{{#each queries.results}}
- {{query}} {{/each}}