
How to Make a Basic Pencil Pouch | DIY Pencil Holders
- By Abby
- Beginner
- 45 minutes
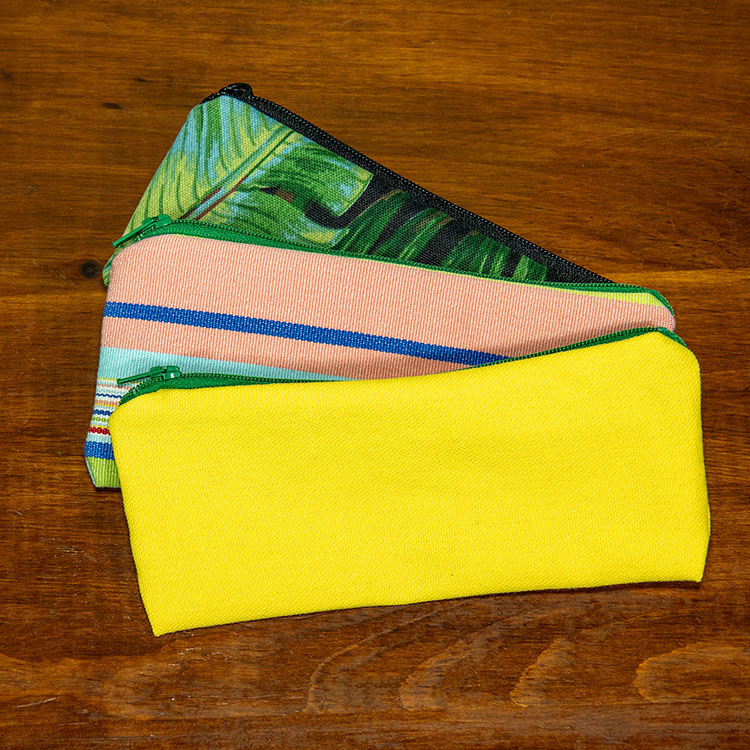
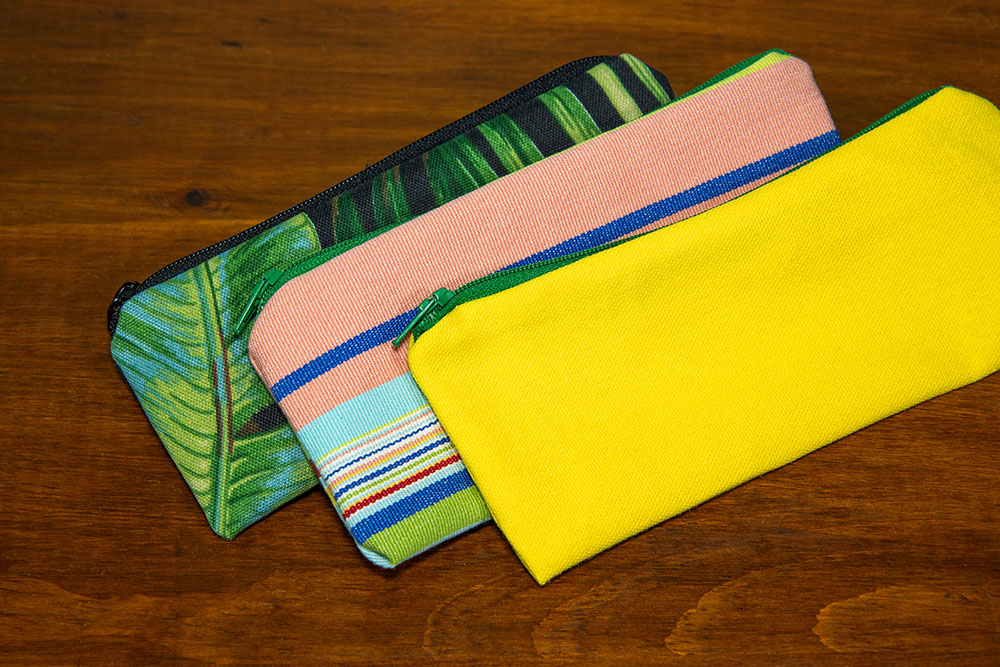
I just learned how to sew, so I thought it would be good to share my first ever sewing project, a pencil pouch! This pouch is easy to make, and can be customized with different sizes and materials. Great for handmade gifts!
Materials
Related Products


Video
Instructions
How to Make a Pencil Pouch
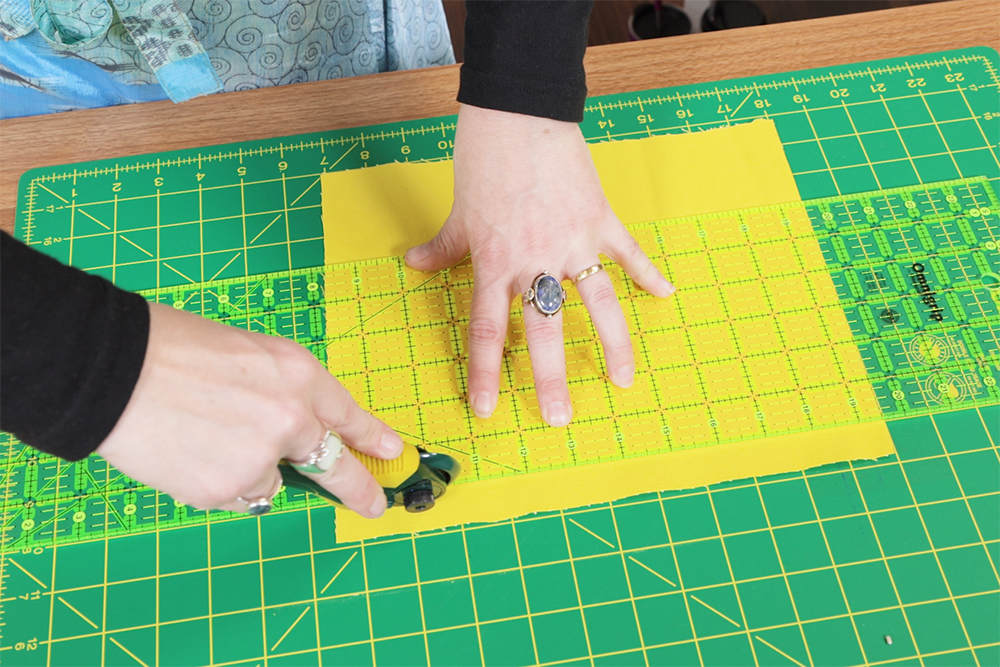
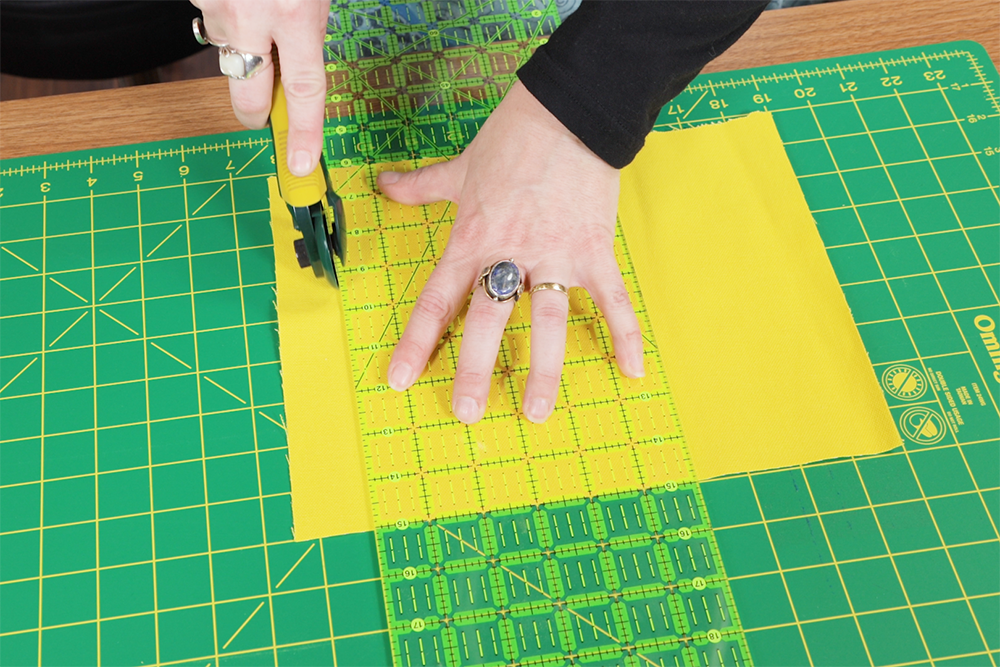
Start by cutting a piece of fabric 7 inches long by the width of your zipper. My zipper is 8 inches including the tape so mine is 7 by 8 inches.
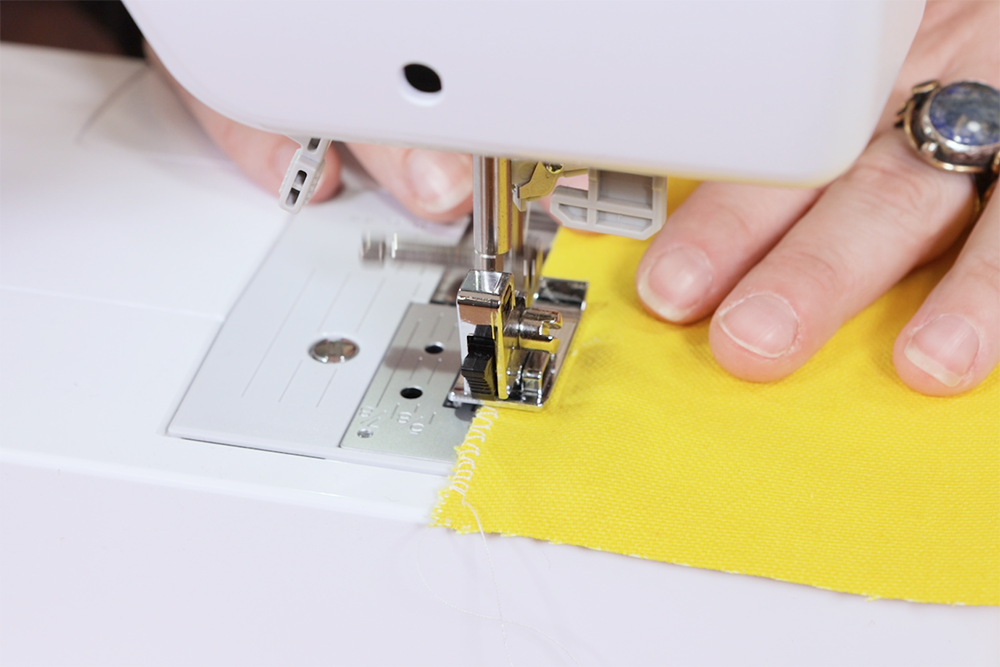
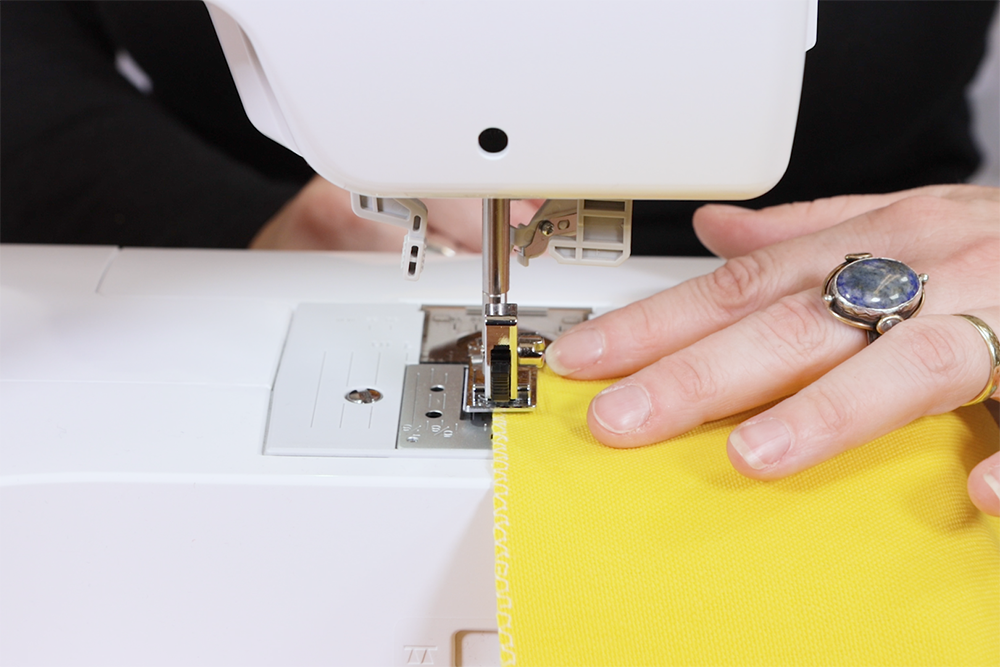
Next you’ll want to secure your fabric by using an overlock stitch or a zigzag stitch at the edges.
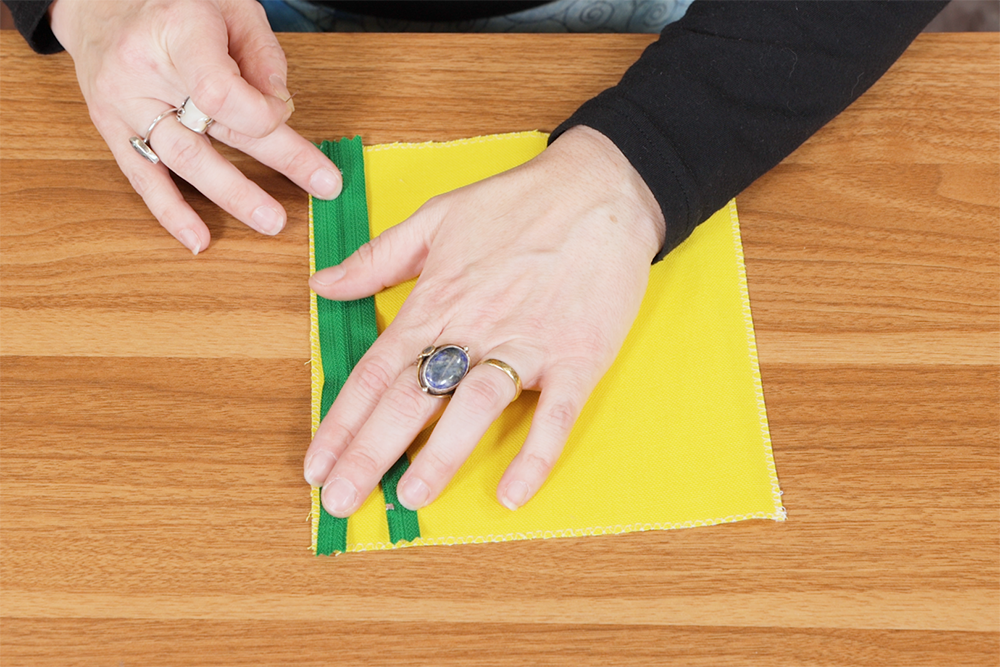
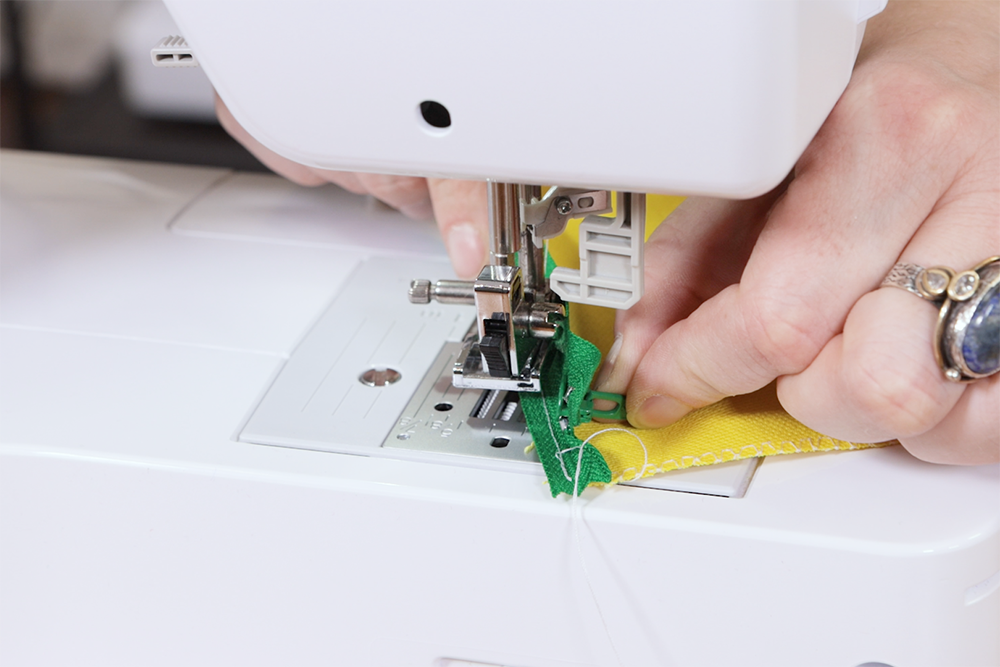
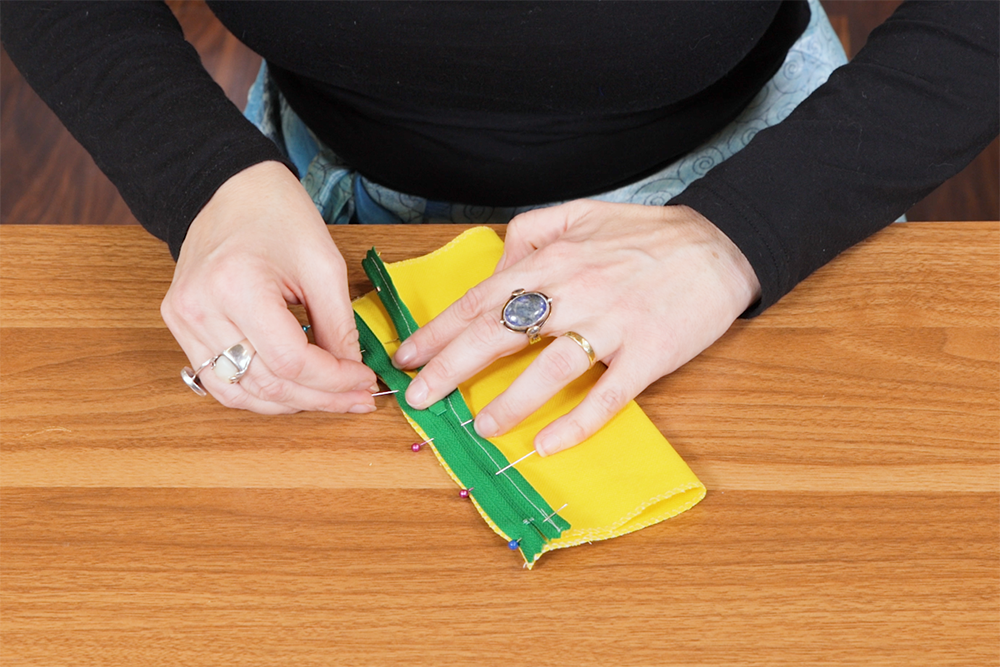
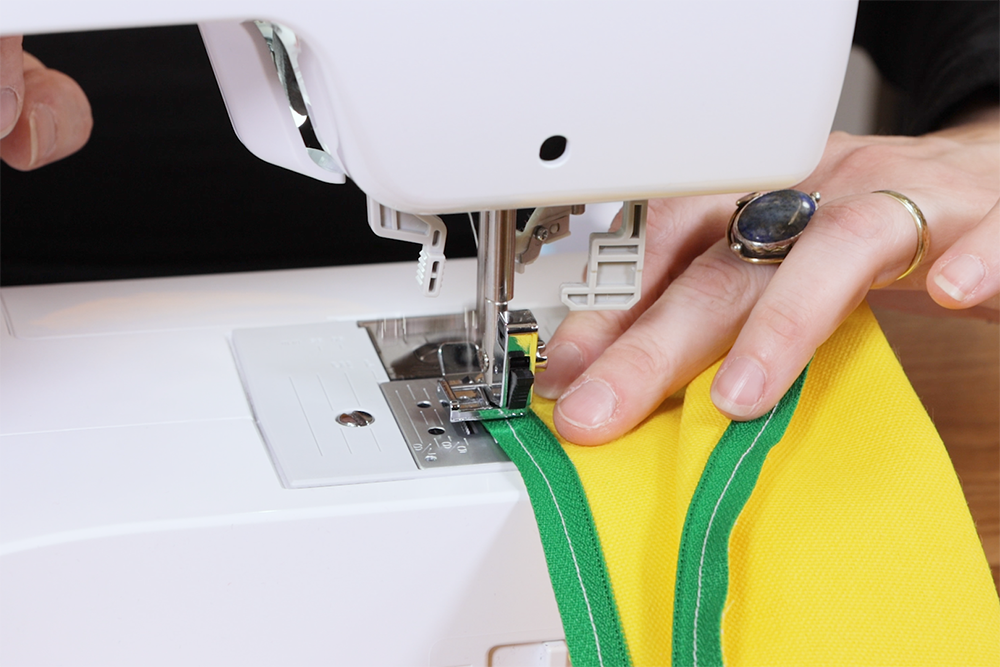
Pin the zipper face side down to the face of the fabric. This dyed canvas is reversible, but you’ll want to make sure that you have the right sides facing each other. Leave the zipper open a little.
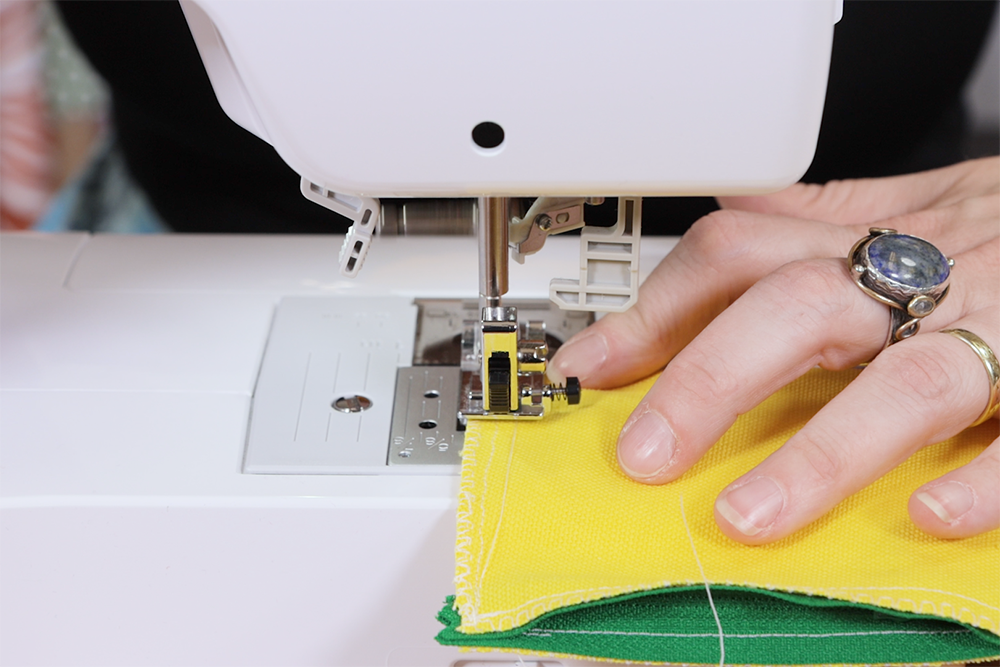
Make sure to use a zipper foot here
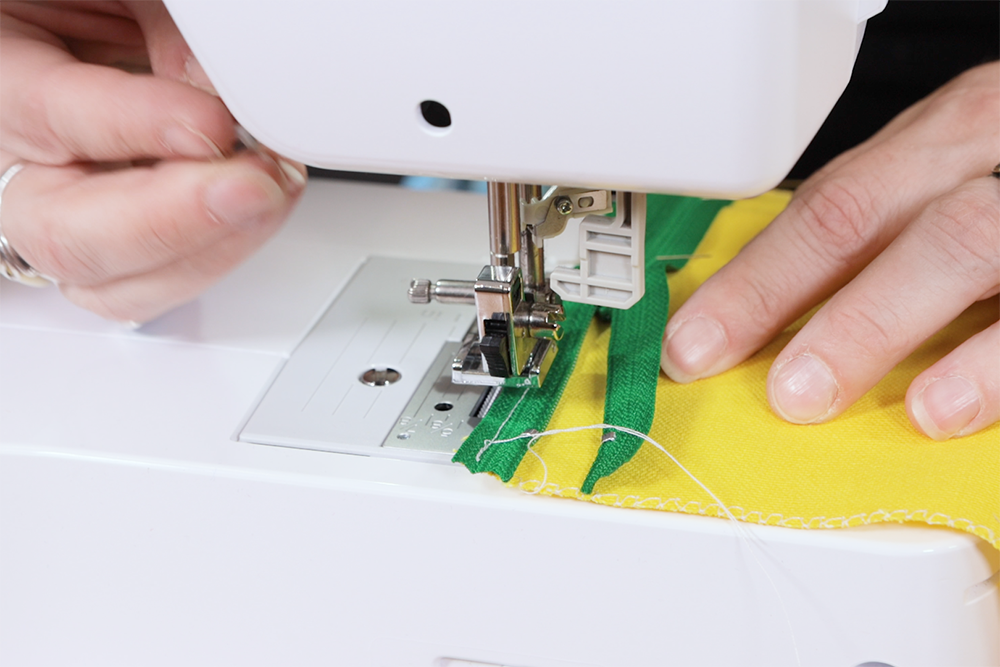
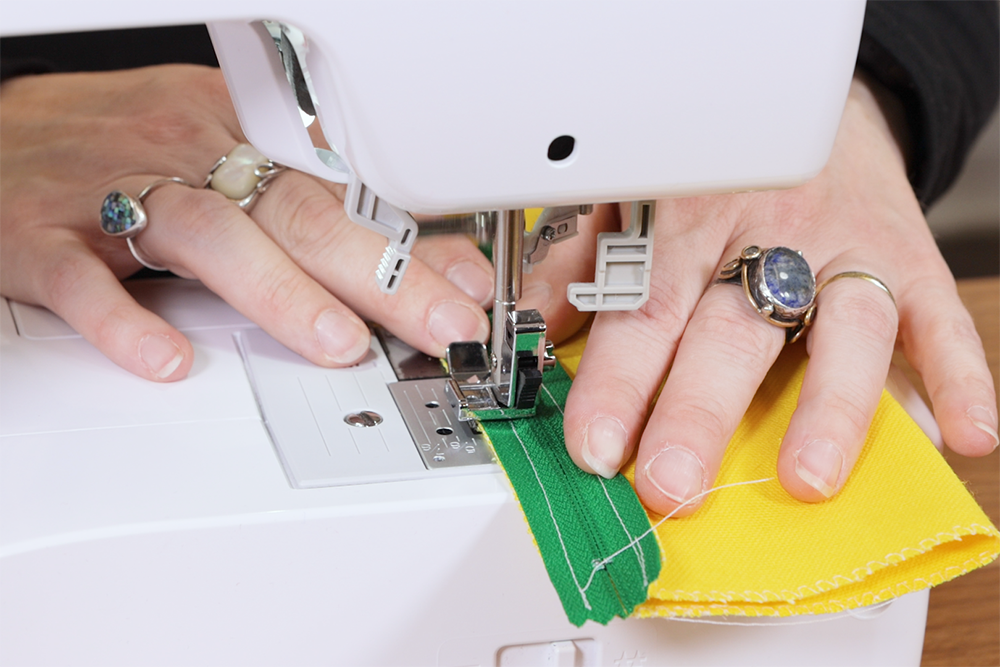
Start sewing at the top of the zipper using a back stitch to secure your stitches.
When you get to the zipper head, leave the needle in the fabric and lift the presser foot. Work the zipper past the needle, put the presser foot back down, and continue sewing.
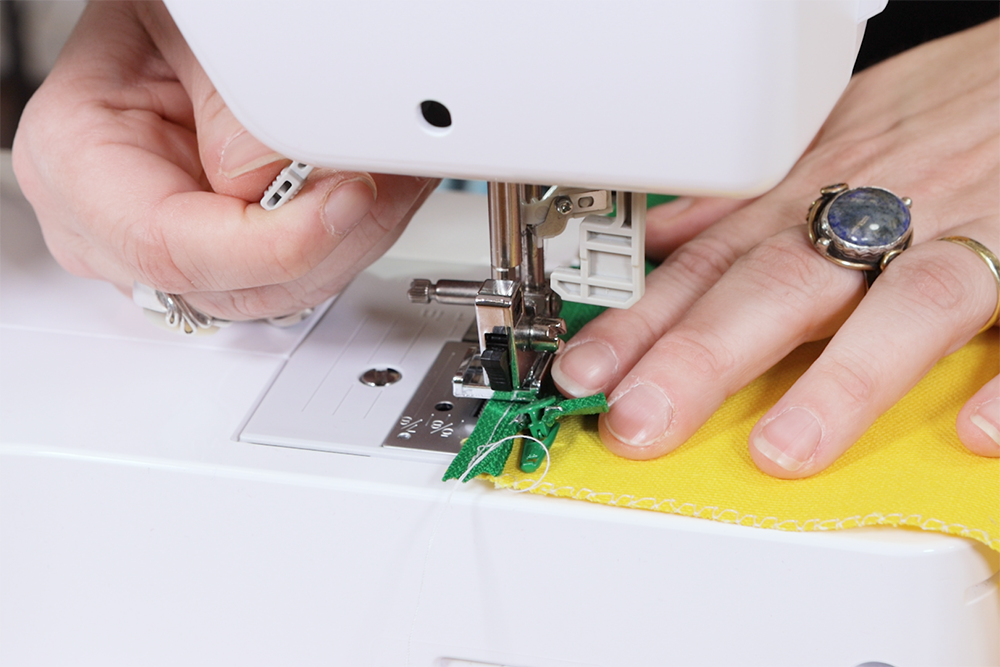
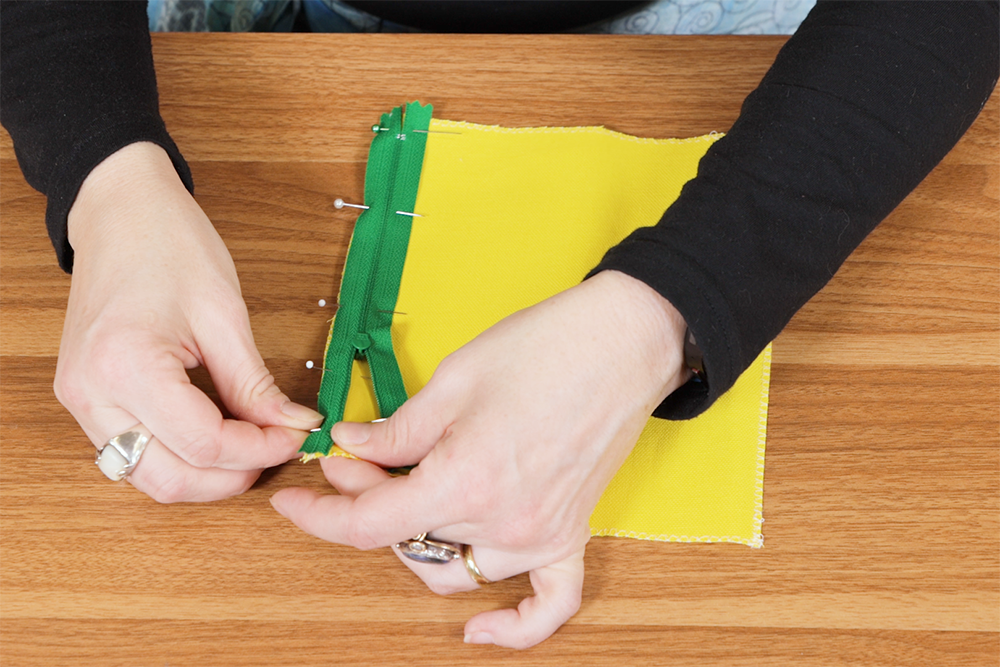
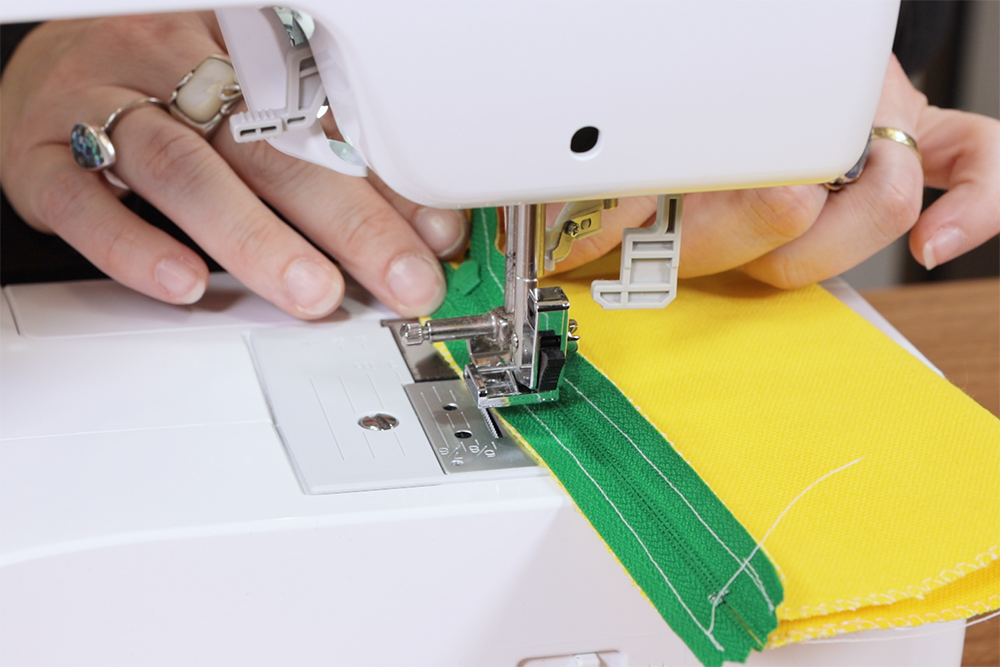
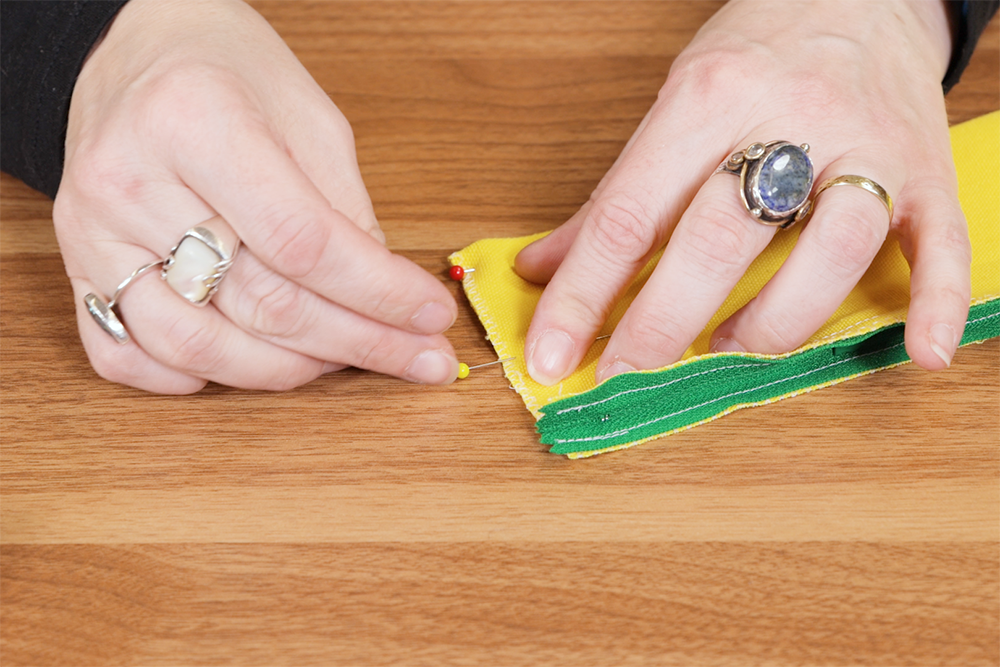
Next, pin the other side of the zipper to the other side of the fabric with right sides facing.
Sew like before, making sure to lift the foot and move the zipper when you get to it. Don’t forget to back stitch at the beginning and end.
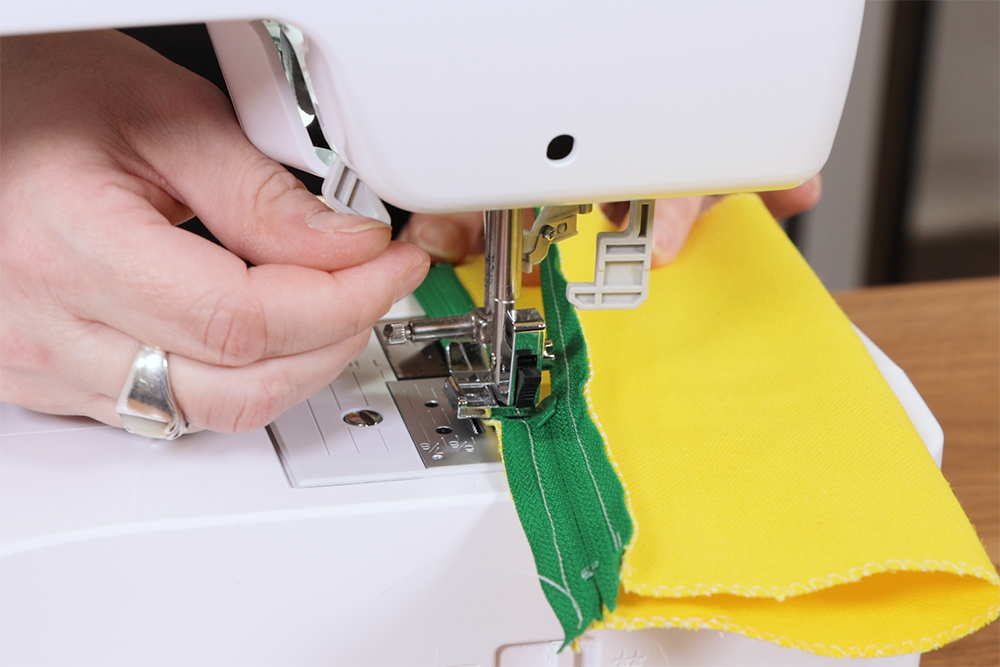
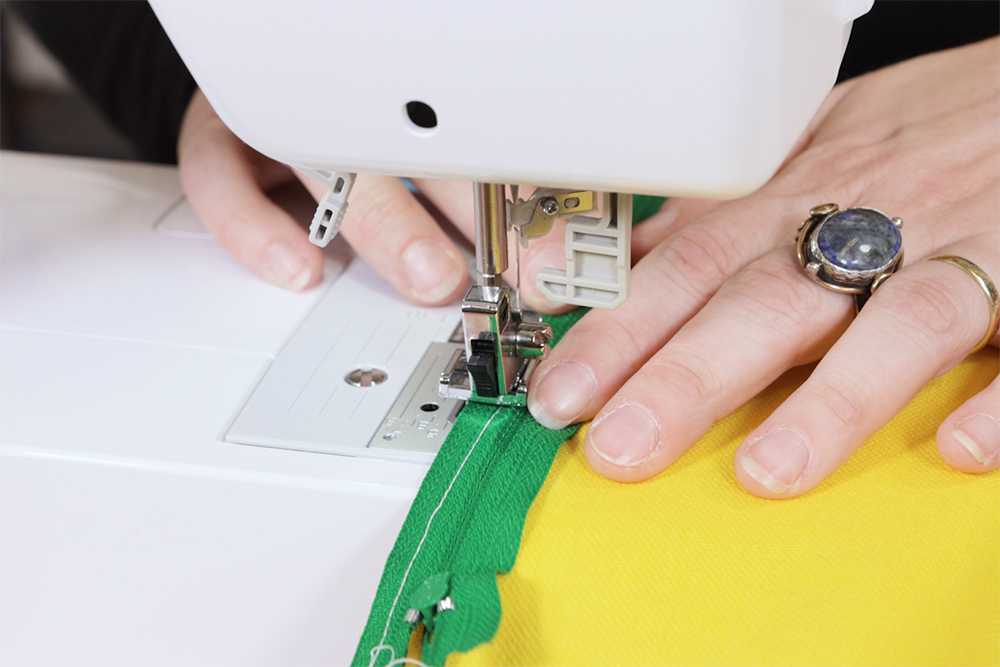
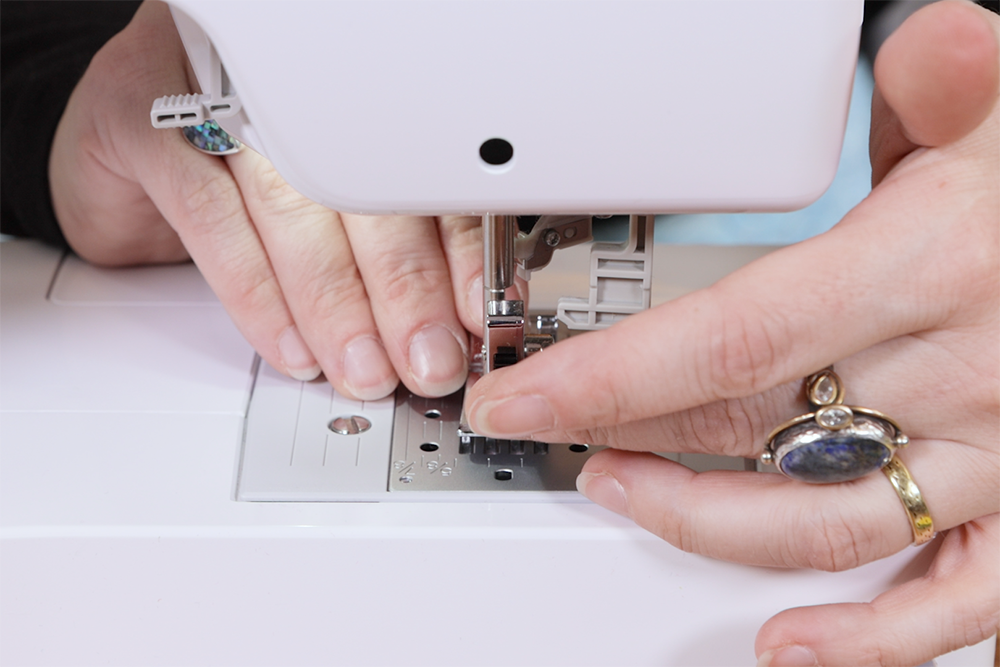
Switch to a regular presser foot for the sides
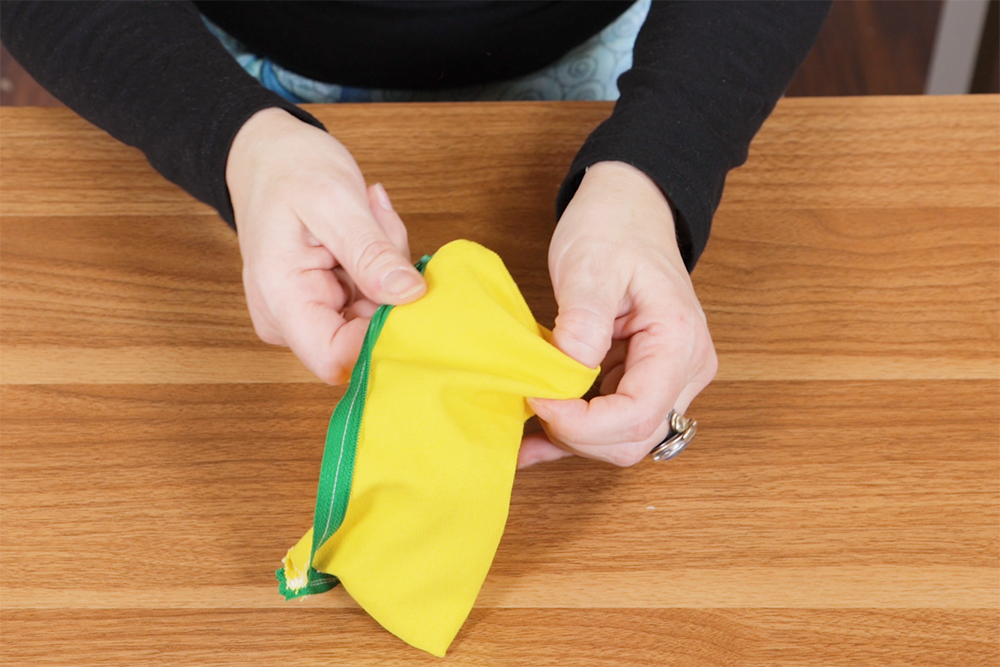
Pin (if you’d like) and sew both sides of the pouch. The zipper should be part way open so it can be turned right side out afterwards.
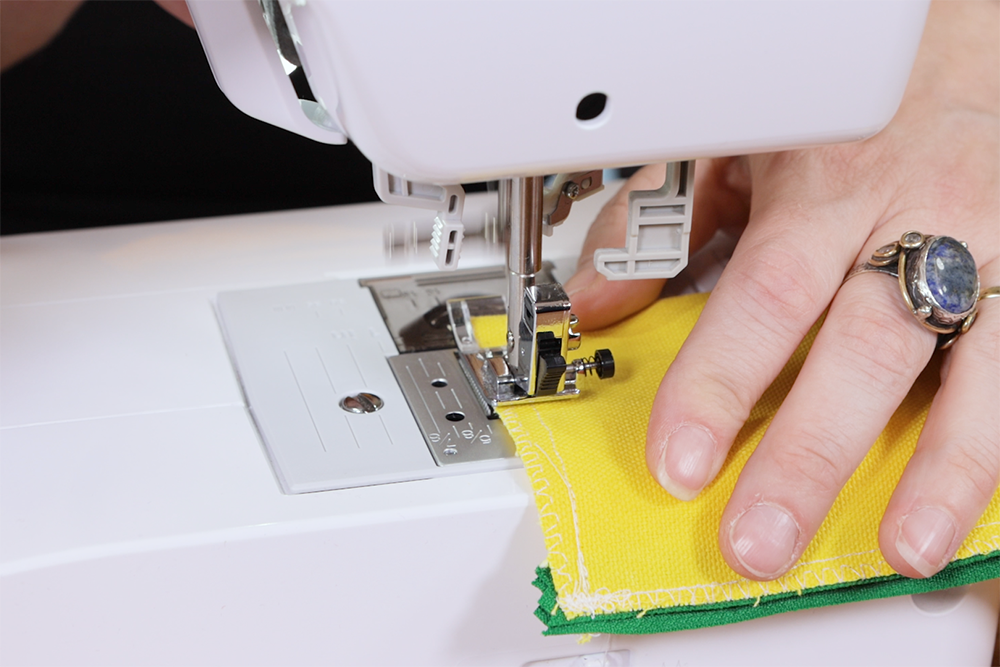
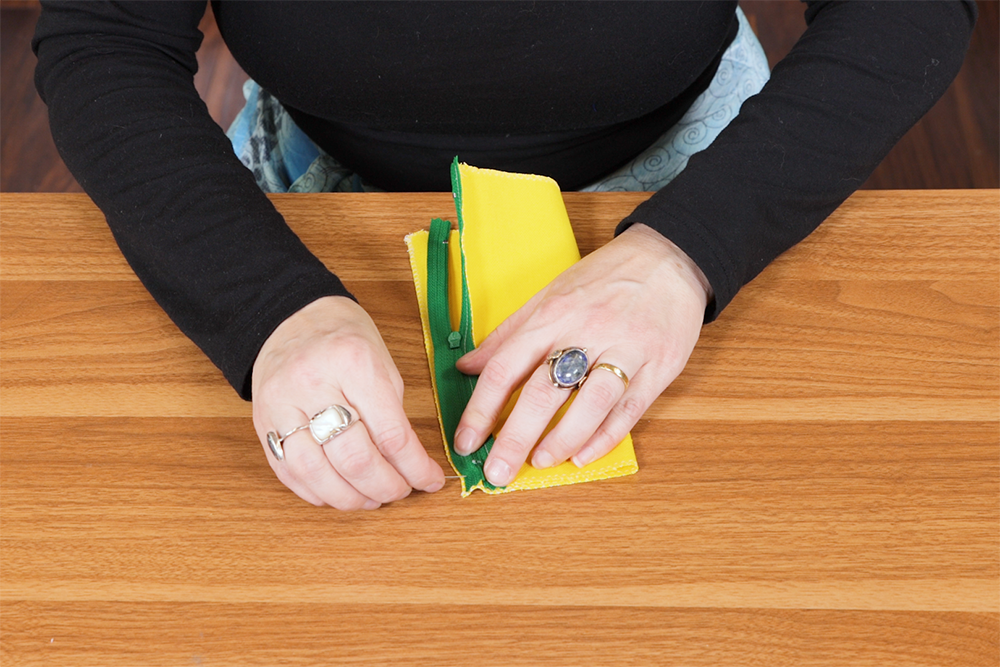
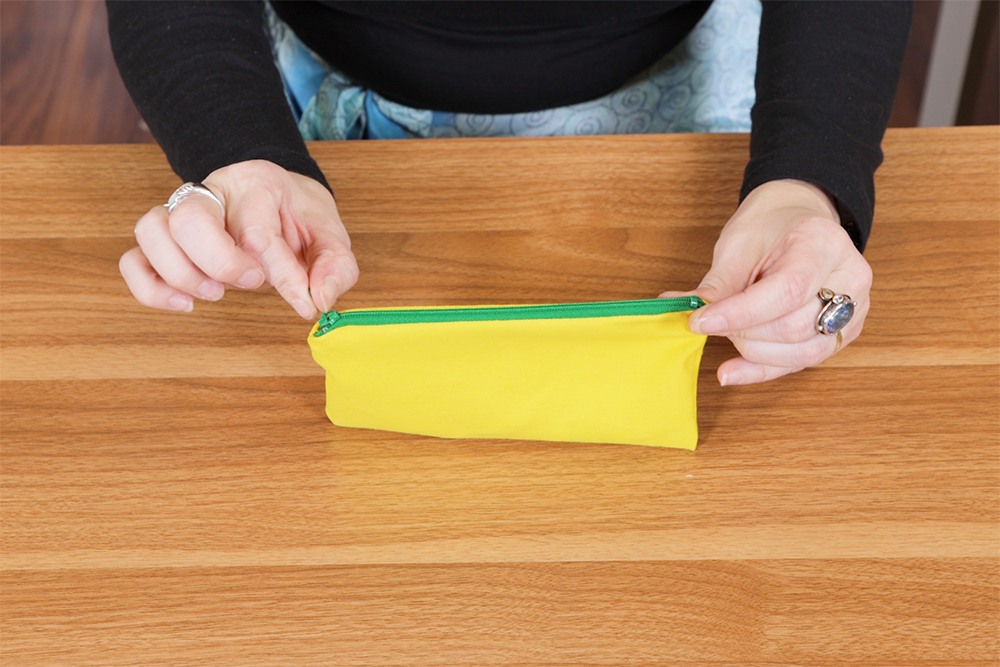
Turn the pouch right side out and poke out the corners.
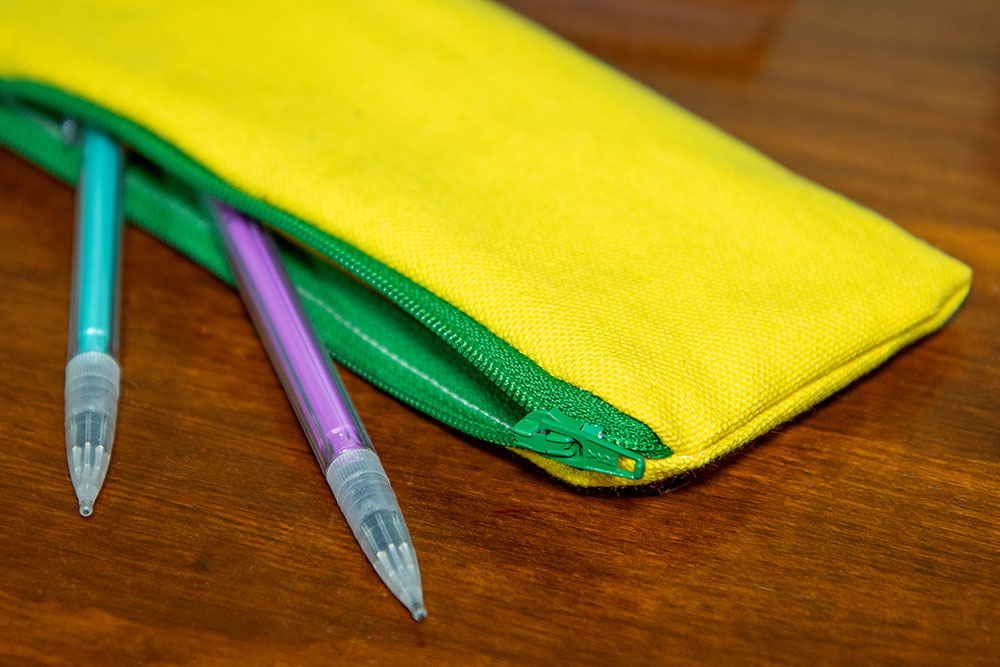
All done!
Need Some Dyed Canvas? Shop Now!
-
{{#each productSuggestedQueries.results}}
- {{query}} {{/each}}
-
{{#each categories.results}}
- {{html title}} {{/each}}
{{html attributes.description}}
{{/if}}-
{{#each queries.results}}
- {{query}} {{/each}}