
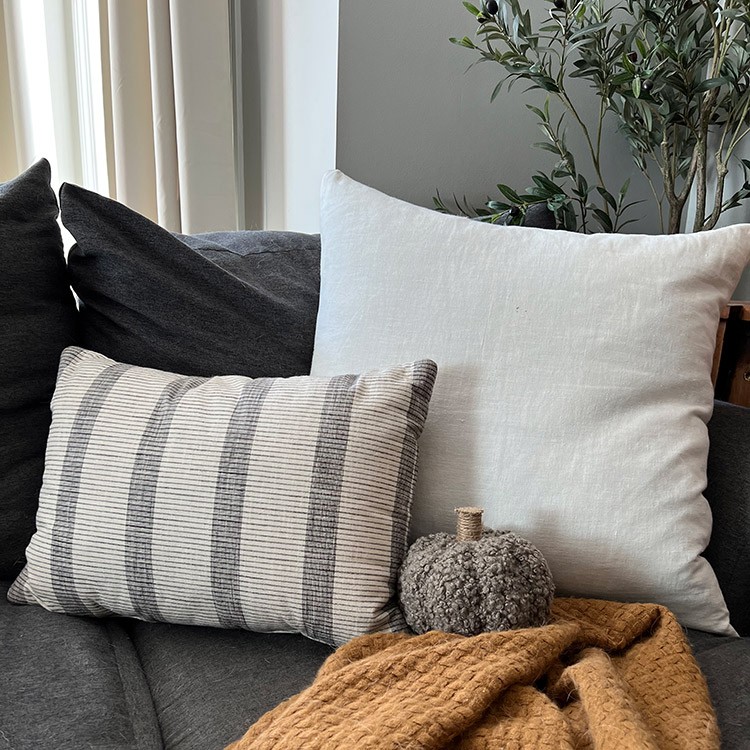
How to Make a Pumpkin Throw Pillow
- By Mikayla
- Beginner
Looking for an easy fall décor DIY project that is beginner friendly AND doesn’t require a sewing machine? Look no further! In this tutorial we will be making a pumpkin throw pillow. Perfect for the couch, bedroom, or even the kitchen table – there are no rules!
Personally, I think you can never have too many fall decorations. Especially living up here in New England. After you get this one down, make a few more in various colors, sizes, or fabrics and pair them together for a fabulous fall look.
You can download our PDF directions by signing up to our mailing list.
Let’s get started!
Materials
- Fabric
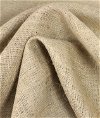
- Burlap
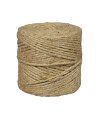
- Twine
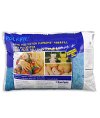
- Stuffing
- Bonded Nylon Thread
- Hand Needle
- Scissors
- Empty Toilet Paper Roll
- Hot Glue Gun
Related Products

Video
<iframe title="How to Make a Pumpkin Throw Pillow" width="500" height="281" src="https://www.youtube.com/embed/wNrsu2X6pI0?feature=oembed" frameborder="0" allow="accelerometer; autoplay; clipboard-write; encrypted-media; gyroscope; picture-in-picture; web-share" allowfullscreen></iframe>Instructions
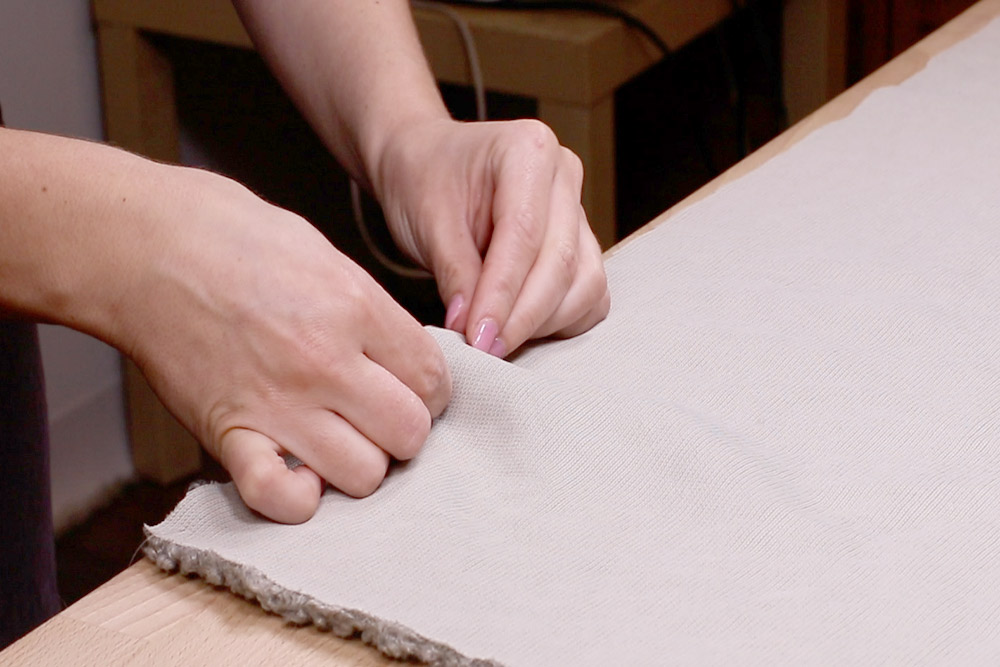
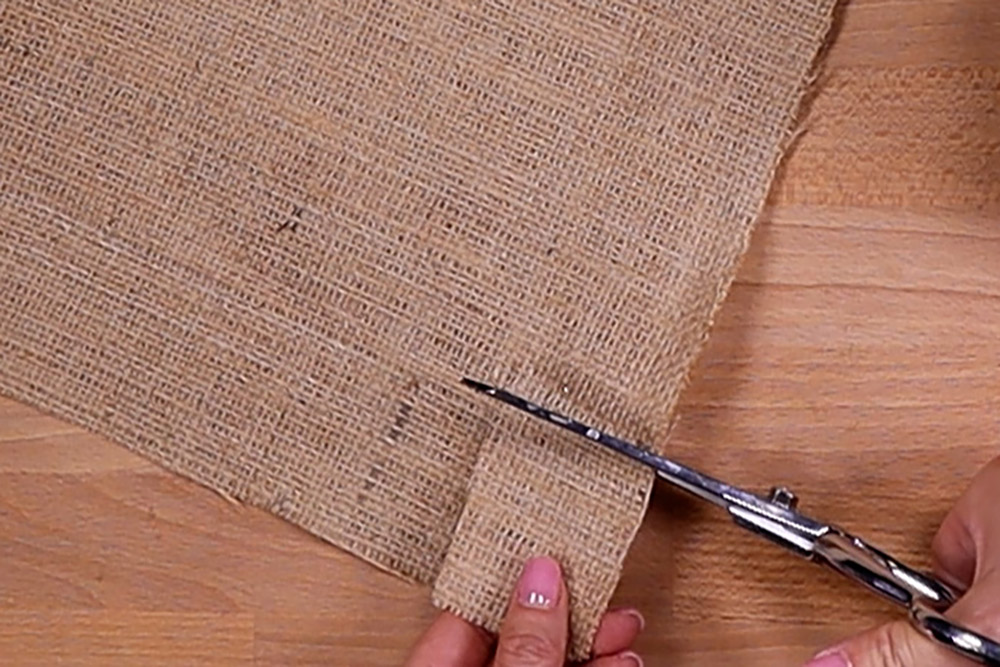
Step 1: Cut & sew the body
Cut your fabric into a rectangle shape in a size that works for you. Our piece of fabric was 18″ x 12″ and the finished dimensions were approximately 6″ x 7 1/2″.
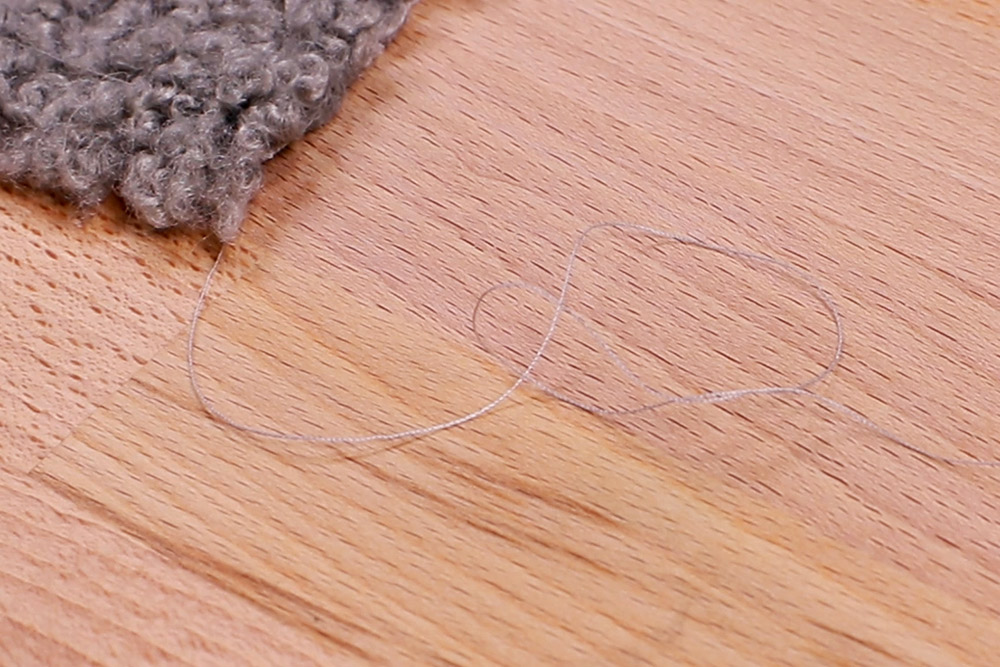
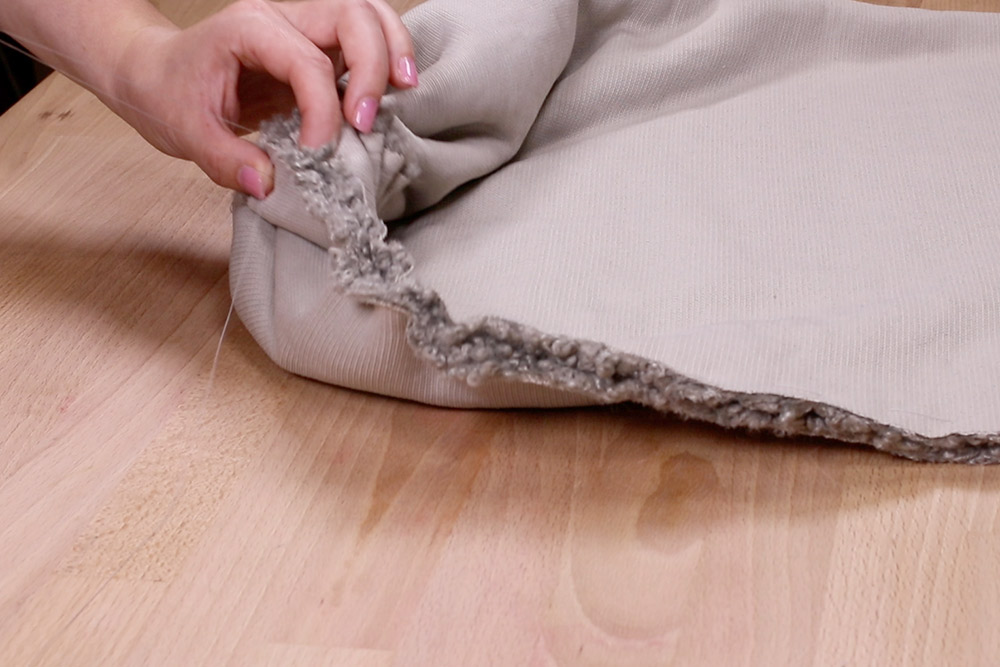
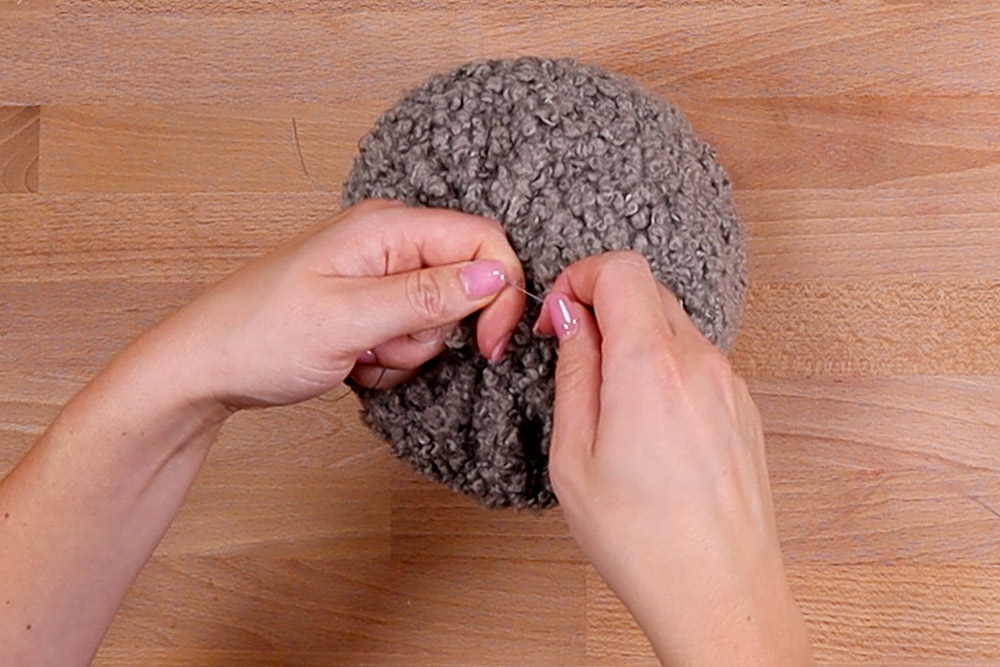
Using a hand needle, add a running stitch to the top and bottom of the longer sides of your piece of fabric. We used a tapestry needle due to the thickness of the fabric we chose.
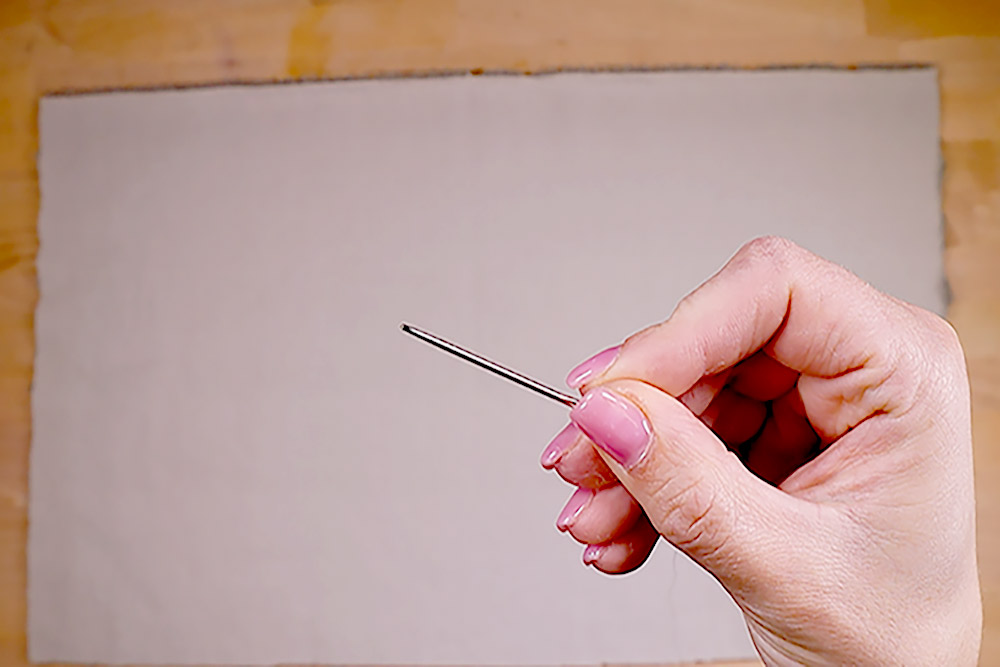
Make sure to leave a tail of thread at each end. They will be used to tie your pumpkin closed in another step.
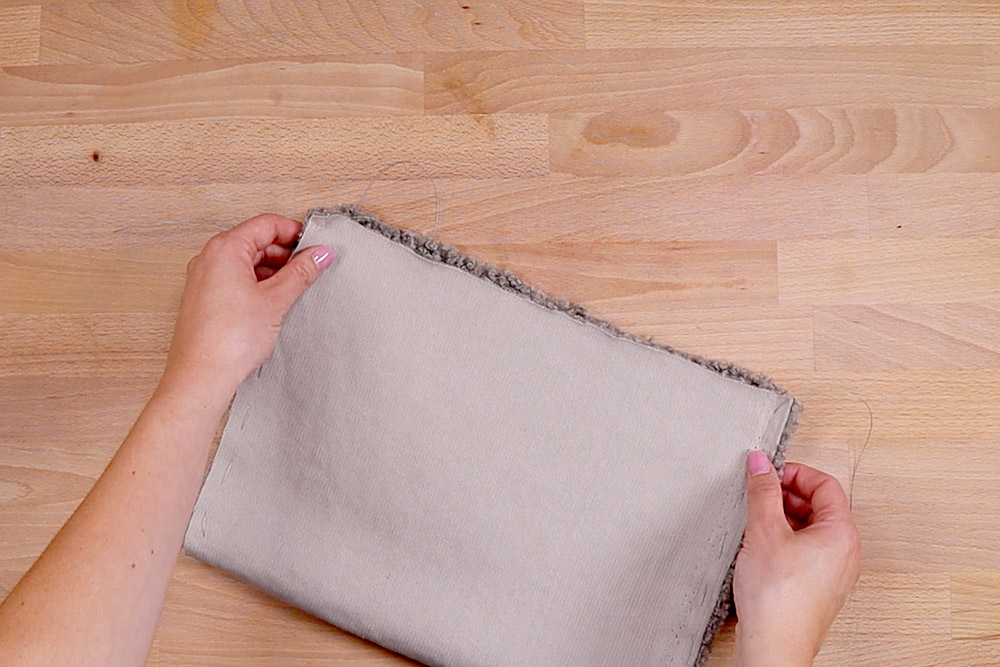
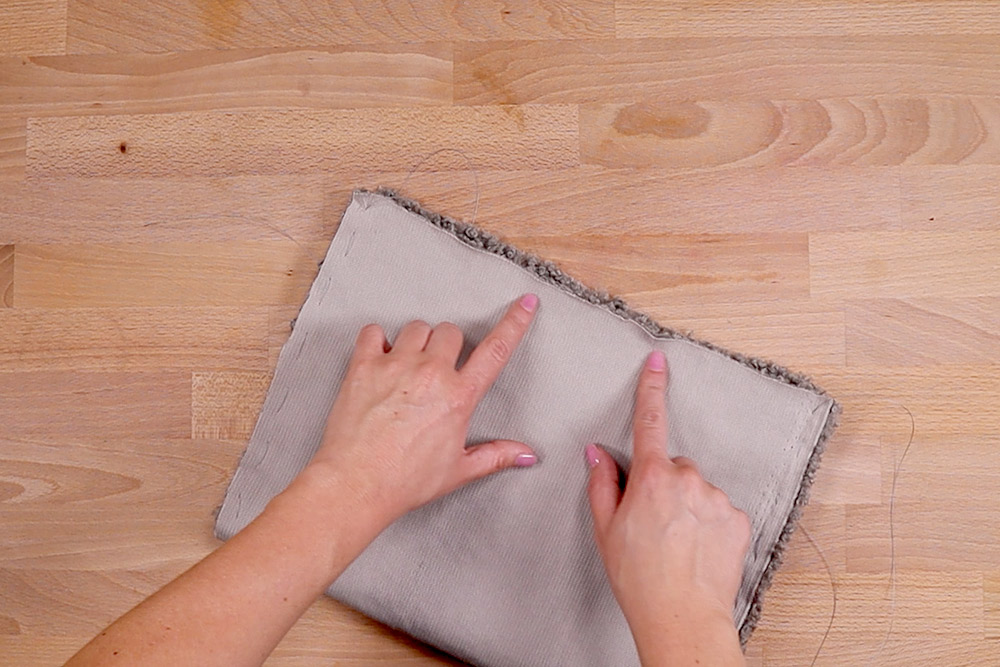
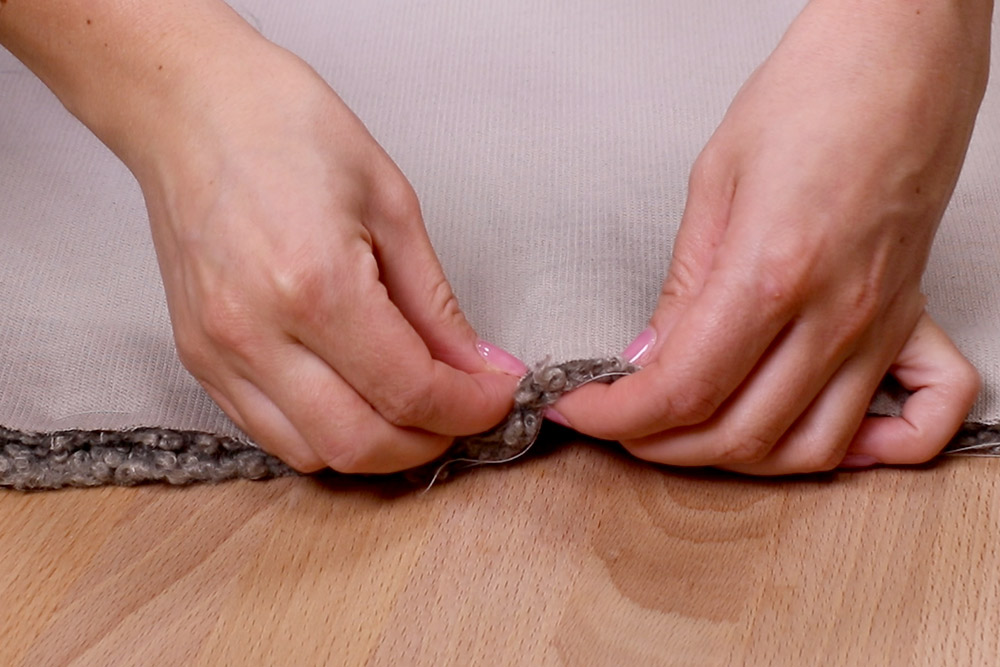
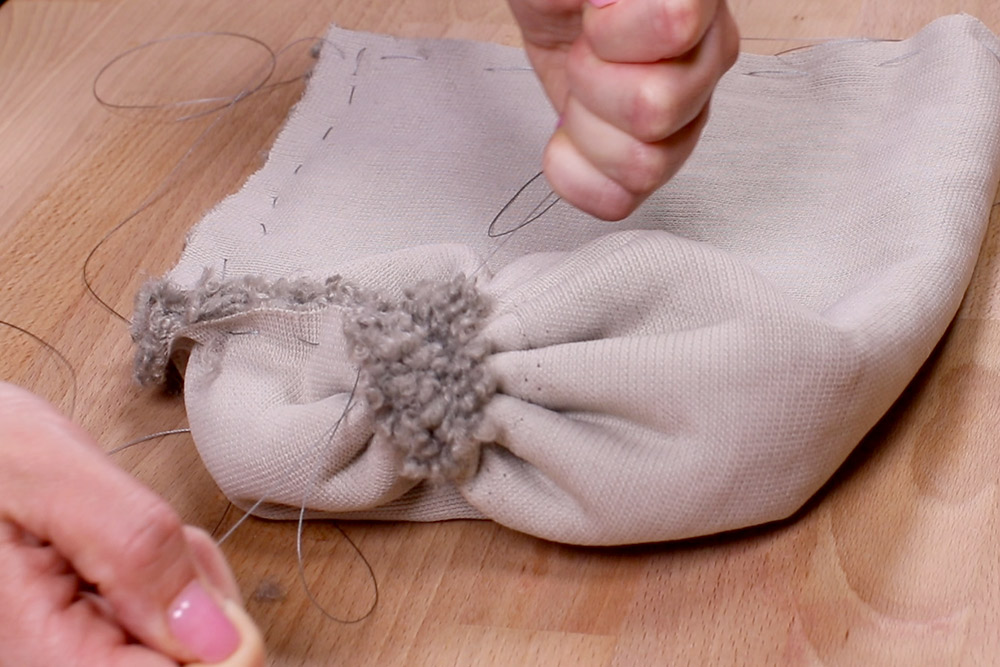
With the fuzzy side in, fold your fabric in half and sew along the longer side. Grab one of the tails you’ve just sewn and pull tight. Then tie it shut.
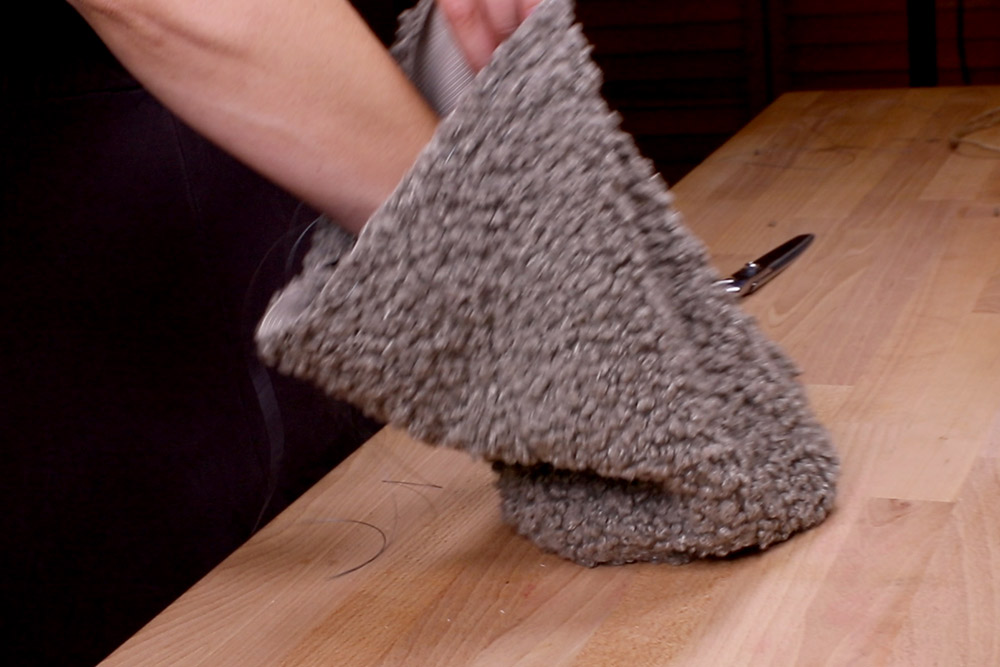
Step 2: Stuff & tie the pumpkin
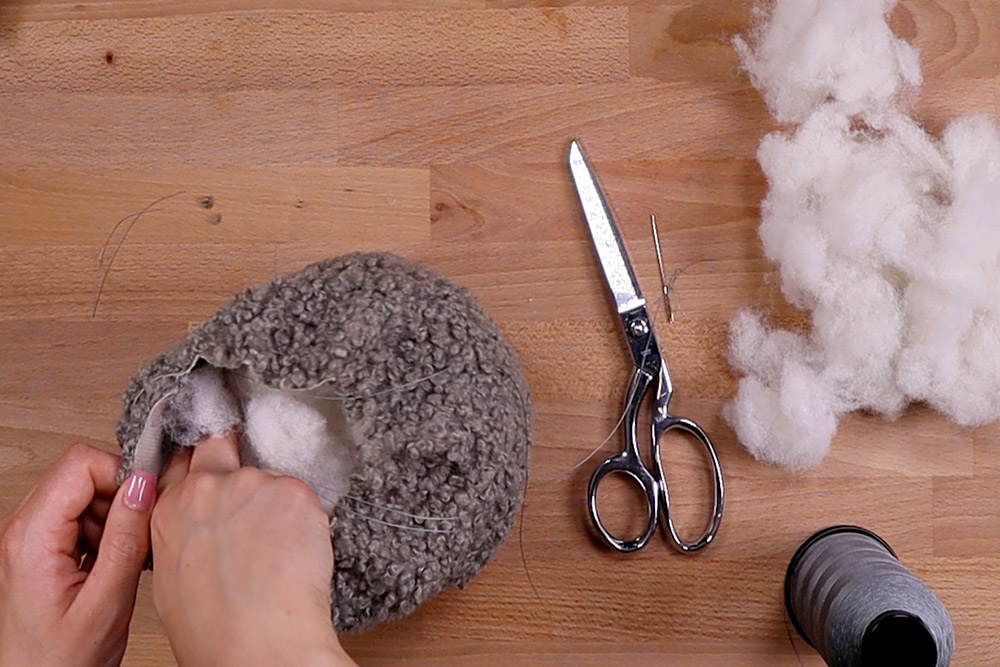
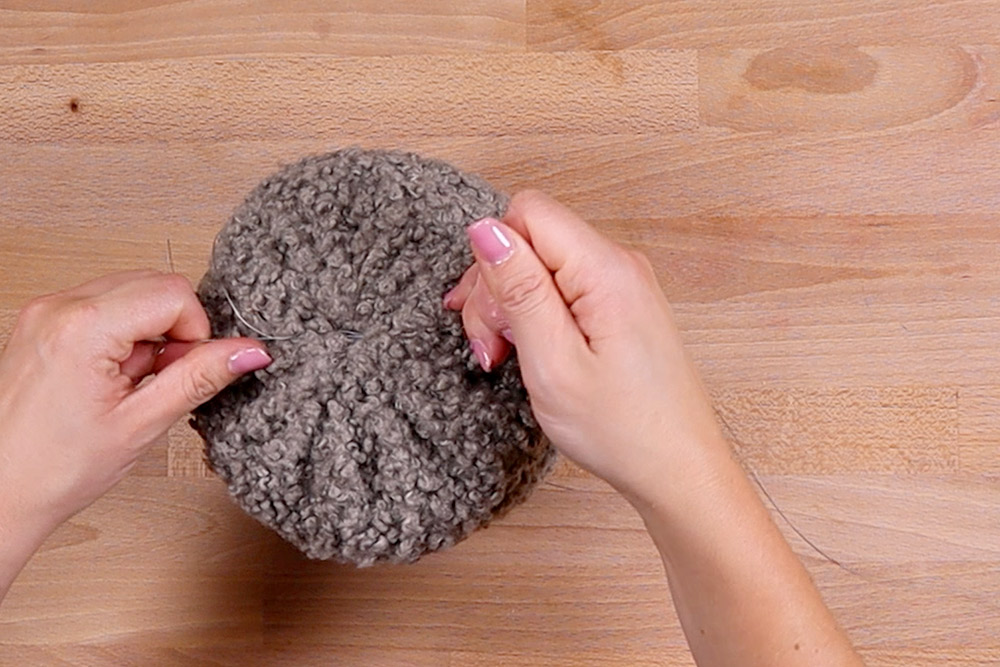
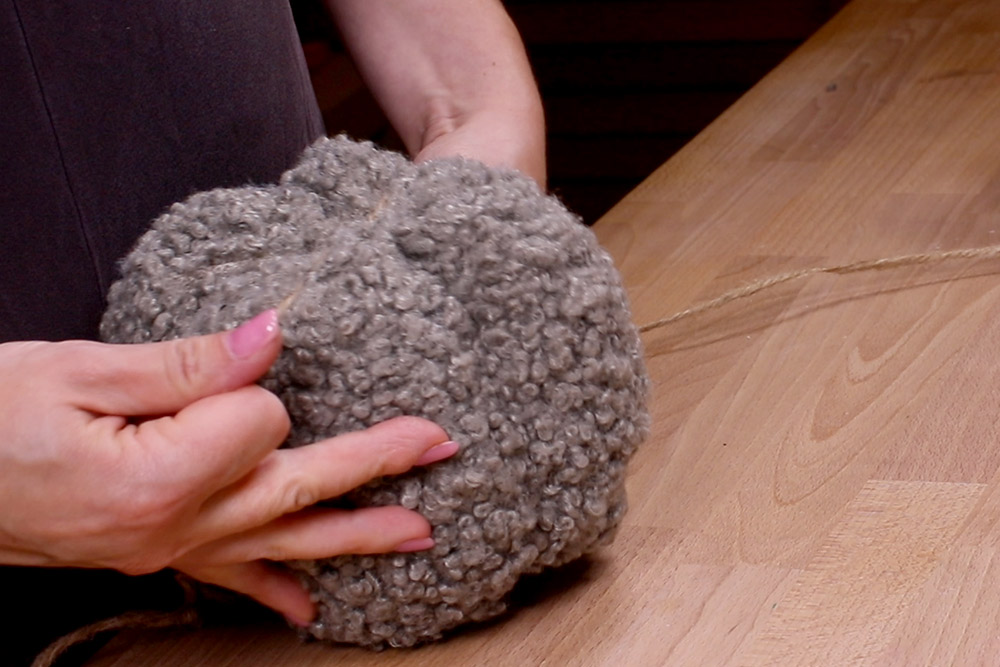
Flip it over and get stuffing! We used polyester fiber fill for ours. Tip: to maintain a more rounded shape, stuff around the edges first.
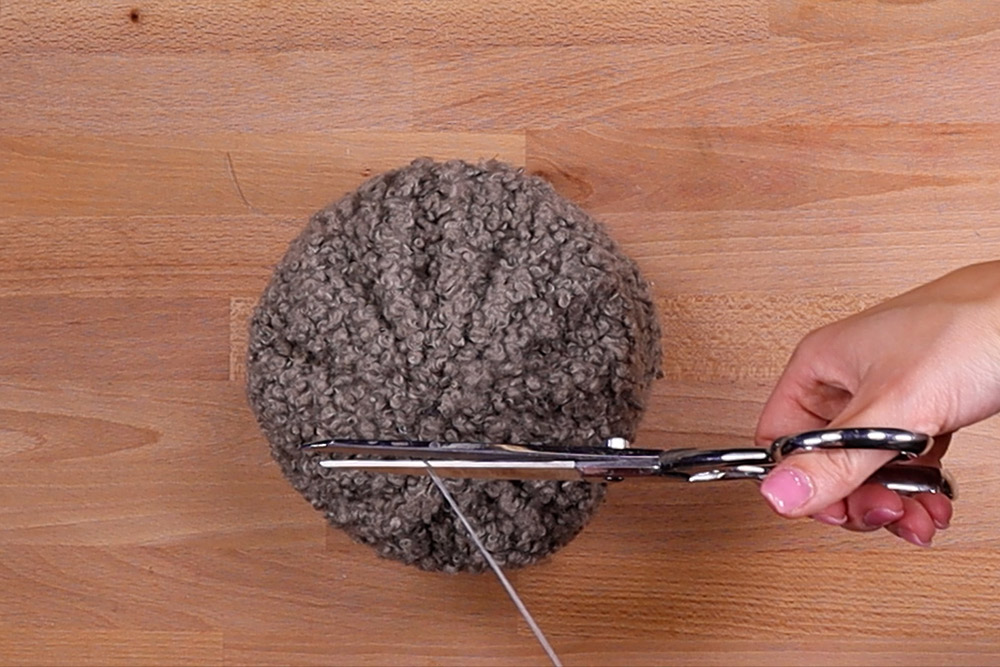
After you are satisfied with the look and feel of your pumpkin, tightly tie the thread tails at the top. Then cut the excess thread.
Step 3: Shape the pumpkin
Now lets create the ribs of your pumpkin.
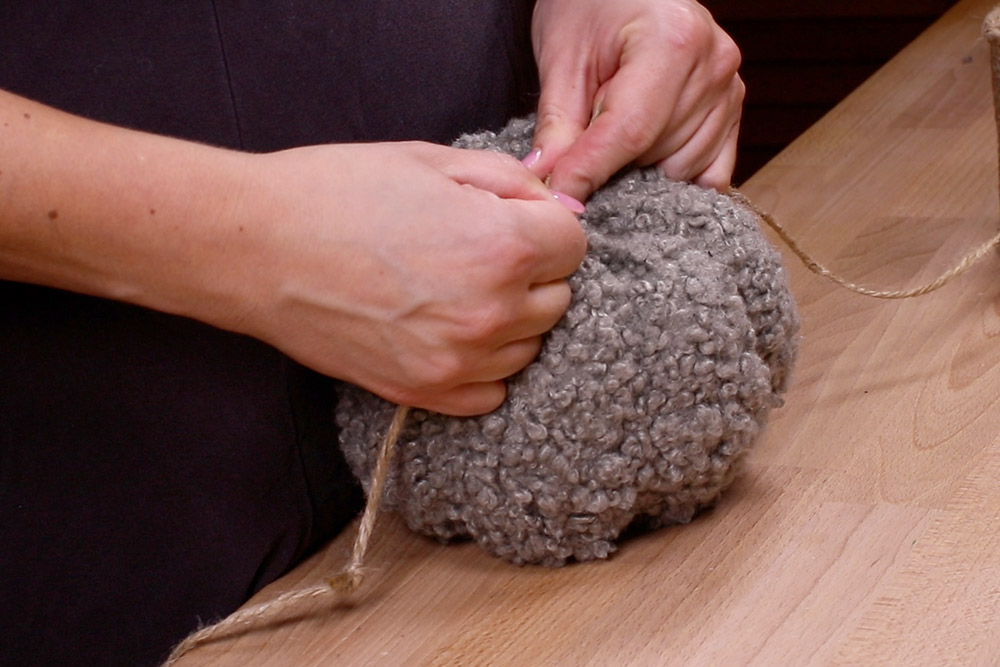
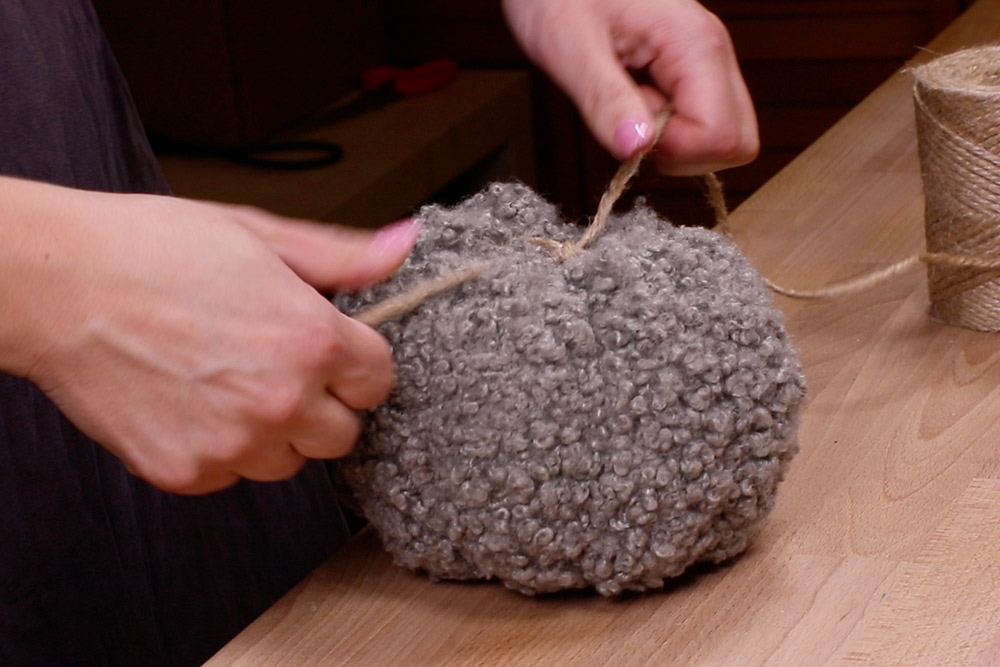
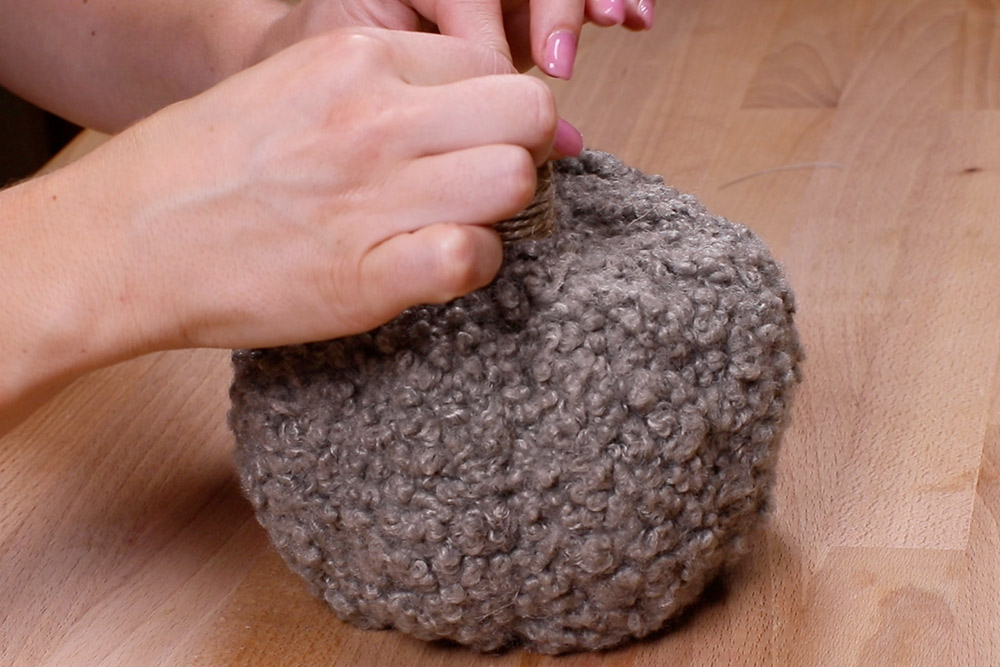
Using twine, grab both ends and center them under your pillow. Begin wrapping the twine around your pumpkin lengthwise. Continue with this step until you are satisfied with your pumpkin’s shape.
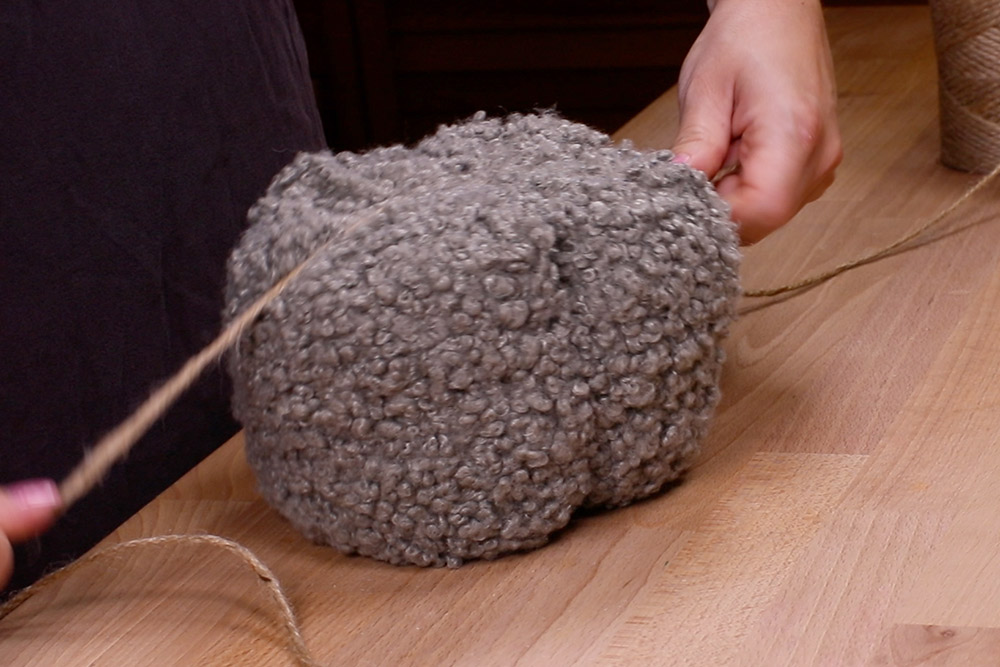
Now tightly tie the twine at the top of the pumpkin.
Step 4: Make the stem
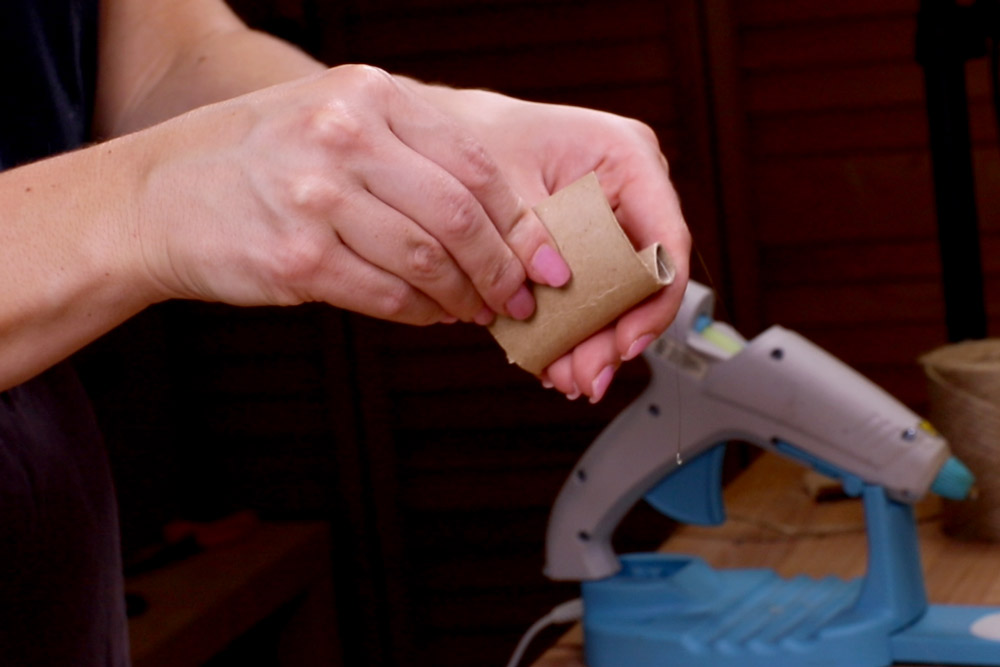
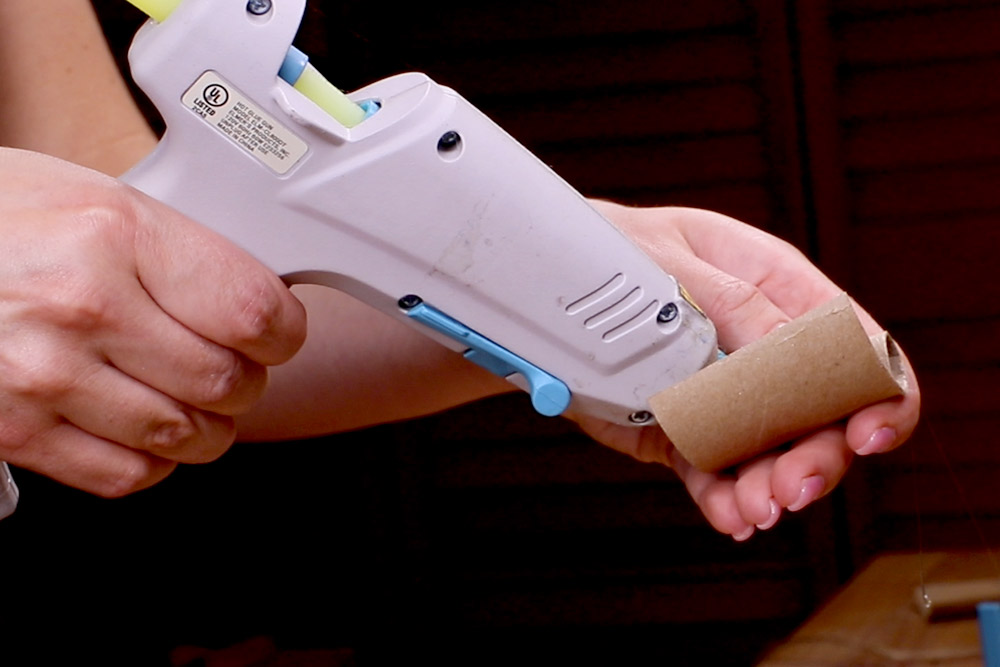
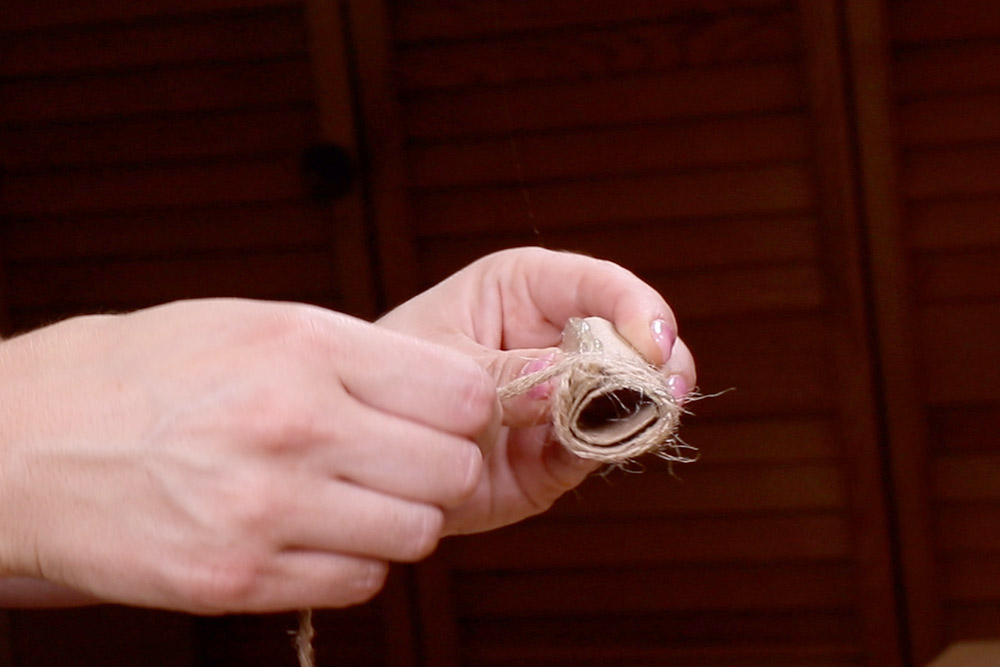
Cut the empty toilet paper roll to the desired height you would like your stem to be. Once you have a good height, make a cut lengthwise up one side of the roll.
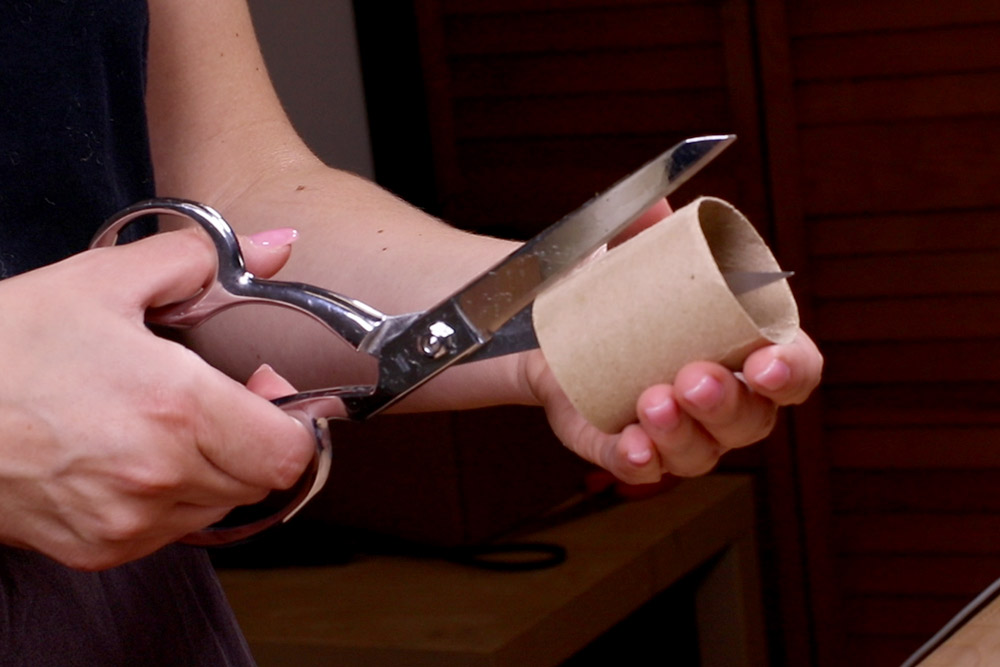
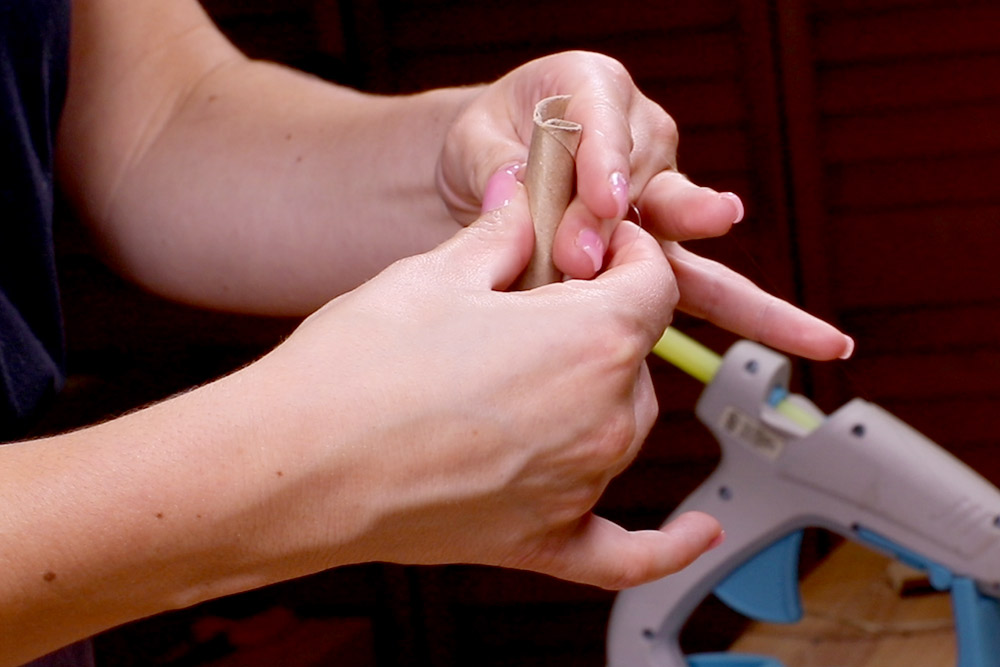
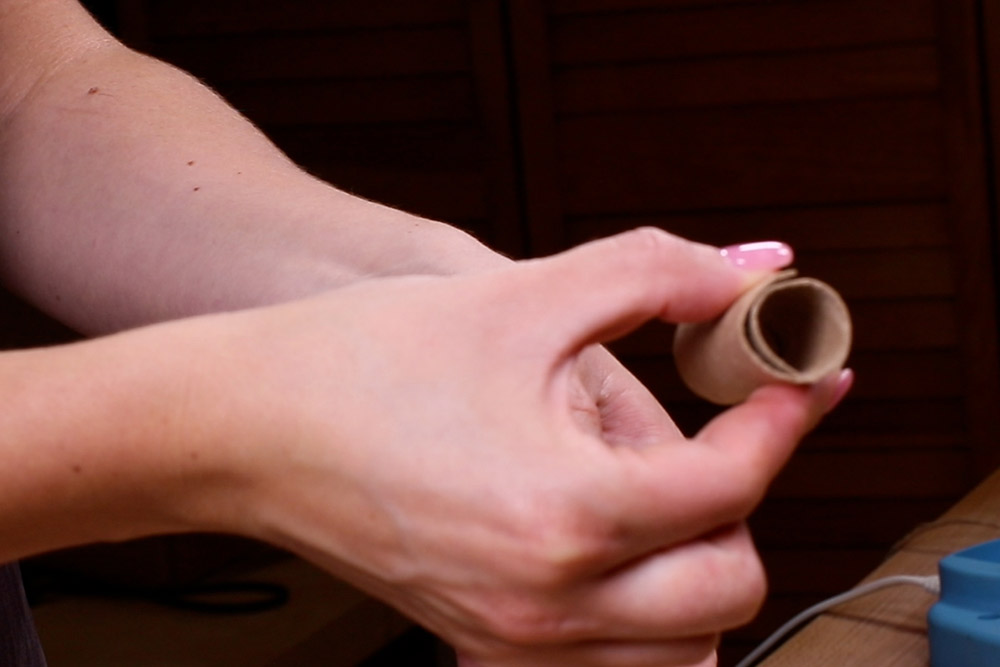
Curl one end of the toilet paper roll inwards to make a tighter cylinder shape, adding glue as needed to secure it in place. The opening at the top of the roll should be about half of an inch wide. You will use this as your pumpkin stem.
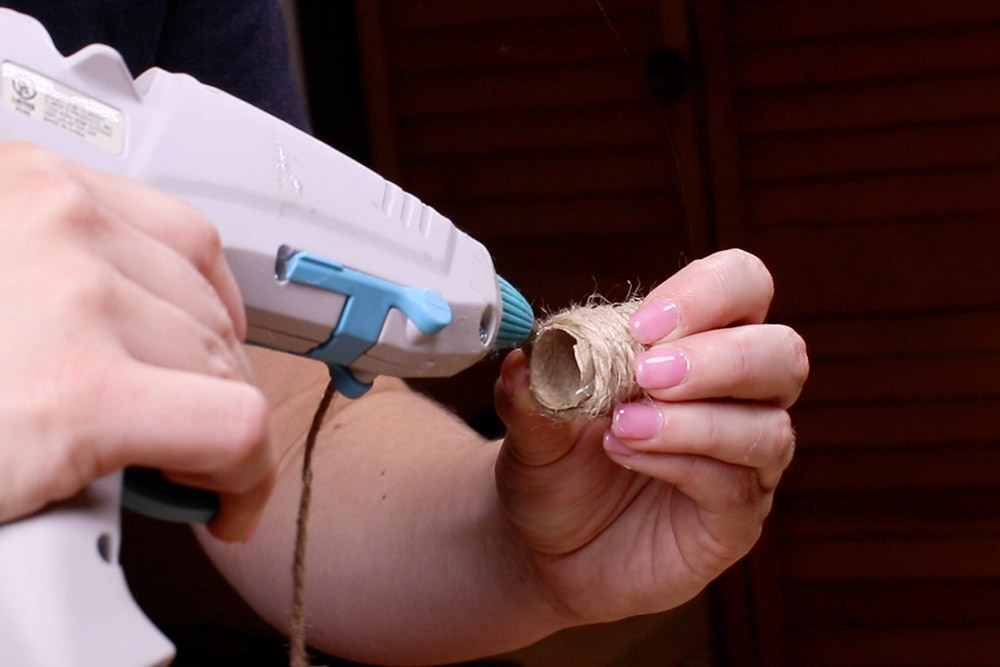
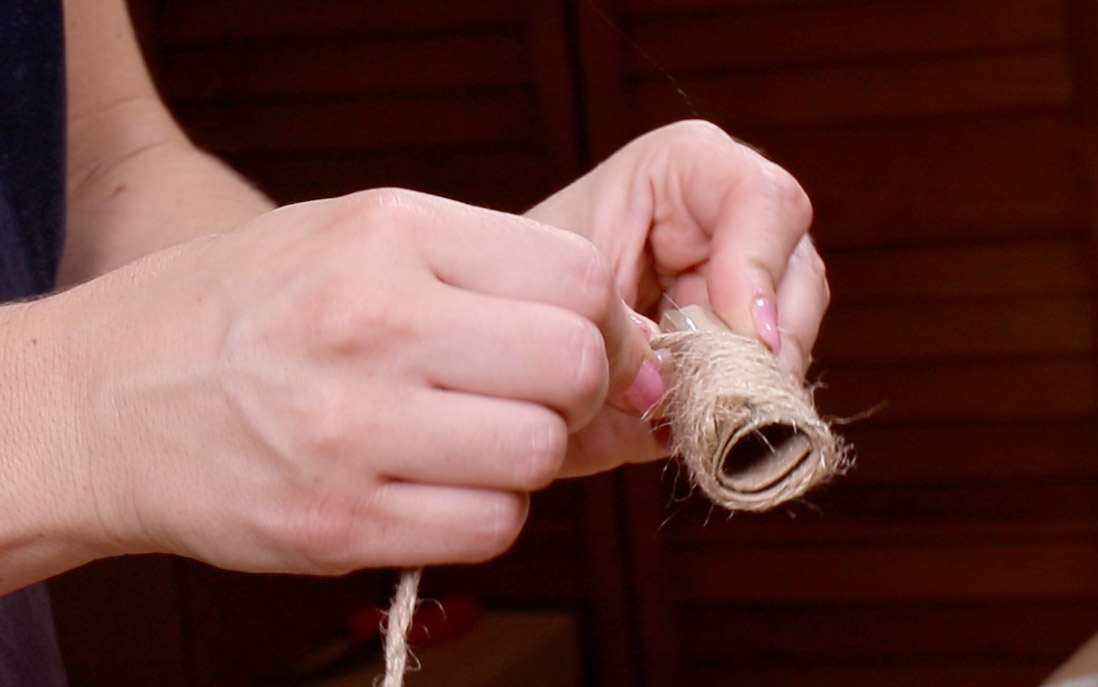
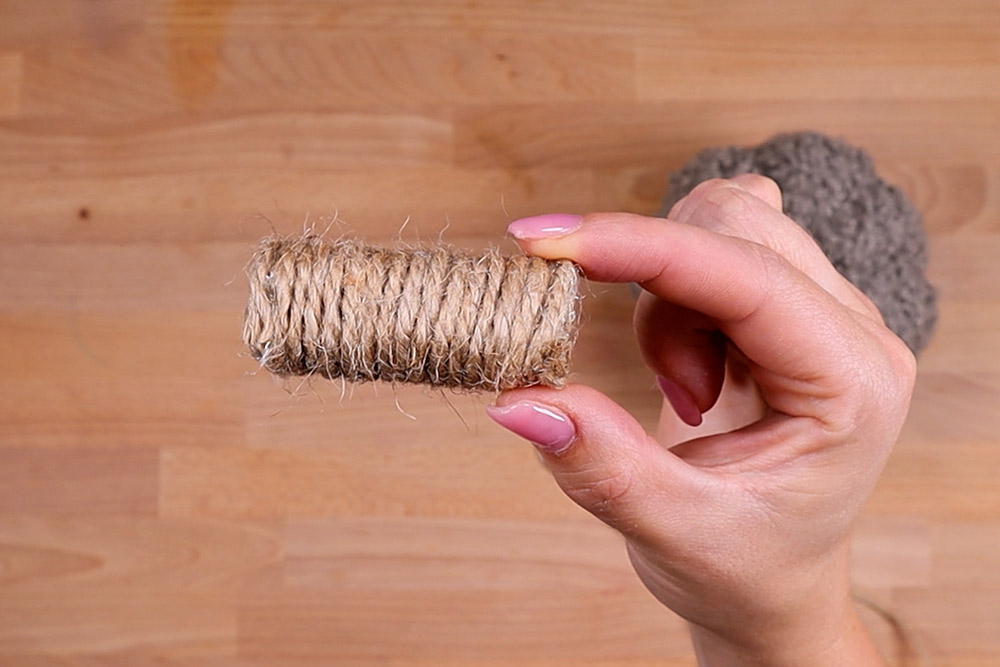
Create a line of glue along the toilet paper roll then wrap twine around it until it is fully covered. Add more glue as needed.
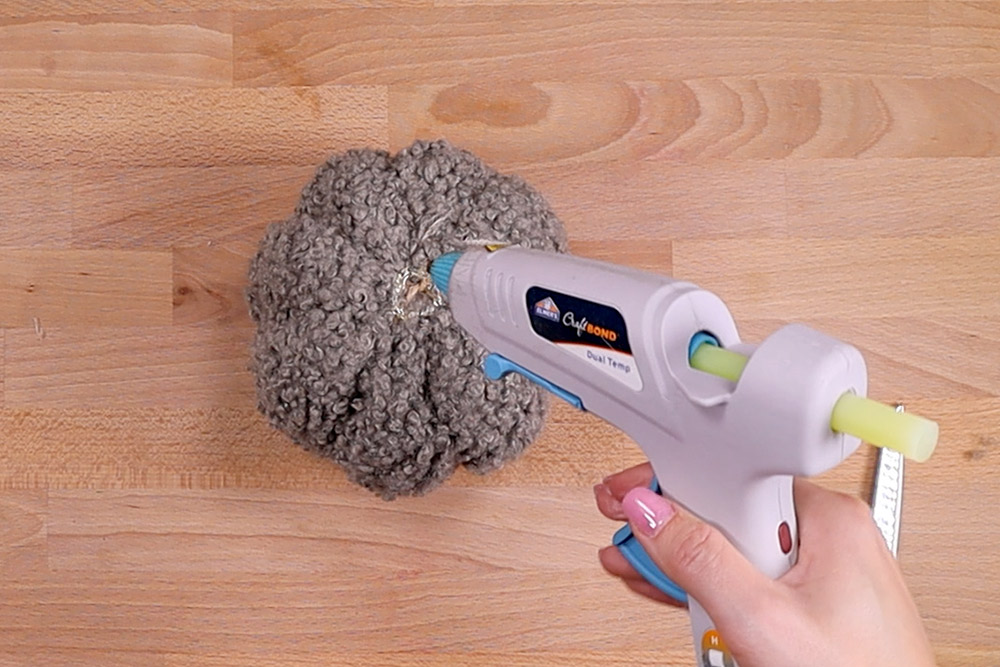
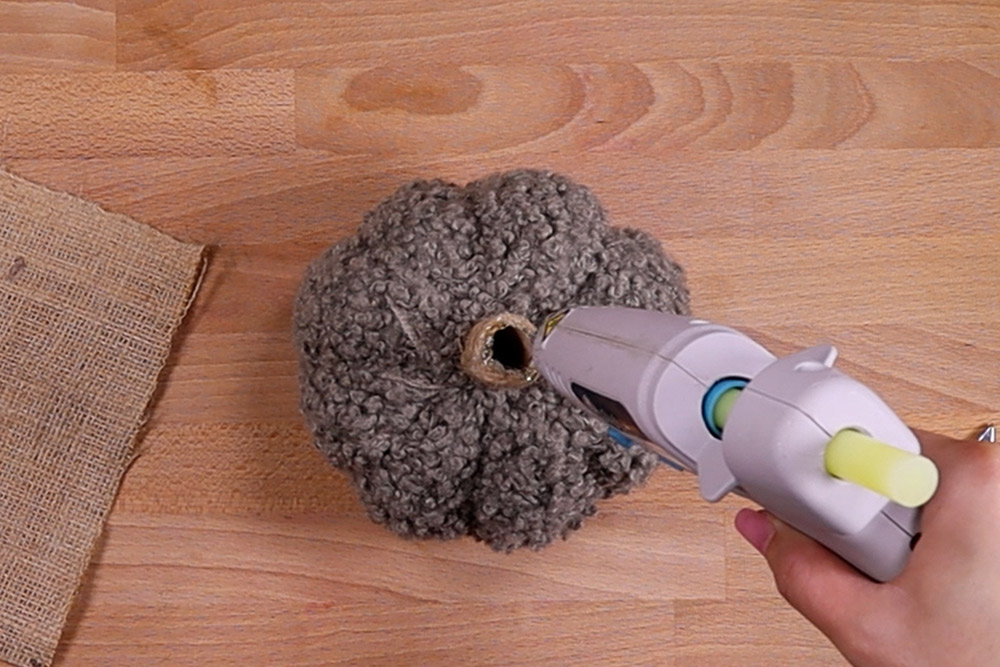
Step 5: Add stem to pumpkin
Glue the stem to the top of the pumpkin covering the spot where the twine is tied. Hold it there for about a minute or until it feels sturdy.
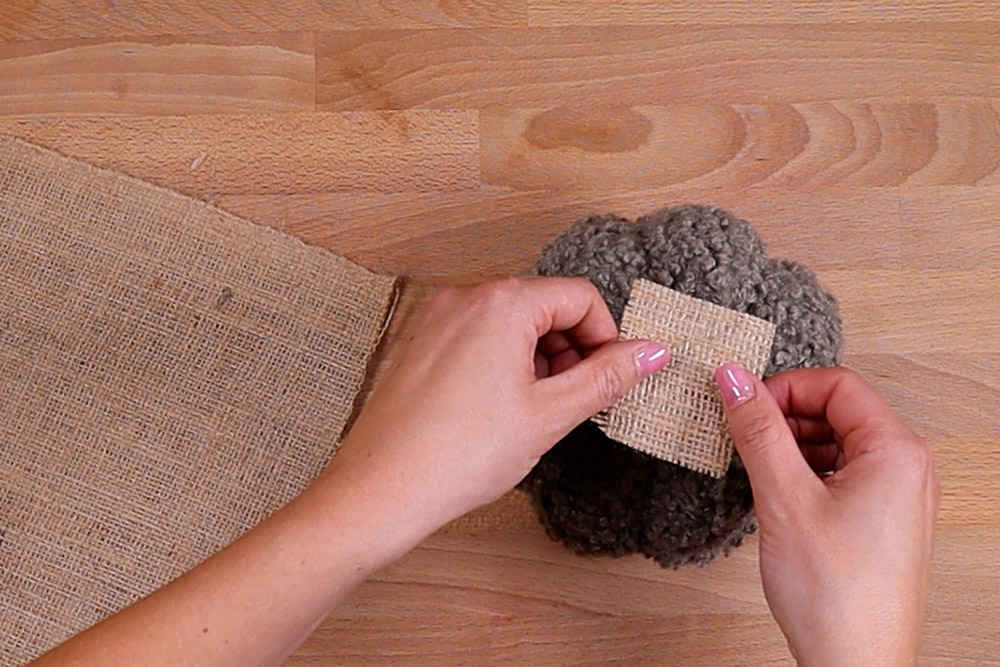
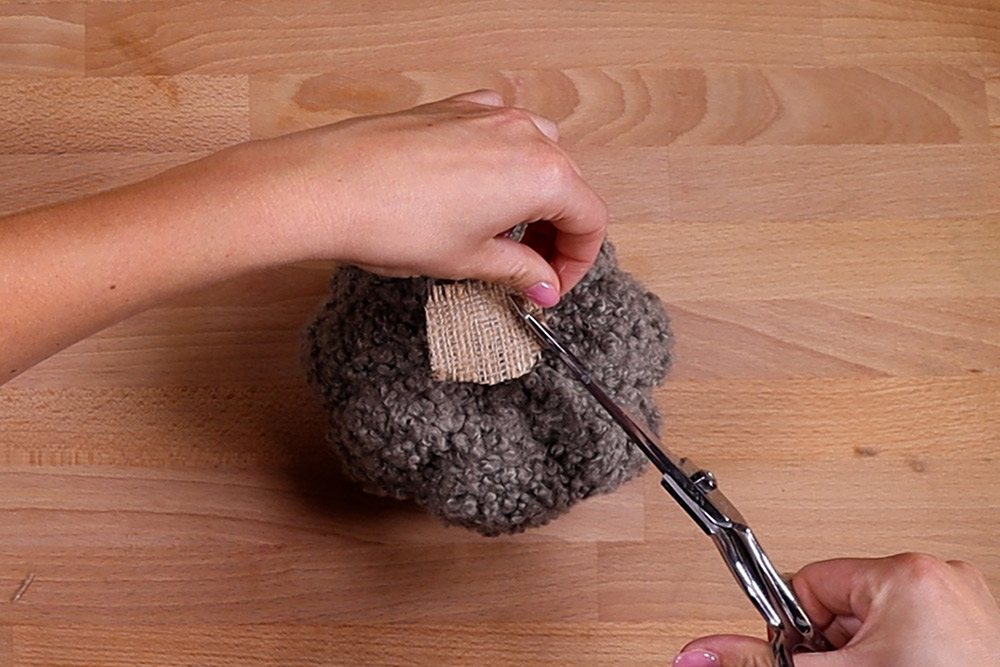
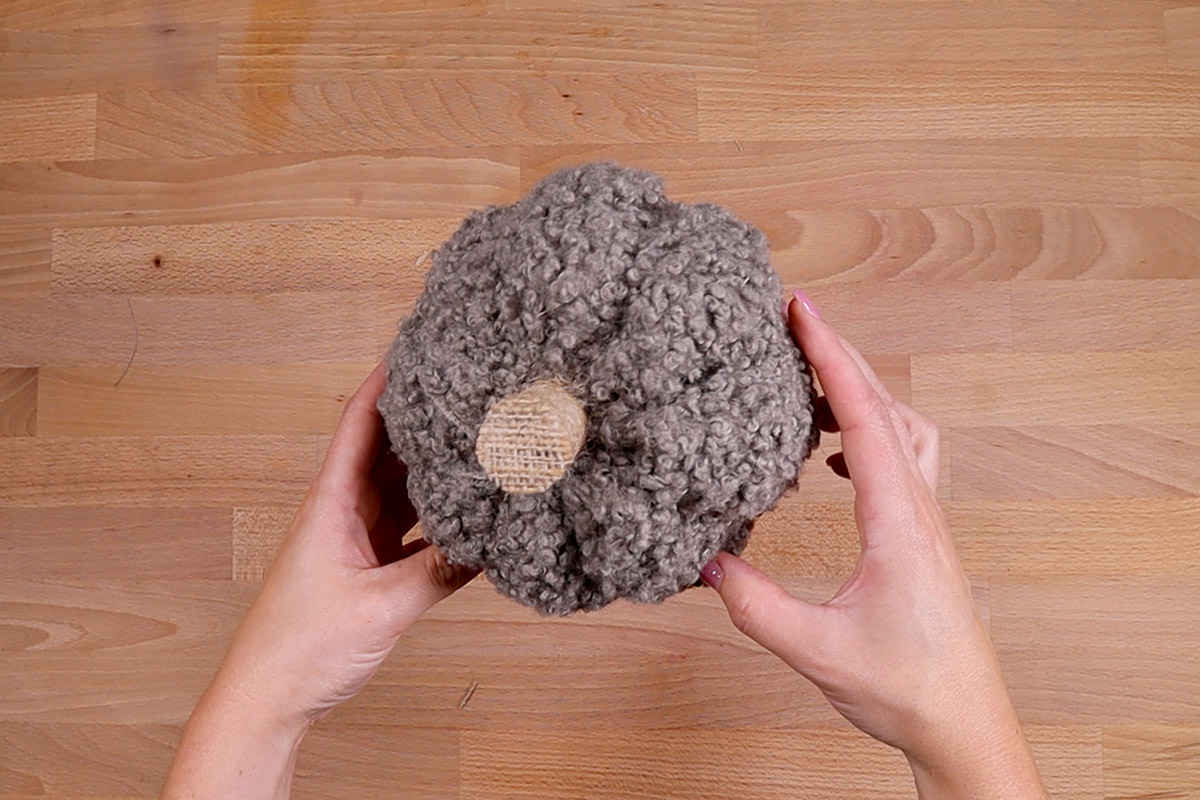
Cut a small piece of burlap just a bit wider than your stem and glue it to the top of your stem. Then trim the excess burlap around it. This will cover the top of the toilet paper roll, giving it a finished look.
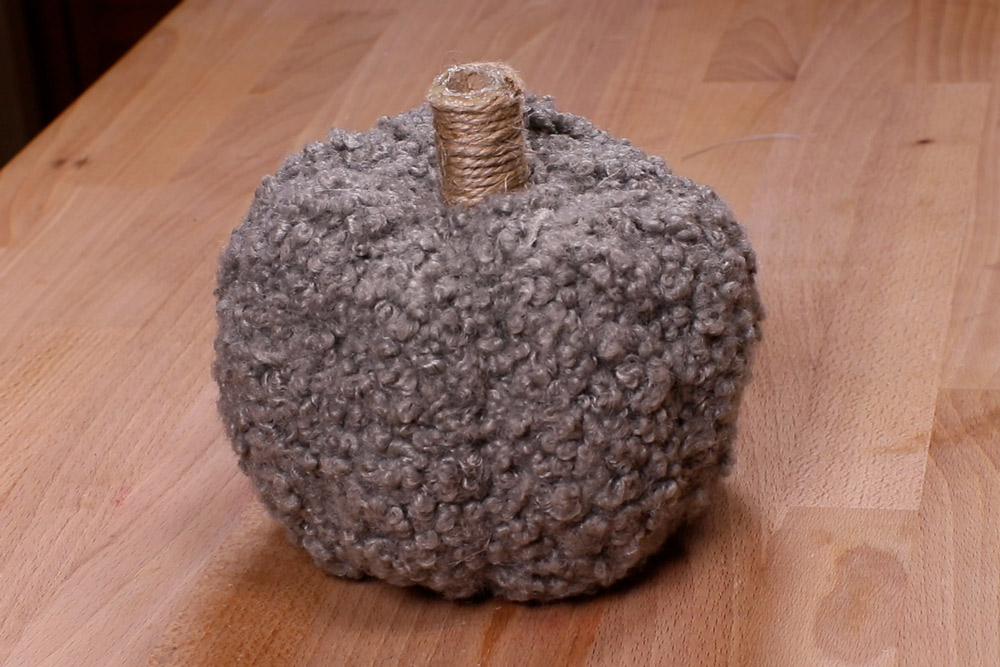
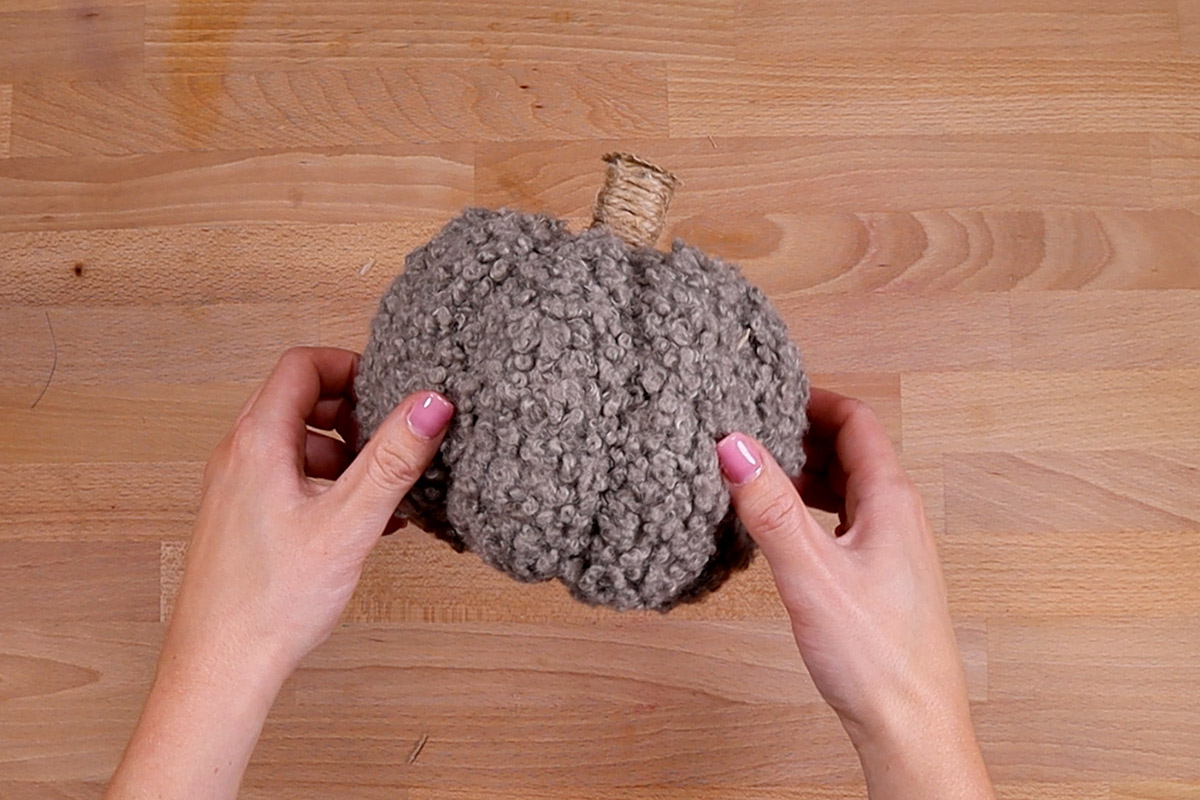
And there you go! A pumpkin throw pillow perfect for the autumn season!

-
{{#each productSuggestedQueries.results}}
- {{query}} {{/each}}
-
{{#each categories.results}}
- {{html title}} {{/each}}
{{html attributes.description}}
{{/if}}-
{{#each queries.results}}
- {{query}} {{/each}}