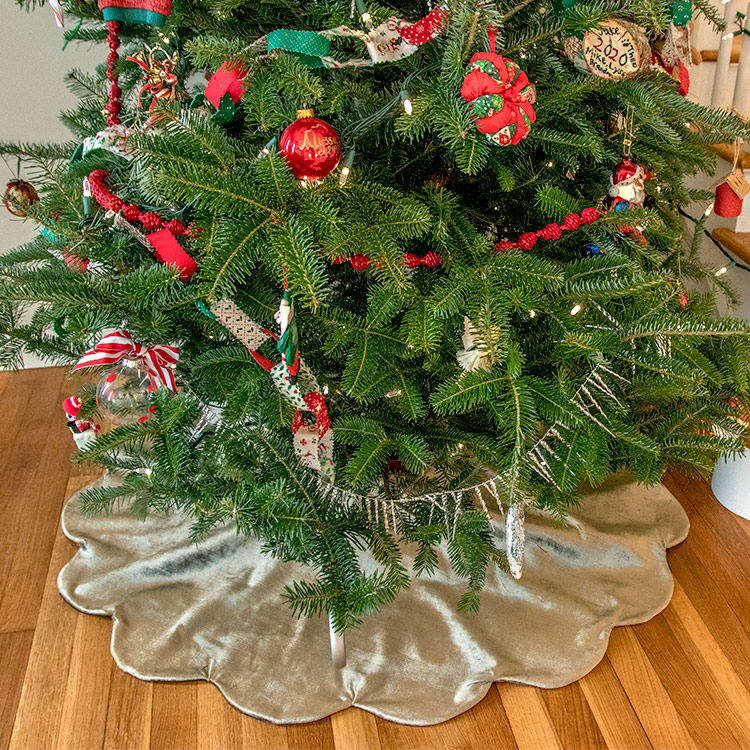
How to Make a Velvet Christmas Tree Skirt
- By Alyssa
- 45 minutes
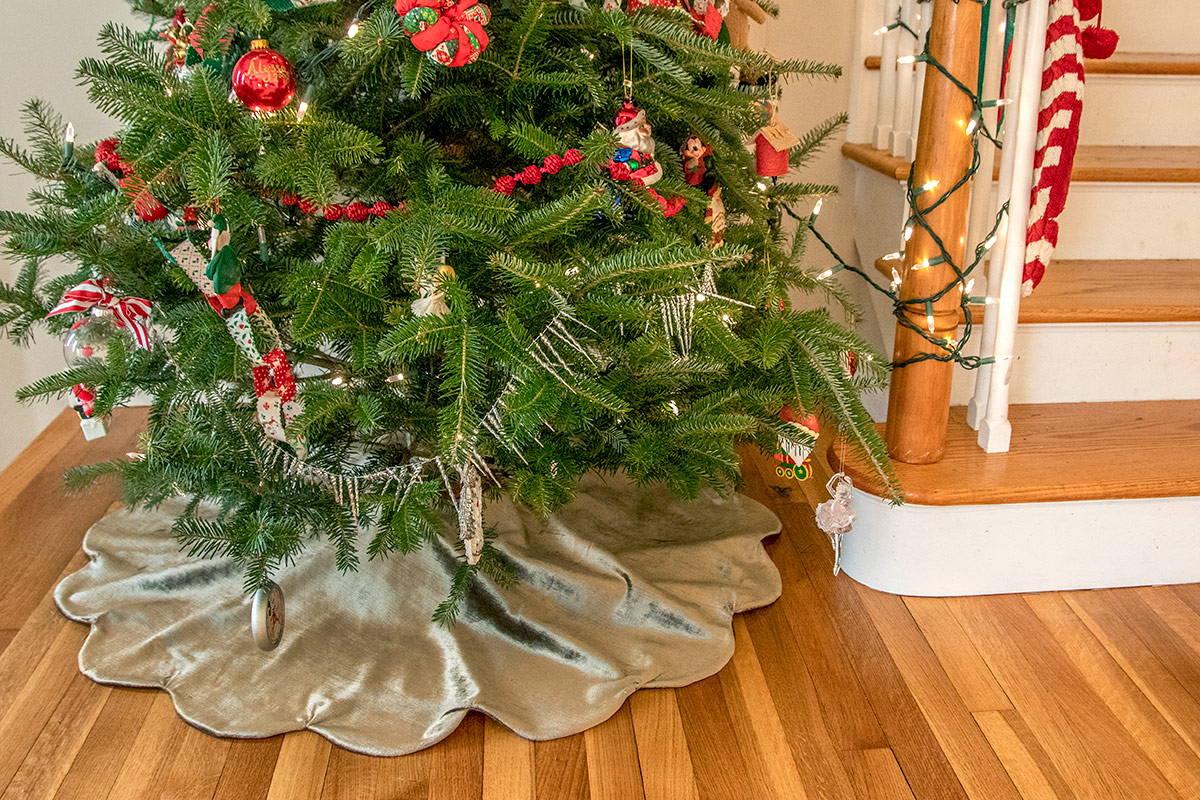
This year, I really wanted to up my Christmas tree game. While “tree collars” are the trendy thing right now they are a large space commitment the rest of the year while they sit in storage, and I like the traditional look during the holidays.
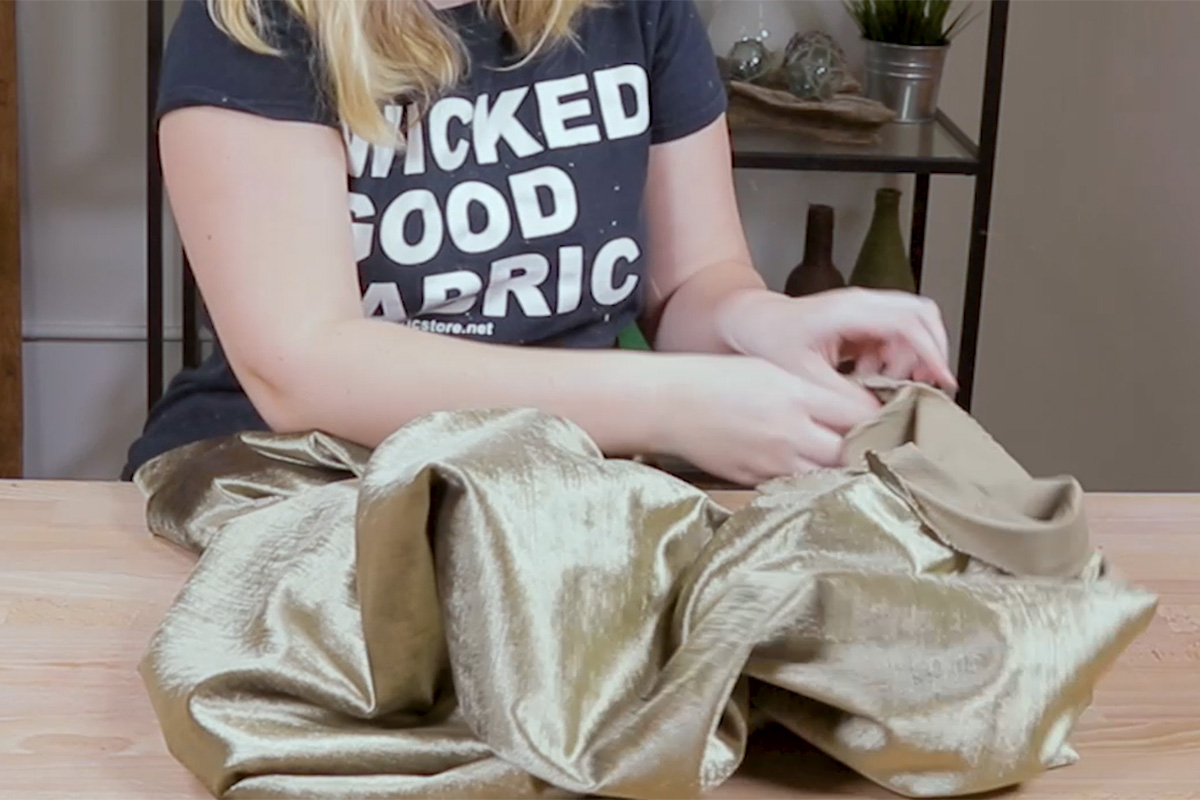
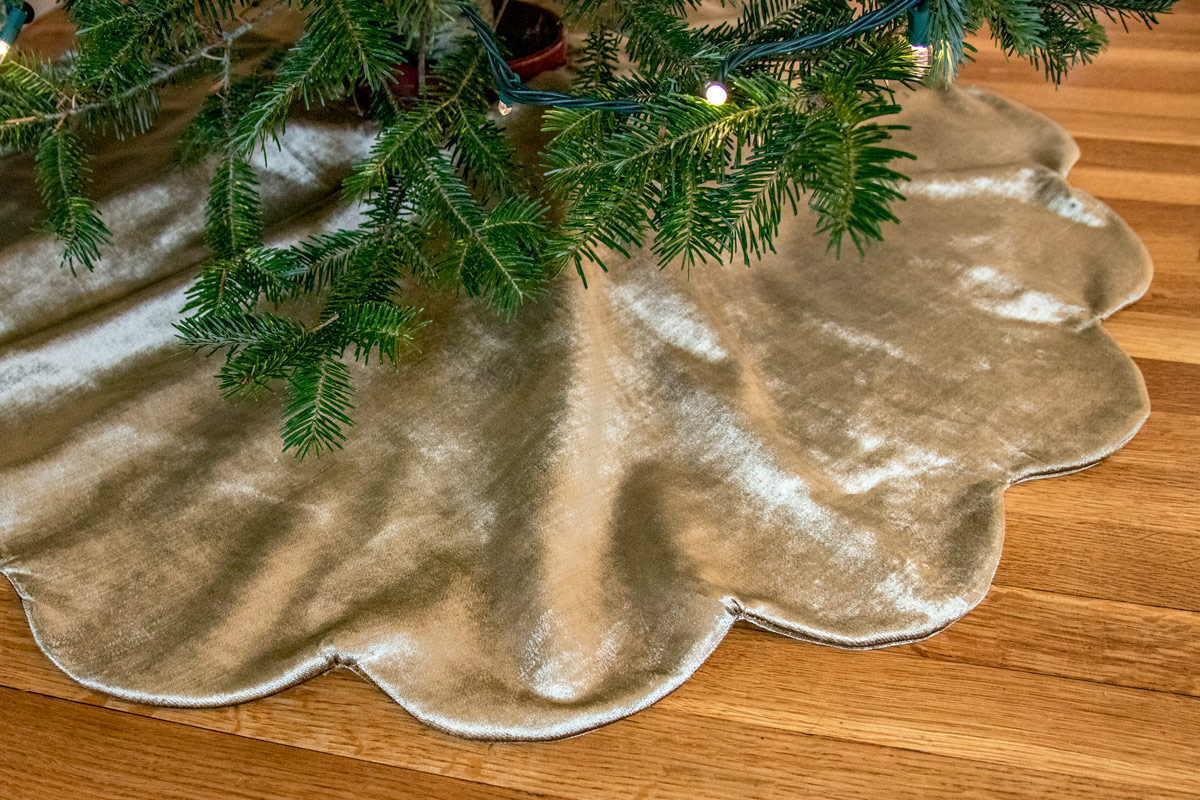
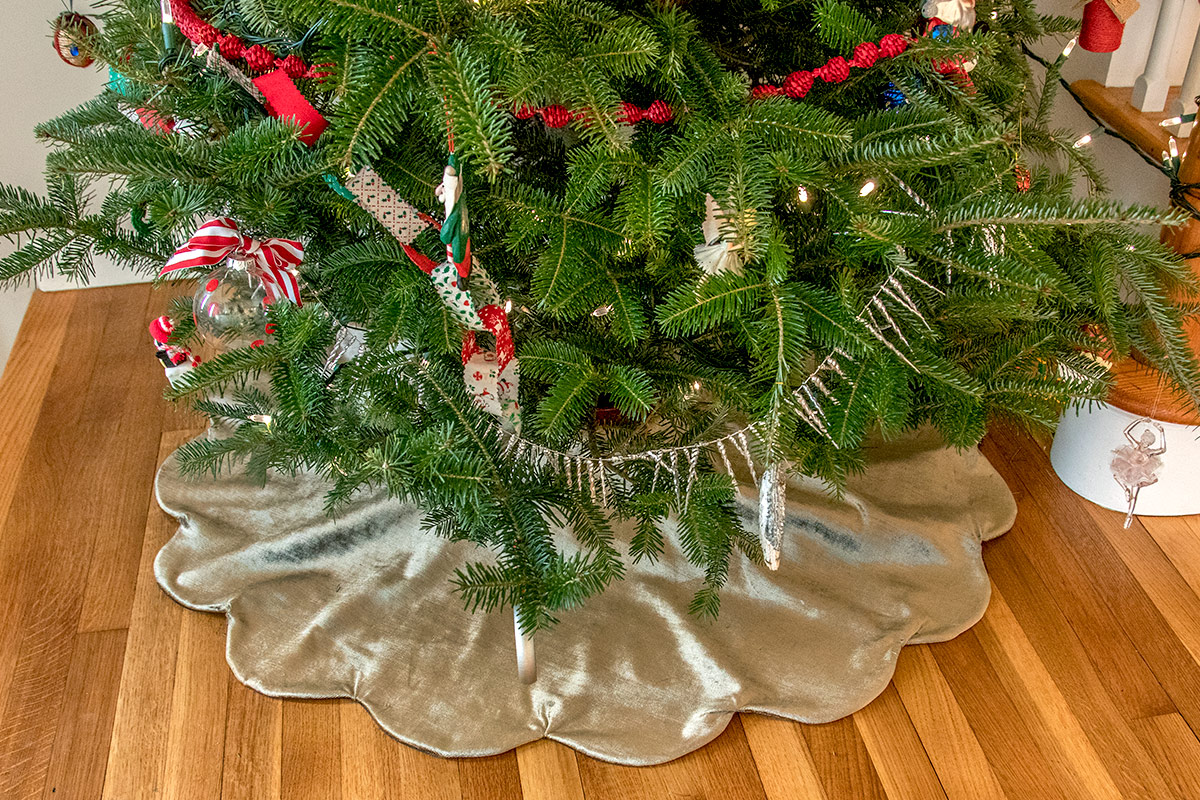
I have also been itching to use this new Taupe Velvet we started carrying. It is wonderfully soft with a very subtle golden sheen.
I chose to make both sides the same material, but it could be reversible if you play with the materials and colors you use.
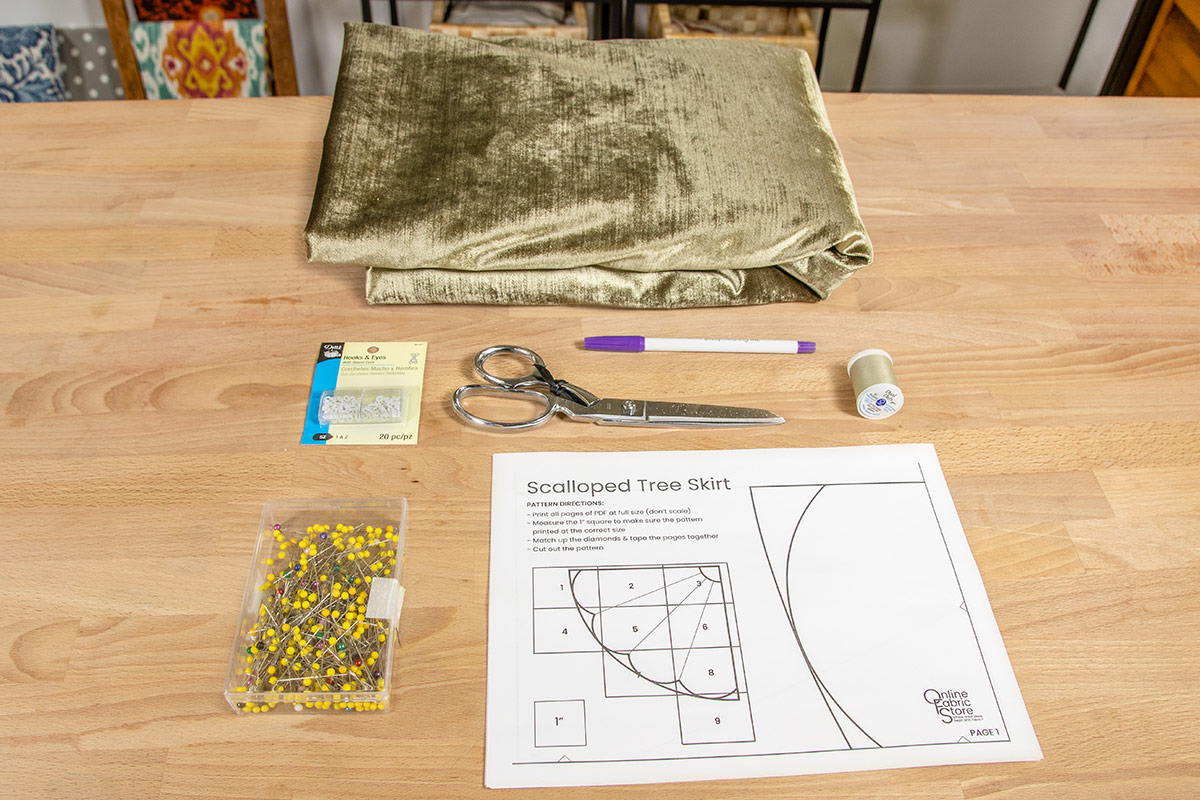
Materials
- 3 Yards of Velvet Fabric
- Thread
- Hook and Eye Closures
- Chalk or a Fabric Marker
- The Template
- A Sewing Machine
Related Products


Video
Instructions
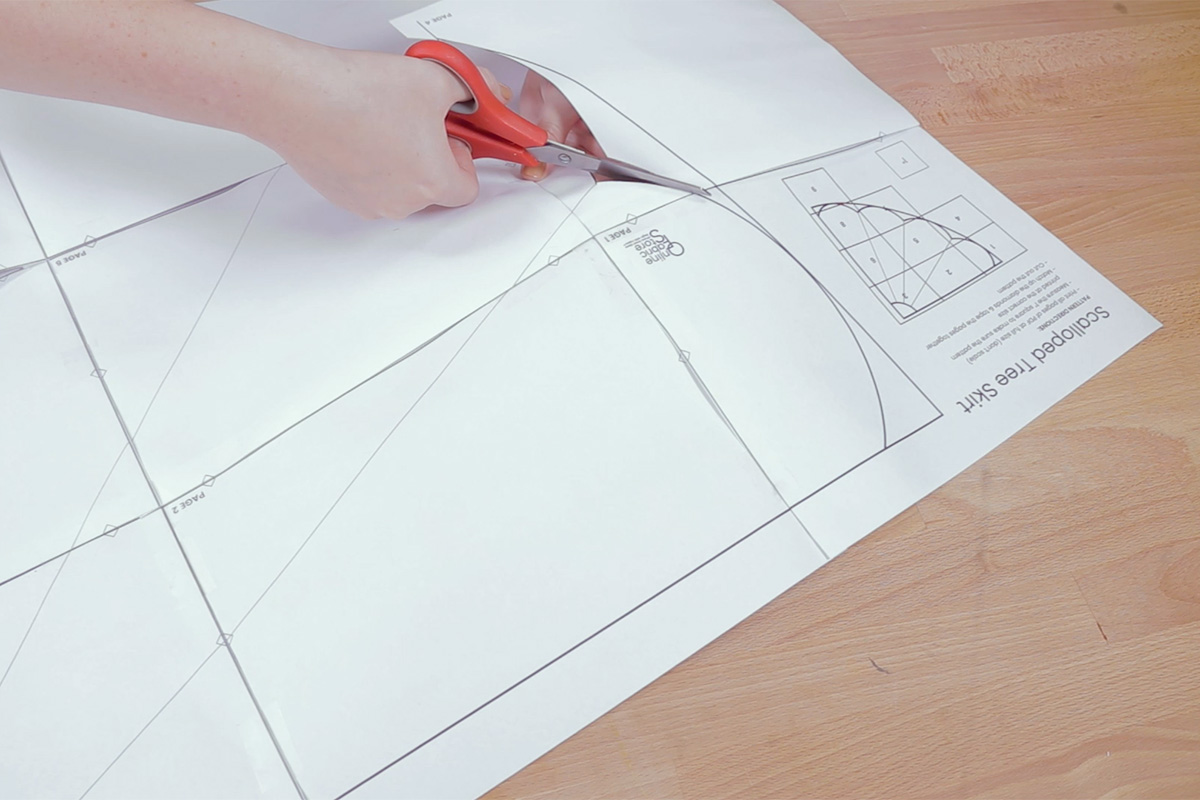
Step 1: Prepare the template
Included in our template are two different variations, I will be making mine with the scalloped edge but if you like a more streamlined look, you could go with the classic circle skirt.
Download the Christmas tree skirt template from our website, assemble it, and then cut it out.
When printing out any of our templates, you should always make sure that the box on the first page is a perfect square inch. If it is not, computer may have scaled the template when you printed it so just go back and make sure that you are printing it on the “actual size” setting as opposed to scaled.

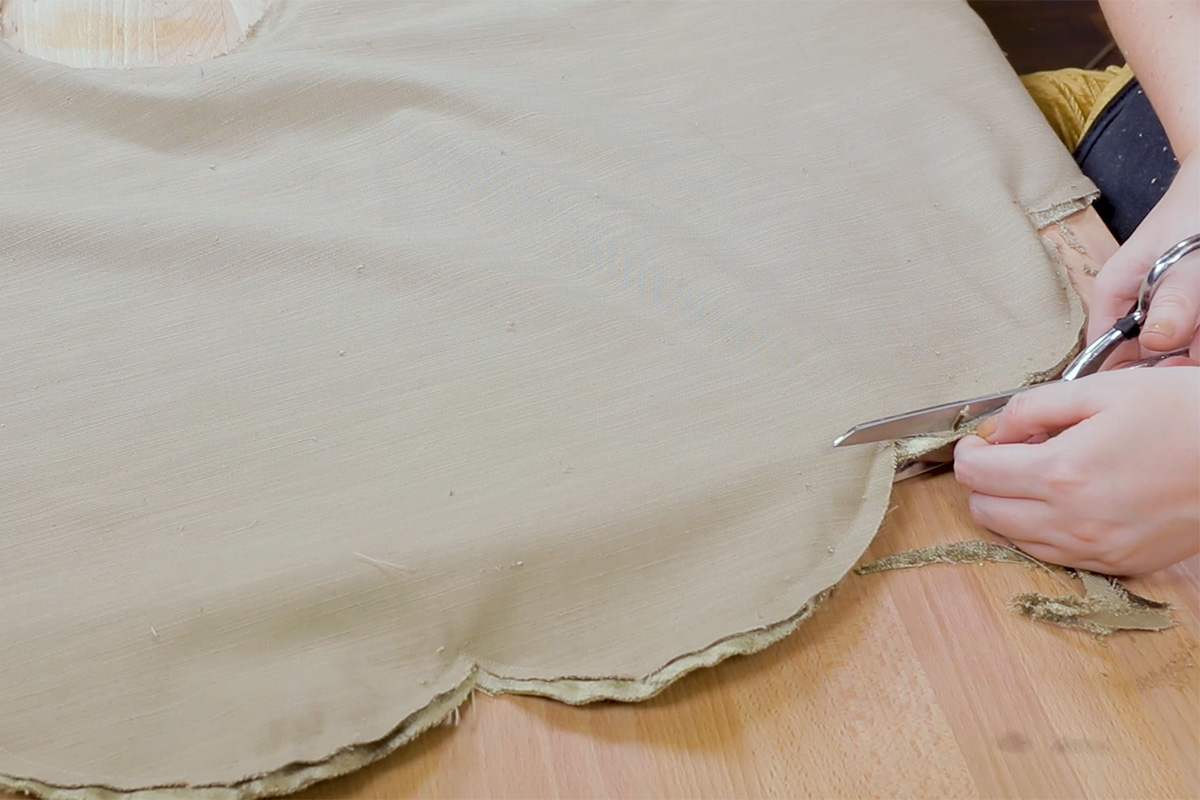
Step 2: Cut out the fabric
You are going to need a top and a bottom panel, so repeat the process to cut out an identical piece.
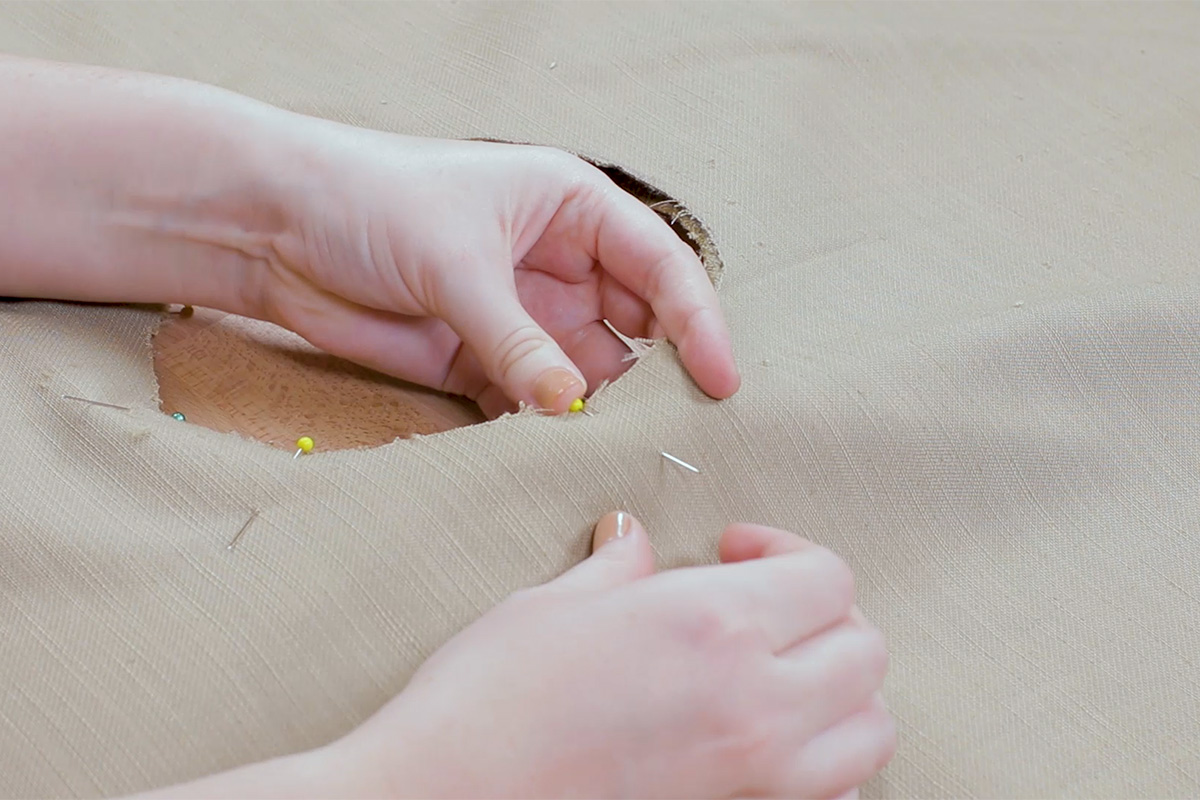
Once it’s together, you’ll notice that the template is only a quarter of the full skirt. Fold the fabric in half and line the edge up to the fold.
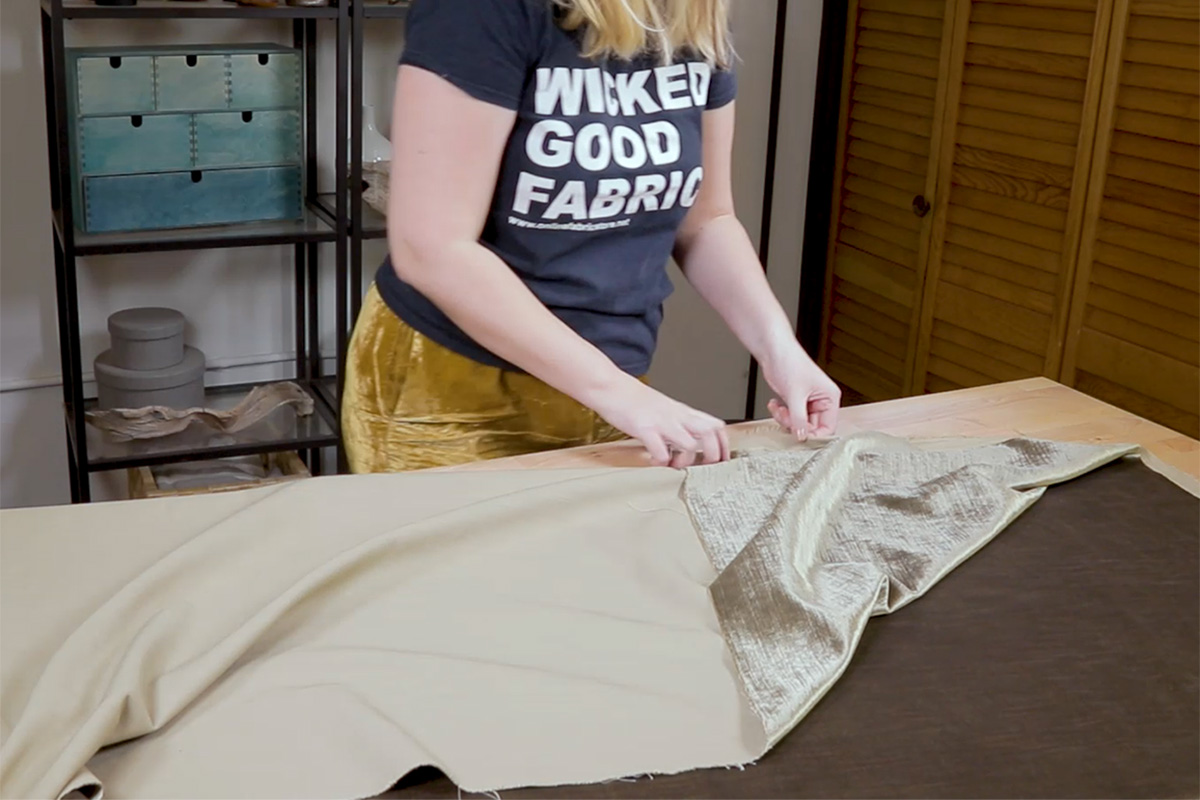
Trace the top quarter and then swing the template around and mark out the bottom half. Don’t forget to mark out the center circle before moving the template.

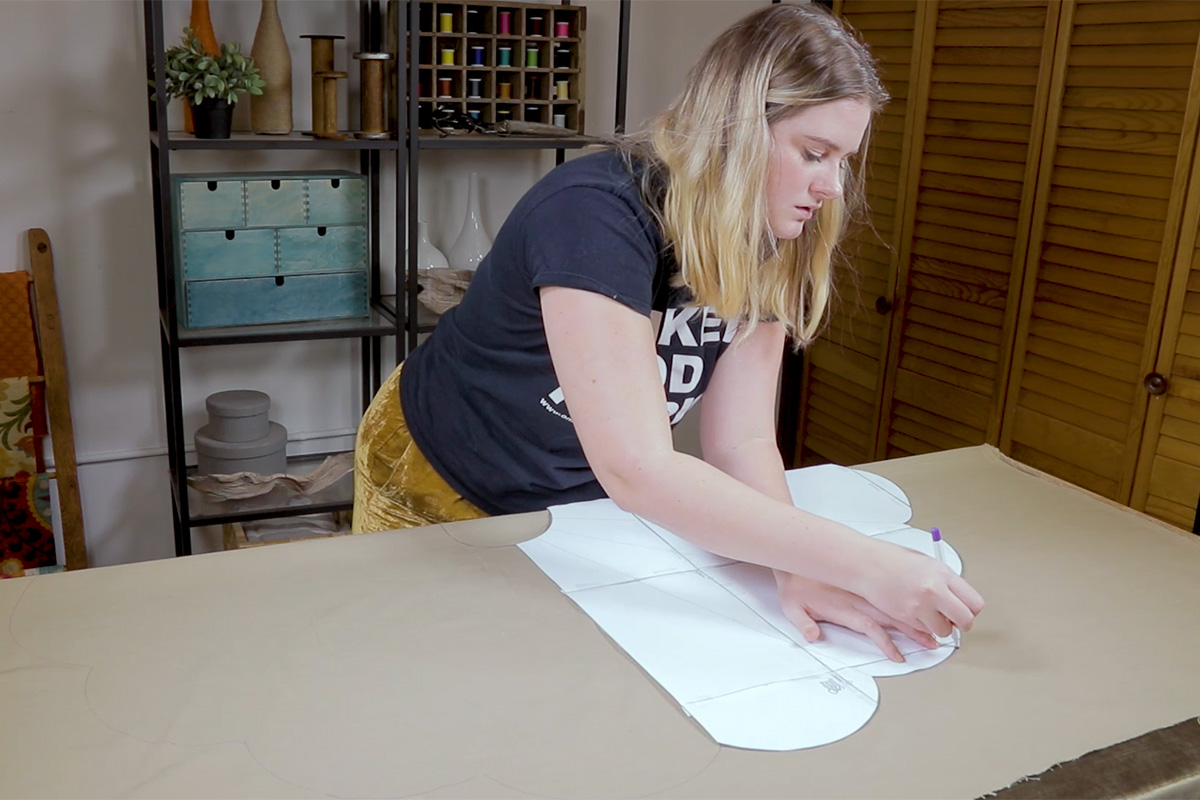
Cut the fabric out while it is still folded to get a symmetrical shape.

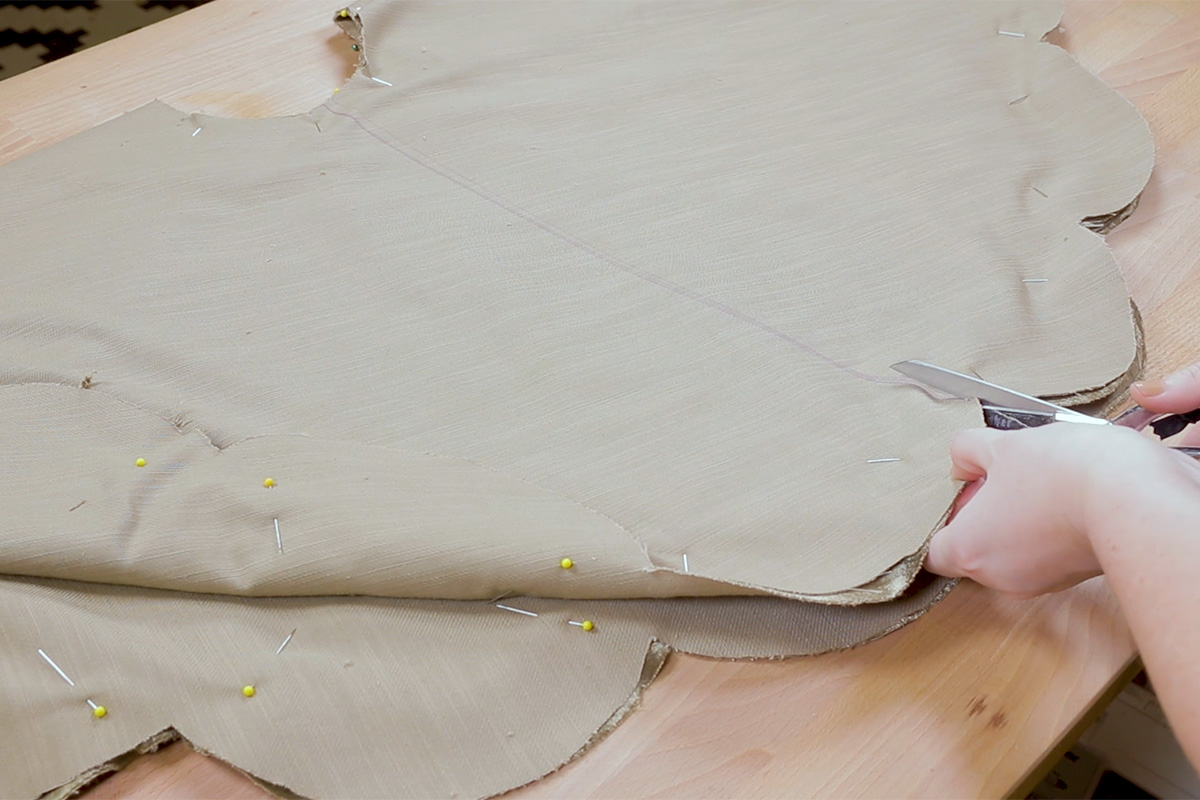
Step 3: Pin Together
Pin the top and bottom pieces with right sides together.
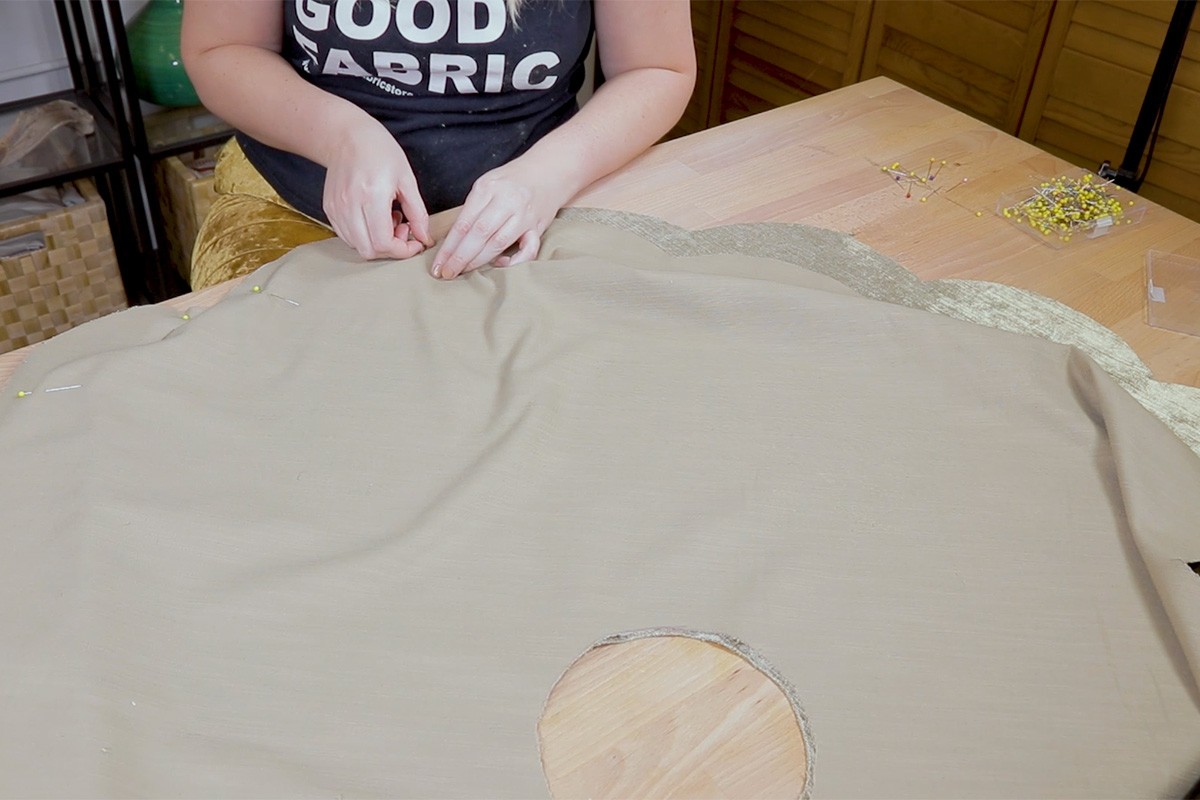
Pin way more than you think you need to, especially if you are using velvet as it can be a really slippery material to work with.
Also, it’s pretty important the all of the scallops are the same size as the one that they are matched up to, so if you need to trim one down a little to match the one below it, I highly recommend doing so.
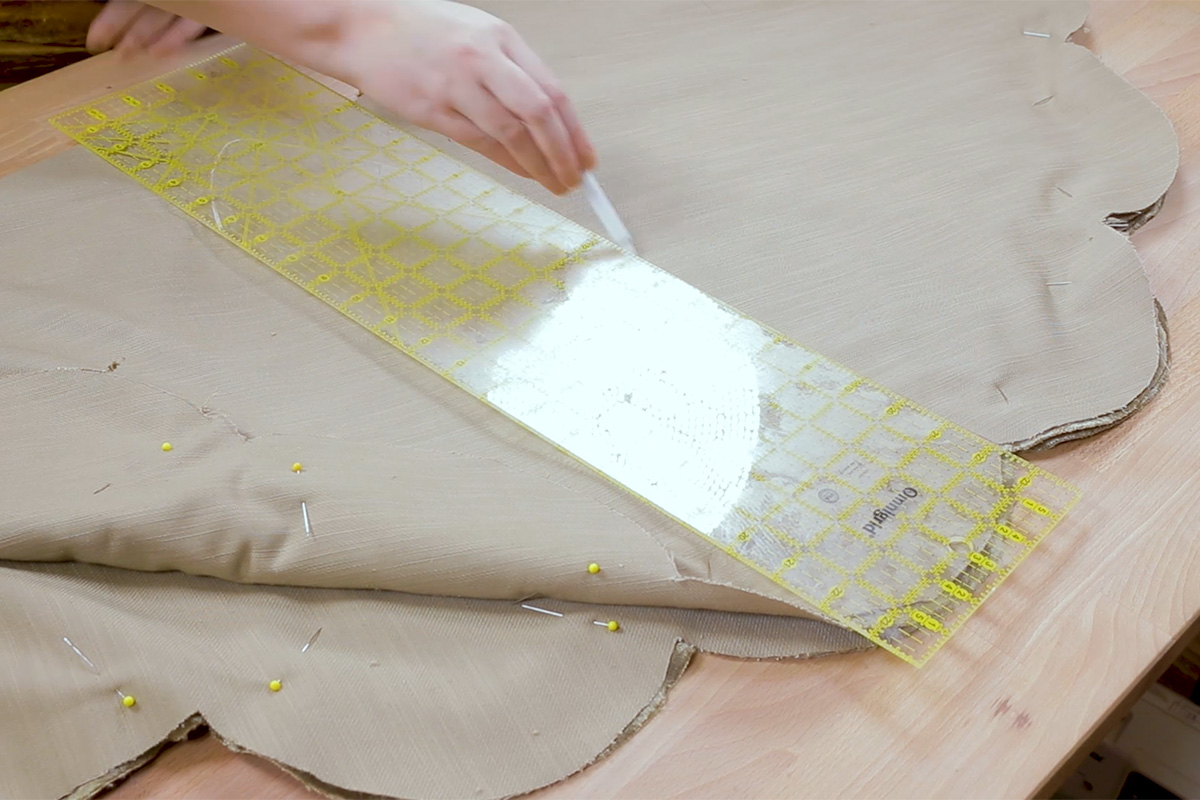
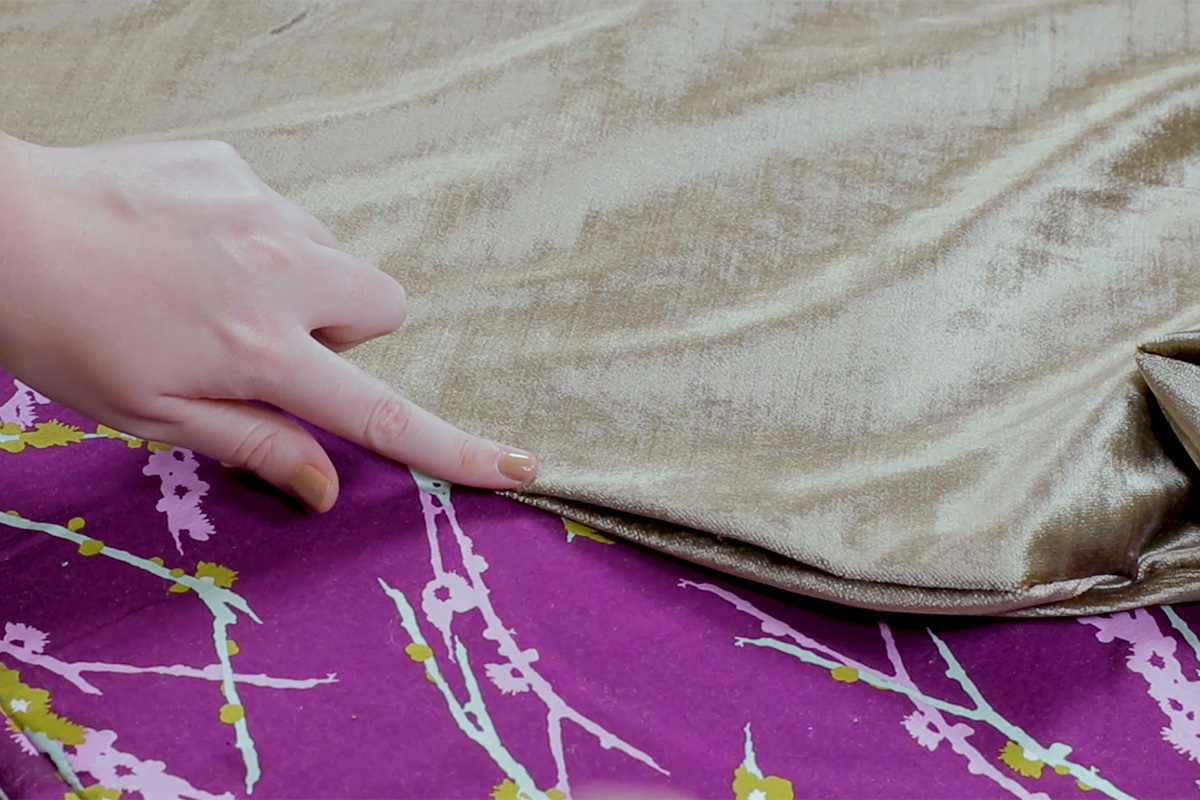
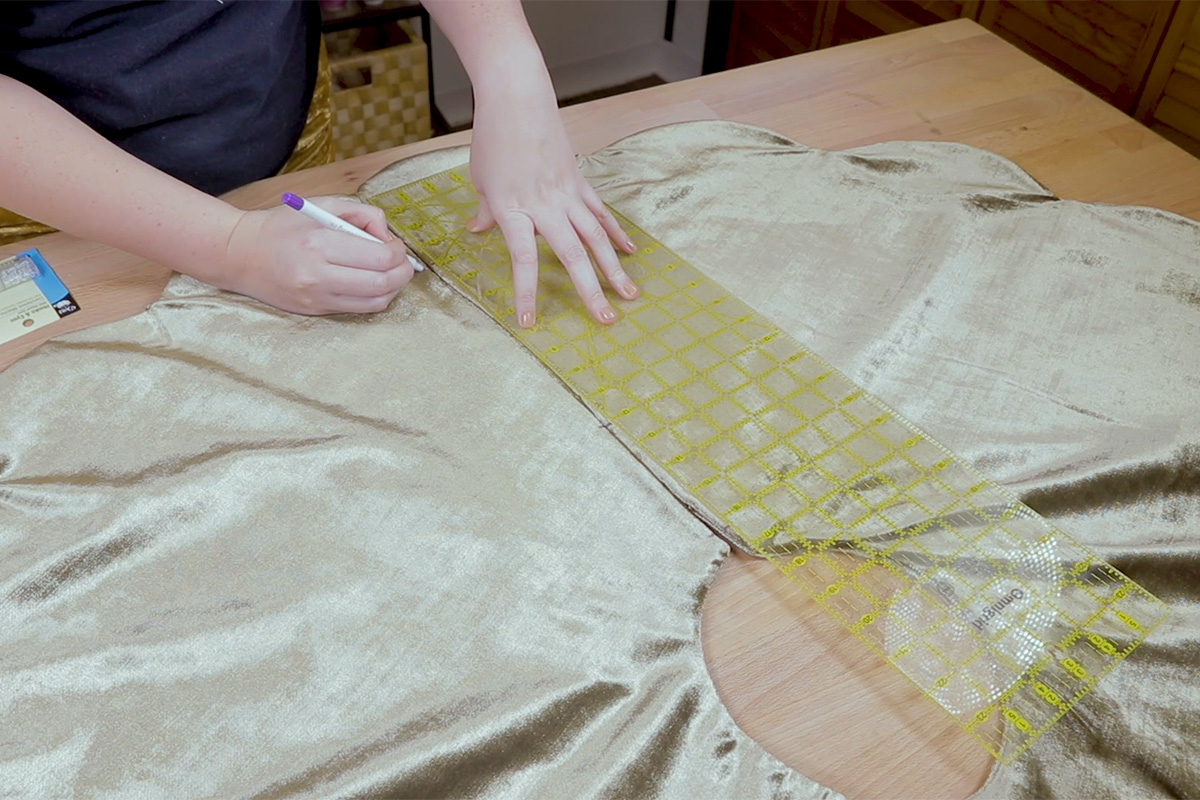
Step 4: Pick the back edge
Using my straight edge, I am going to cut from the scalloped edge to the center hole. To make sure that it is straight, you can fold the skirt in half and match it up to the scallop on the opposite side and use that line to make your ruler straight.
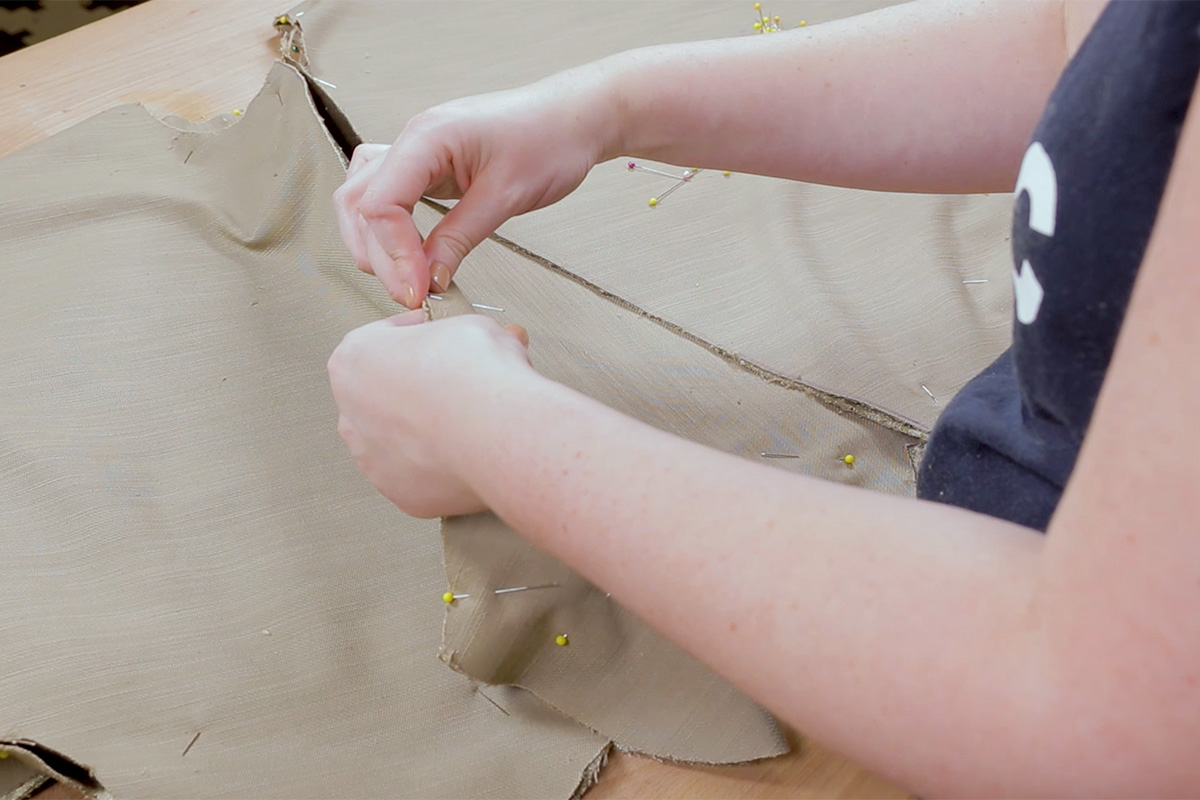
Pin both sides of the opening in place.
Step 5: Sew
Sew the entire thing together leaving about a 10” gap on one side of the opening in the back.
Start at the back opening before a corner and end on that same side right after the other corner.
It’s much trickier to close corners with an invisible stitch so make sure you plan it out a little bit so you don’t have to deal with figuring that out.
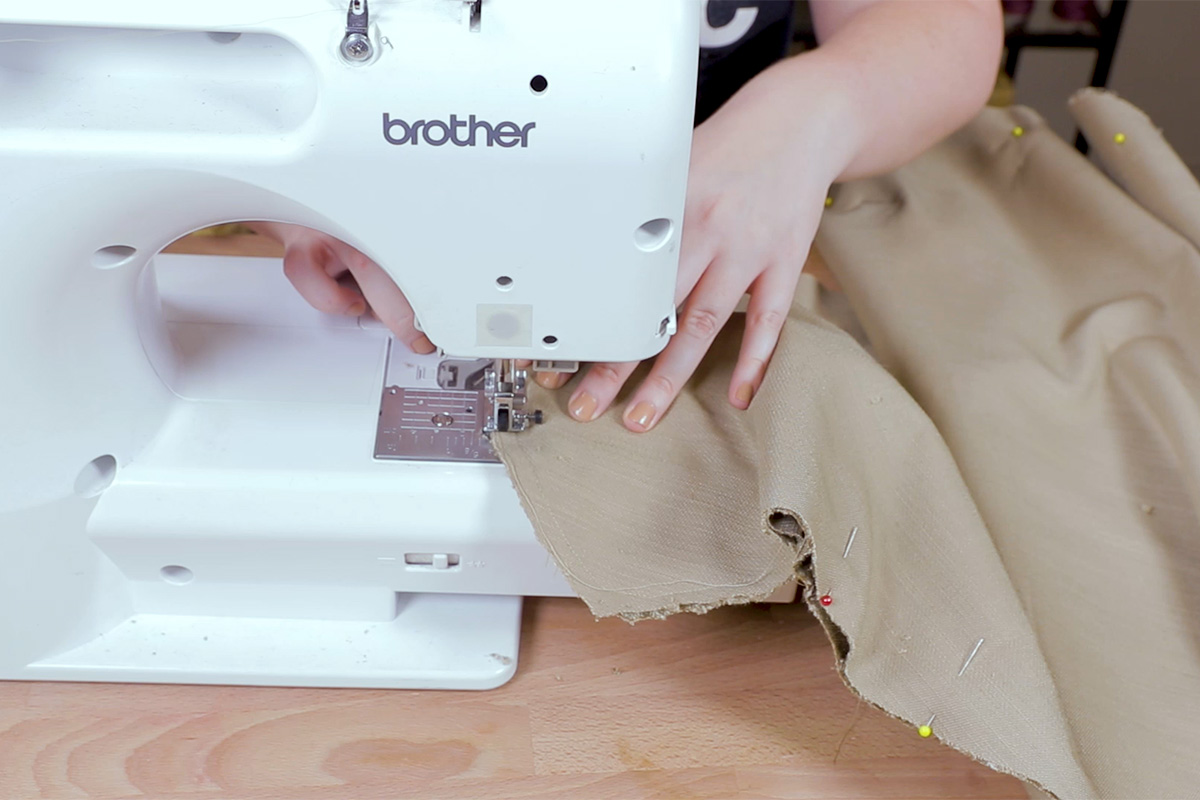
When you are sewing, go slow, and take your time pulling out pins and rotating the fabric. If you are using velvet, be extra vigilant because it can be really slippery. Don’t forget to backstitch at the beginning and end.
And I did want to mention – I did have some puckering. I did not pay enough attention to the scallops being the same size before sewing and I probably could have pinned about twice as much as I did and that would have helped. So do as I say, not as I do.
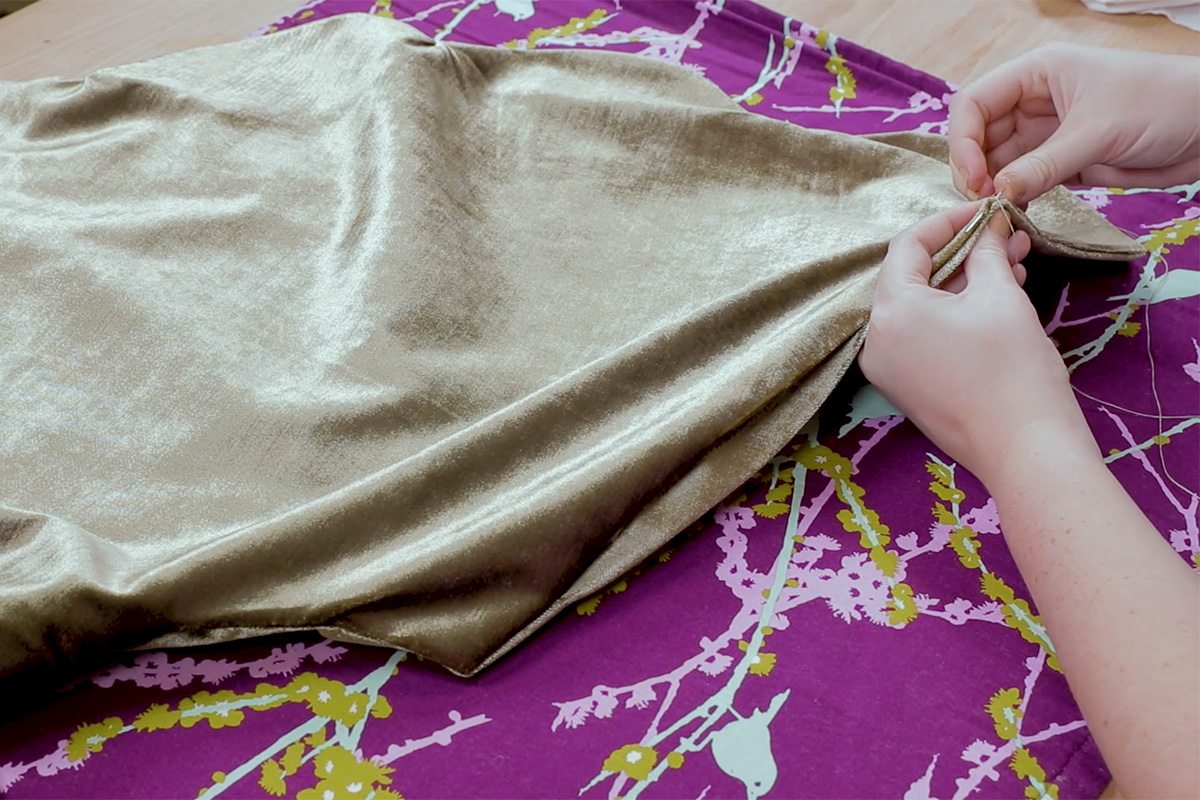
Step 6: Flip Right Side Out
Cut away any bulkiness happening around your seams.
Flip the entire thing right side out through the opening making sure to pop out all the corners.
Iron all the seams of the tree skirt, making sure to press them down flat.
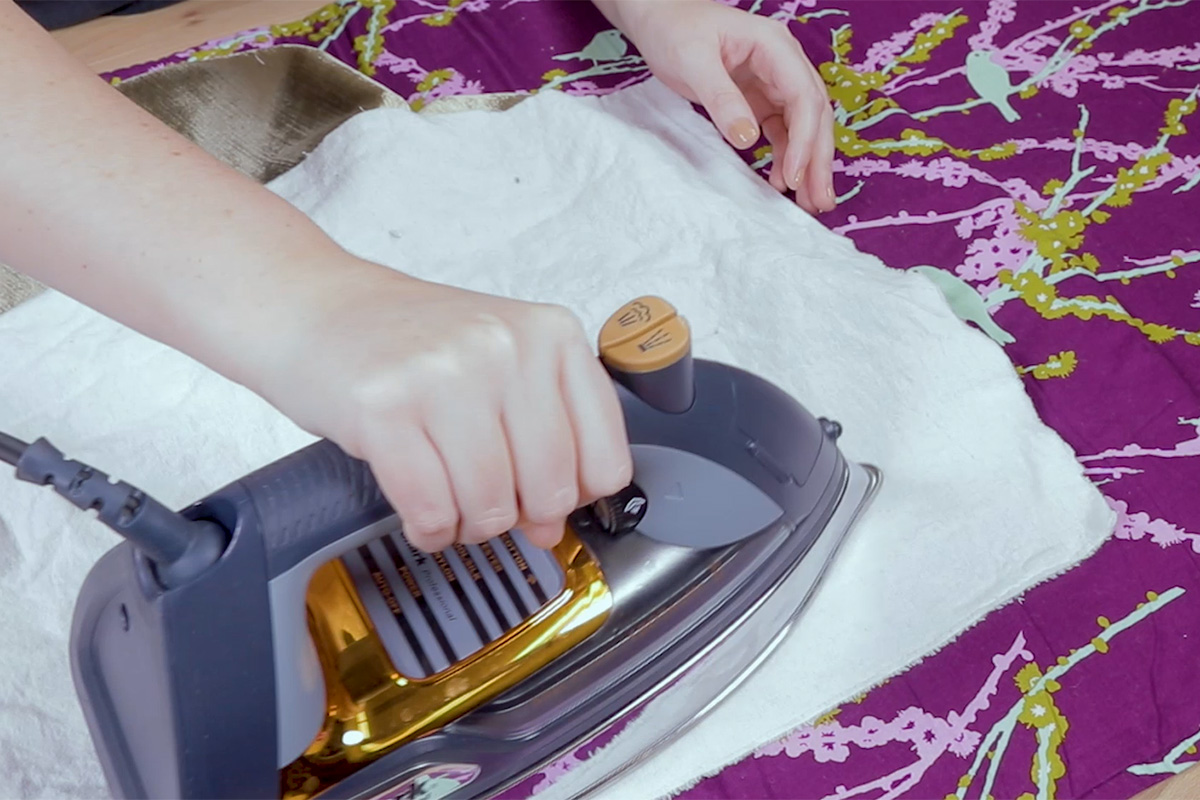
Fold in the edges of the opening so they match the seams on the surrounding sides and iron the opening so you can sew it closed easily.
Step 7: Stitch closed the opening
Using an invisible stitch, sew the opening closed. If you have never sewn an invisible stitch, or you need a refresher on the steps, I will link our invisible stitch tutorial here.
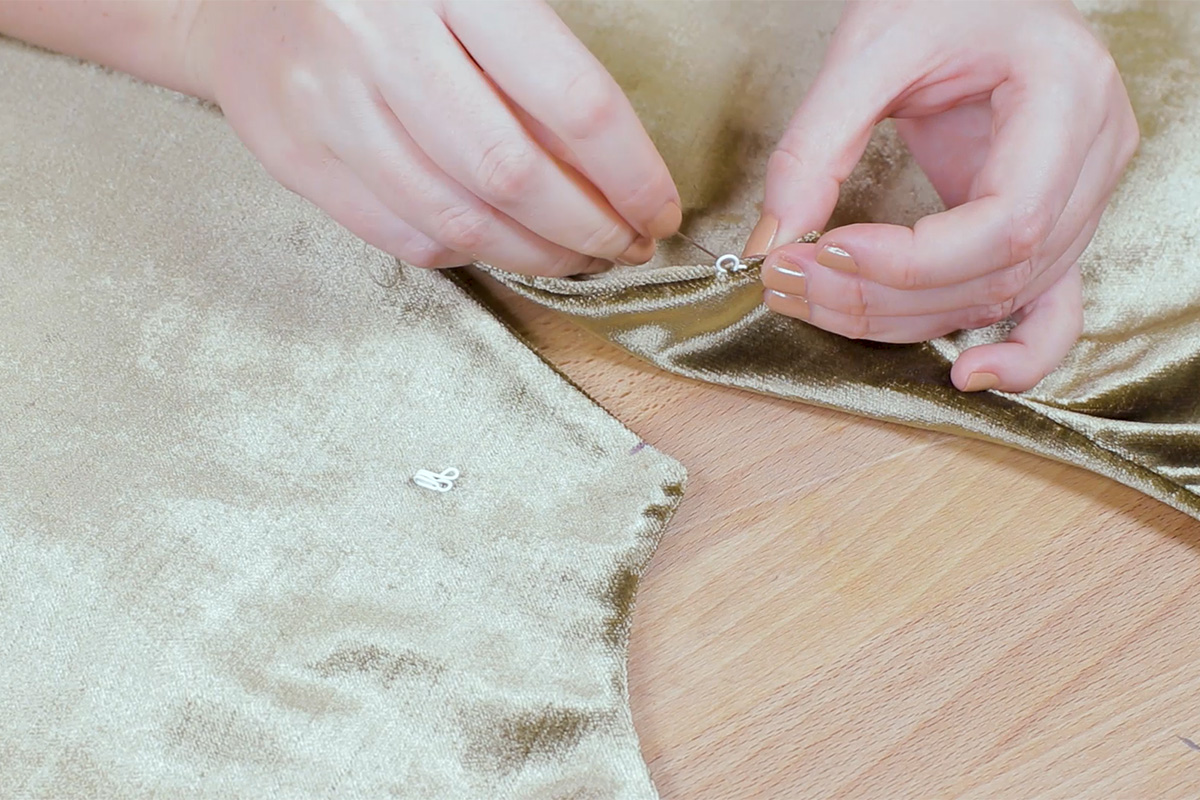
Step 9: Add the Closures
I am going to be using hook and eye closures along the slit.
Match up the edges of the slit and measure and mark out where you would like the closures.
The marks should be directly across from each other and then sew the closures on using your guides.
Sew on your marks. Make sure that while you are sewing that all of hooks are on one side and all of the loops or eyes are on the other.
-
{{#each productSuggestedQueries.results}}
- {{query}} {{/each}}
-
{{#each categories.results}}
- {{html title}} {{/each}}
{{html attributes.description}}
{{/if}}-
{{#each queries.results}}
- {{query}} {{/each}}