
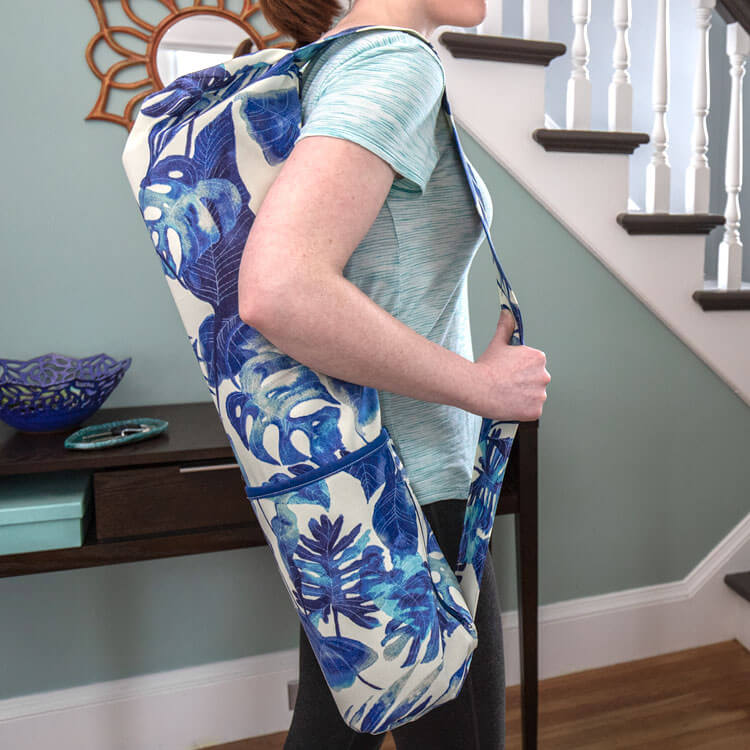
How to Make a Yoga Mat Bag
- By Clara
- Intermediate
- 1 hour
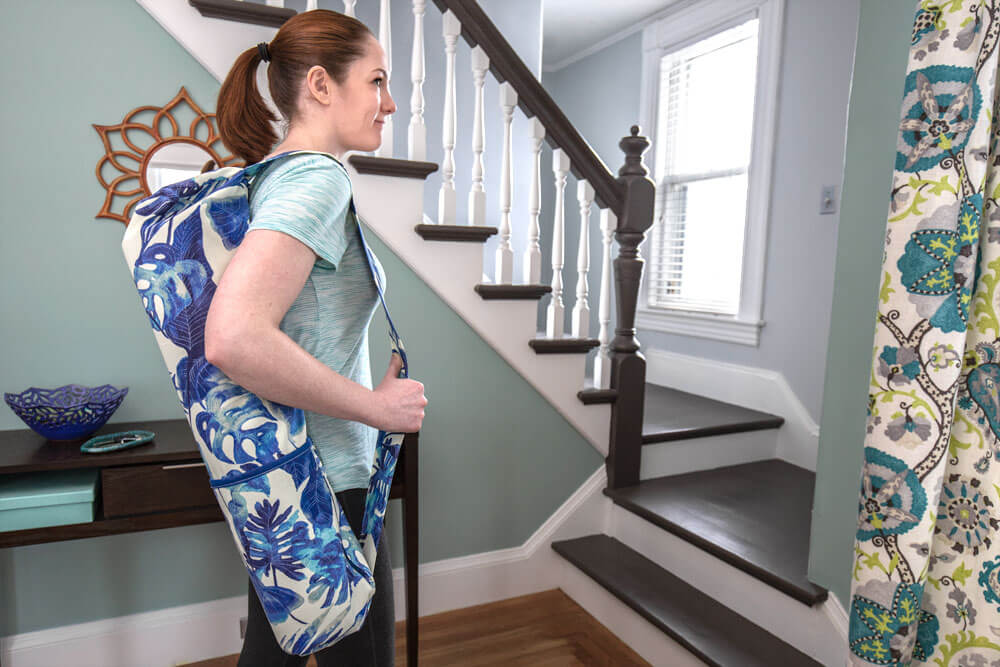
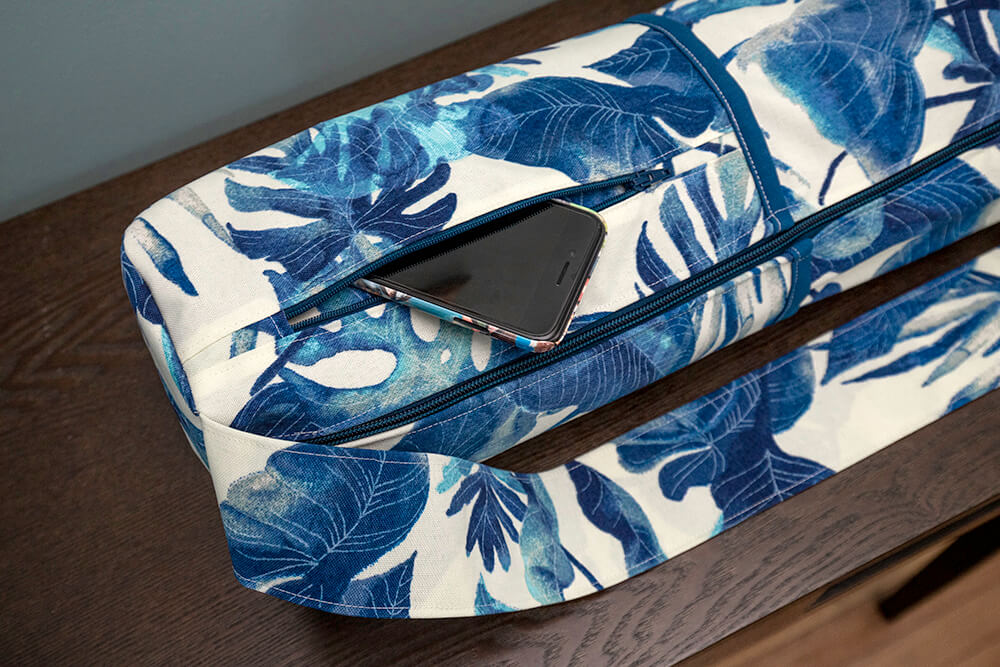
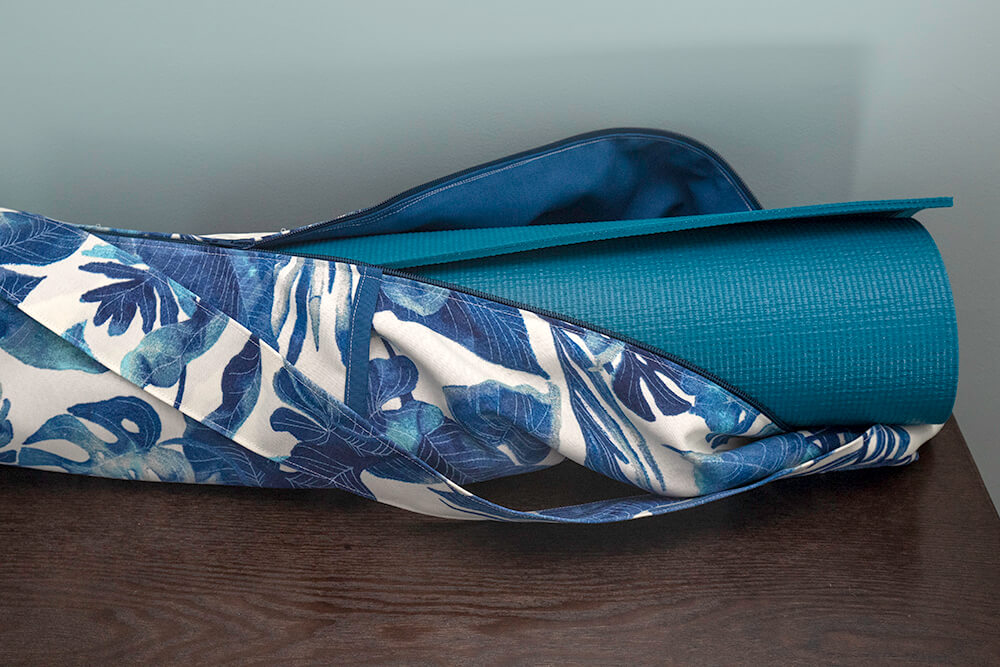
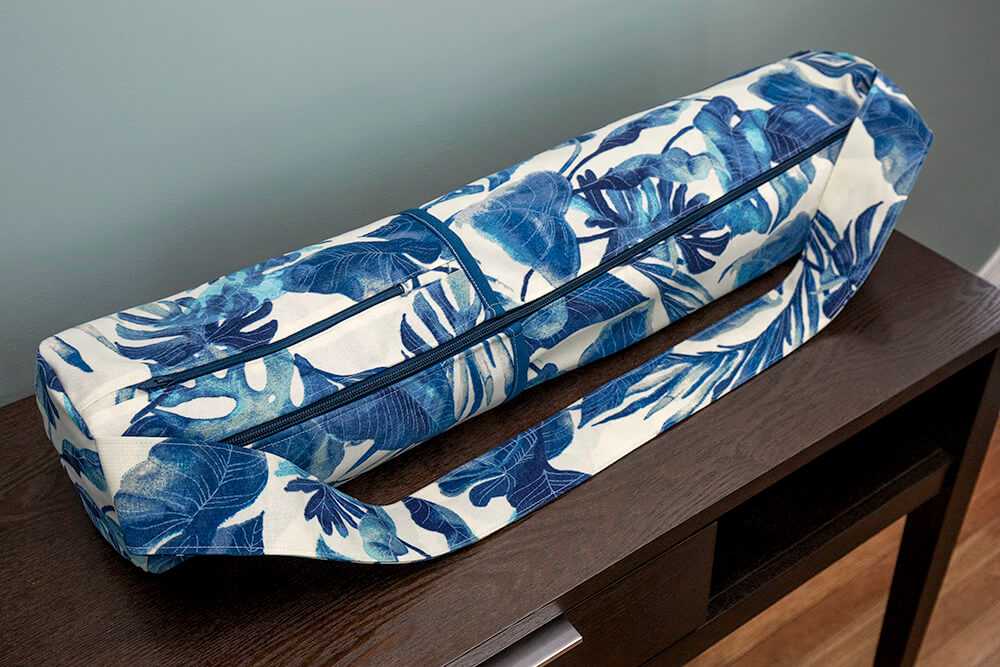
Yoga mats are awkward to carry on their own so I’m going to make a yoga mat bag. It has a zipper compartment, a pocket, and is fully lined. The zipper opening makes it easy to put the yoga mat in and take it out.
Sign up to our mailing list to get the FREE pattern and printable PDF instructions.
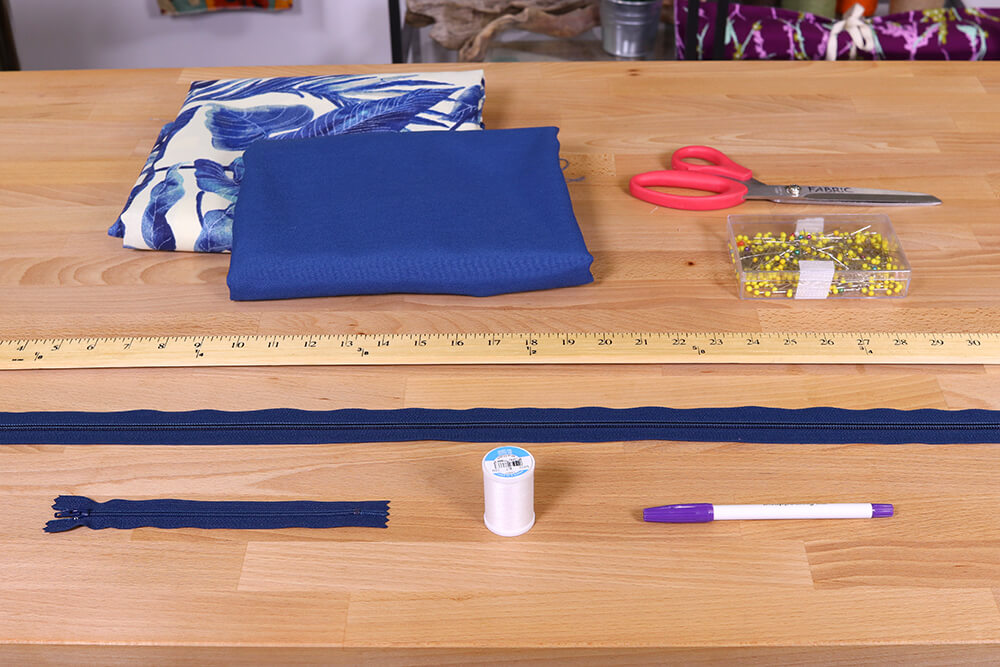
Materials
- 1 yard medium weight outer fabric
- 1 yard light or medium weight lining fabric
- 30" zipper and 7" zipper
- Scissors
- Thread
- Fabric marker
- Ruler
- Pins
- Iron
- Sewing machine with zipper foot
Related Products


Video
Instructions
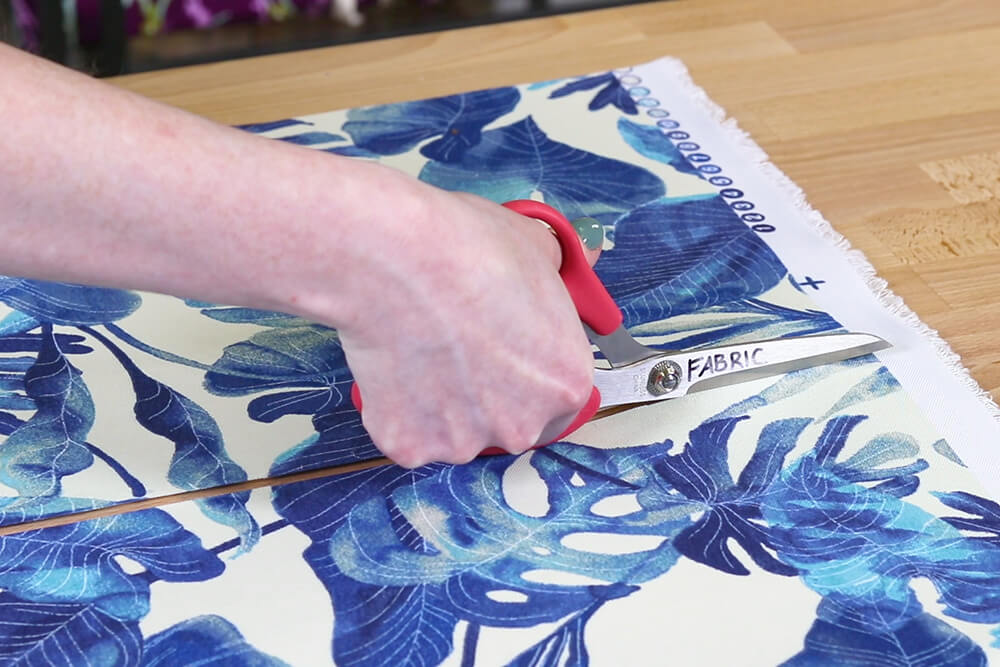
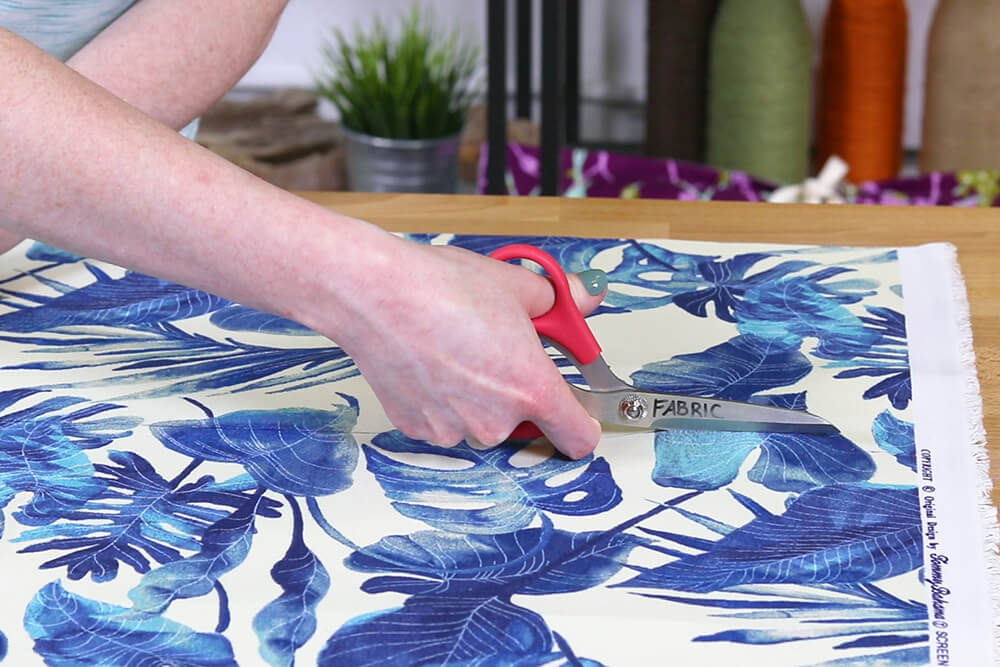
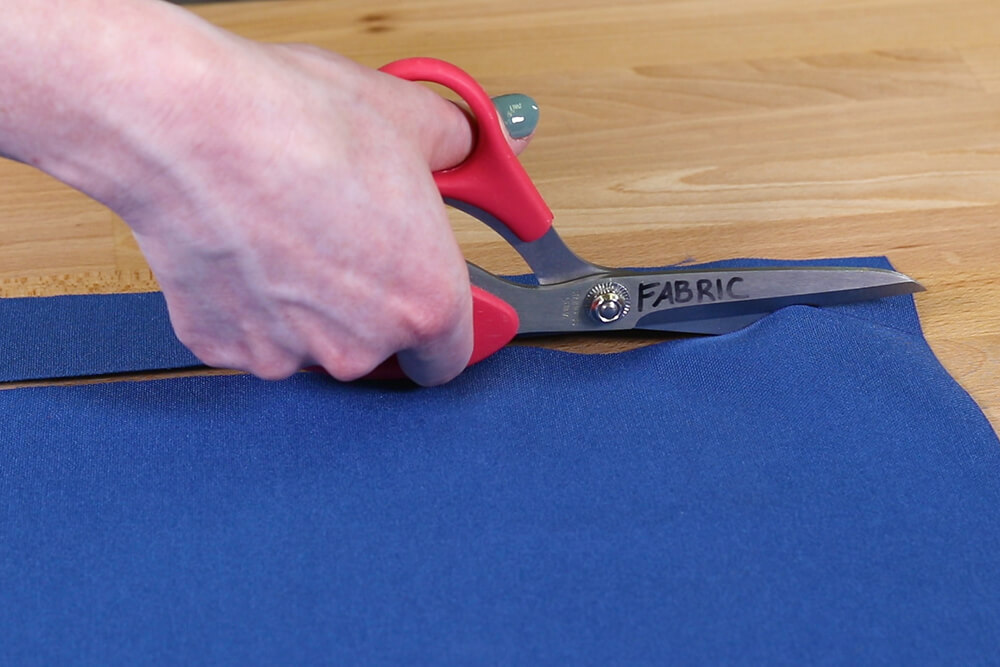
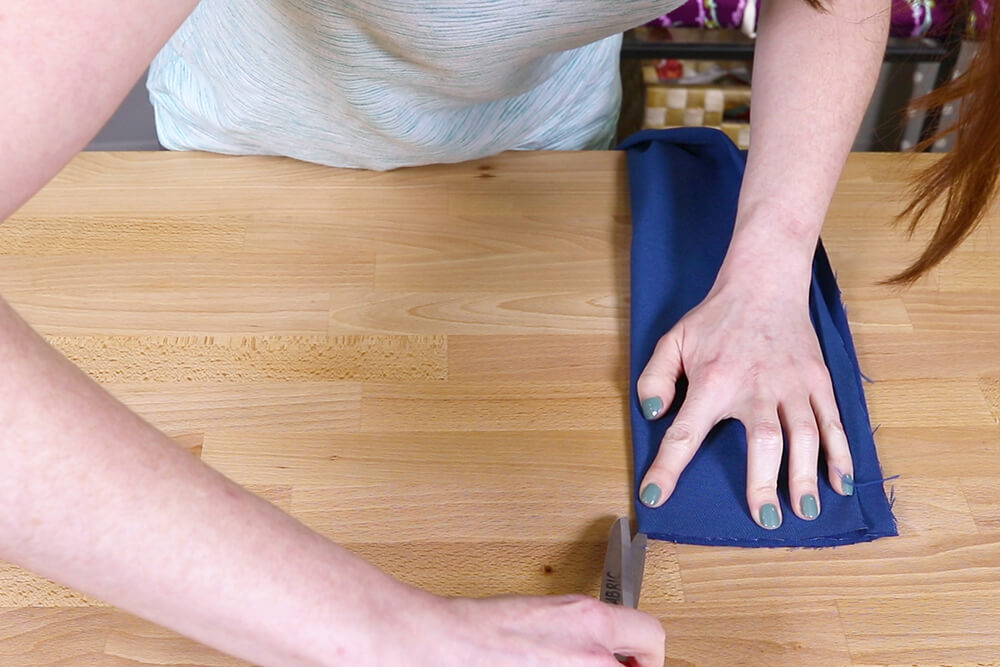
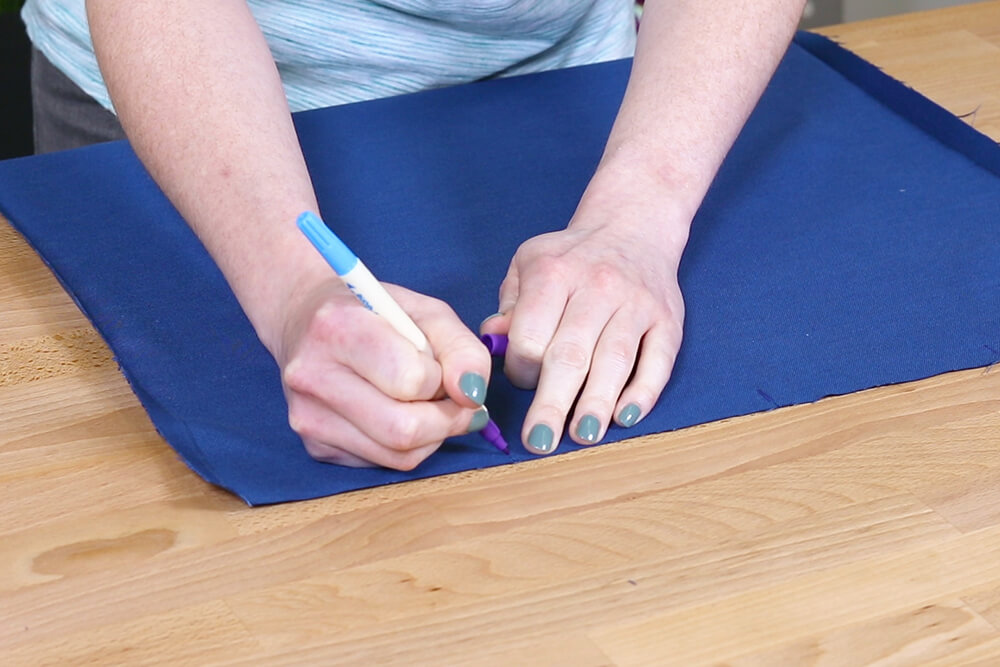
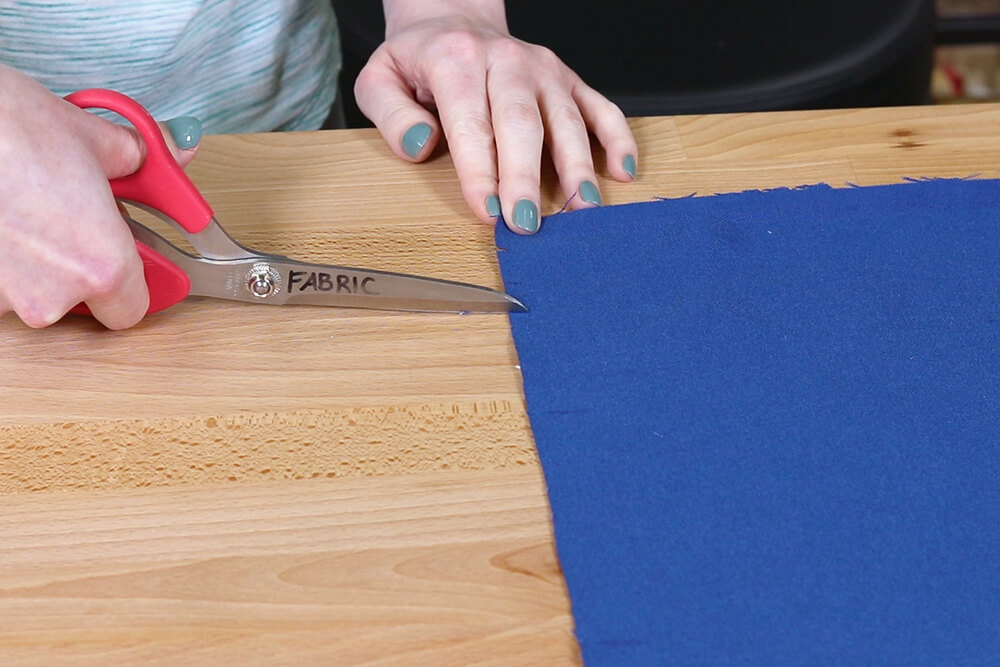
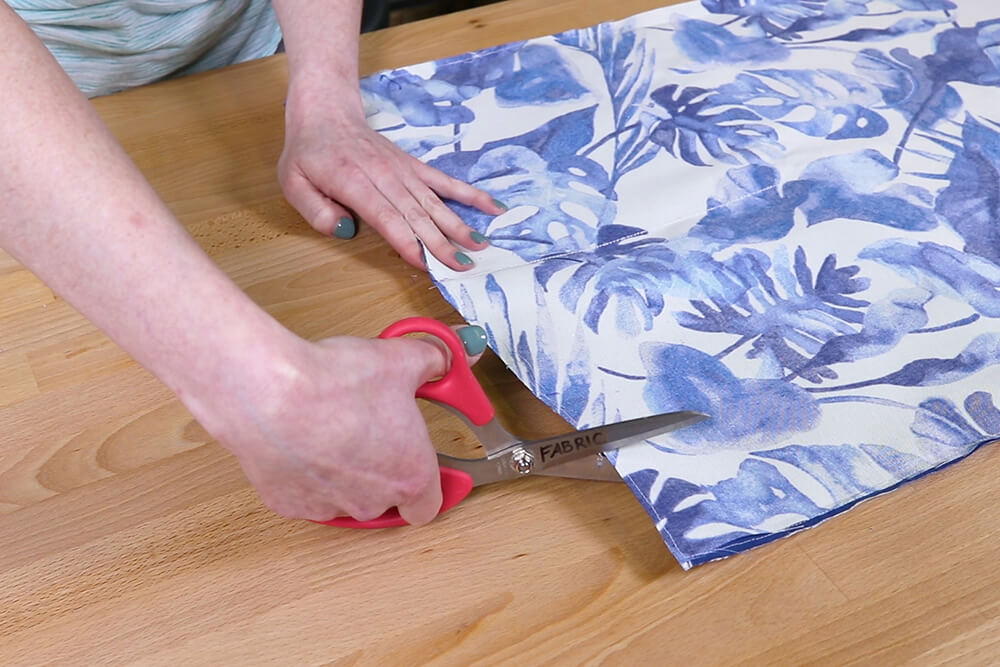
Step 1: Measure & cut the fabric
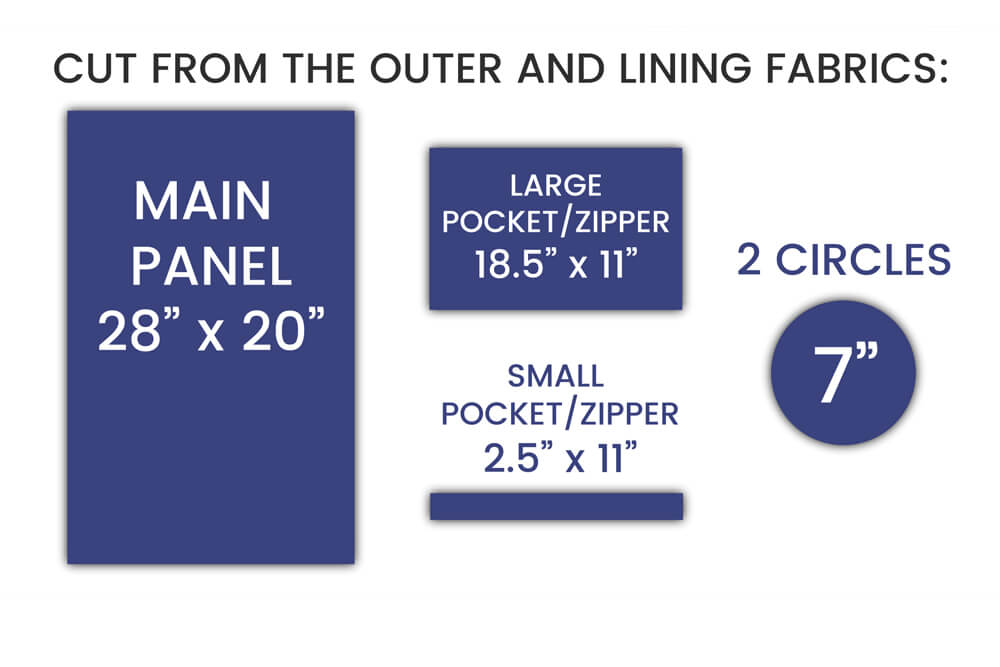
Cut the following pieces out of both the outer and lining fabrics:
- Main panel: 20″ x 28″
- Large pocket/zipper piece:18 ½ x 11
- Small pocket/zipper piece: 2 ½ x 11
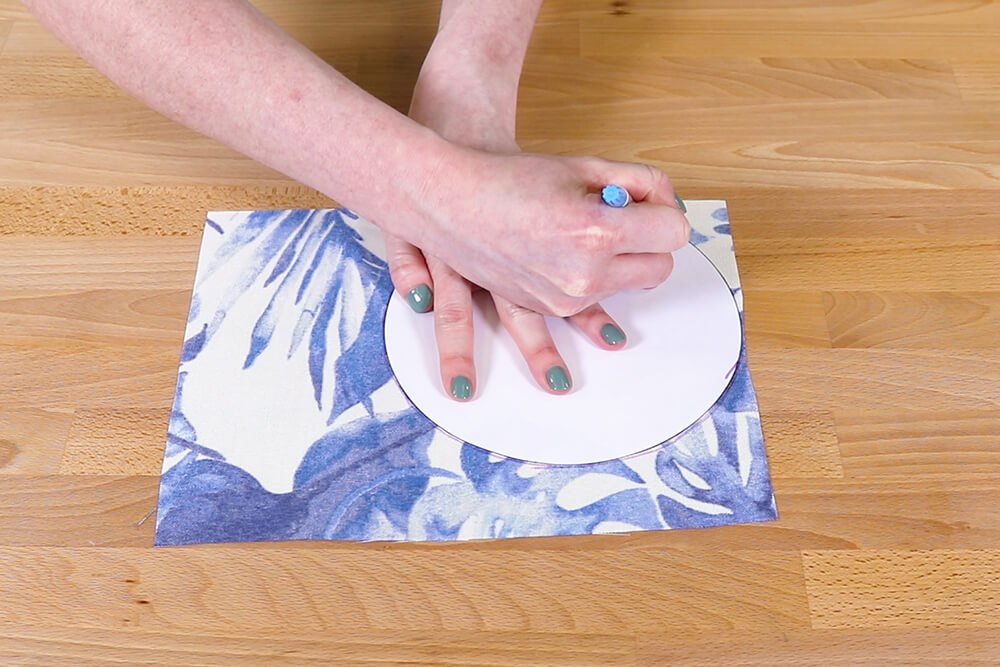
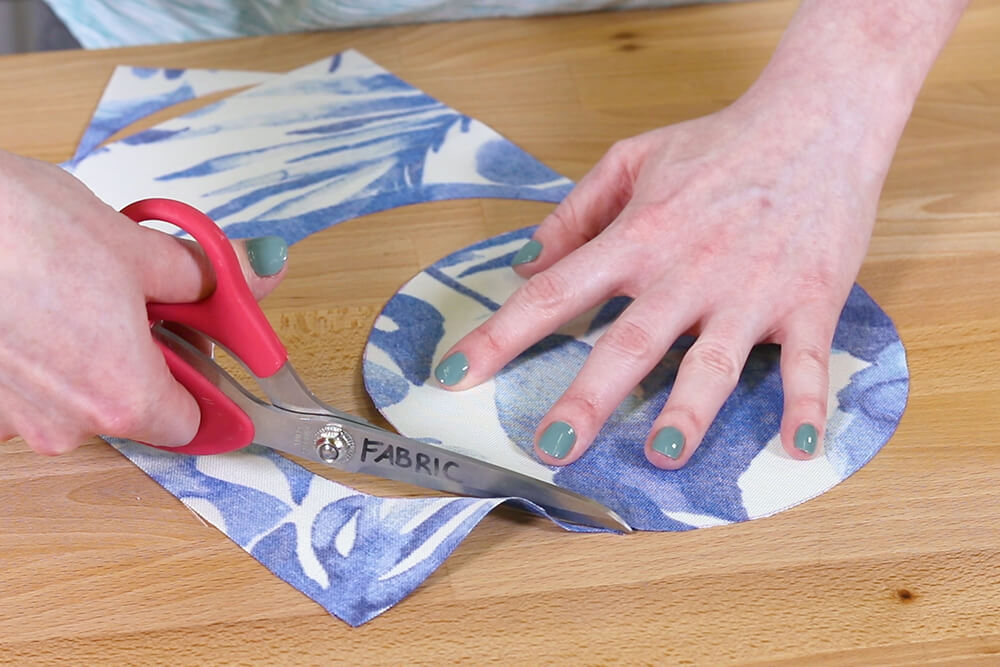
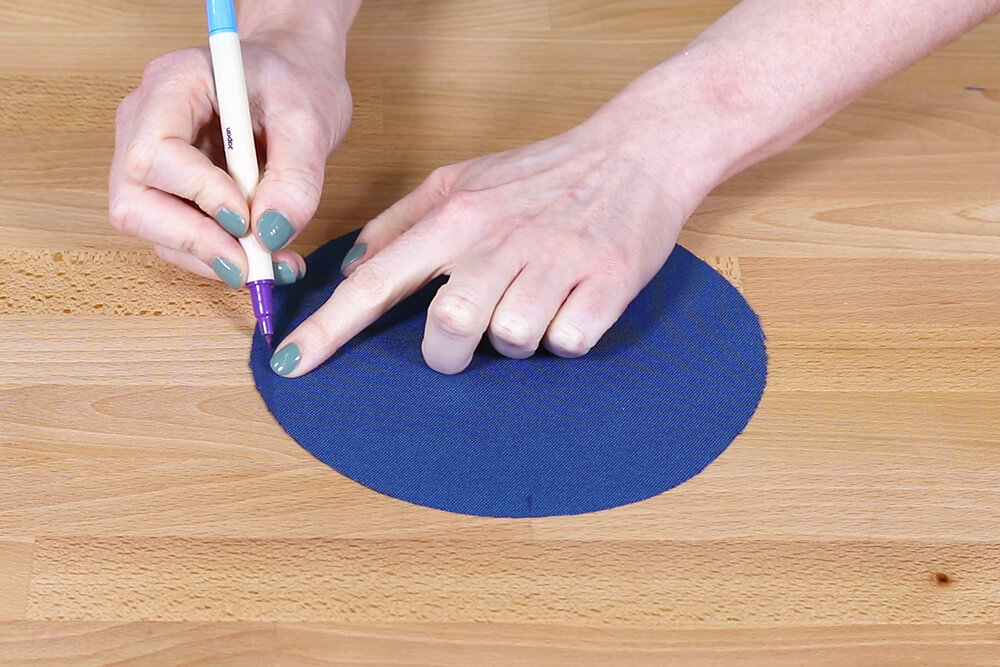
- Two 7″ circles
You can use the provided pattern piece for the circles.
I’m using medium weight outdoor fabric for the outer and lining fabrics. If you use a lighter weight fabric, you may want to use an interfacing to stiffen the fabric.
If you plan on washing your bag, pre-wash and dry your fabric.
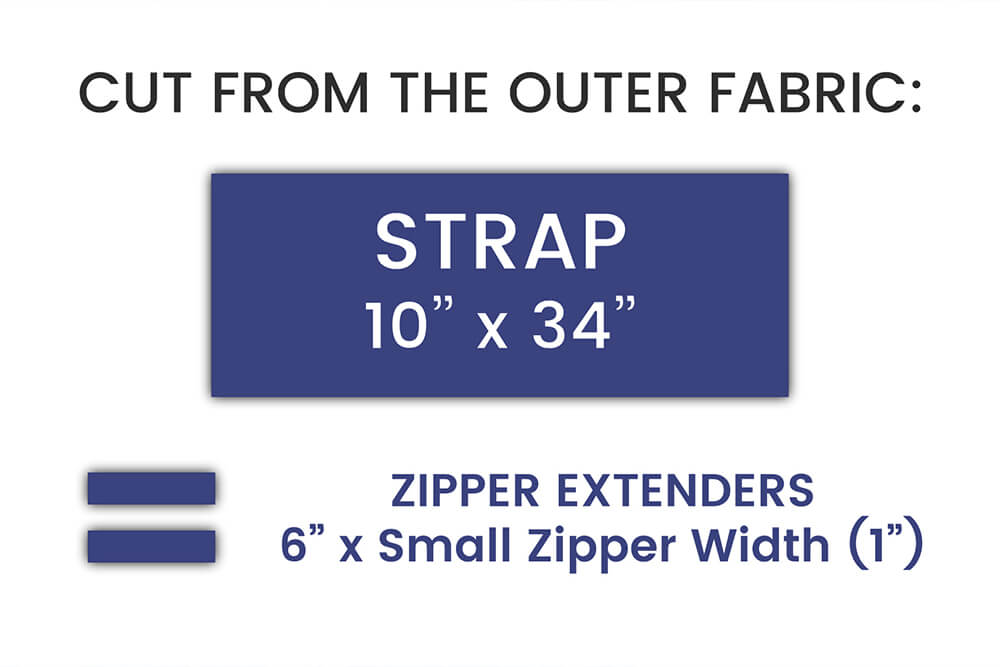
Cut the following from the outer fabric:
- Strap: 10″ x 34″
- 2 zipper extenders: 6″ x 1″ (width of the smaller zipper)
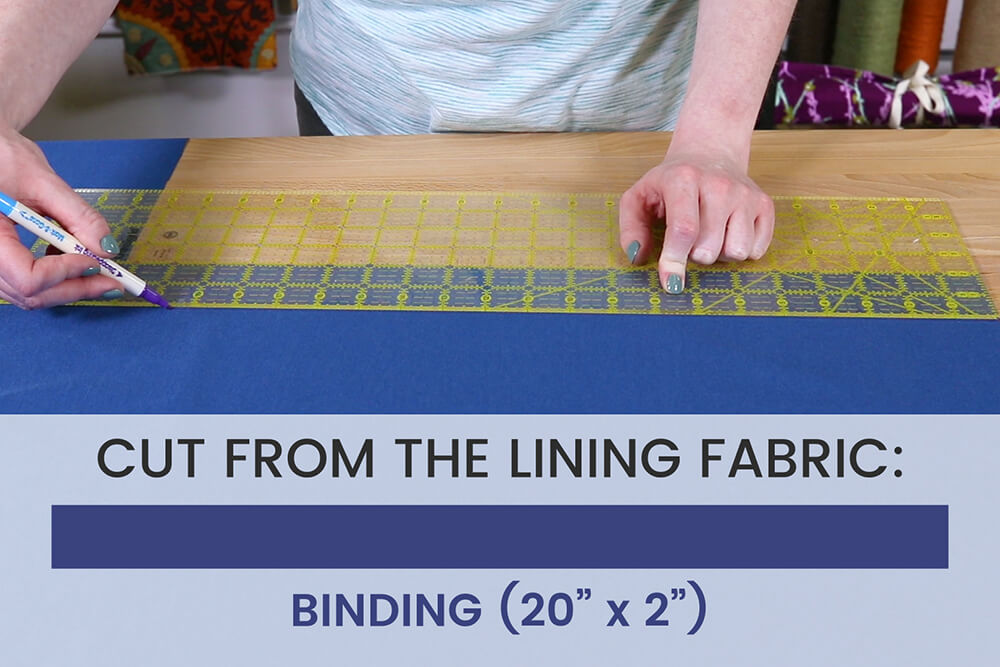
From just the lining, cut the binding, which is 20″ by 2″.
Step 2: Sew the lining
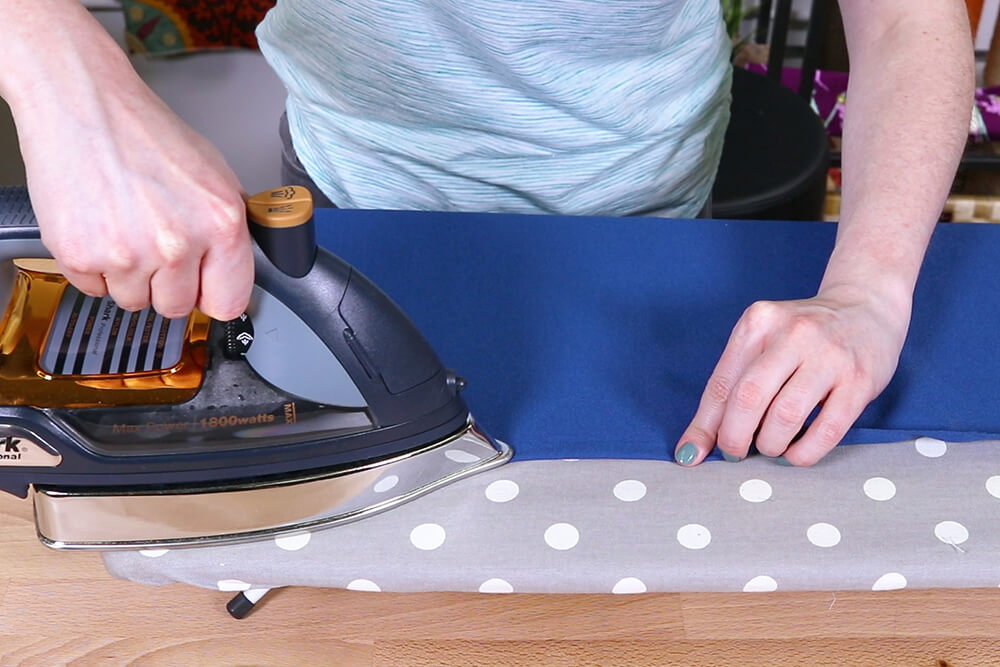
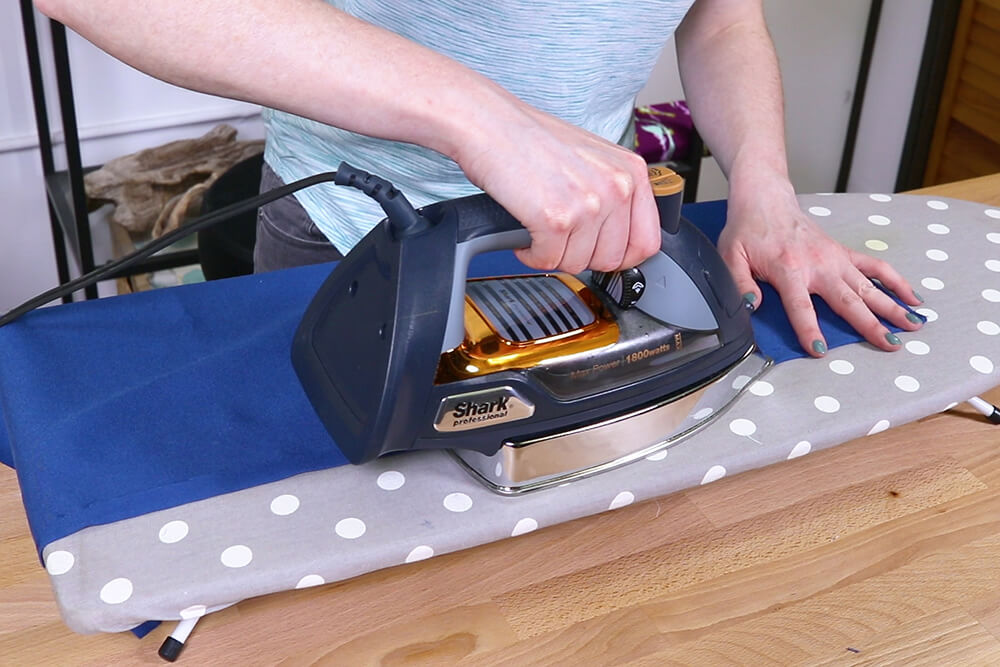
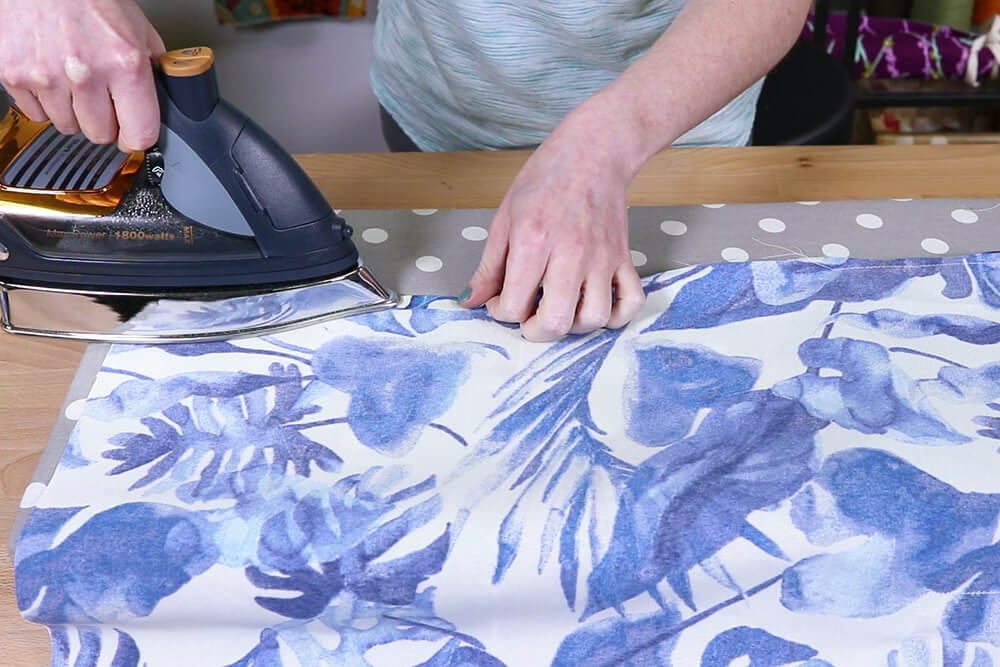
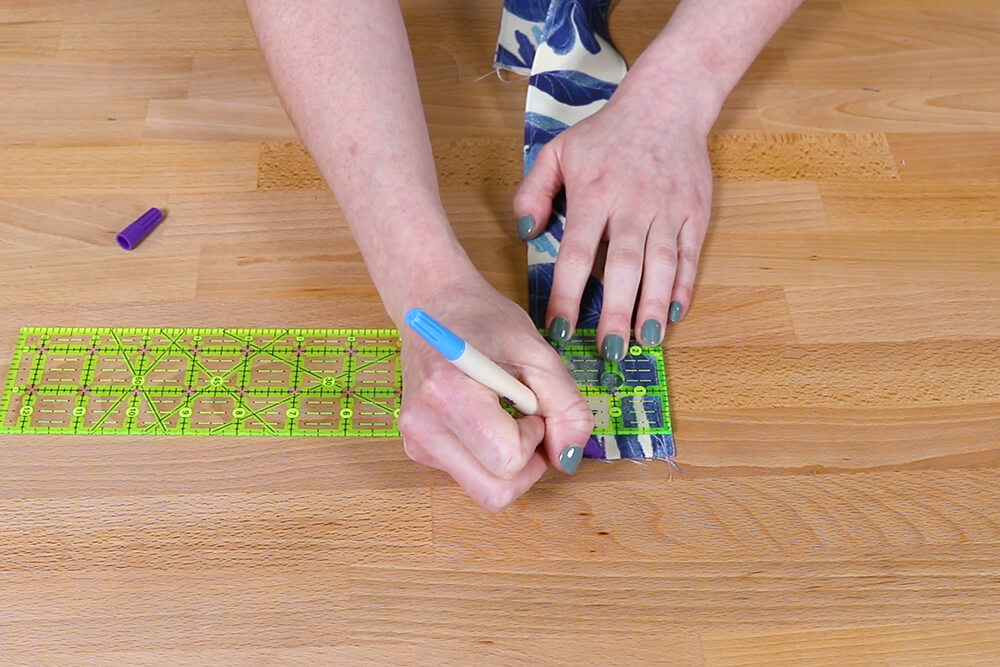
On the long sides of the main panel, iron in the edges ½”.
Fold the shorter sides in half and mark the center point at the crease by making a small snip into the fabric. Fold in half again not counting the ½” at the ends and snip at the quarter points. Repeat on the other end.
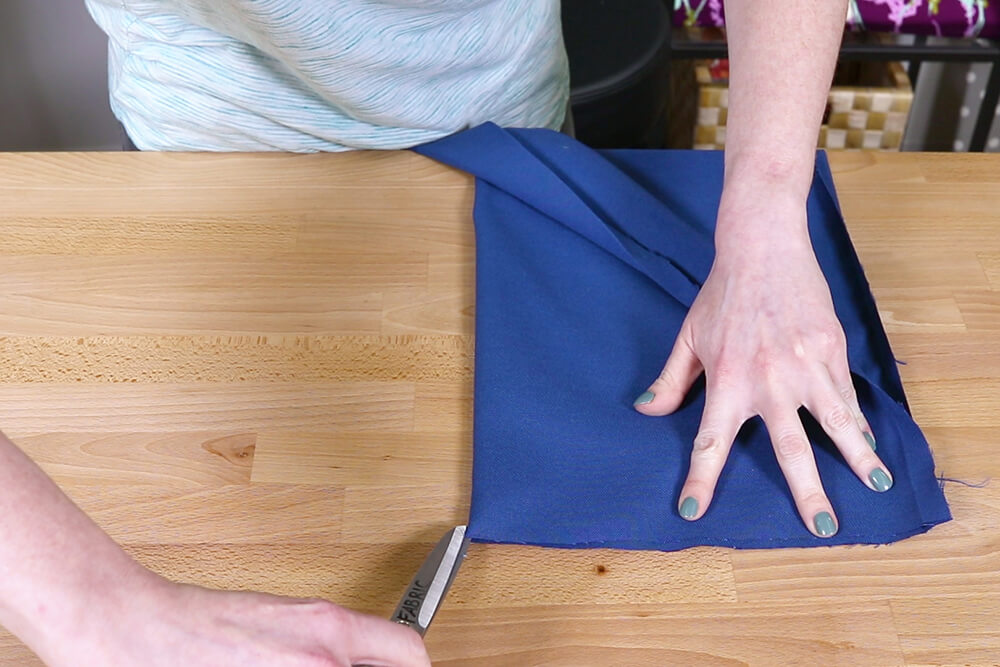
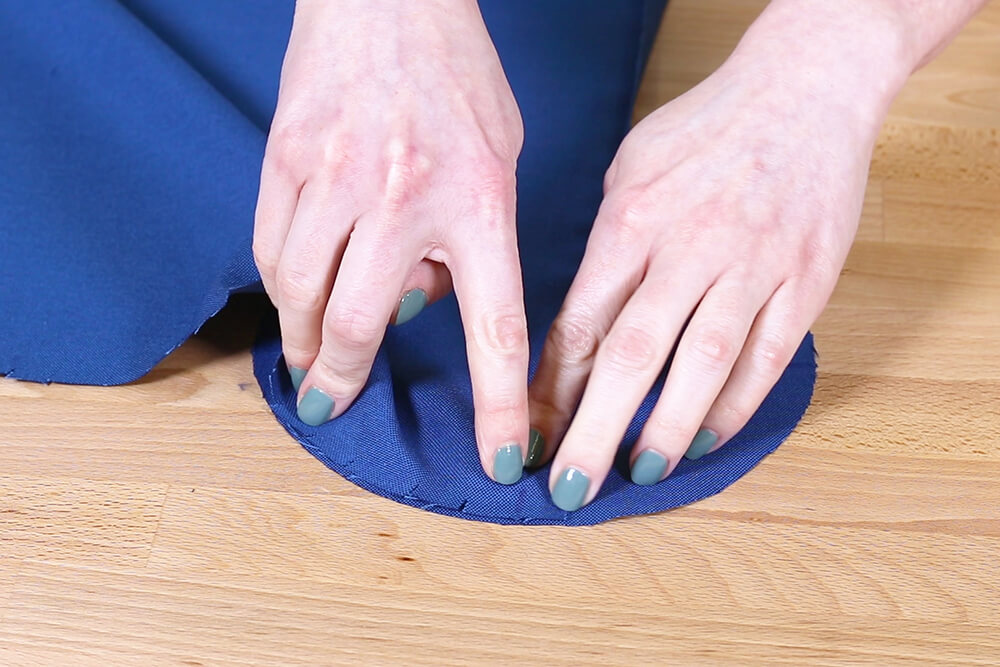
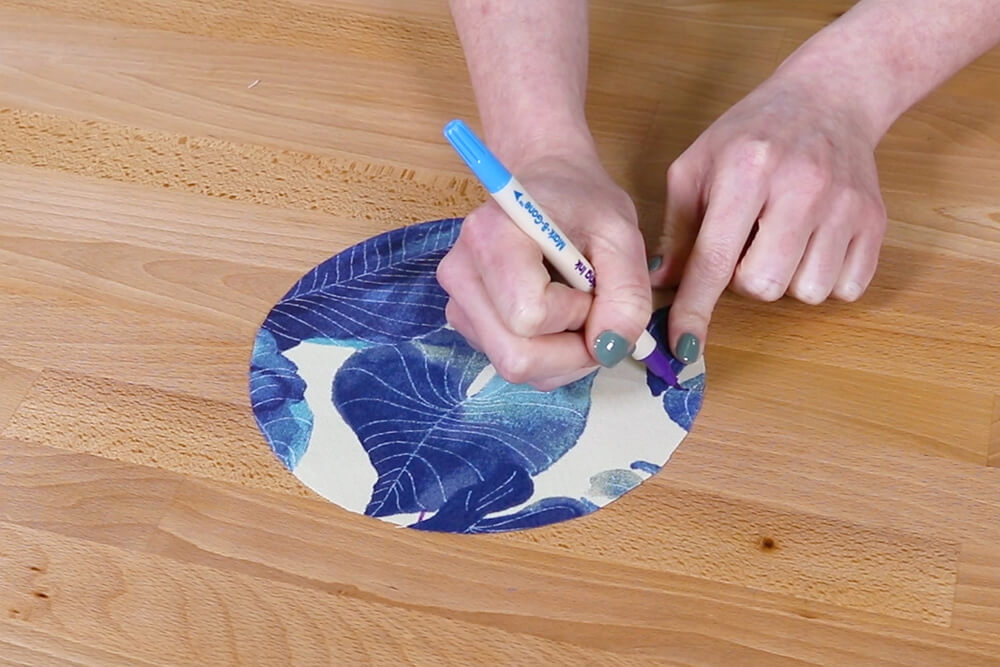
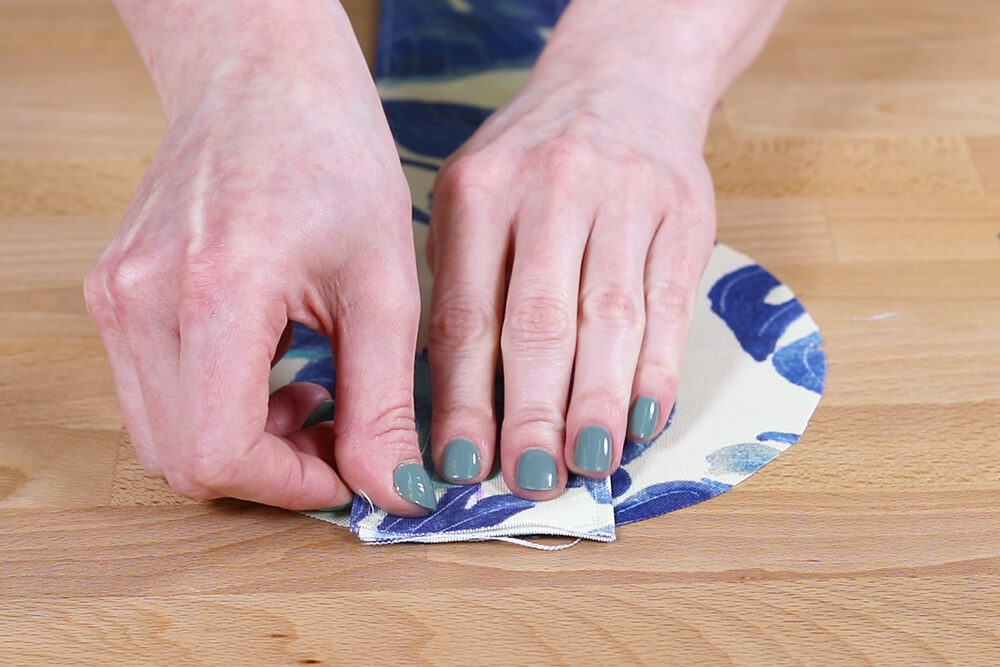
Find the quarter points of the circle by folding in half and snipping, then folding in half again and snip. Do the same thing for the other circle.
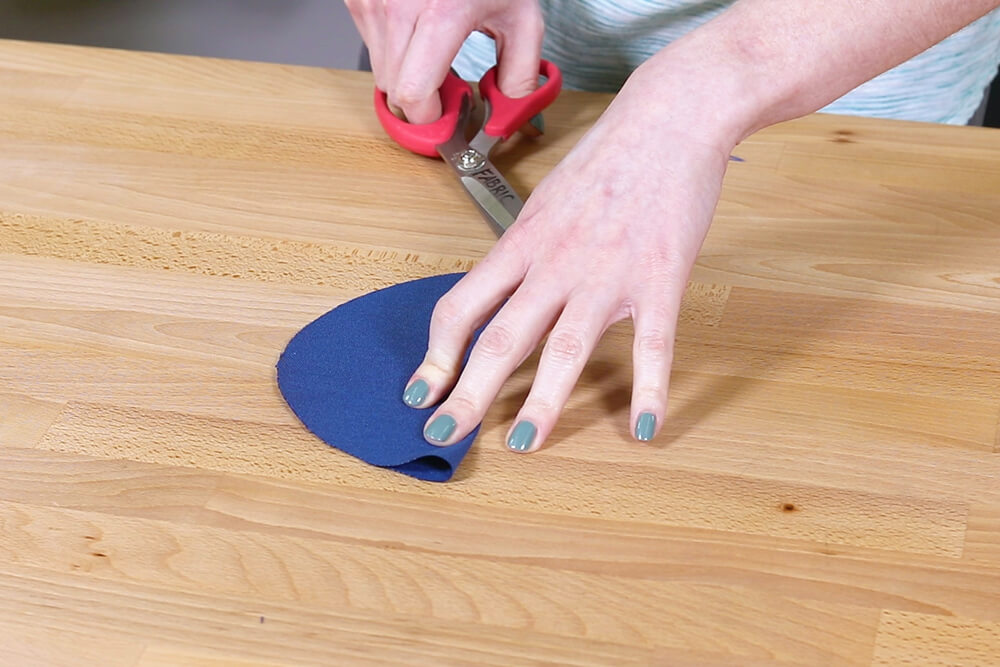
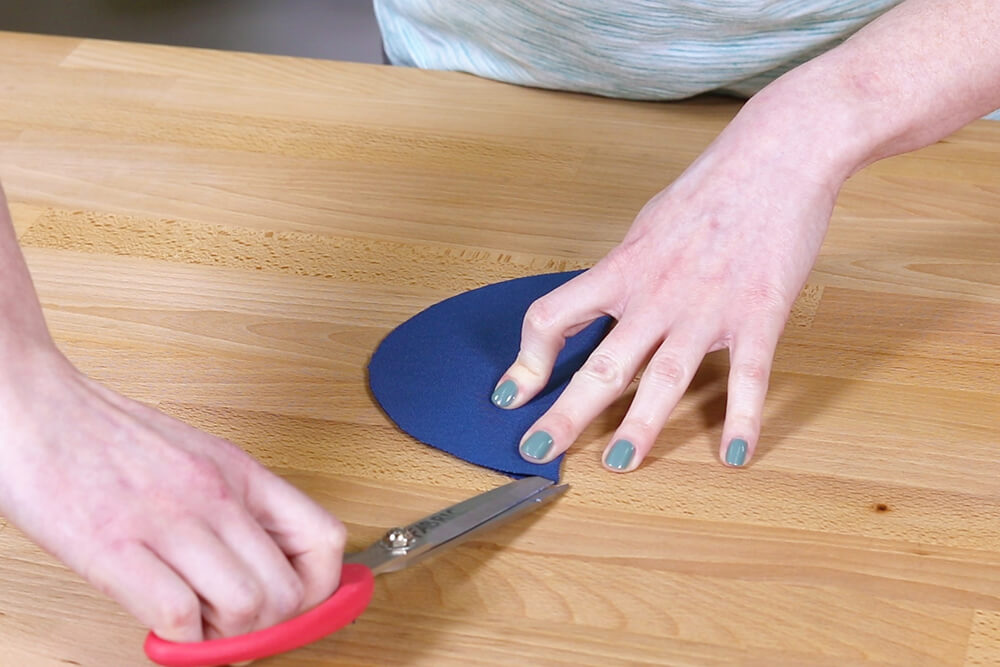
Mark all the snips on the front of the circle and back of the main panel.
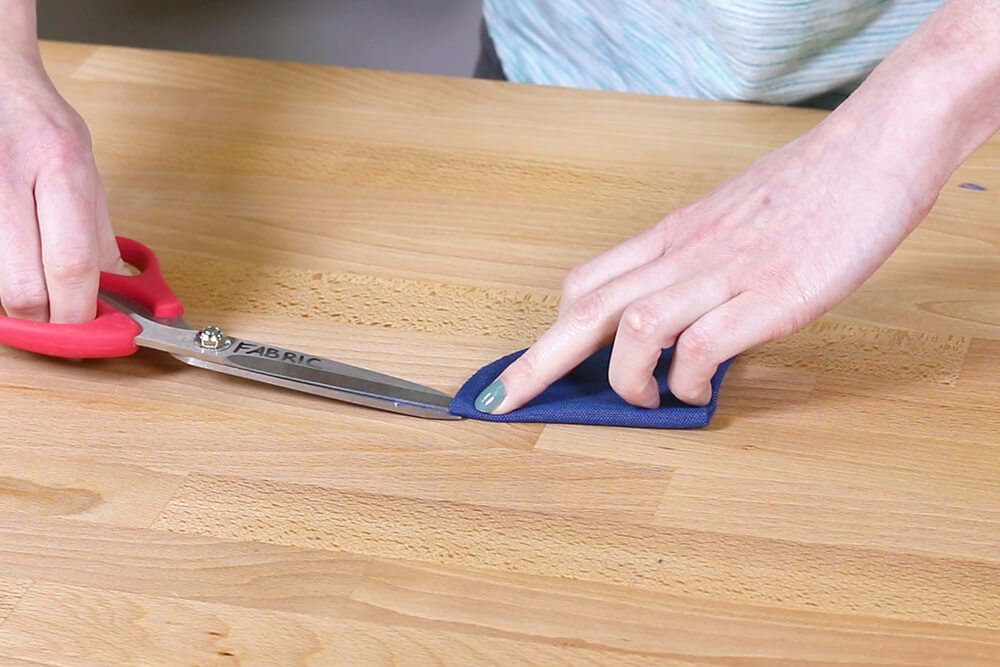
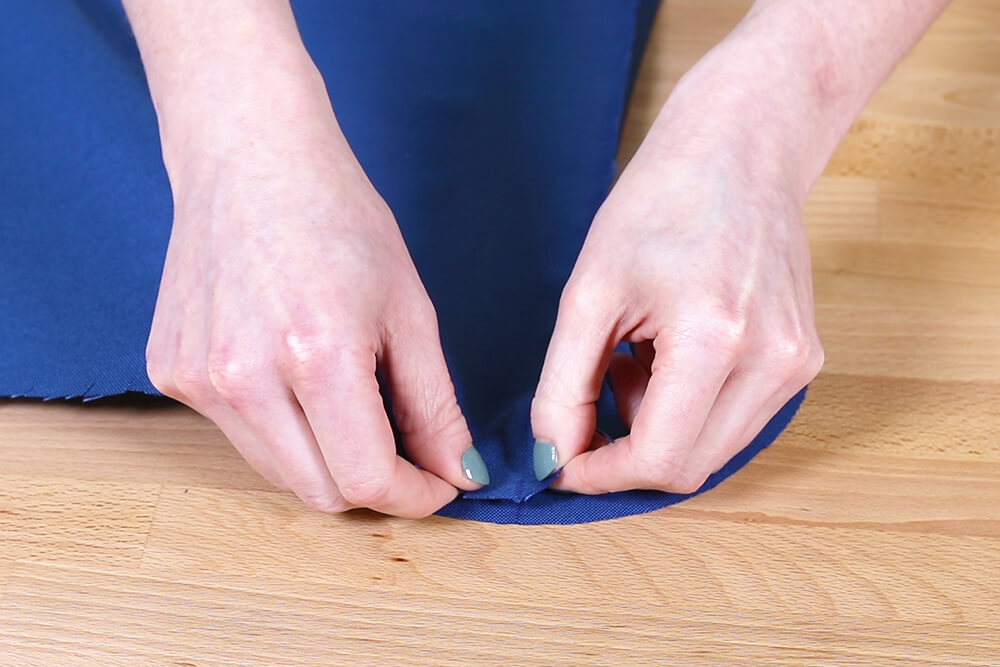
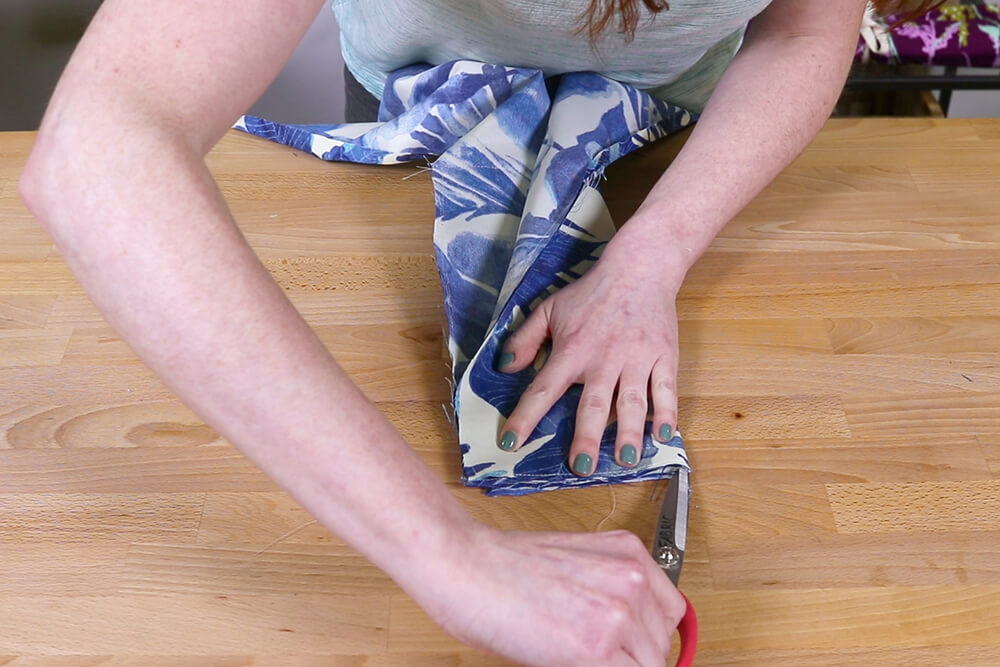
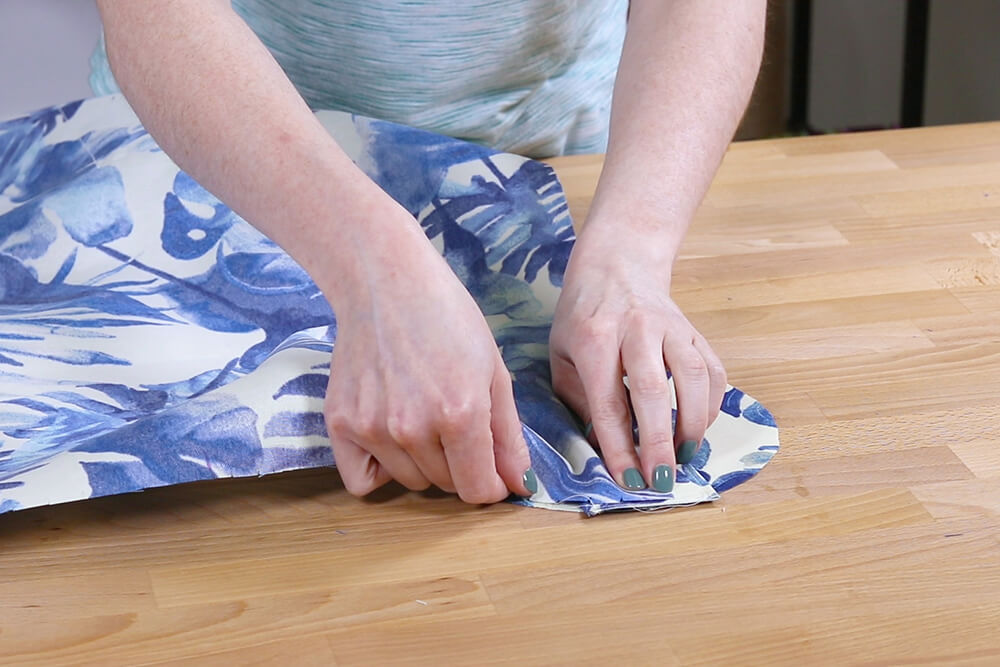
Cut into the shorter sides of the main piece about a quarter of an inch deep and ½” apart. This makes it easier to sew around the circle.
Place the circle and corner of the main panel together with right sides facing. One of the marks on the circle should line up with the ½” crease on the panel.
Start to sew around the circle with a ½” seam allowance. Back stitch at the beginning and end. Match up the quarter marks as you go.
Repeat for the other end.
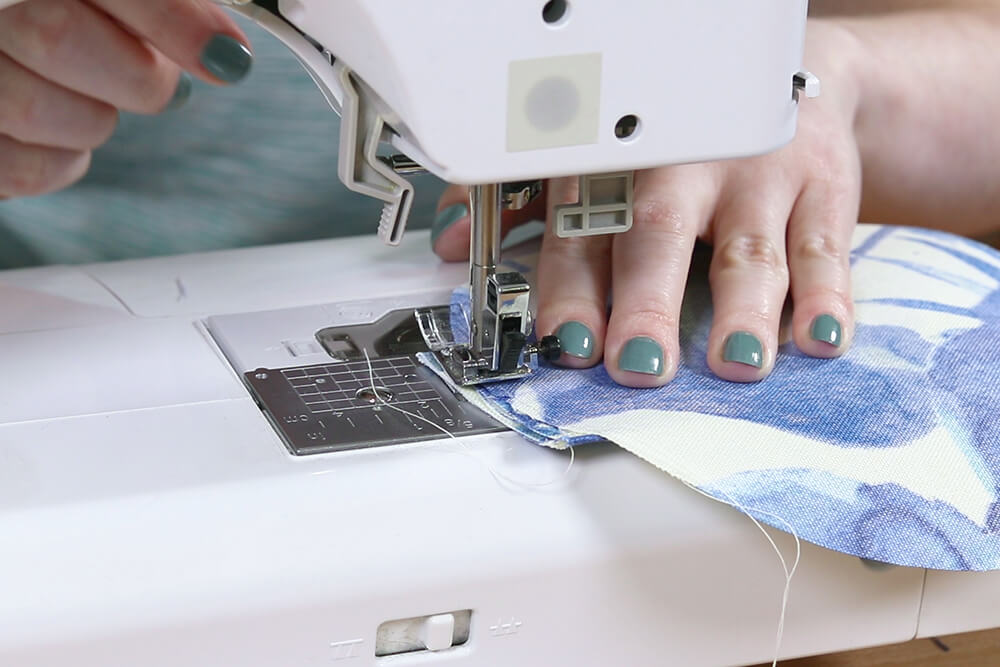
Step 3: Make the pocket & zipper panel
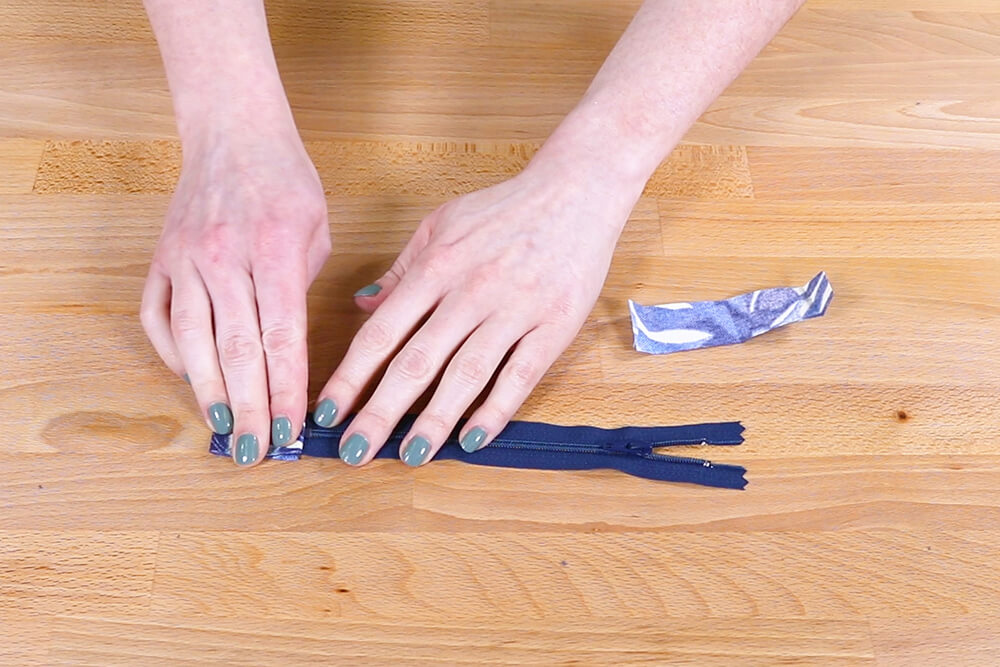
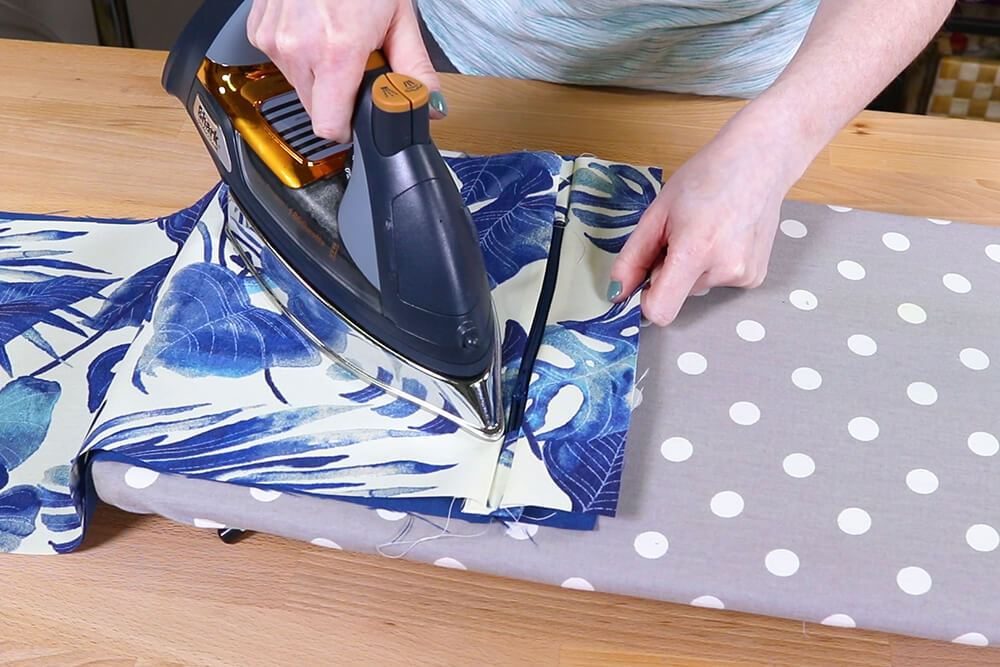
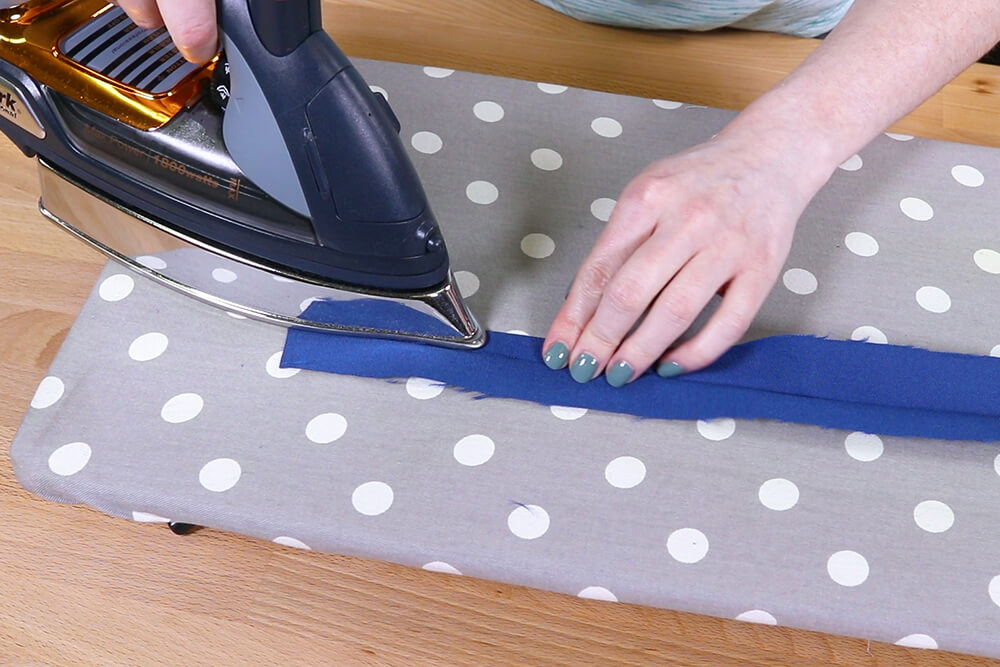
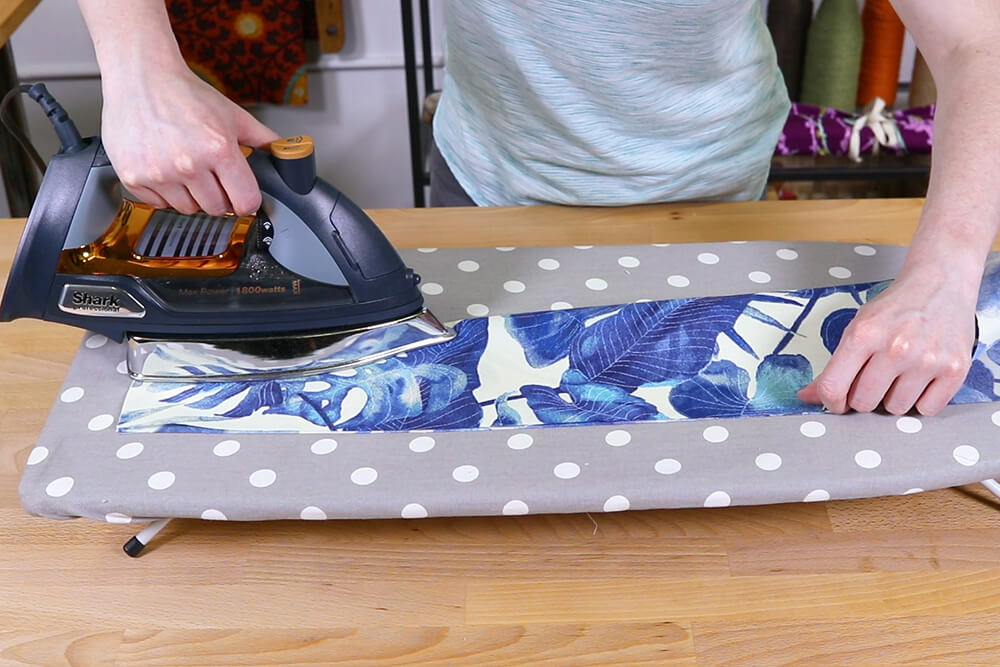
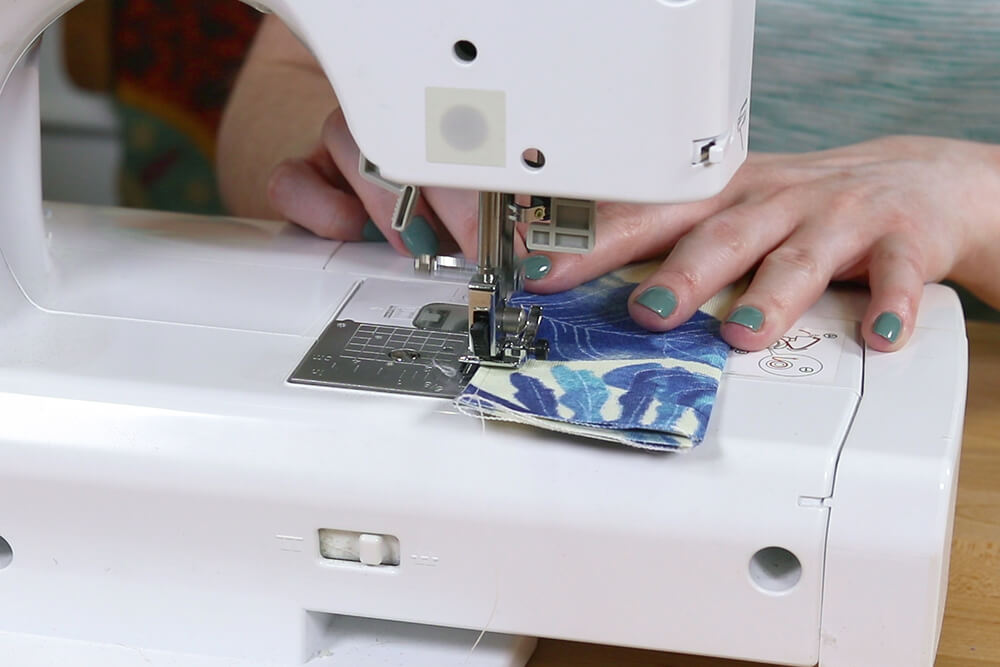
Iron the zipper extenders in half and press the ends in ½”.
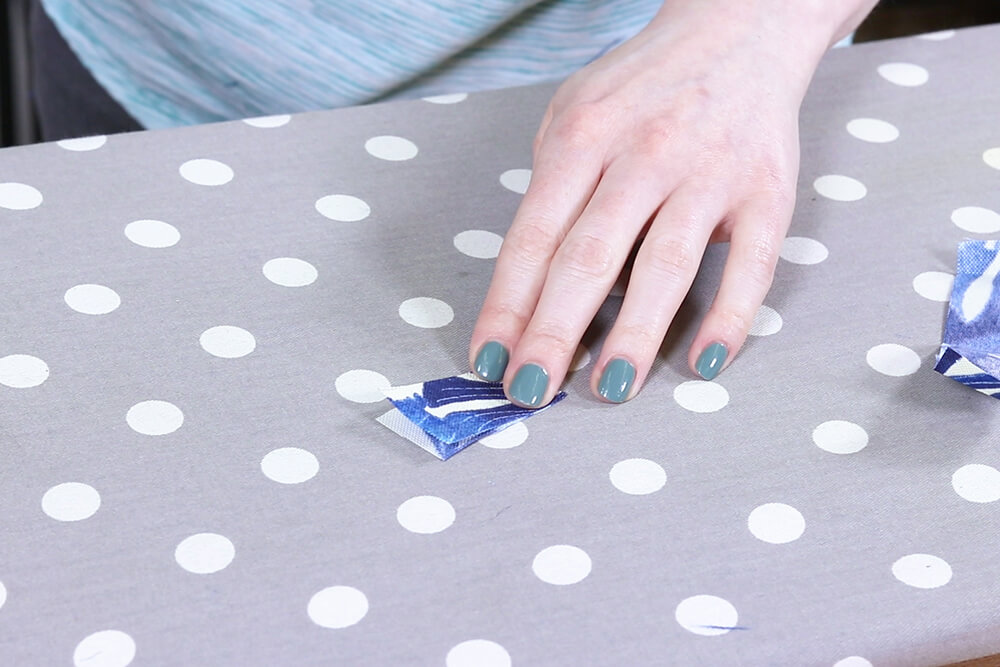
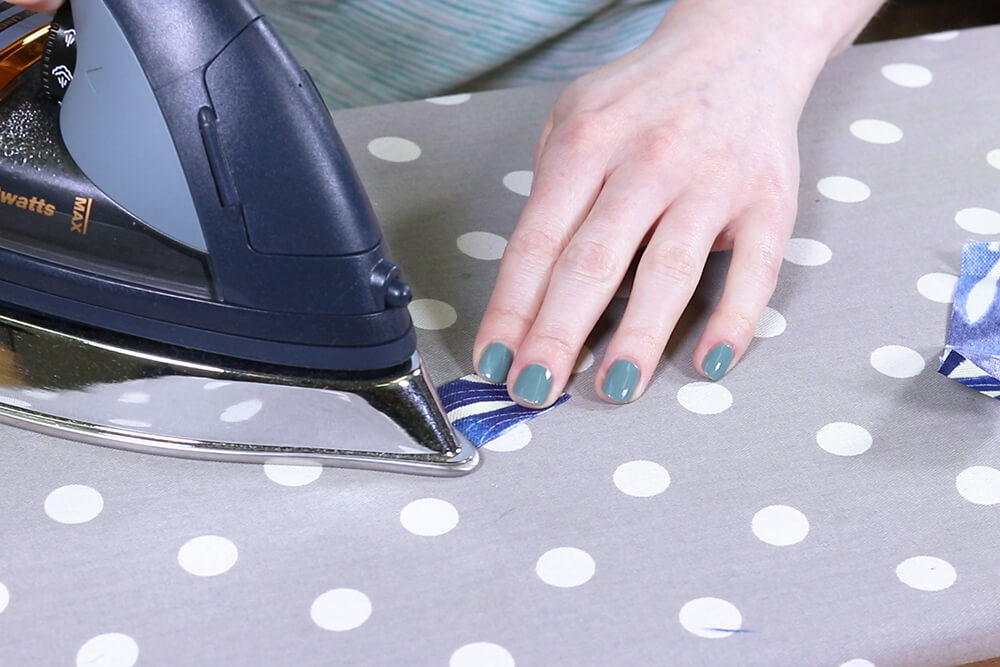
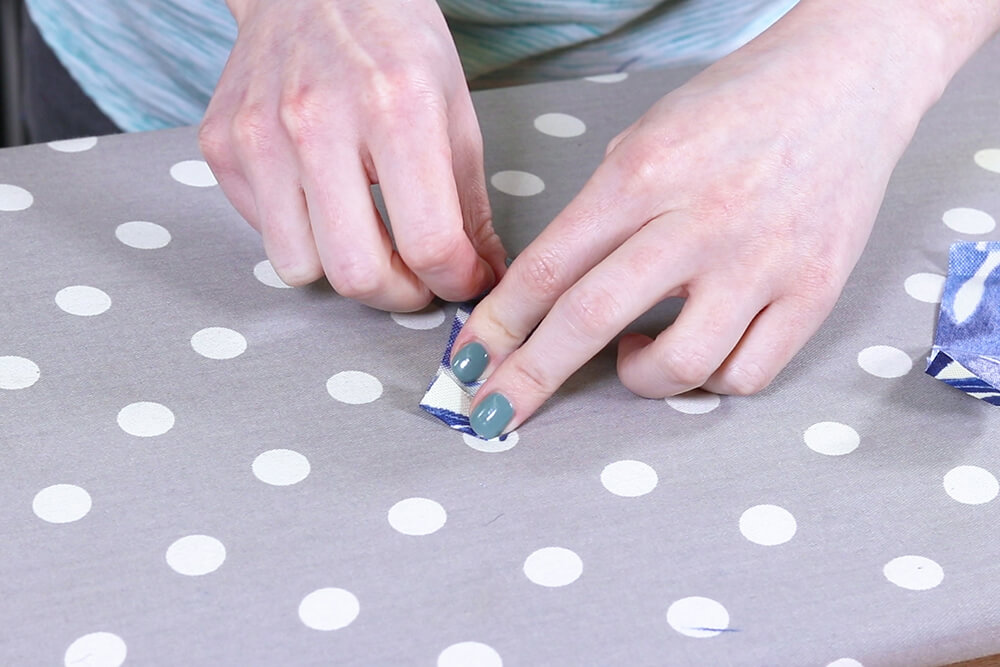
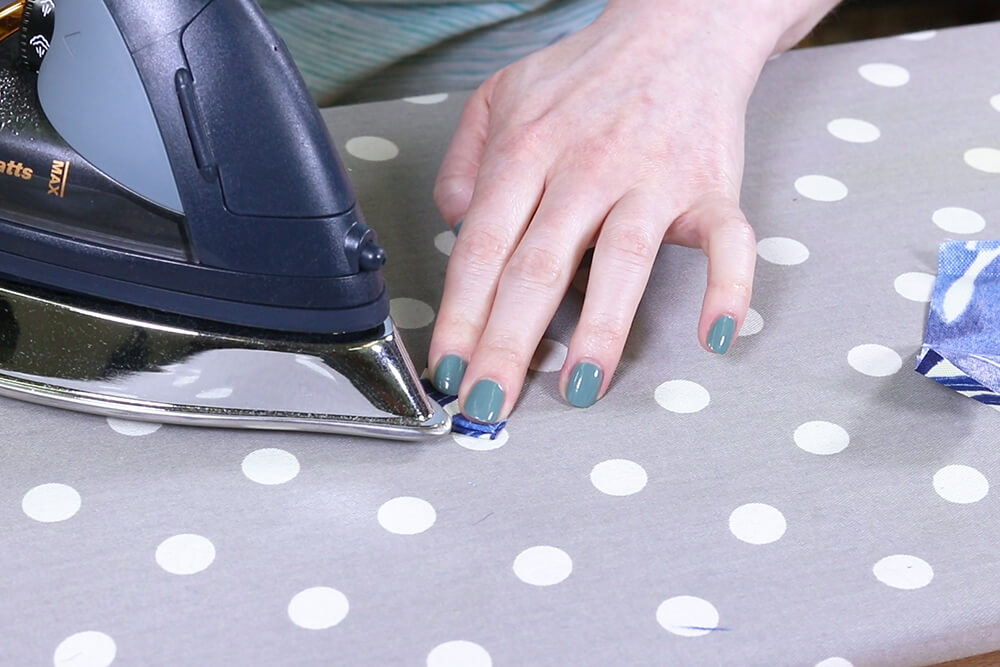
Sew the folded sides to the ends of the zipper.
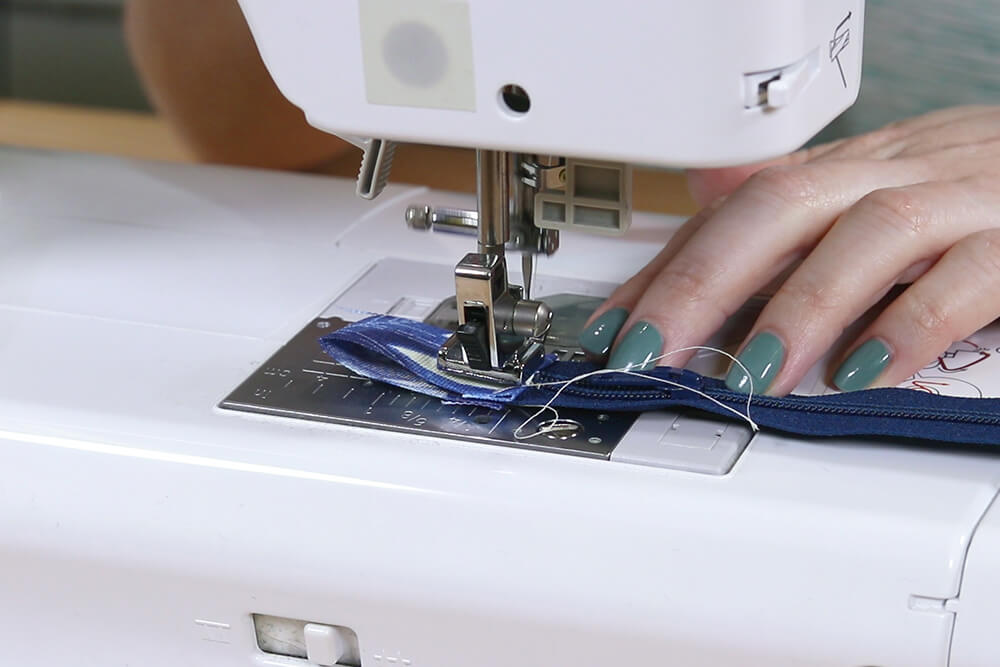
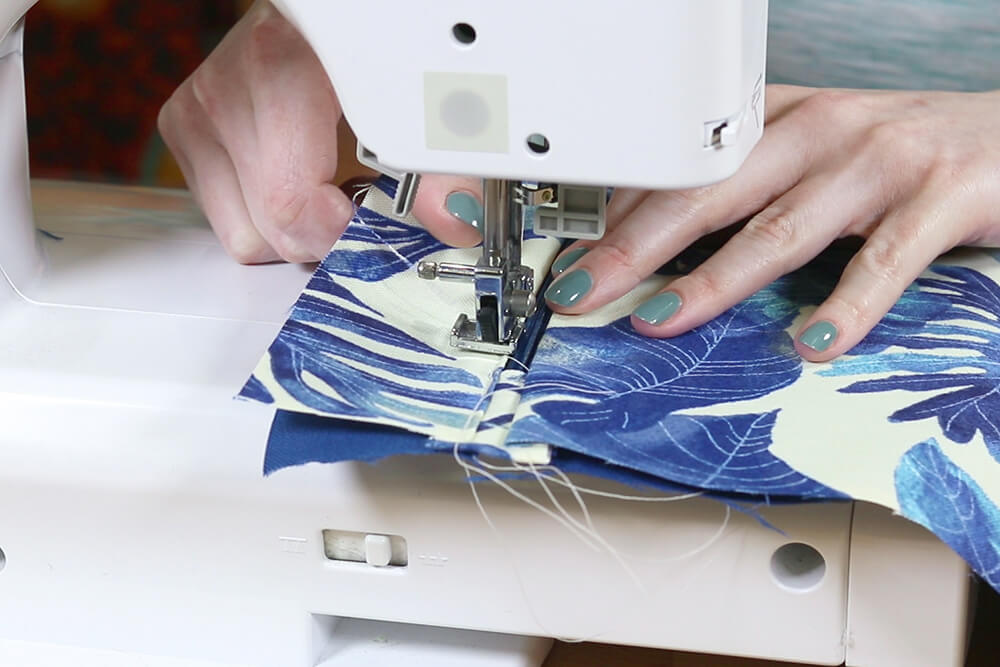
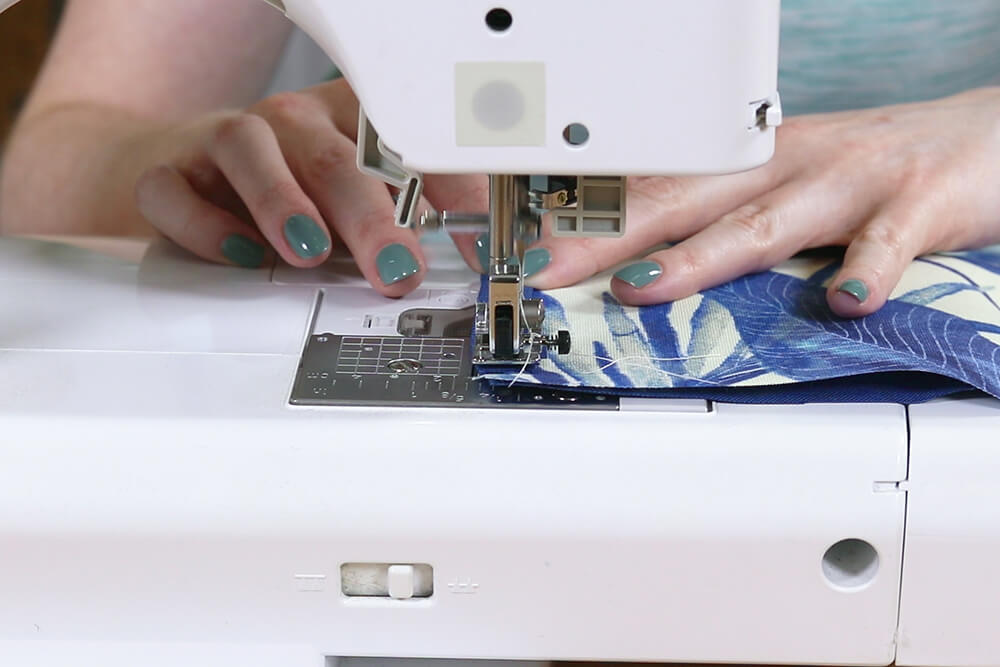
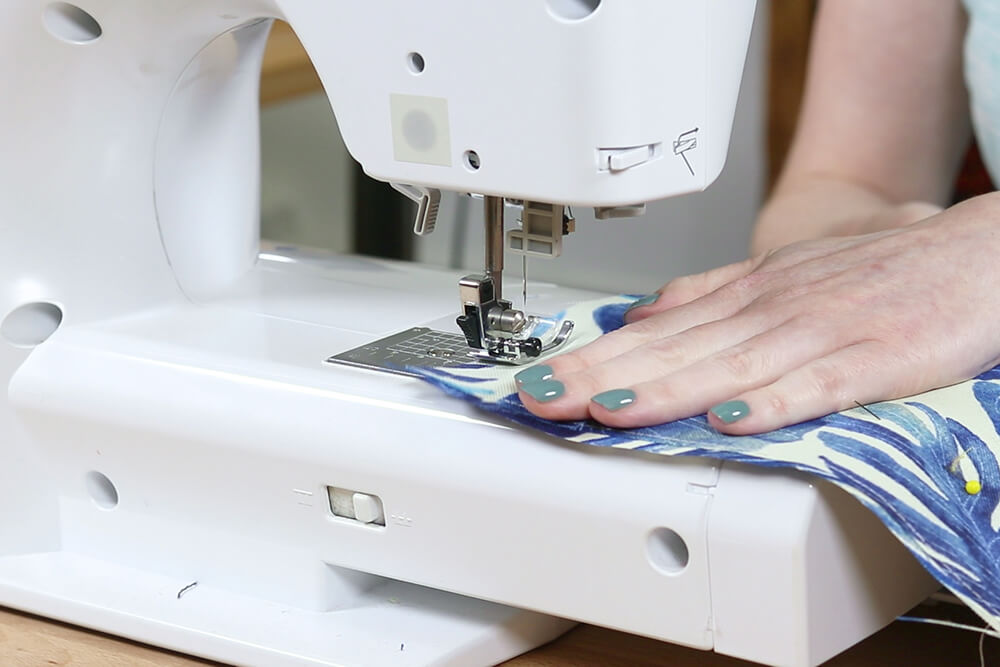
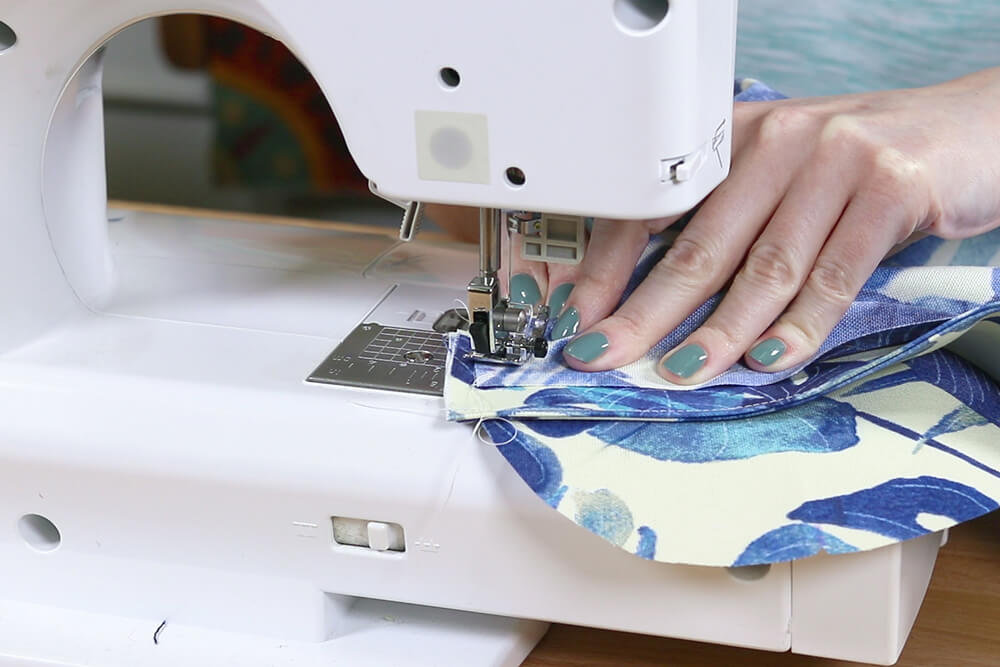
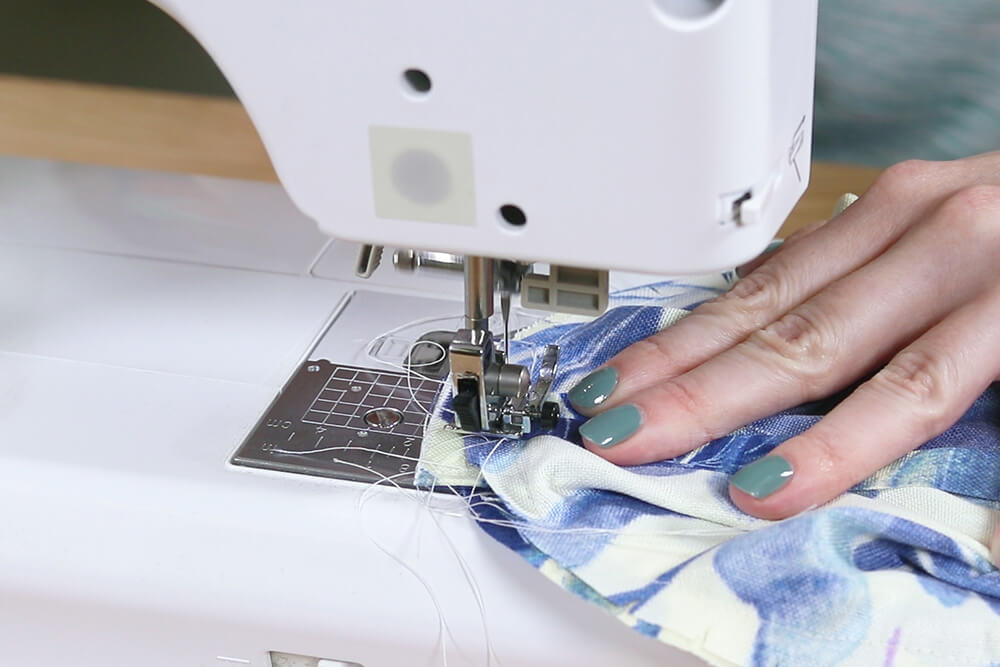
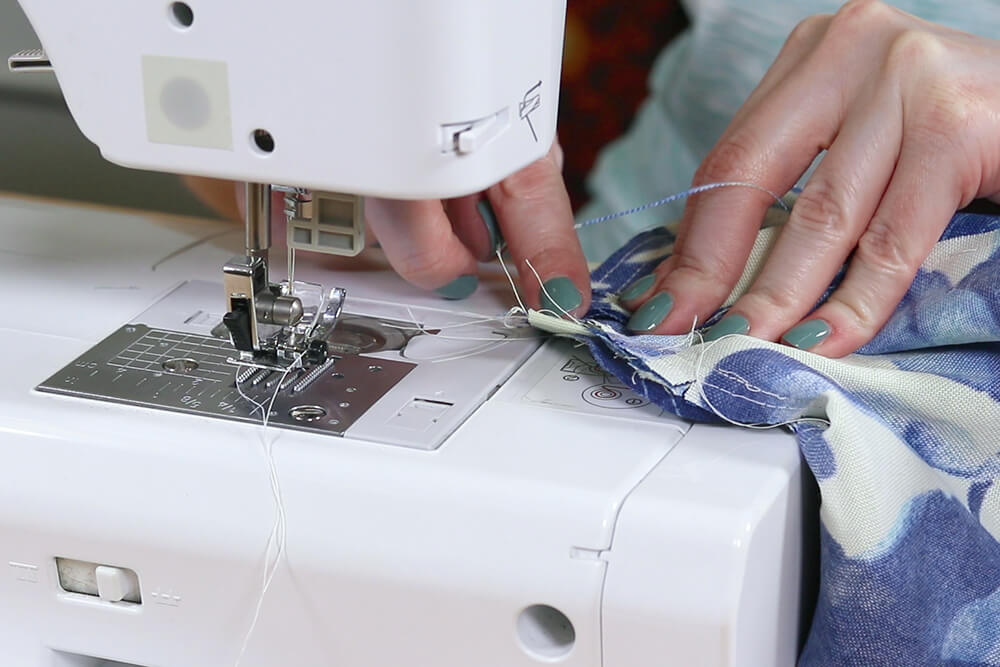
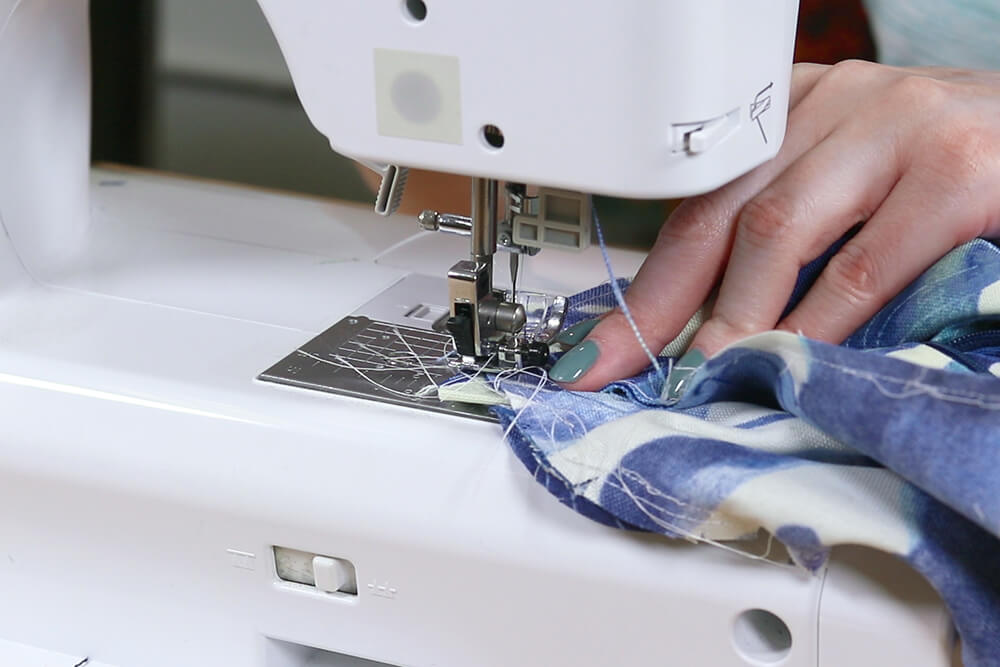
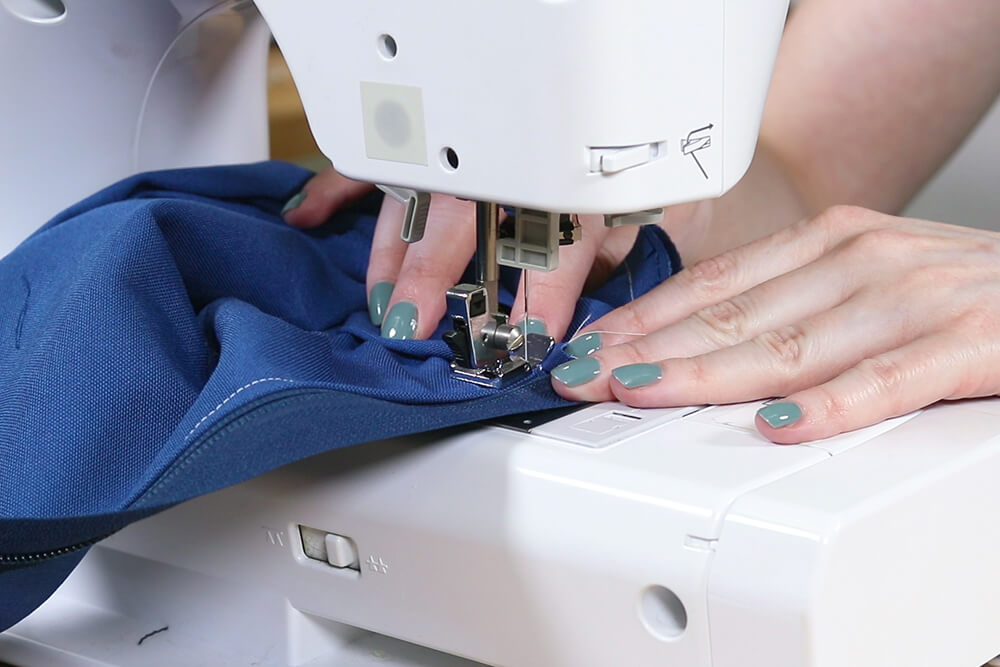
Place the zipper between the 2 ½ x 11 pieces so that the edges line up. The lining and zipper should be facing up with the outer fabric facing down.
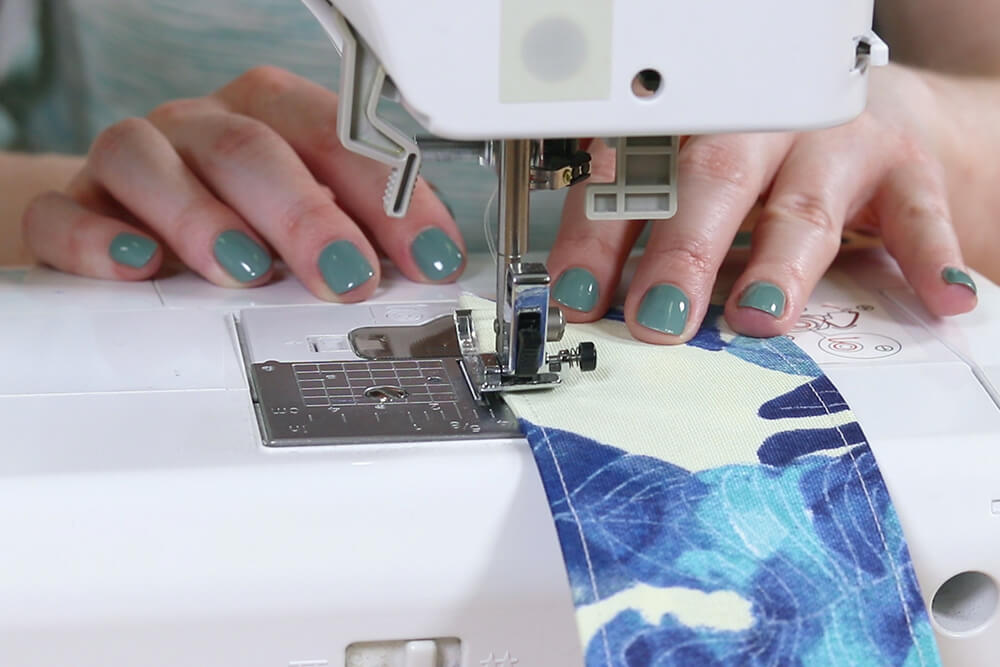
With the zipper foot on your sewing machine, sew down the edge close to the zipper. When you get close to the zipper pull, lift the needle and presser foot, move the zipper pull up, then continue sewing to the end.

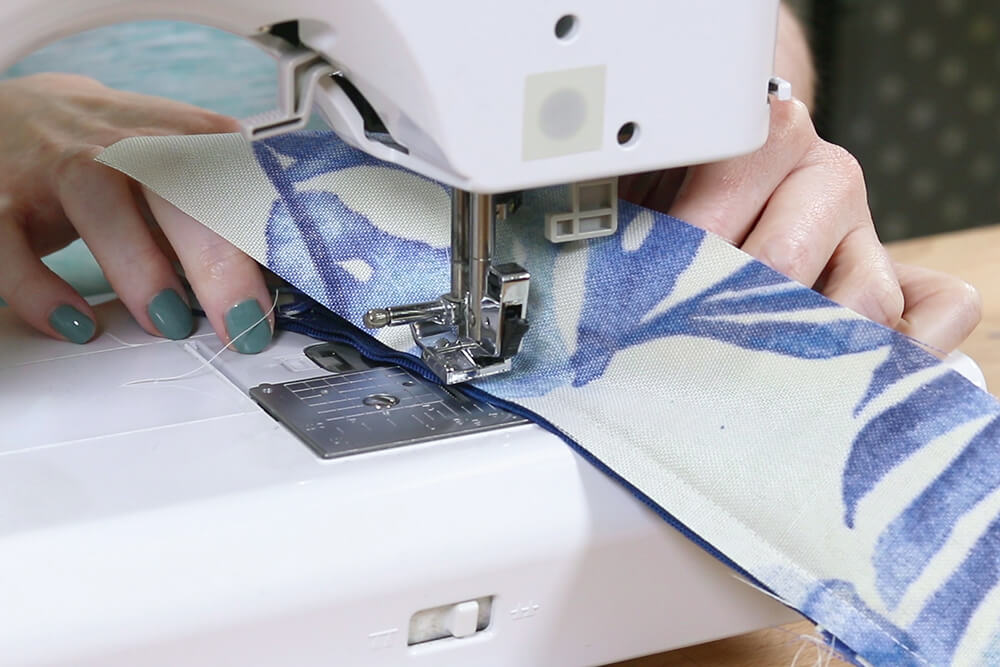

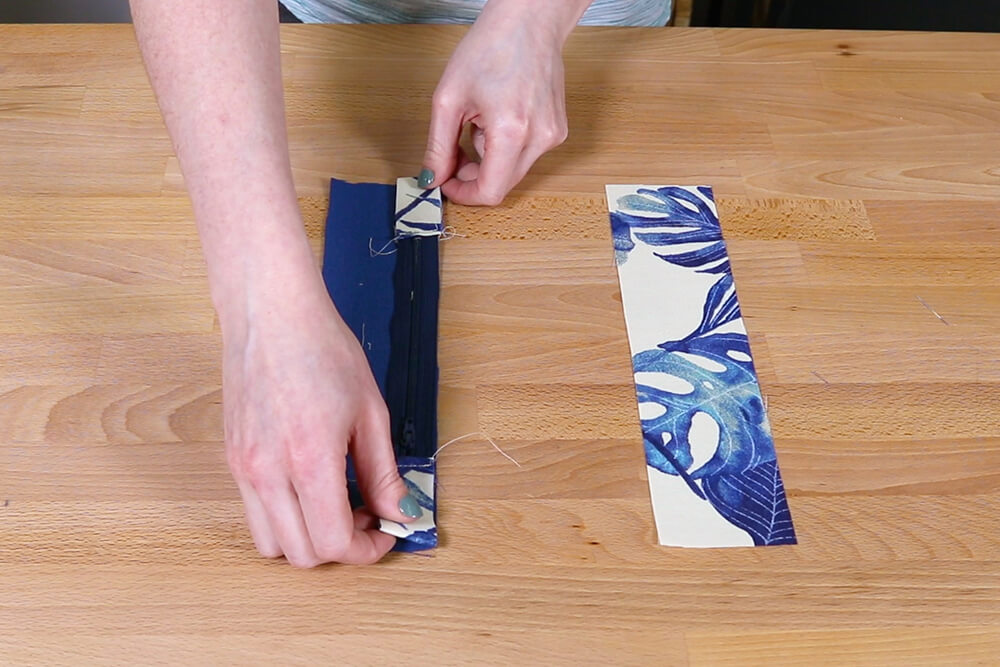
Repeat to sew the other side of the zipper to the 18 ½ x 11” pieces.
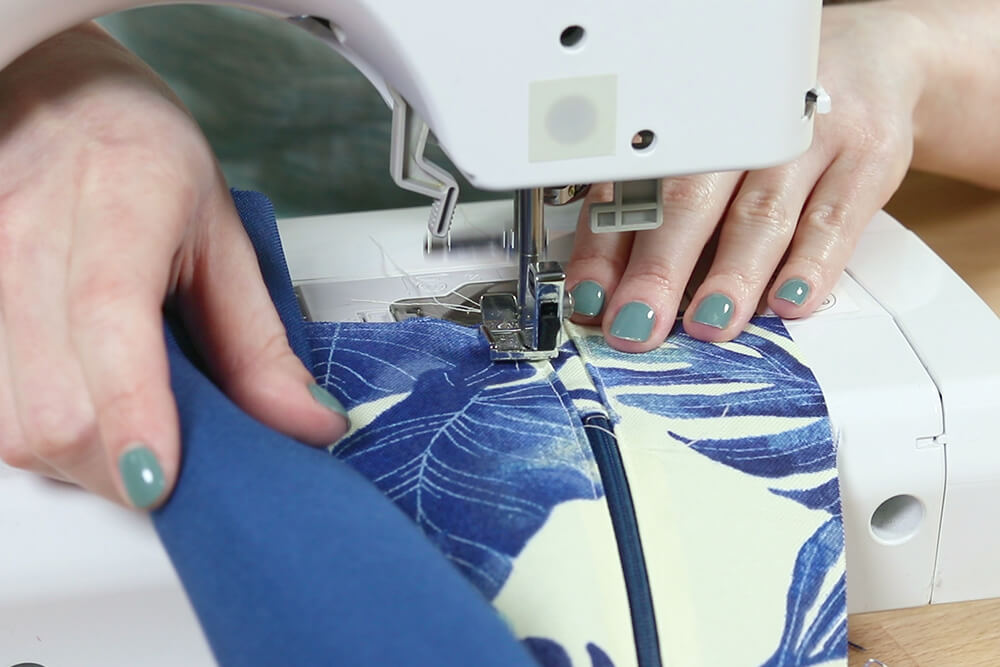
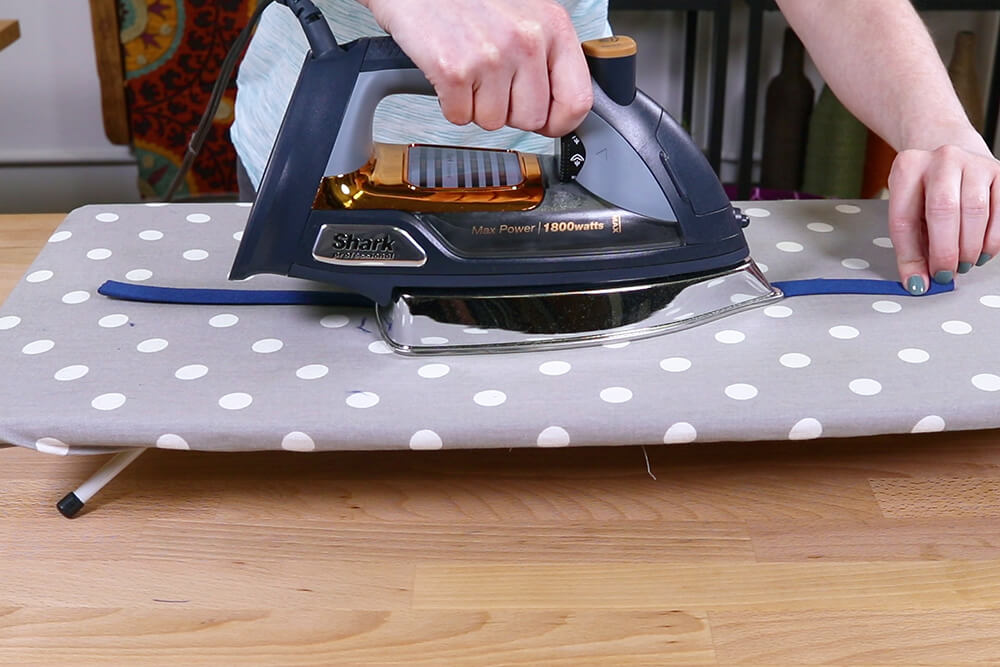
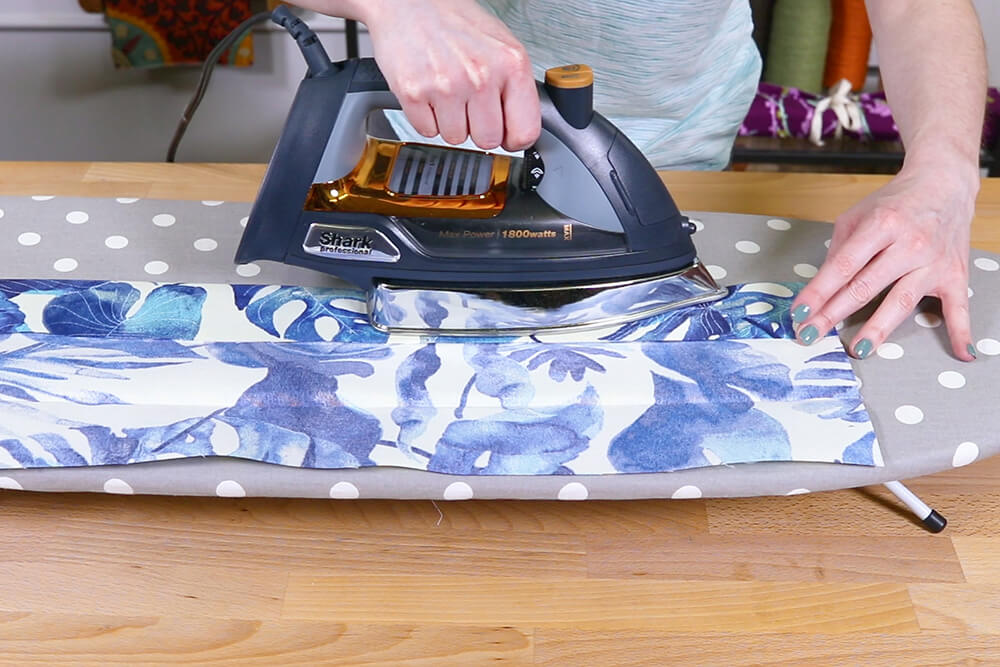
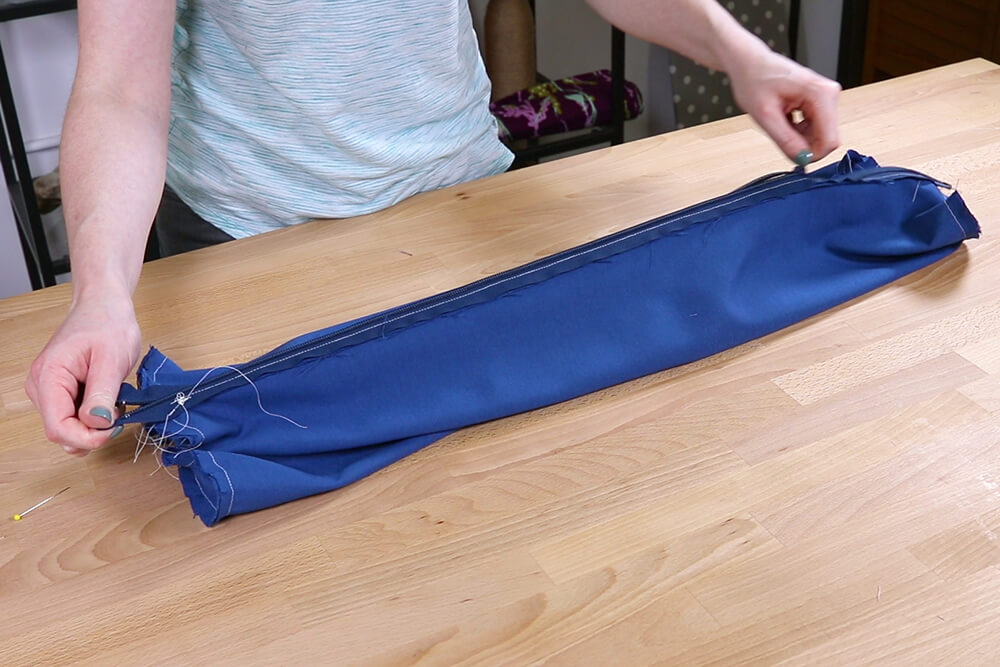
Iron the seams.
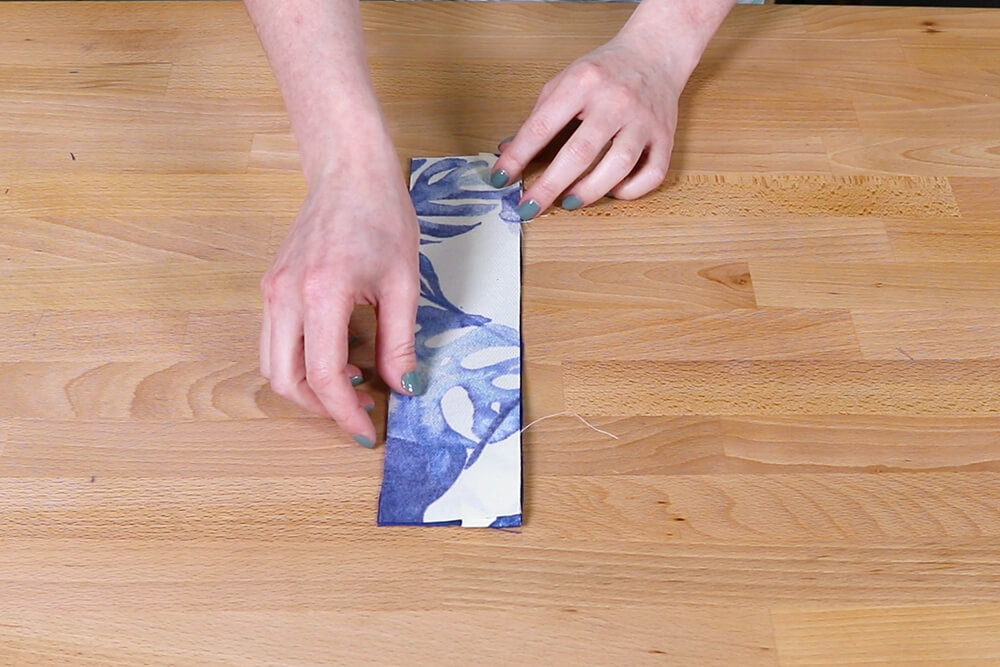
Top stitch close to the zipper on both sides.
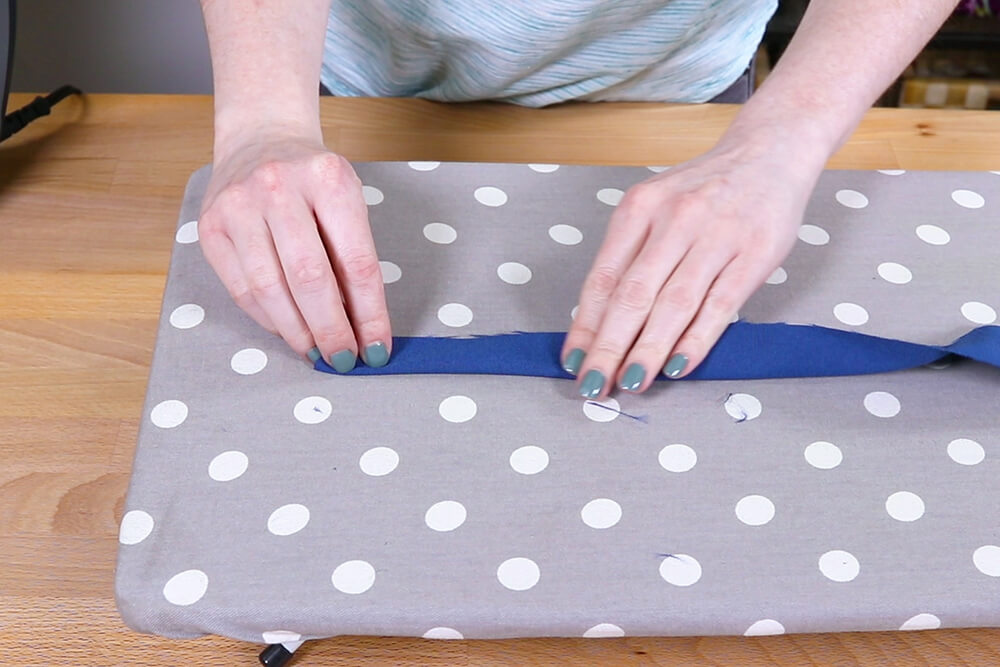
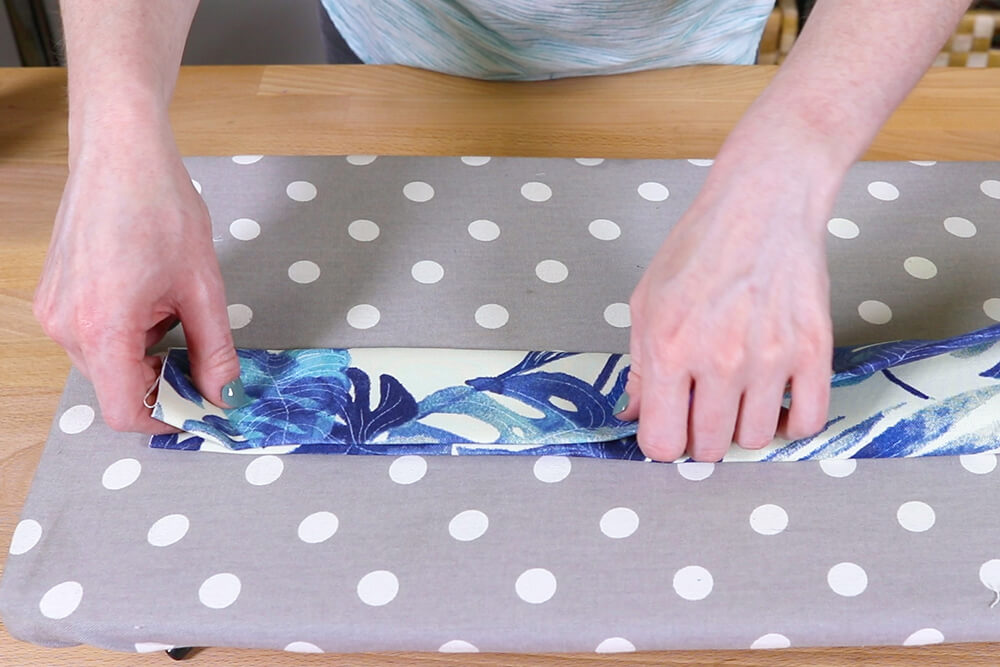
Press the binding in half.
Fold the edges in to the crease and iron. Fold in half and press once more.
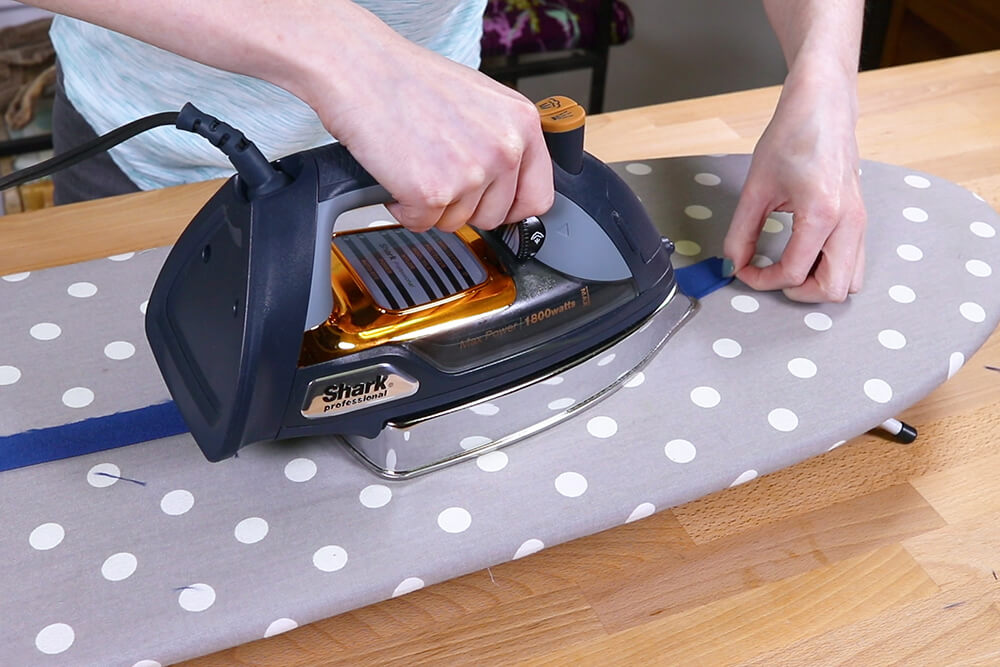
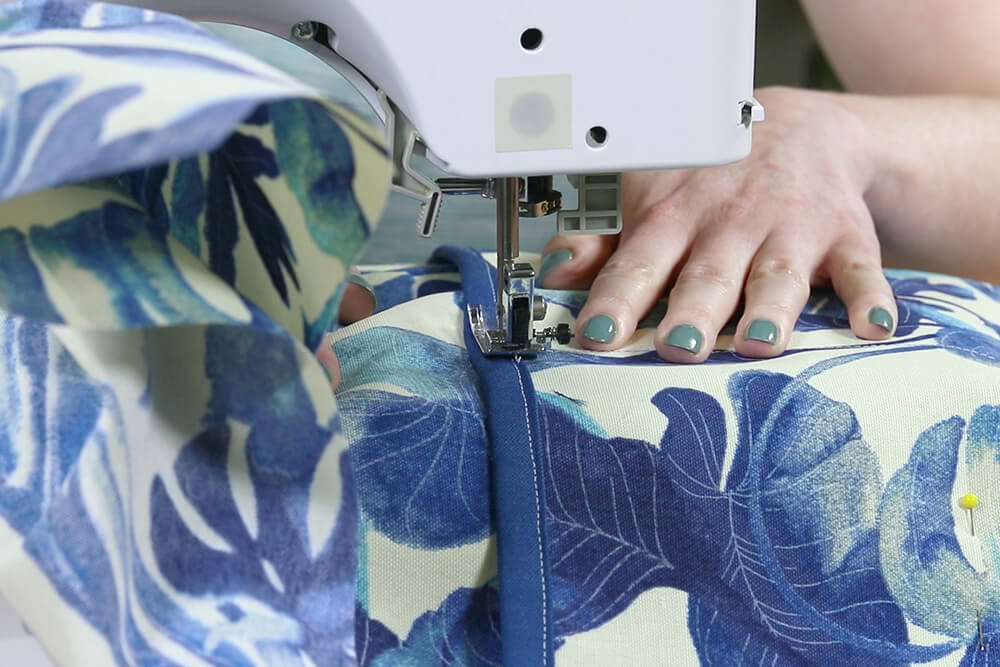
Fold the binding over the top edge of the pocket/zipper panel and sew.
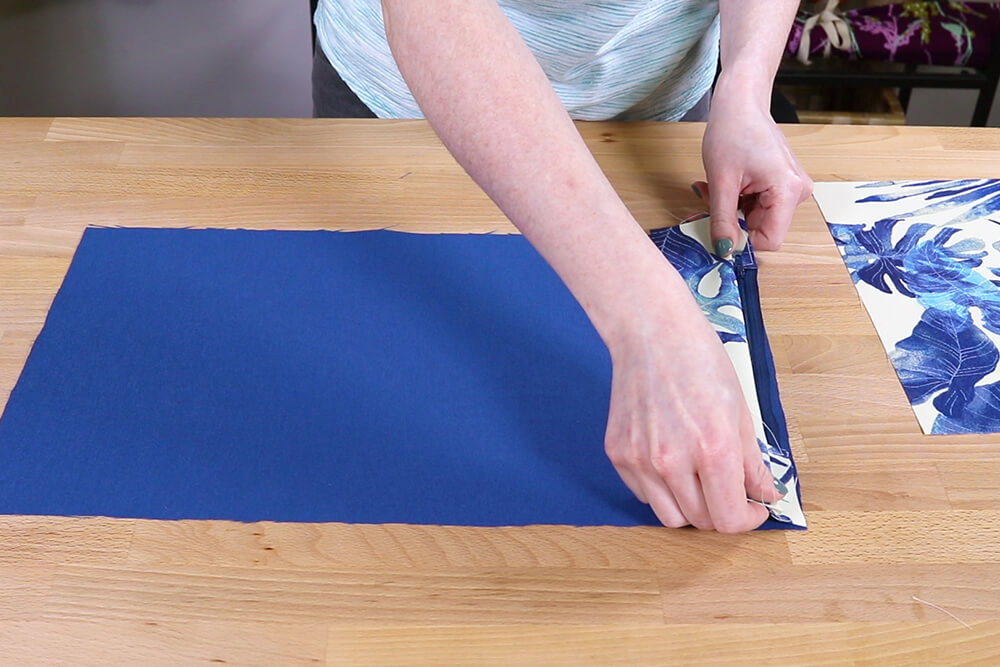
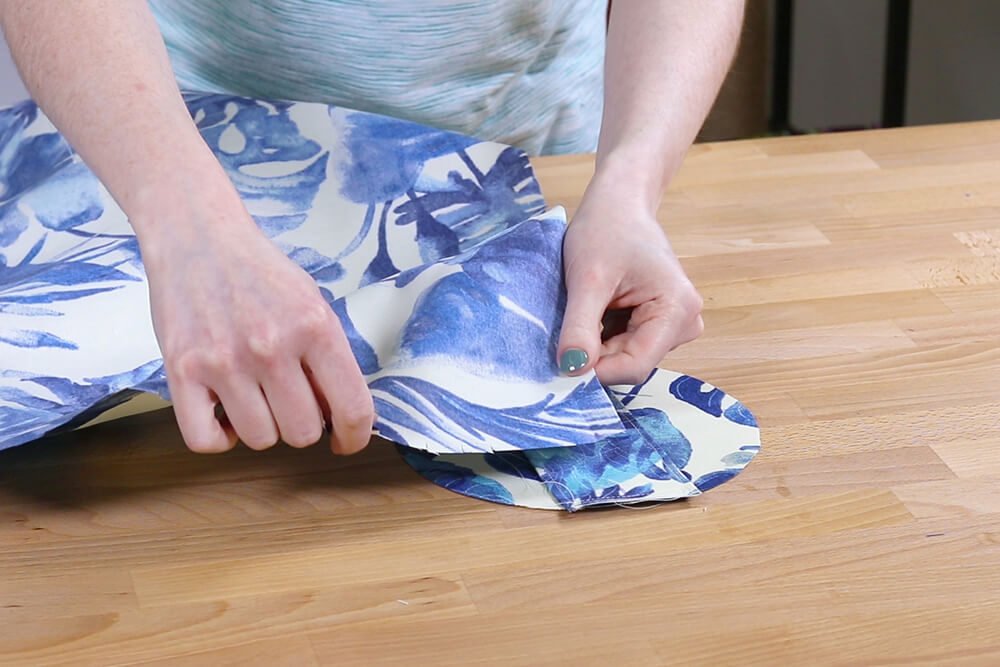
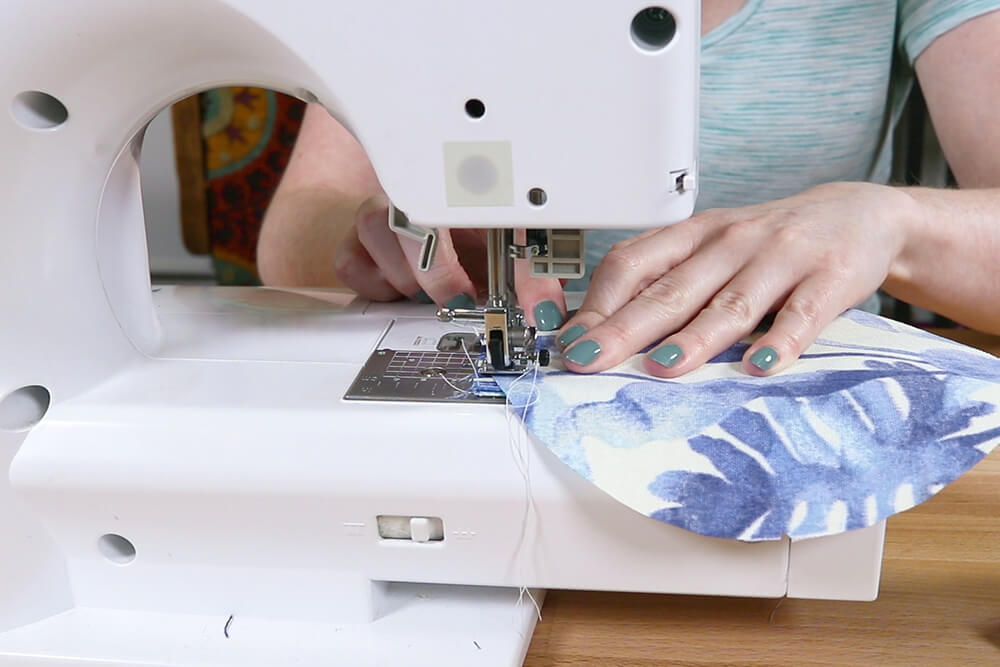
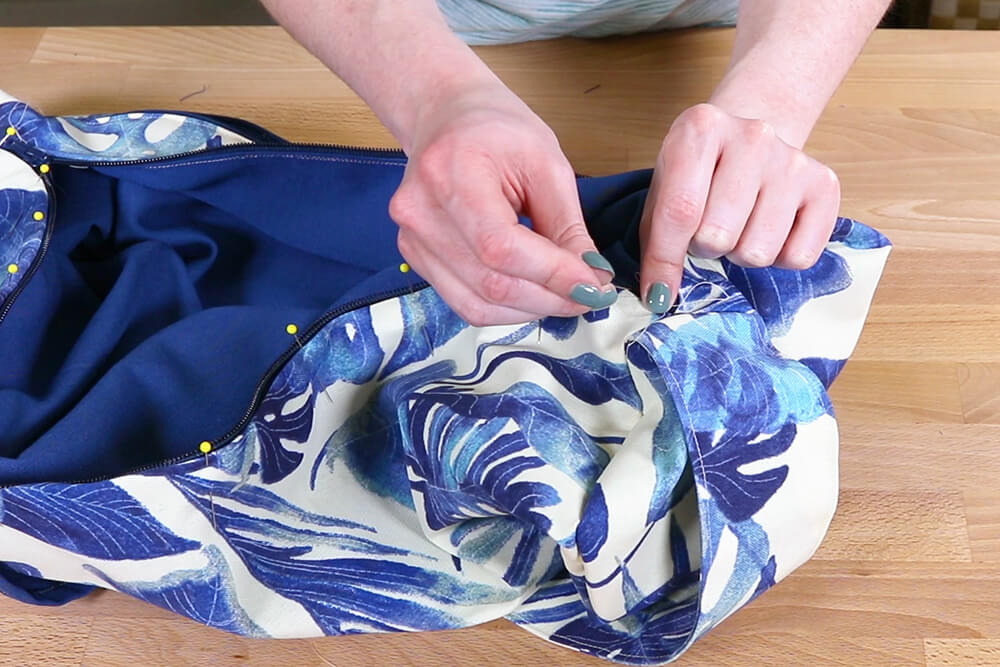
Draw a line down the center of the panel.
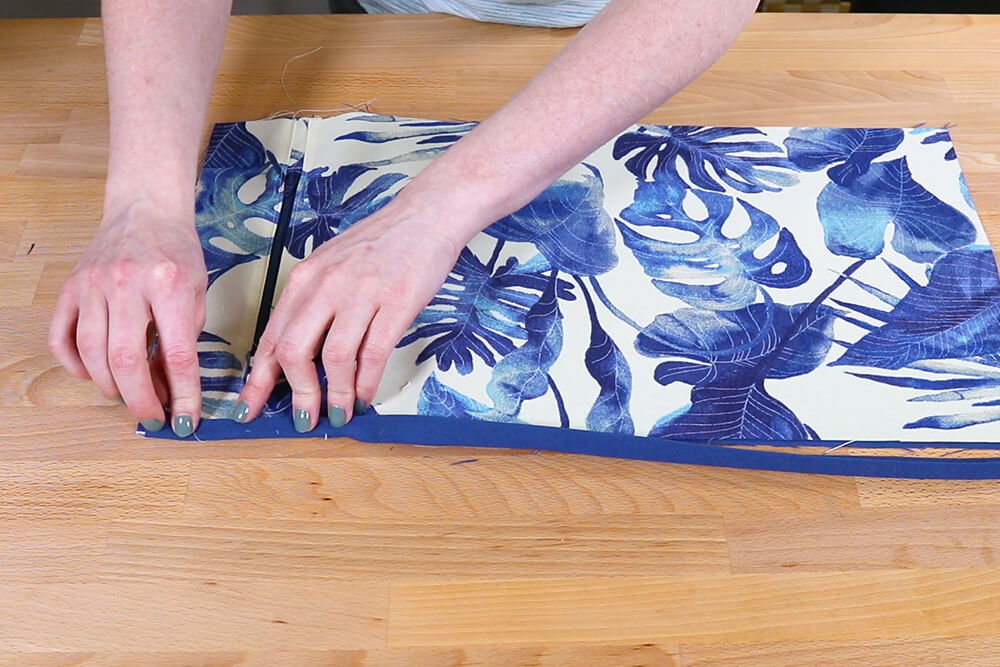

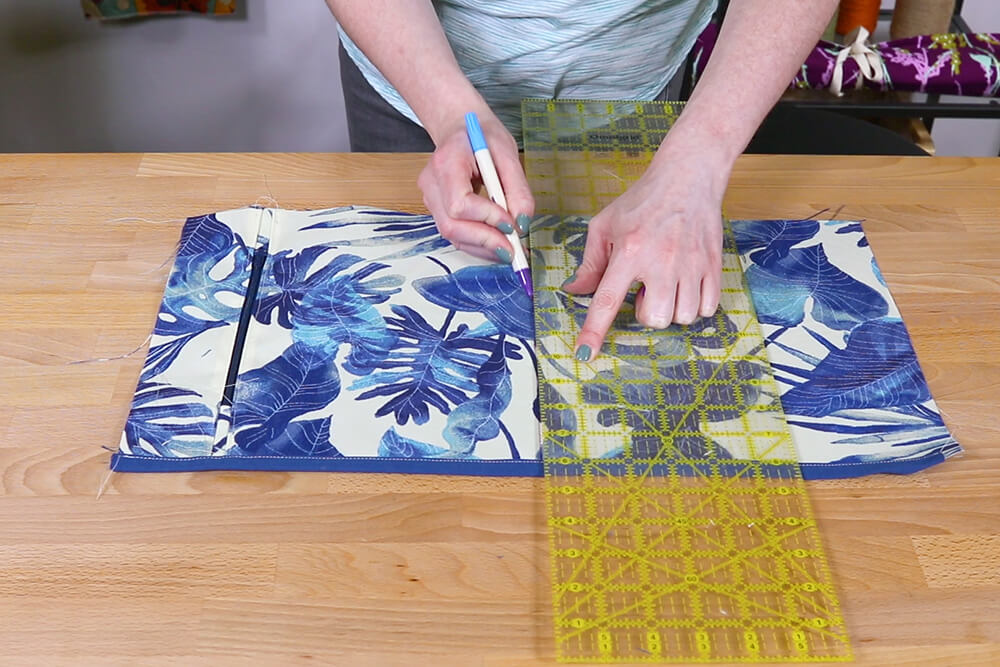
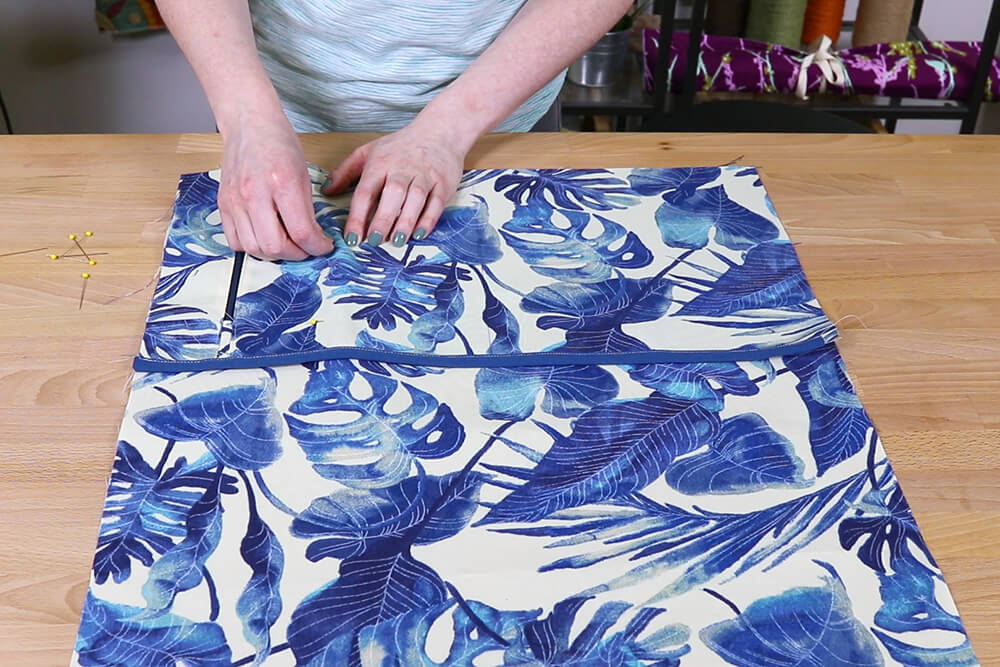
Pin the panel to the bottom of the main piece.
Sew up the center line, starting from the bottom. Pivot at the binding and sew on top of the binding stitches on the zipper half of the panel. Sew around the sides and bottoms just to hold the edges together.
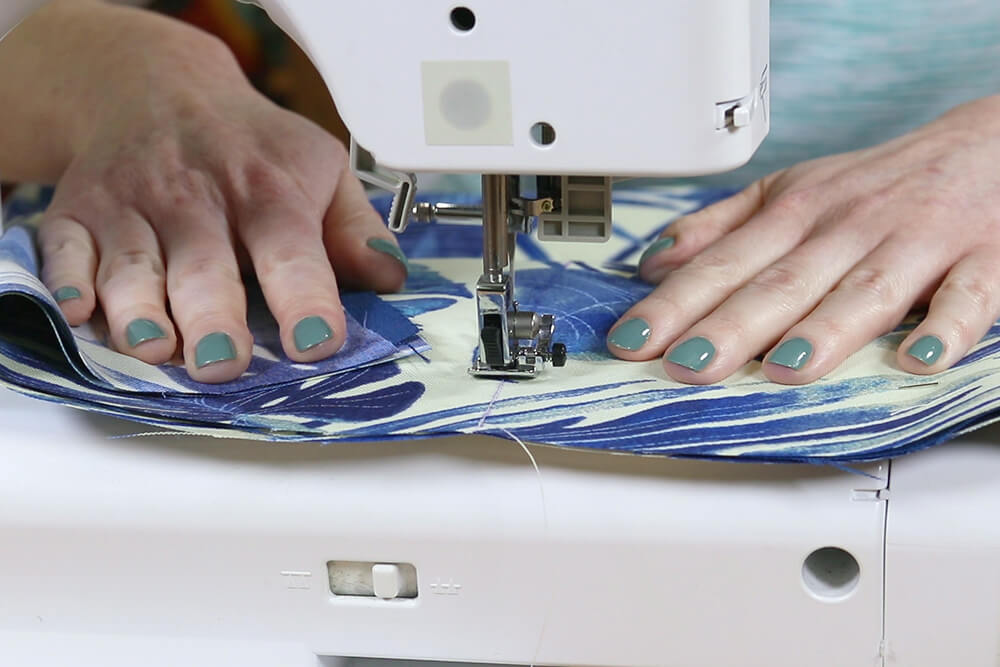
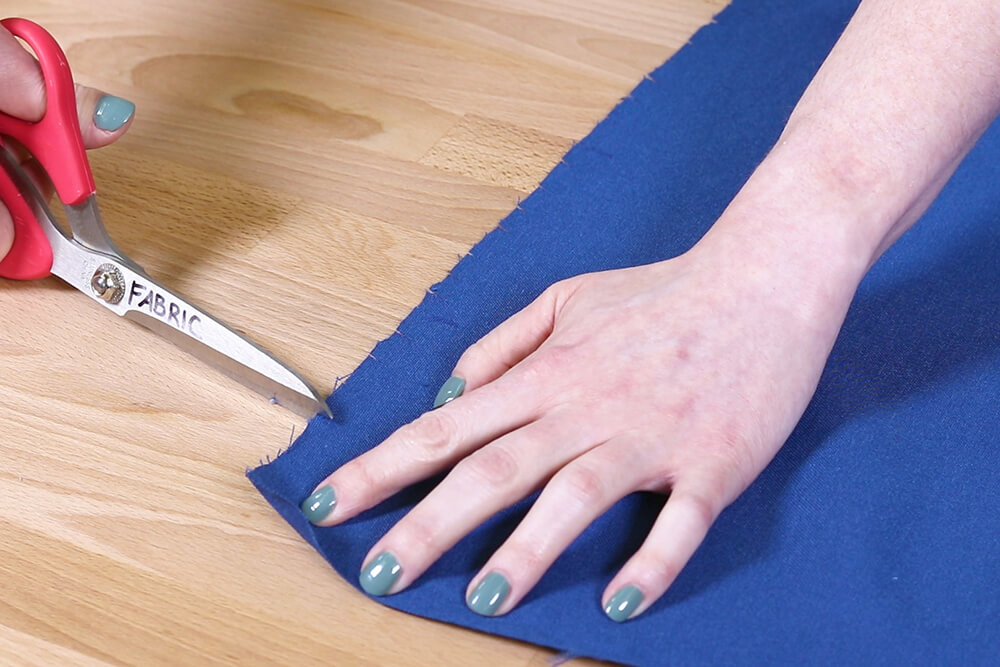
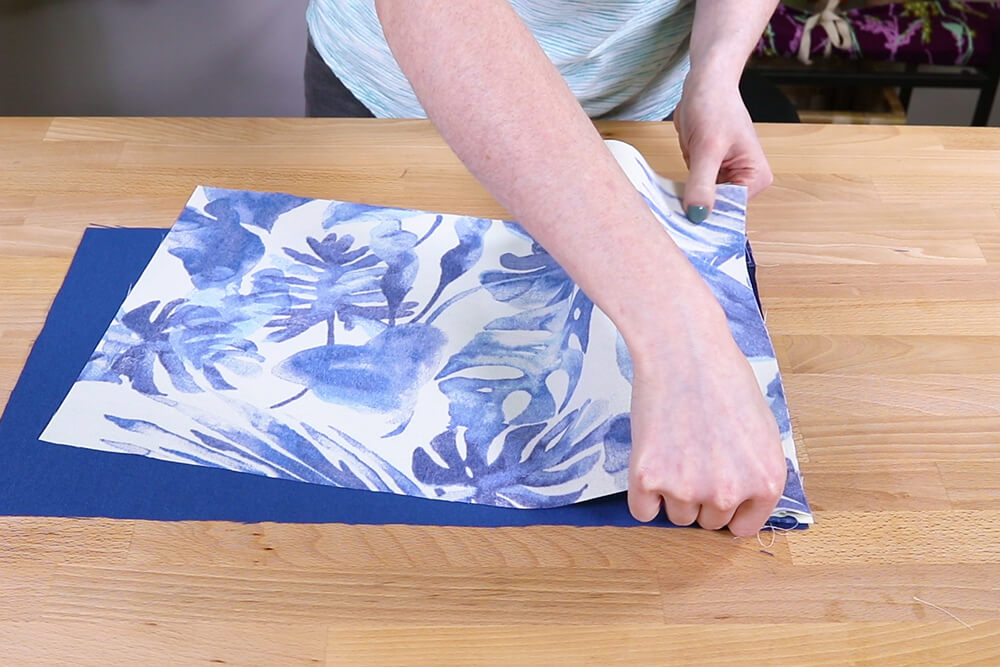
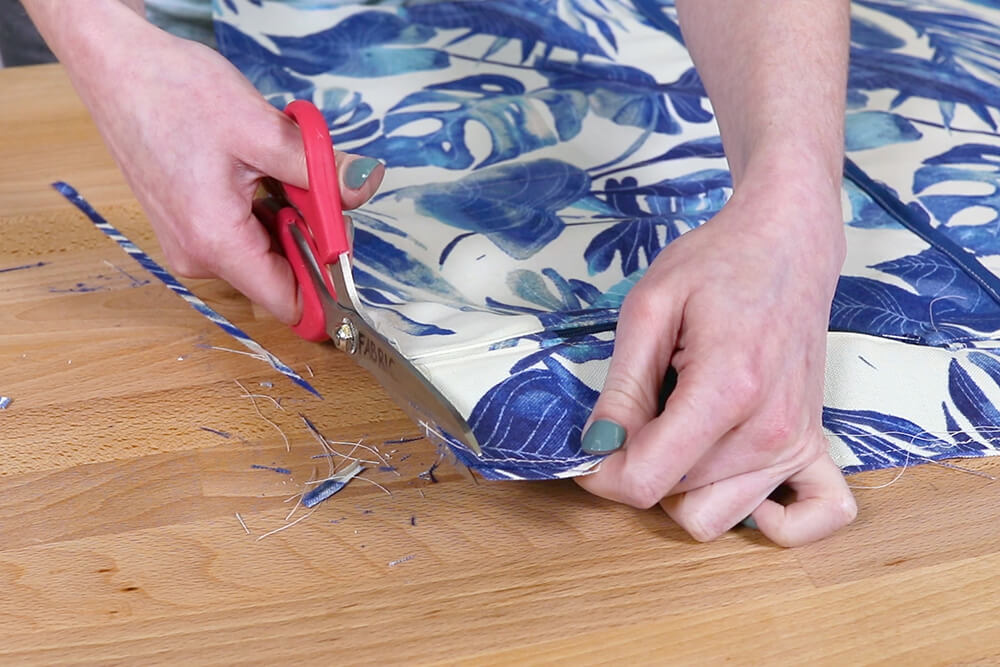
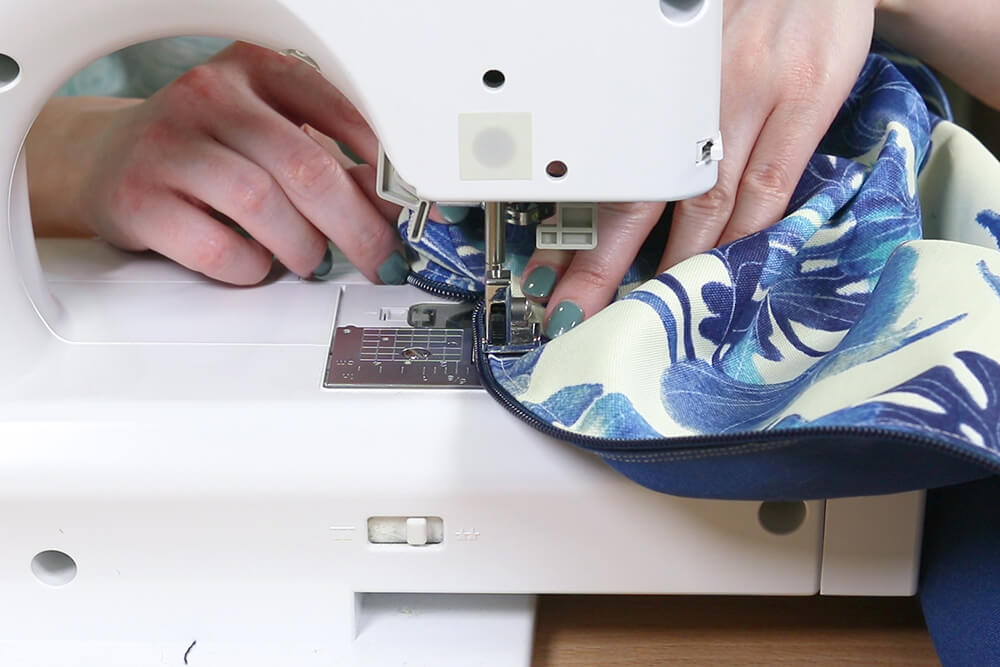
Trim the fabric so the edges are even.
Fold in the ends ½” and iron.
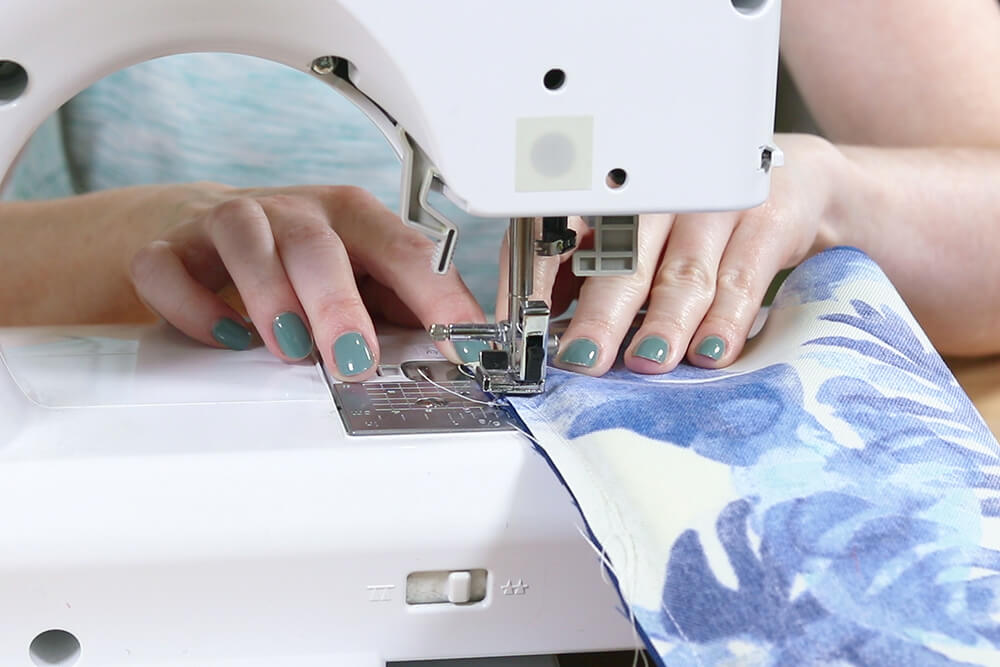
Step 4: Sew the outer pieces
Fold the strap piece in half and iron. Fold the edges into the center crease and iron. Refold and sew down both sides of the strap 1/8” from the edge.
Mark the center of the ends on the strap.
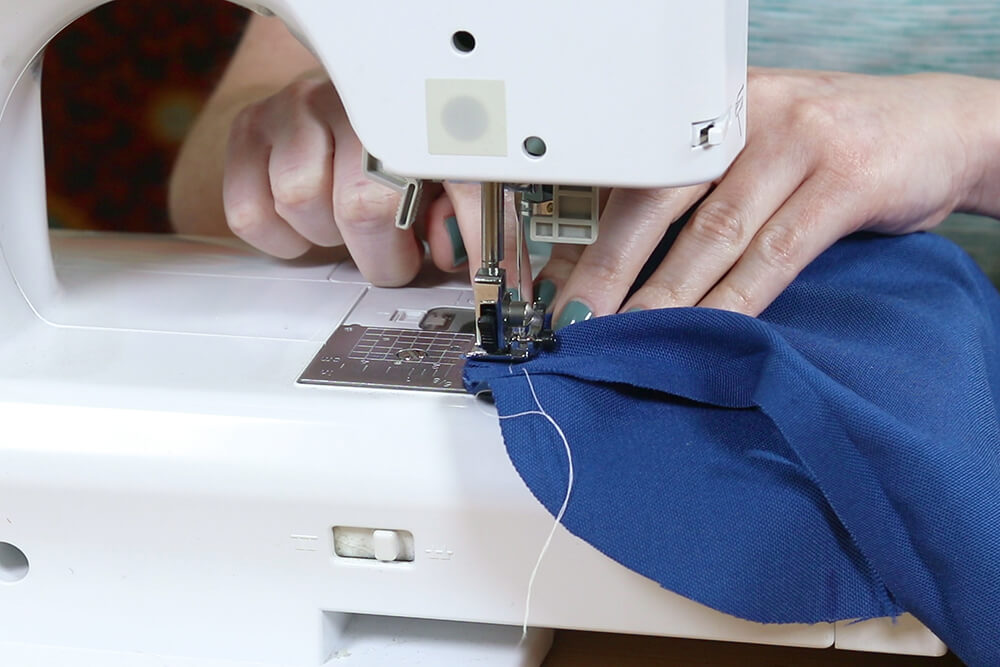
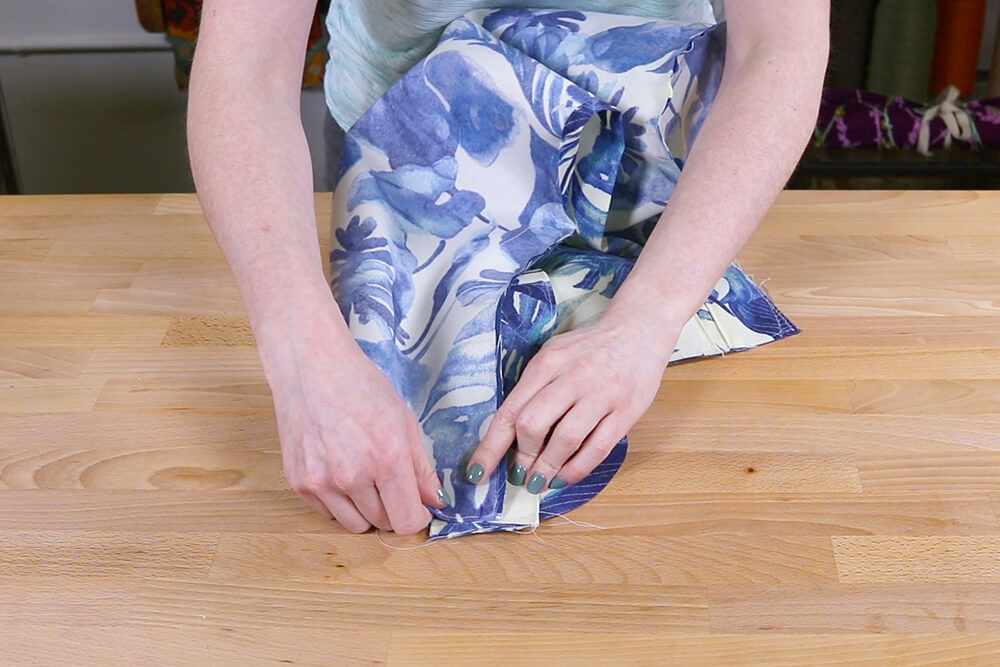
Mark the quarter points on the outer panel and circles and snip the panel edges like before.
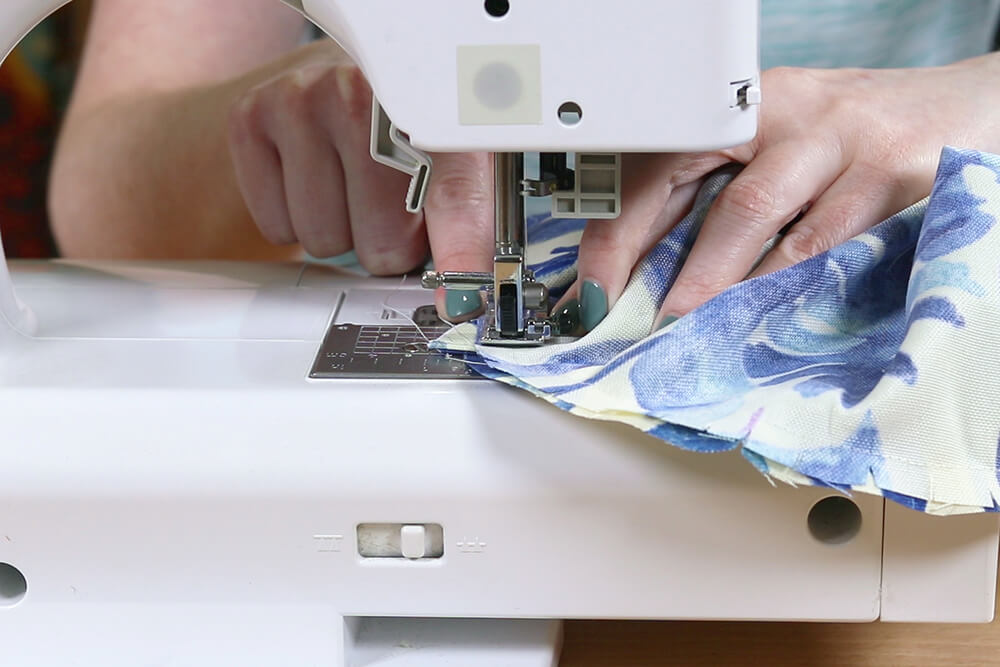
Line up the midpoint of the strap with a mark on the circle and sew together. The strap should overhang the circle slightly.
Place the corner of the main panel facing down on the circle and strap so the center point is lined up 1/2 an inch in from the corner.
Sew around the circle with a 1/2″ seam allowance.
Open the seam and sew across.
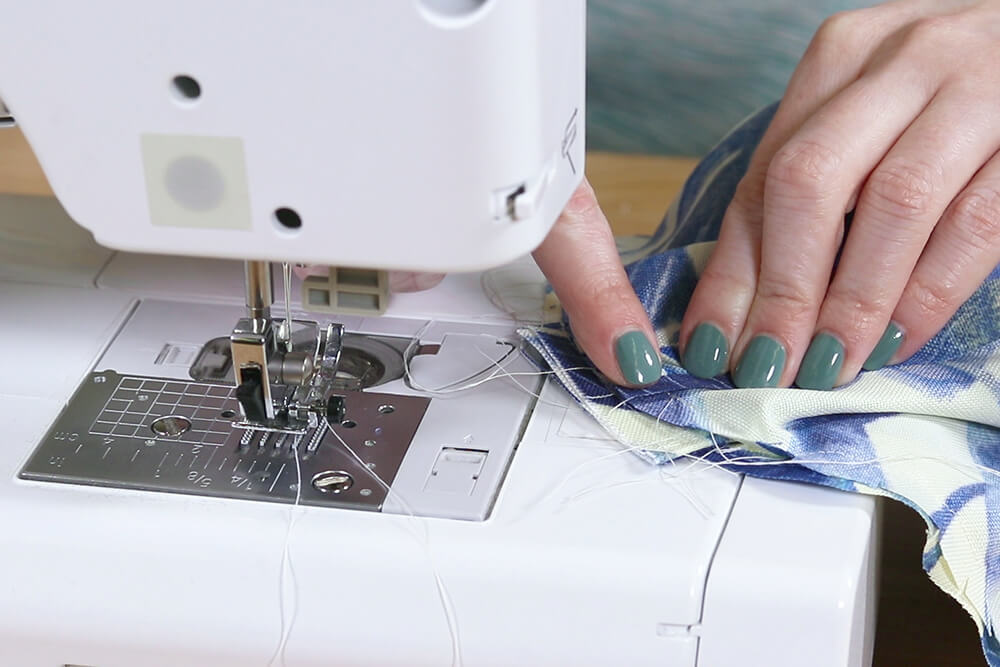
Repeat these steps for the other end.

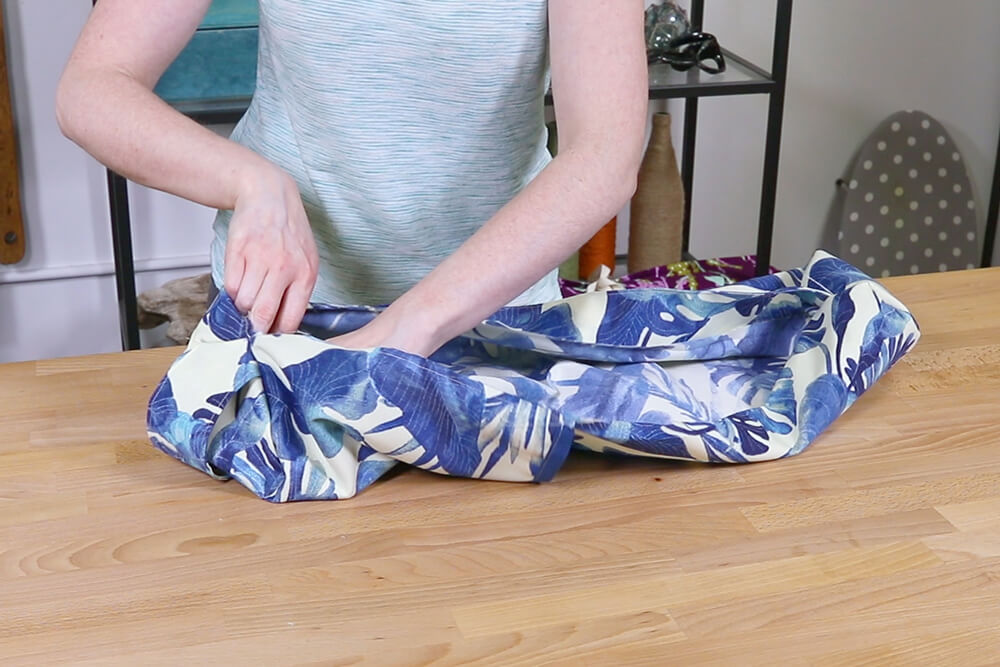
Turn the outer bag right side out.
Step 5: Sew the zipper
The zipper is a bit longer on each end than the opening.
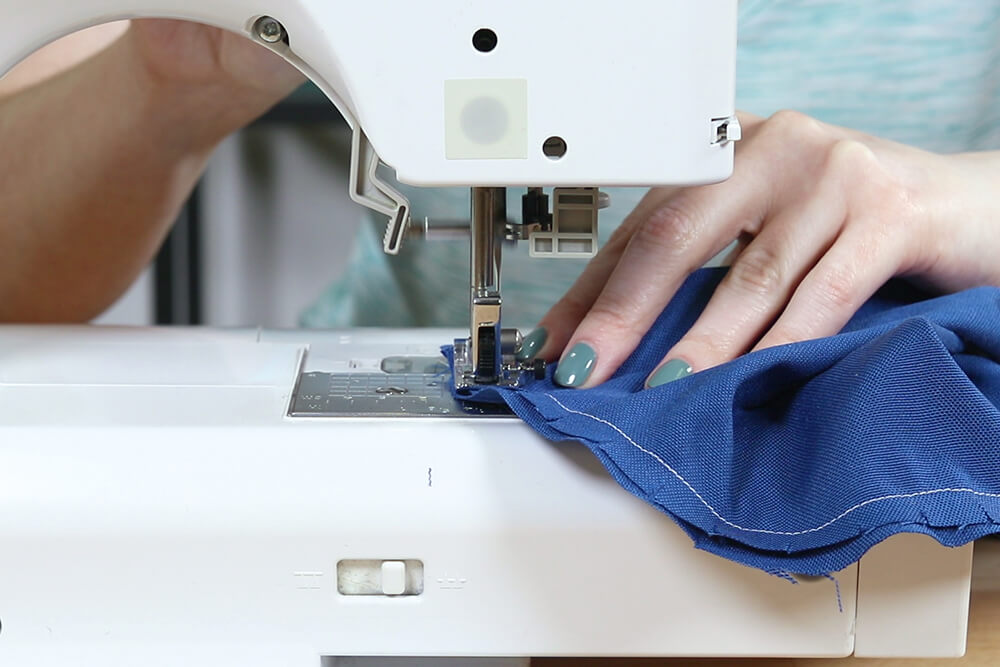
Place the zipper face up on the opening of the lining. Fold the edges in 1/2 an inch and pin one side of the lining to the zipper.
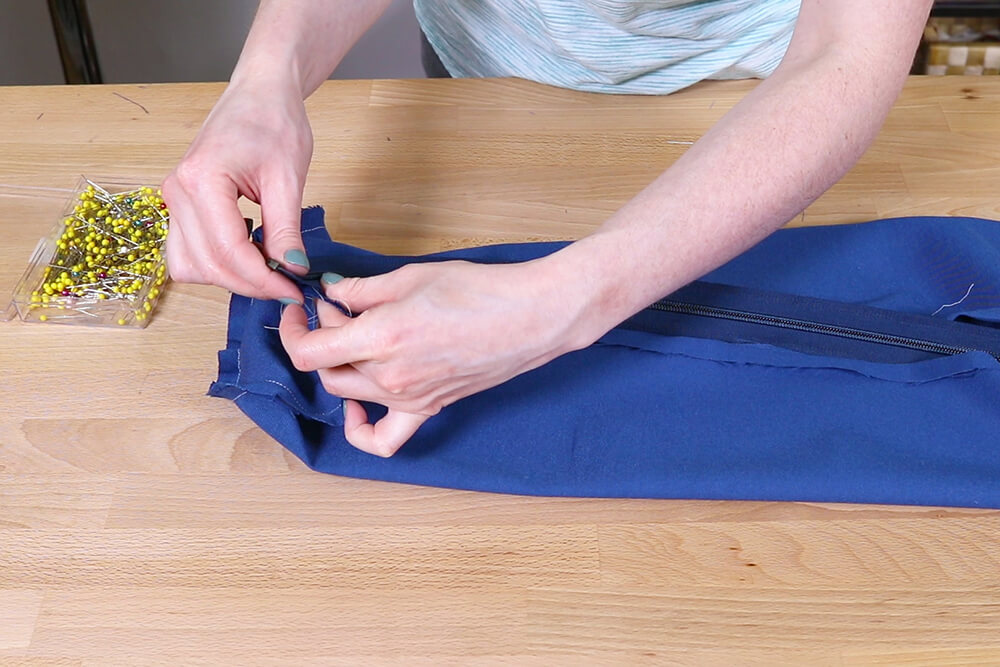

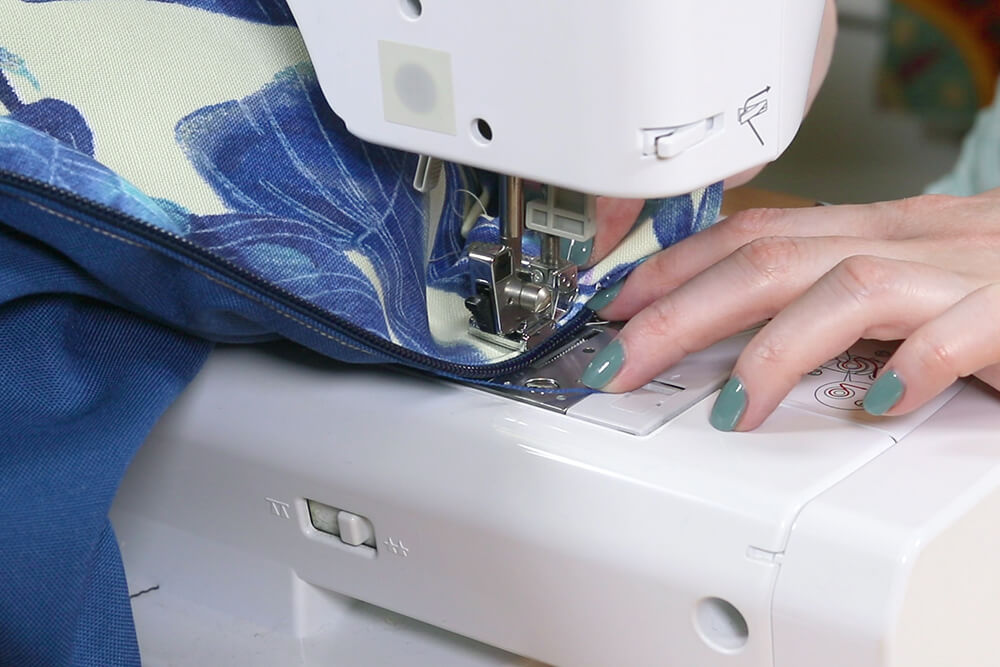
With the zipper foot, sew down the length, back stitching at the beginning and end. Open the zipper all the way, pin the other side, and sew.

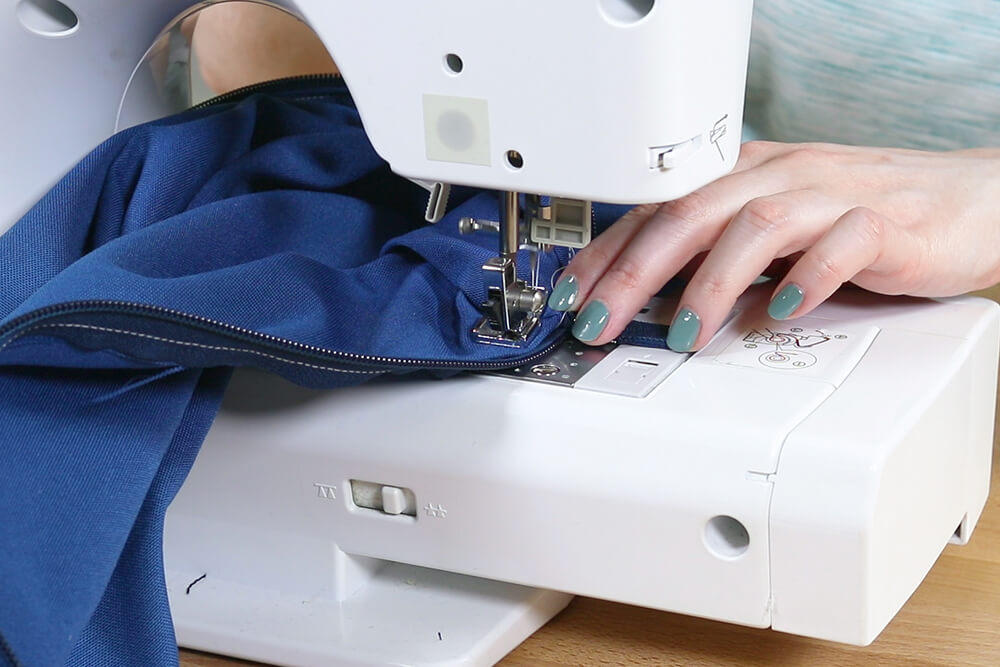
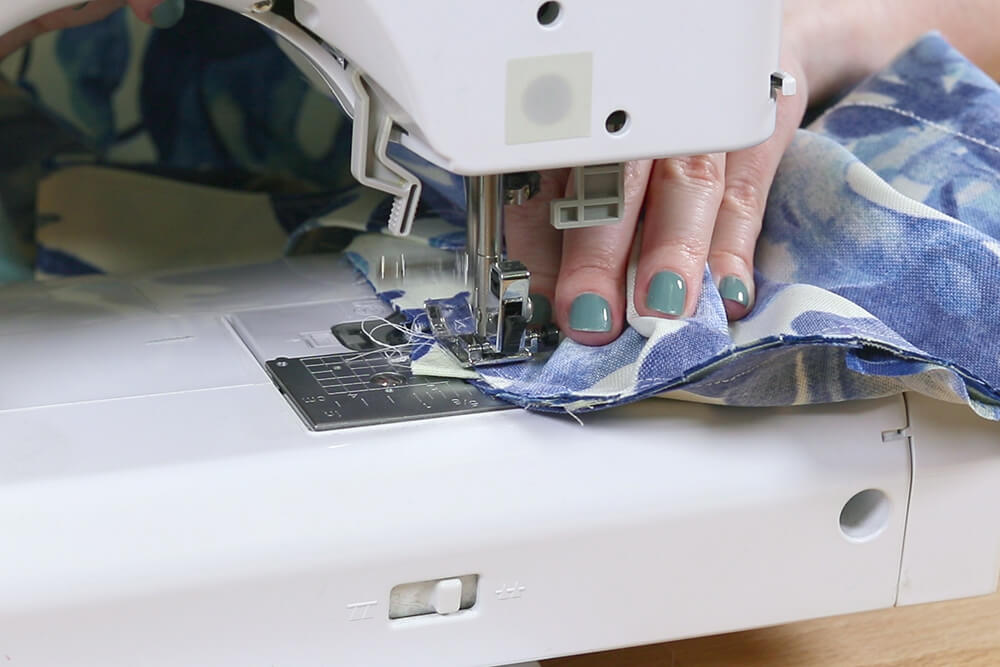
Place the lining in the outer bag. Fold in the edges ½” and pin one side. When you sew, you might not be able to start all the way at the beginning because the foot can’t go over the bulky end. After finishing the side, go back to the beginning and sew the other direction.
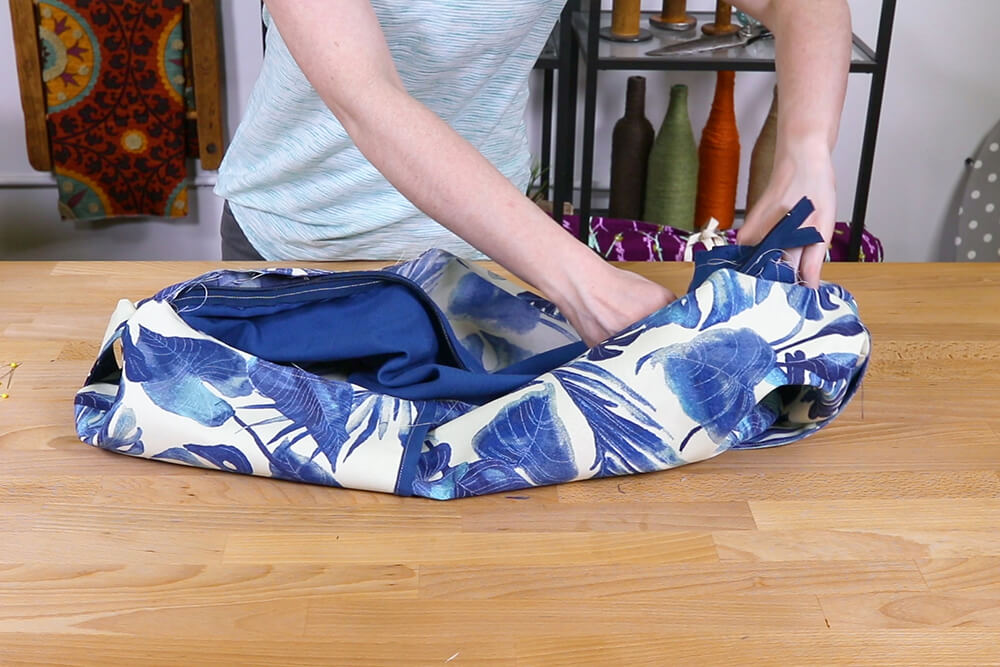
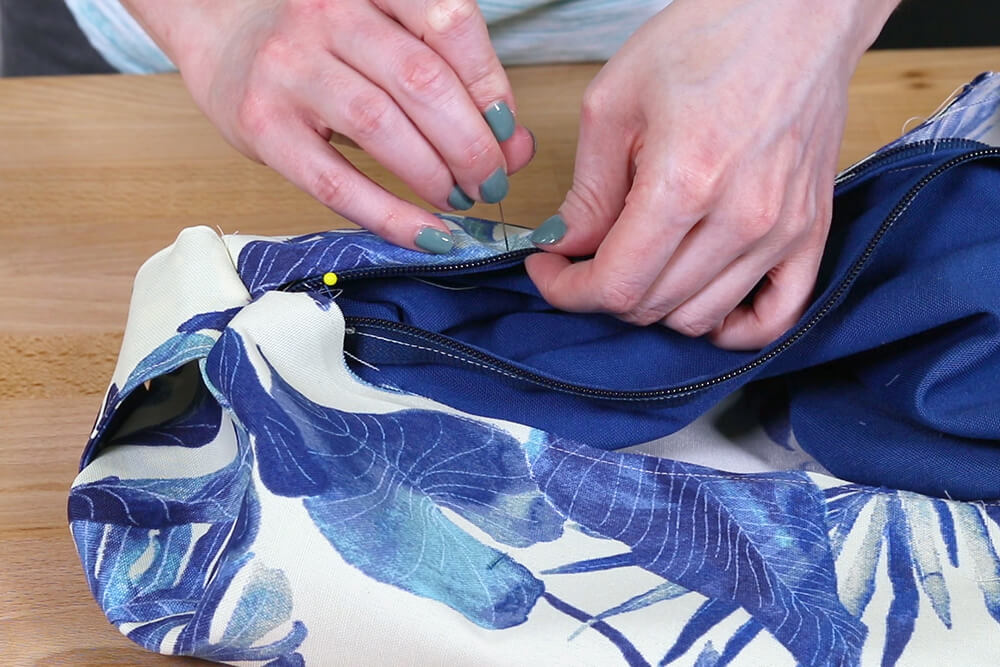
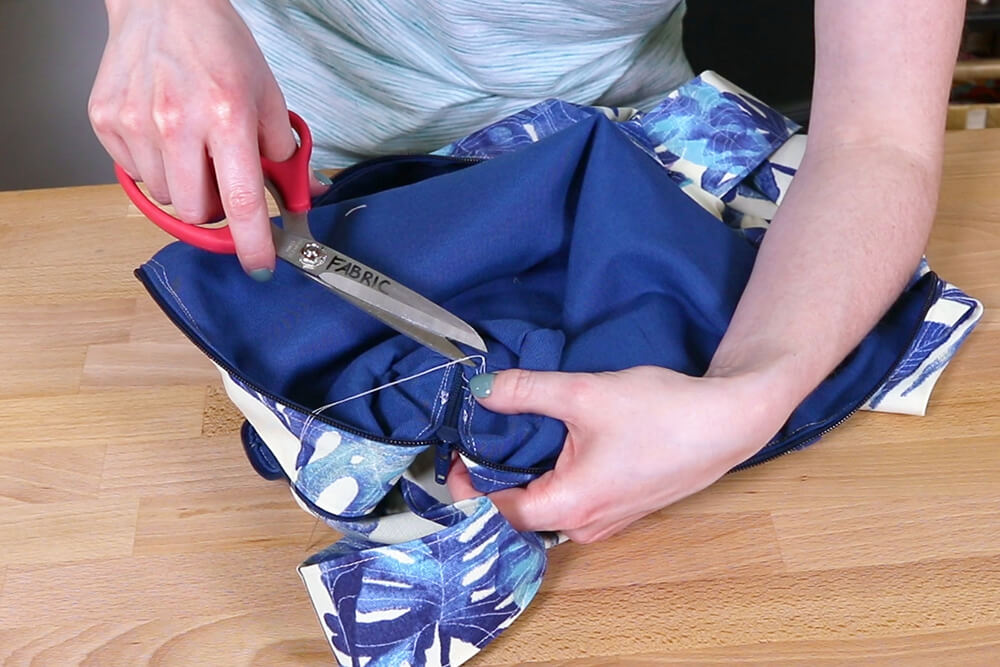
Pin the other side. Before sewing, make sure to move the zipper pull a little in from the end so it doesn’t get stuck on the inside of the bag. Sew the final side, starting a little in from the end.
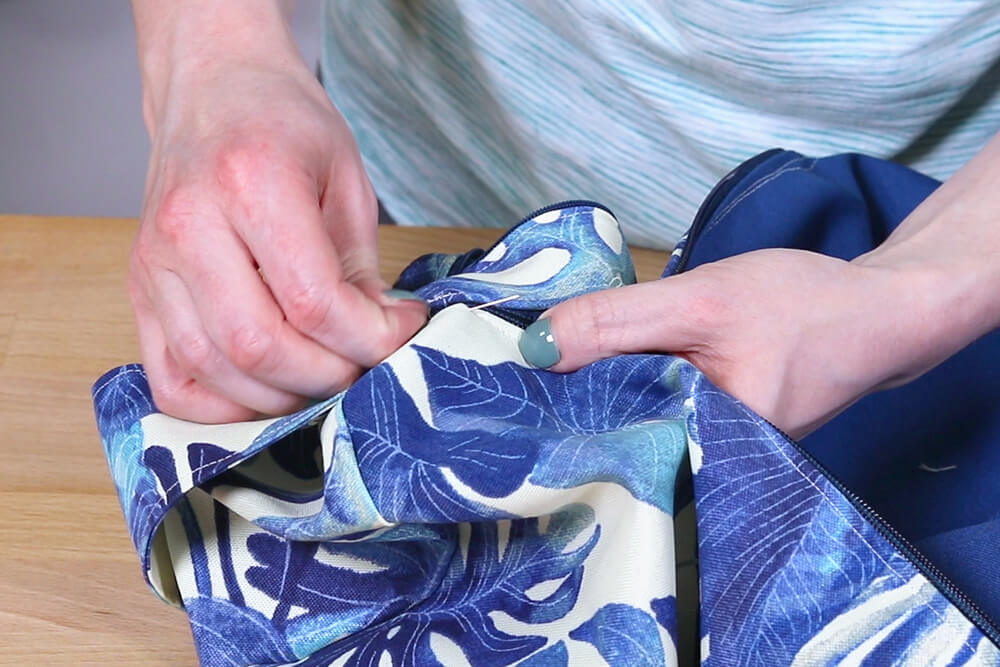
The last bit at the end near the zipper pull will have to be hand sewn because the machine can’t get in there. With a needle and thread, use the back stitch to finish sewing the side.
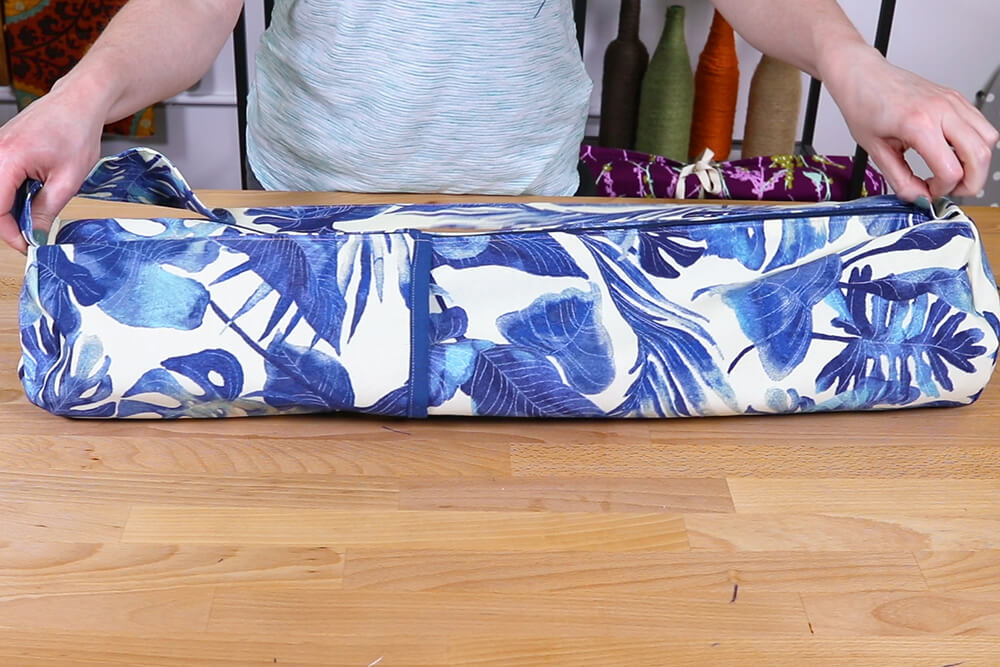
Zip it up and the bag is done!
Need to make a bag for your yoga mat? Check out our selection of outdoor décor fabric.
-
{{#each productSuggestedQueries.results}}
- {{query}} {{/each}}
-
{{#each categories.results}}
- {{html title}} {{/each}}
{{html attributes.description}}
{{/if}}-
{{#each queries.results}}
- {{query}} {{/each}}