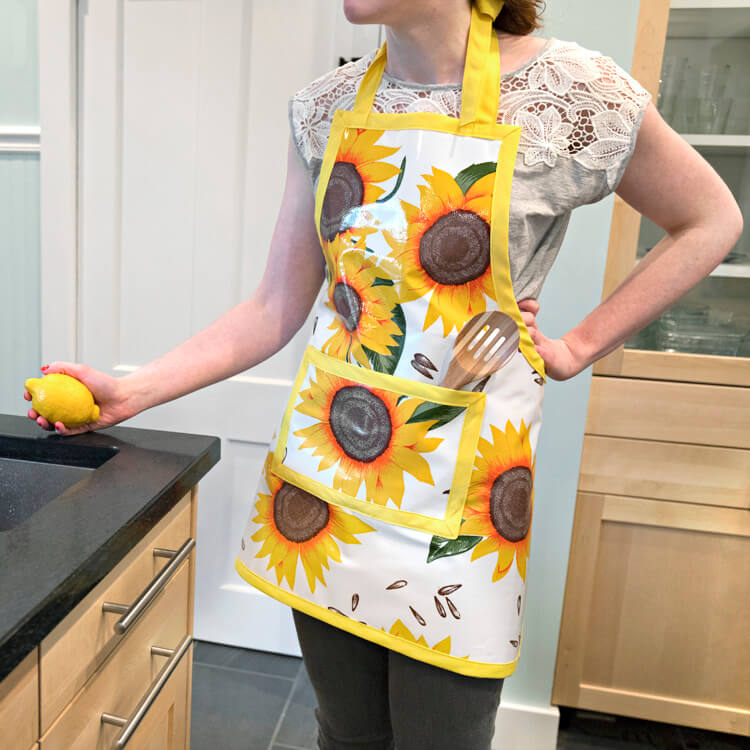
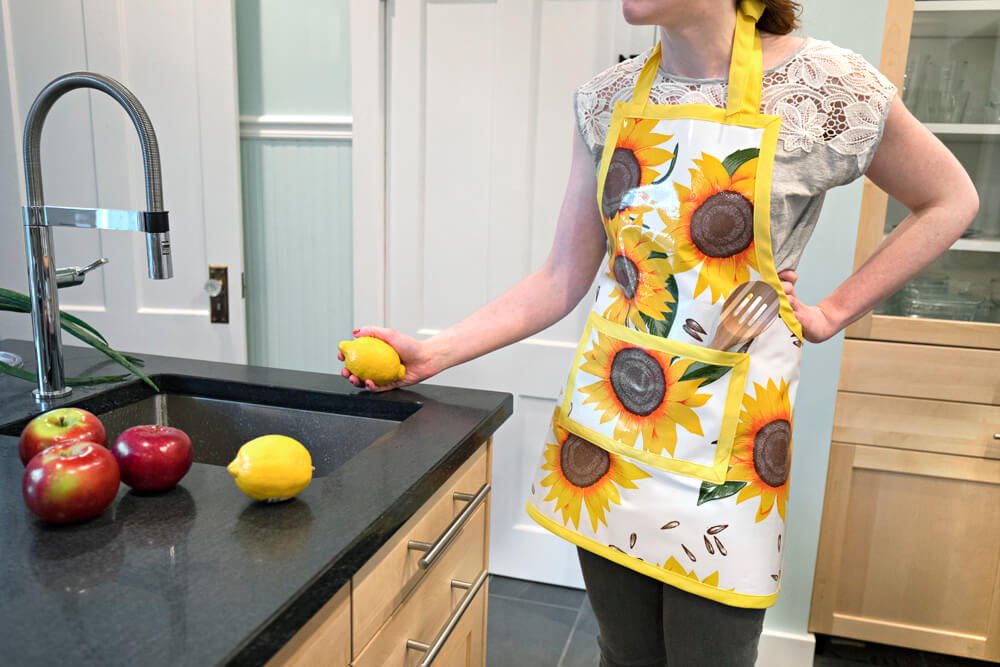
How to Make an Oilcloth Apron
- By OnlineFabricStore
- Beginner
- 1 hour
You can make aprons out of many types of fabric, but oilcloth is a great choice because you can easily wipe it clean. Plus it comes in lots of fun colors and patterns. This oilcloth apron is a great handmade gift that’s actually useful. Check out our selection of oilcloth and pick some out for yourself or a friend.
Sign up to our mailing list below to get the FREE pattern and printable PDF instructions.
Please note, this pattern is not of the entire apron, just the curve at the arm area as shown in the instructions.
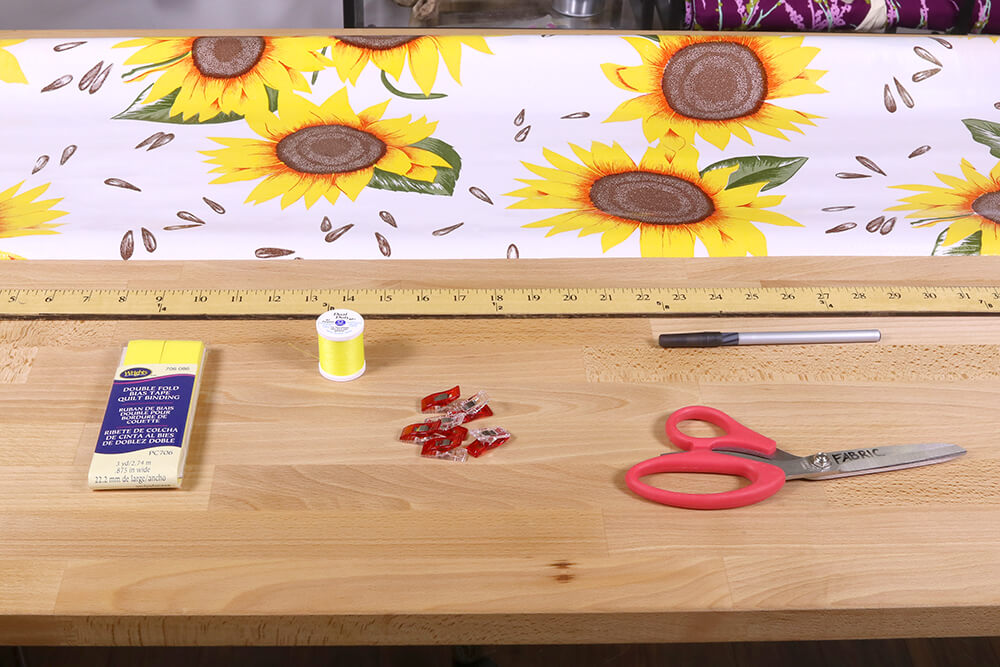
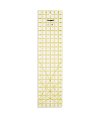
Materials
Related Products

Video
Instructions
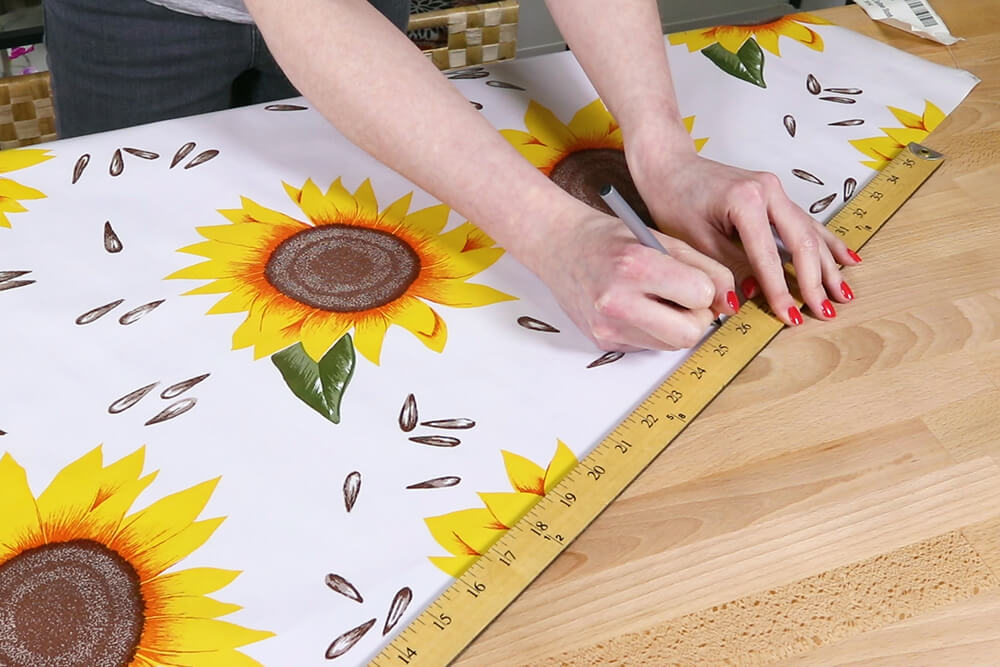
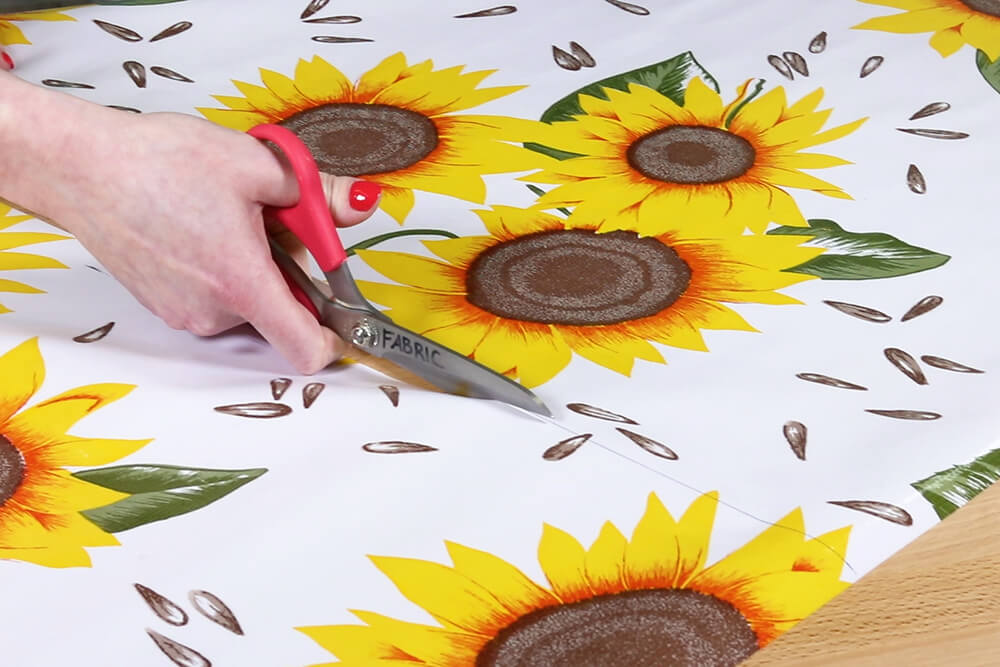
Step 1: Measure & cut the fabric
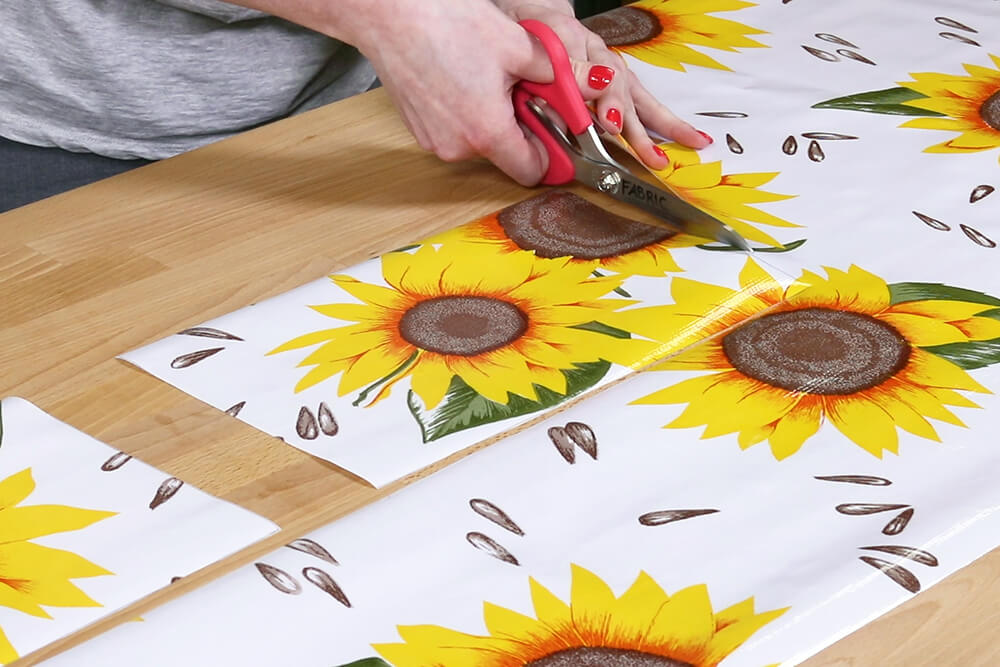
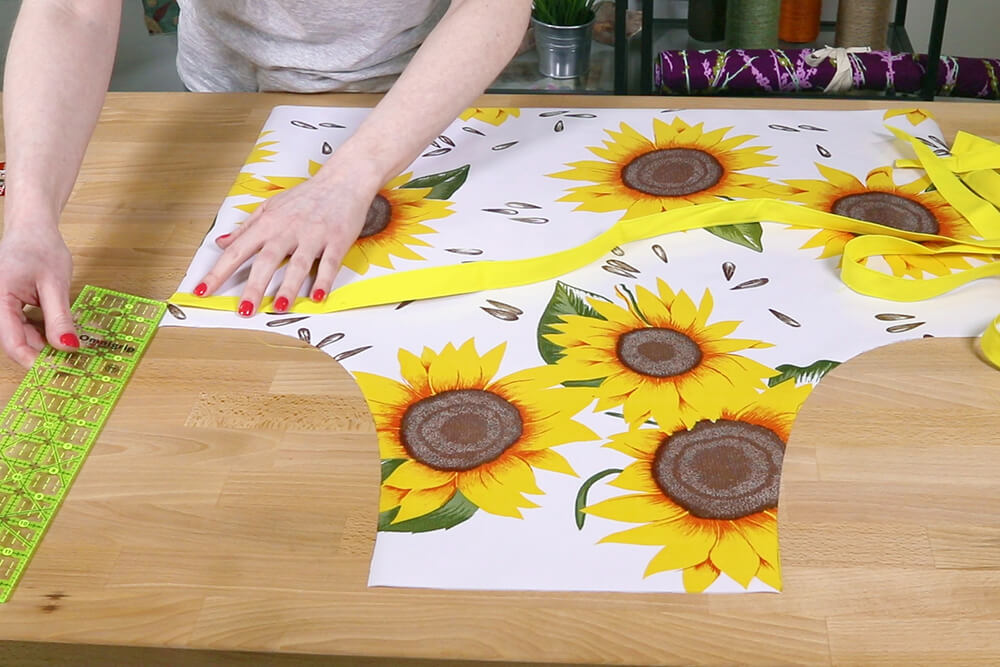
Cut out a 26 by 26 inch square from the oilcloth. You can make the apron any size you want, but this is generally a good size for an adult.
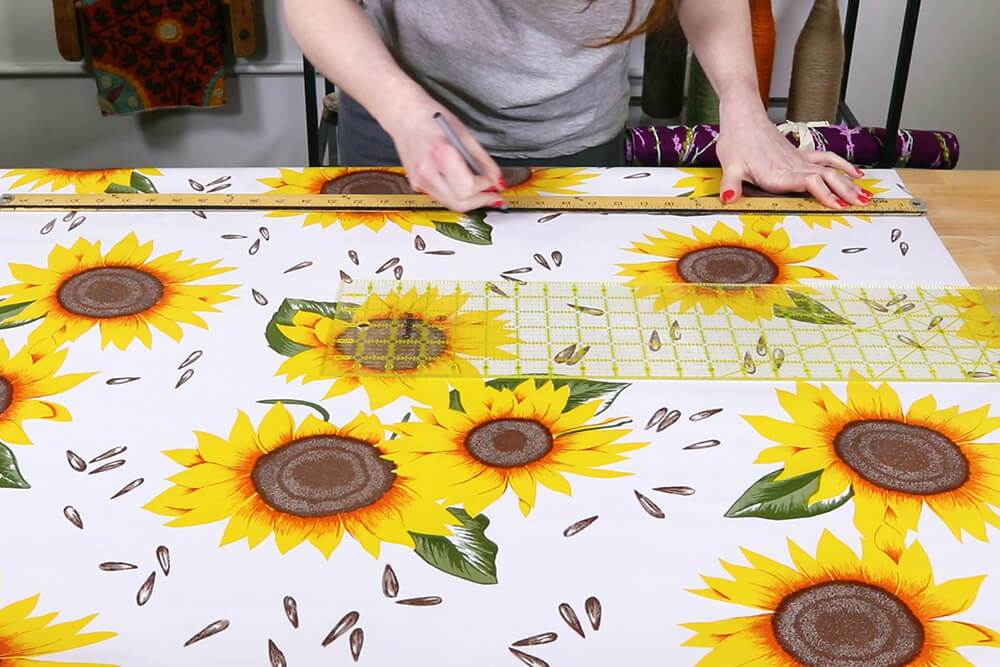
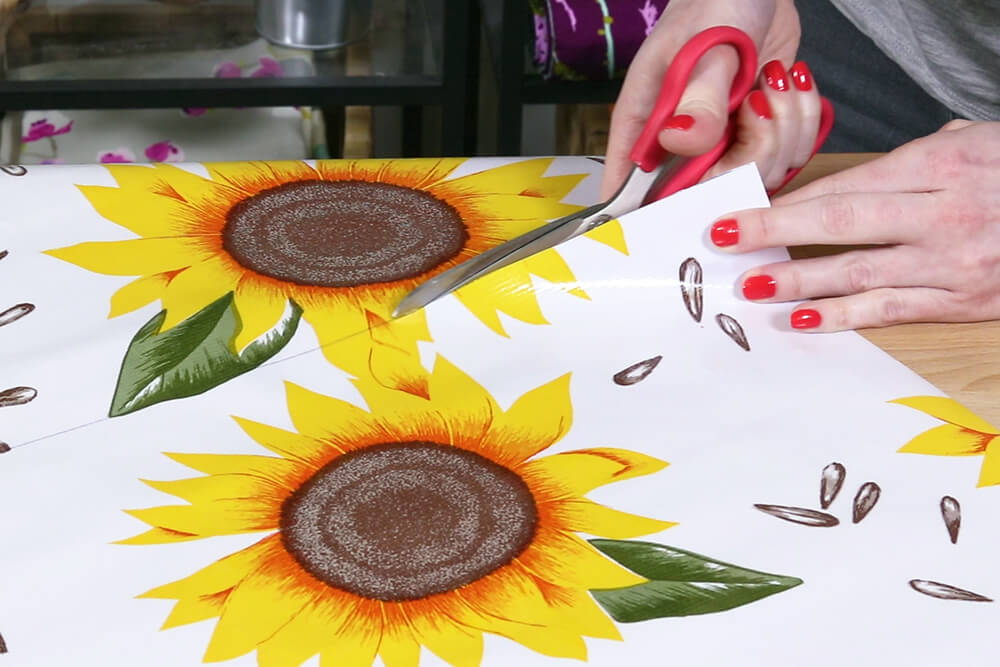
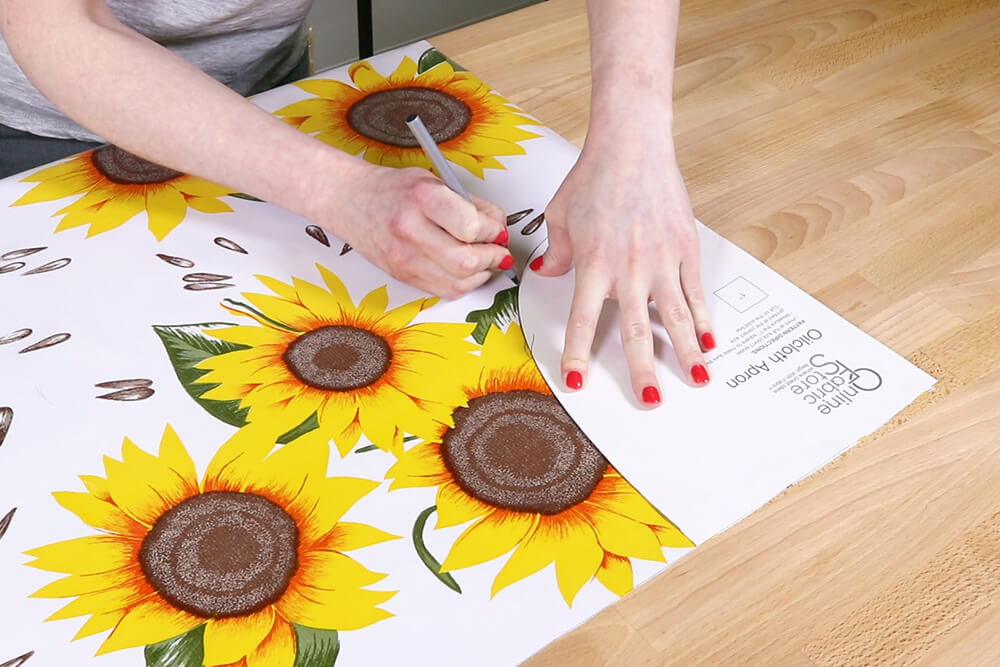
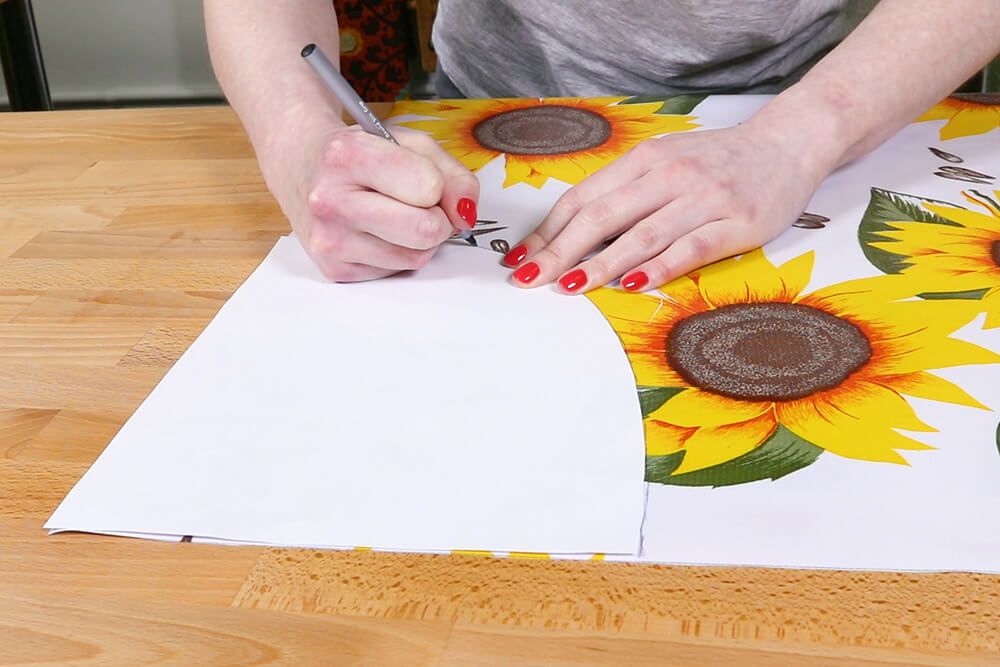
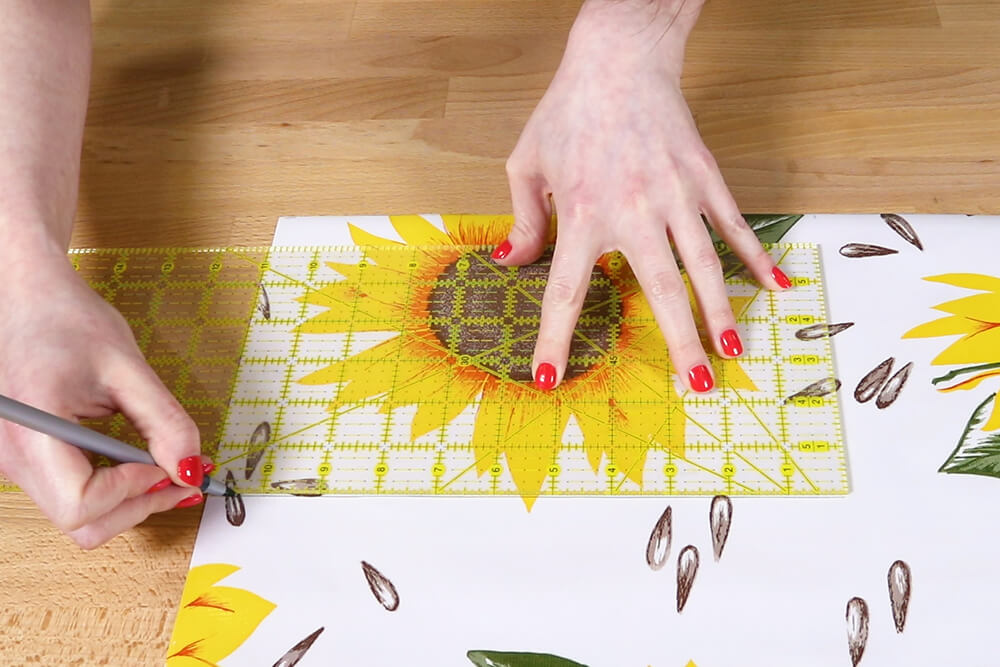
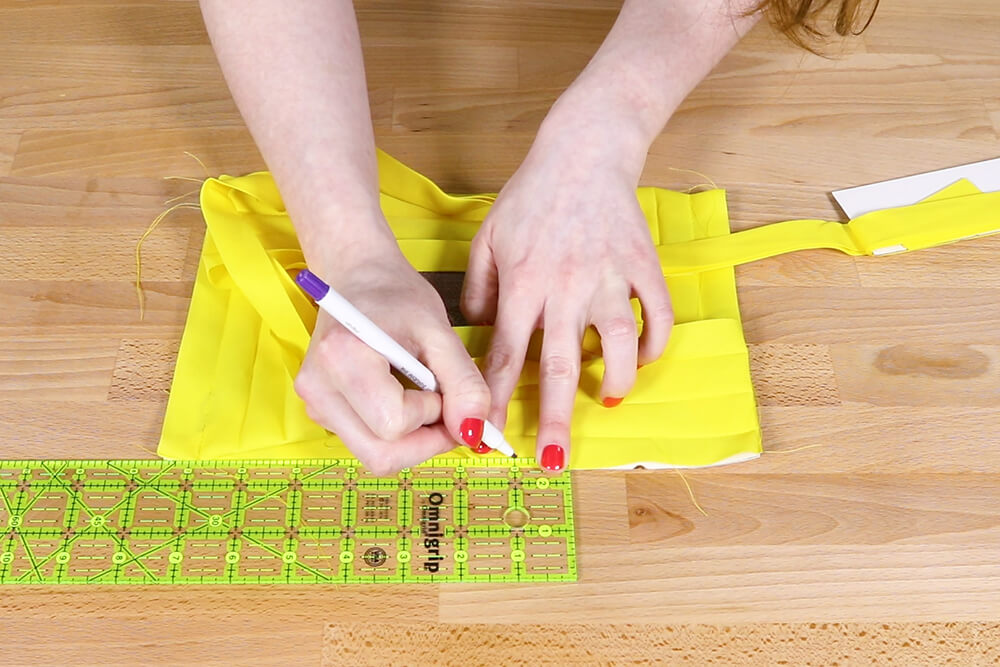
Take the pattern piece and cut on the line.
Place the piece on the to corner. Trace along the edge. Flip the pattern piece over and repeat on the other side. If you’re making your apron a different size, you can still use this piece. Just move it in or out and up or down to better fit the size. You can also draw your own curve.
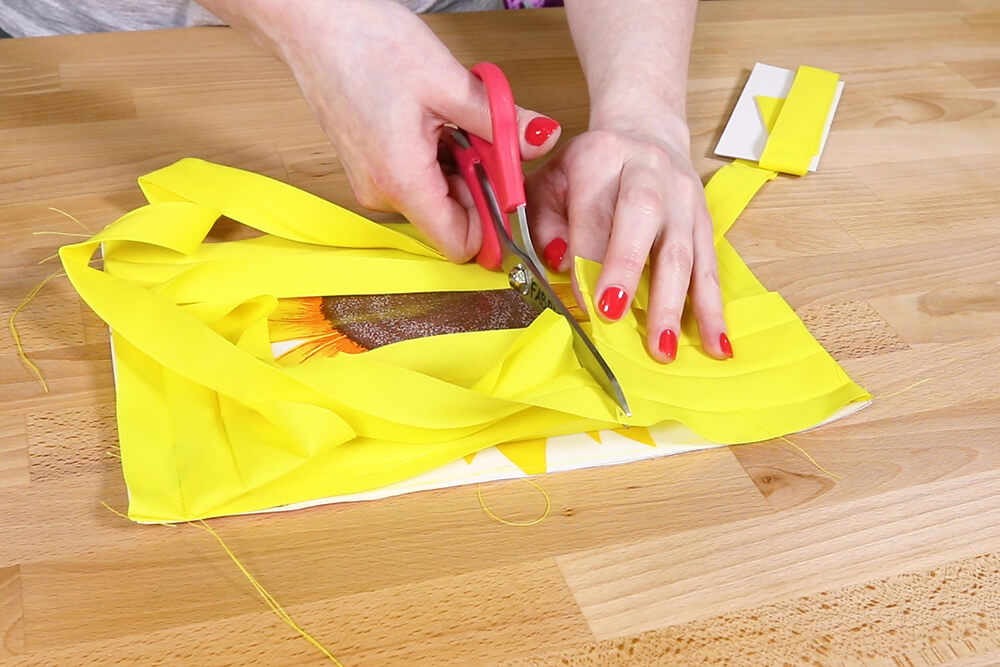
Cut out the top corners.

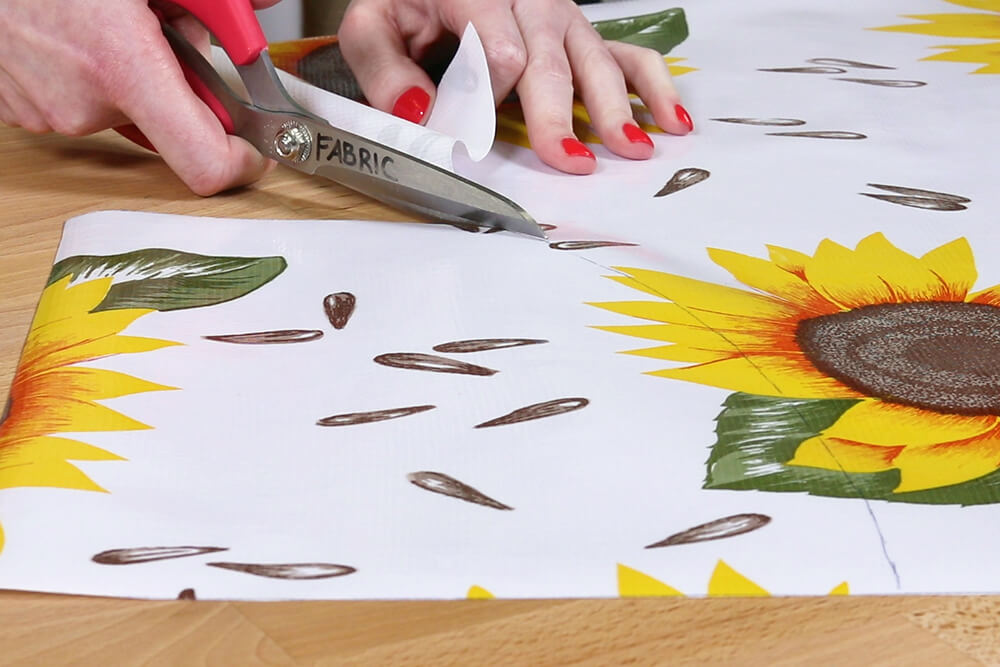
For the pocket, cut out two pieces that are each about 11 by 7 inches.
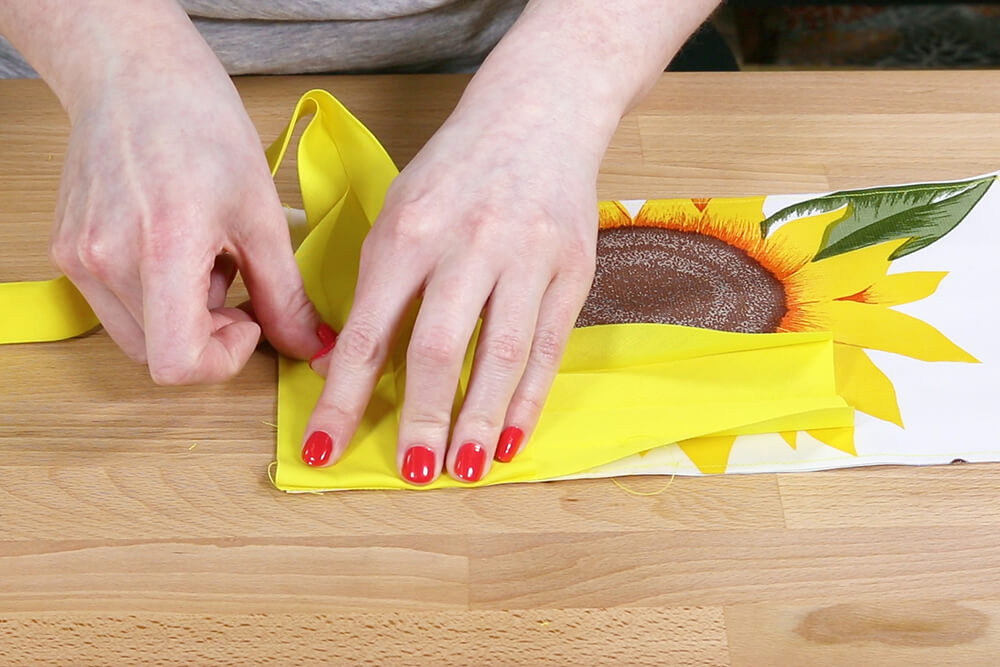
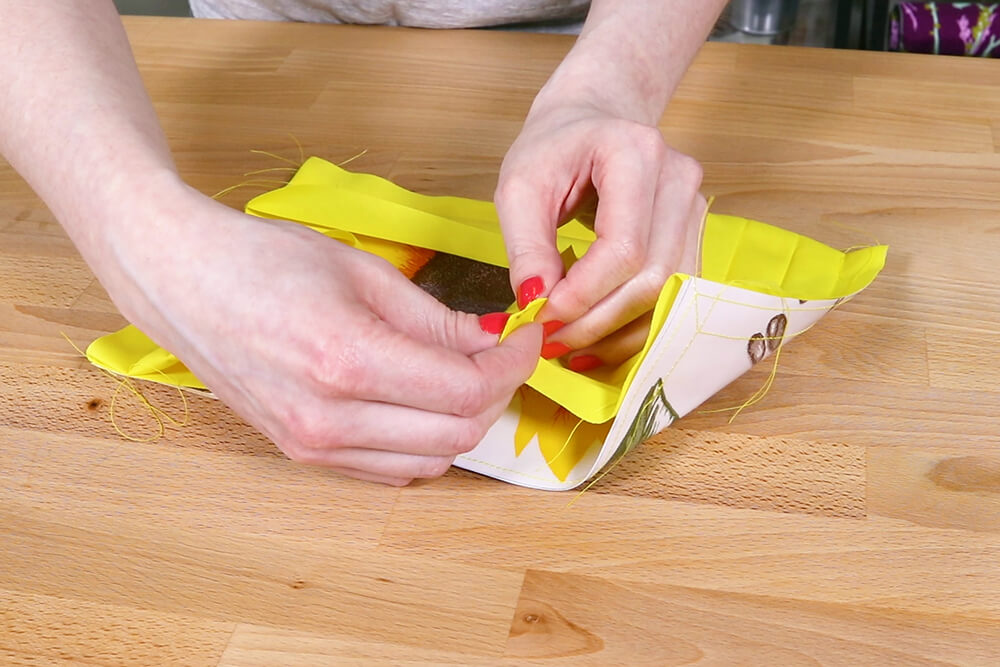
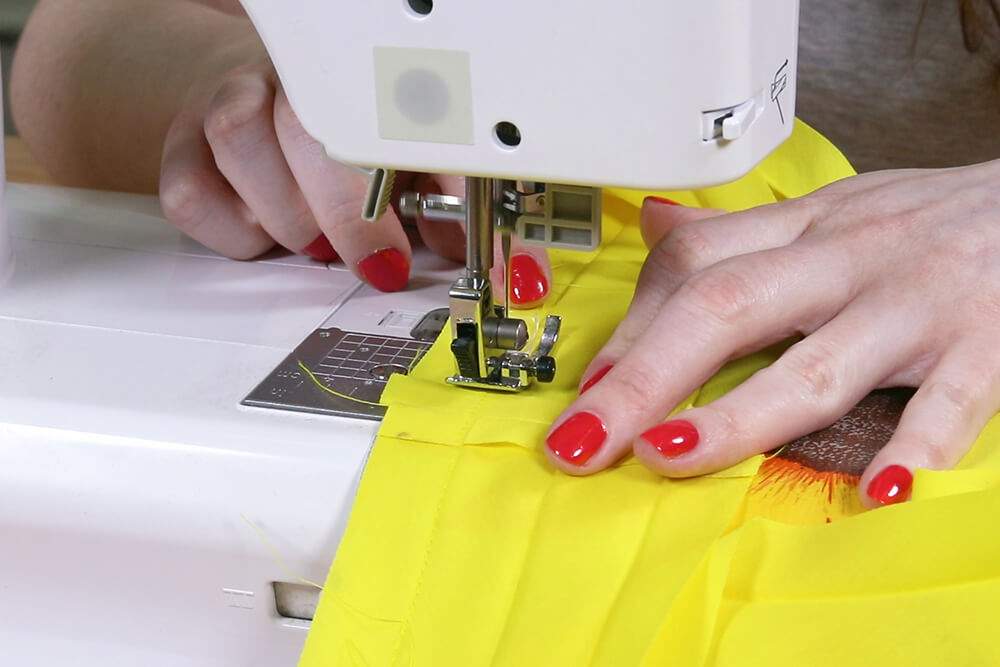
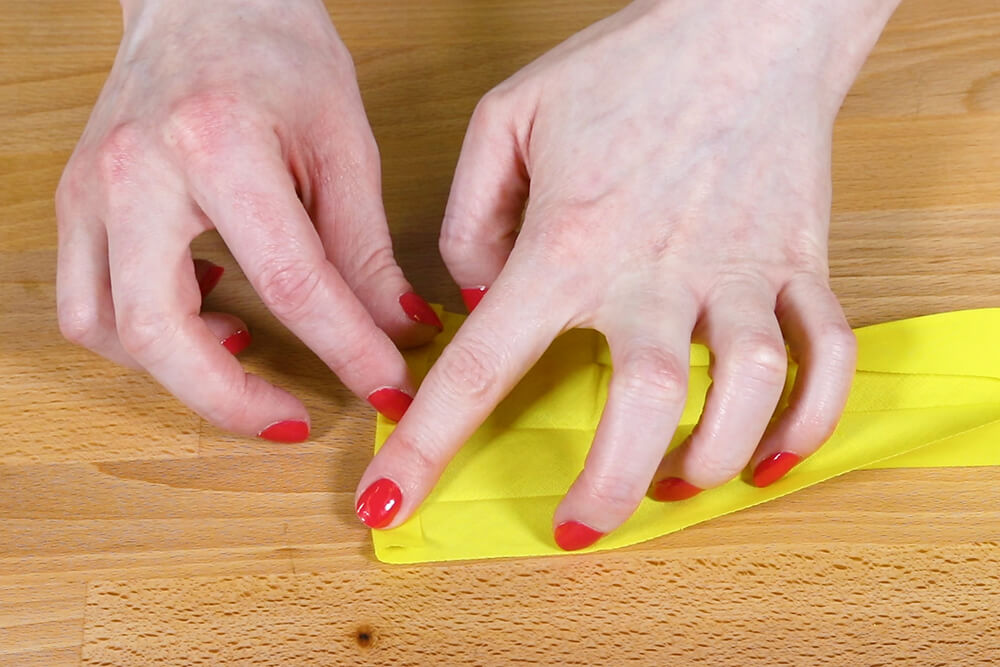
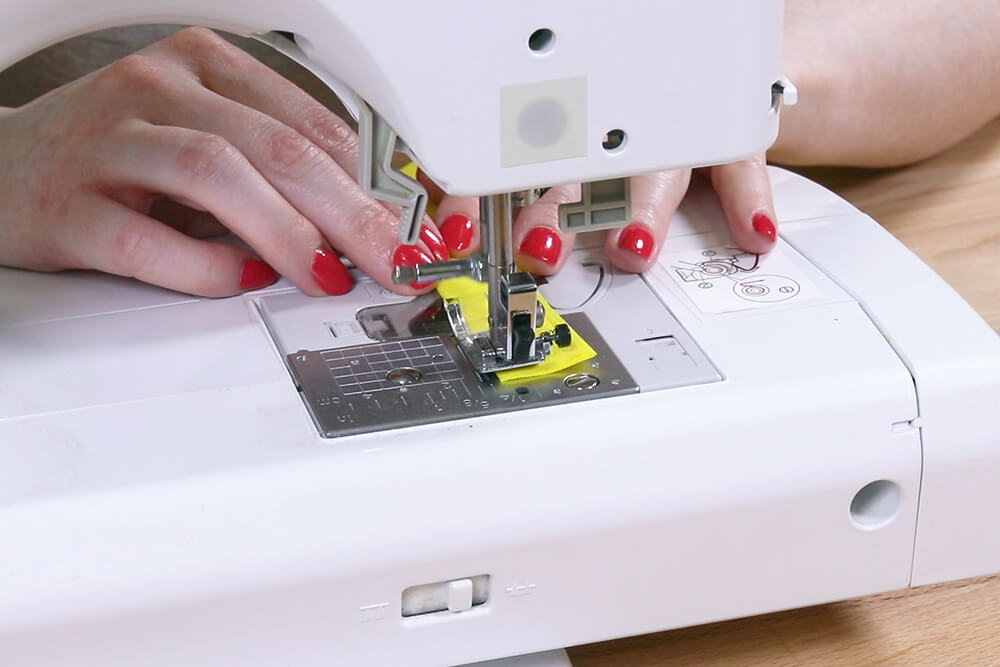
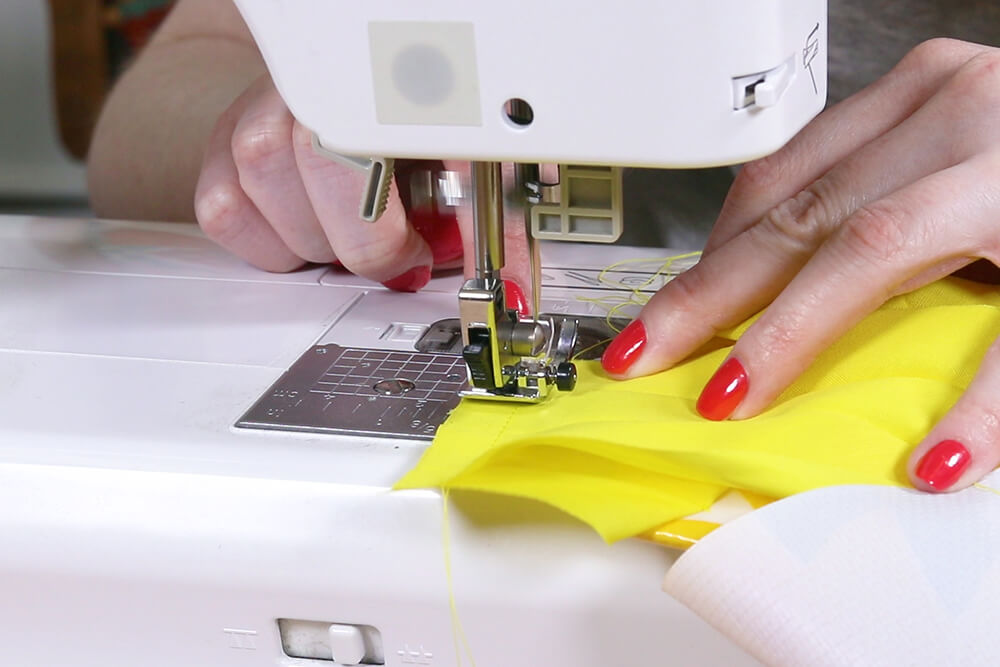
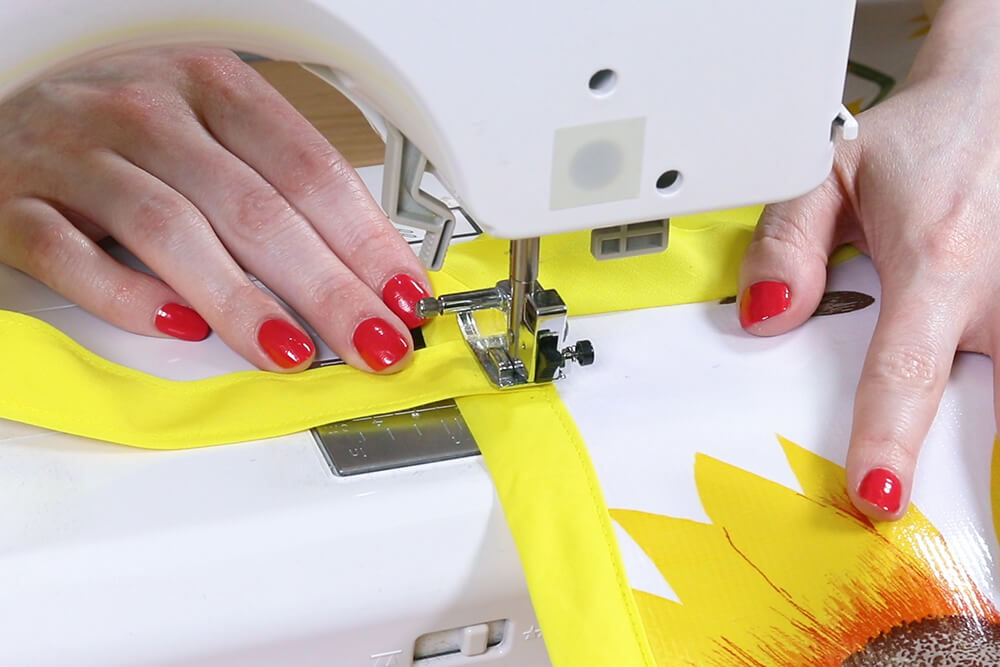
Step 2: Sew the bias tape to the pocket
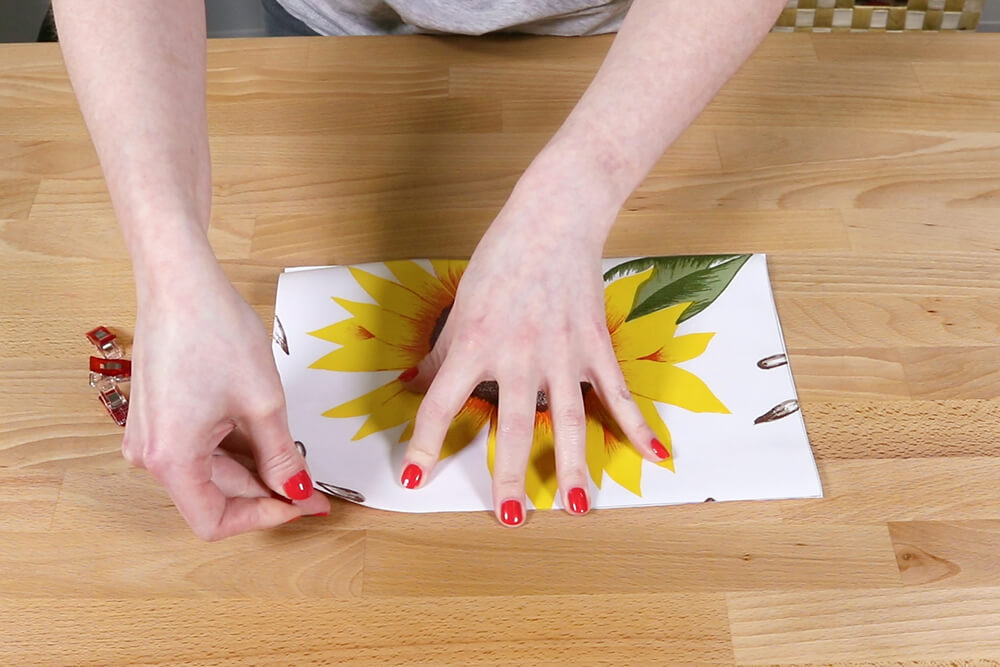
I’m going to sew the 2 pieces of oilcloth together with wrong sides facing so they’re not sliding around while adding the bias tape.
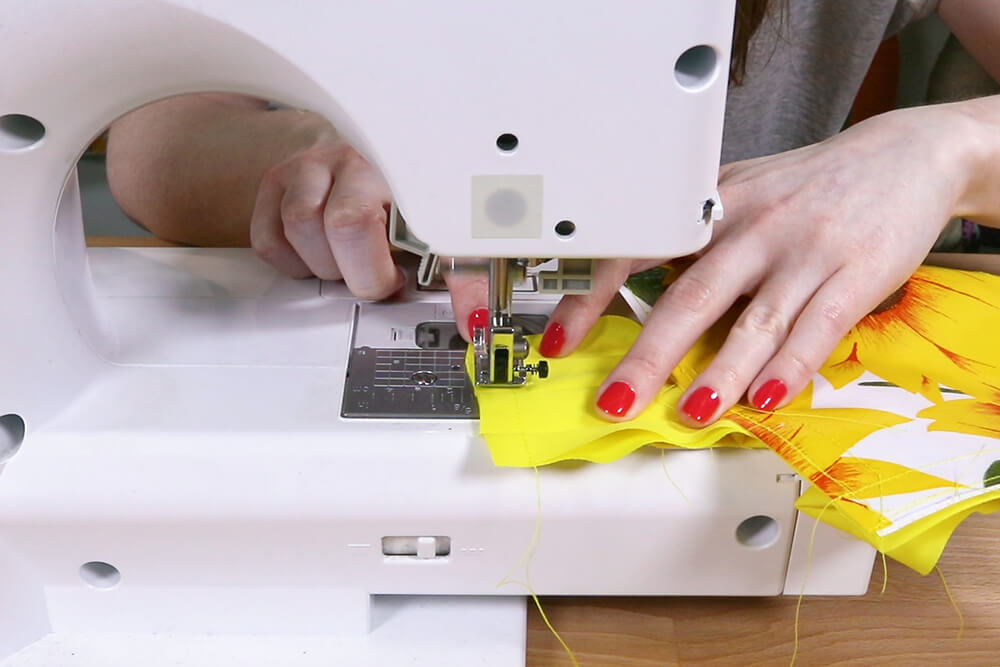
You can get pre-made bias tape or make your own out of broadcloth or quilting cotton. I’m using a 7/8″ double fold bias tape quilt binding, but 1/2″ bias tape is also fine.
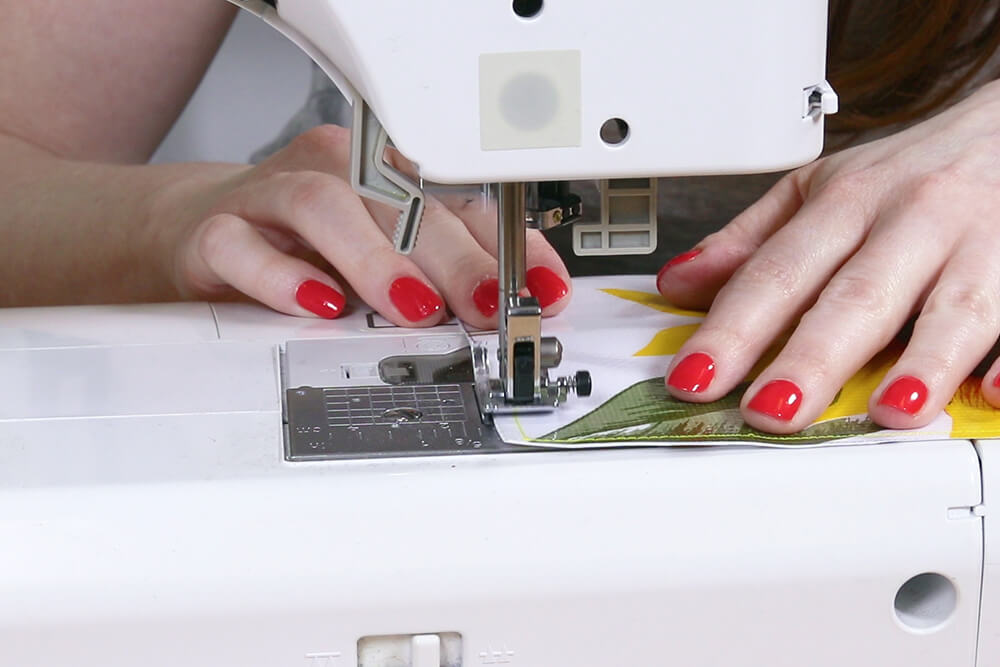
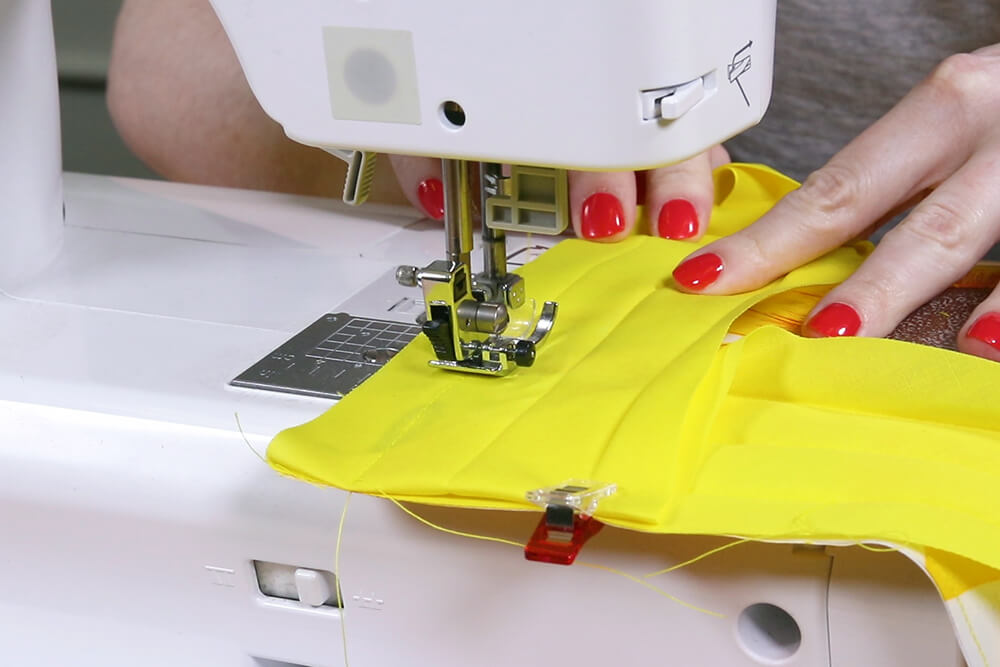
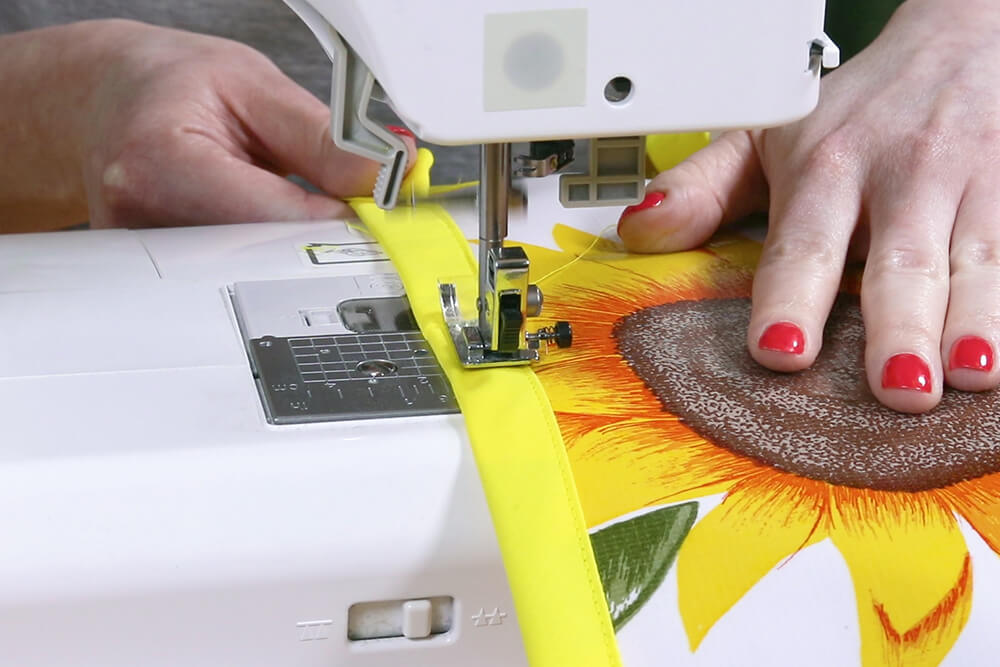
Unfold it and line up the edge on the bottom side. Sew on the first crease leaving 2 or 3 inches open.
Stop when you’re the same distance from the edge as the seam allowance. Turn and sew diagonally to the corner.
Fold the bias tape all the way up so you get a 45 degree angle. Then fold it down so the crease is lined up with the edge.
Start to sew again at the edge.
Continue until you get to the next corner and repeat. Stop about 4 inches from where you started.
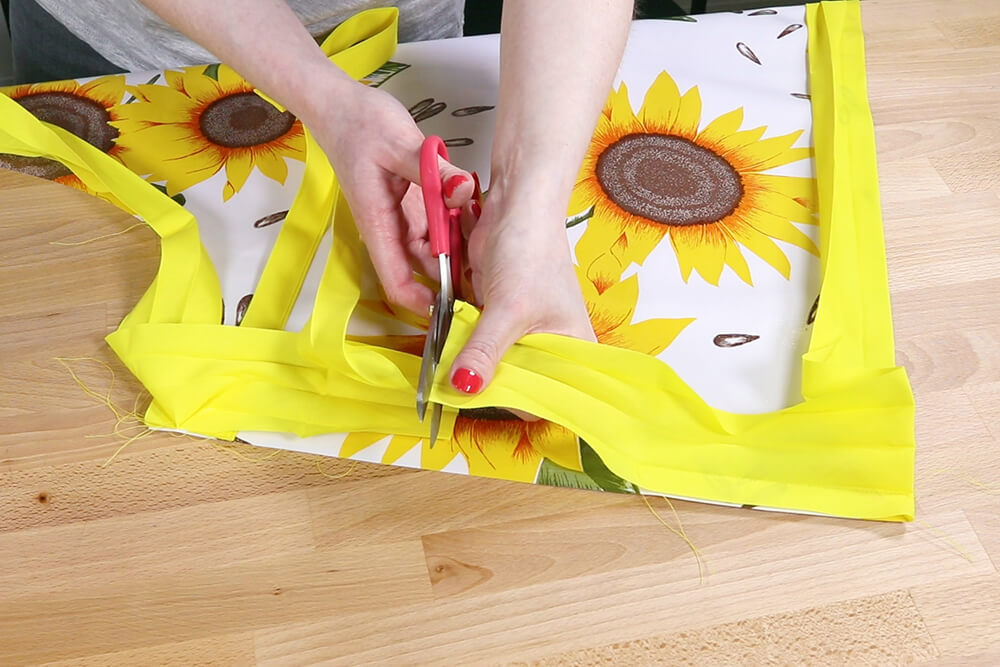
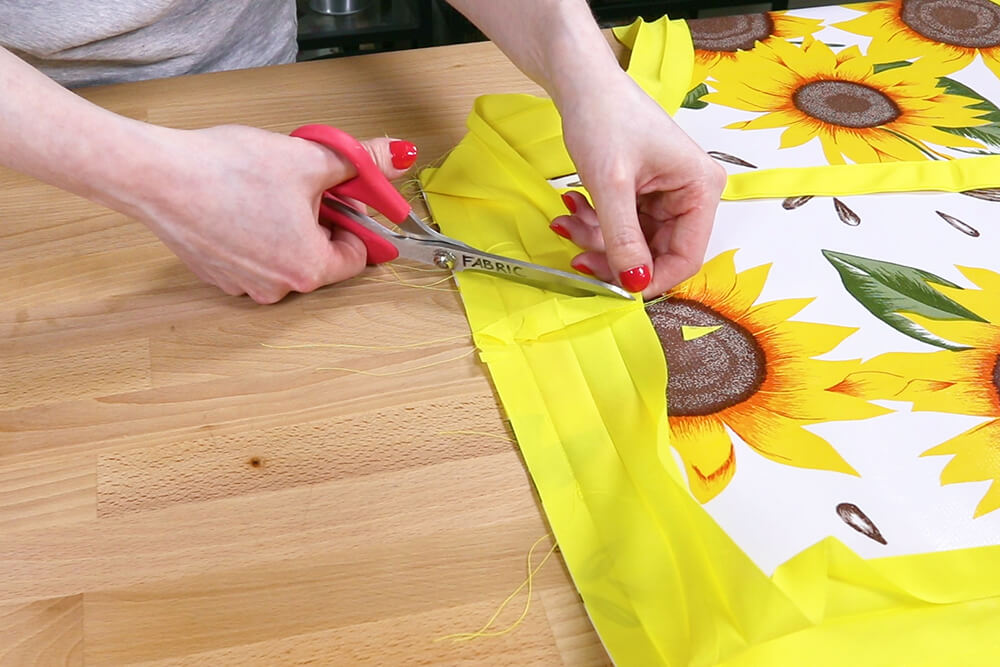
Lay one end over the other, mark and cut so there’s an inch of overlap.
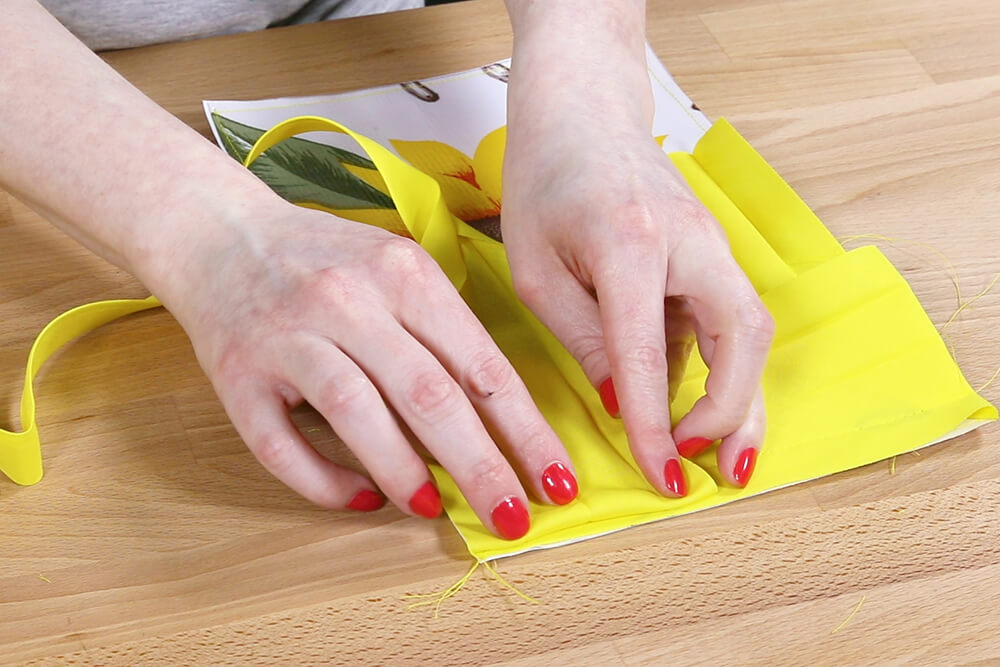
Line up the two ends and sew with a 1/2 inch seam allowance.
Open the seam and finish sewing the bias tape.
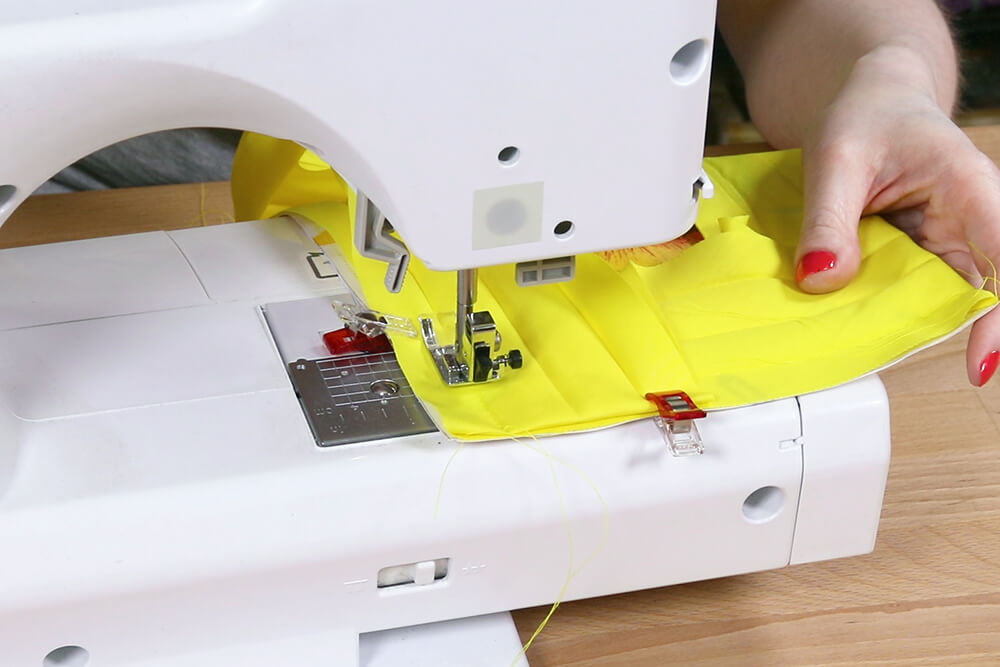
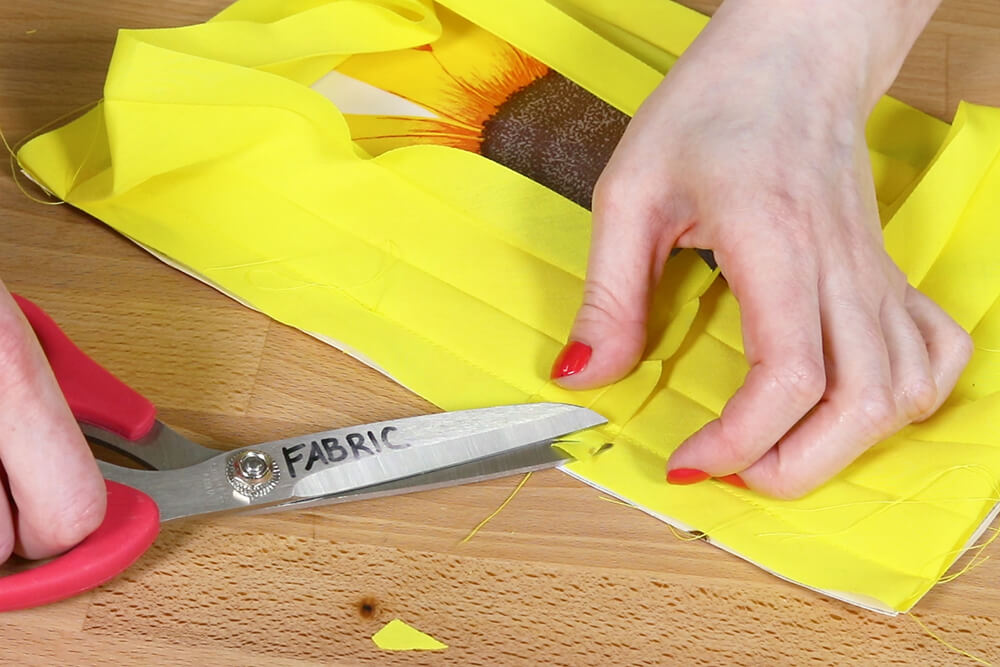
Clip the corners to reduce bulk.
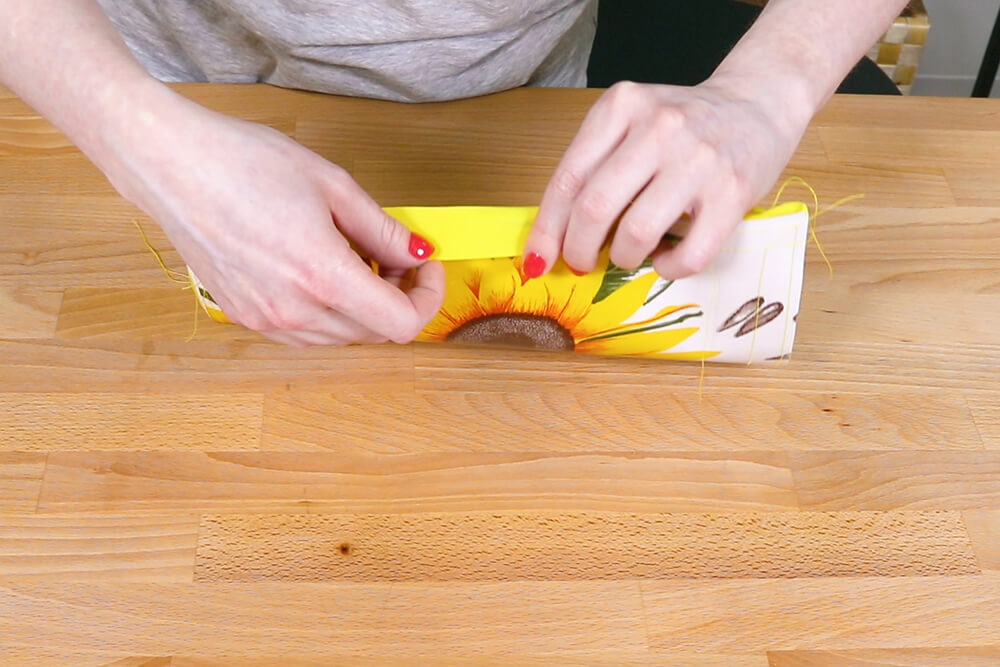
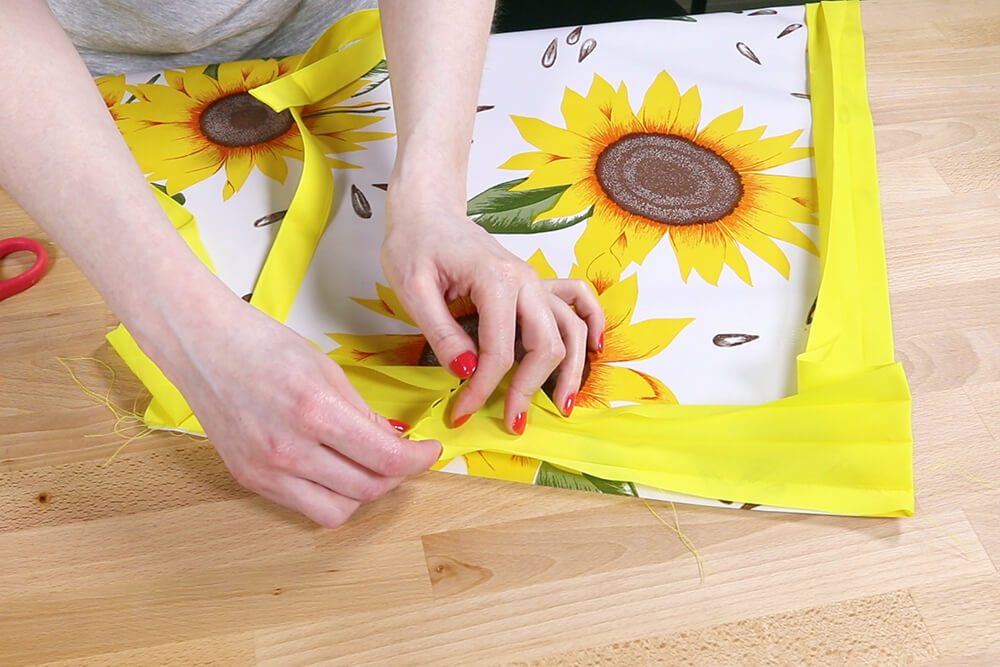
Fold the bias tape around to the back and clip in place. You can also use pins, but they leave permanent holes in oilcloth so only pin where there’s bias tape.
At the corners, fold the back at a 45 degree angle. Make sure the bulk of the fold is on the opposite side as the front.
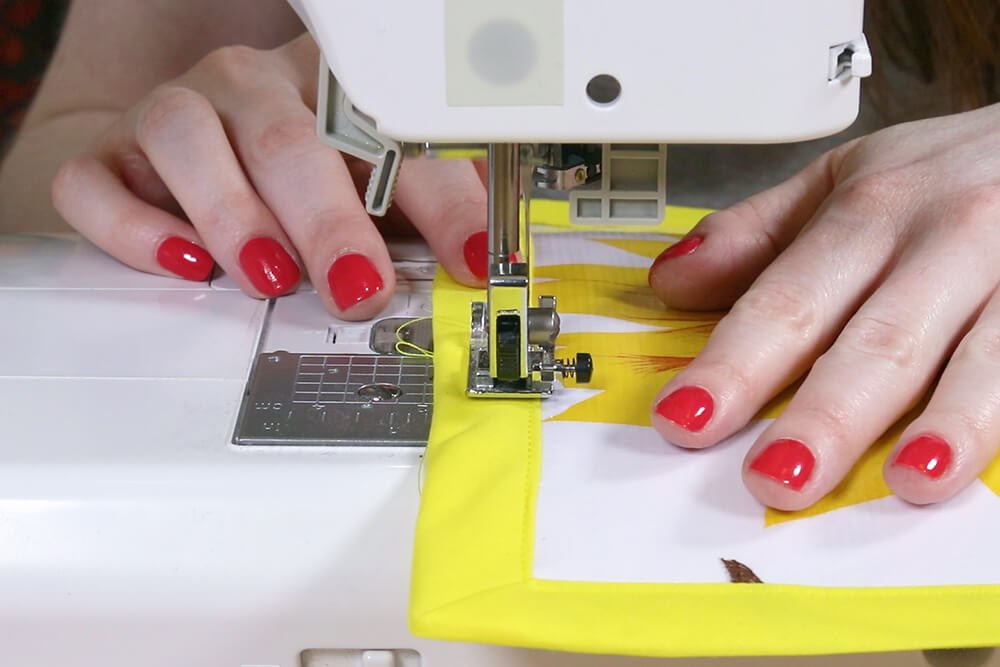
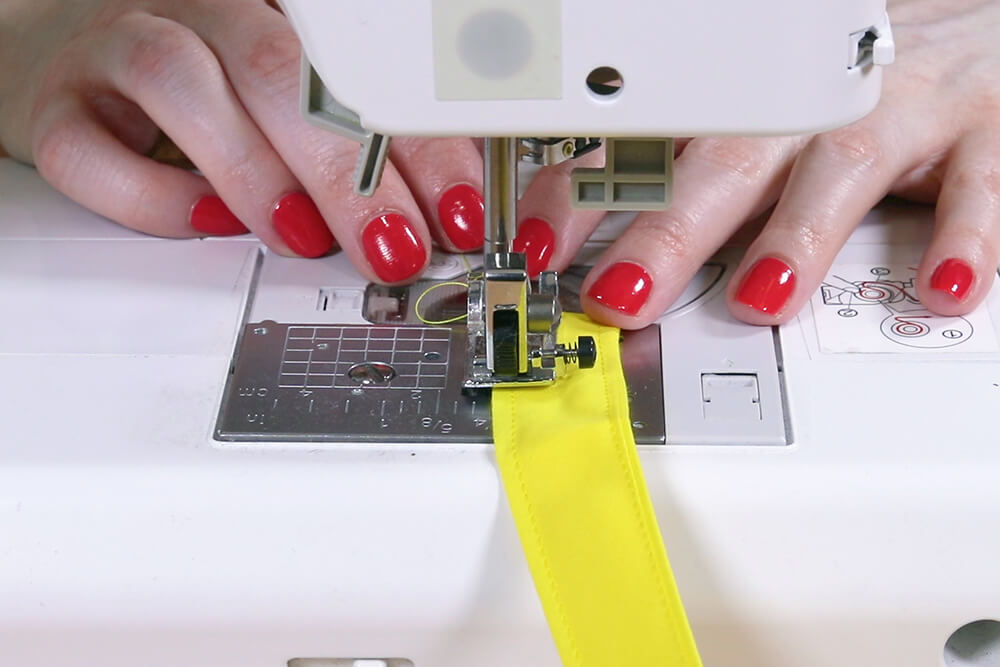
Top stitch an 1/8th of an inch or less from the inner edge of the bias tape.
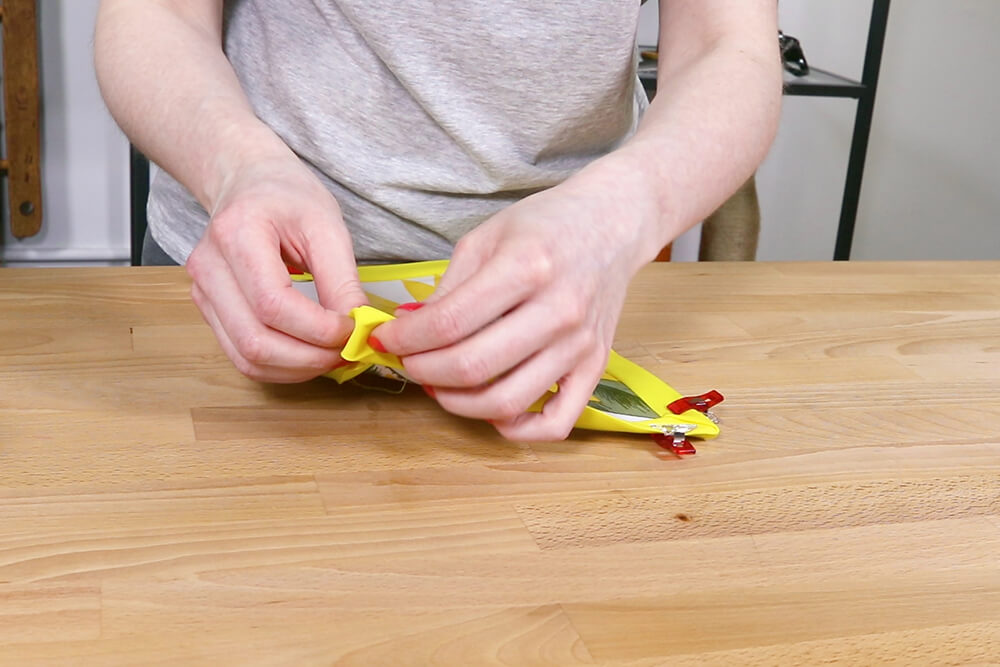
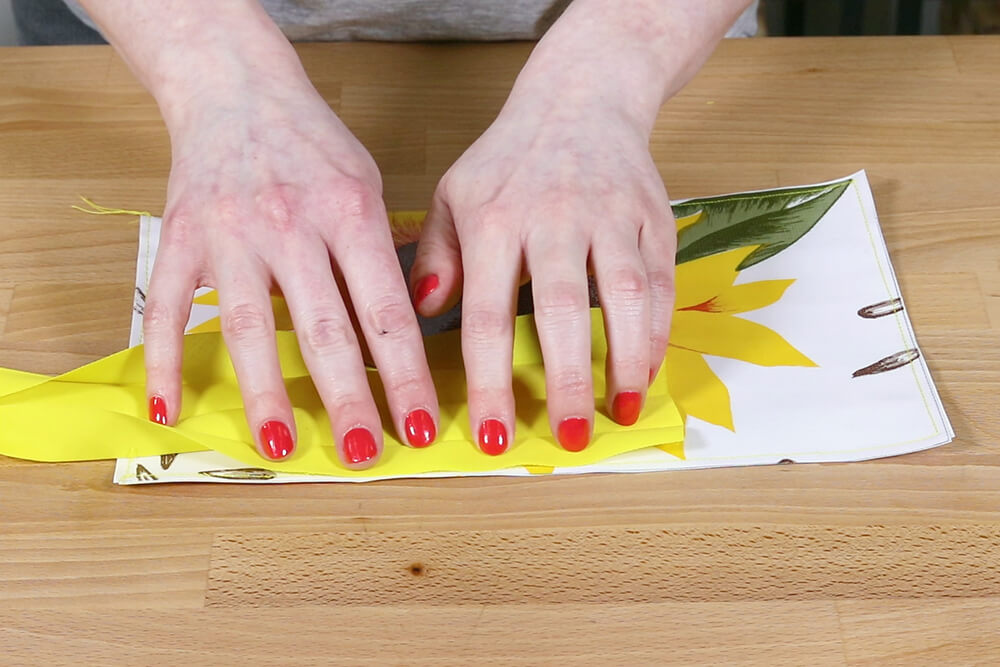
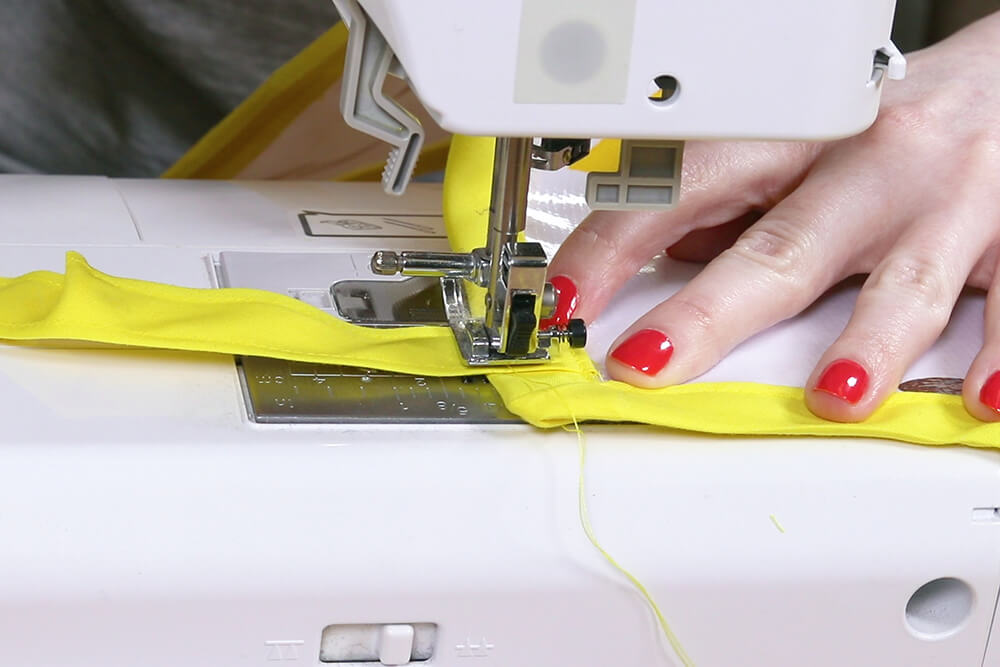
Step 3: Make the ties
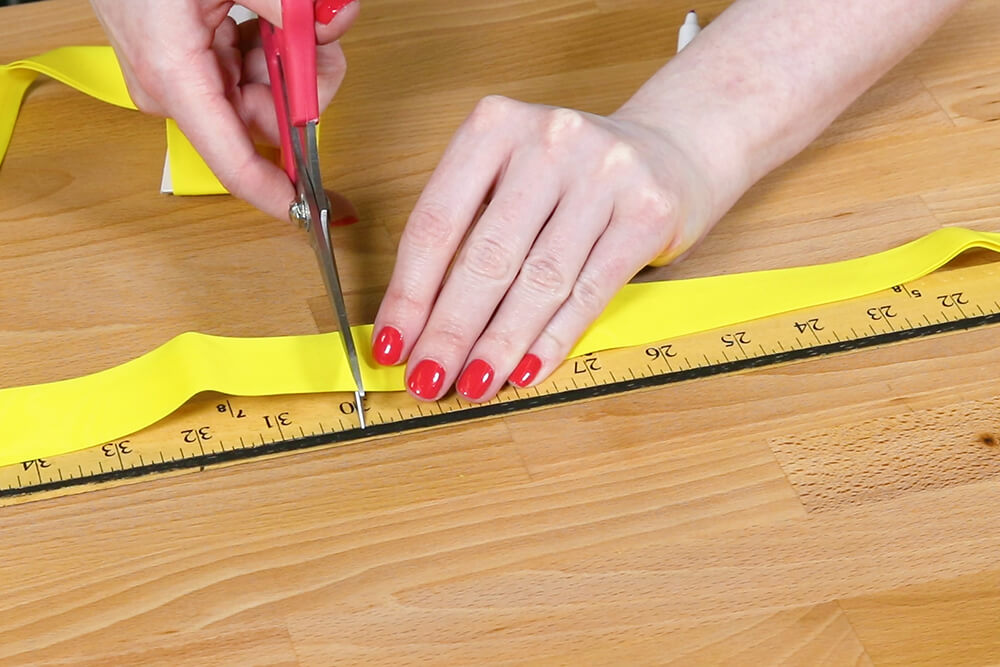
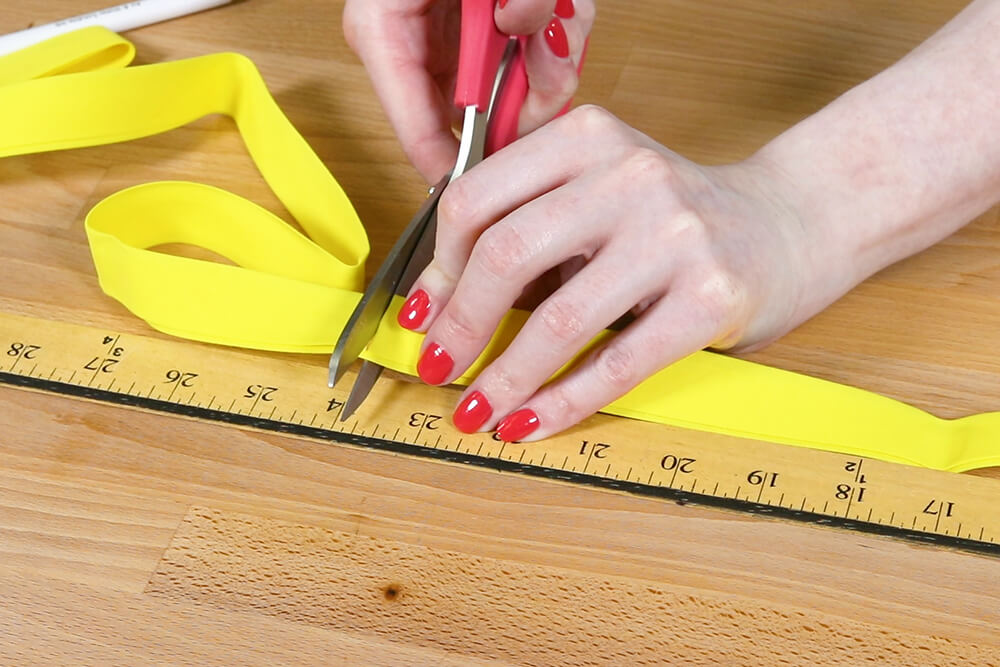
Cut 2 pieces of bias tape that are 30 inches long, and 2 that are 24 inches long.
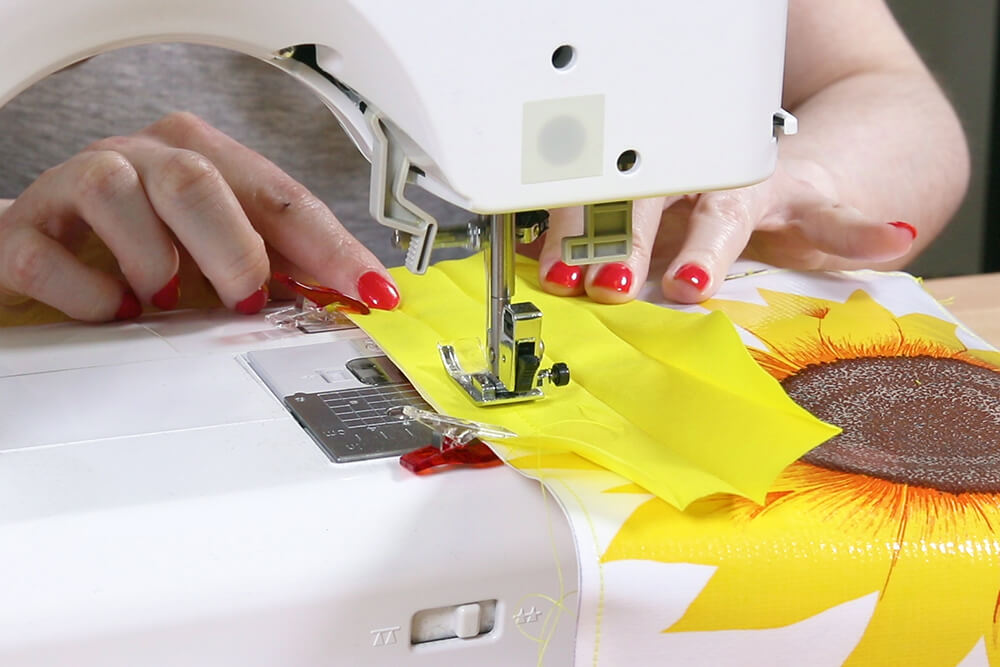
At one of the ends, open the bias tape and fold the edge in a quarter of an inch, and refold the tape.
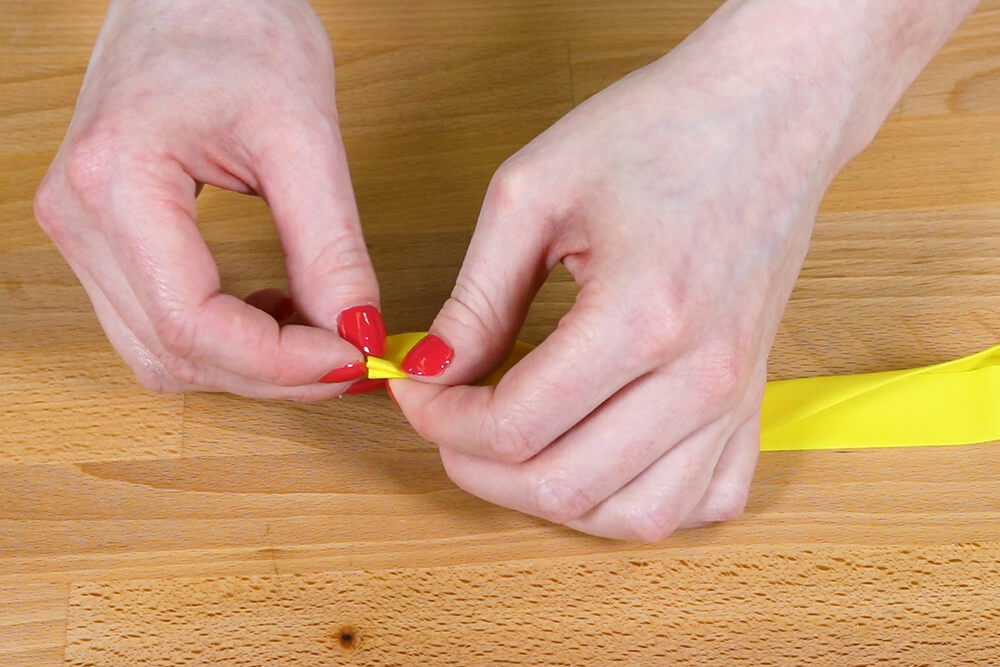
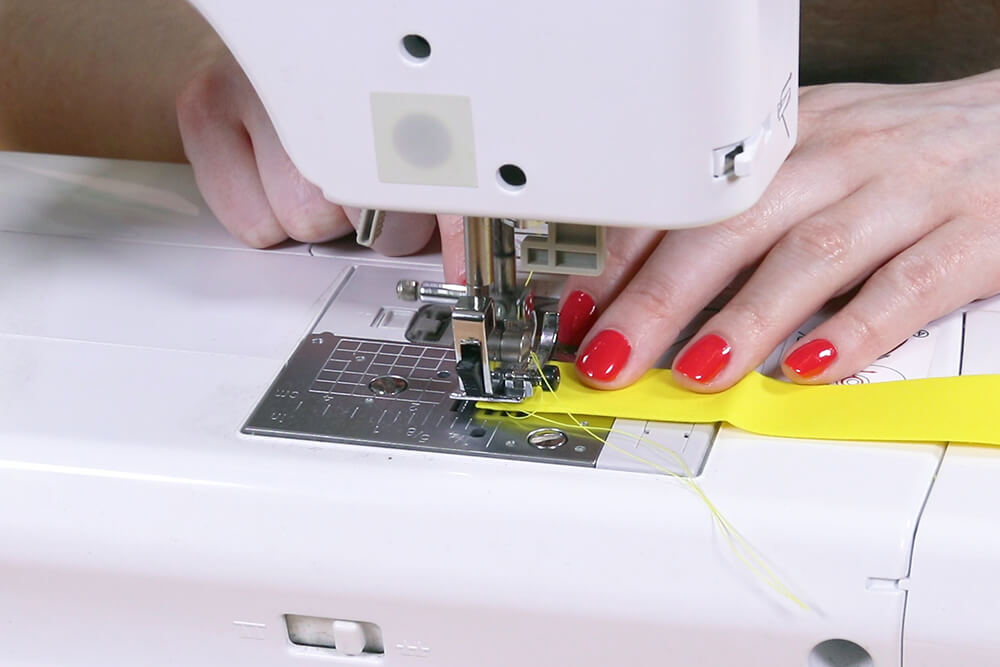
Sew across the end, then up the open side with a 1/8th inch seam allowance.
You can also top stitch the other side if you want to make the stitching even.
Repeat for all the ties.
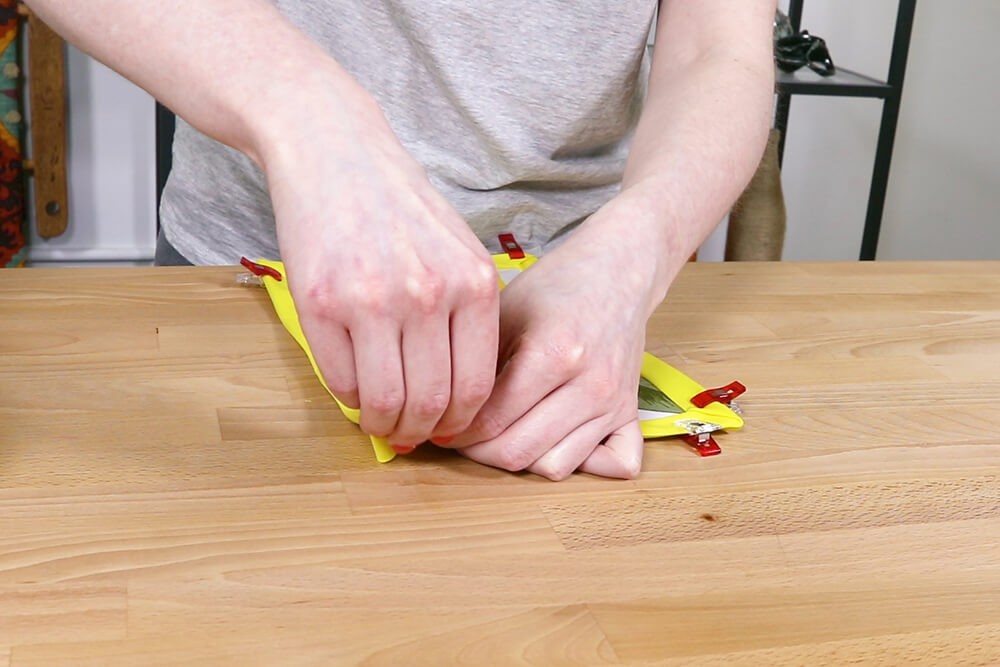
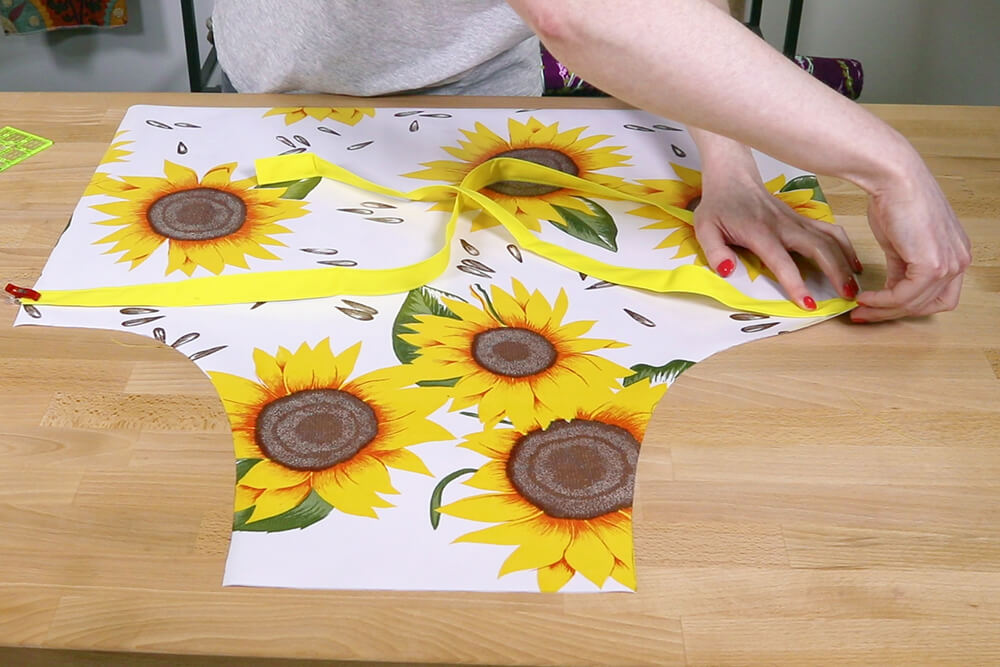
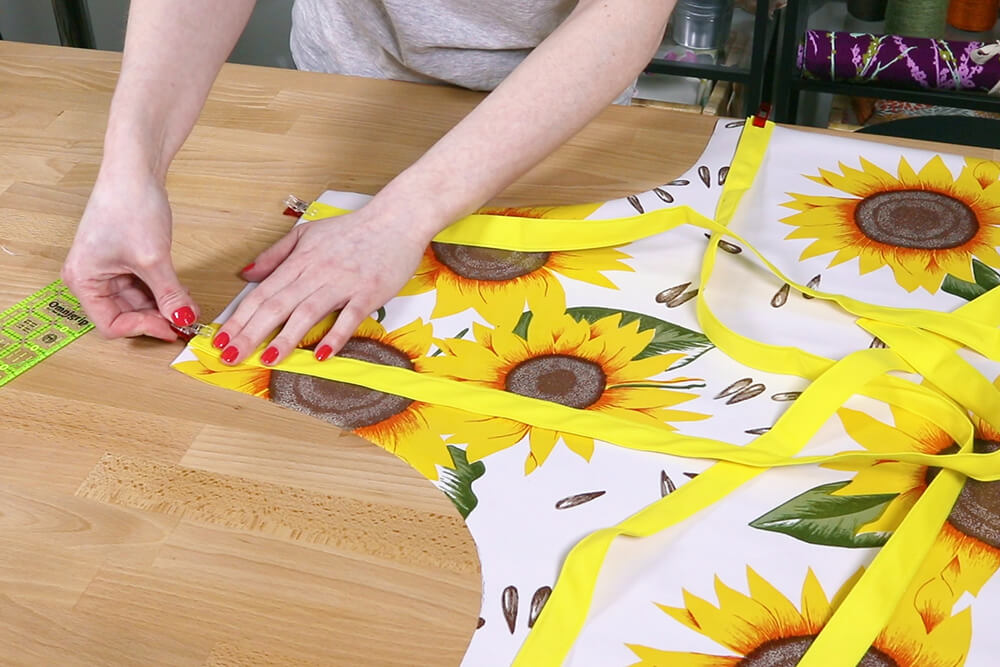
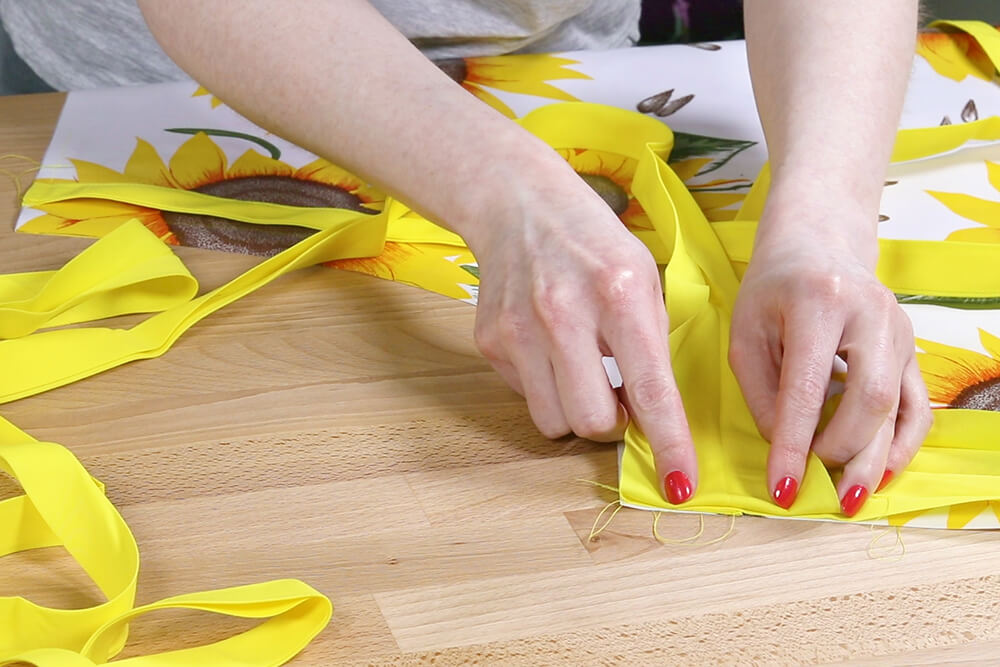
Place the longer ties 1 inch down from the corners of the waist and clip. The raw edges should be aligned.
Clip the other ties 1 inch in from the corners at the neck.
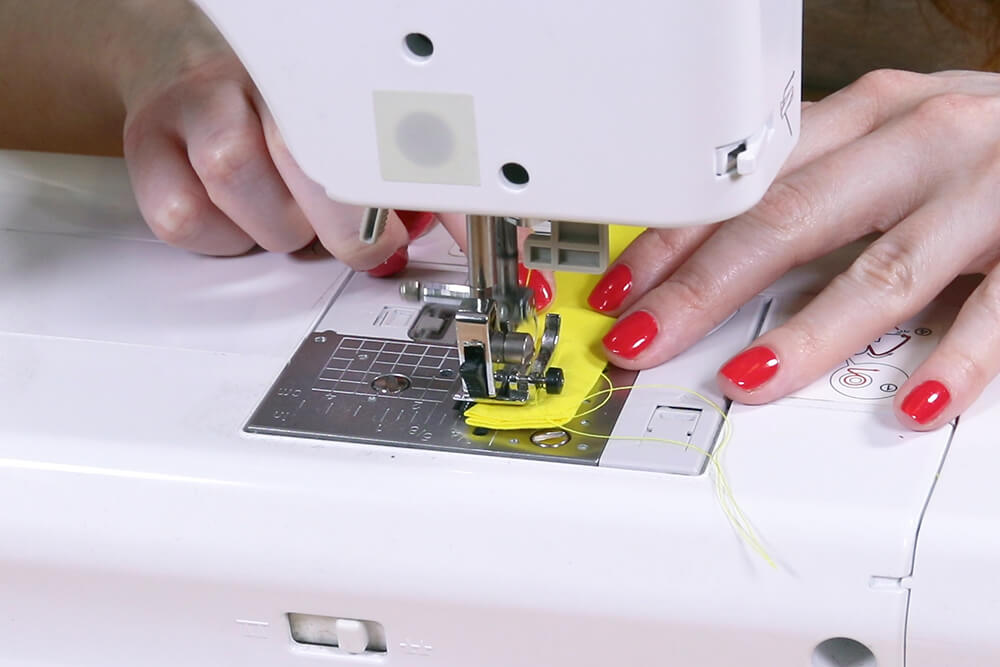
Sew all the ties in place.
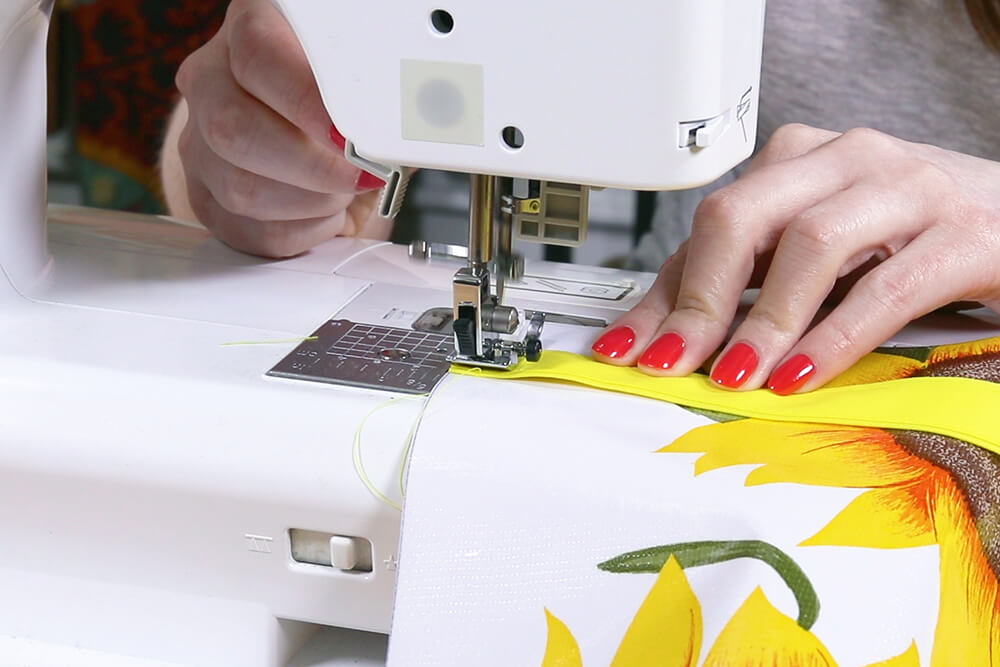
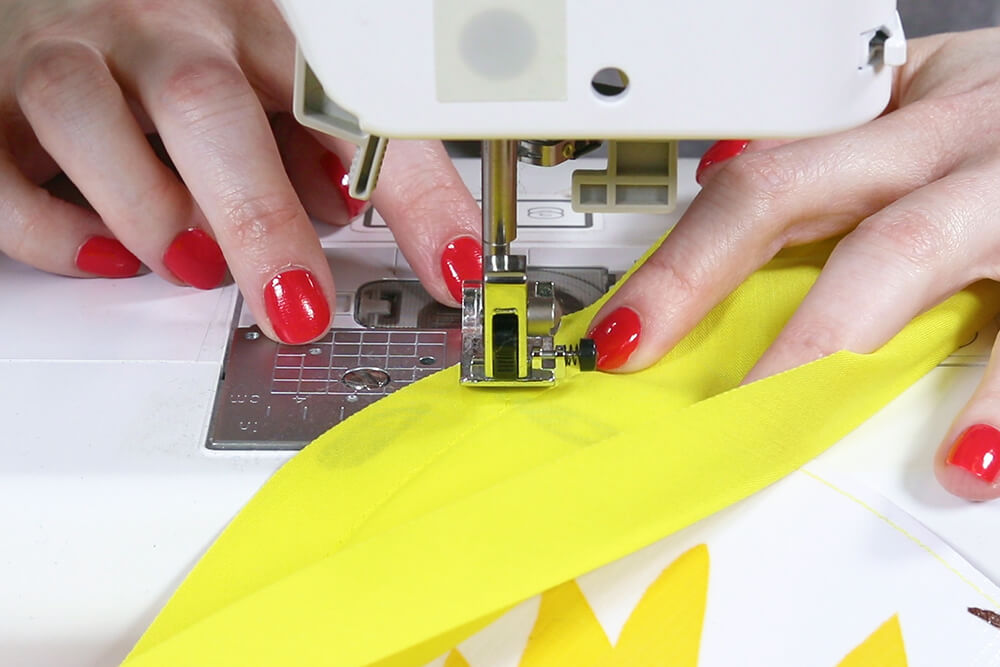
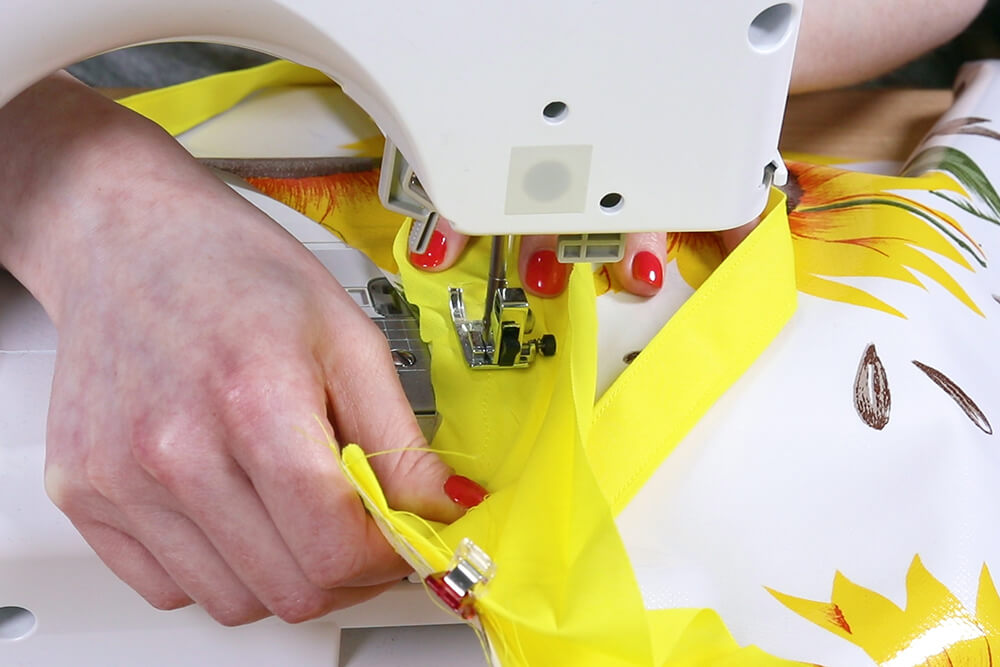
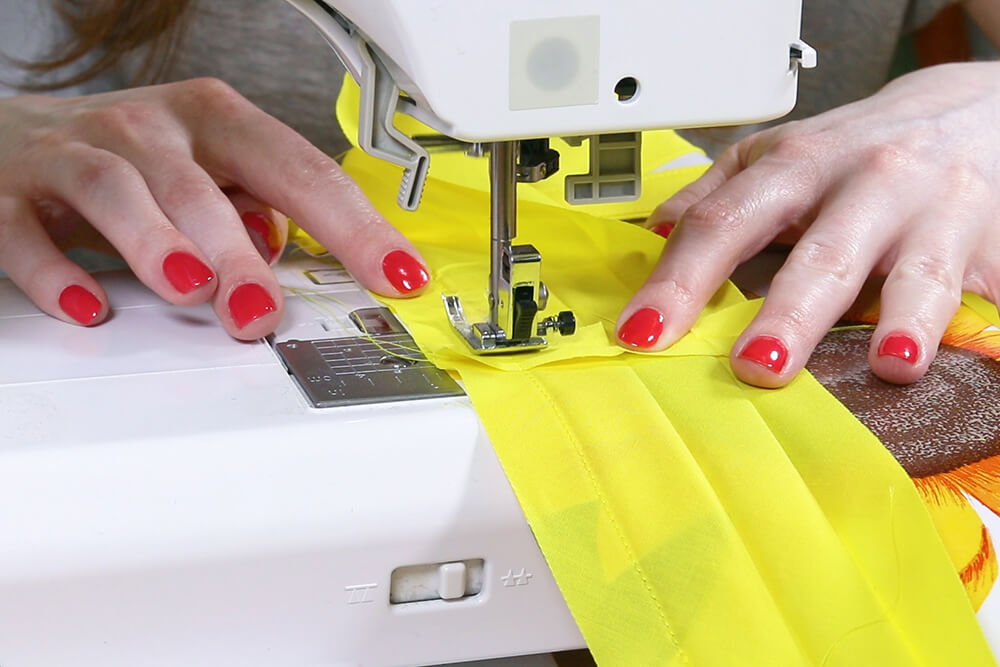
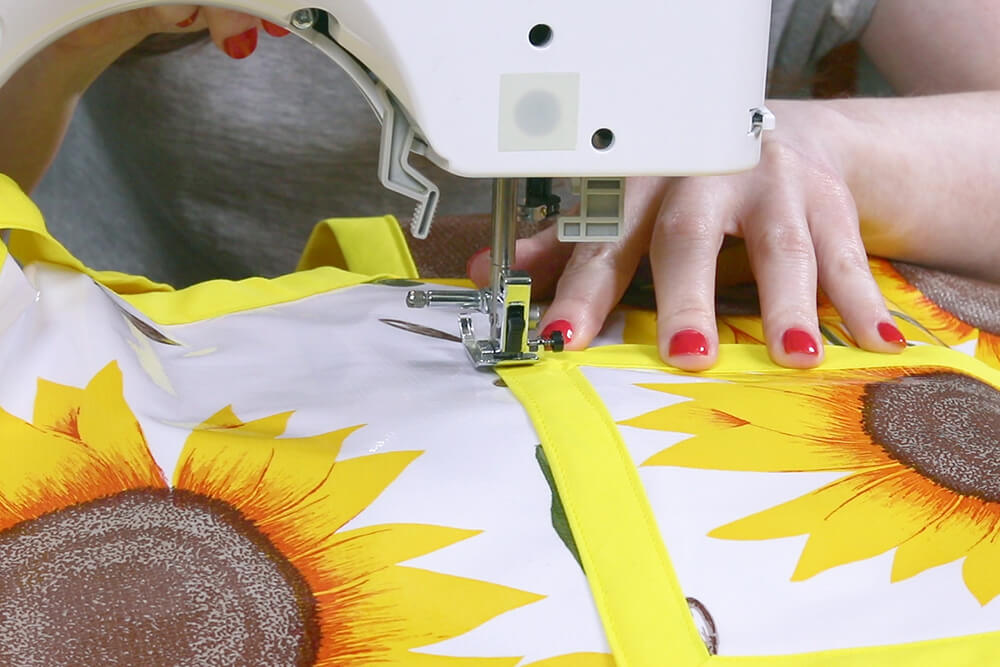
Step 4: Sew the bias tape to the apron
Attach the bias tape to the apron piece in the same way as the pocket.
When sewing around the curve, sew a little bit at a time and adjust the tape as you go.
If you want your apron lined, cut out a piece of fabric the same size as the oilcloth and sew them together before adding the bias tape. You can use a cotton fabric, or another piece of oilcloth.
When top stitching on the front of the bias tape, make sure to fold the ties back before sewing over them.
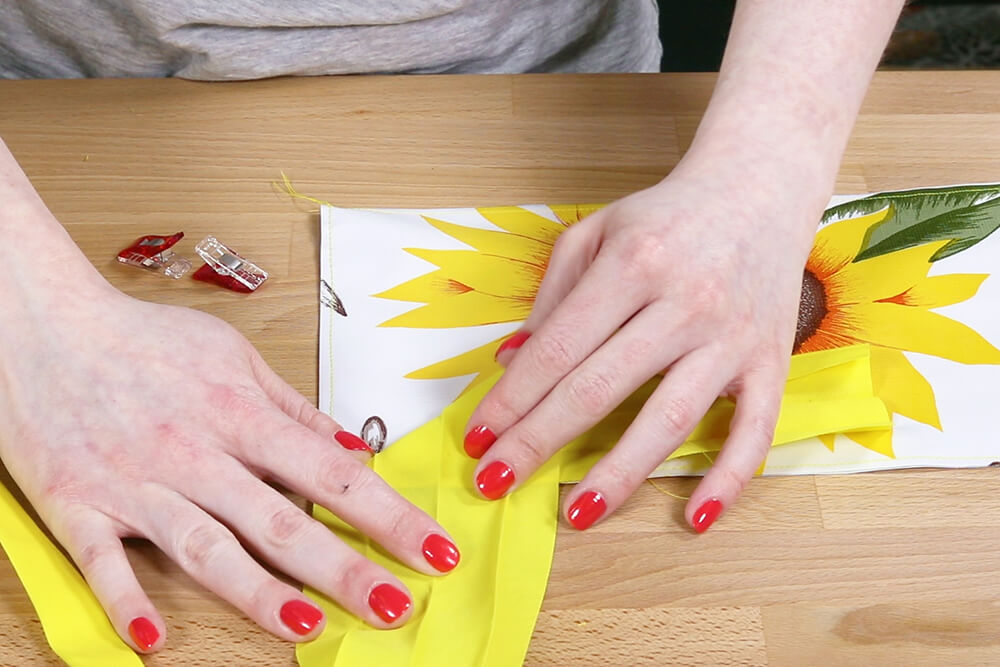
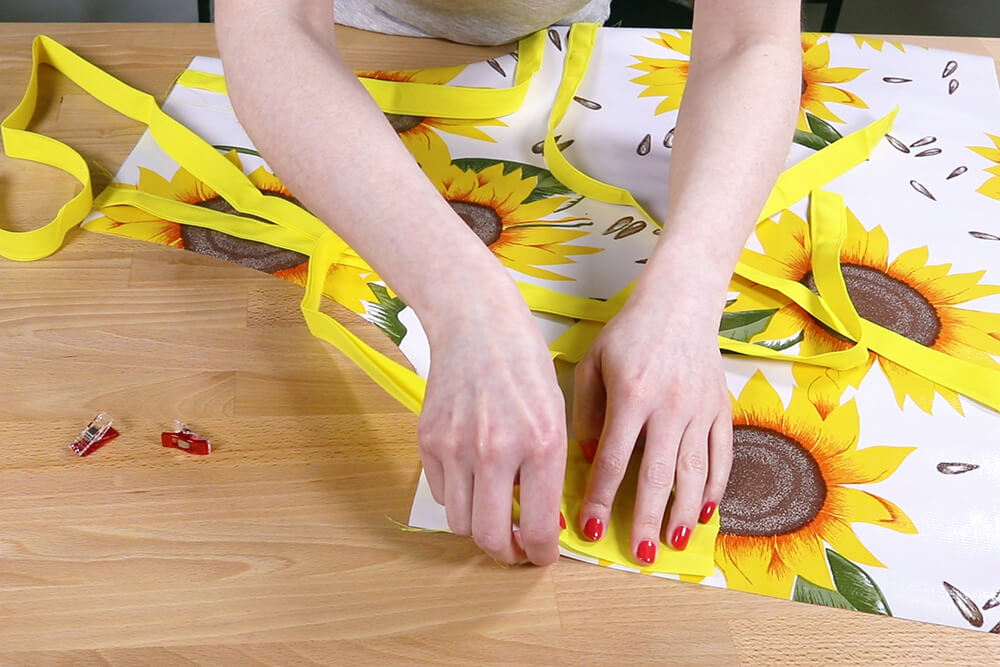
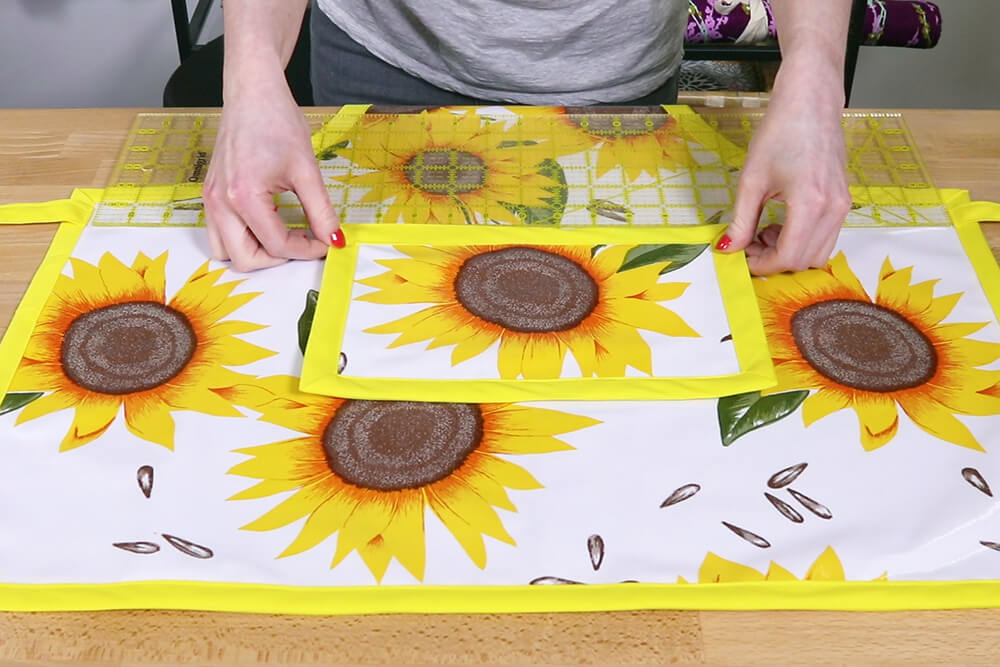
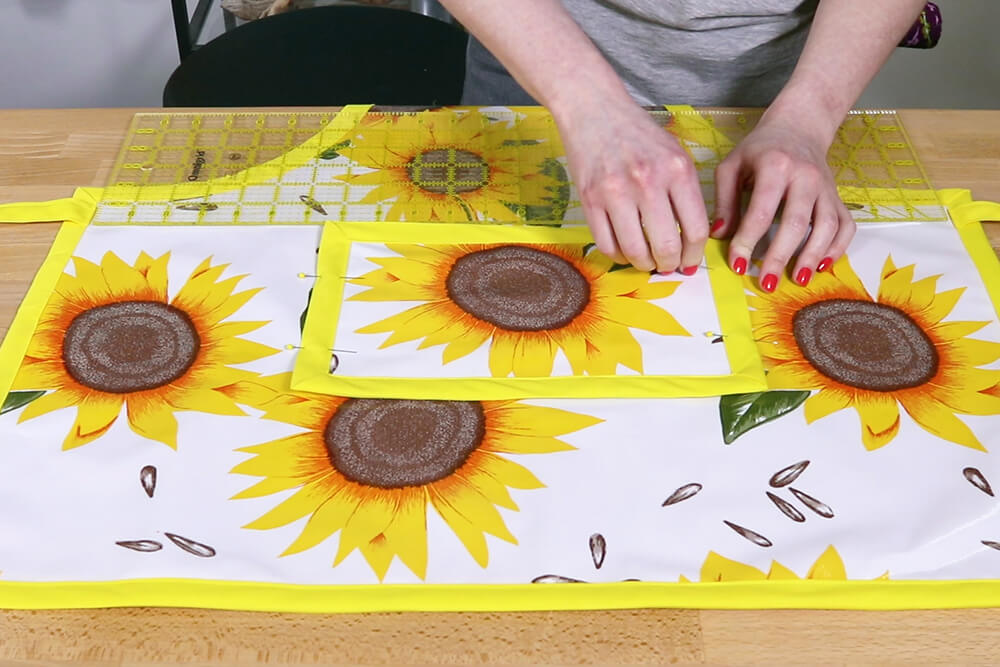
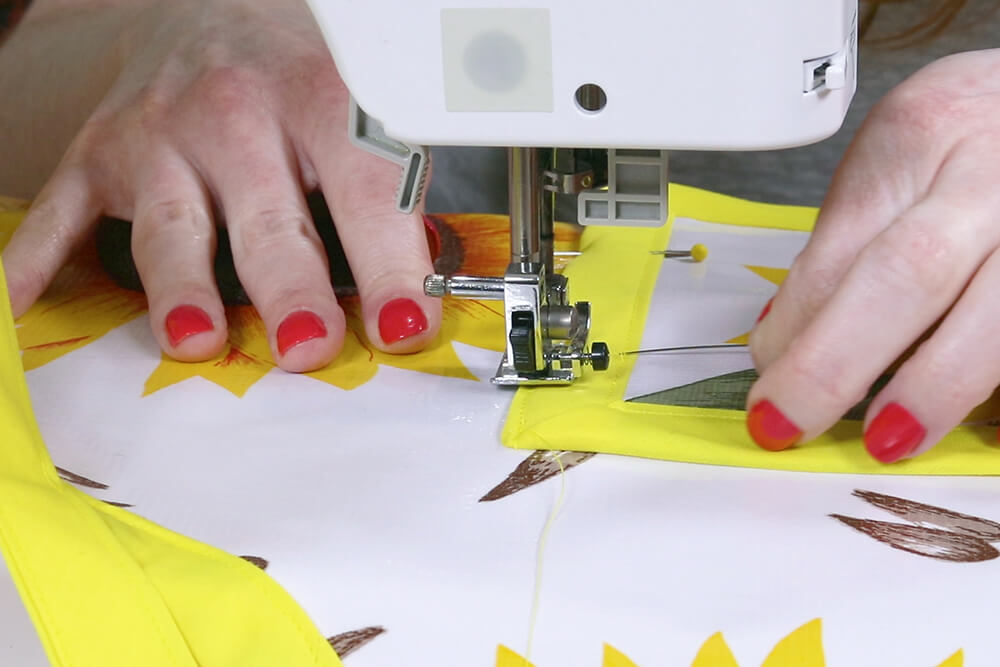
Step 5: Attach the pocket
Place the pocket so it’s centered on the front and the top is lined up with the bottom of the waist ties.
Pin it in place only on the bias tape so the pin holes don’t show. You could also use double sided tape.
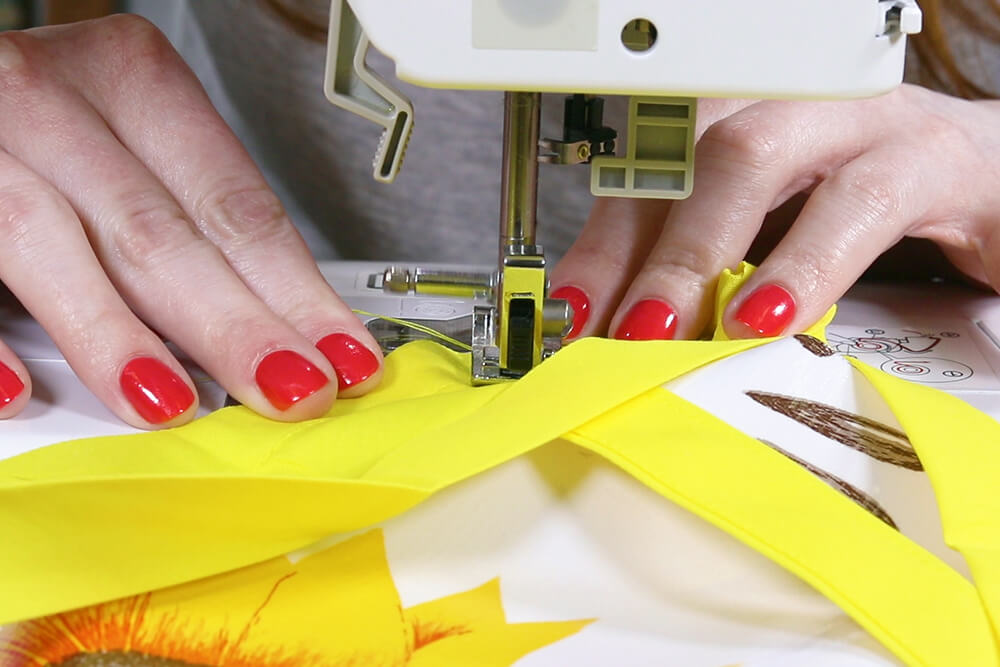
Top stitch the sides and bottom of the pocket about 1/8th of an inch from the edge.
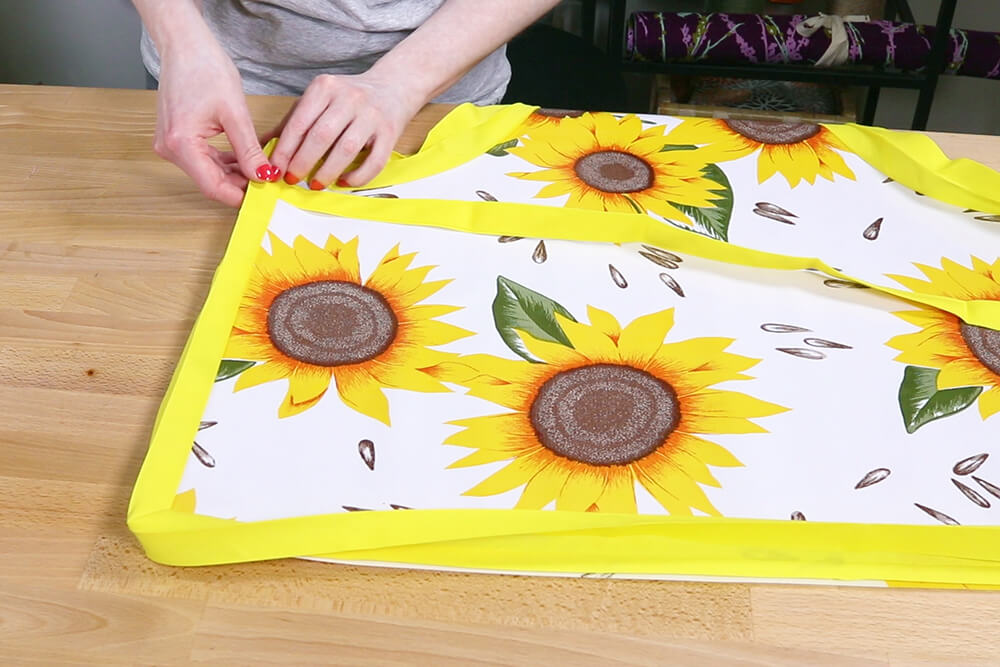
Sew the ties at the outer edge of the bias tape, and the apron is complete.


Ready to make your own apron? Check out our selection of oilcloth fabric.
-
{{#each productSuggestedQueries.results}}
- {{query}} {{/each}}
-
{{#each categories.results}}
- {{html title}} {{/each}}
{{html attributes.description}}
{{/if}}-
{{#each queries.results}}
- {{query}} {{/each}}