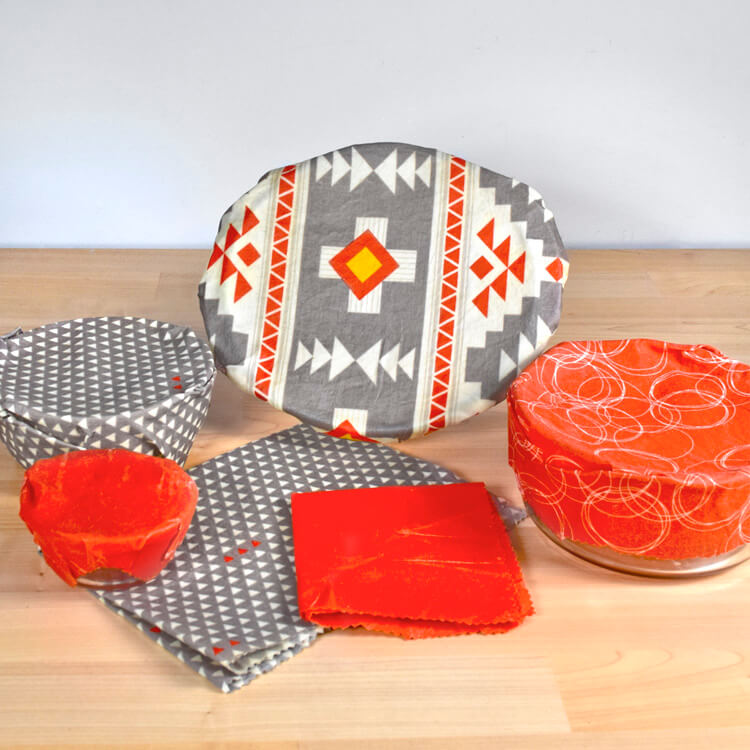
How to Make Beeswax Food Wraps
- By Alyssa
- 1 hour
Ready for another sustainability project?!
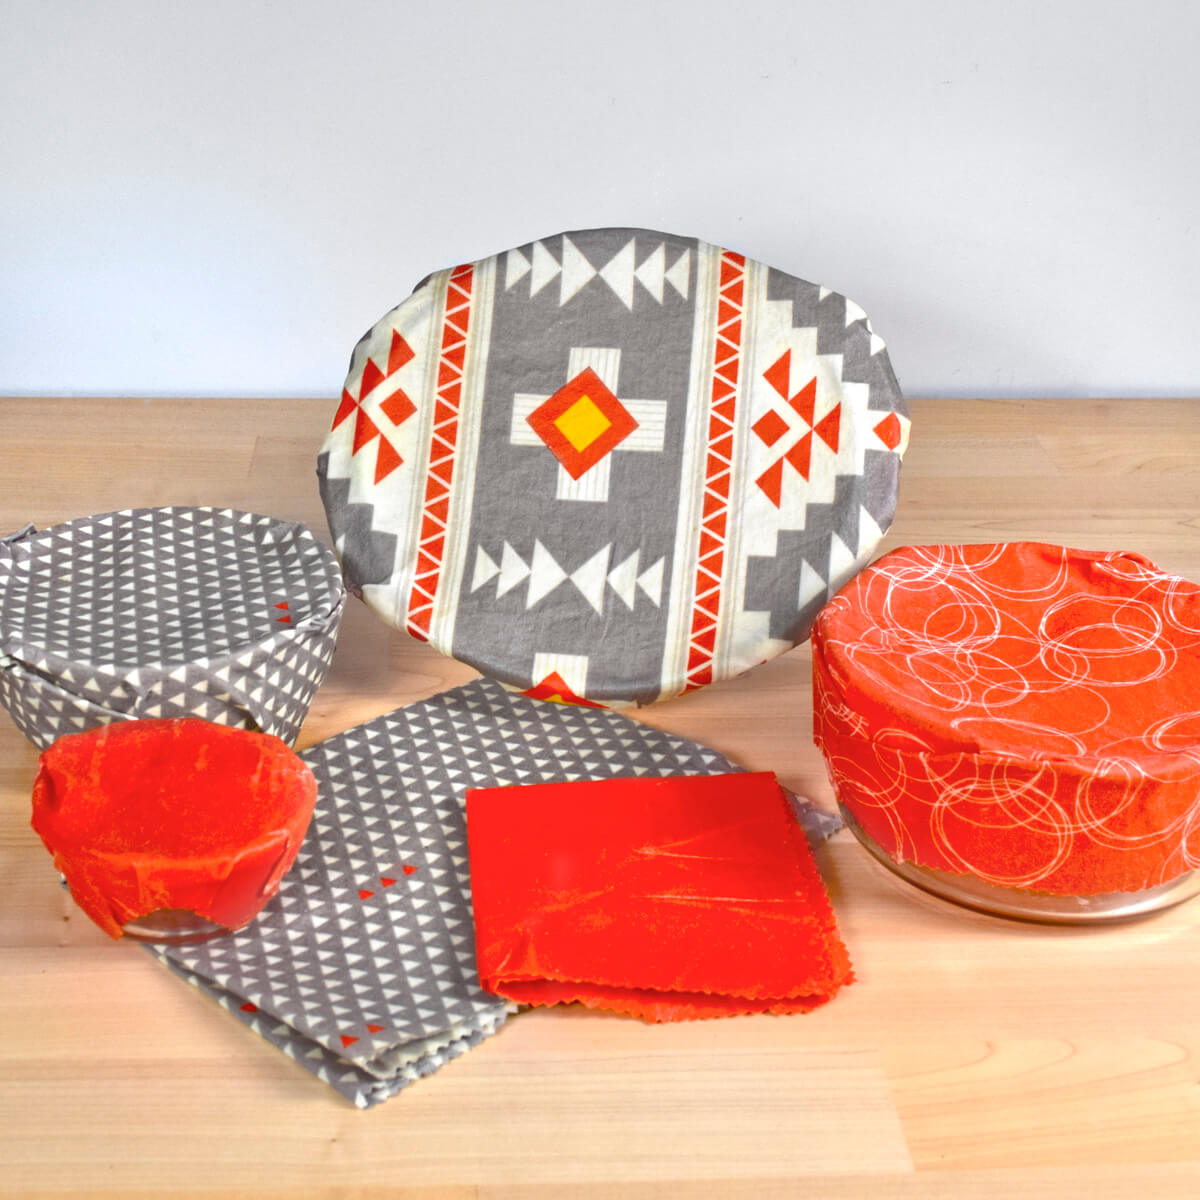
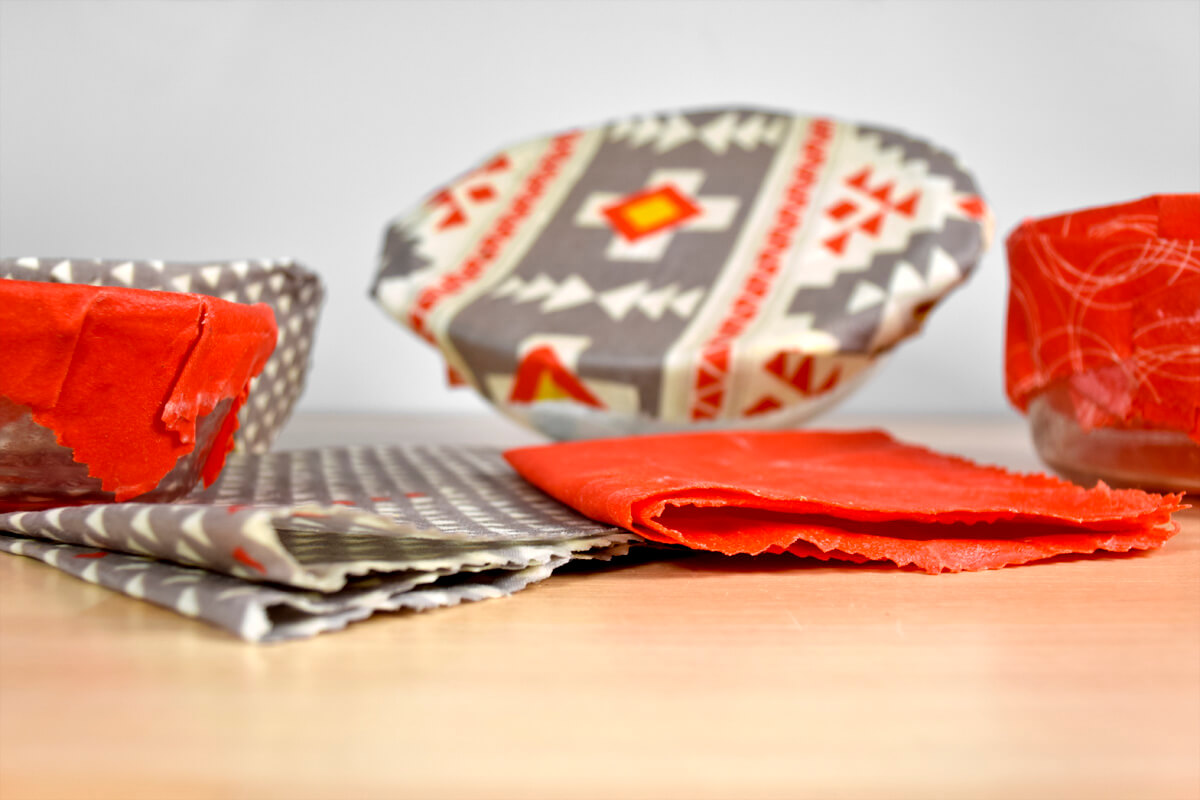
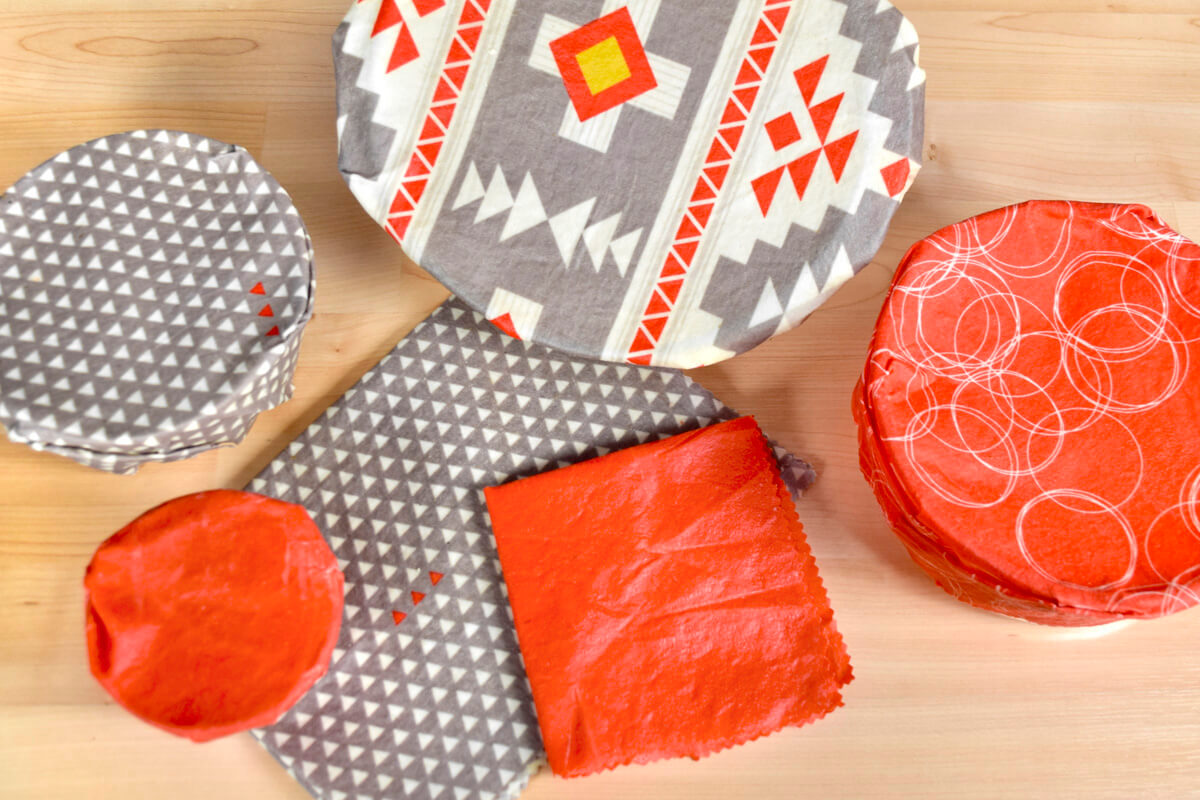
Get rid of plastic wrap and cut down on waste. Here’s a great way to make beeswax wraps for your leftovers.
Beeswax wraps can be used for about a year if taken care of properly, just wash with cool water and hang to dry.
Once they start to loose their stick, just reapply the same wax mixture to the cotton print and stick it in the oven for a few minutes. Your wrap will be good to go for another year and will end up saving you money.
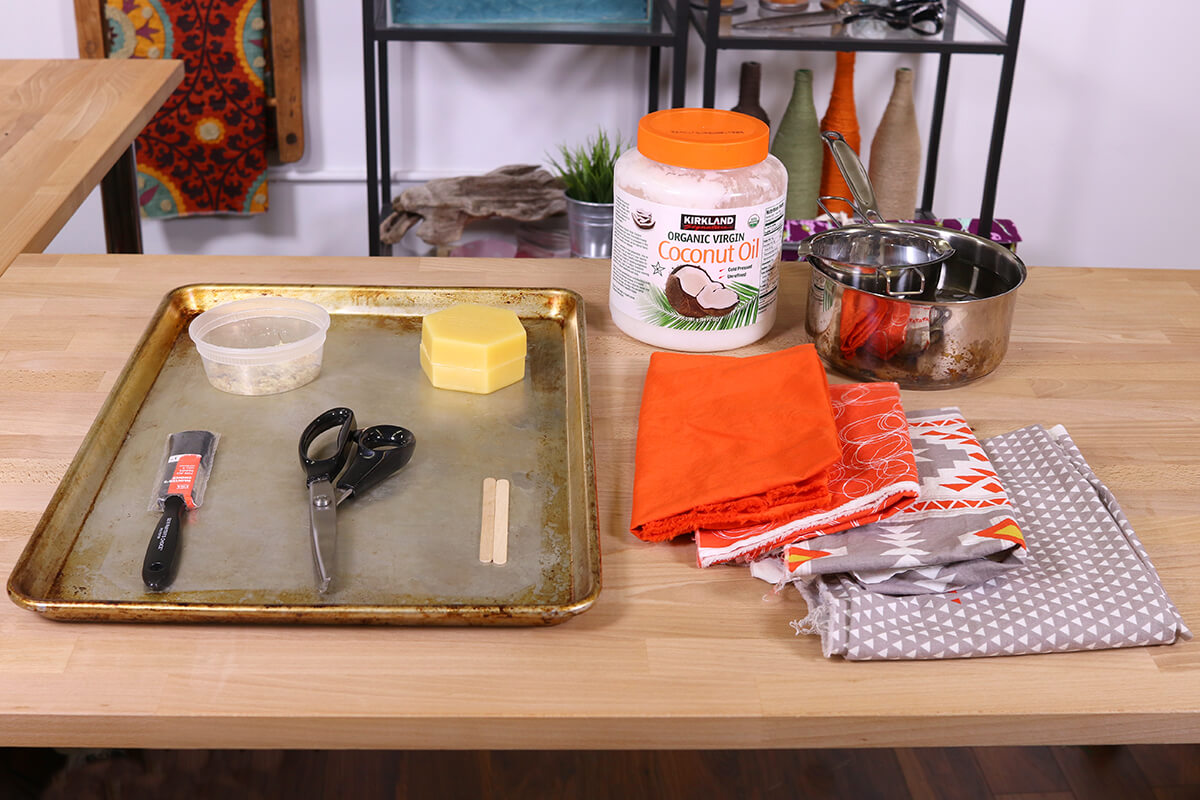
Materials
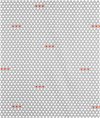
- Cotton Print Fabric
- Pinking Sheers
- Beeswax
- A pot and double boiler
- Coconut Oil
- Paintbrush
- Pine Resin
Related Products


Video
Instructions
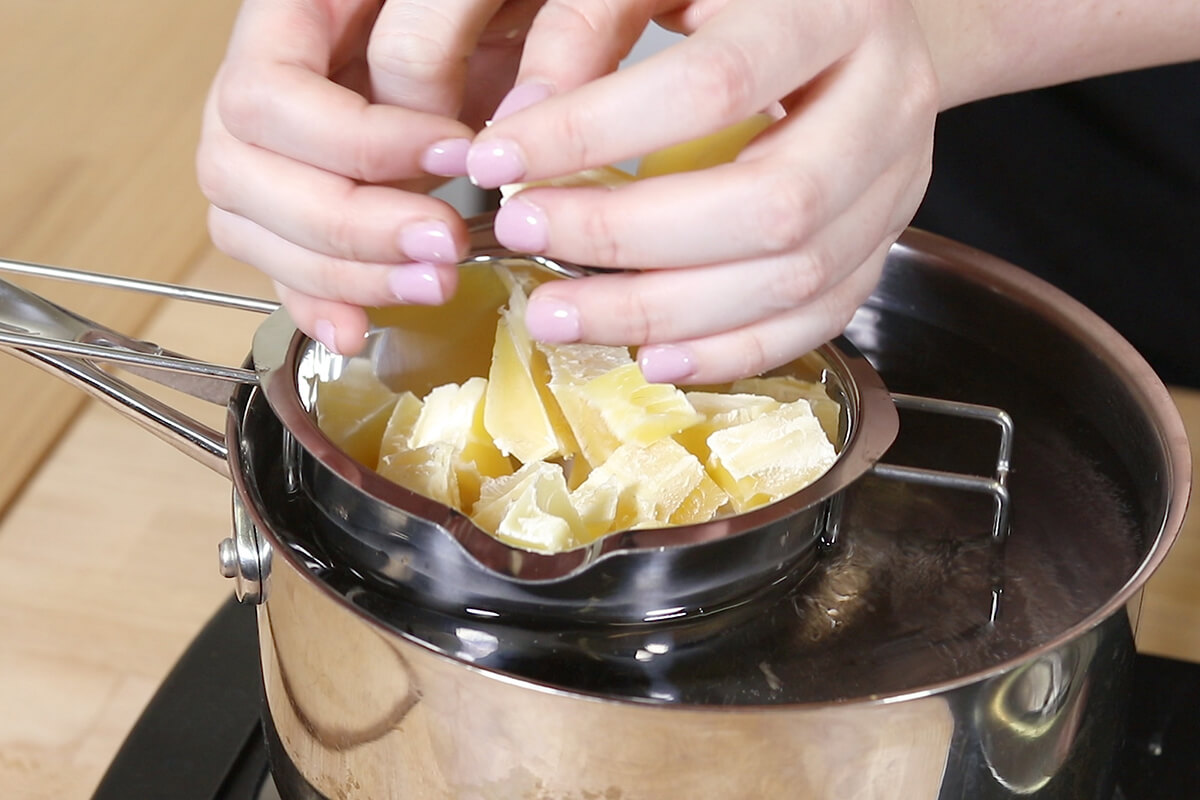
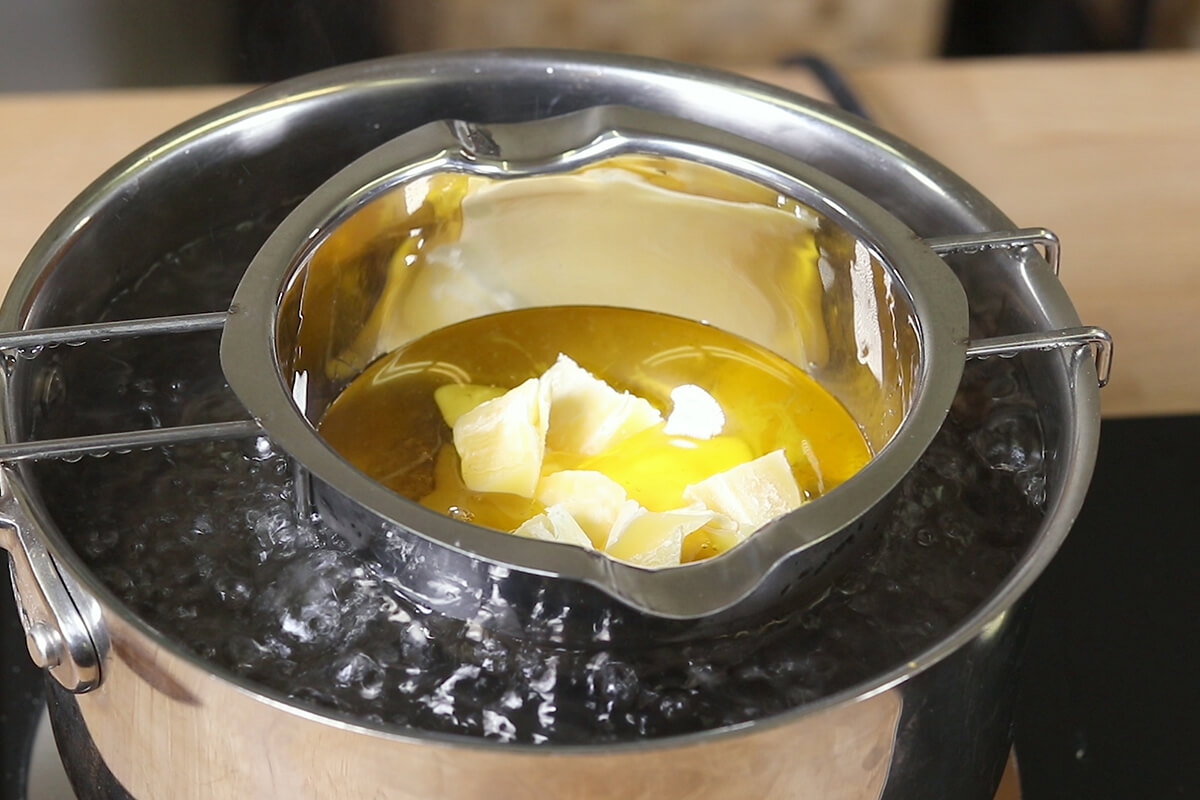
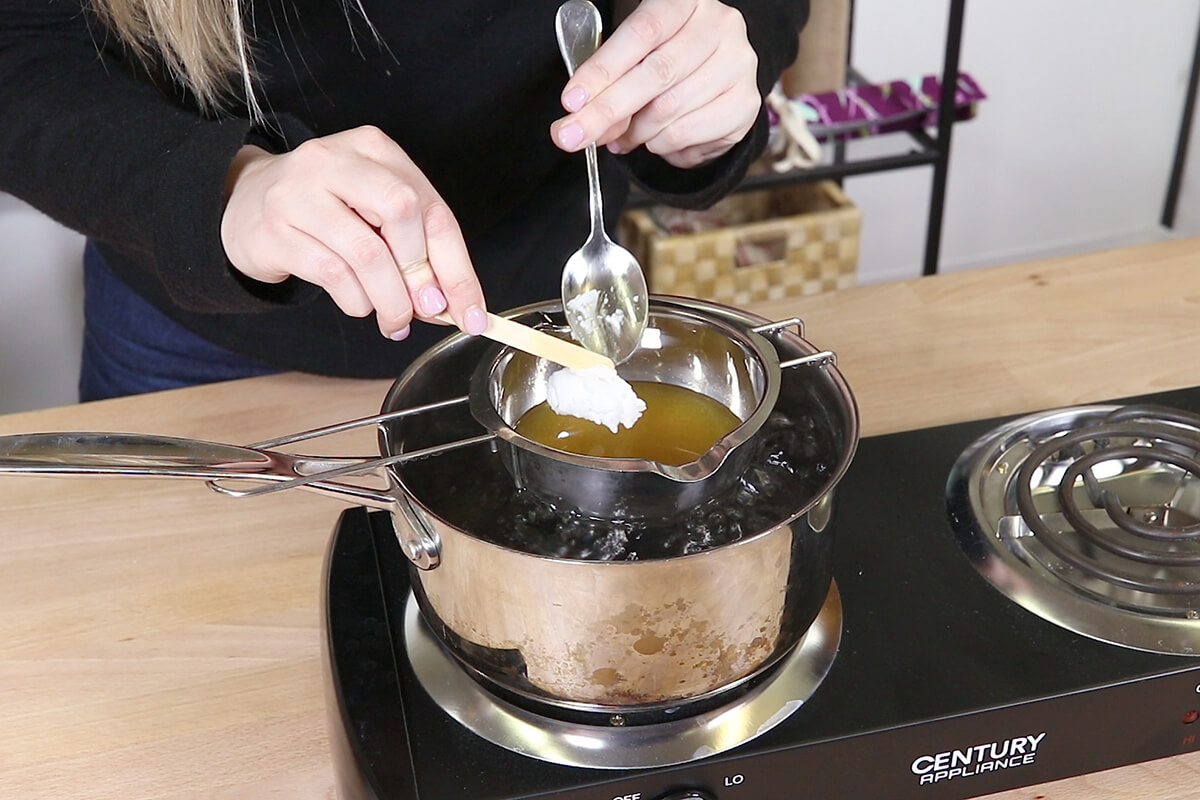
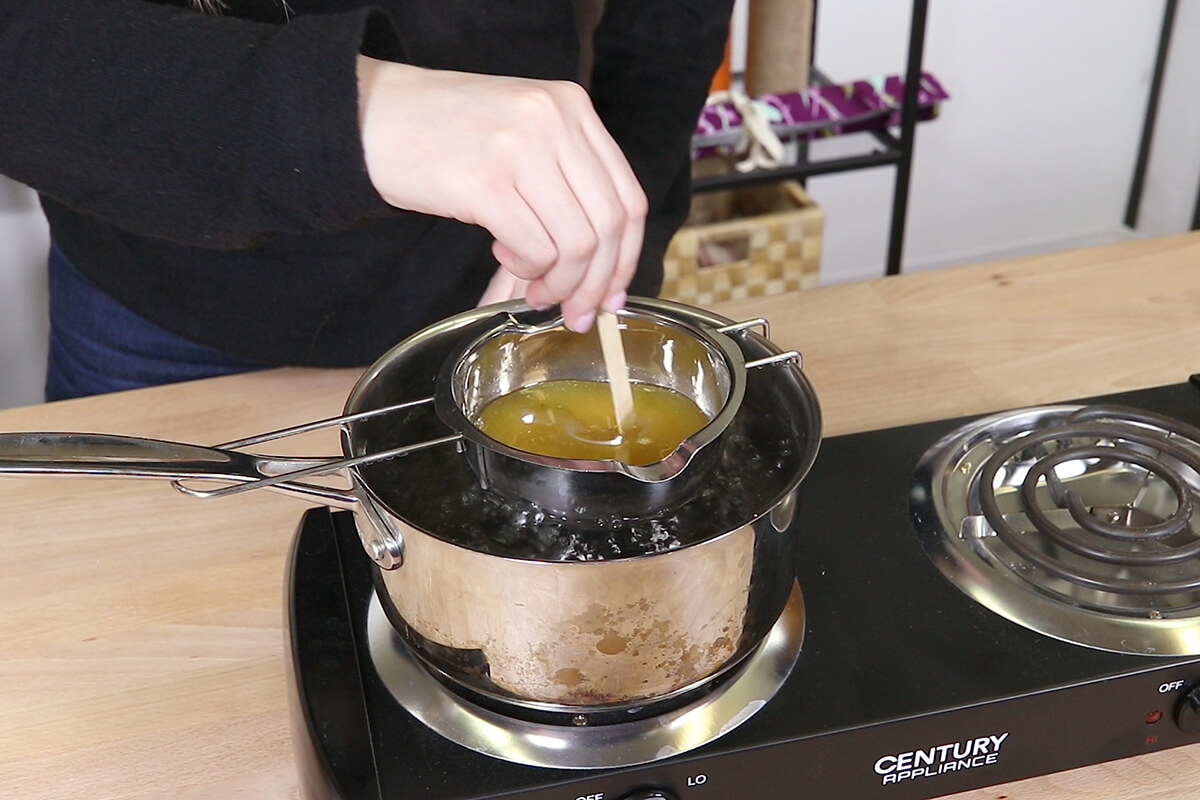
Step 1: Melt
Put the pine resin in your double boiler. It will take a half an hour to melt down so be patient. Cut up your beeswax and put it in there as well. Stir occasionally. When it is all melted together, put the coconut oil in with your beeswax and resin. I am using a ratio of 10 parts beeswax / 1-part resin / 1 part coconut oil.
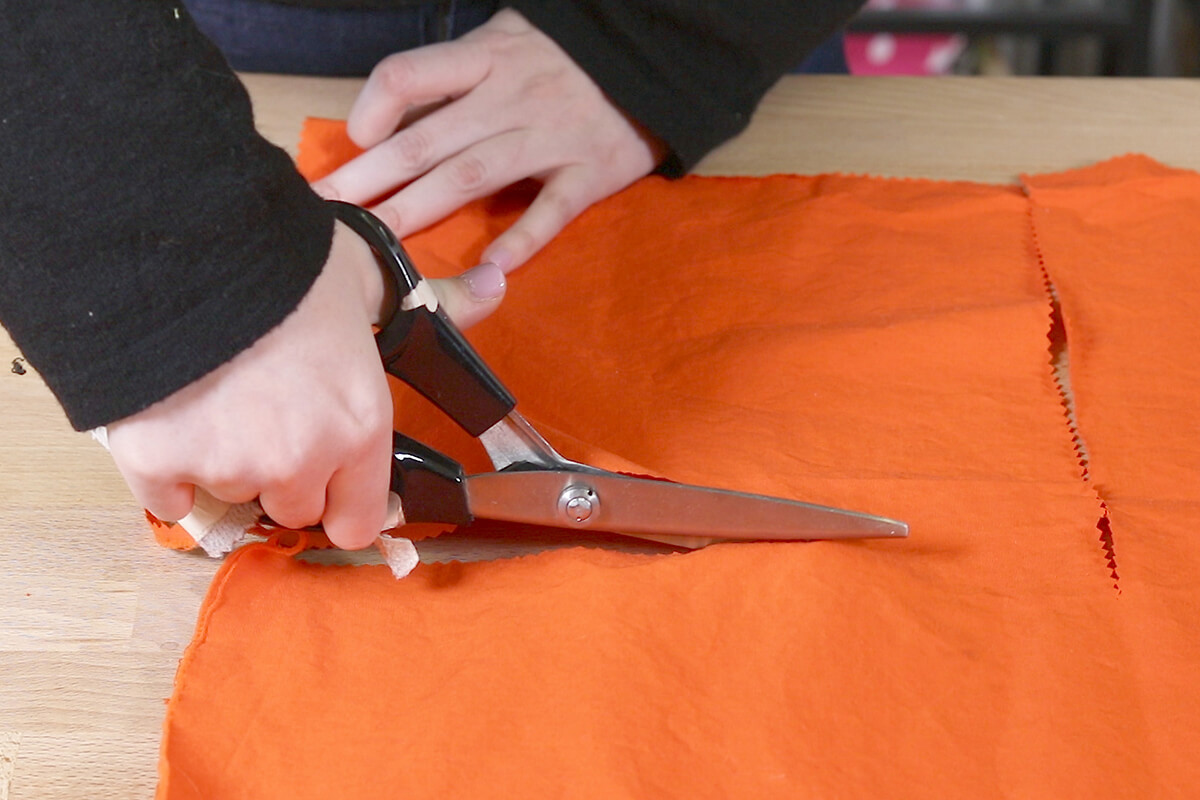
Step 2: Cut your fabric
Cut our pieces of fabric with the pinking sheers. Pinking sheers help to stop fraying.
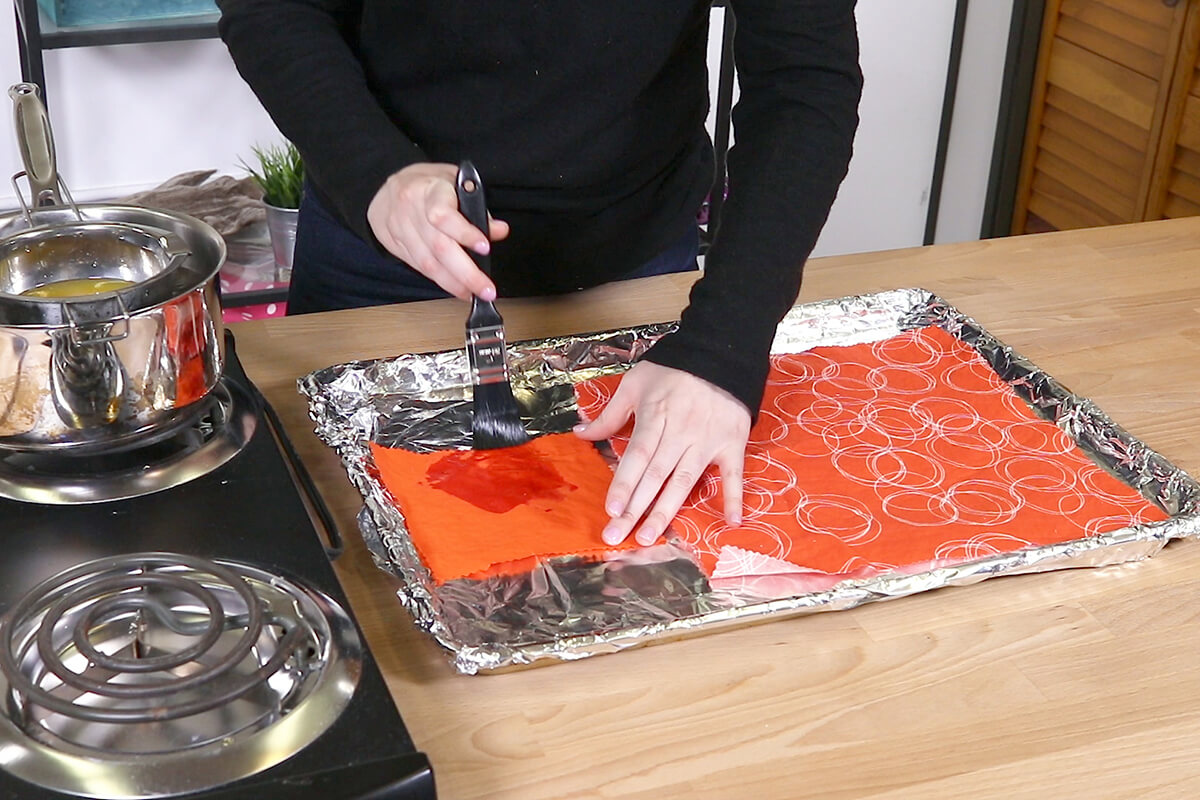
Step 3: Paint
Paint the beeswax mixture onto your fabric. You can use a cooking sheet covered in tin foil or parchment paper.
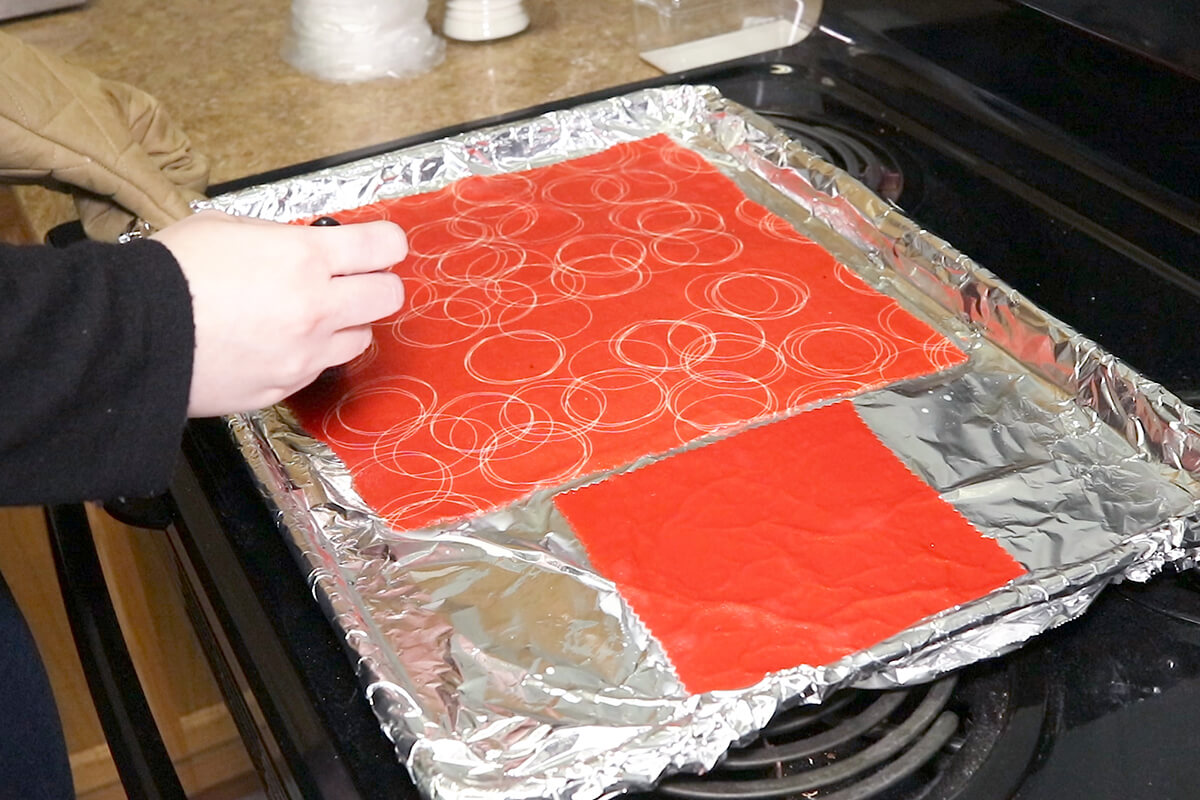
Step 5: Bake
Put the cooking sheet into the oven at 200 degrees Fahrenheit for 5 minutes.

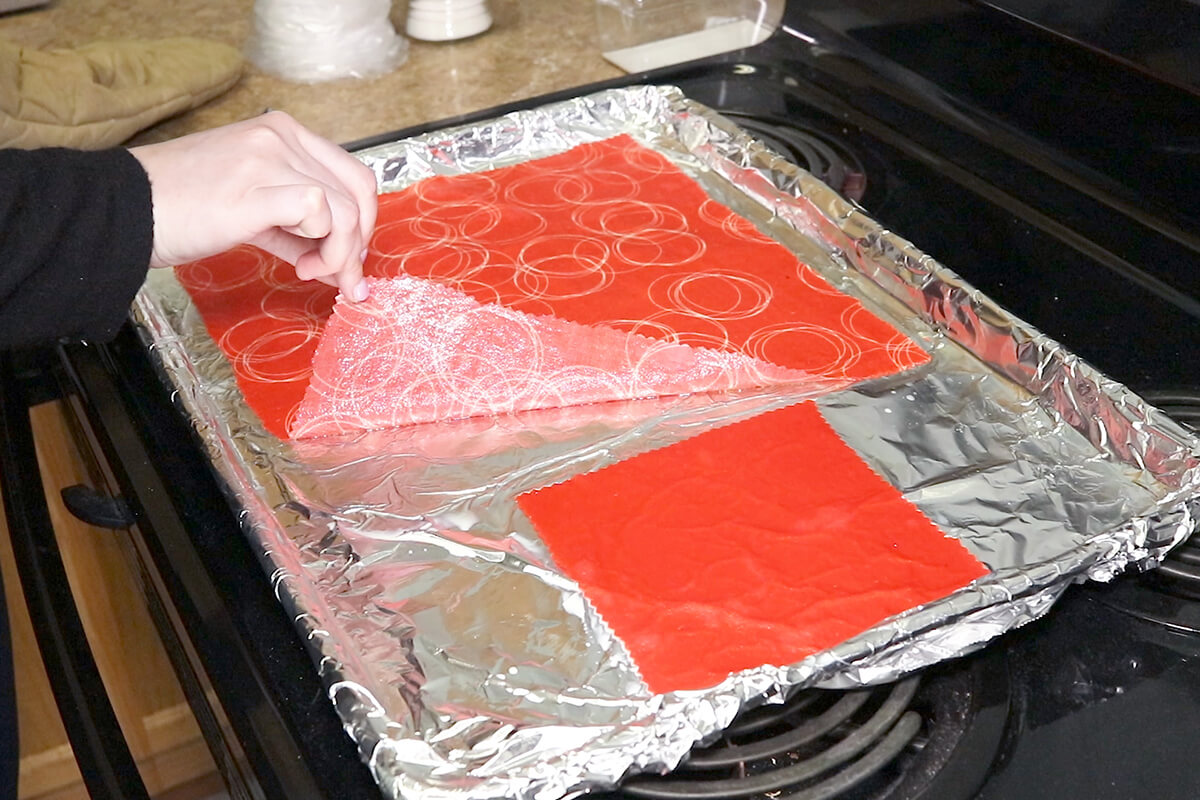
Step 6: Paint Again (if necessary)
Make sure the wax is evenly distributed over your fabric by brushing it with the paintbrush again. Check to make sure the wax has seeped onto the other side of your fabric, if it has not paint a little more wax on top and put in the oven for another three minutes. Hang to dry and then your beeswax wraps are complete.
-
{{#each productSuggestedQueries.results}}
- {{query}} {{/each}}
-
{{#each categories.results}}
- {{html title}} {{/each}}
{{html attributes.description}}
{{/if}}-
{{#each queries.results}}
- {{query}} {{/each}}