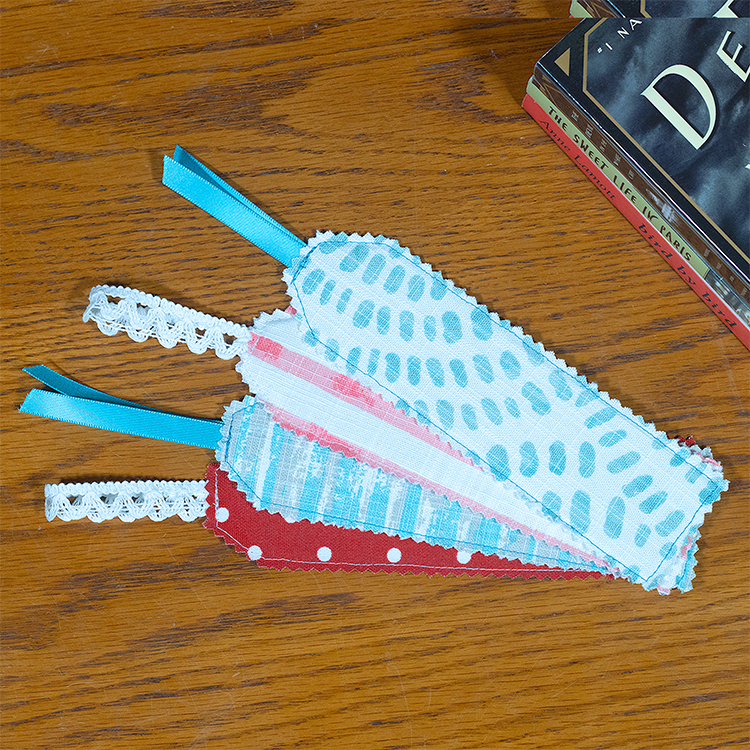
How to Make Fabric Bookmarks
- By Greg
- Beginner
- 30 minutes
Say goodbye to generic bookmarks and say hello to personalized, hand-crafted fabric bookmarks. These are perfect for gifts & party favors, personal use, and more.
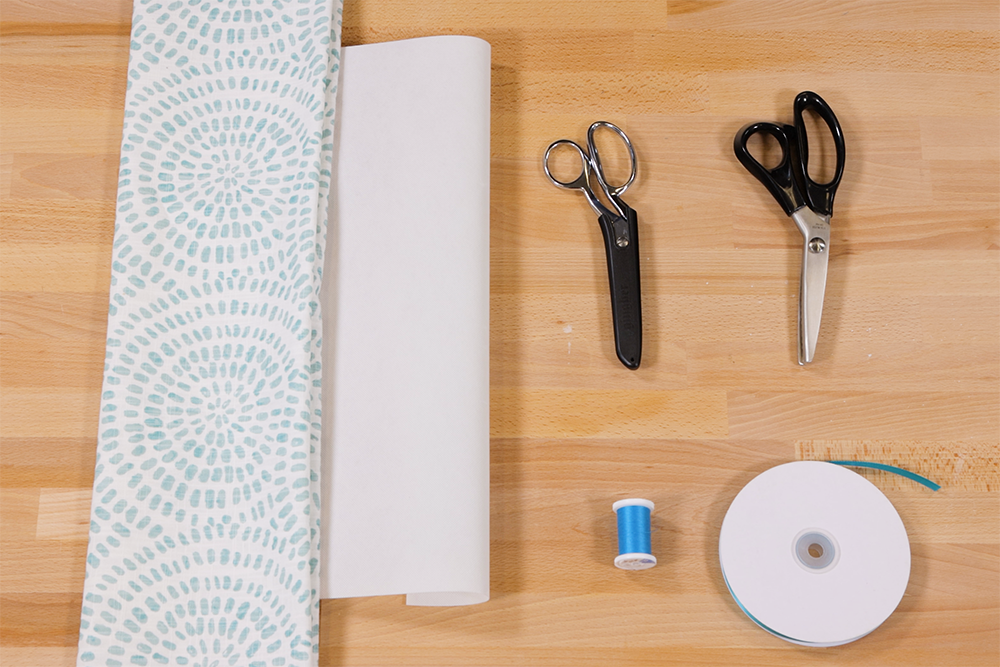
Materials
- Fabric
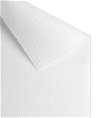
- Interfacing
- Thread
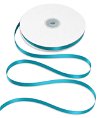
- 1/4 Inch Ribbon
- Scissors
- Pinking Shears
- Fabric Marker
- Iron
Related Products

Video
Instructions
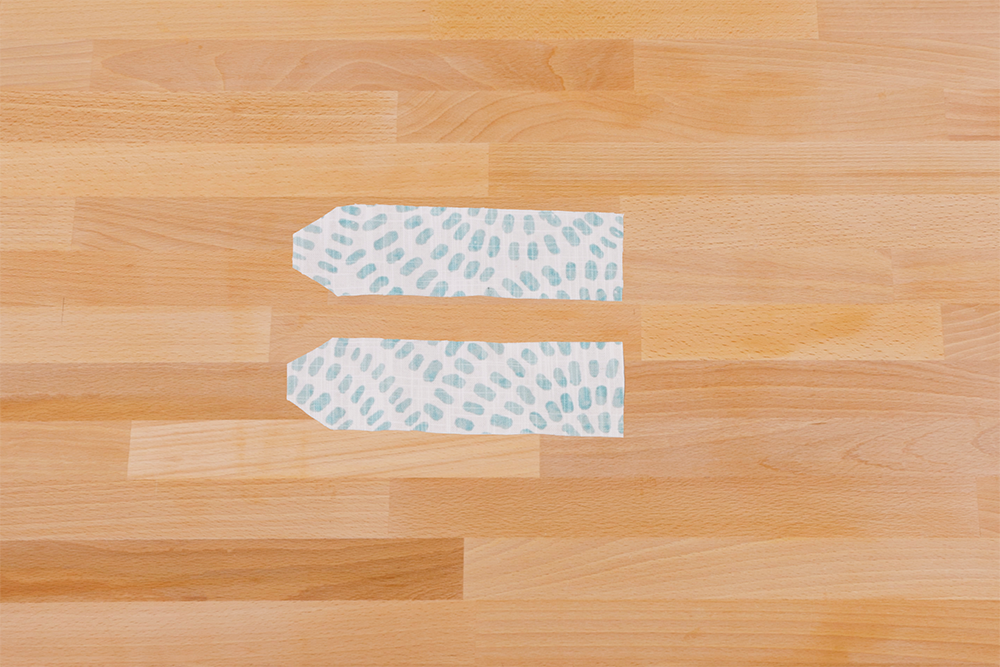
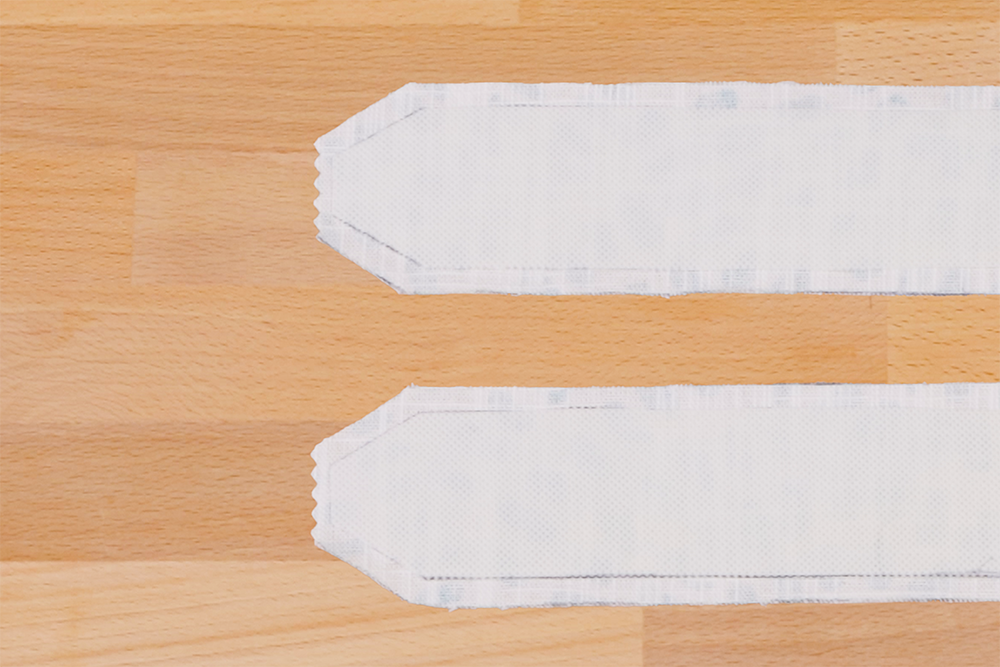
Step 1: Cut out the pattern & fabric pieces
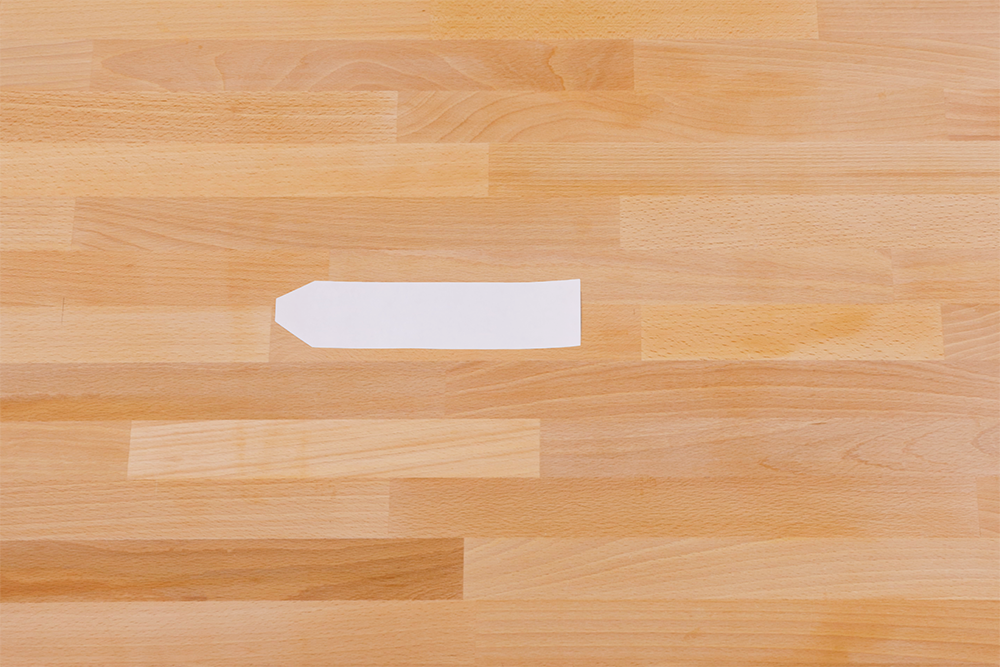
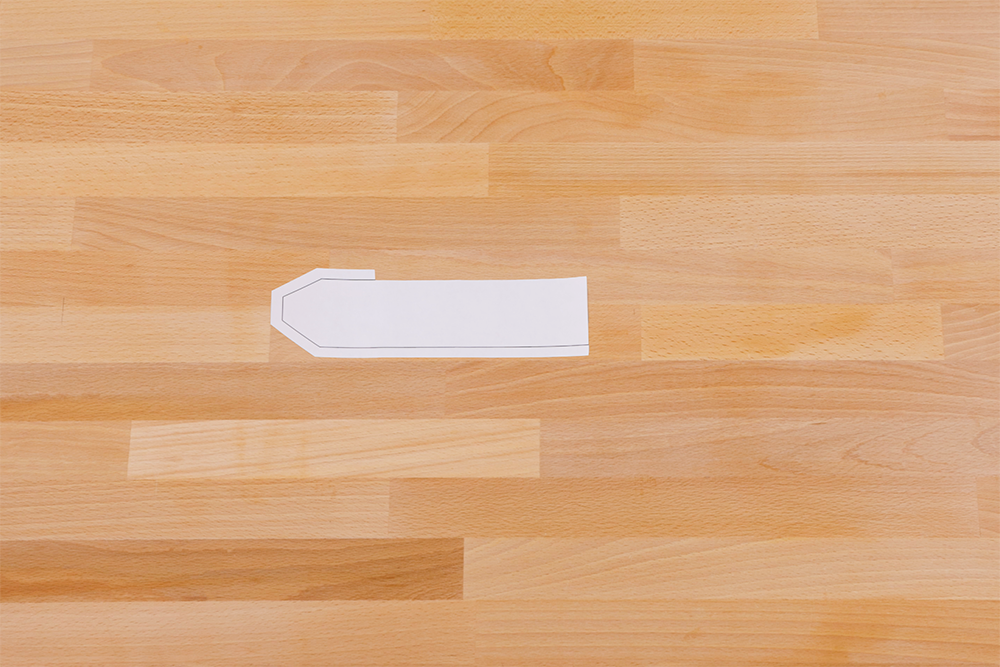
Start by printing and cutting out the pattern. Use the pattern to cut 2 pieces of fabric. You can also just cut out 2 pieces of fabric to your desired size and shape.
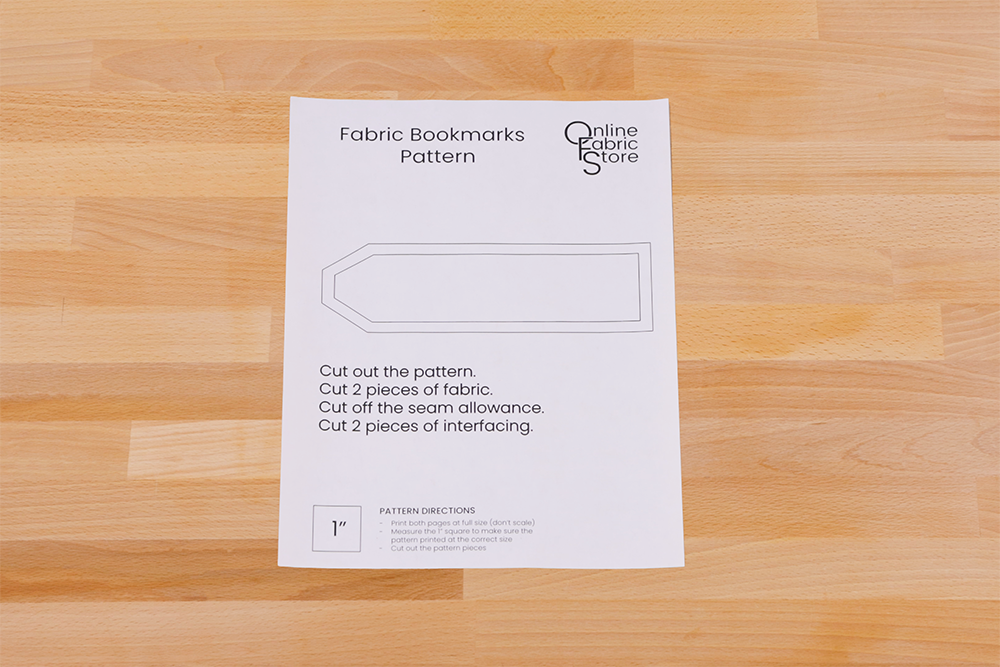

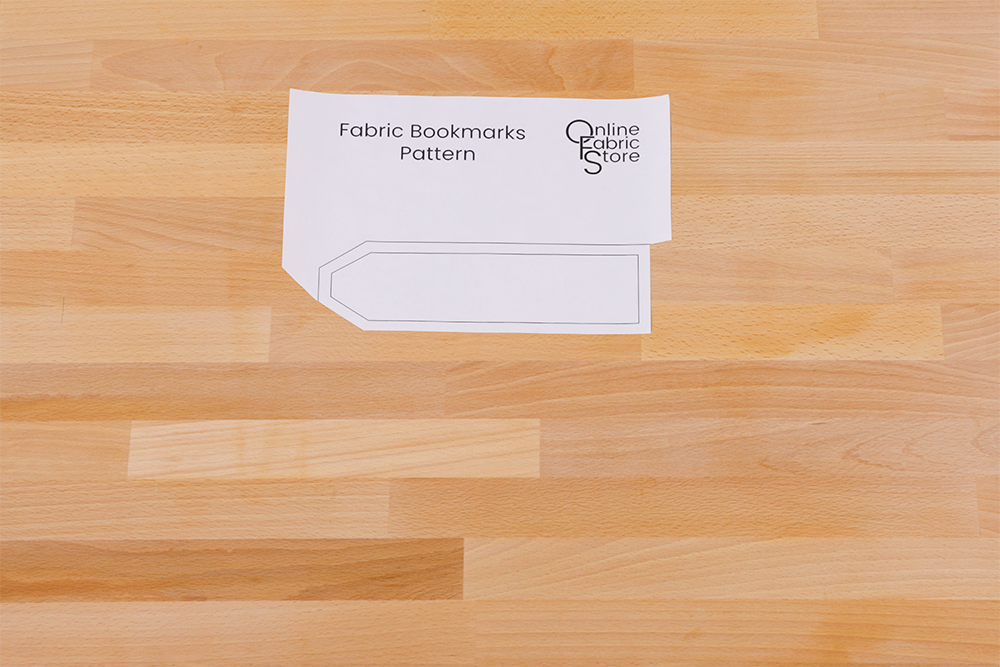
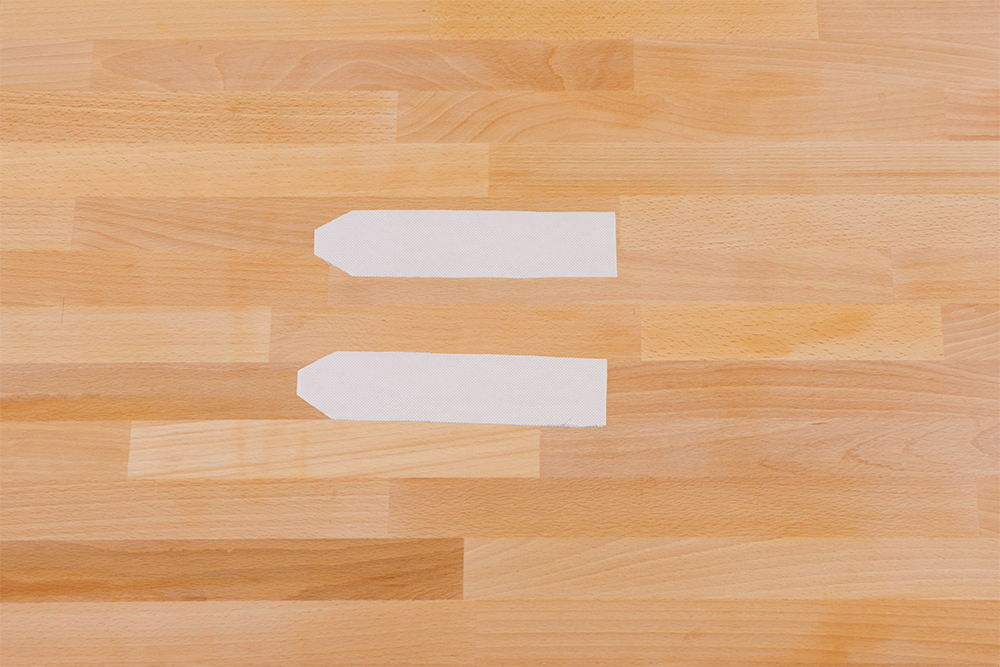
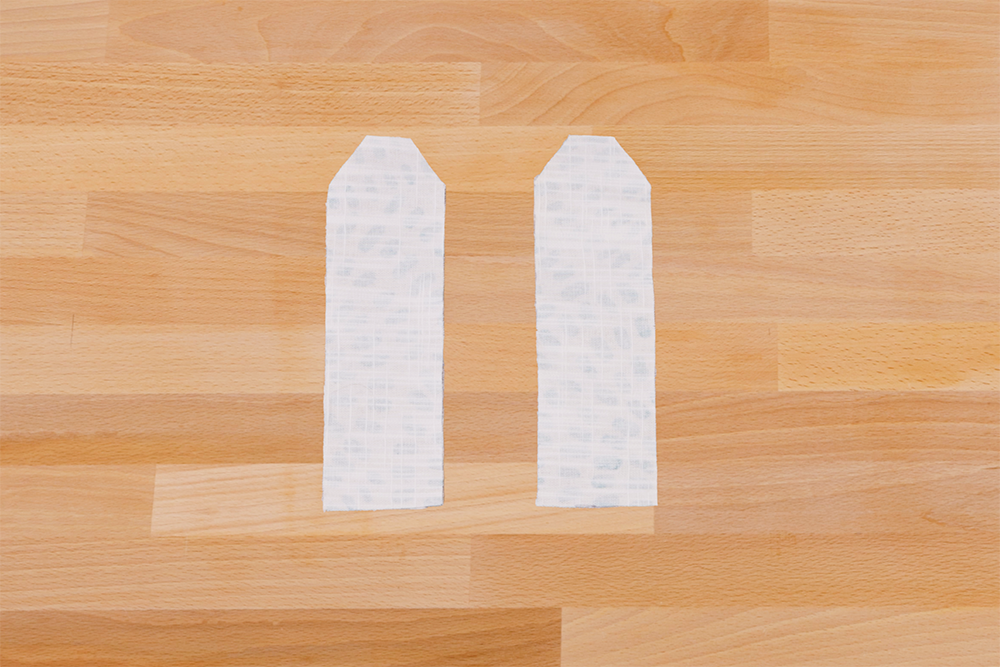
Cut the seam allowance off of the pattern and use it to cut 2 pieces of interfacing. If you’re not using the pattern, cut 2 pieces of interfacing that are a 1/4 inch smaller than your fabric pieces on all sides.

Step 2: Fuse & sew the pieces
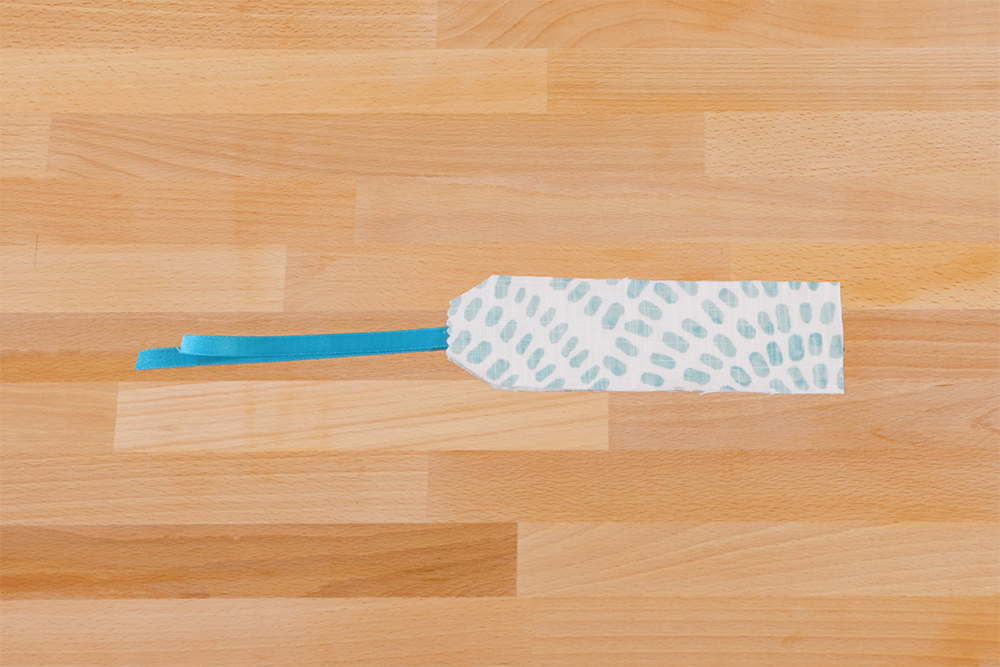
Fuse the interfacing to the middle of the wrong side of the fabric pieces. I’m using a pretty stiff interfacing here so the bookmark doesn’t bend easily. Alternatively you can use card stock which isn’t fusible but can be glued or sewn into the fabric.
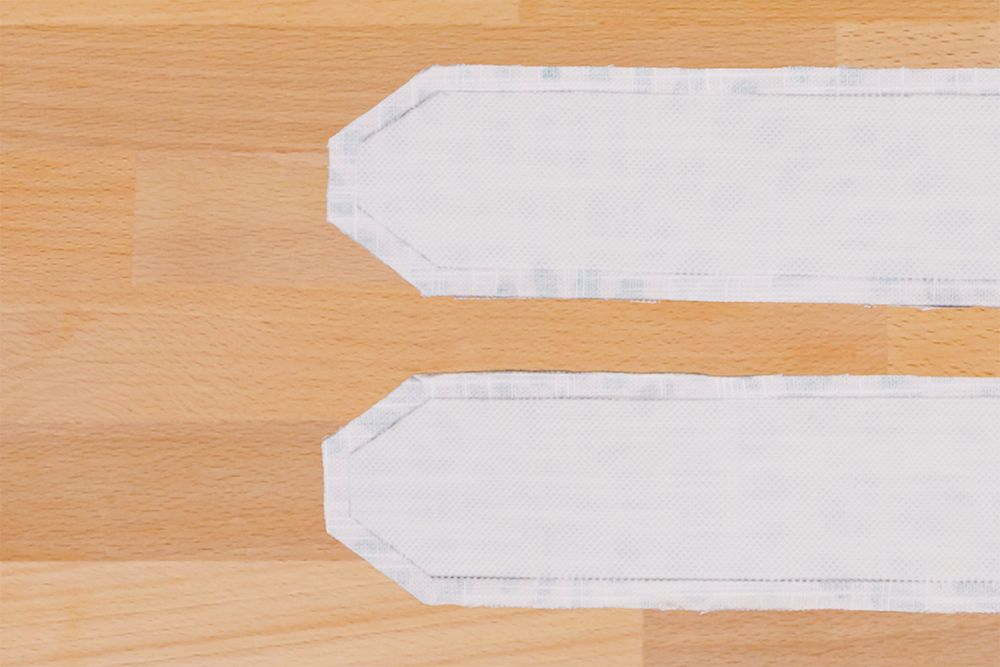
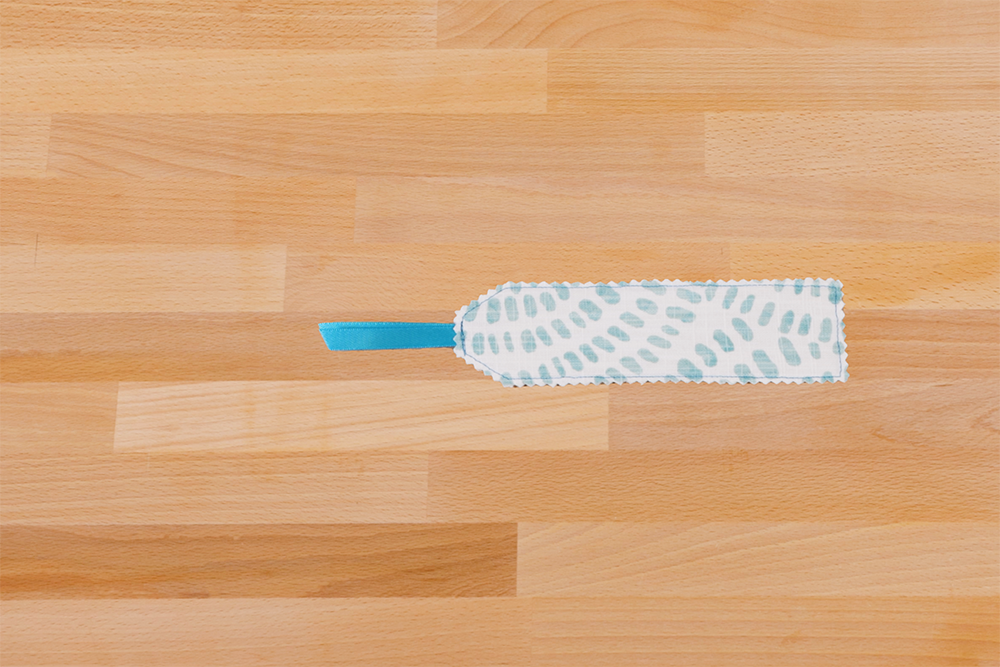
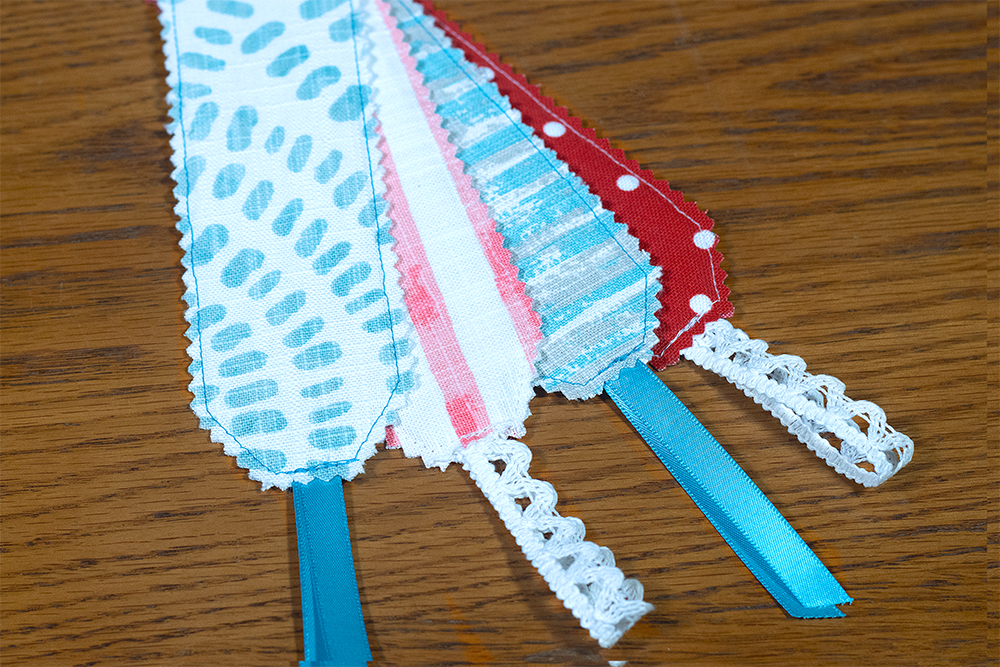
Use pinking shears on the tops of both pieces.

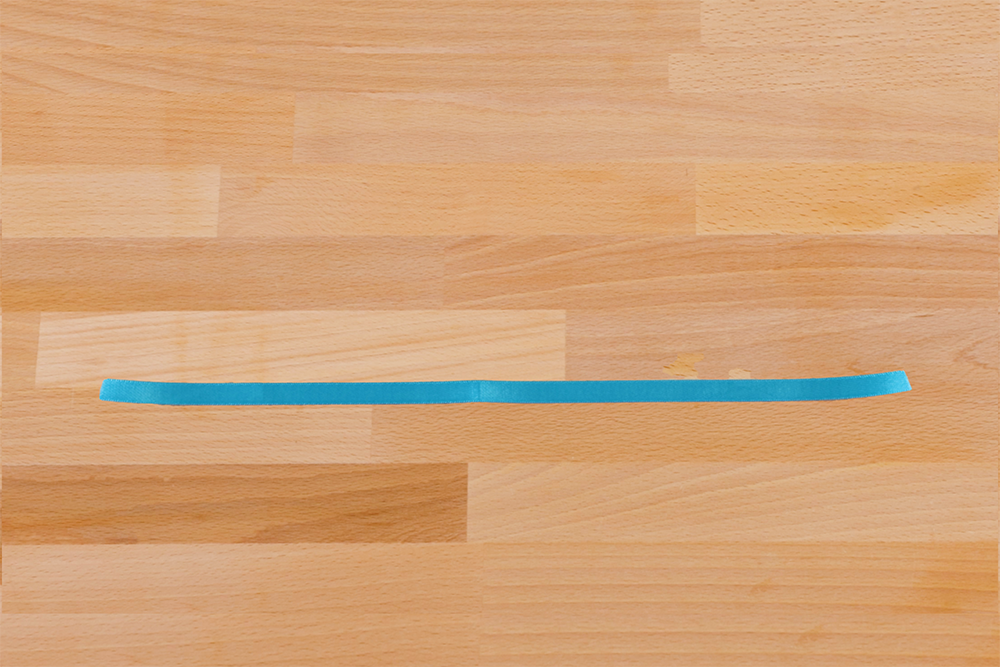
Cut a long piece of ribbon. Fold in half and sandwich between the top of the pieces with wrong sides facing. Sew with a 1/4 inch SA around the whole thing, backstitching at both ends.

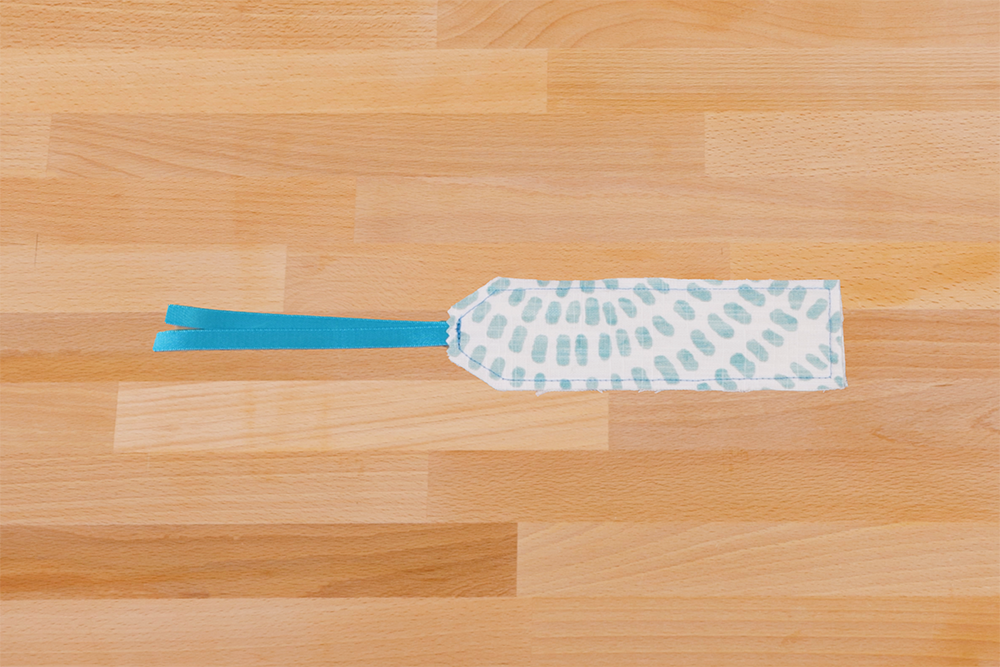
Trim the ribbon to your desired length and finish the remaining sides with pinking shears. That’s it, the bookmark is done!
Shop our fabric selection for your next DIY!
-
{{#each productSuggestedQueries.results}}
- {{query}} {{/each}}
-
{{#each categories.results}}
- {{html title}} {{/each}}
{{html attributes.description}}
{{/if}}-
{{#each queries.results}}
- {{query}} {{/each}}