


How to Make Hand Dyed Autumnal Leaf Potholders
- By OnlineFabricStore
- Beginner
- 24 hours
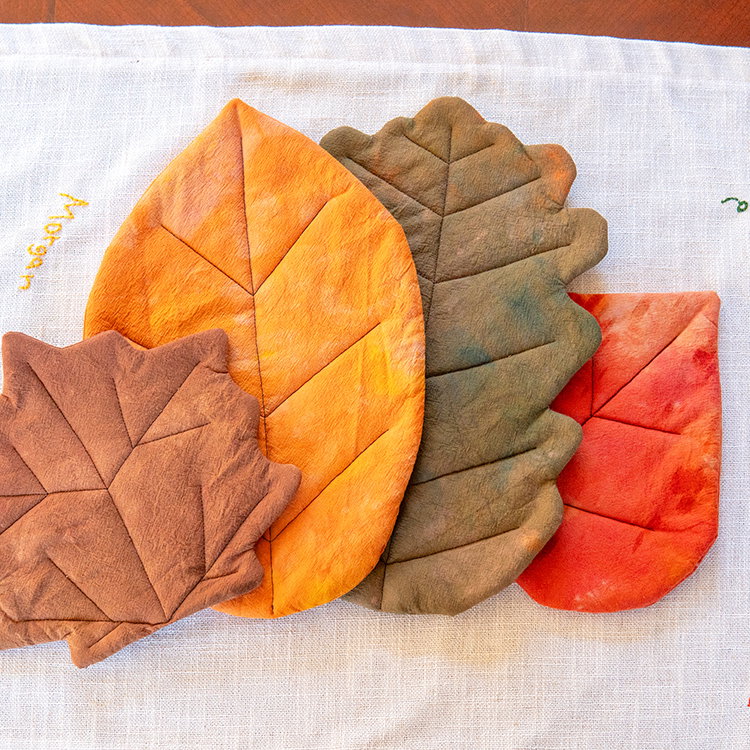
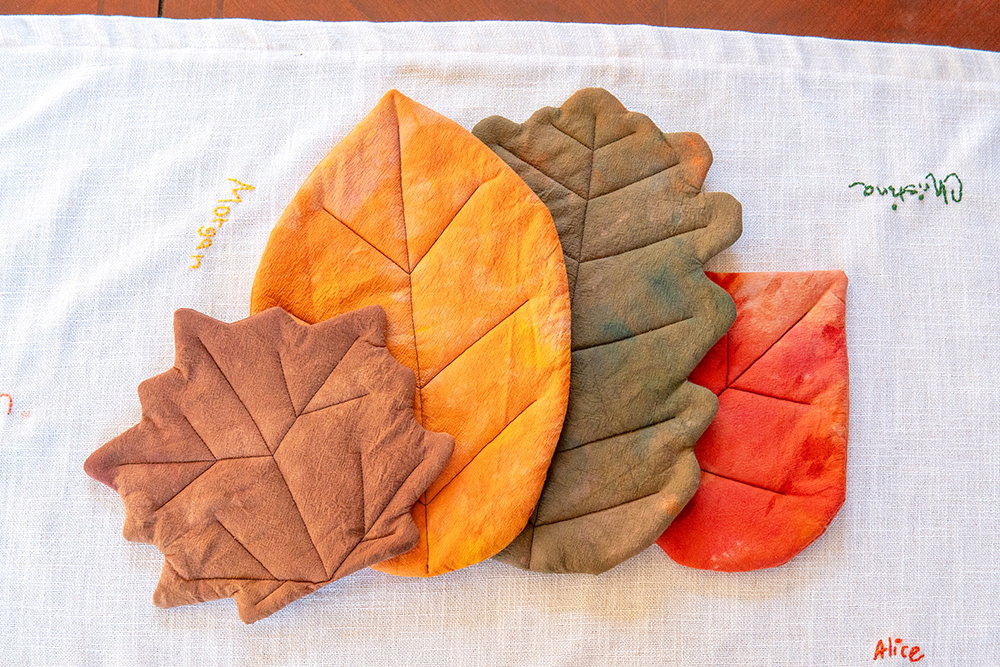
These hand-dyed autumnal leaf potholders are easy to make and endlessly customizable. If you’re looking for a quick pop of color to add to your tablescape, these are the perfect project to make.
Free pattern! View the PDF Pattern
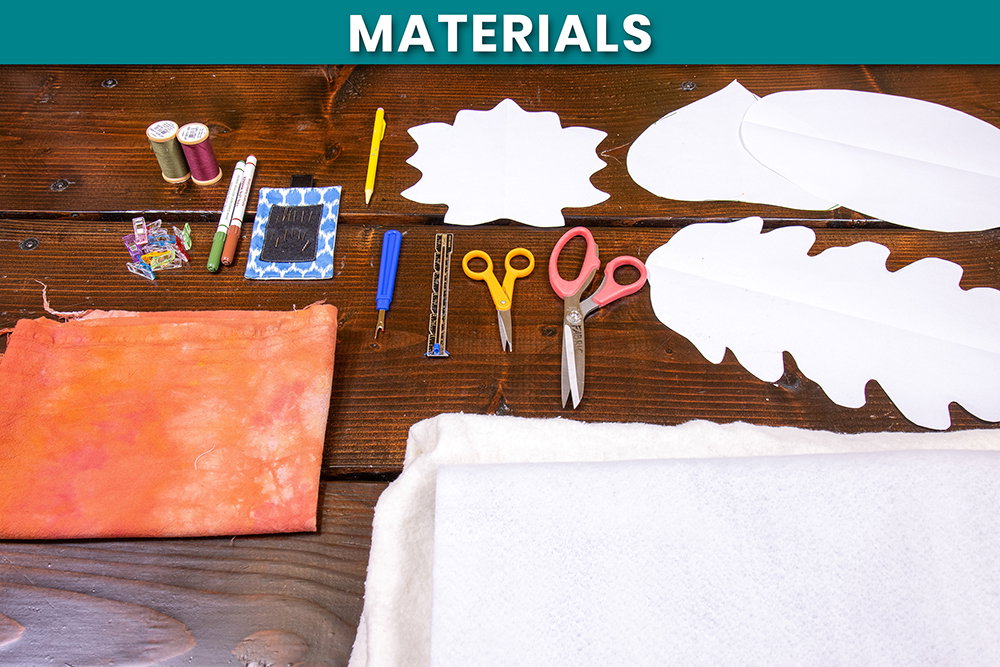
Materials
- 48" Unbleached Cotton Muslin Fabric
- 63" Unbleached Cotton Muslin Fabric
- Unbleached Cotton Muslin - 120" Fabric
- Rit Dye - Tangerine # 40 Liquid
- Rit Dye - Golden Yellow # 42 Liquid
- Rit Dye - Lemon Yellow # 1 Liquid
- Rit Dye - Dark Green # 35 Liquid
- Rit Dye - Cocoa Brown # 20 Liquid
- Rit Dye - Fuchsia # 12 Liquid
- Rit Dye - Scarlet # 5 Liquid
- Cotton Upholstery Batting
- Rit Dye Fixative - Liquid
- Insulated Fleece Interfacing
- Cotton Thread
- Disposable plastic containers with lids (such as the ones uses for sandwiches)
Related Products
-
 48" Unbleached Cotton Muslin
-
 Cotton Upholstery Batting - 27" x 12 Yards
-
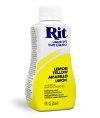 Dye - Lemon Yellow # 1 Liquid
-
 Dye - Scarlet # 5 Liquid
-
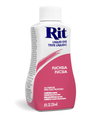 Dye - Fuchsia # 12 Liquid
-
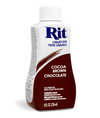 Dye - Cocoa Brown # 20 Liquid
-
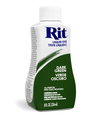 Dye - Dark Green # 35 Liquid
-
 Dye - Tangerine # 40 Liquid
-
 63" Unbleached Cotton Muslin
-
 Dye Fixative - Liquid
-
 Unbleached Cotton Muslin - 120"
Instructions
Pick out your fabric
Pick out a light-colored fabric that is 100% cotton, linen, or wool. Do not pick too heavy of a fabric as you will have difficulty getting it to lie flat with both interfacing and batting inside.
I used an unbleached cotton muslin, which takes dye quite well.
You will also need a 100% cotton batting and an insulating lining like Insul-Fleece or Insul-Bright.
Cut your fabric into a few pieces, each large enough to fit two whichever leaf pattern piece you choose.
Dye your fabric
Pre-wash your outer fabric to remove any coatings that could interfere with dye adhesion.
Put on a pot or kettle of water with salt and let it get to boiling.
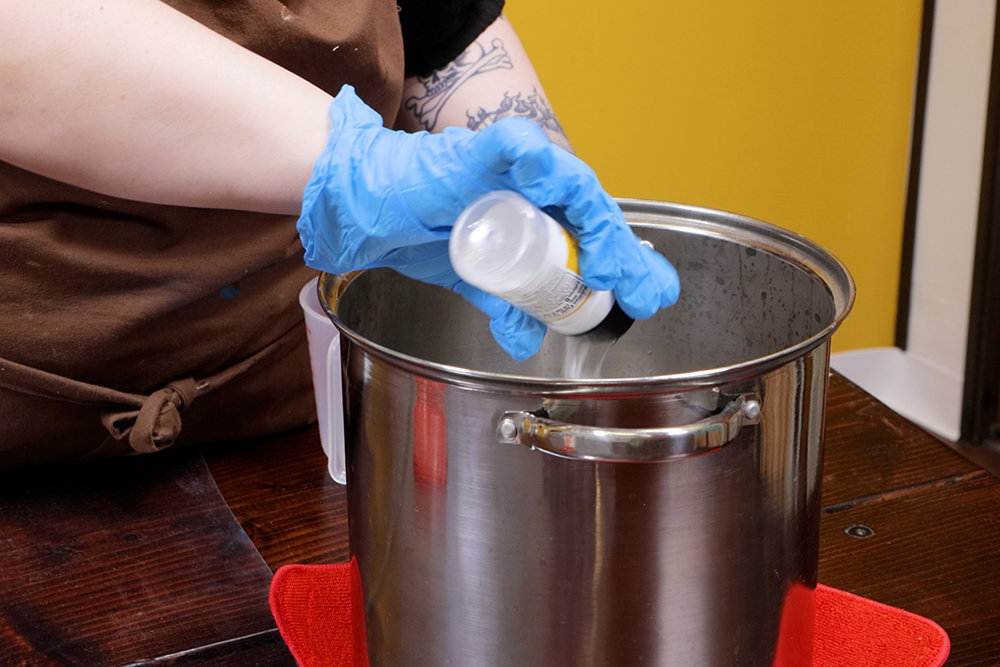
Using warm to hot water, wet your fabric and place it in a small, plastic container that you won’t use again for food.
Make sure your fabric is not folded, but do let it scrunch up. Because we are aiming for an organic look, we actually don’t want the fabric to be able to move freely, unlike typical dyeing projects. The fabric should take up most of the container. You don’t want too much room.
Pick the dye color you want to dominate the fabric and dribble it on top liberally. Add secondary colors to your liking.
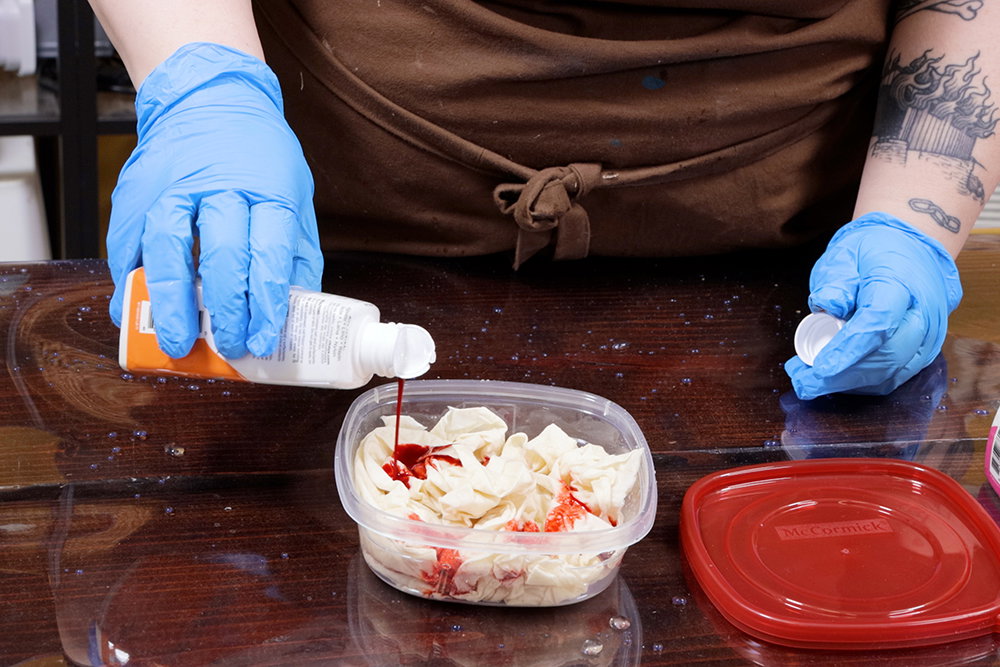
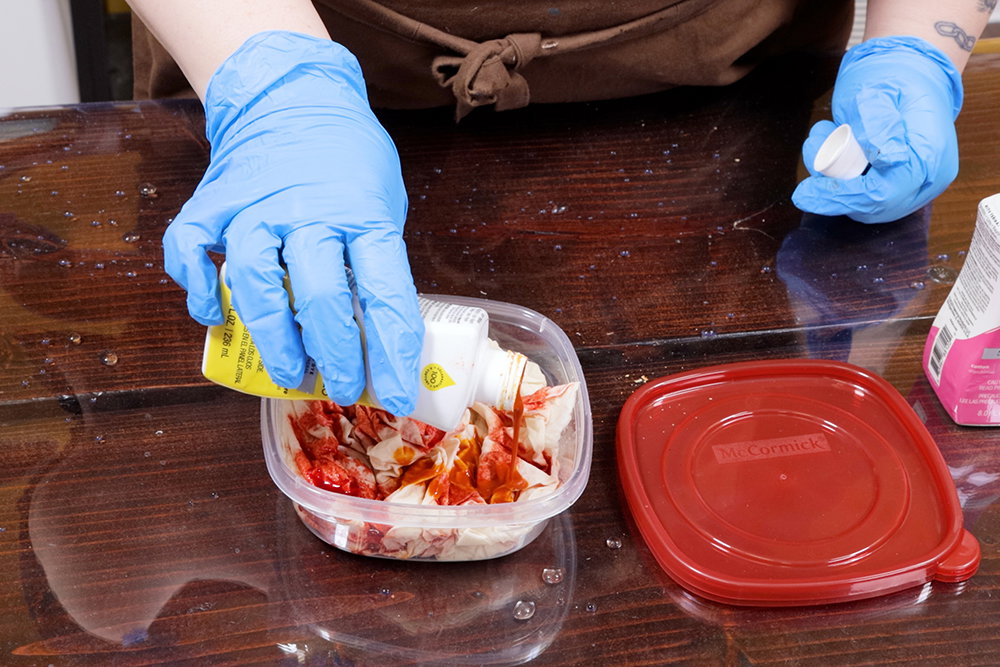
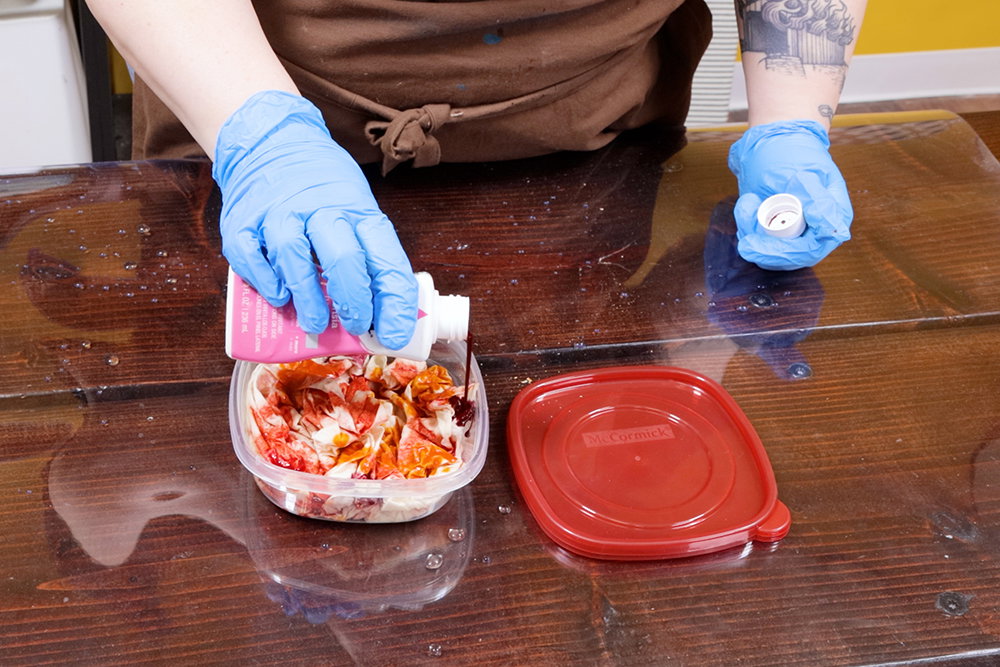
Fill the container mostly to the top with the hot water from your pot or kettle. Cover and let sit, ideally overnight.
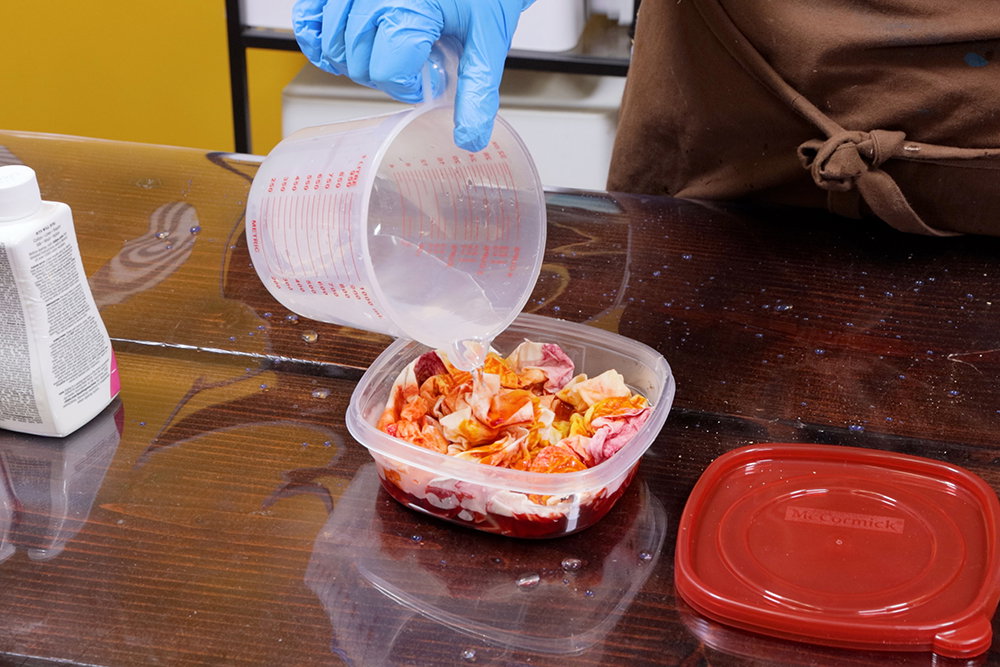
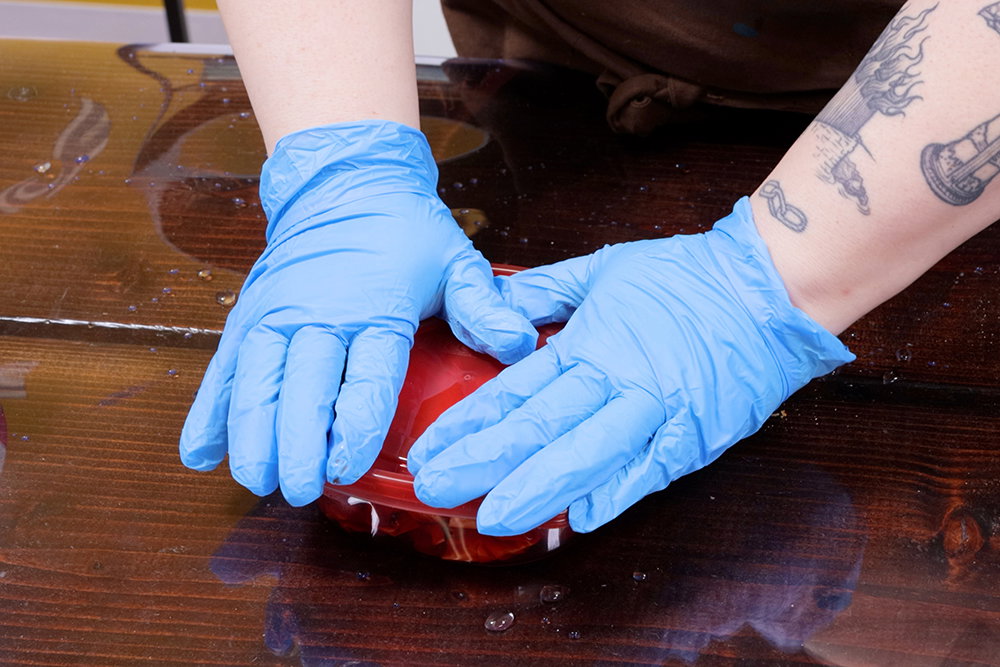
Repeat this process with multiple containers so that you can get a wide range of interesting colors. Even if you only have a couple colors of dye, you can get interesting effects with different ratios and placements.
Once your fabric has sat in its container for a while, drain, and apply dye fixative according to the instructions. I recommend fixing each color separately.
Machine wash your fabric a few times and dry.
Cut out your pieces
Trace your leaf template onto your insulated lining and cut it out.
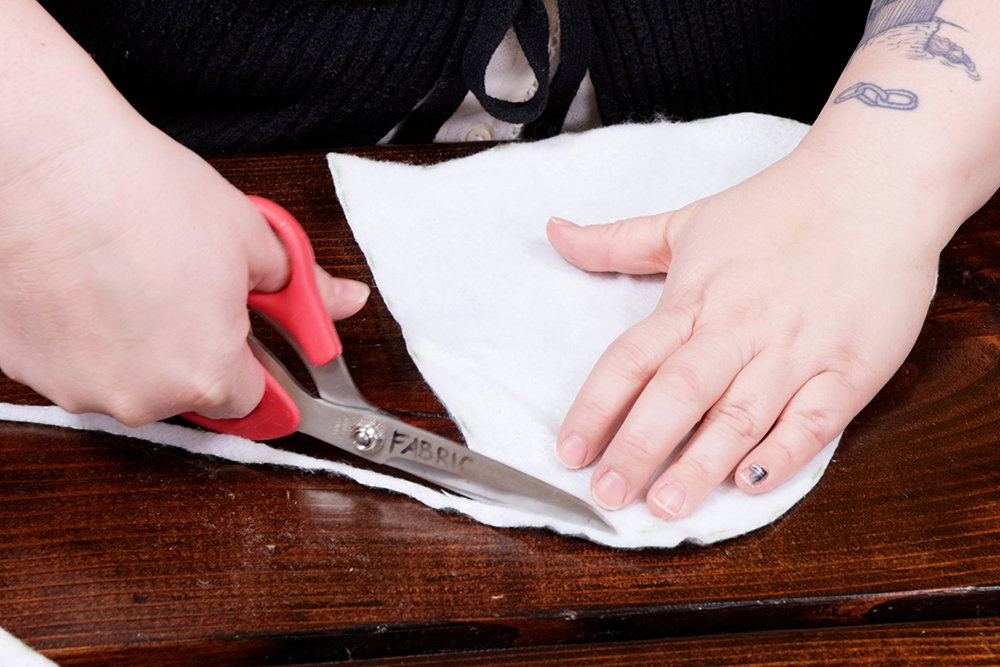
Rough cut your pieces of outer fabric and cotton batting in the same shape.
Because the batting makes this project so thick, I prefer to do this and then trim later. That prevents me from accidentally sewing off the edge of the fabric without noticing if one of the layers shifts a little bit.
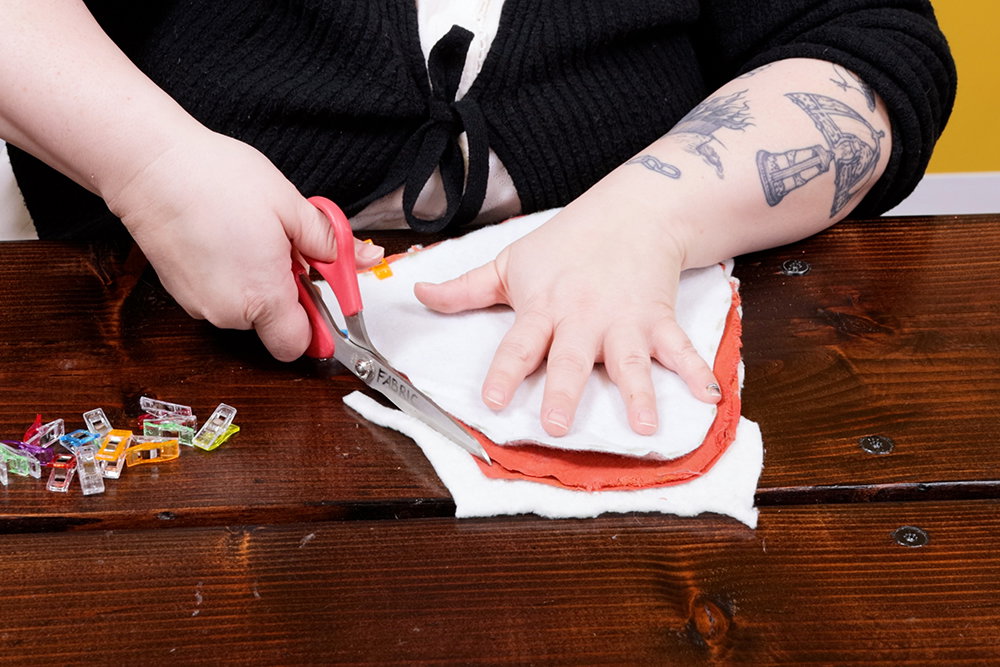
Make a stack of fabric as follows (top to bottom): insulated lining with metallic side down, two layers of outer fabric, cotton batting.
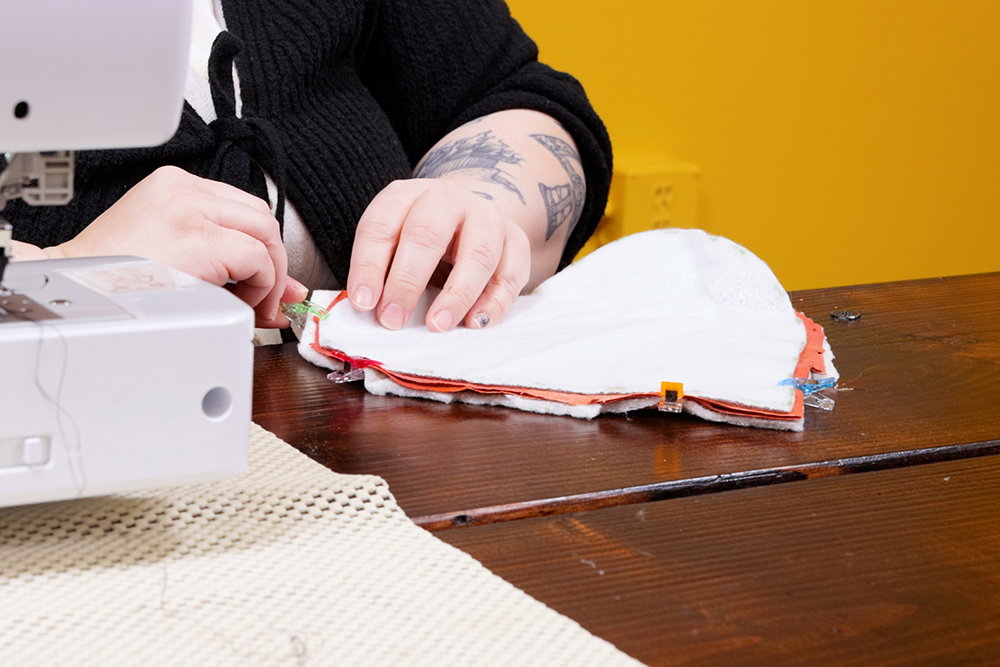
Sew your leaf
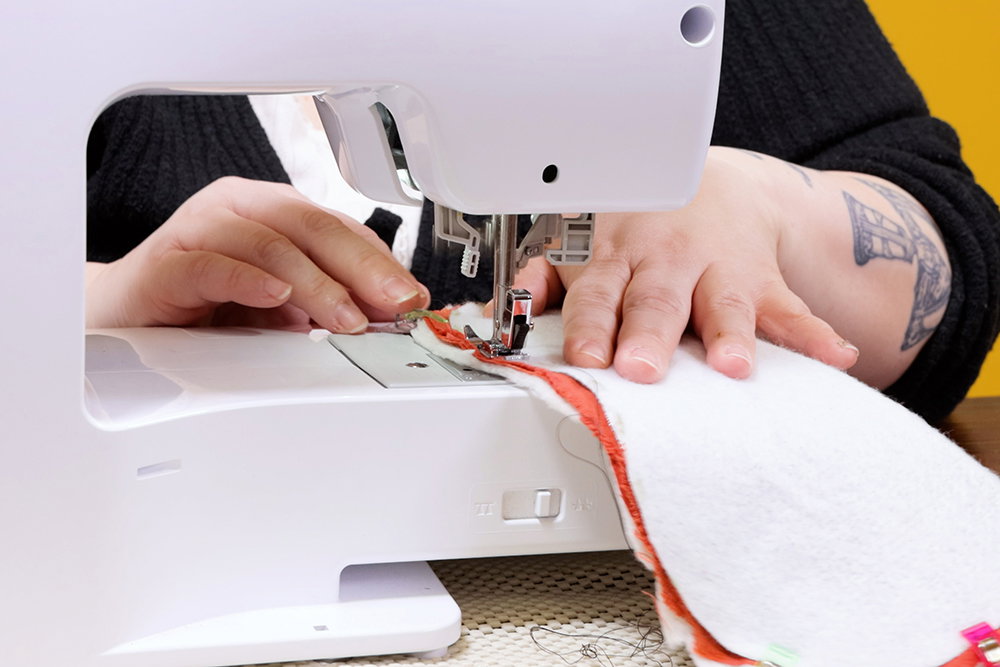
Using cotton thread, sew around your leaf, leaving a gap of about 3 to turn it effectively. Backstitch at beginning and end.
Trim seam allowance and flip
Trim your seam allowance fairly narrow.
On the leaves with lots of curves, make sure to clip your inward curves and notch your outward curves.
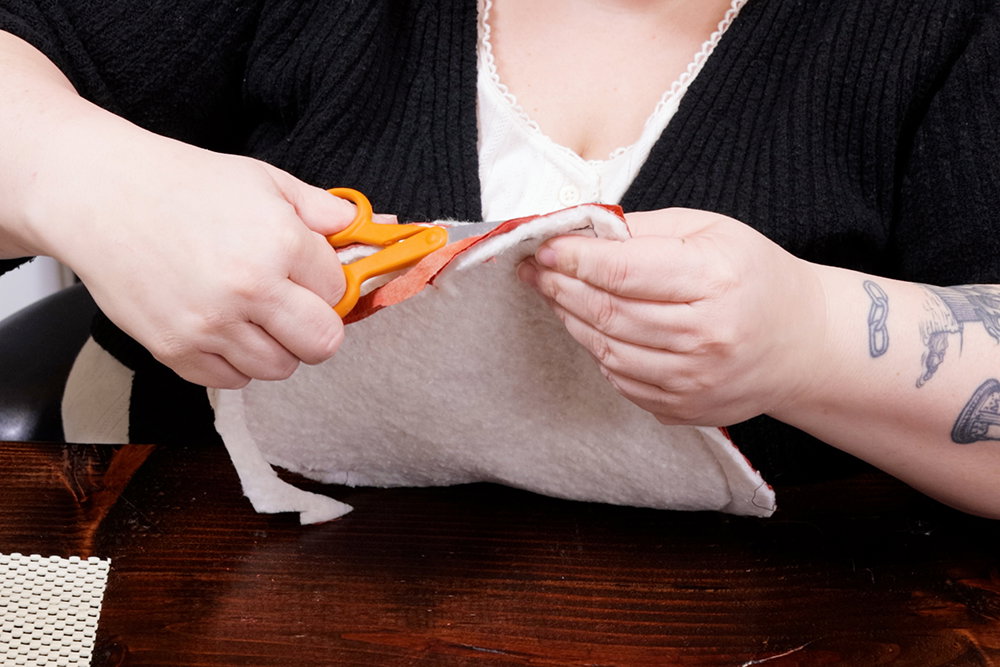
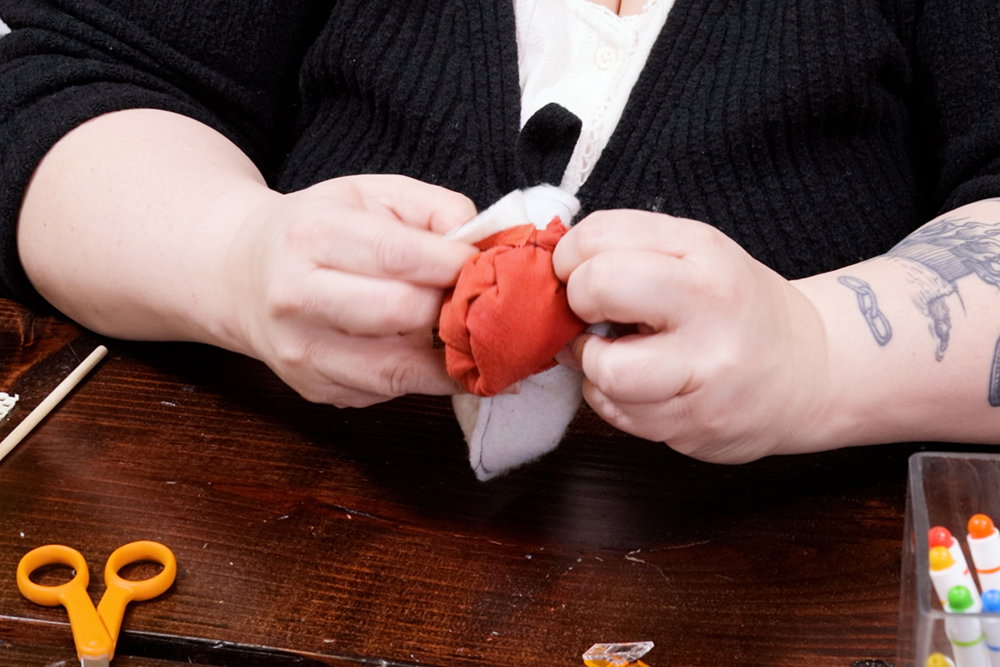
Turn right side out, using a chopstick if necessary to poke out the difficult curves.
Sew up the opening
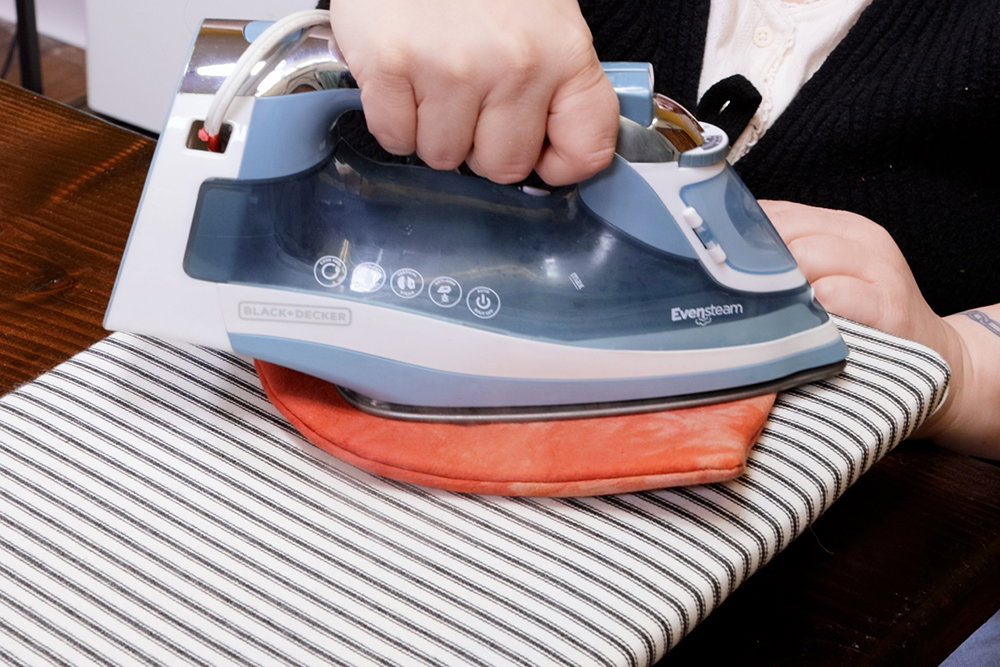
Press flat.
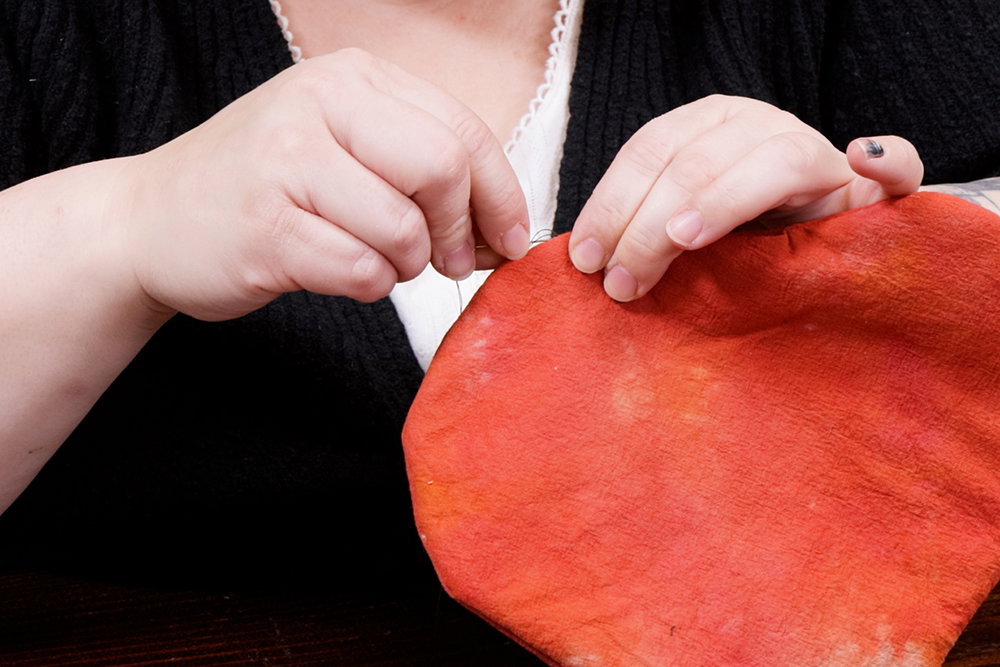
Use an invisible stitch to close up the gap.
Add your veins
Sew the veins of the leaves as you prefer. Do not backstitch at beginning and end.
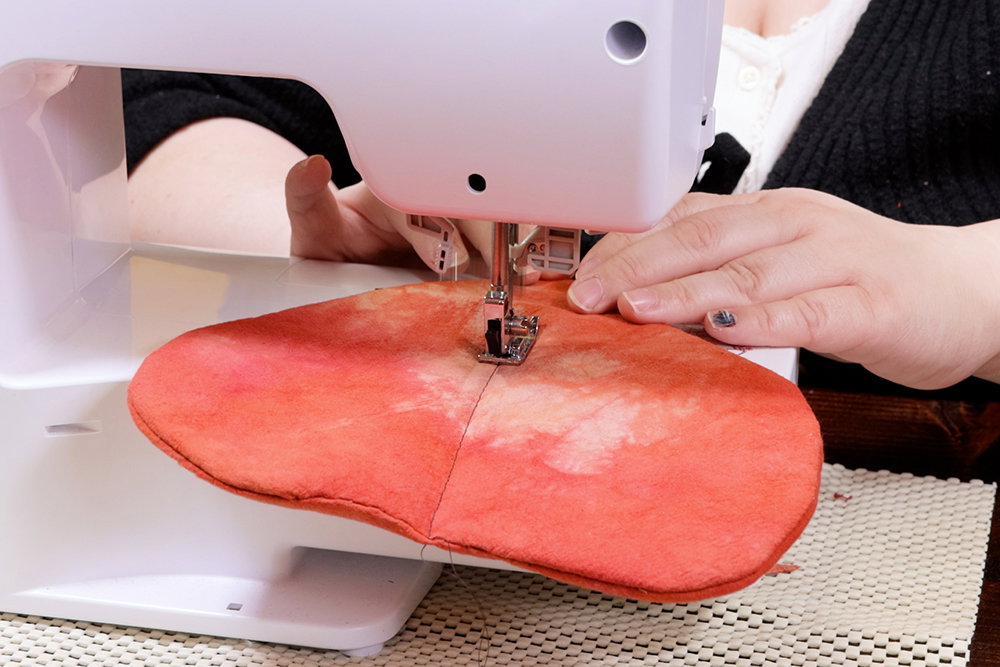
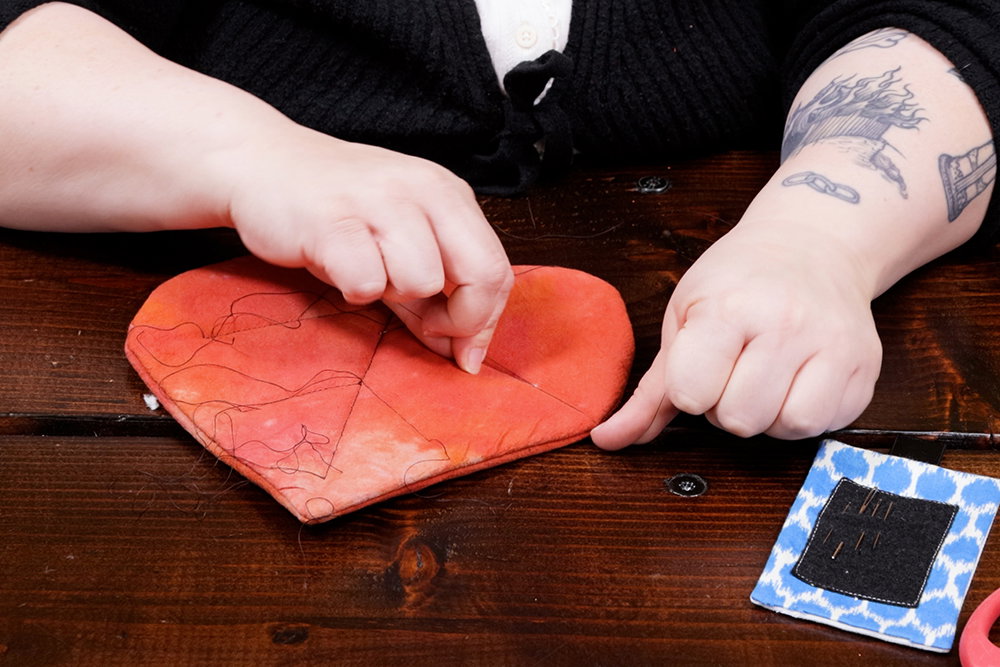
Once you’re done sewing the veins, pull both threads to the same side. Tie a knot at the surface of the fabric and use a needle to tuck the ends inside the leaf.

-
{{#each productSuggestedQueries.results}}
- {{query}} {{/each}}
-
{{#each categories.results}}
- {{html title}} {{/each}}
{{html attributes.description}}
{{/if}}-
{{#each queries.results}}
- {{query}} {{/each}}