
How to Make Woven Placemats
- By Clara
- 30 minutes
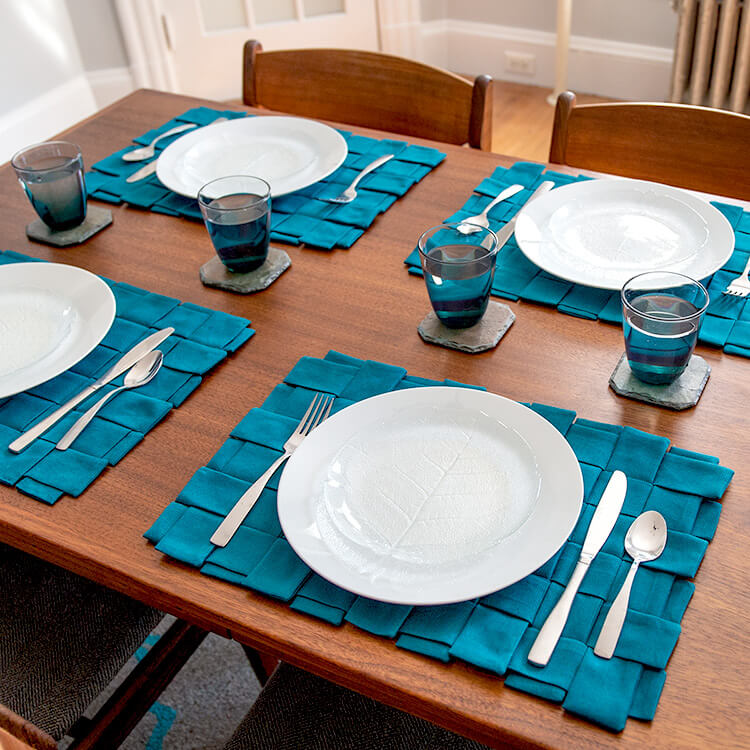
This week I wanted to give my dining rooms table a little upgrade. After some searching on Pinterest, I just wasn’t finding the perfect one, SO I decided to create my own idea!
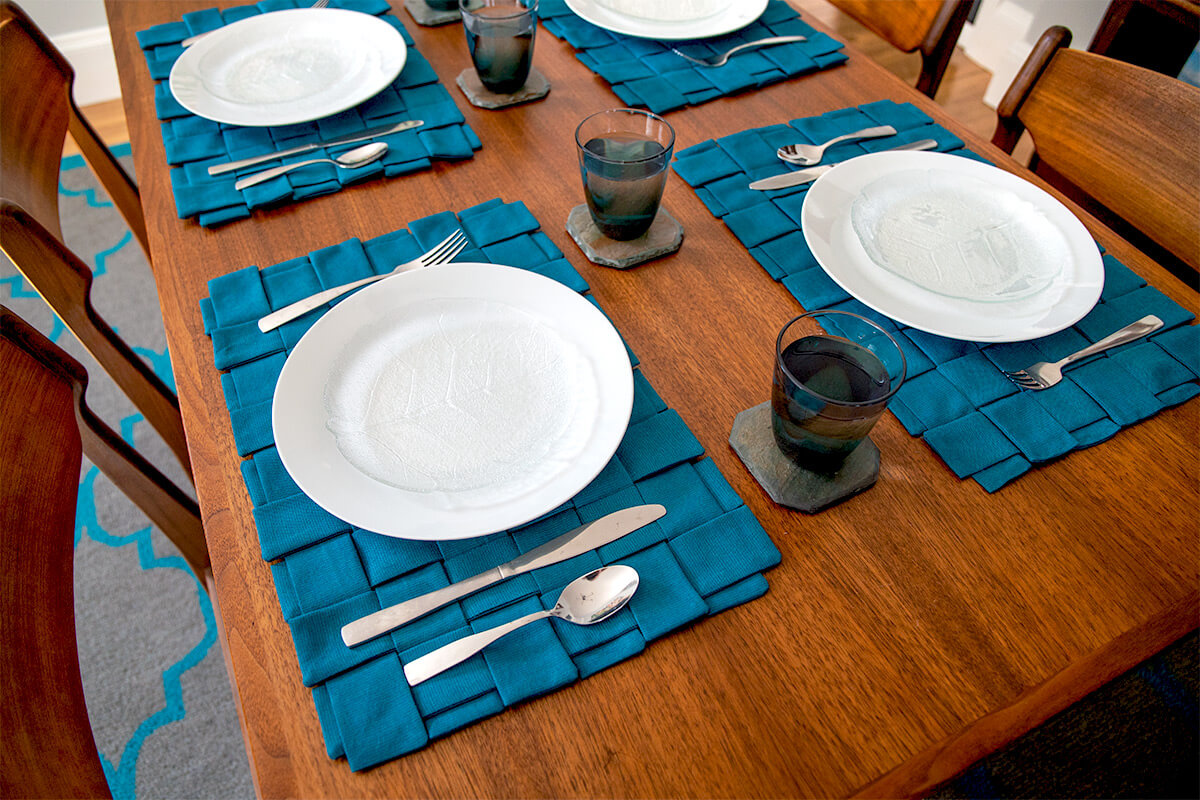
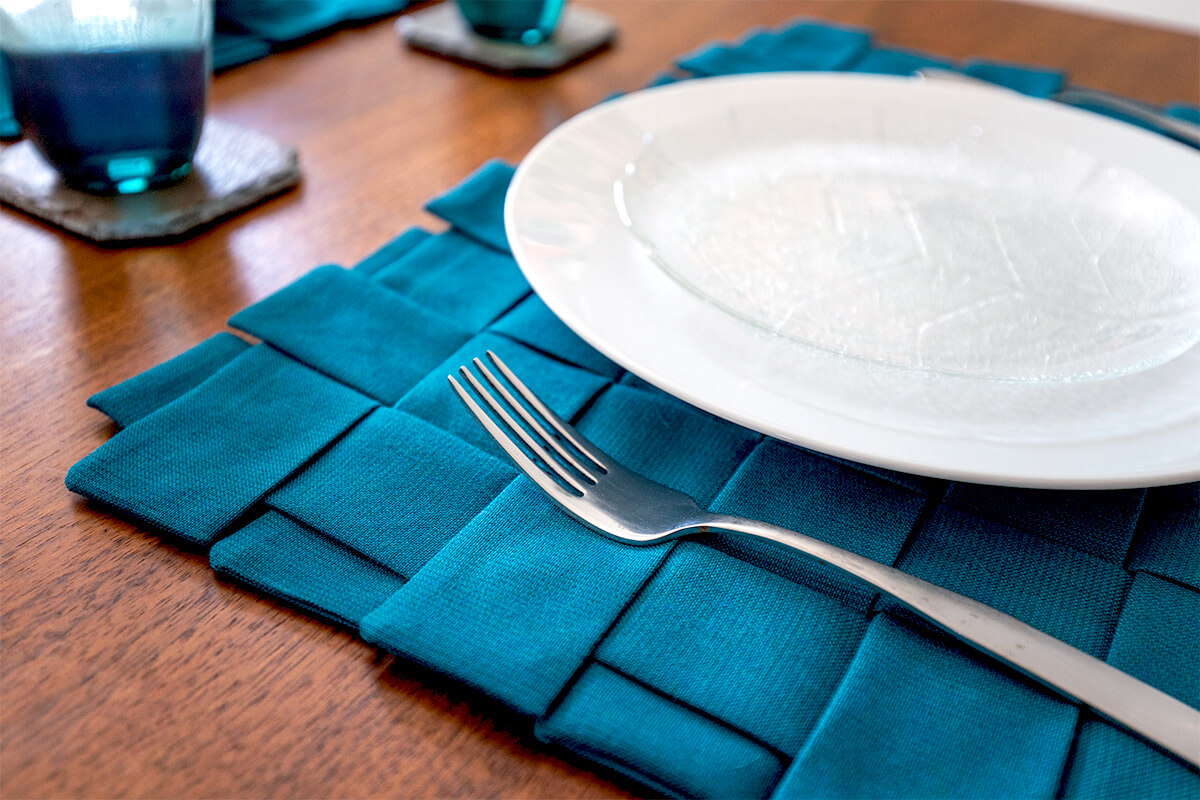
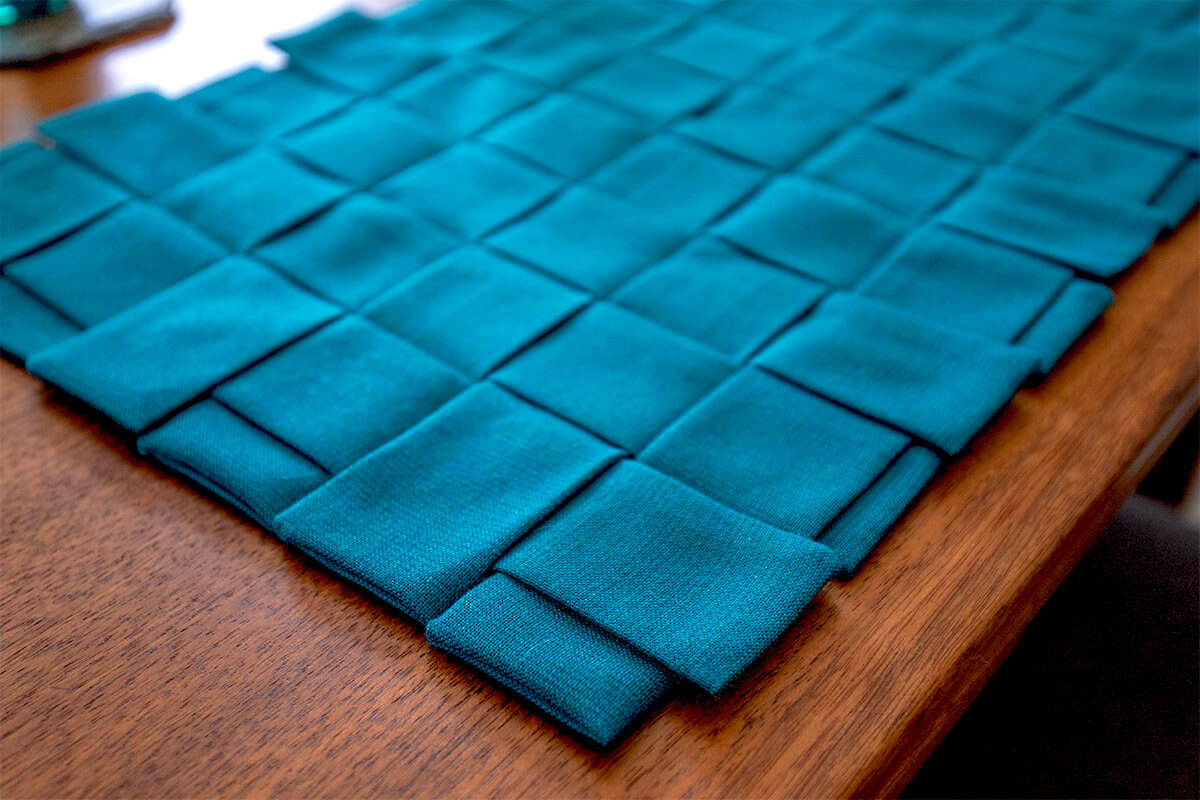
These basket weave placemats are easy to make and will add texture to your table settings. I’m using a combination of sewing and gluing, but if you wanted to make this a no-sew project, you could definitely do that.
You can use a single fabric or mix and match, which is a great use of your fabric scraps.
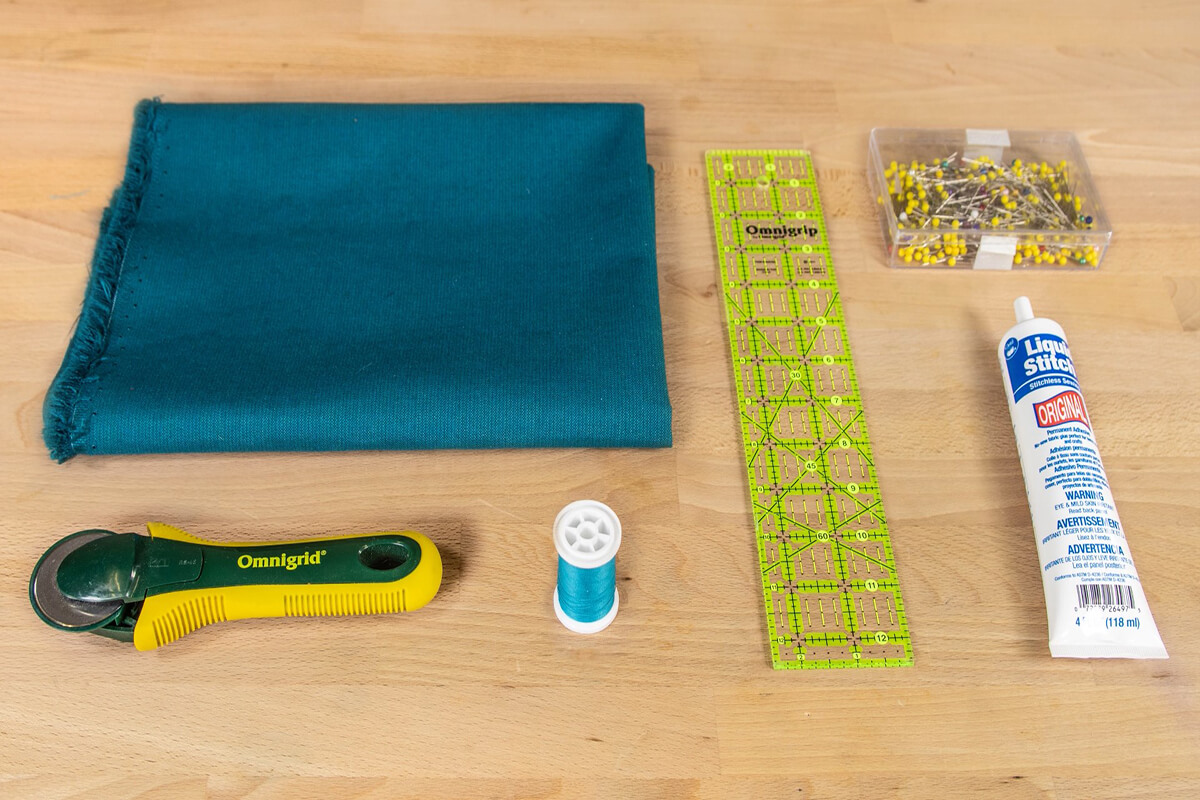
Materials
- Fabric
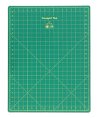
- Scissors or rotary cutter & mat
- Thread
- Ruler
- Fabric glue
- Pins
- Iron
- Sewing machine
Related Products


Video
Instructions
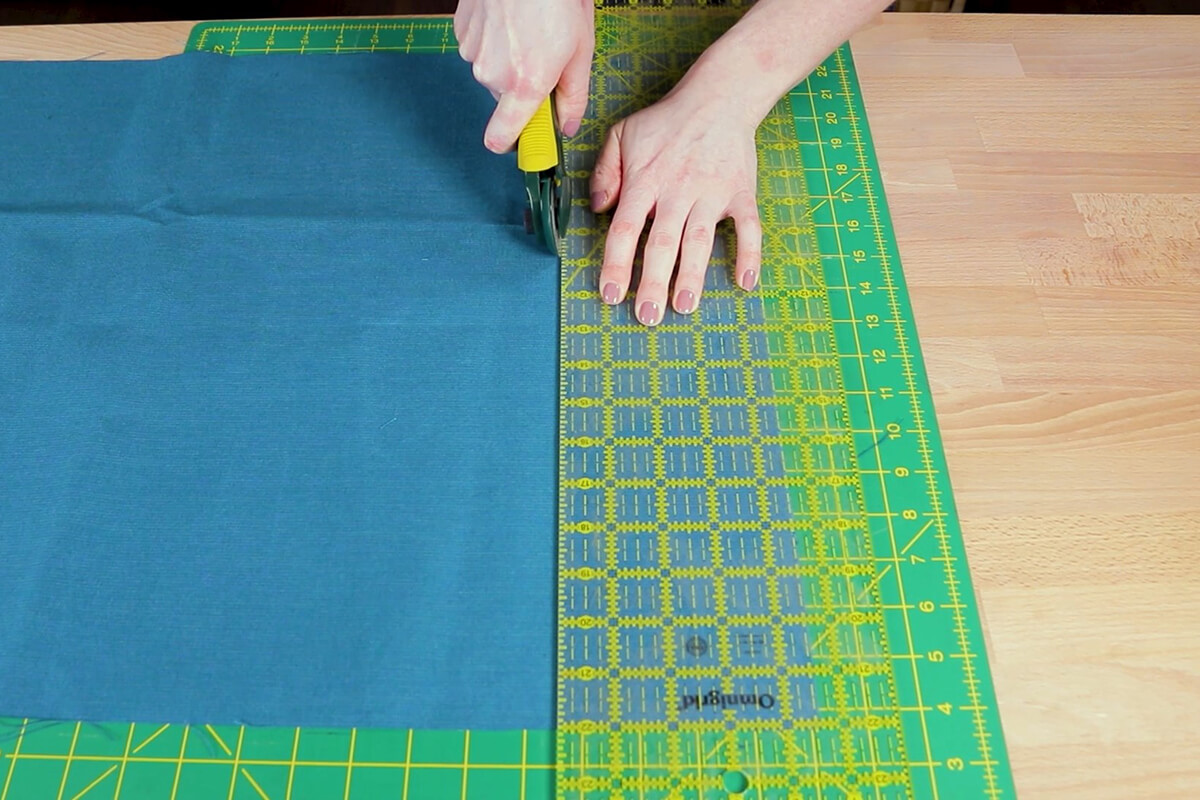
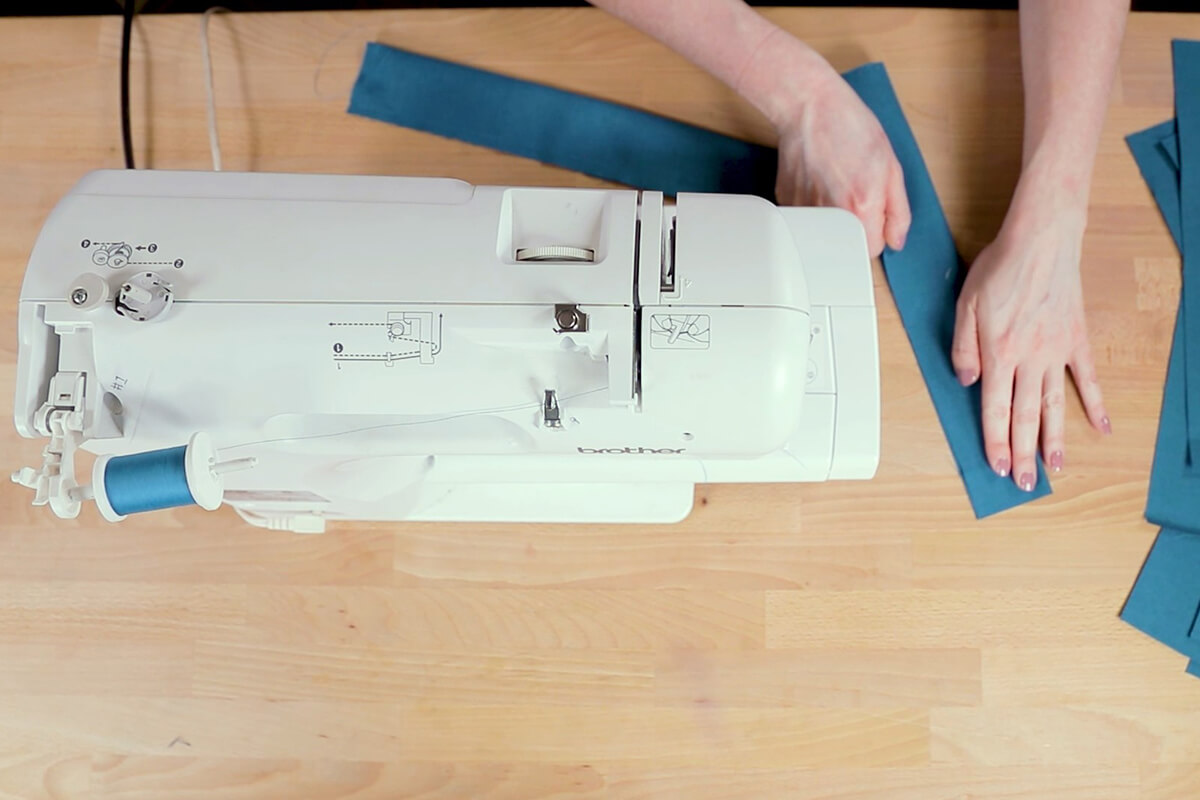
Step 1- Cut Strips of Fabric
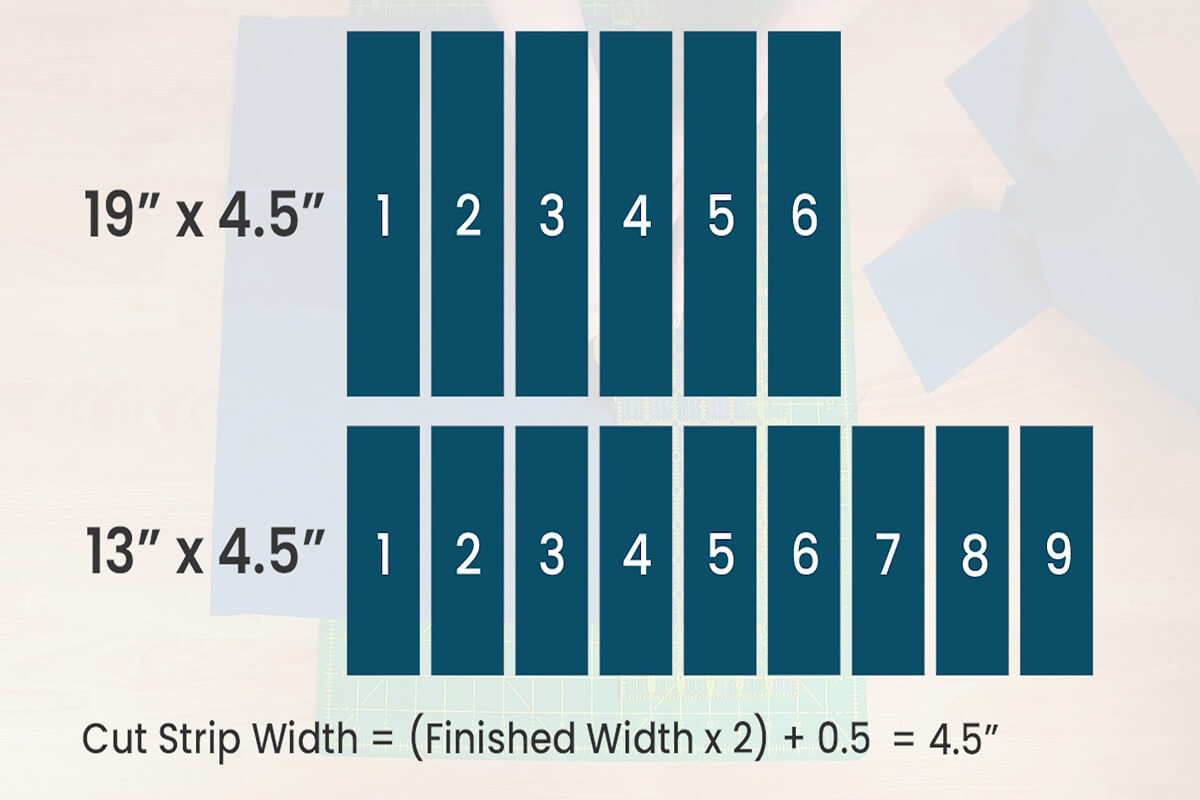
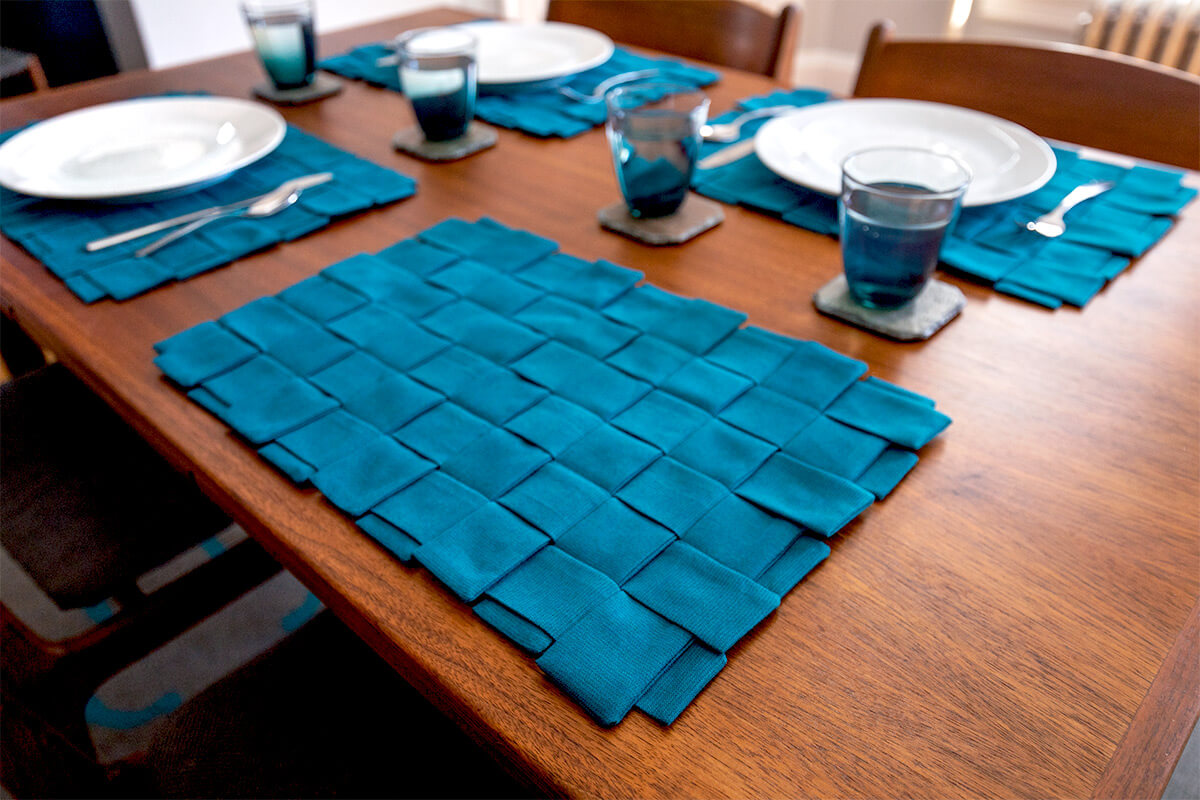
Placemats are generally between 18 and 20 inches wide and 12 to 14 inches tall. Mine will be 12.5” by 18.5” when complete with 2” wide strips.
I’ll need to cut 6 19” long strips and 9 13” long strips. The width is (finished width x 2) + ½” for seam allowance, which is 4 ½” for me.
Using a rotary cutter is handy here but scissors work well too.
I’m using an outdoor décor fabric that’s stain resistant but you can use many different types of fabric. You may want to use a fusible interfacing on the back of your fabric if it’s a thinner quilting cotton to give it more stiffness. If you prewash your fabric, you can wash your placemats on a delicate cycle and lay flat to dry.
Step 2: Sew the strips
Fold the strips in half with right sides facing if your fabric has a right and wrong side. Sew down one of the short sides with ¼” seam allowance starting at the crease. Pivot at the corner and sew down the long side.
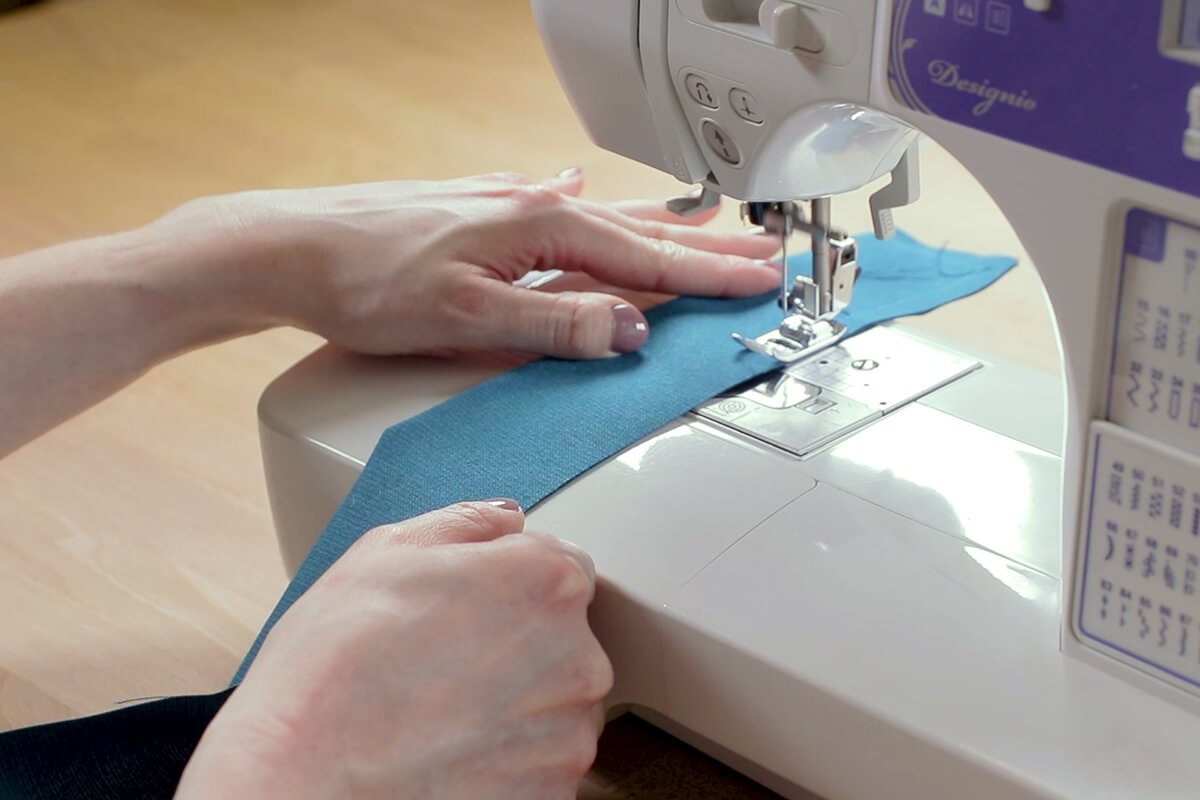
If you want to make this a no sew project, iron in all the edges of the strips ¼”. Fold in half (with the wrong sides facing,) then use fabric glue or stitch witchery to bond the fabric together.
When you get to roughly the center, lift the foot, move the fabric forward about 2 or 3 inches, then continue sewing. Pivot at the corner and sew the short side. Backstitch at the beginning and end of each seam.
Cut off the corners to remove extra bulk.
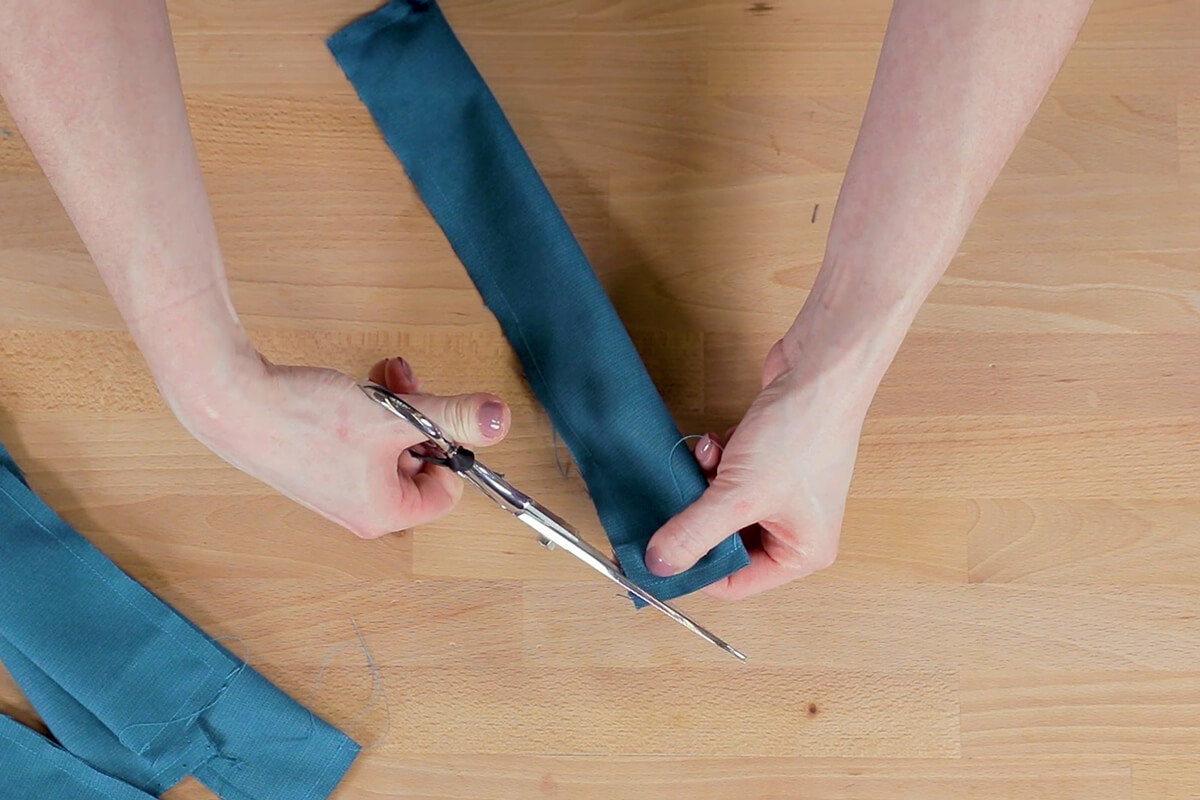
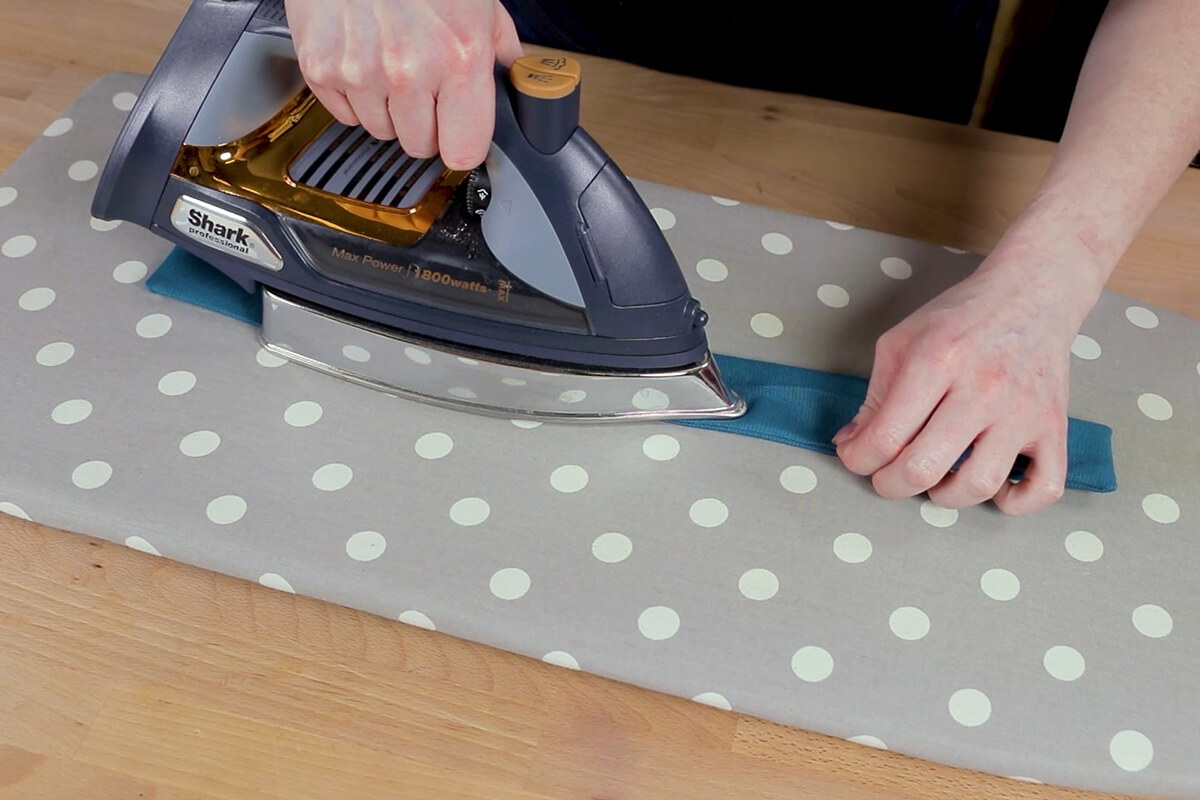
Turn the strips right side out and poke out the corners.
Iron the strips flat. I find it helpful to first iron the crease open before doing the final iron.
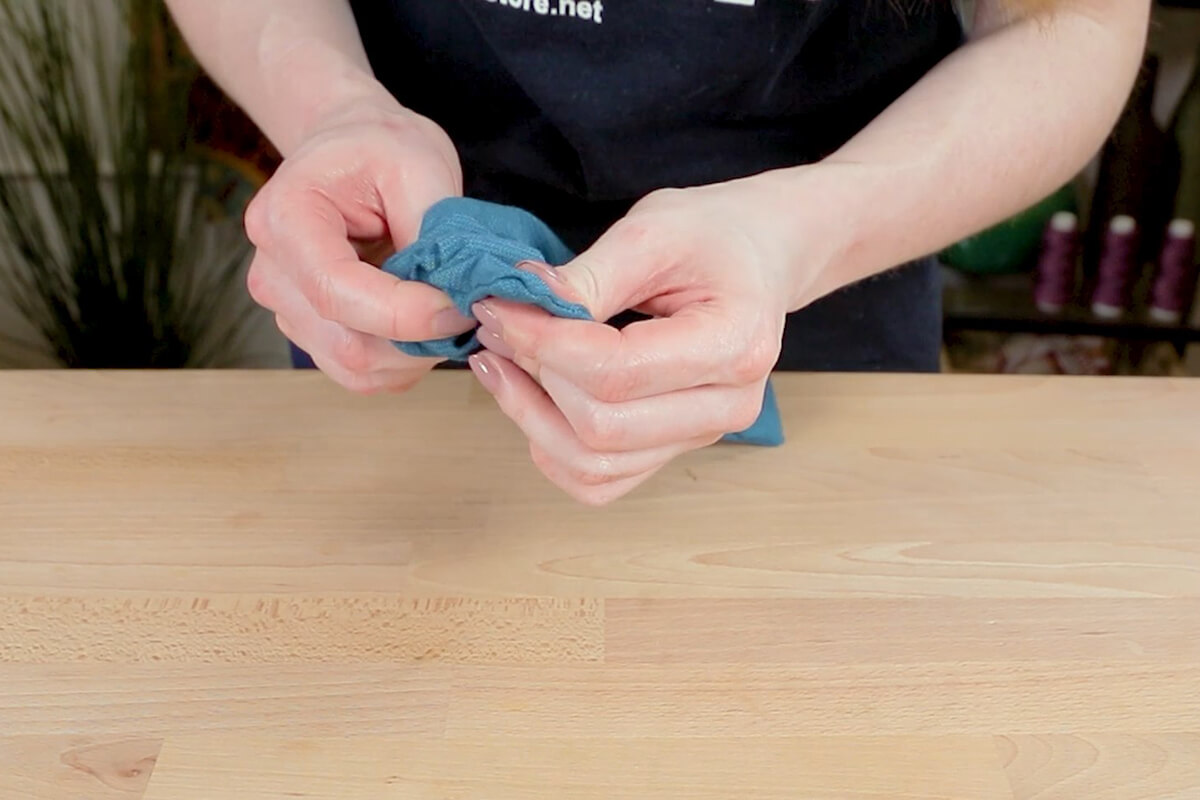
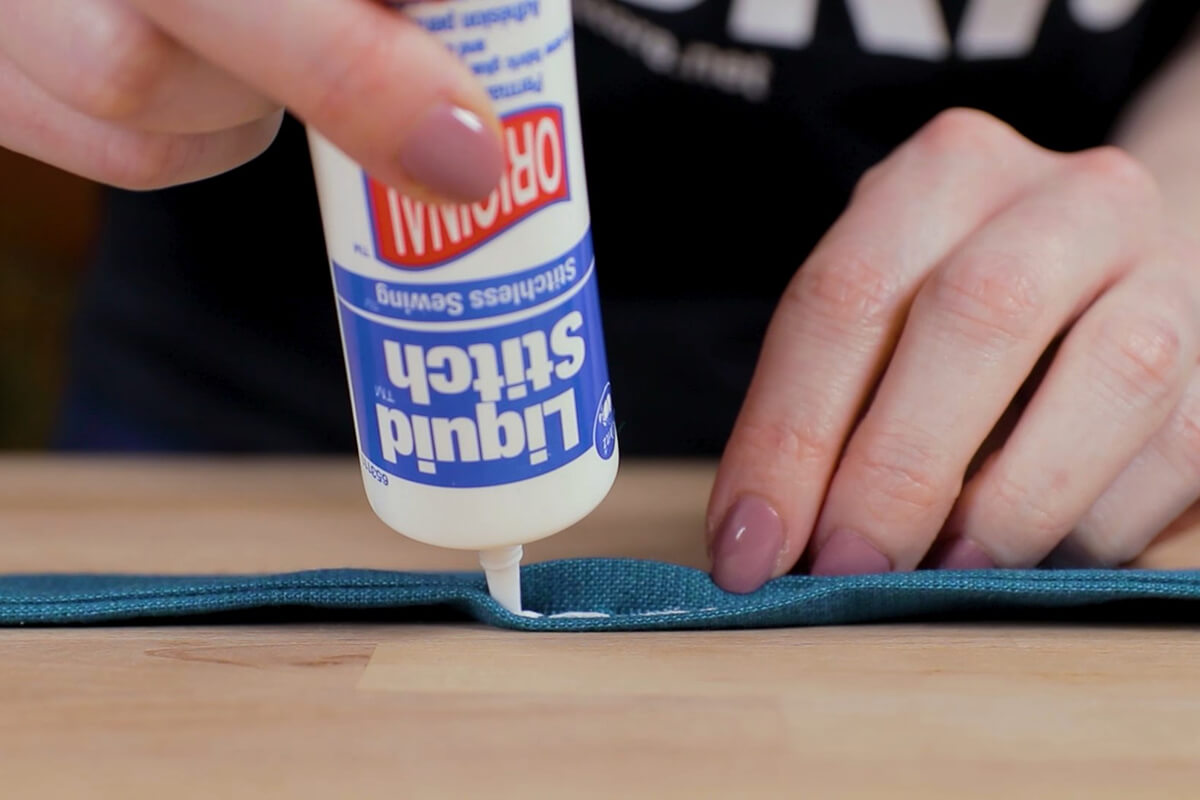
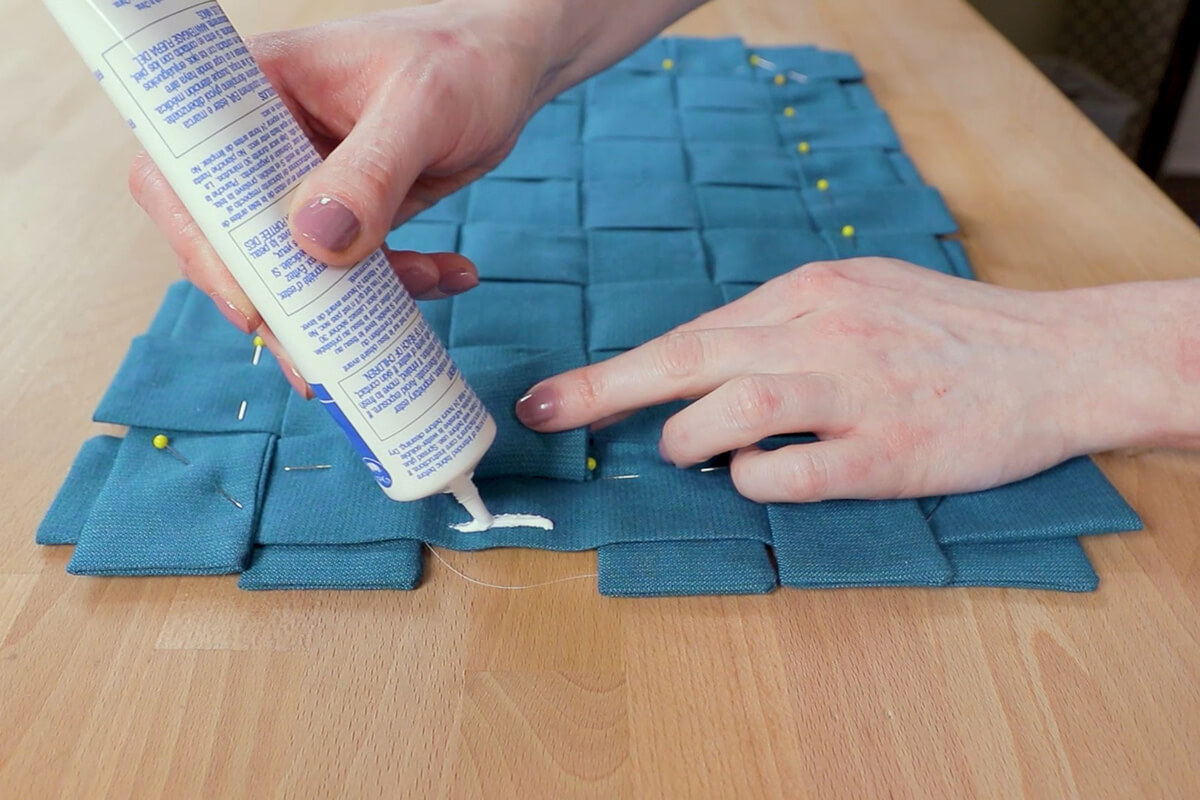
Step 3: Glue the strips
Glue the gap closed with a small amount of permanent fabric glue. If you use too much, too close to the edge, it will ooze out. This glue can be cleaned up with water if you wipe it before it dries, which takes about half an hour.
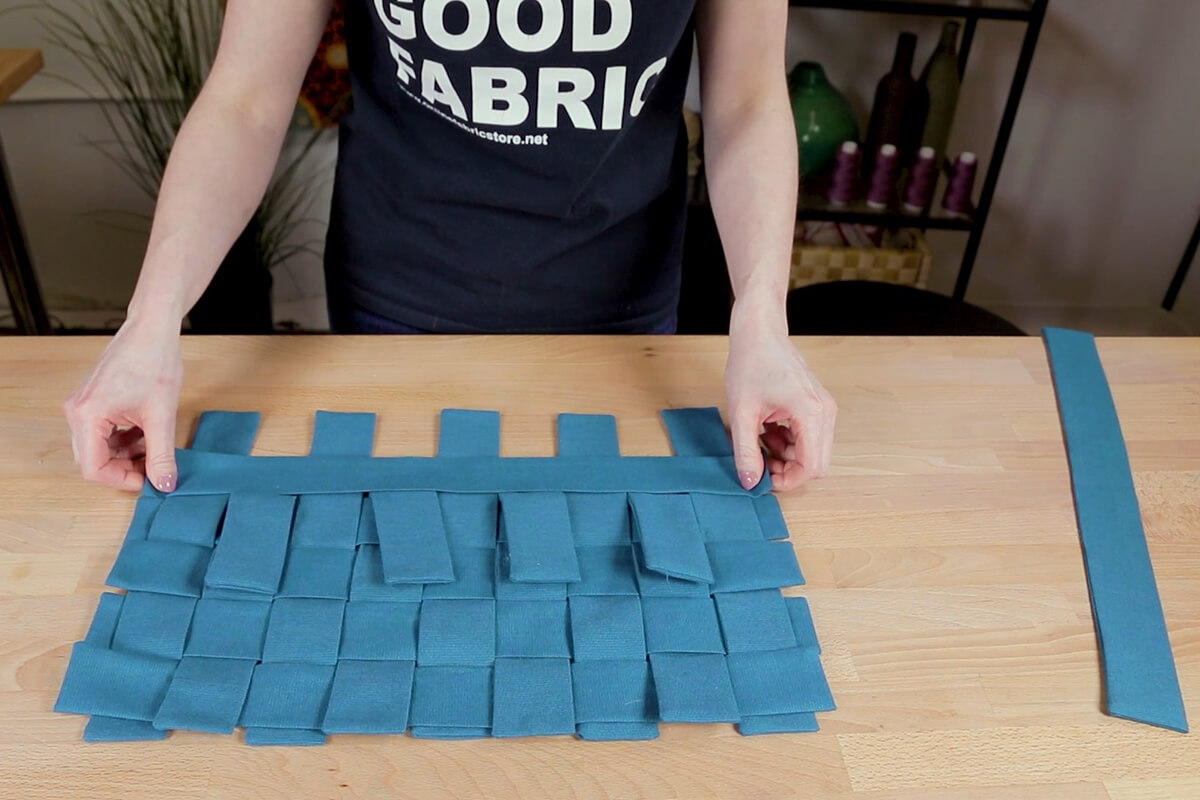
Weave the strips together. Make any adjustments needed to even out the strips. Pin around the edges.
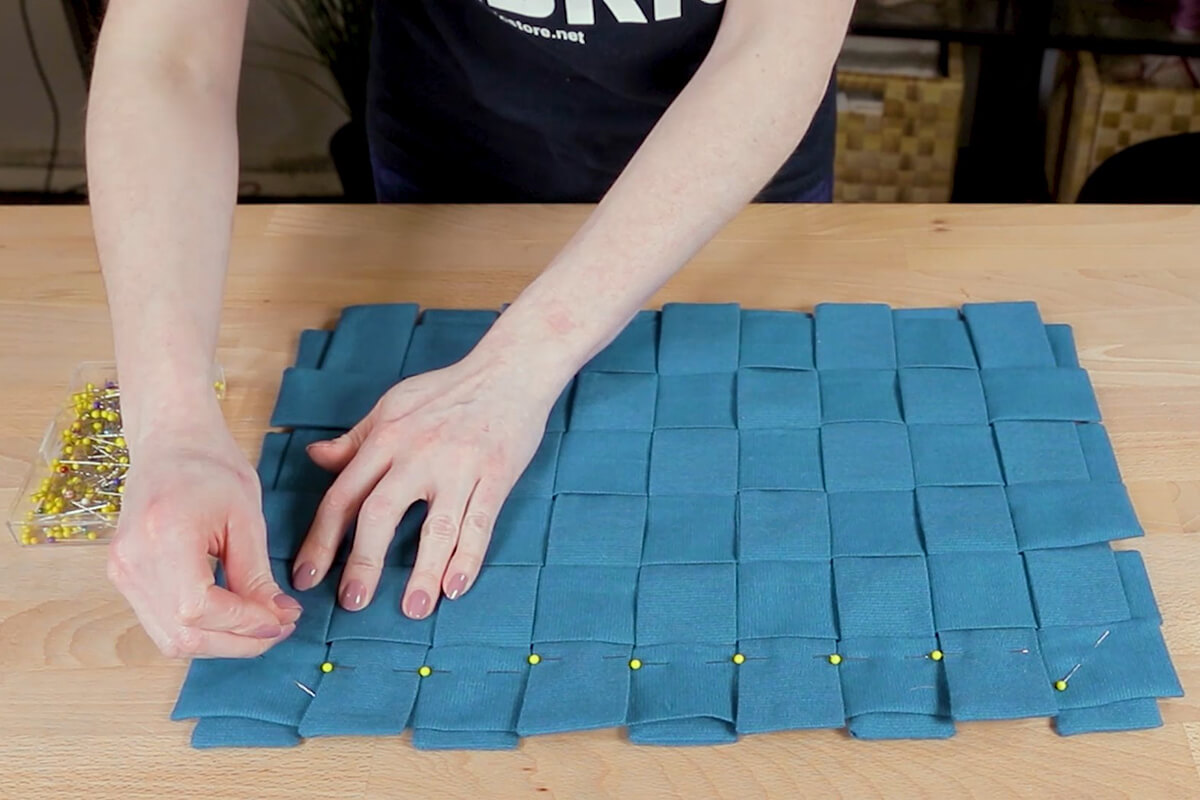
Lift up the edges and glue. I’m just gluing around the perimeter but you could glue where each strip crosses if you want. This would be a good idea if you’re going to machine wash the placemats.
Let the glue dry before removing the pins. Your basketweave placemats are complete!
-
{{#each productSuggestedQueries.results}}
- {{query}} {{/each}}
-
{{#each categories.results}}
- {{html title}} {{/each}}
{{html attributes.description}}
{{/if}}-
{{#each queries.results}}
- {{query}} {{/each}}