
How to Replace Fabric on a Sling Chair
- By Alyssa
- 1 hour 30 minutes
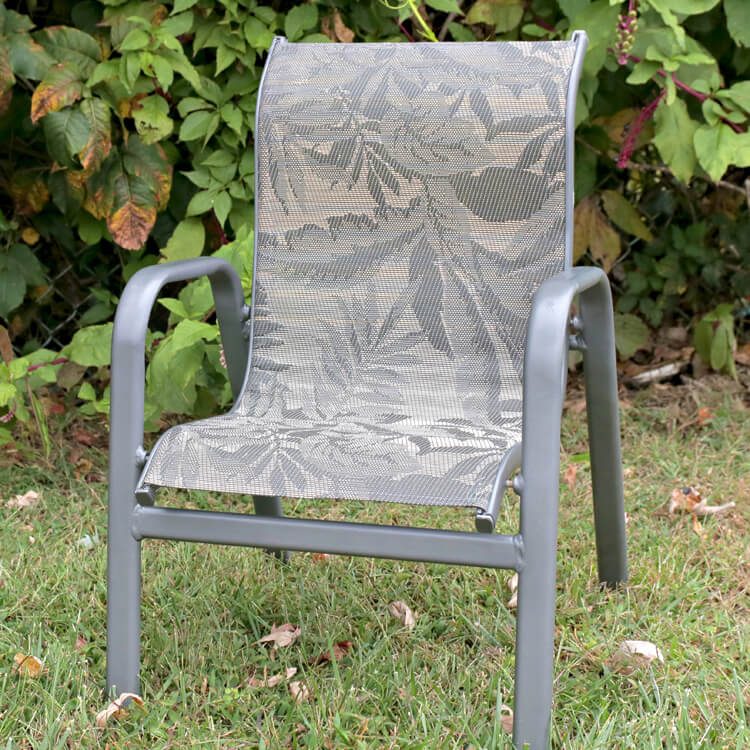
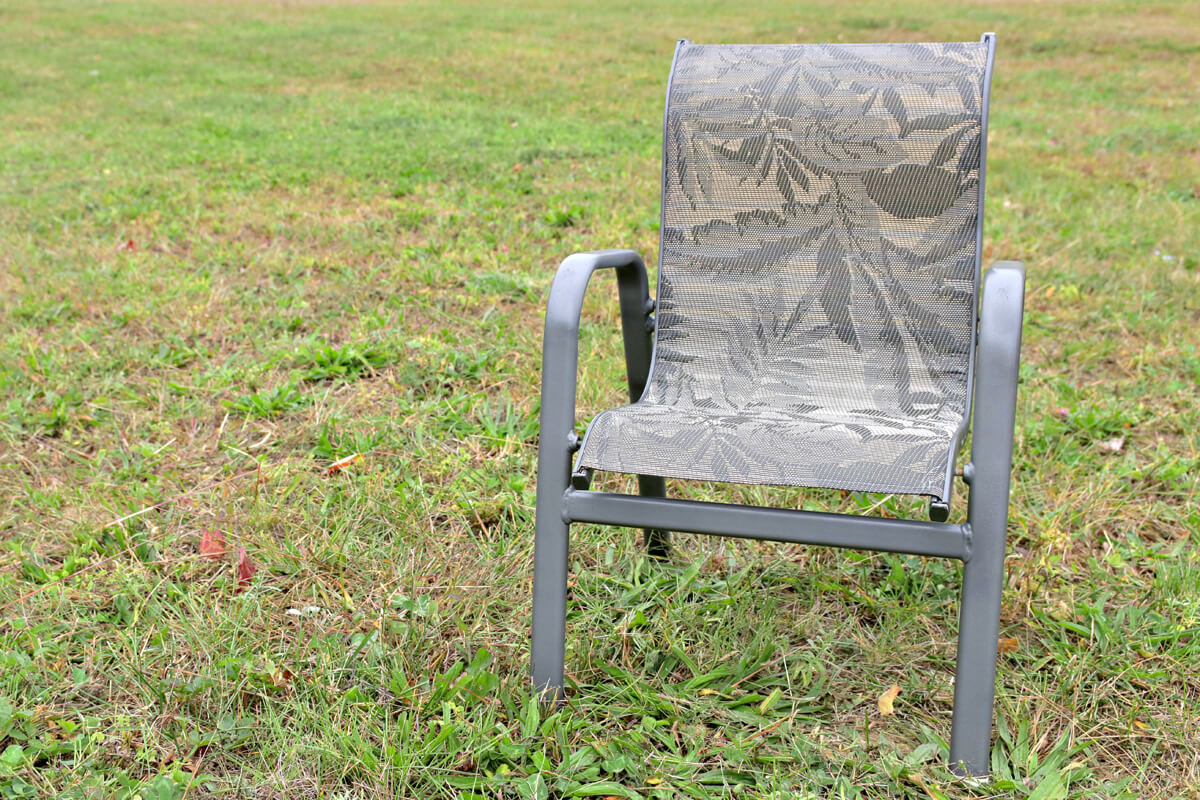
Outdoor furniture is expensive. Especially if it is good quality. And if you have some of your own, after years of use, you know the inevitable. The fabric on the chair will eventually start to show signs of wear.
But don’t fret. Today, I am going to show you how to replace the fabric on your worn out outdoor sling chairs so you can get the most out of your money.
Using Phifertex on outdoor sling chairs is more than worth the investment. These fabrics will last you years even in extreme climates and contain microban, a technology that helps prevent the growth of stain-and odor-causing bacteria, mold and mildew.
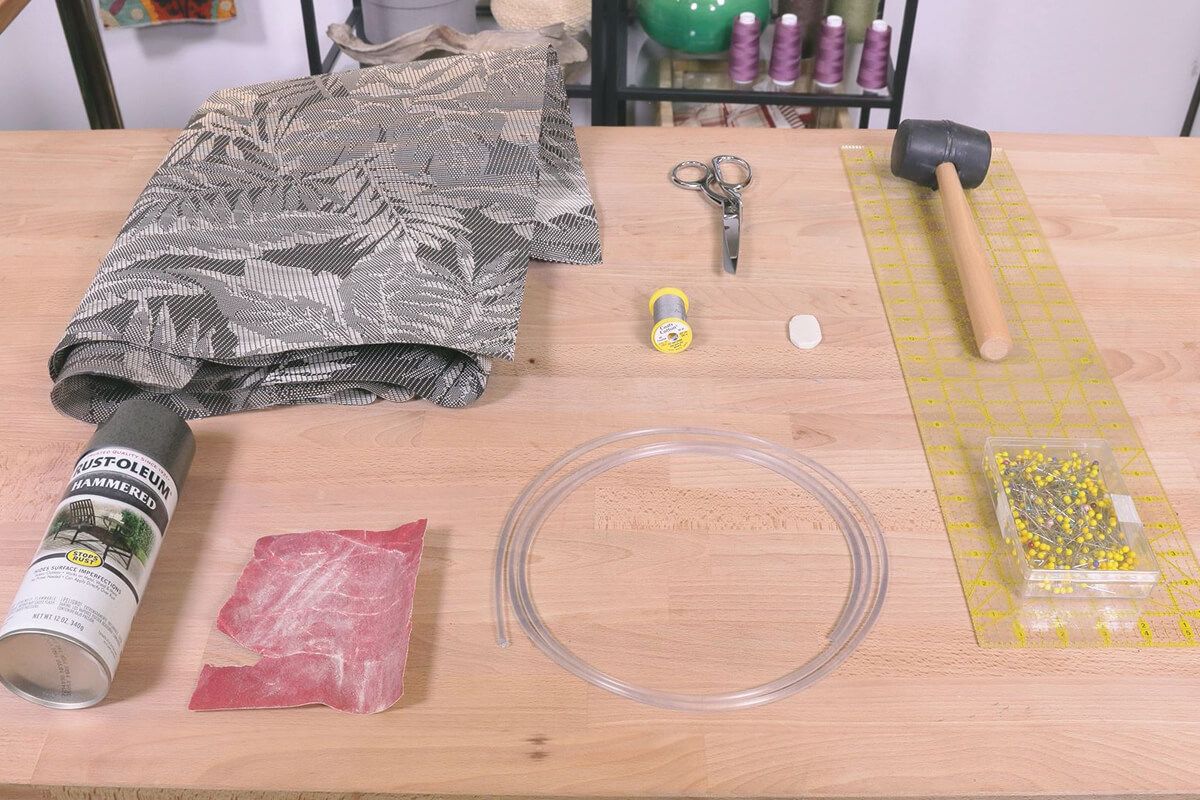
Materials
- Phifertex
- Spline
- Chalk or a Fabric Marker
- Scissors
- Thread
- A ruler
- A rubber mallet
- Pins or Clips
- Spray Paint
- Sandpaper
- A sewing machine
Related Products
-
 Knife Edge Dressmaker's Shears - 8"
-
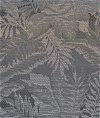 Jacquard Plus Sumba Mocha Outdoor Vinyl Mesh
-
 Painters Touch Ultra Cover 2X Flat Gray Primer
-
 Tailor's Chalk Twin Pack - Blue & White
-
 Smoke Gray #69 Bonded Nylon Thread
-
 Painters Touch Ultra Cover 2X Satin Aluminum
-
 500 Quilting Pins - Size 28
-
 Quilter's Ruler - 6" x 24"
-
 #197 Black Rubber Mallet - 2"
Video
Instructions
Step 1: Measure
You are going to want to take a few measurements to begin with. The first should be the length of the sling chair mesh. Do this by measuring about 1/8th of an inch from the beginning and end of each sling rail. Make sure you follow the contour of the chair closely to get an accurate measurement. Make a note of this measurement and add 1” for seam allowance.
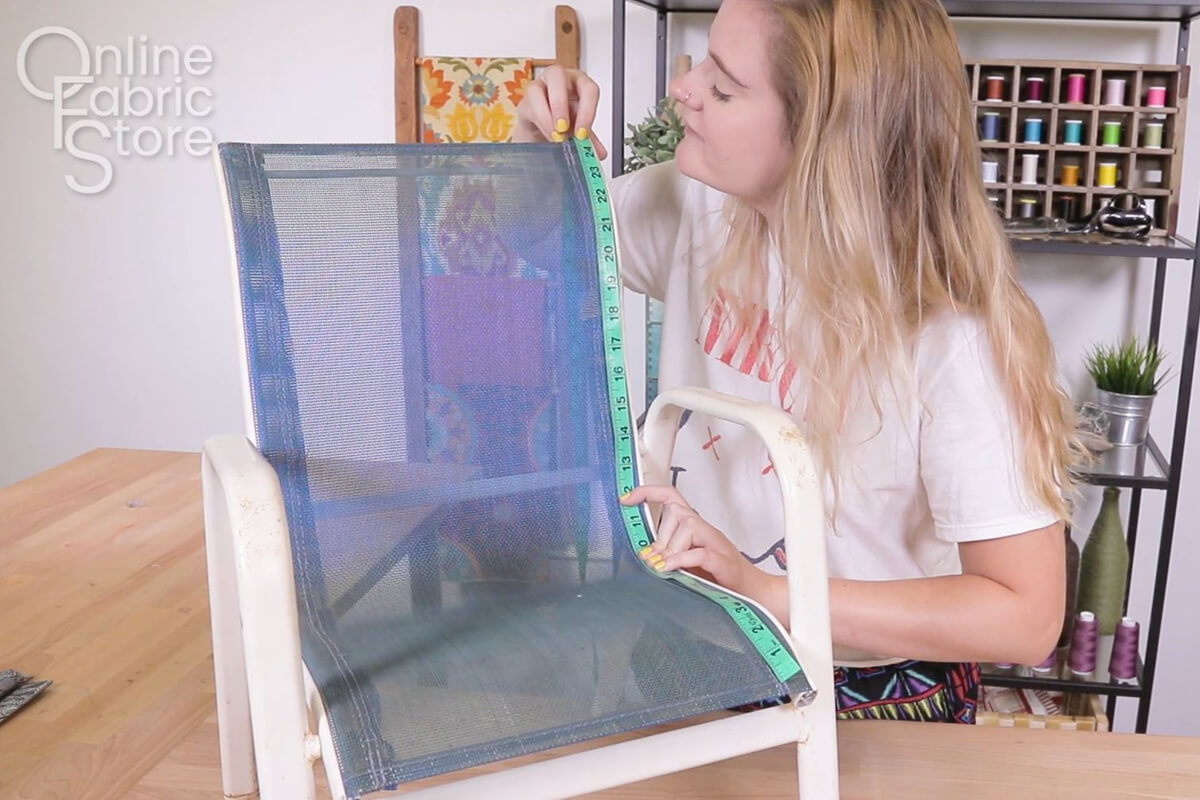
Then, measure for the width of the mesh. Measure the distance between the sling rails at both the top and bottom edge of the chair. Not all chairs have the same width at the top and bottom so you may have to cut your piece at an angle. Add one inch to both sides for seam allowance and to make channels for the spline.

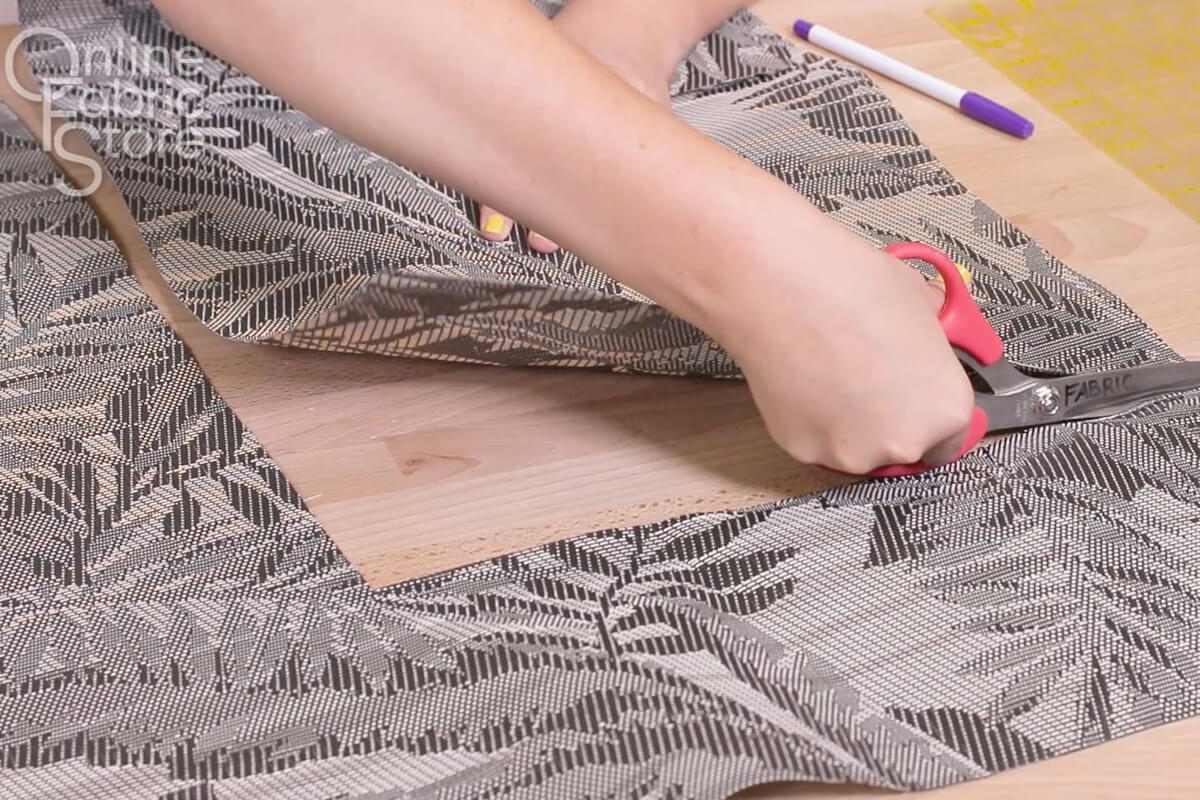
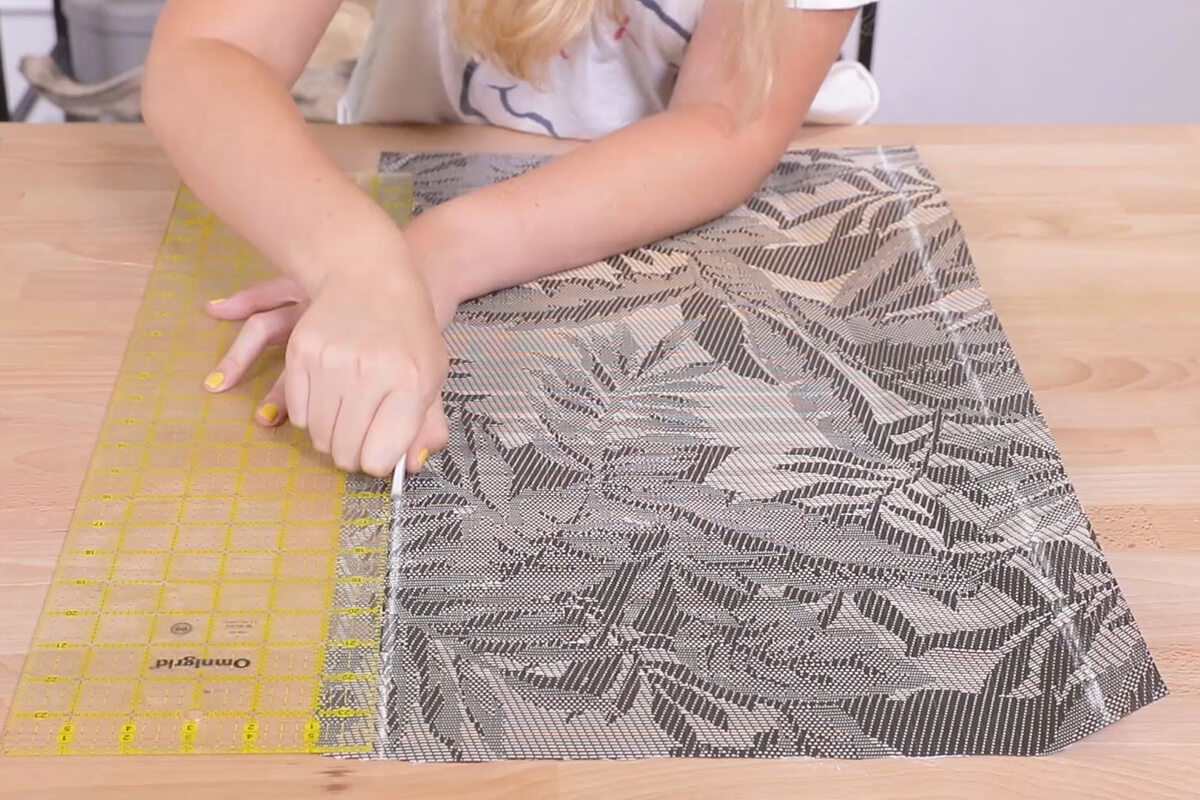
Step 2: Mark and Cut
Draw your measurements onto your Phifertex fabric using chalk or a fabric marker. Indicate where the seam allowance is so you are able to easily fold and sew your fabric. Cut it out.
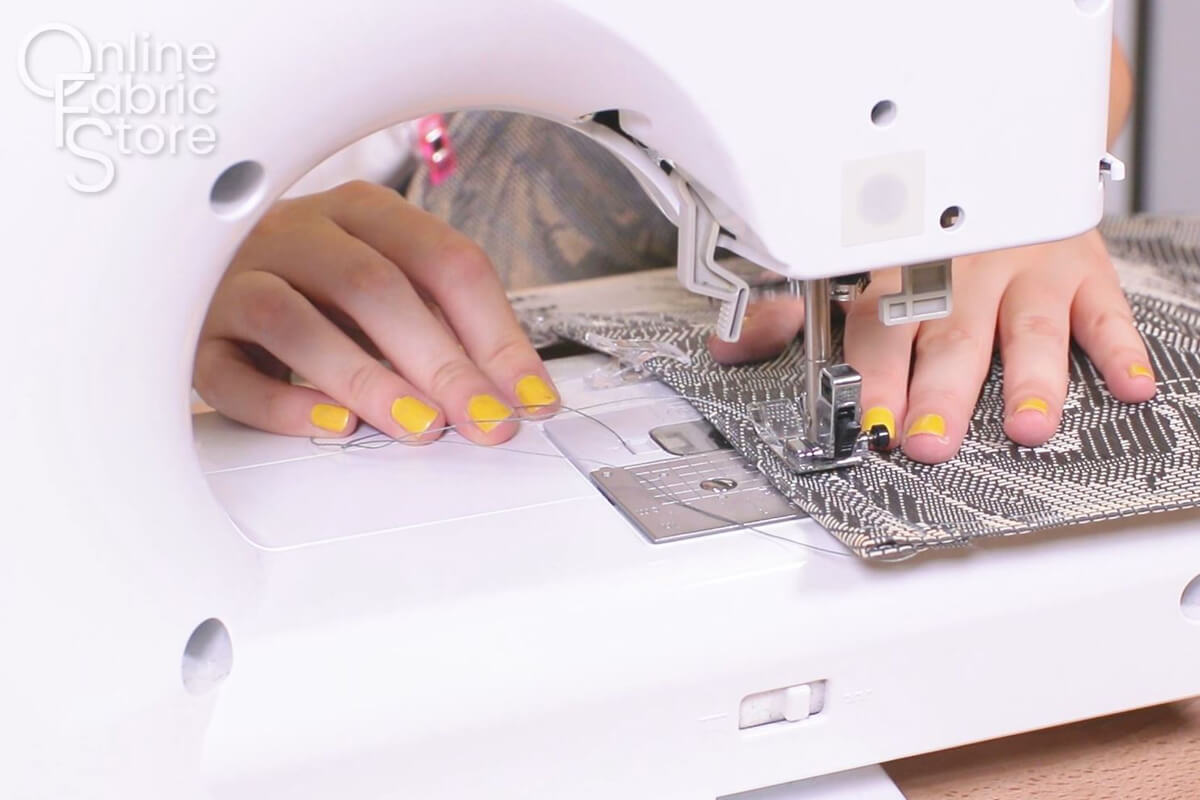
Step 3: Pin and Sew
On the top and bottom, fold over the raw edge towards the back of the fabric ½” and pin it in place. It may help to use the handle of your scissors to create a crease.
Sew where you just folded.
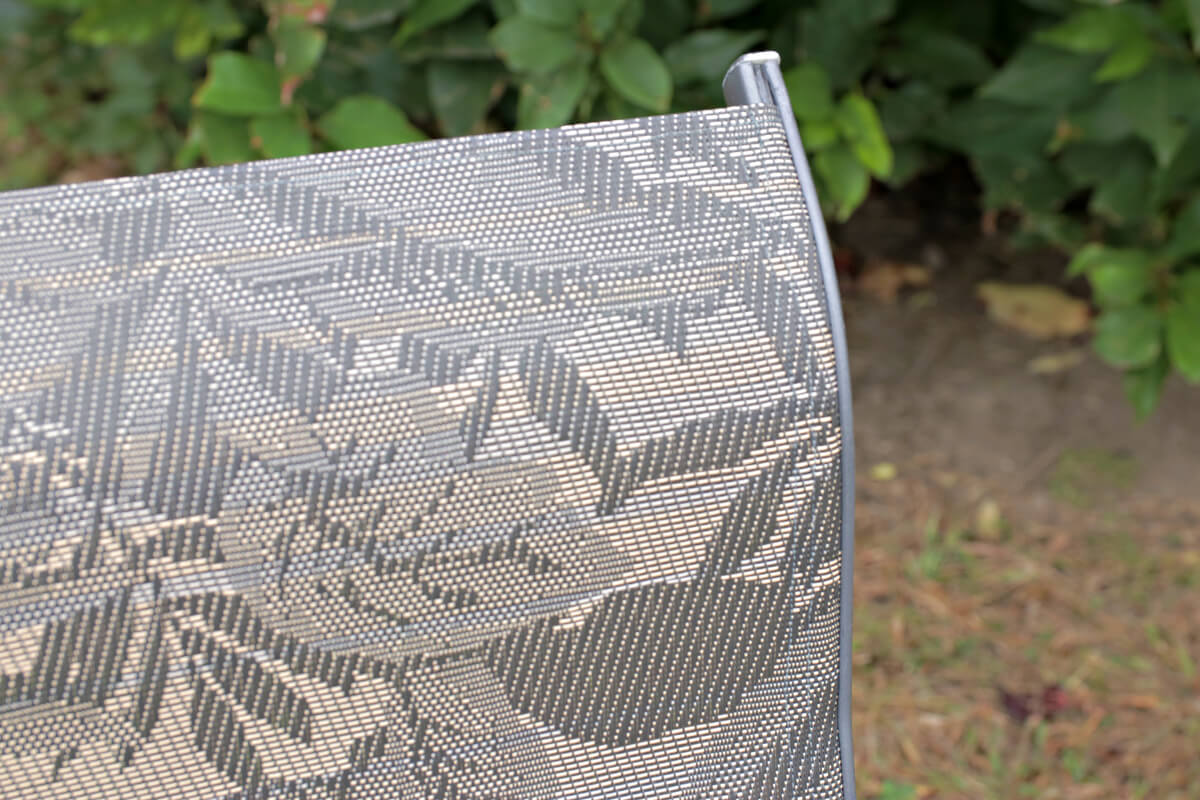
Then, fold the sides in towards the back of the fabric 1” and pin. This will create a channel. Sew this channel with two rows of stitching making sure to back stitch at the beginning and end.
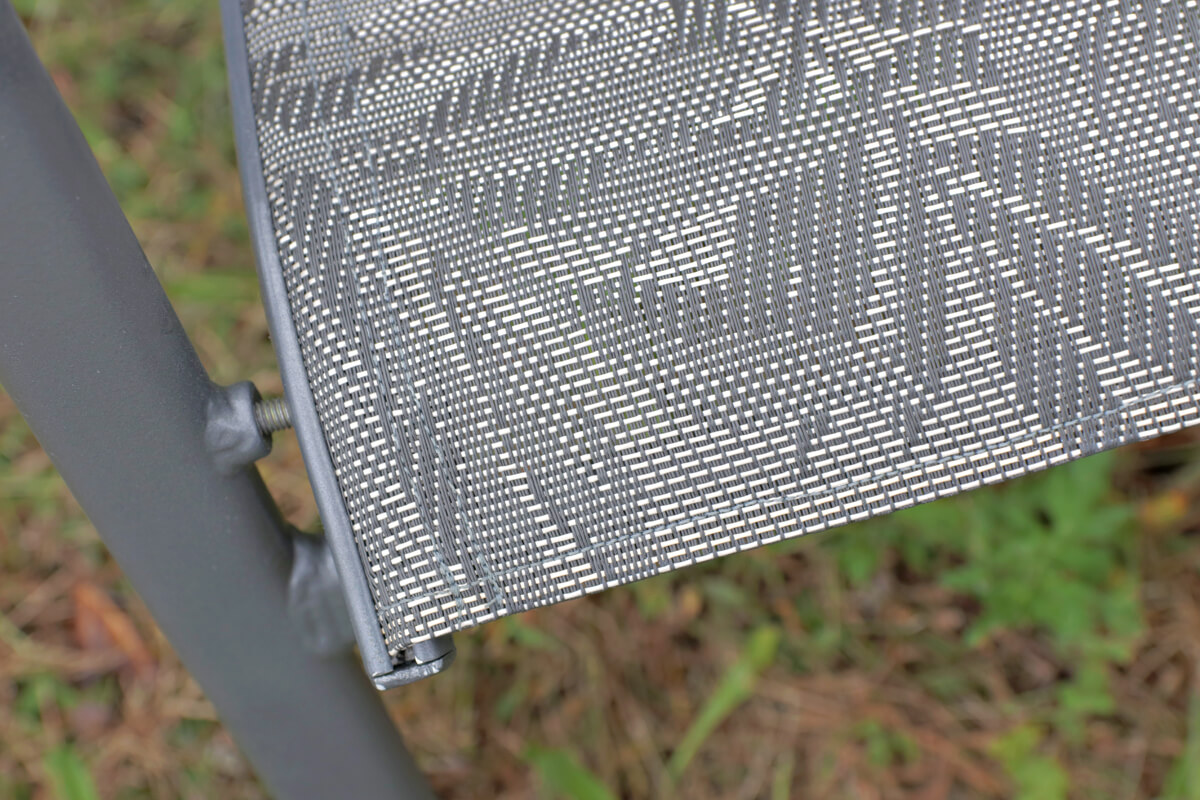
Step 4: Insert the spline
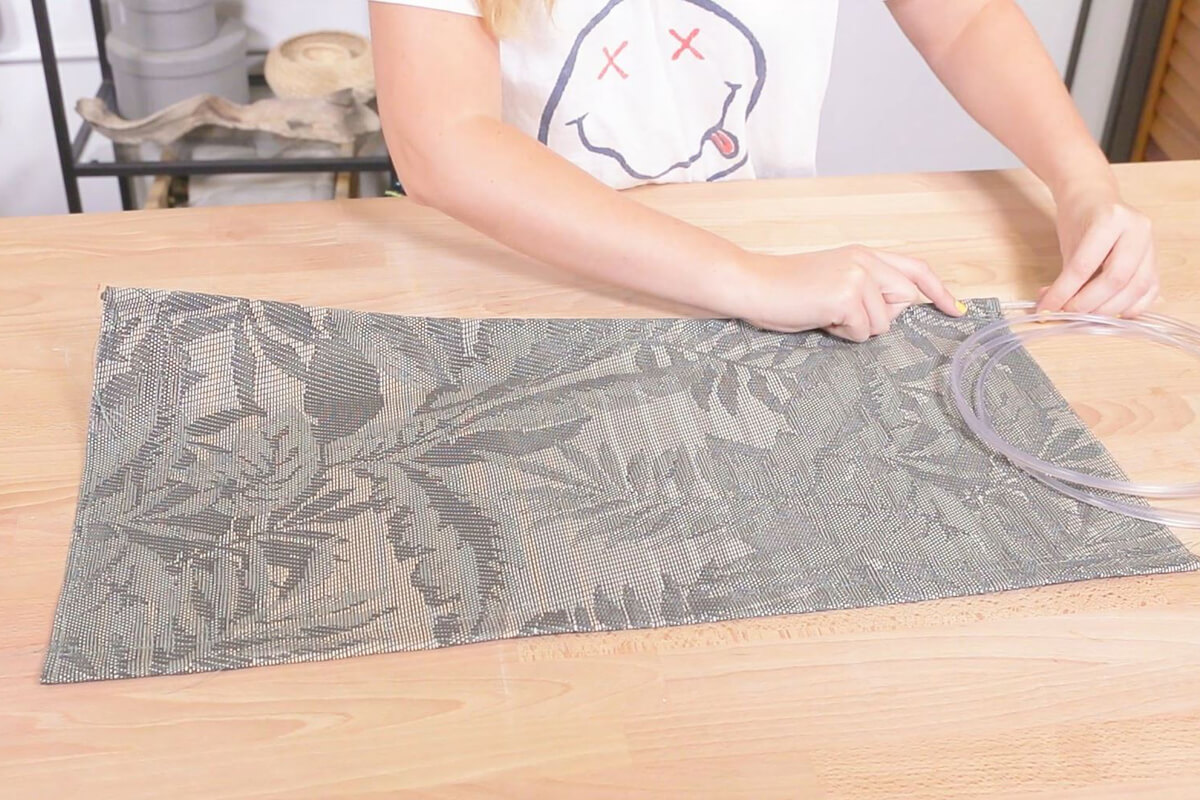
Push the spline through each of the channels. I used a lighter on the ends of the spline the cut end a little smoother so it would slide through the channel easier.
Step 5: Remove old fabric and prep chair
Mine were falling apart so I removed them a few days before and glued them together as best as I could and painted them
Remove the caps off of the sling rails very carefully with a screwdriver or knife edge. .
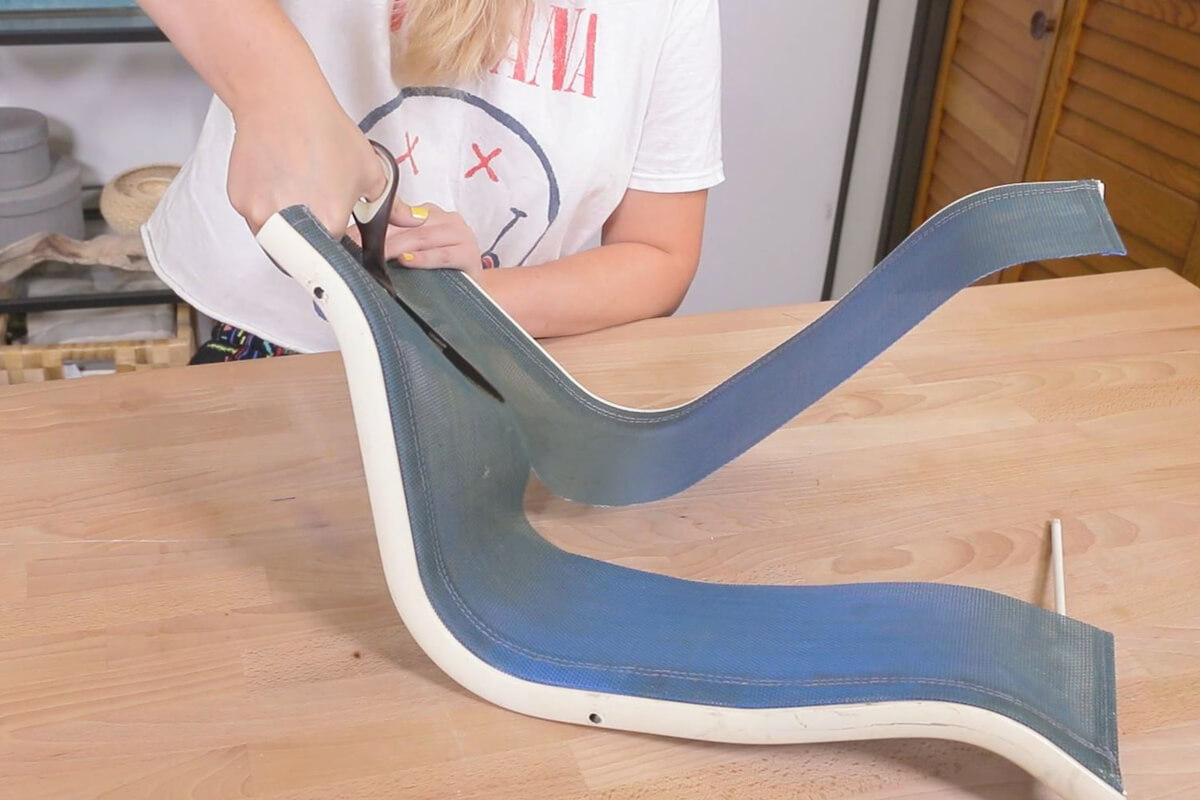
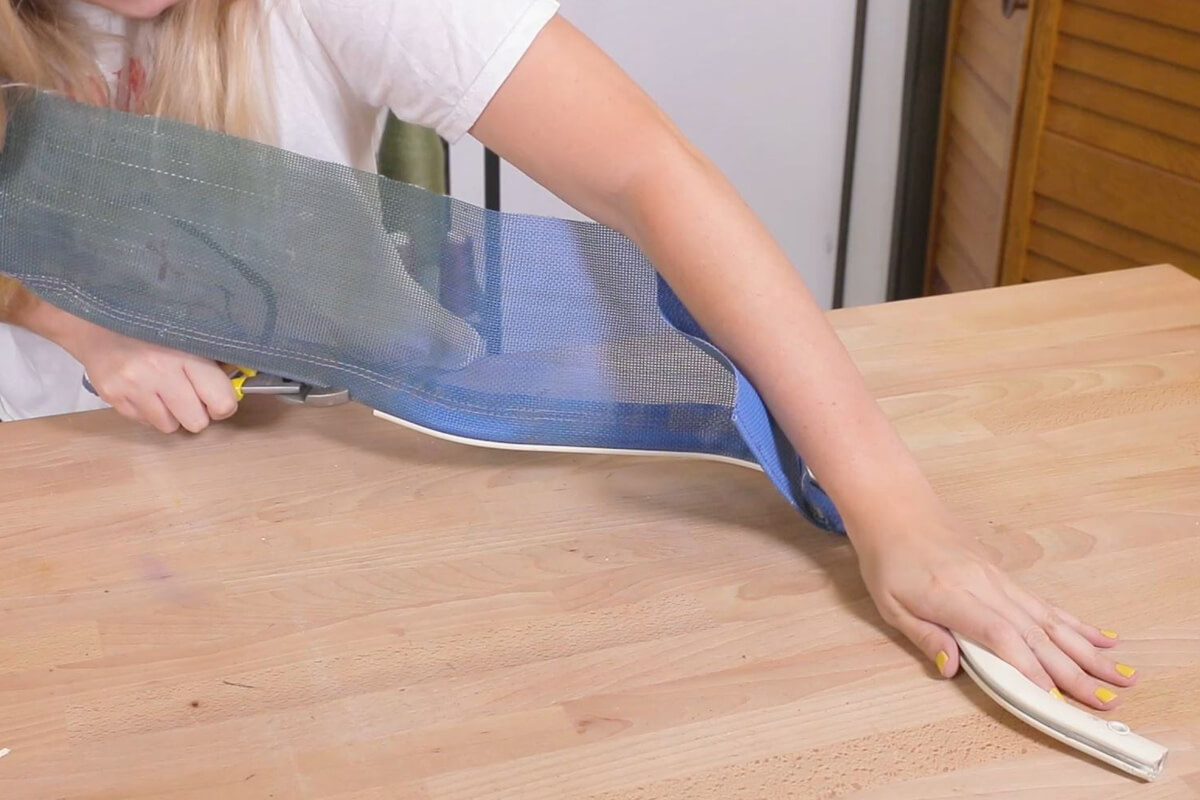
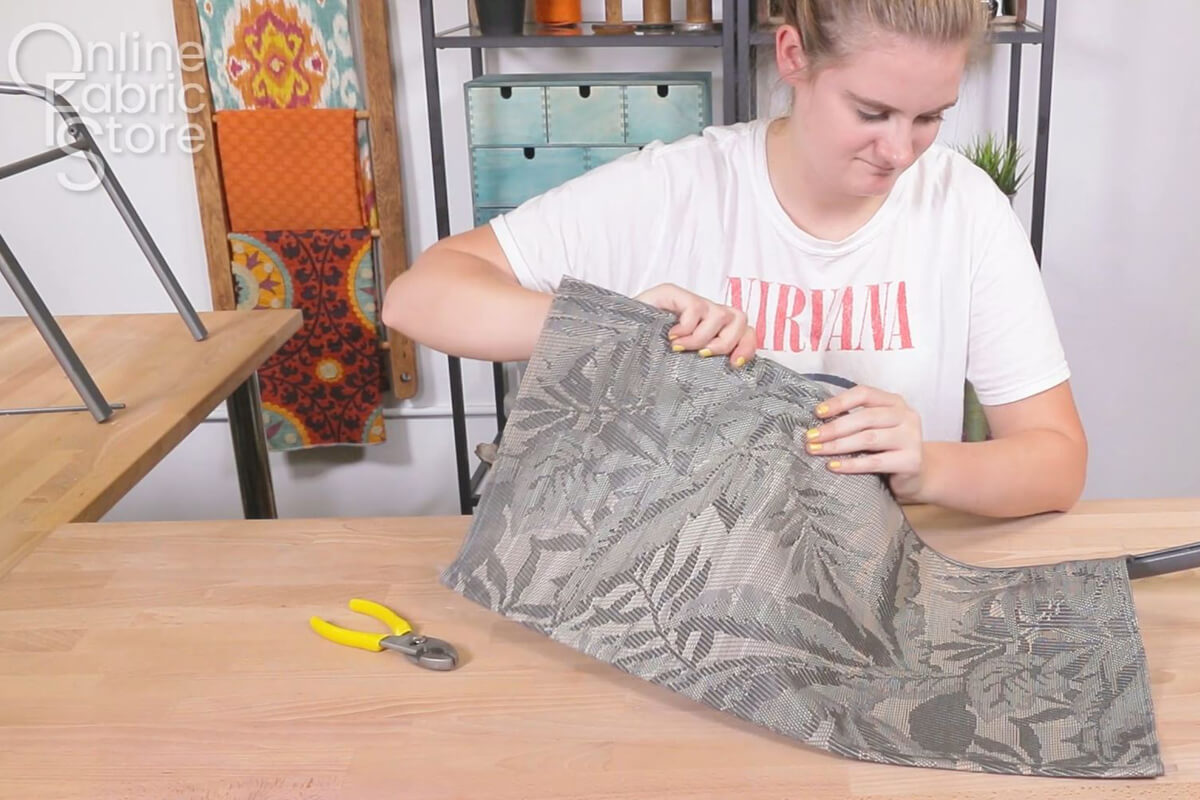
Remove any old fabric from your chair by cutting it away with a knife and then pulling the spline out of the edges with pliers.
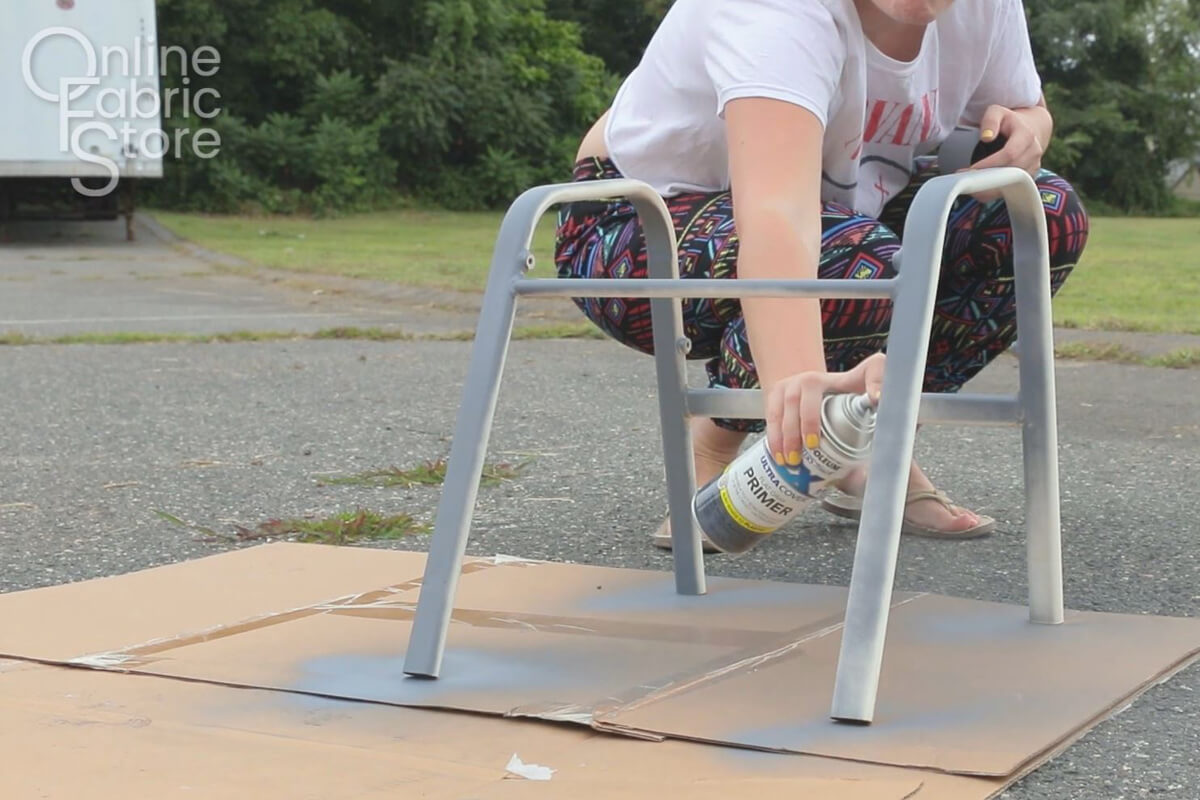
I found this chair at the Brimfield flea market and it was pretty beat up so a fresh coat of paint did it wonders.
I am going to be sanding down this chair and applying Rust-oleum primer and a liquid repelling barrier over the whole surface.
Step 6: Insert fabric into rails
You can use petroleum jelly to make this easier
Make sure that the rails are facing the right direction and slide the spline through the channel.
Step 7: Put the assembly back together
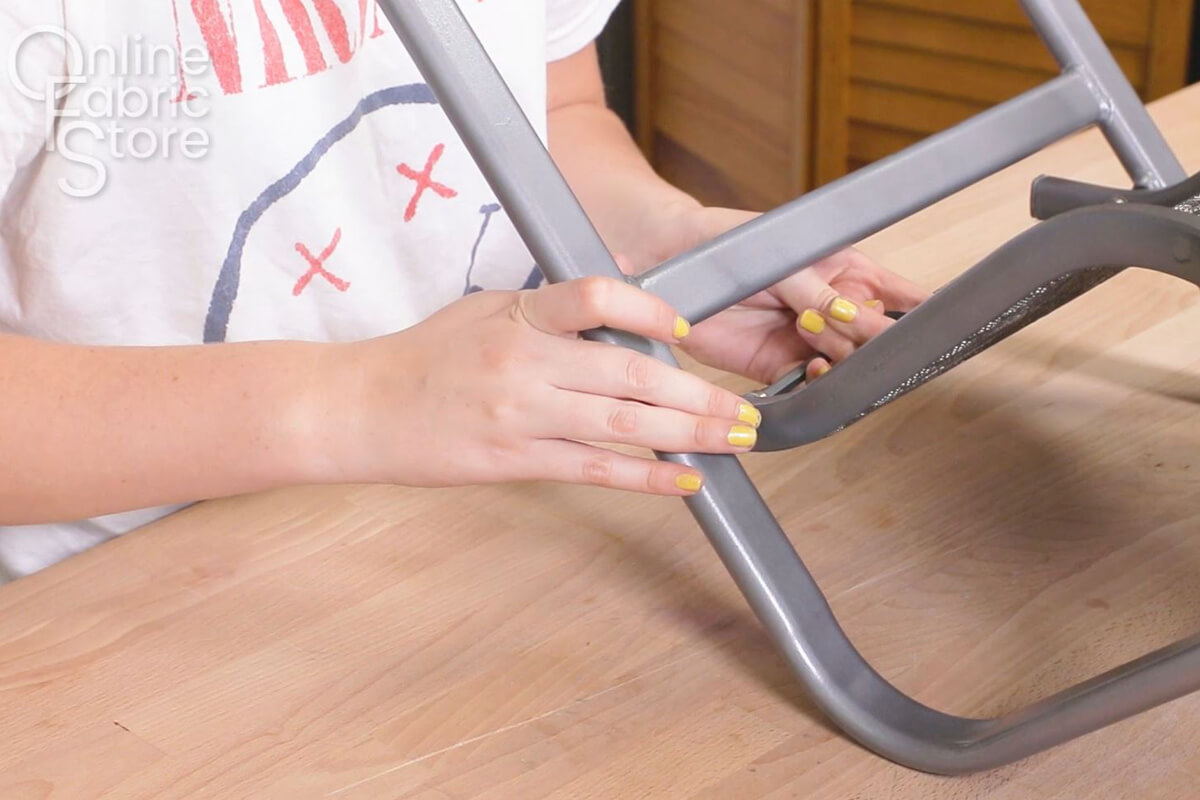
Trim down any extra spline and place the caps back onto the sling rails.
Screw the sling rails in about half way all the way around.
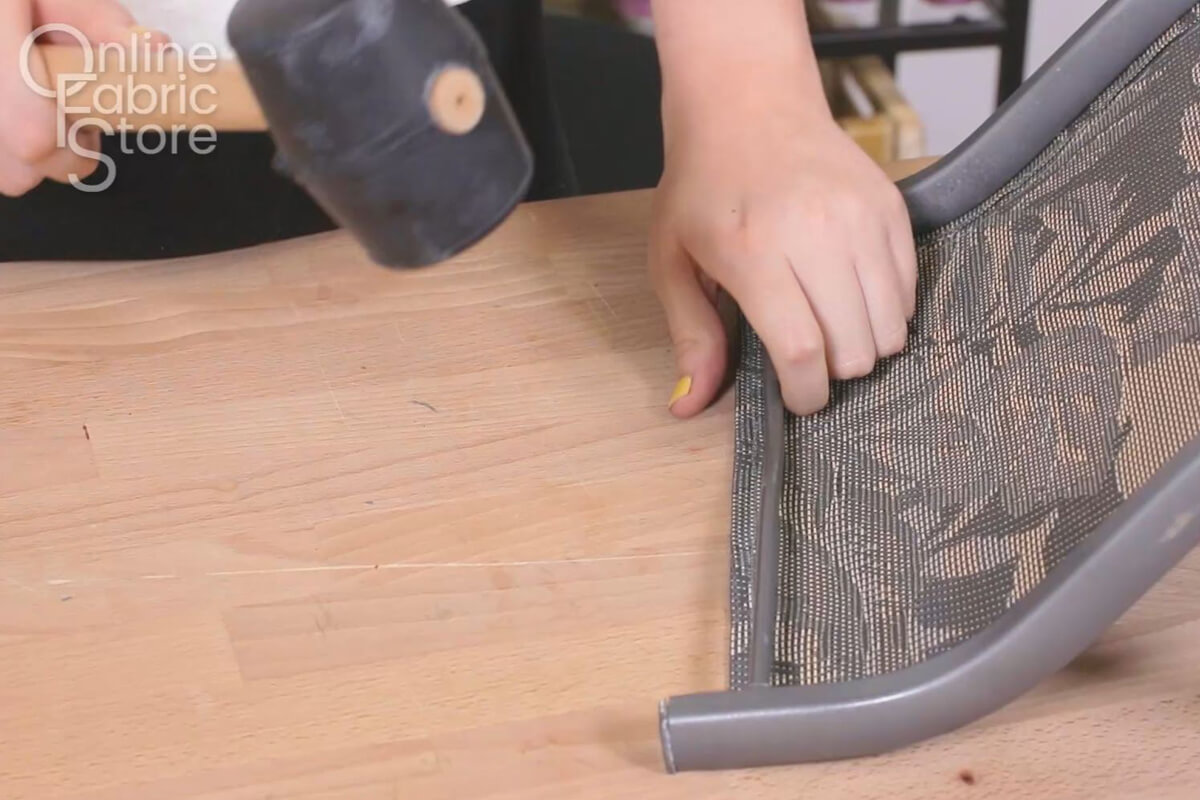
Now, you need to place the tension bar(s). There are a few methods I have found for doing this. I saw people use some type of spreader tool or jack clamp or even a car jack. Not everyone has something like that lying around so we are just going to use a good old fashioned rubber mallet to get the job done. Start by slightly bending your tension bar and then slipping it into the holes on either side. Then cover the bar with some sort of fabric and start pounding it back into a straight position.
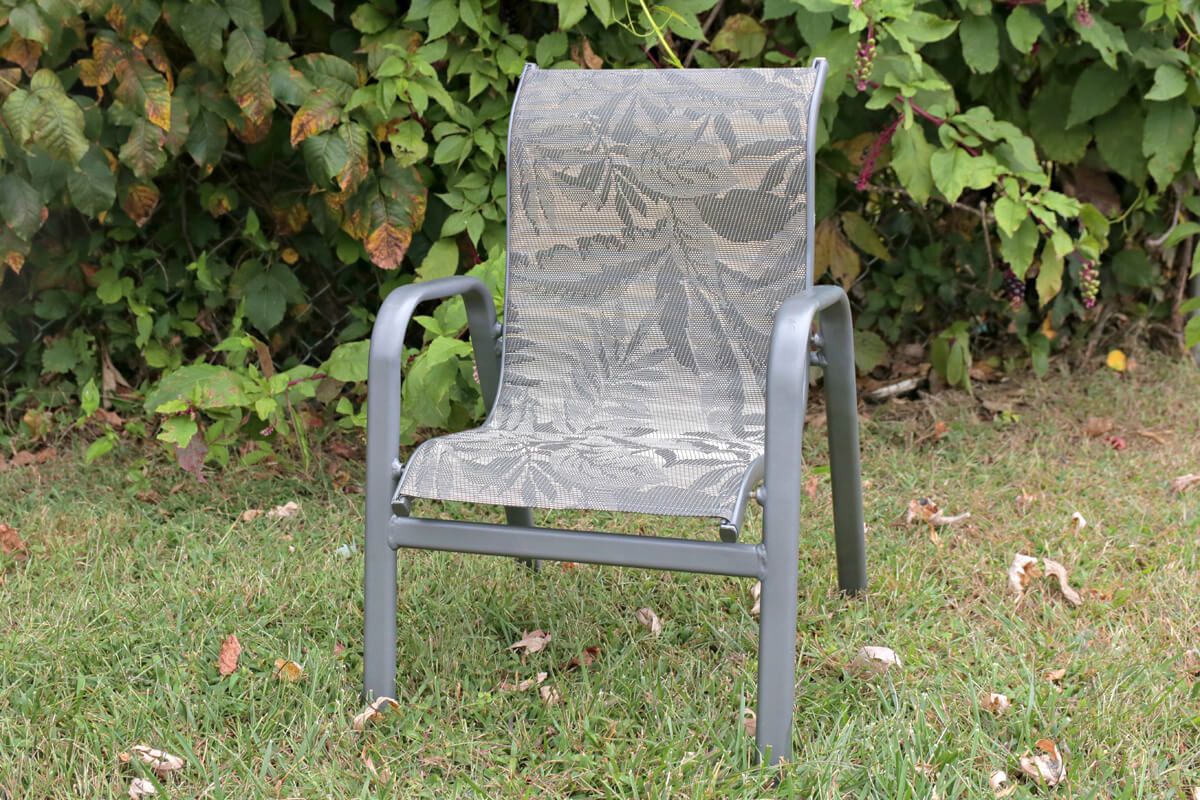
Finish screwing in your sling rails and attach any additional hardware and then your chair is complete!
-
{{#each productSuggestedQueries.results}}
- {{query}} {{/each}}
-
{{#each categories.results}}
- {{html title}} {{/each}}
{{html attributes.description}}
{{/if}}-
{{#each queries.results}}
- {{query}} {{/each}}