How to Replace Pressed Cane Webbing
- By Clara
- 1 hour
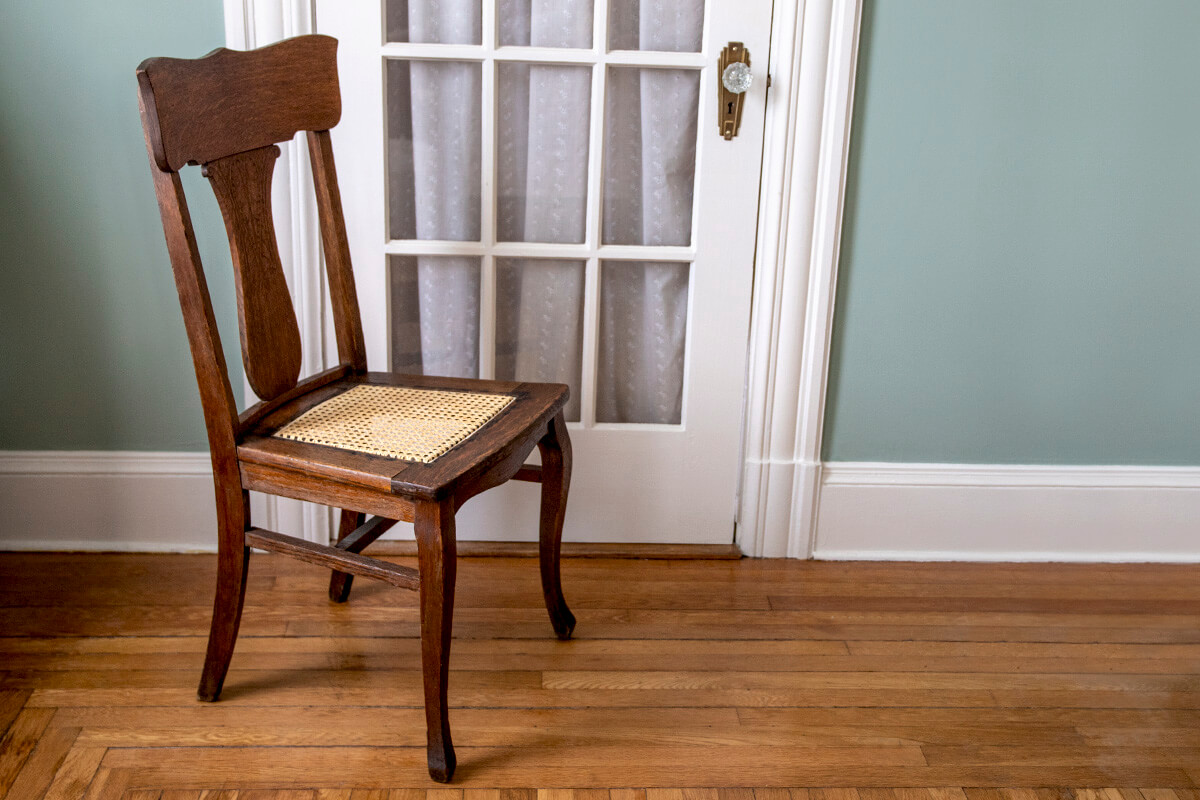
Ripped, broken, and sagging cane are common problems with antique cane chairs. Fortunately, there are ways to replace the cane.
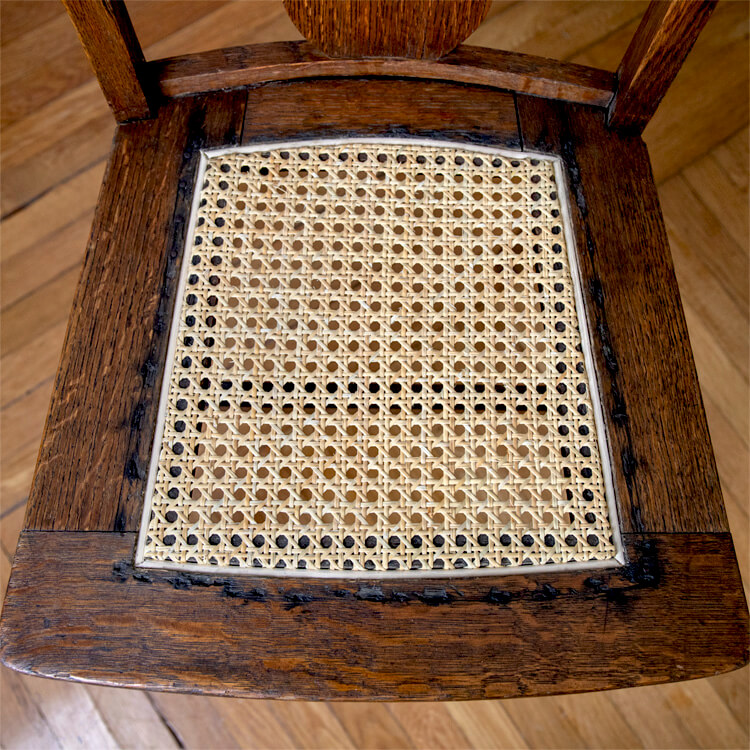
There are 2 types of cane chairs. They can be hand caned or have pressed cane. You can easily tell which kind you have by looking at the way it is attached. If it has holes in the wood frame, it’s hand caned, which is a much more complicated project. If you see a grove in the frame, you’re in luck! This means it is made with pressed cane. This is a project any DIYer can tackle.
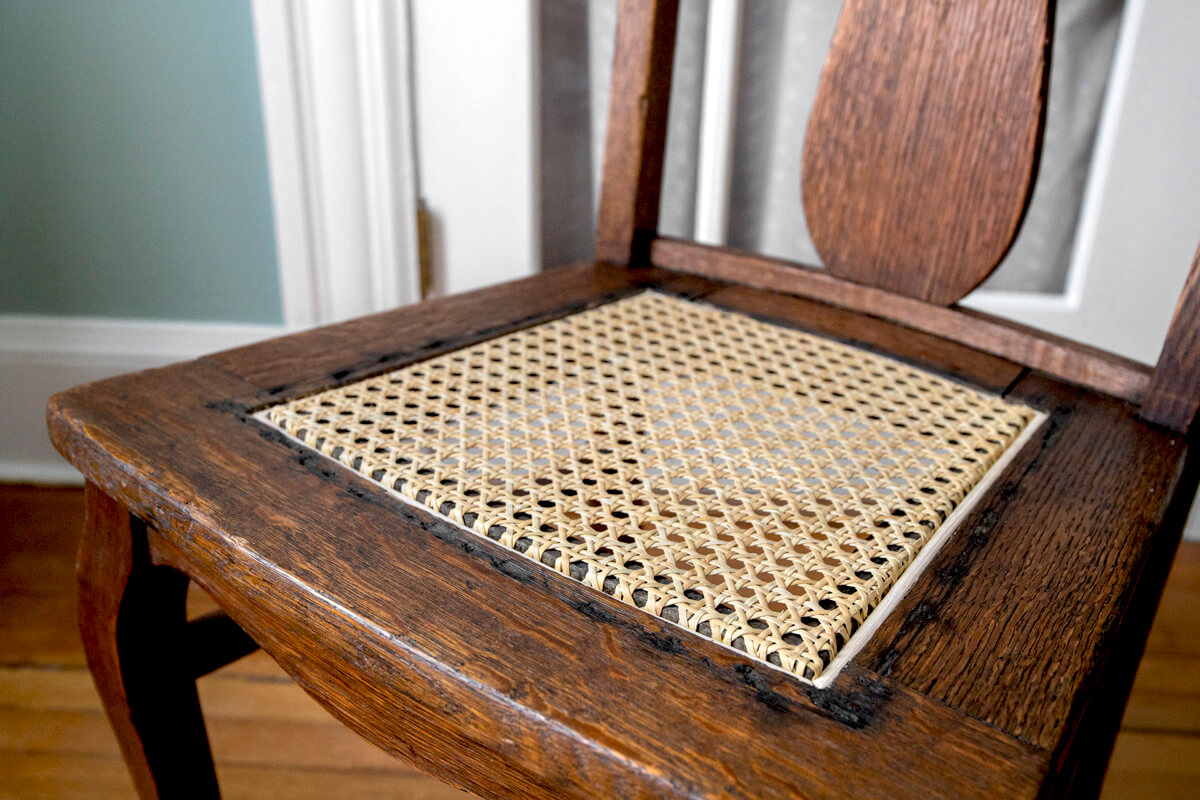
The caning will darken over time to better match the color of the chair. Staining isn’t recommended, but if you do, only stain the top so the bottom is still able to breathe.
See all our caning supplies to see more pressed cane options and cane for hand caning.
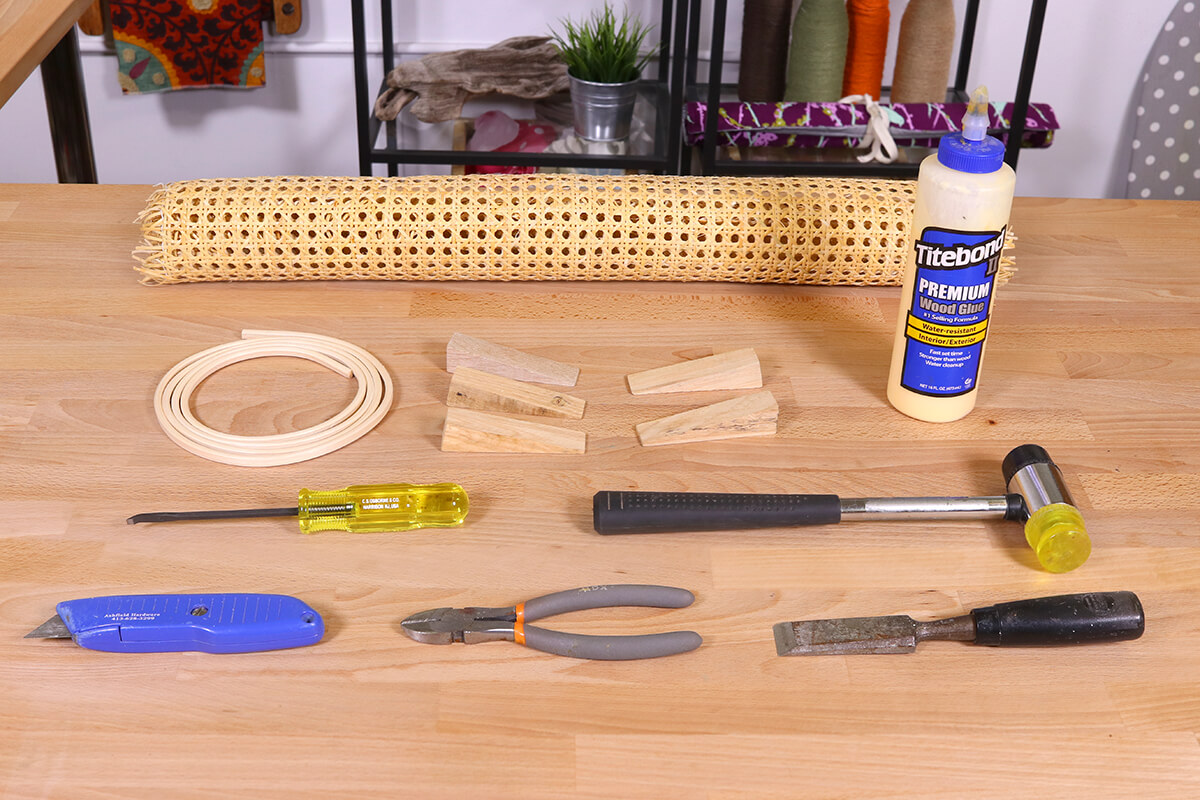
Materials
- Cane webbing
- Spline
- Caning chisel
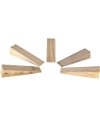
- Wedges
- Razor knife
- Hammer or mallet
- Chisels
- Snips
- Glue
Related Products
Video
Instructions
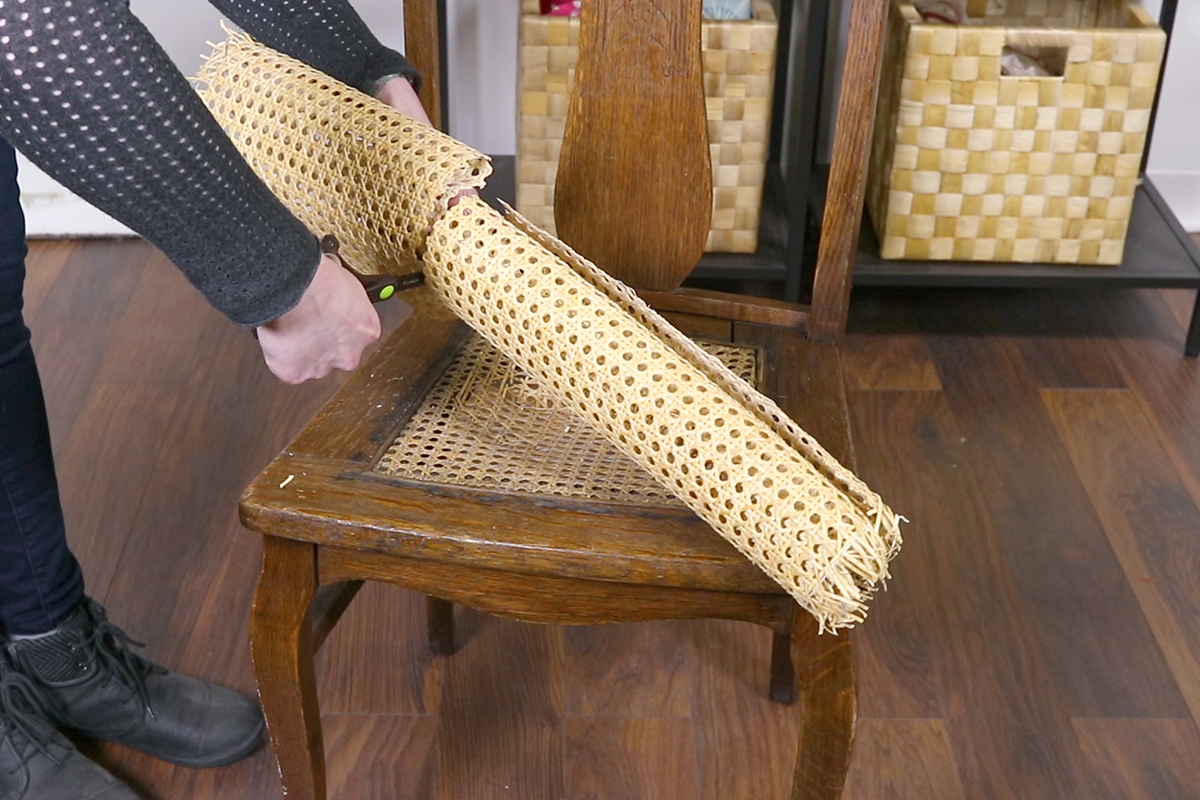
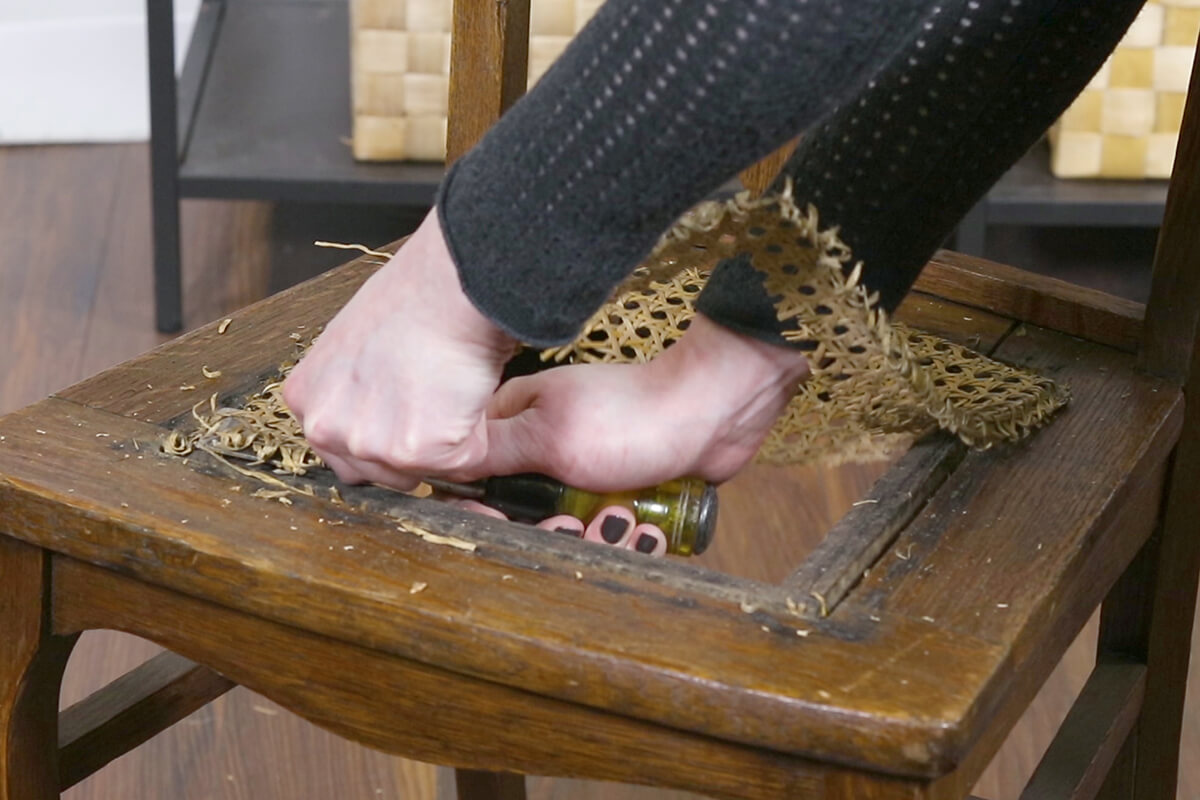
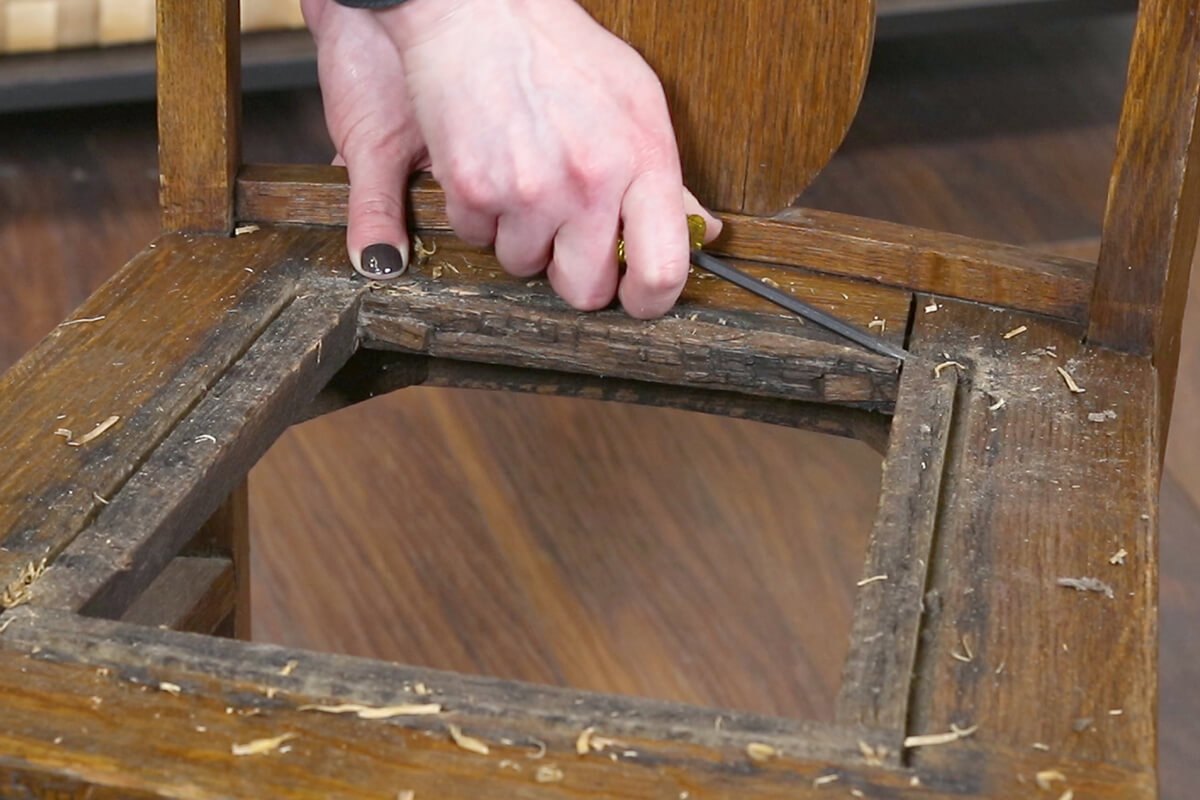
Step 1: Remove the old cane & spline
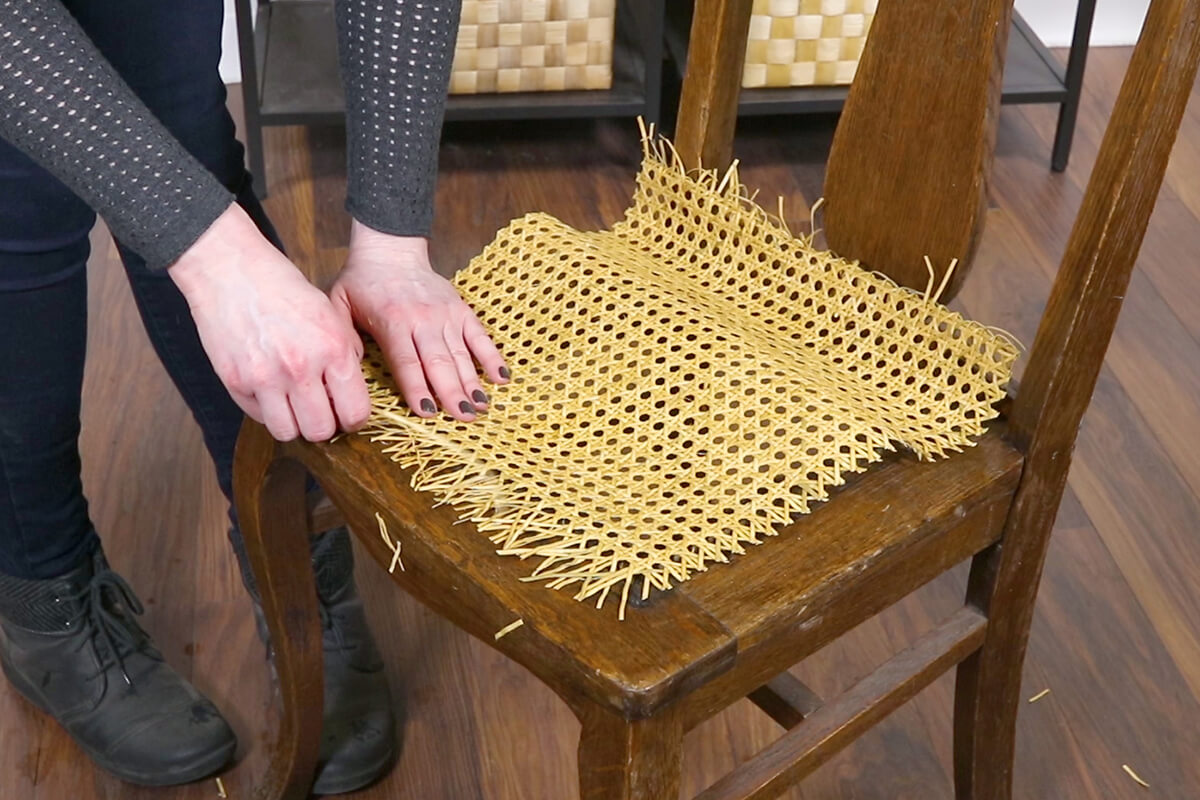
Cut the cane webbing to be about 2 inches larger than the groove on all sides.
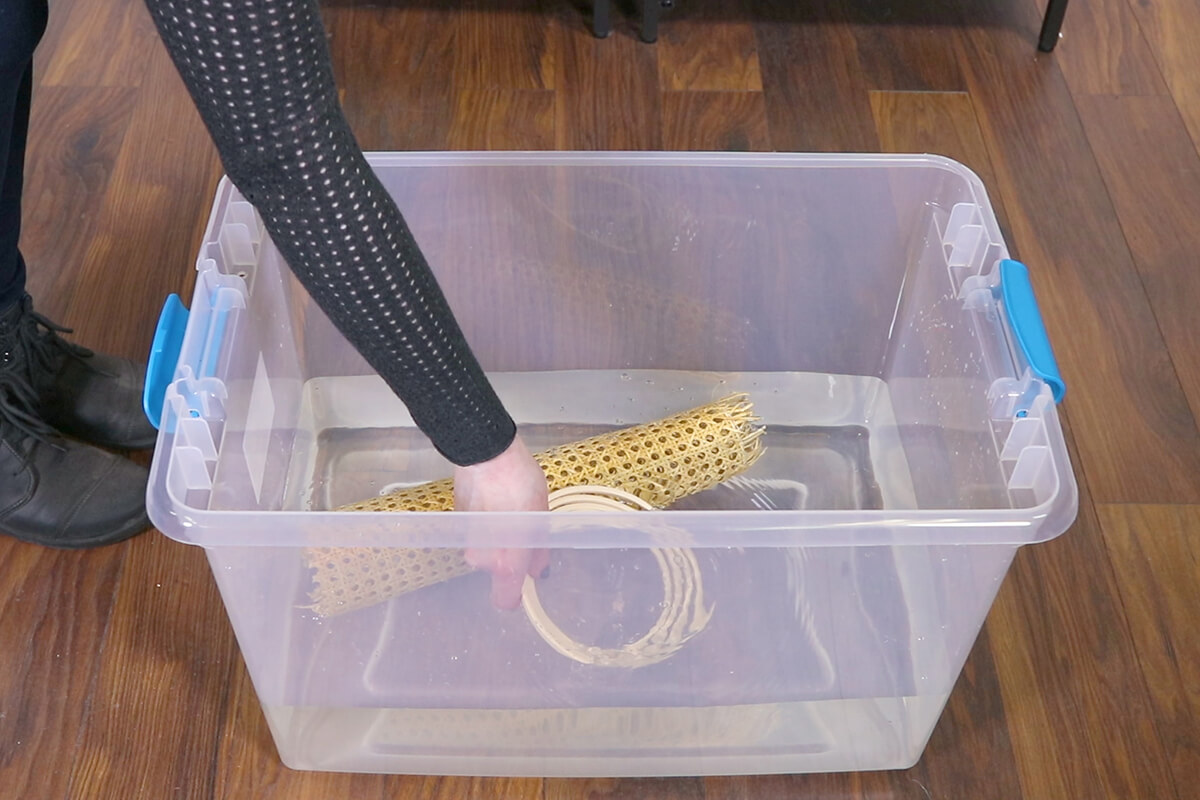
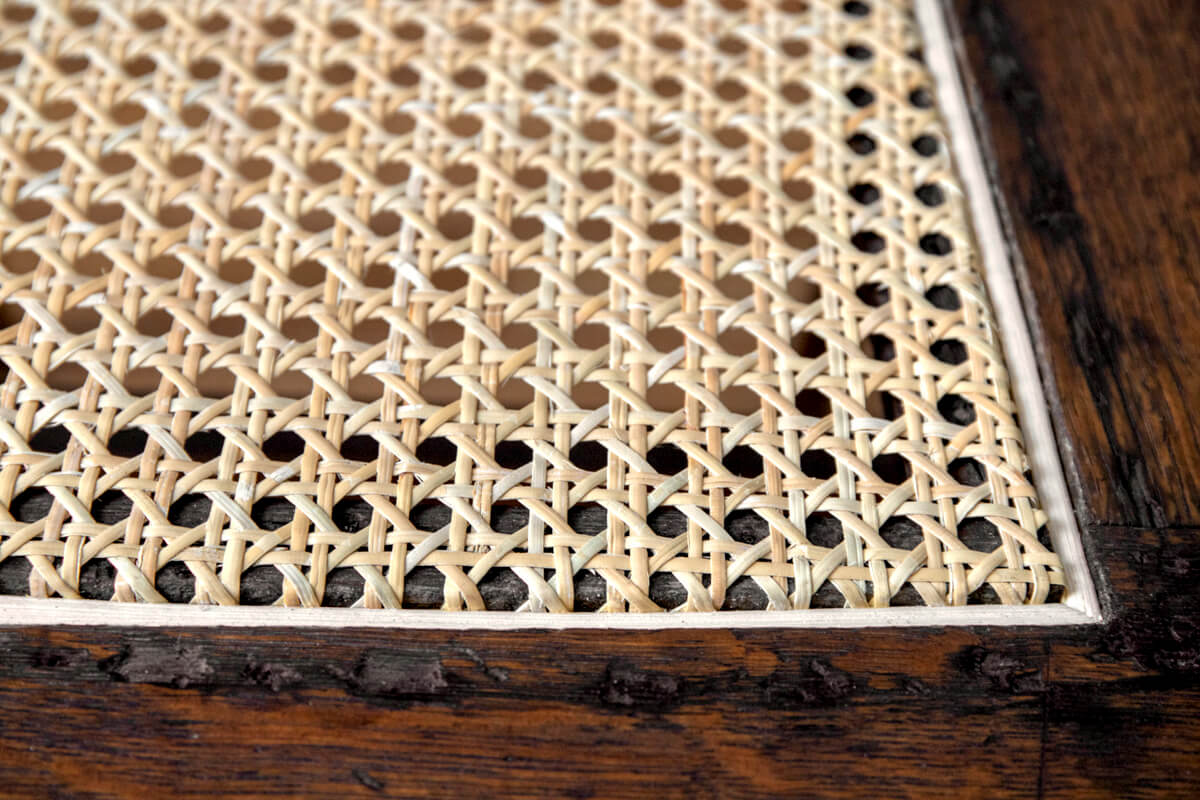
The caning comes in pre-made sheets. You’ll also need reed spline which goes into the groove to hold the pressed cane in place.
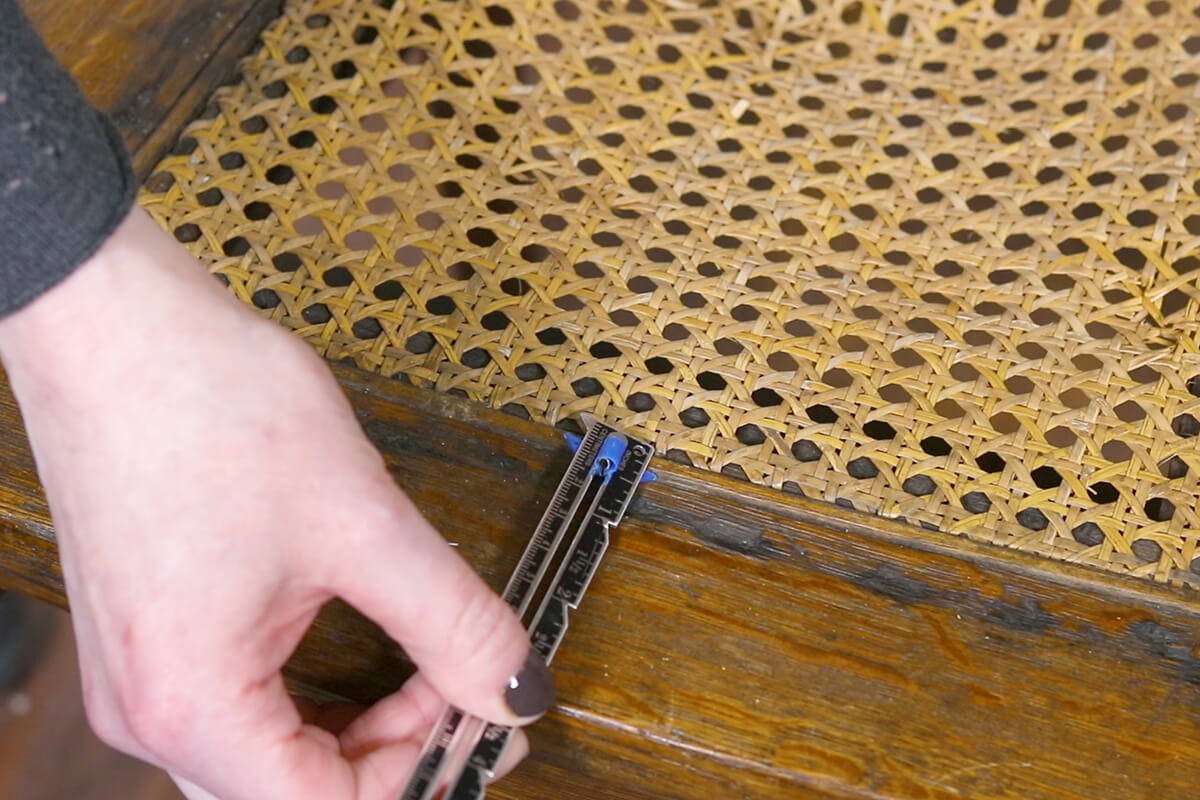
Measure the width of the groove to find out what size spline you need. This chair has 1/4″ grooves.
Soak the cane and spline in water for 20-30 minutes to make it more flexible, but don’t leave it in the water for too long.
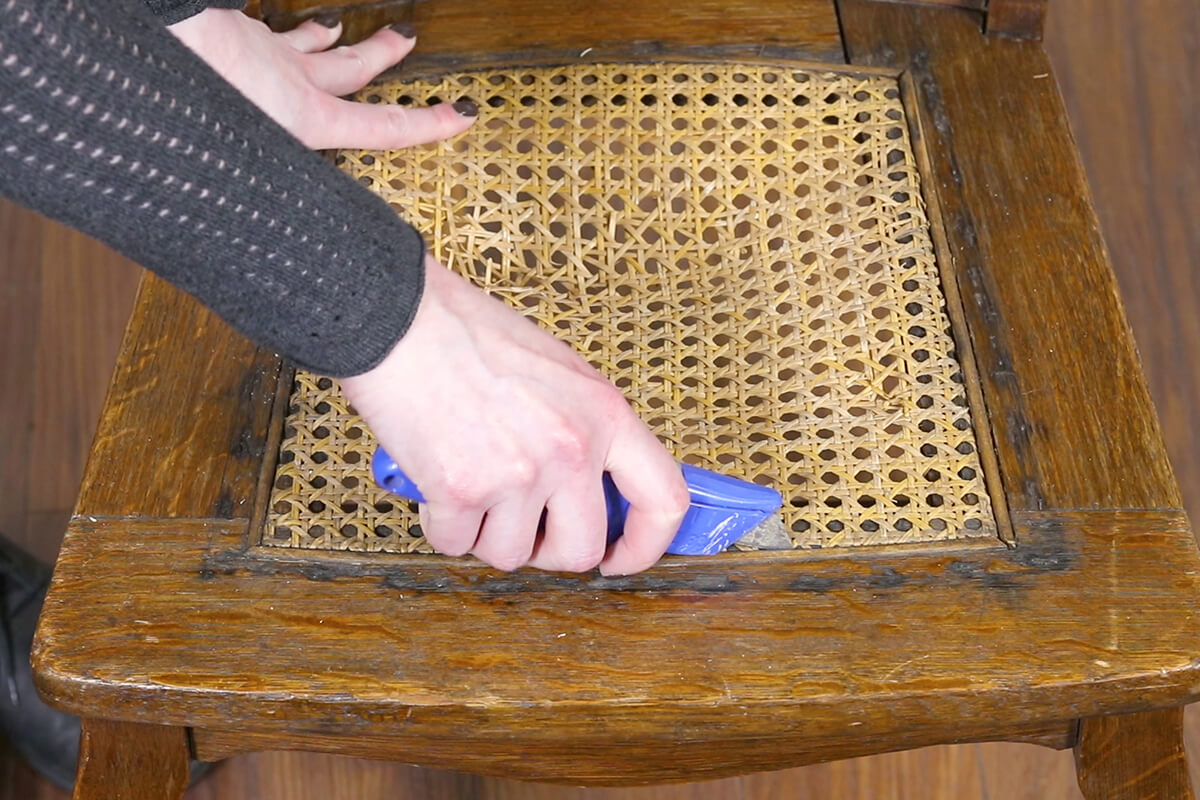
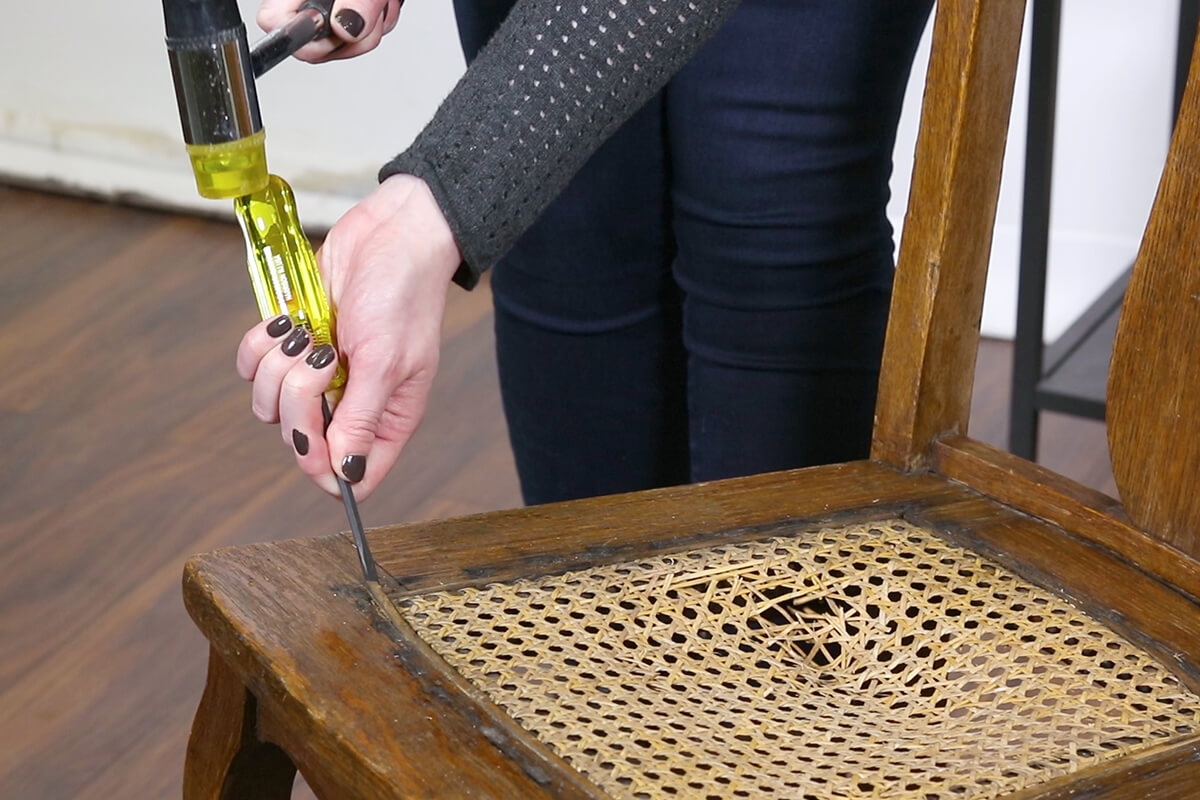
Use a razor knife to cut along the inner and outer edges of the spline. Be careful not to damage the wood.
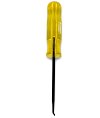
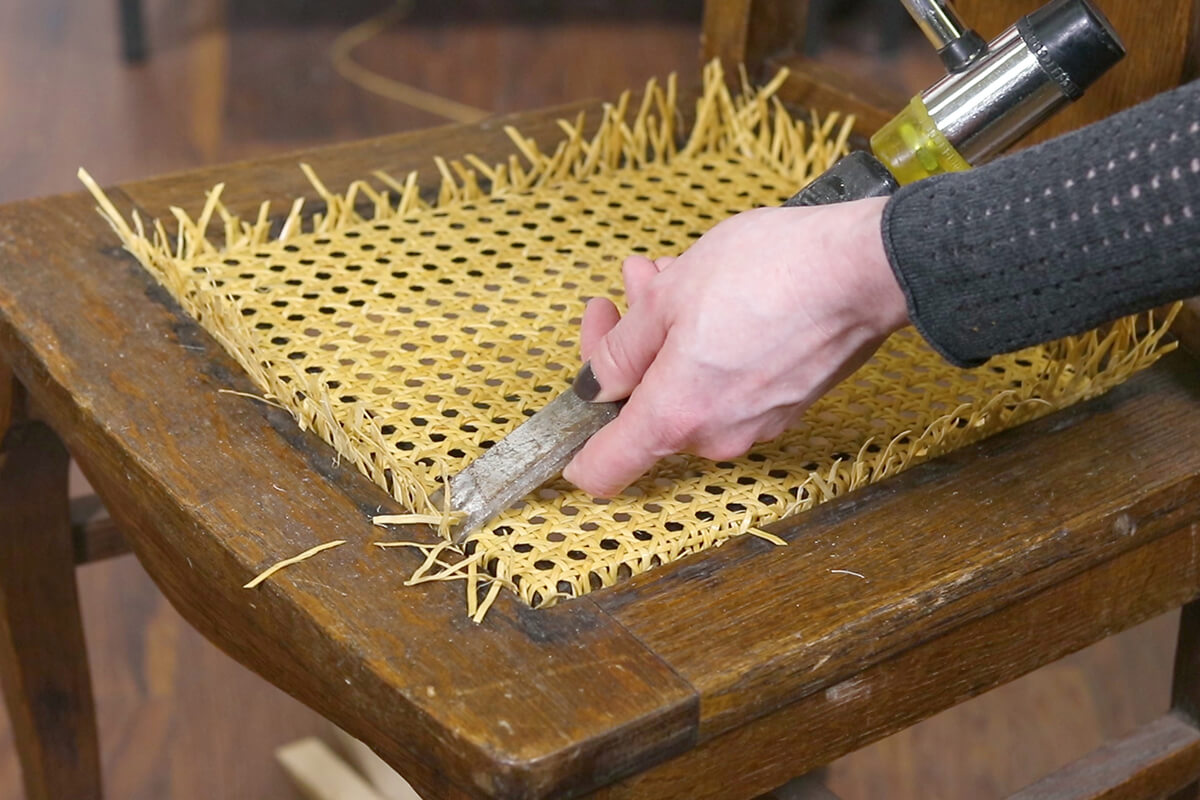
Tap the end with a hammer to loosen and pry up the spline. The easiest way to get the spline out of the groove is to use a caning chisel, but you can also use an appropriately sized chisel or screwdriver.
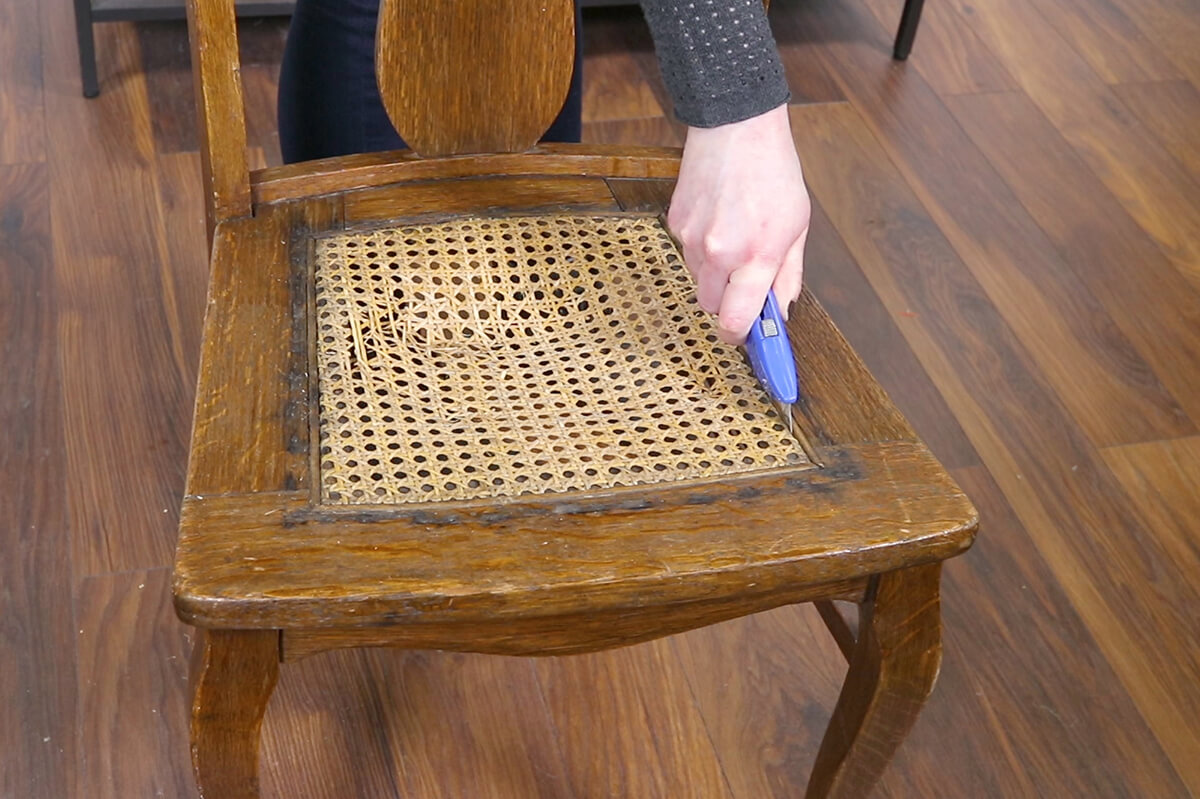
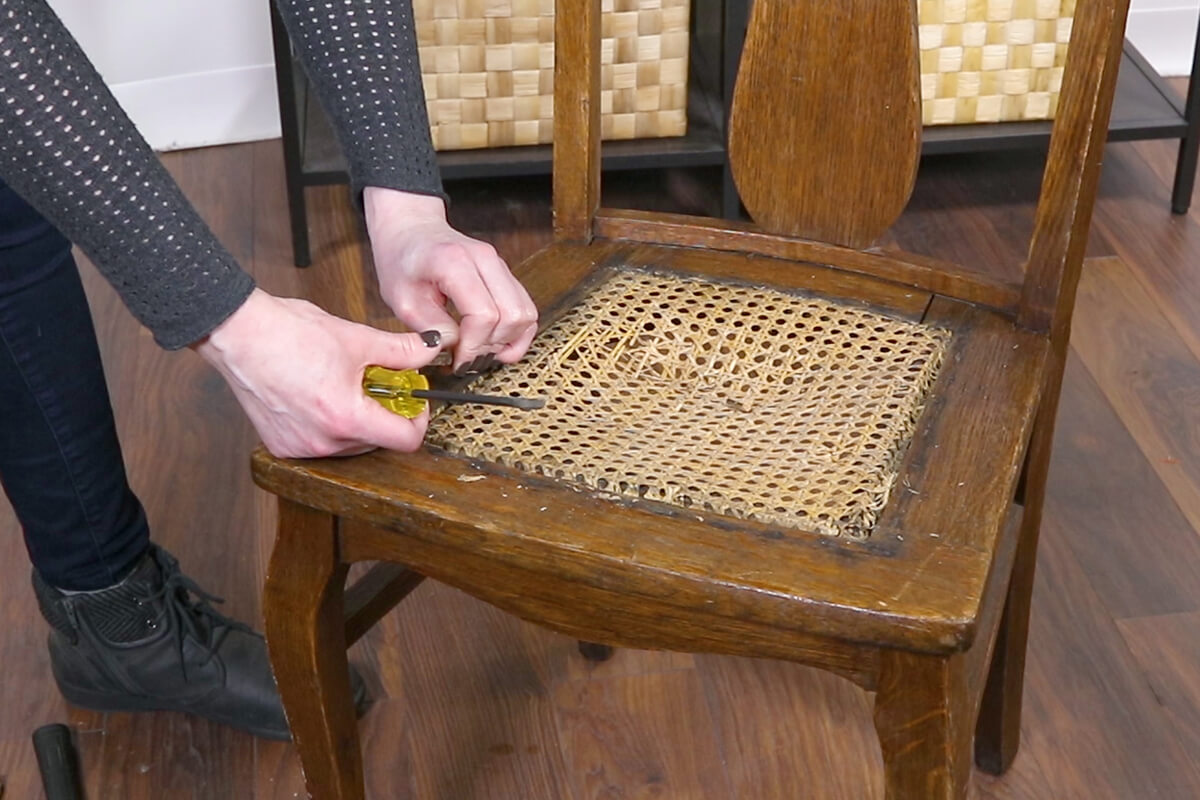
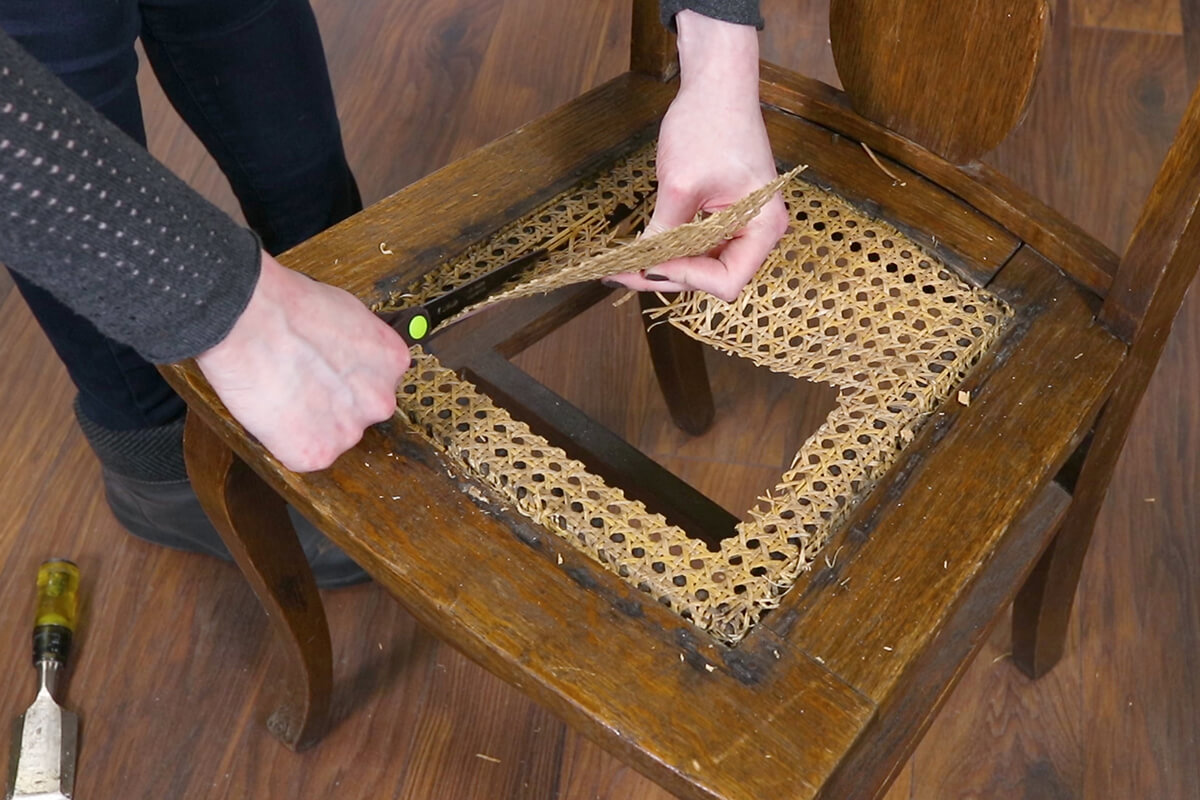
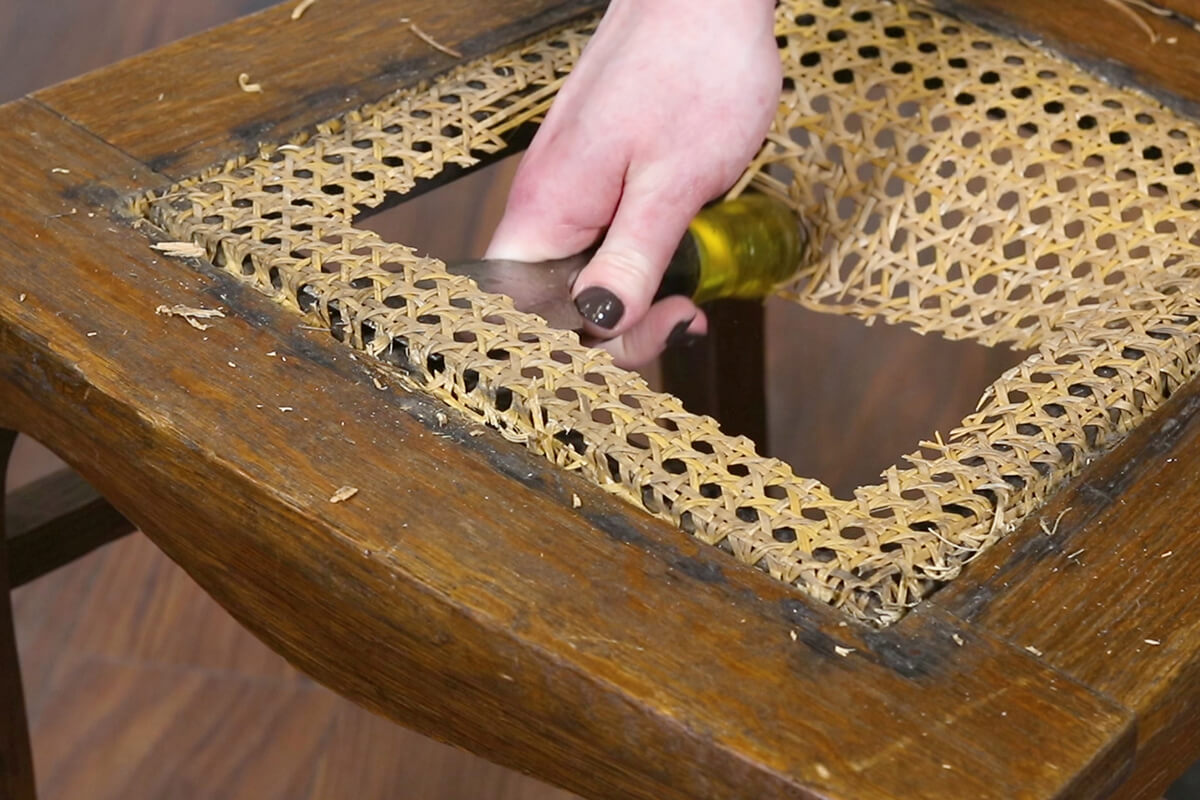
Cut out the middle of the cane. Use a wide chisel to pry the webbing up and out of the groove. Clean out any leftover glue and cane.
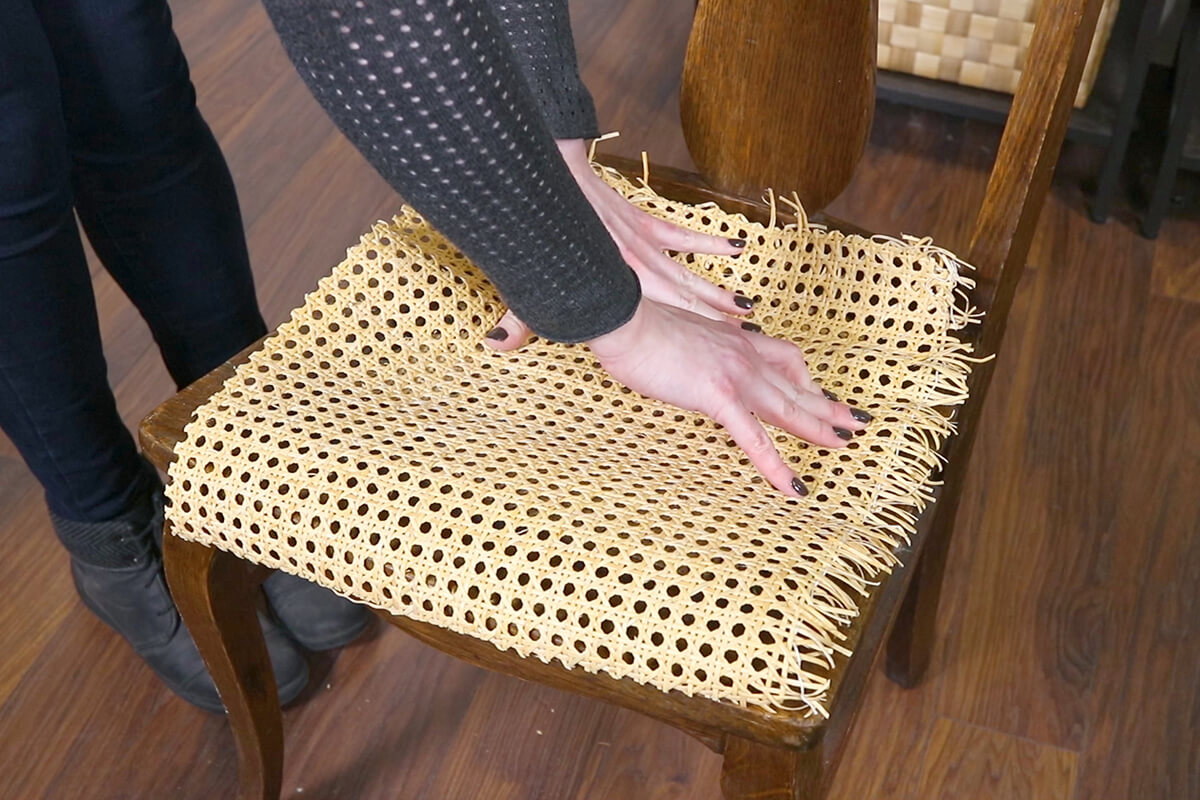
Step 2: Insert the cane webbing
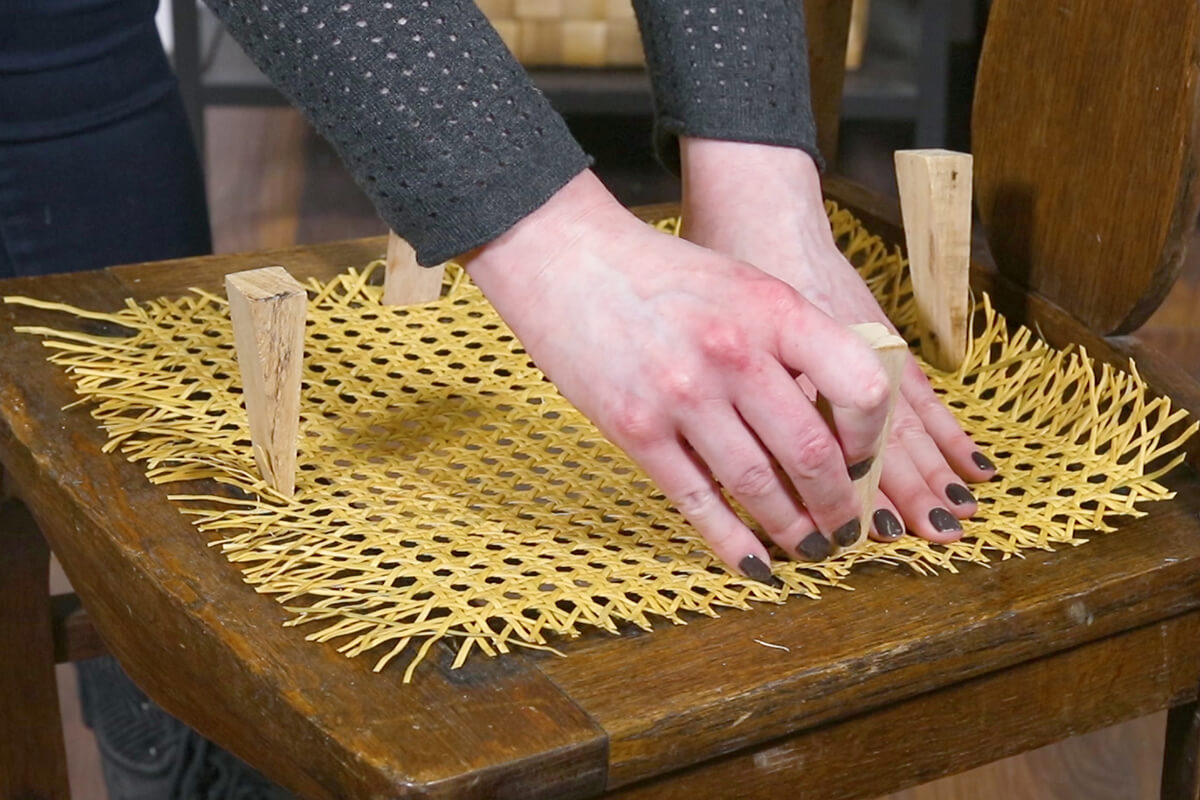
Line up the cane so it’s square with the front groove of the chair. Remove any horizontal strands of cane that are past the inside edge of the groove.
Also do this for the back, and remove any extra vertical strands on the sides.
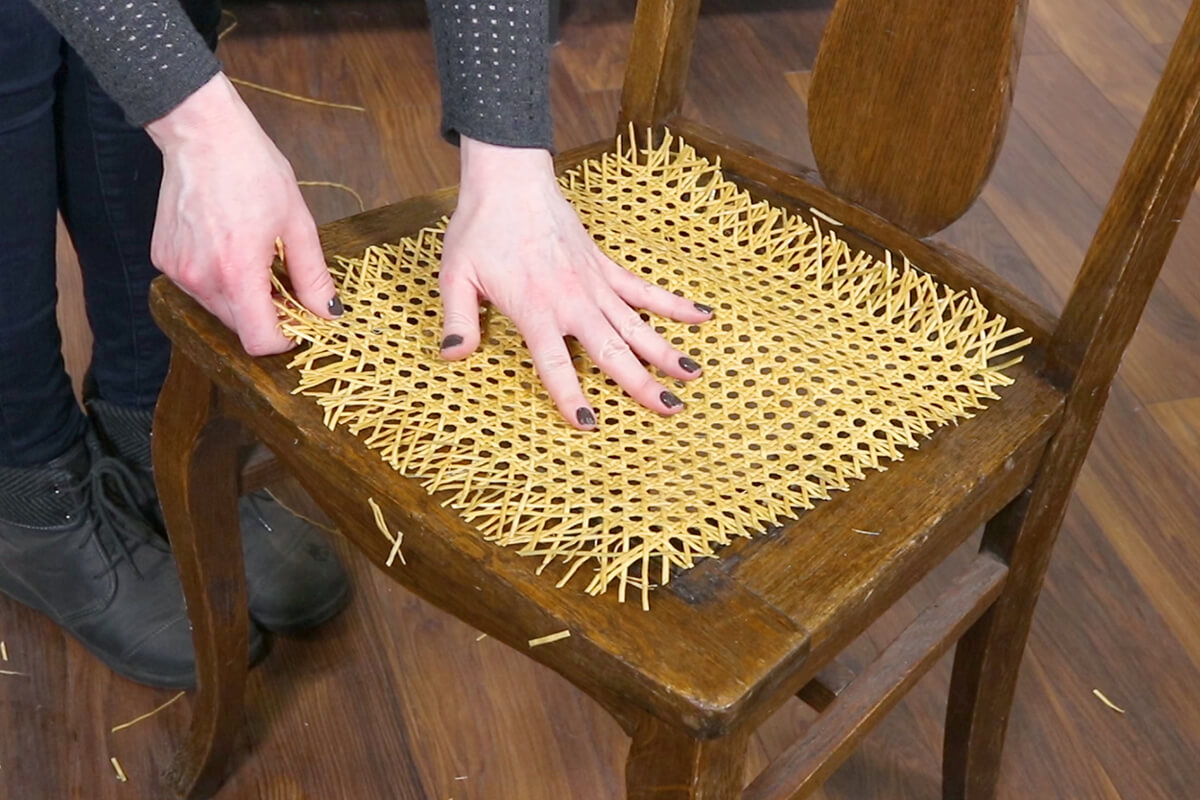
Use a caning wedge to press the cane into the middle of the front edge. Do the same thing on the back, then the sides. Make sure the cane stays square while you’re doing this.
With the last wedge, press in the rest of the cane on all sides. Be careful not to break the cane. At the corners, remove some diagonal strands if needed.


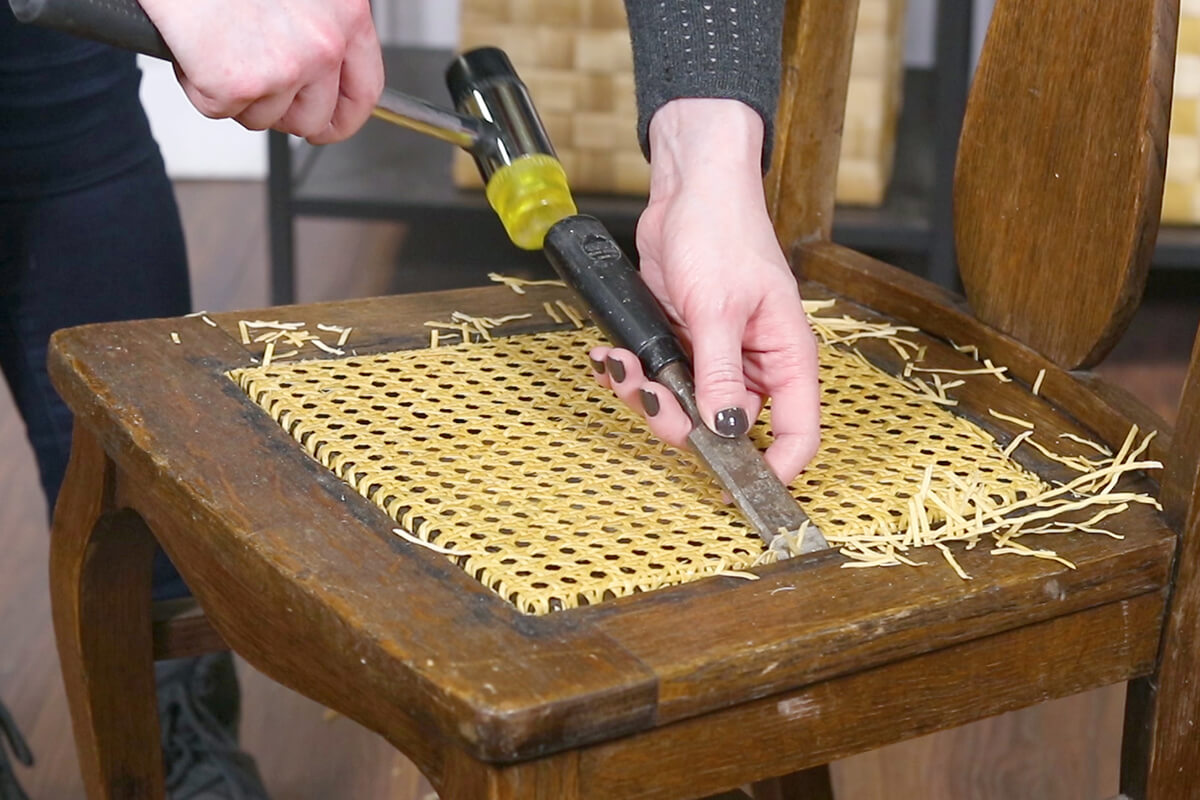
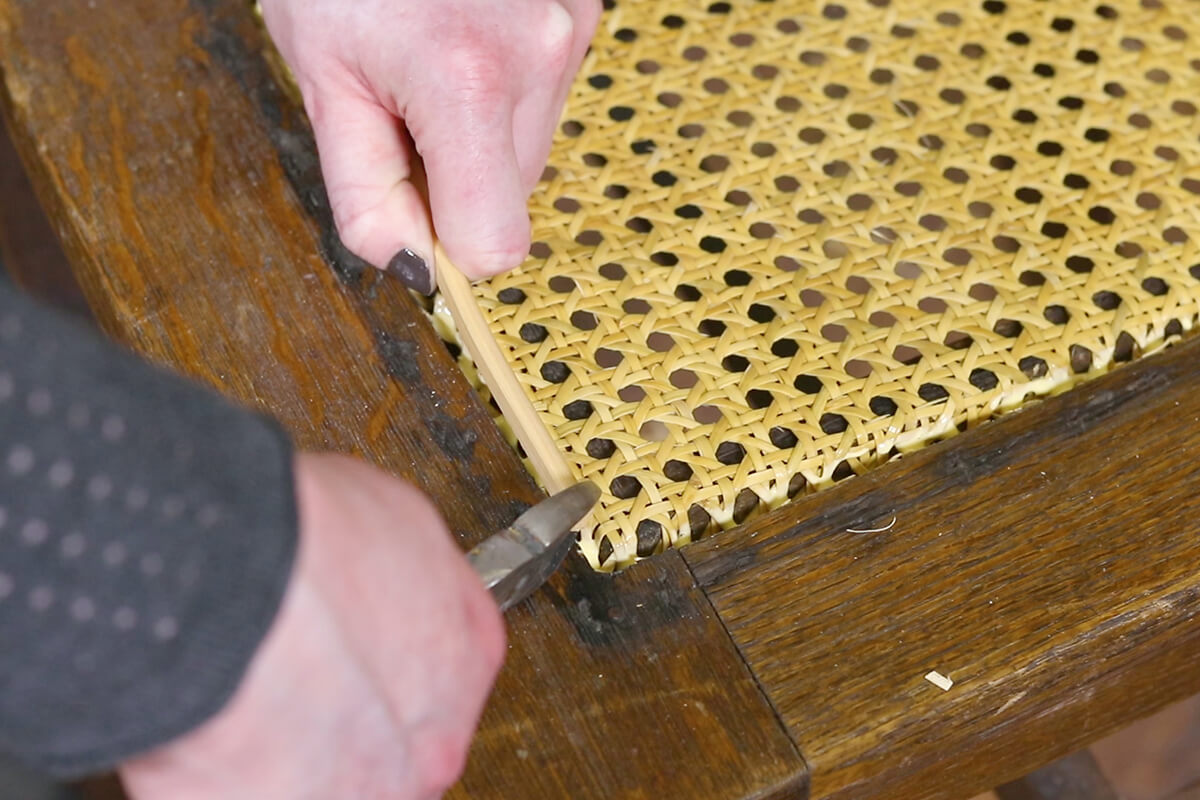
Use a chisel or scissors to cut off the ends of the caning just below the outer edges of the groove.
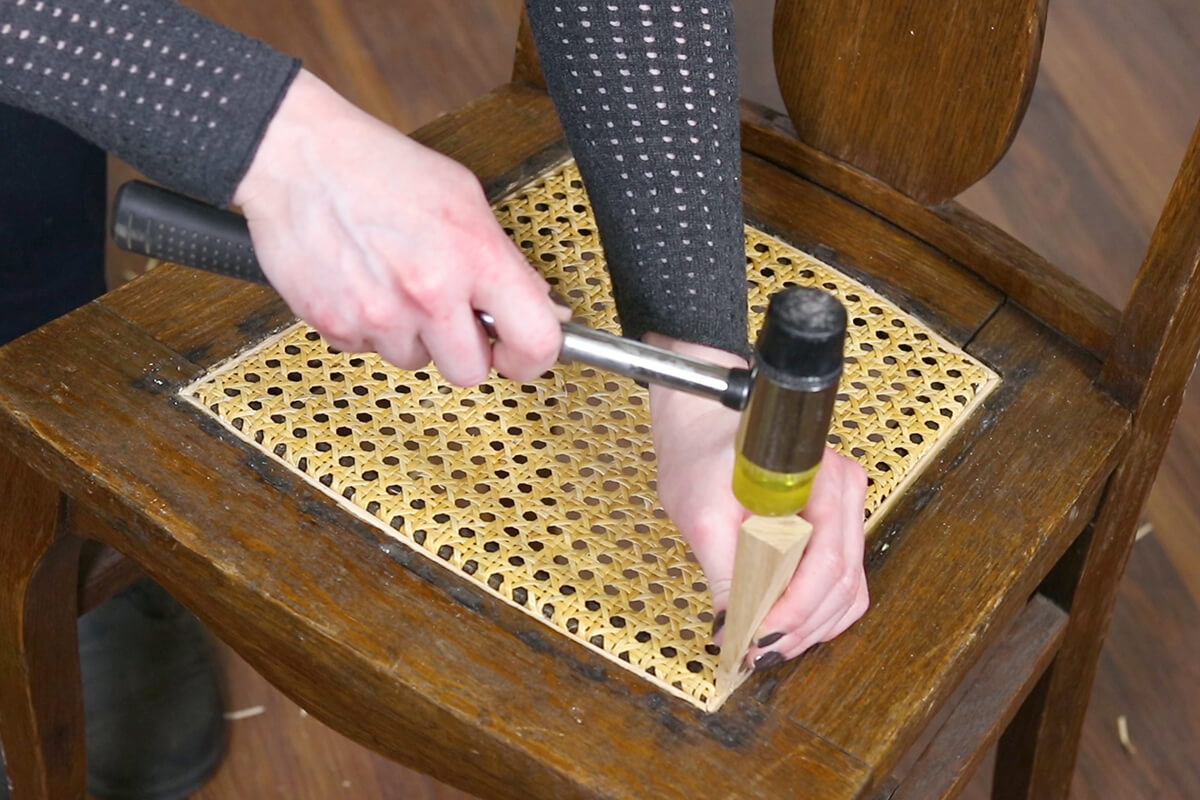
Step 3: Insert the spline
This spline is tapered so make sure the wider edge is at the top.
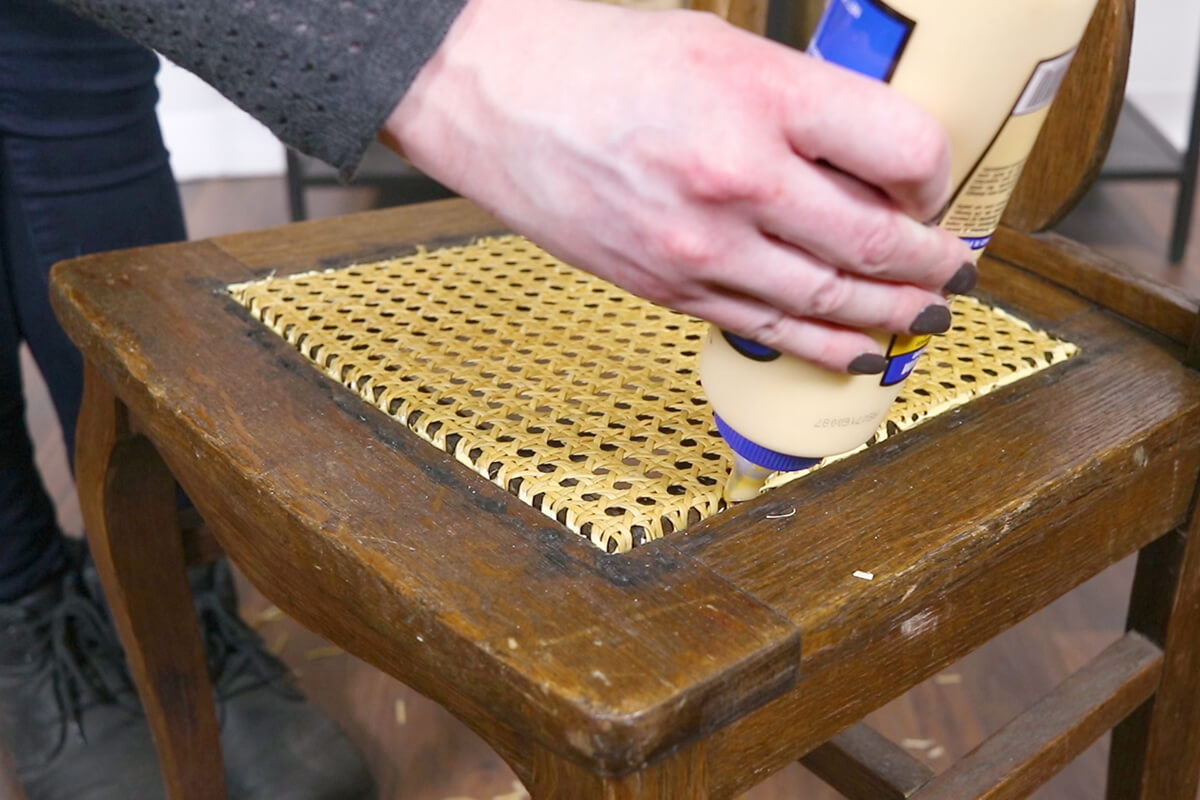
Using wood glue or Elmer’s white glue, put a small bead of glue in the groove all the way around.
Cut off the end of the spline at a 45 degree angle. If your chair has rounded corners, start in the middle of the back and use one continuous piece of spline. For sharp corners like this chair has, start in the corner.
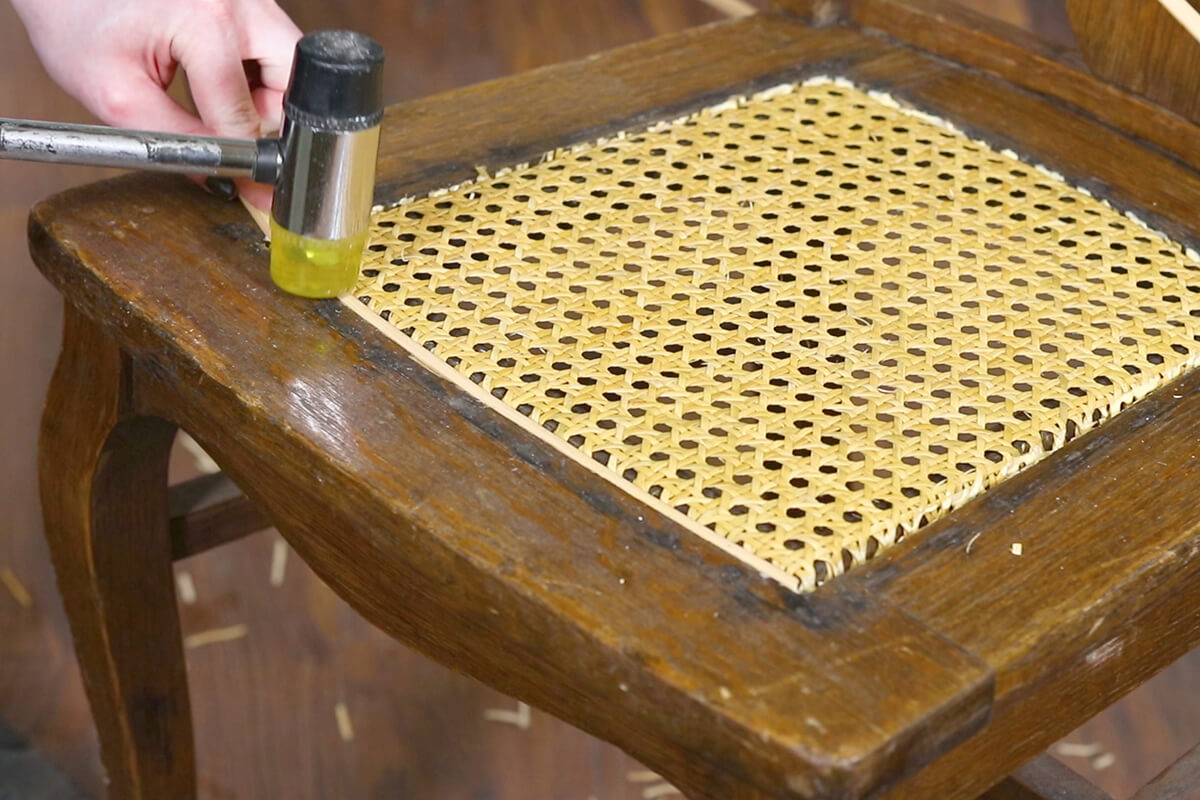
Gently tap the spline into the groove with a hammer or mallet. It doesn’t have to be completely flush just yet.
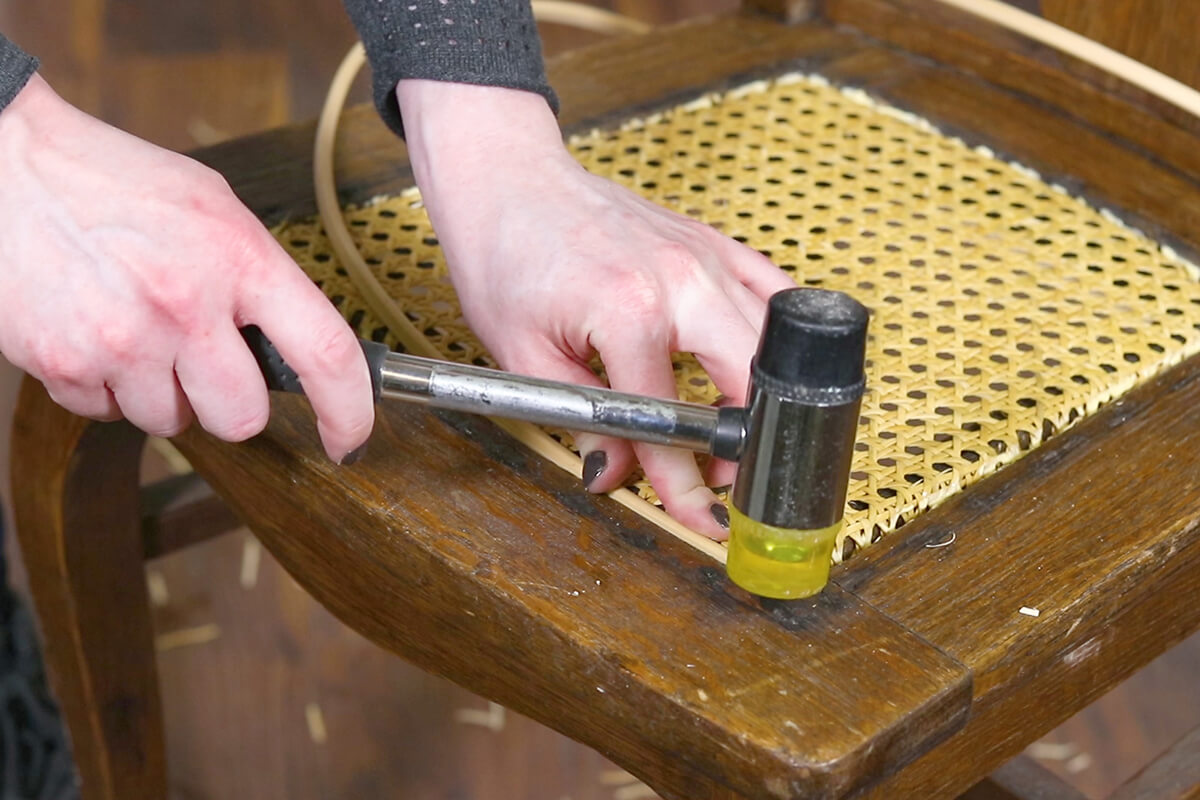
Continue around the corners if they’re rounded, or mark and cut the spline at the sharp corners.

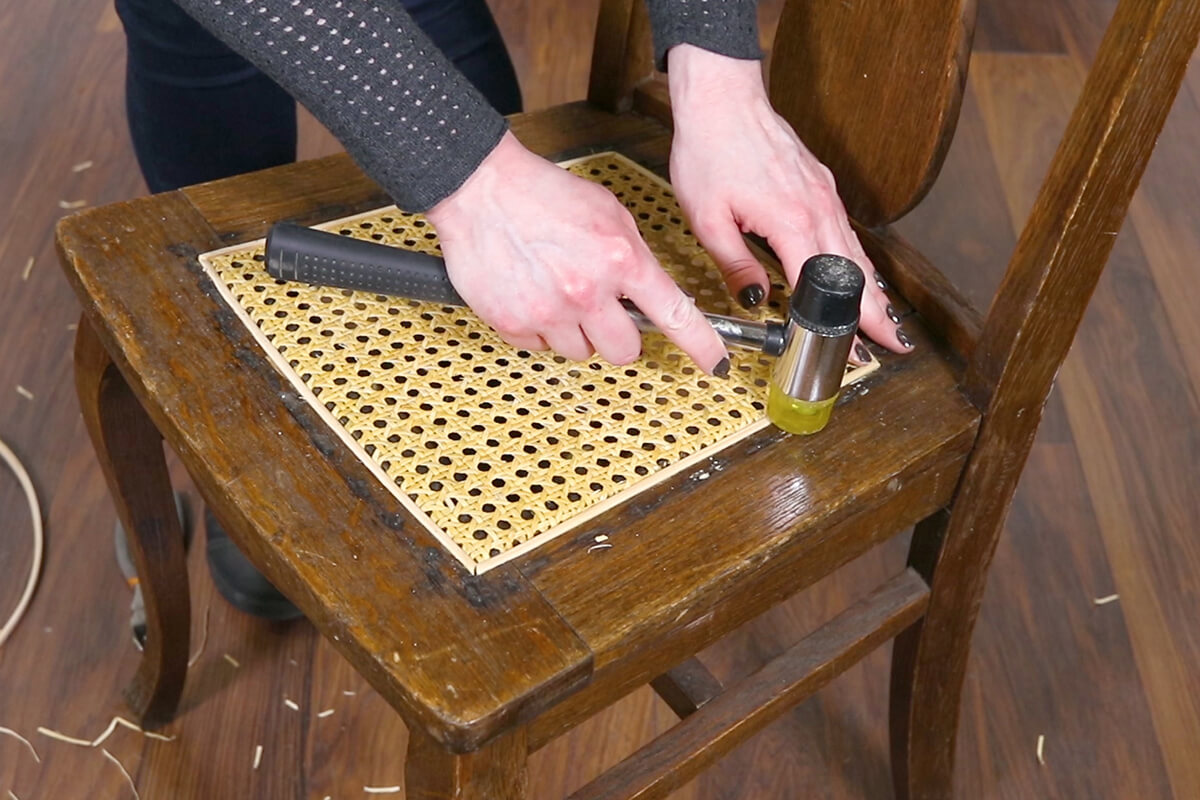
Use a wedge to tap in the spline all the way.
Let the cane dry for 24 hours before sitting on it.
Check out our caning supplies here.
-
{{#each productSuggestedQueries.results}}
- {{query}} {{/each}}
-
{{#each categories.results}}
- {{html title}} {{/each}}
{{html attributes.description}}
{{/if}}-
{{#each queries.results}}
- {{query}} {{/each}}