
How to Reupholster an Ottoman
- By Alyssa
- 3 hours
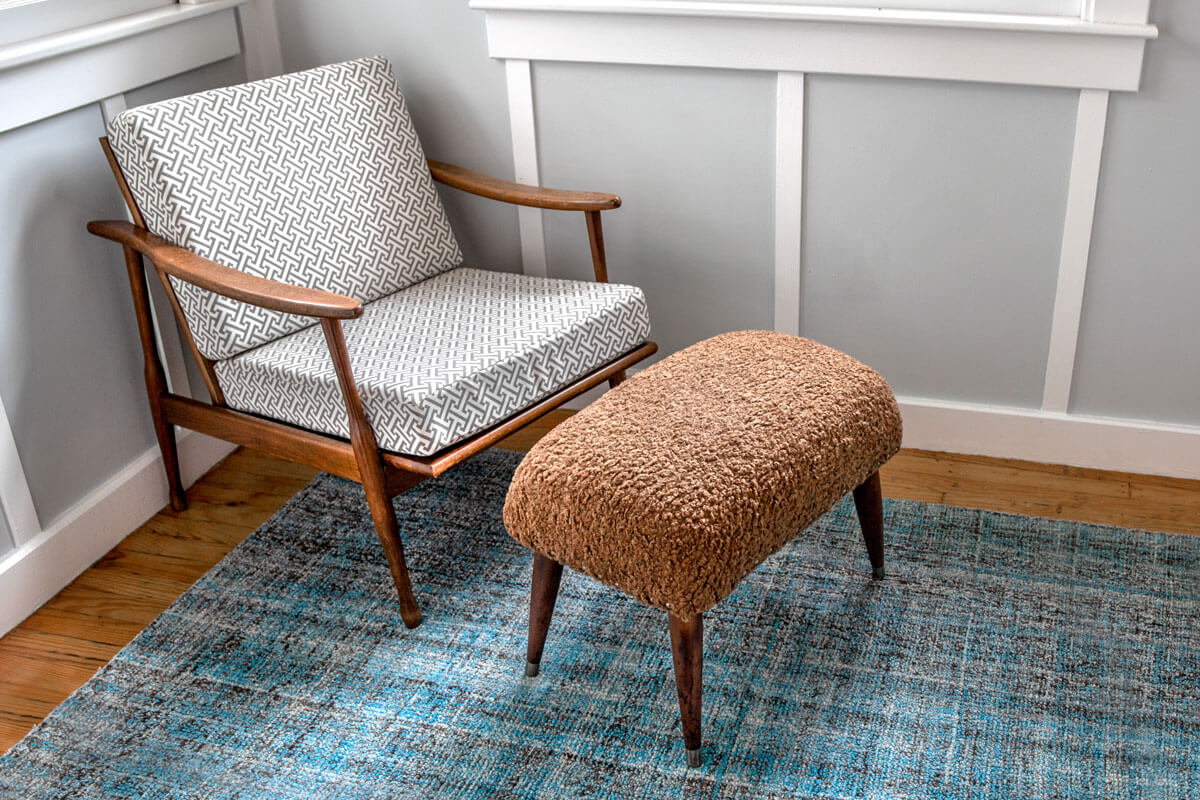
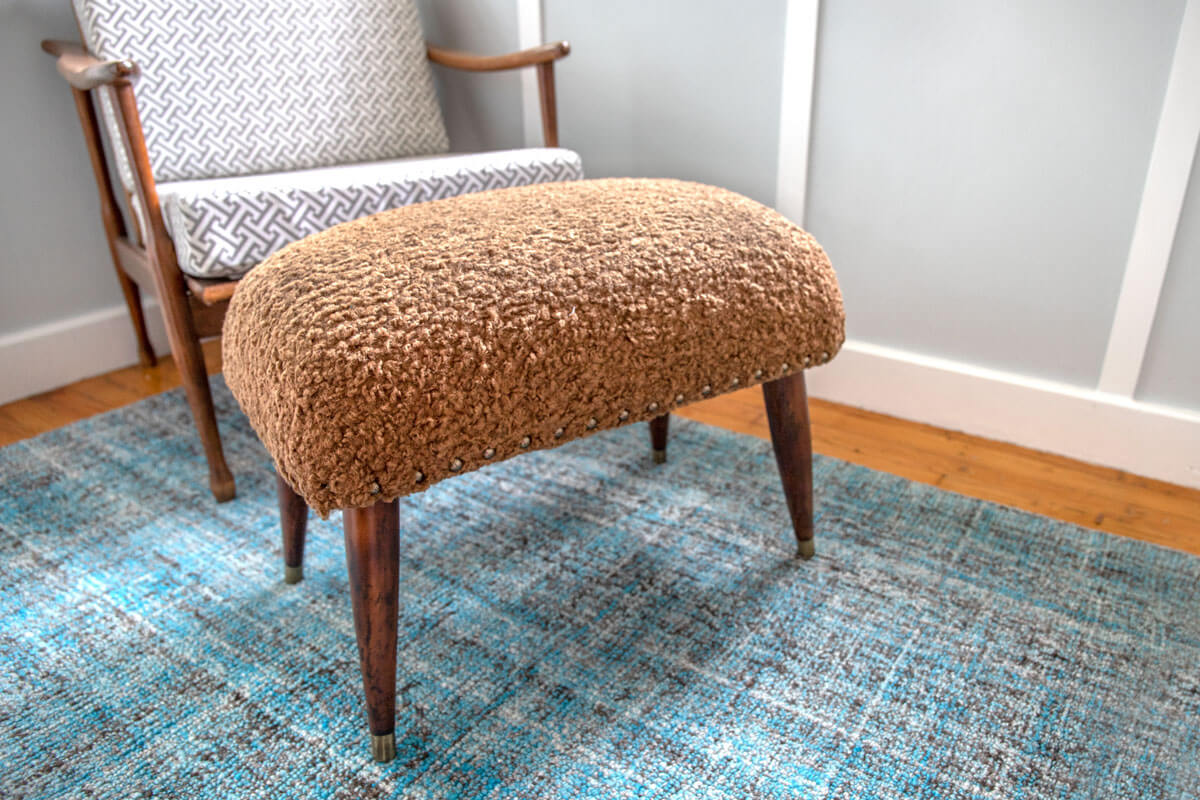
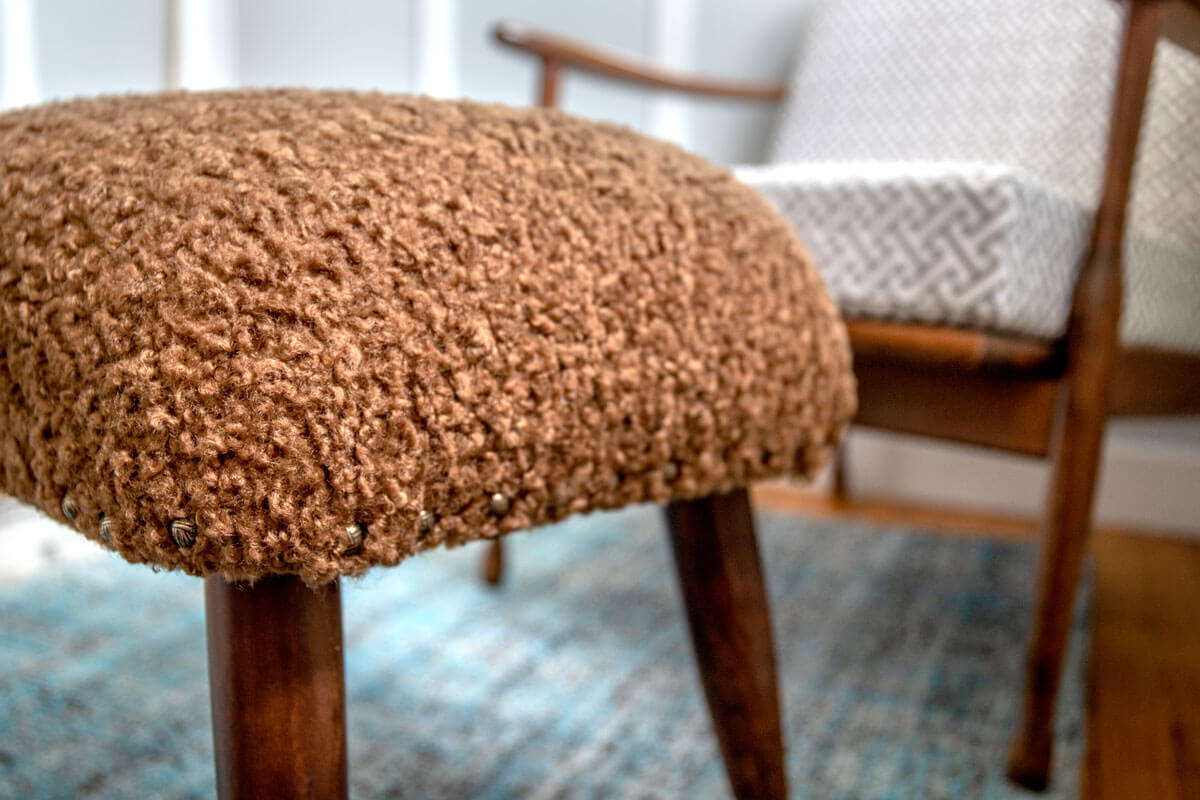
The first of many. Our much anticipated Brimfield Flea Market Finds.
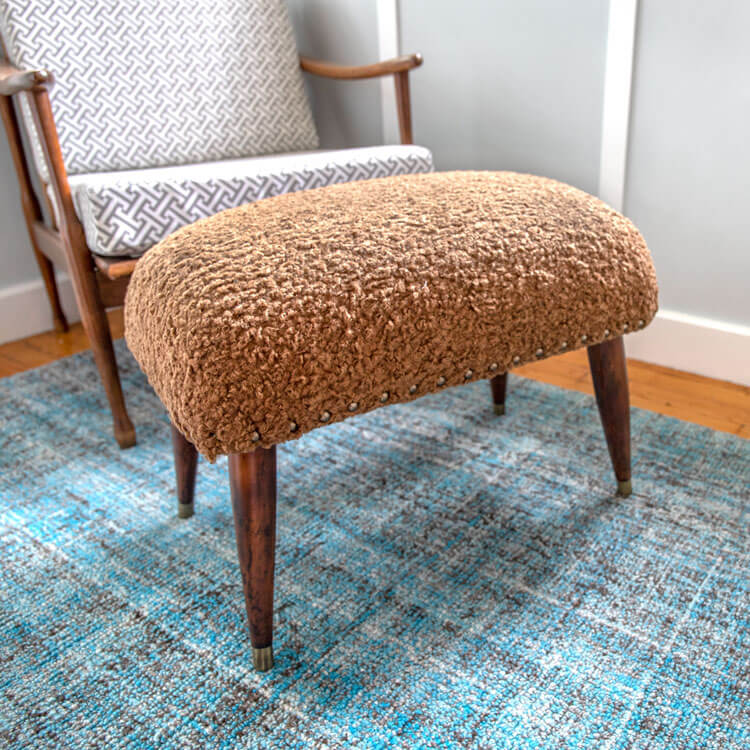
This footstool was a diamond in the rough with a super fake looking vinyl cover, but I loved the classic modern mid century look. I also was able to pick it up for $15, which is a total steal in the world of antique furniture.
In terms of reupholstery, this piece is just about as basic as it gets, which was perfect for my first full renovation project. I will be replacing everything down to the bones of the ottoman, but you may not need to.
That being said, every single project, even the really basic ones, need to be fully assessed for their specific needs. In this post I will show you what I was dealing with and other things that you may come across while reupholstering furniture so you can go into your next renovation project feeling confident!
Materials
- Upholstery Fabric
- Dust Cover or Underlining Fabric
- C.S. Osborne Combination Tool
- Scissors
- A Screw Driver
- Cushion Dacron Wrap
- Upholstery Foam
- A Serrated Knife
- Spray Adhesive
- Rit Dye or Wood Stain
- Rustoleum Painters Touch Ultra Cover
- Metallic Spray
- Staples and Staple Gun
- Decorative Nails
- Hammer
- Ruler or a Measuring Tape
- Sand Paper or Blocks
- An Awl or Hole Punch
Related Products
-
 Cushion Dacron Wrap
-
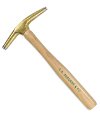 Bronze Magnetic Hammer
-
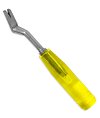 Combination Tool
-
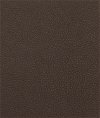 Classic Chocolate Brown Vinyl
-
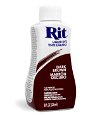 Dye - Dark Brown # 25 Liquid
-
 Knife Edge Dressmaker's Shears - 8"
-
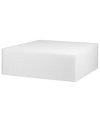 4 x 24 x 54 Upholstery Foam
-
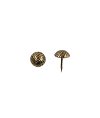 Decorative Overlap Nails - 100 Pack
-
 Painters Touch Ultra Cover 2X Gloss Clear
-
 7/16" Heavy Duty Staple Gun
-
 Quilter's Ruler - 6" x 24"
-
 Poodle Saddle
Video
Instructions
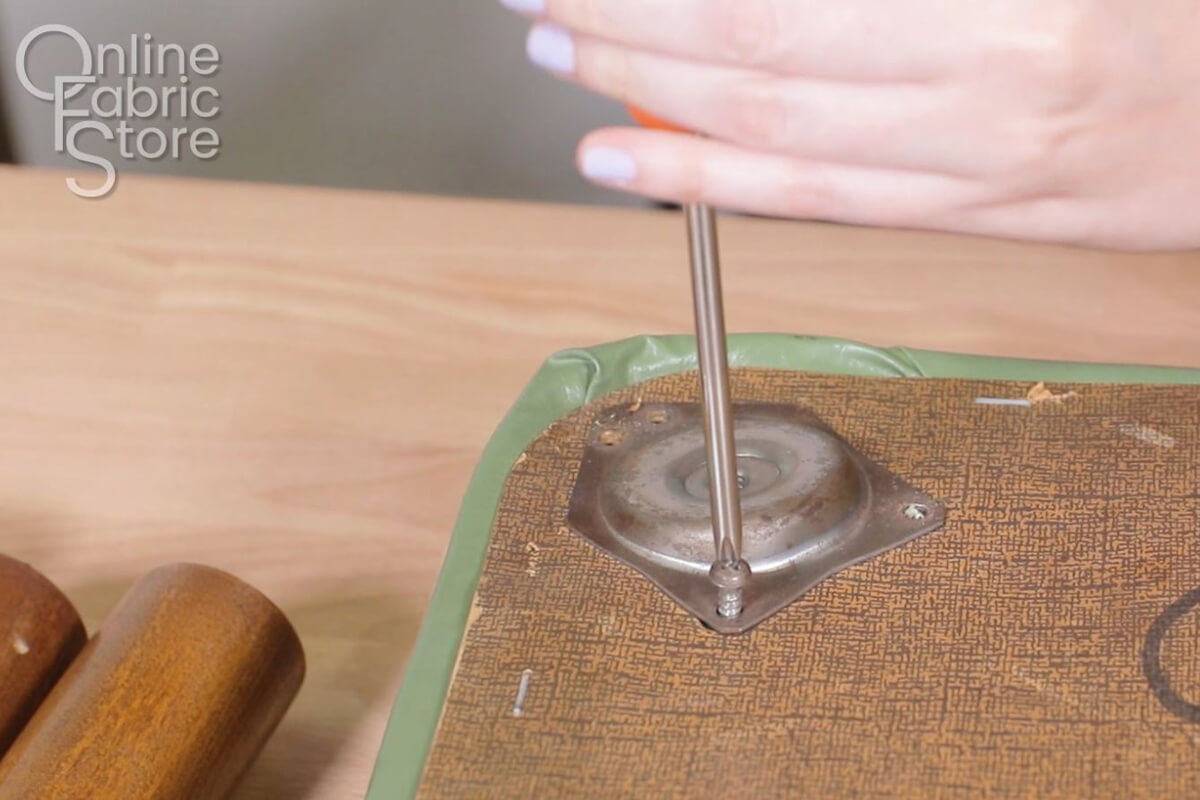
Step 1: Take off the hardware
SERIOUSLY – Don’t loose your screws. Or you will be SAD 🙁
Take off the legs and hardware. Make sure you put them in a safe place, I recommend putting the screws in a dish so nothing gets lost.
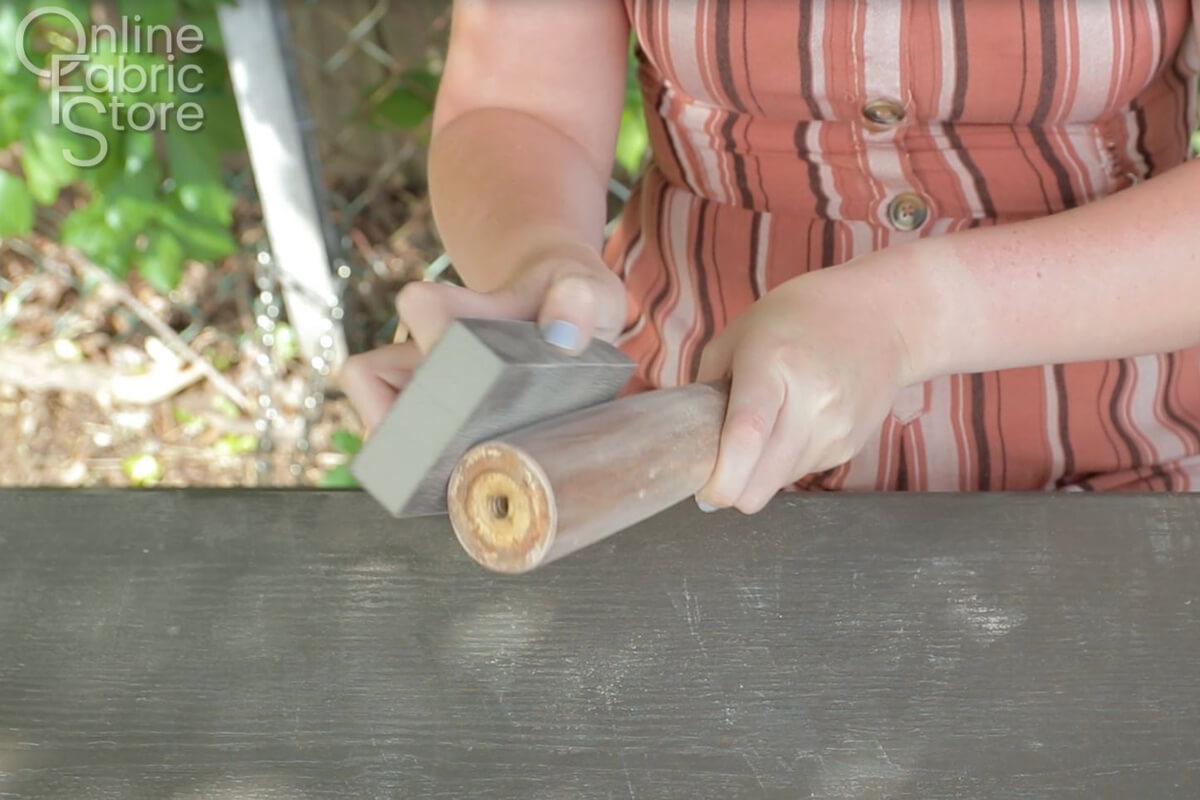
Step 2: Clean and repaint hardware
Clean the hardware and repaint it if necessary.
I wanted to make my hardware gold instead of silver so I cleaned off any dirt and rust. Then I roughed up the surface with a sand paper block and taped off around the wood so I would not get paint on it.
I sprayed it with metallic paint and allowed it to dry before doing a second coat. I did this to every screw and piece of hardware that holds the legs.
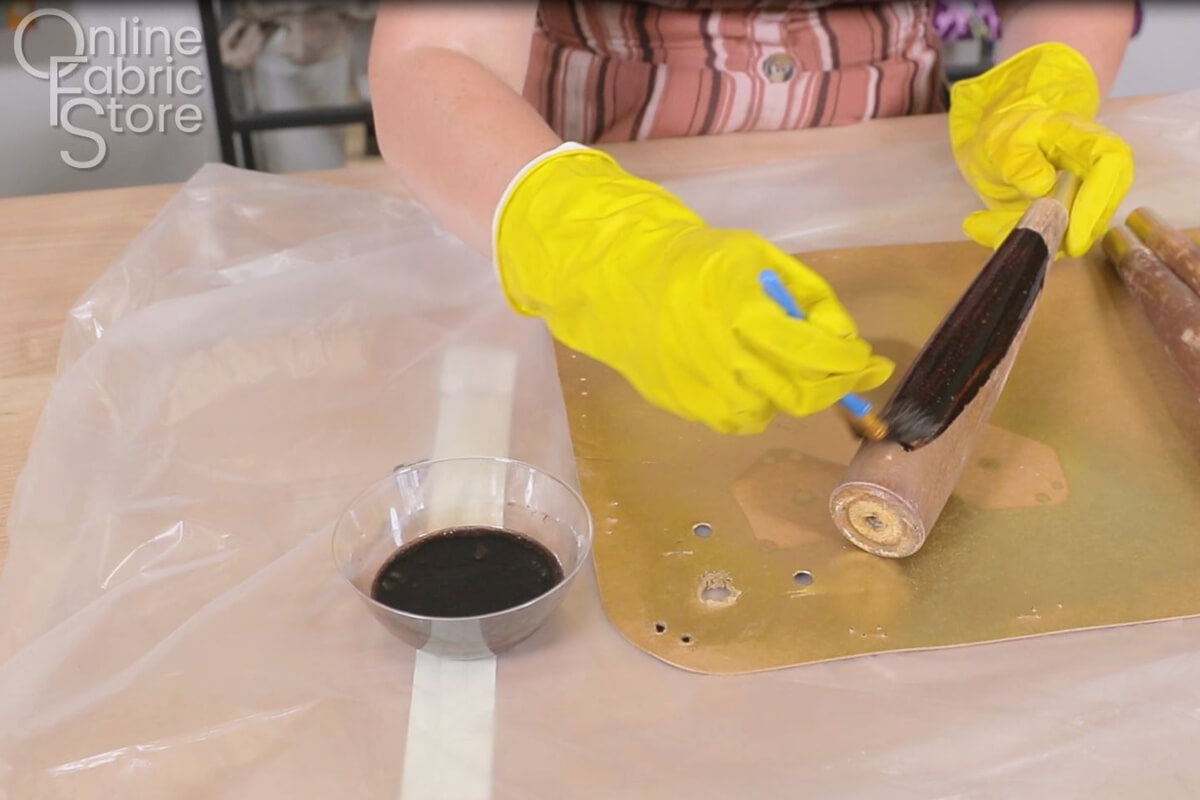
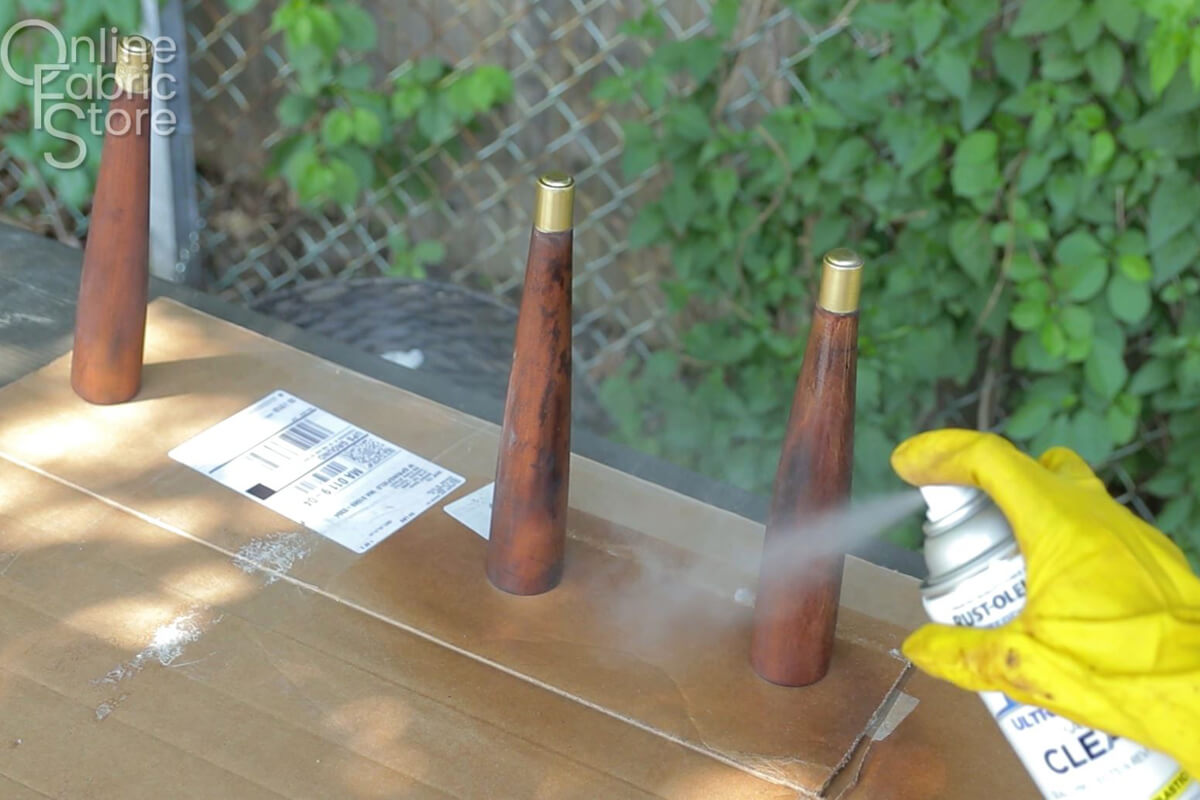
Step 3: Re-stain Legs
Using Rit all Purpose dye and a rag, I rubbed dye all over the legs to create a stain. I first mixed the dye with salt and really hot water, but wanted a richer color so I slowly added more dye until I was rubbing mostly dye onto the pieces. I allowed the legs to dry for about a half hour before rubbing off the excess dye and repeating the same process.
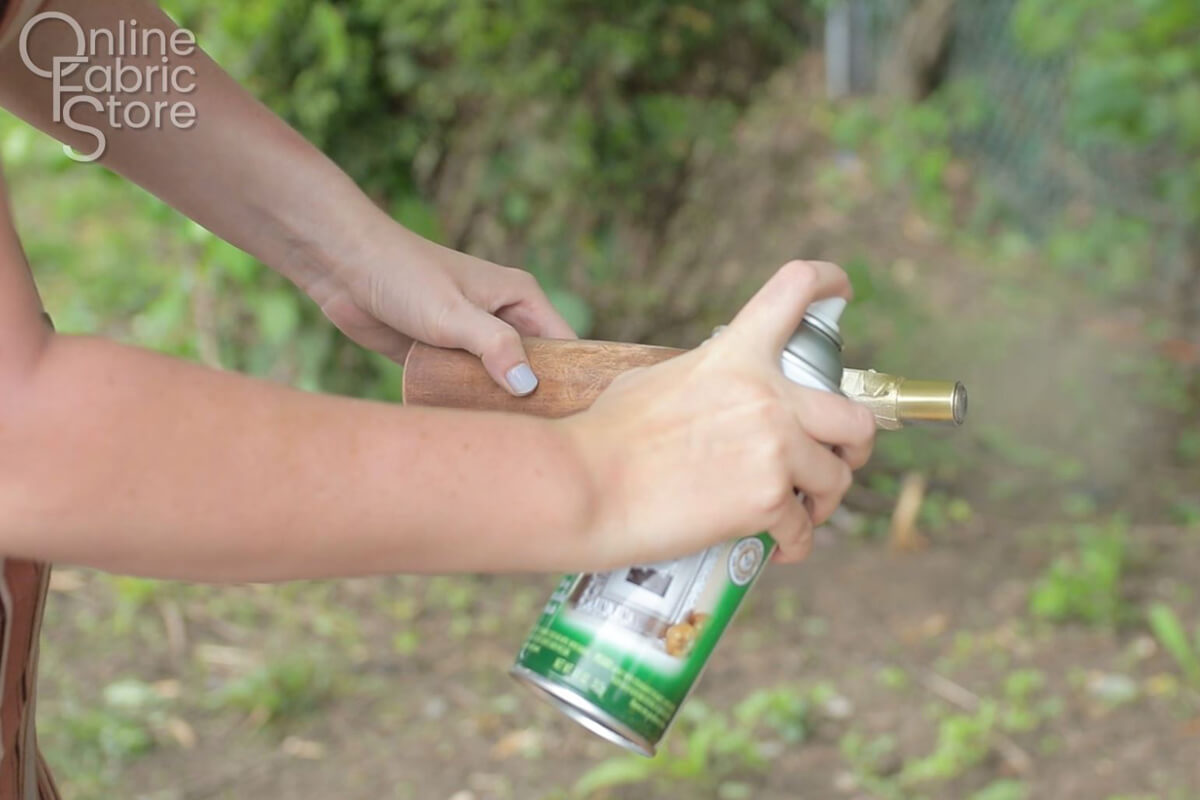
Step 4: Clear coat
Using Rustoleum Painters Touch Ultra Cover Spray, cover the legs and hardware so that the new stain and metallic spray paint stays in place.
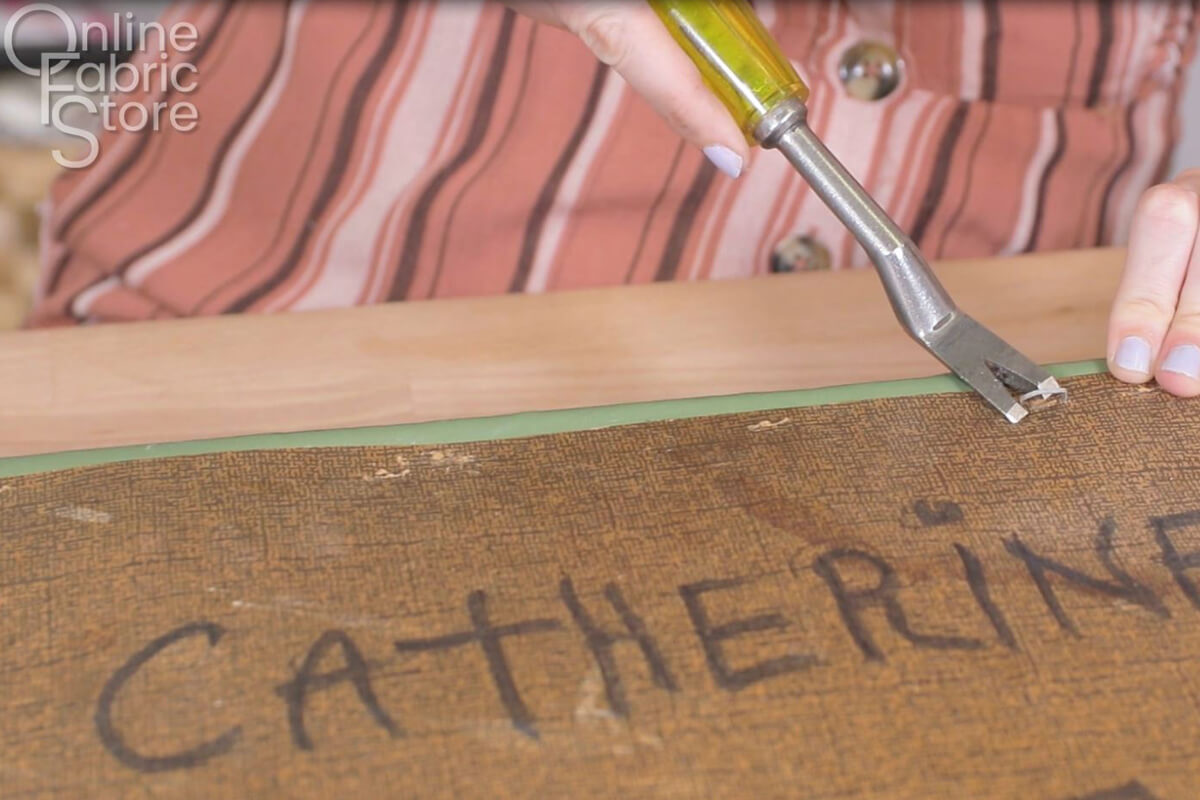
Step 5: Take out any screws, staples or tacks
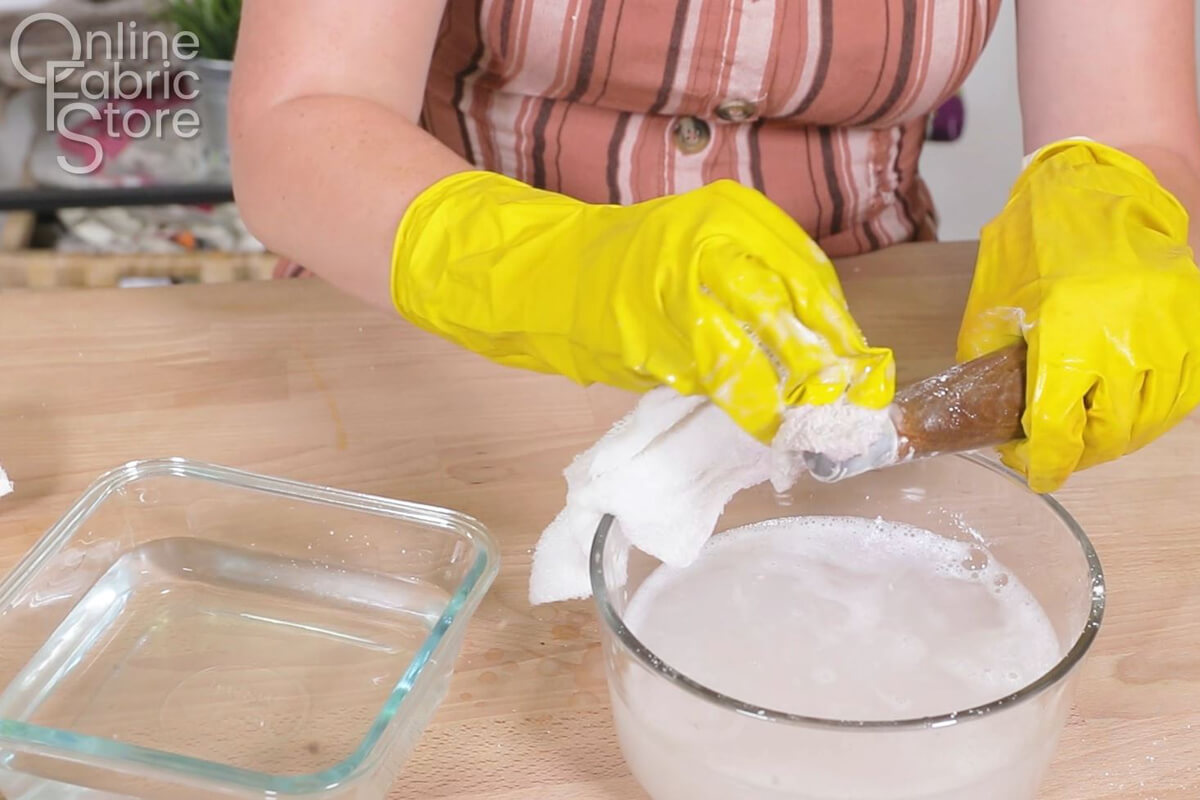
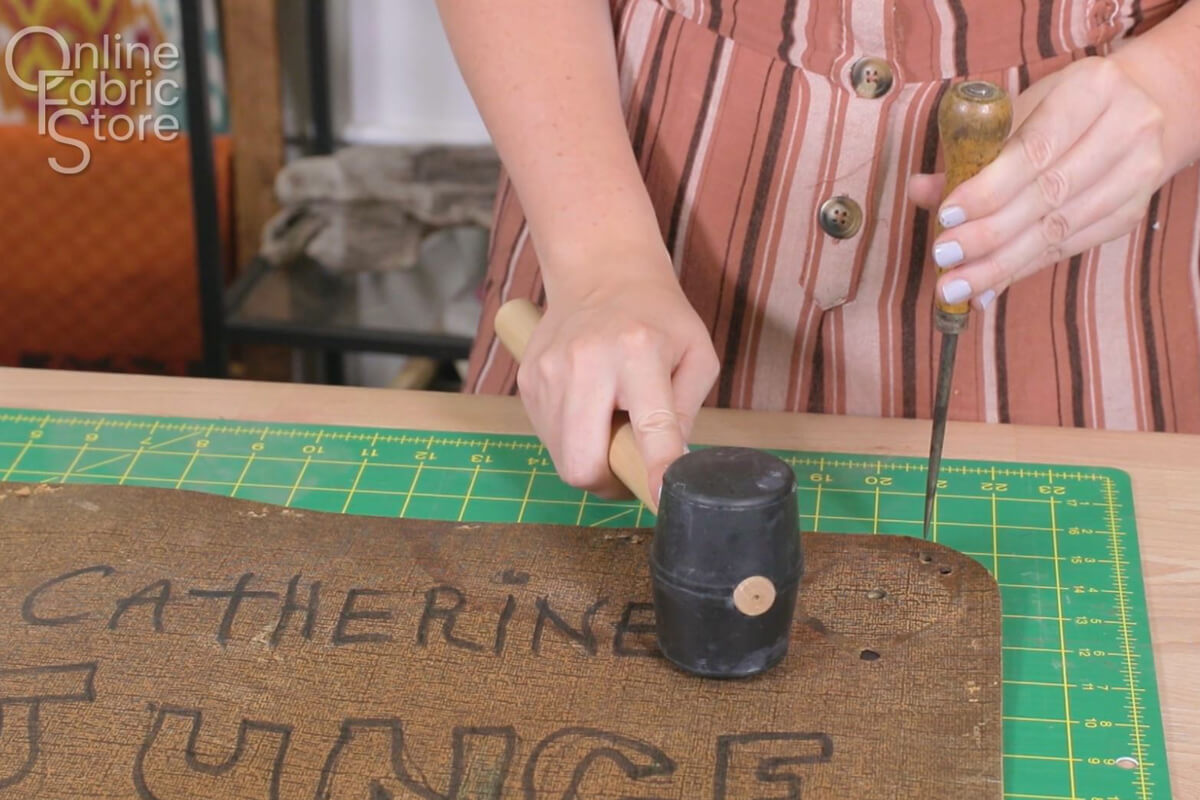
Using the combination tool, take out any tacks, nails or staples. This is a pretty standard ottoman but your furniture may look a little different than mine, that’s okay, you will still want to use the same steps I am using.
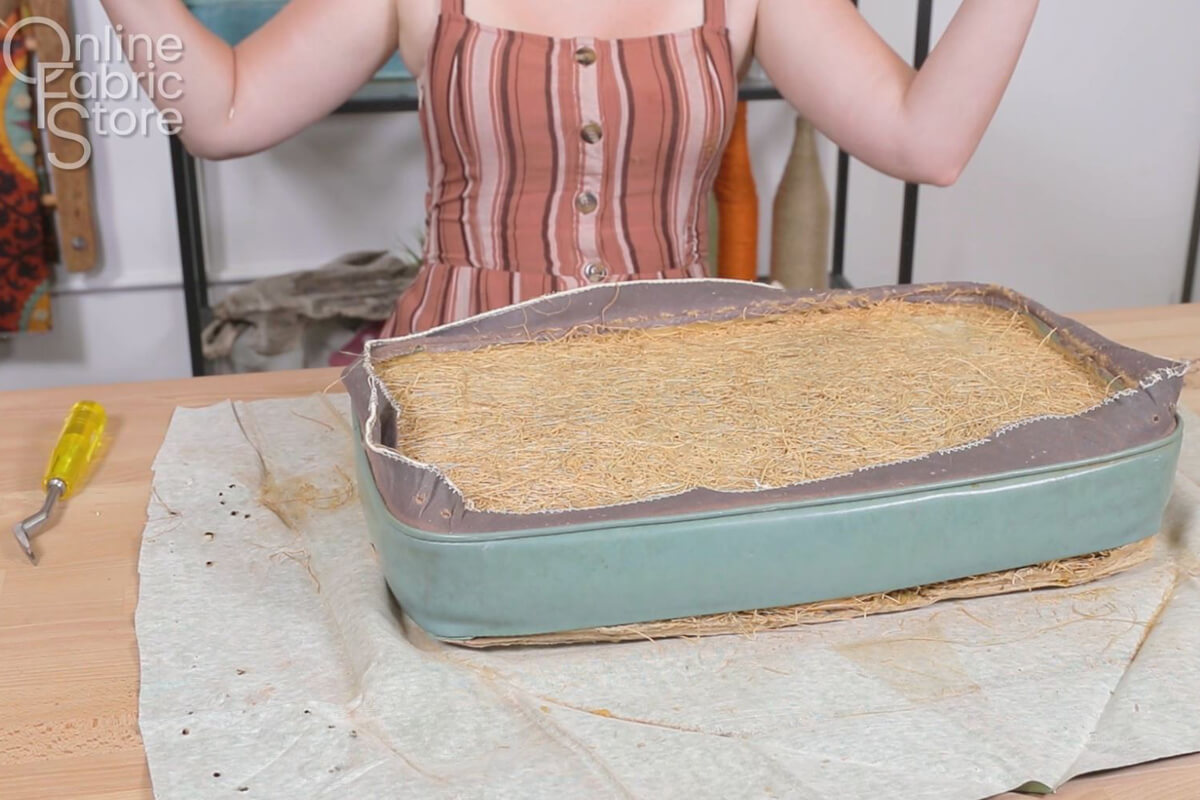
Step 6: Assess the situation
Once all the staples are out you should be able to pull off the old upholstery fabric and see what is going on inside of the chair. I am fully renovating this piece down to the bones, so I will be getting rid of any old batting, foam or stuffing that is currently on the chair. I will also be getting rid of the straw padding that is common in antique furniture because it was very dusty and I am allergic.
Assess the needs of your own project though, depending on the piece, you may not need to fully replace the padding or foam. That is usually the most expensive part of an upholstery project, so you may choose to clean and reuse the padding it came with.
Know that foam does not last forever though and in many cases leaving the old padding will shorten the new upholstery’s life.
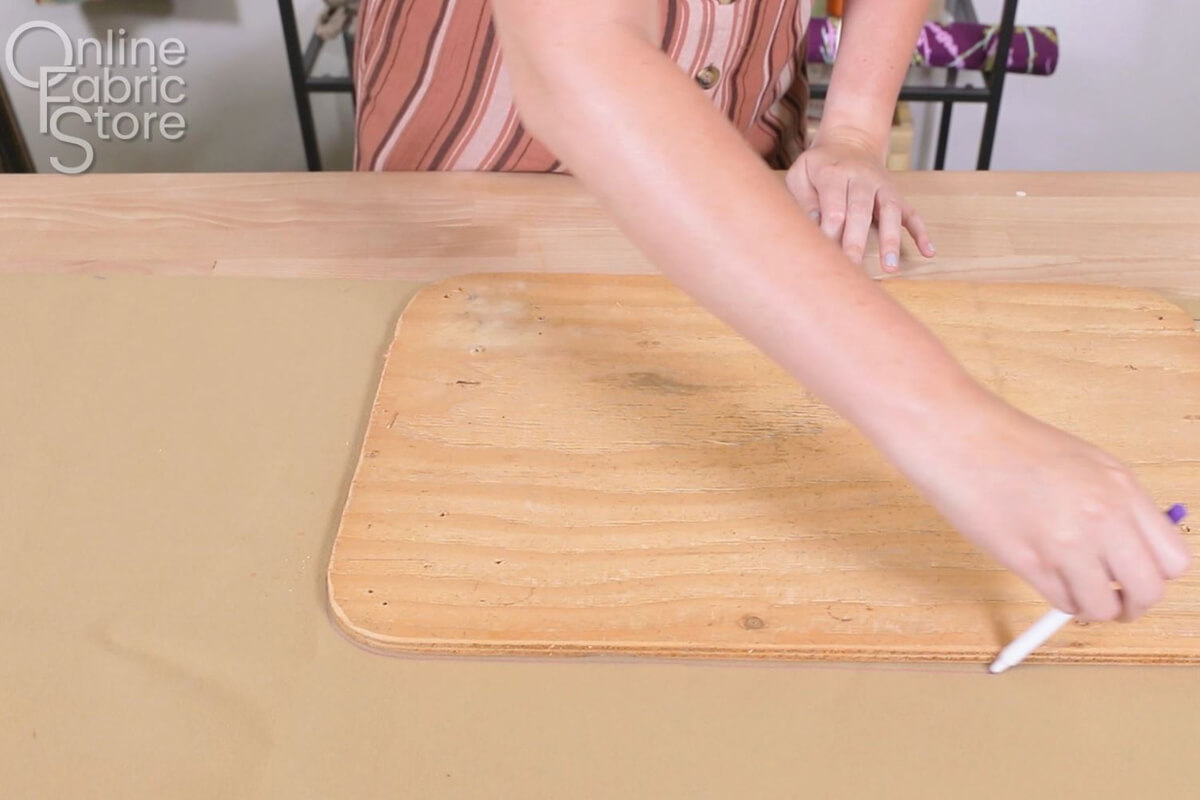
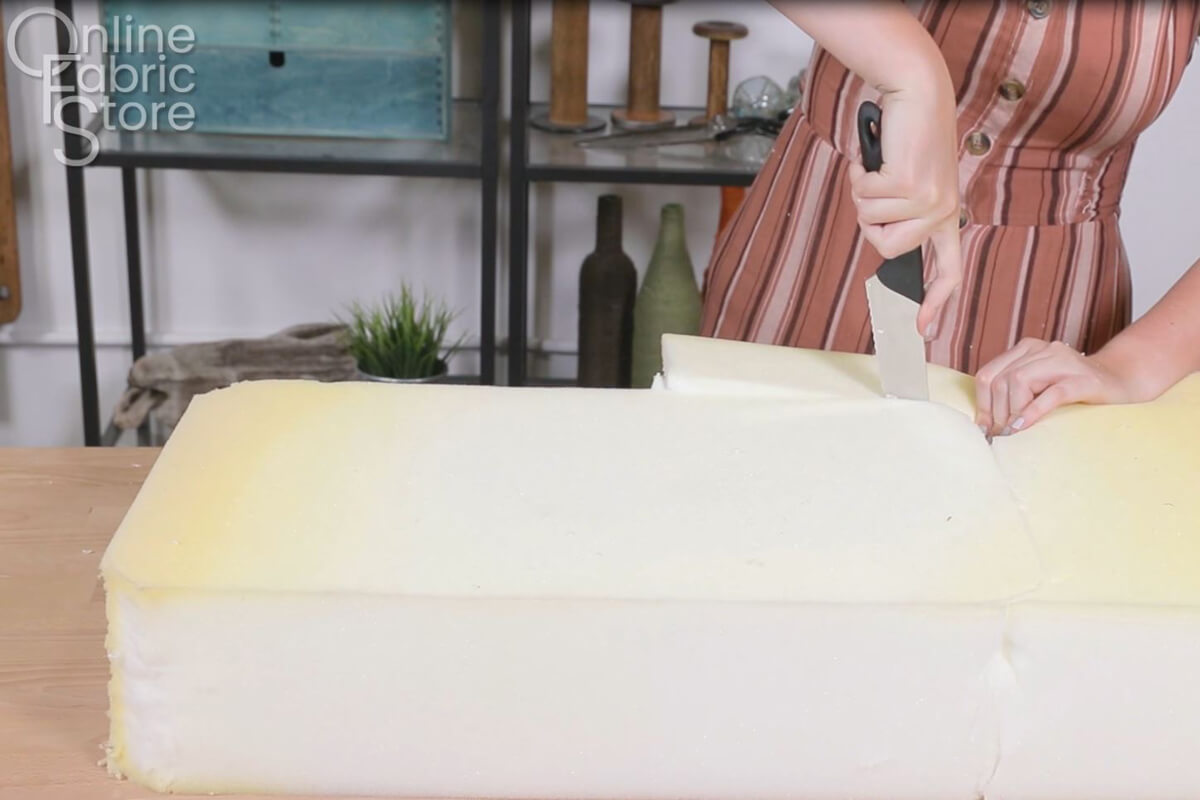
Step 7: Cut and attach foam
Using the wood base from your piece of furniture as a guide, trace around the foam so you have a clear line to cut. You may also want to trace around the opposite side of the foam as well if it is a little thick so you have a guide from both sides. Cut the foam using a serrated knife.
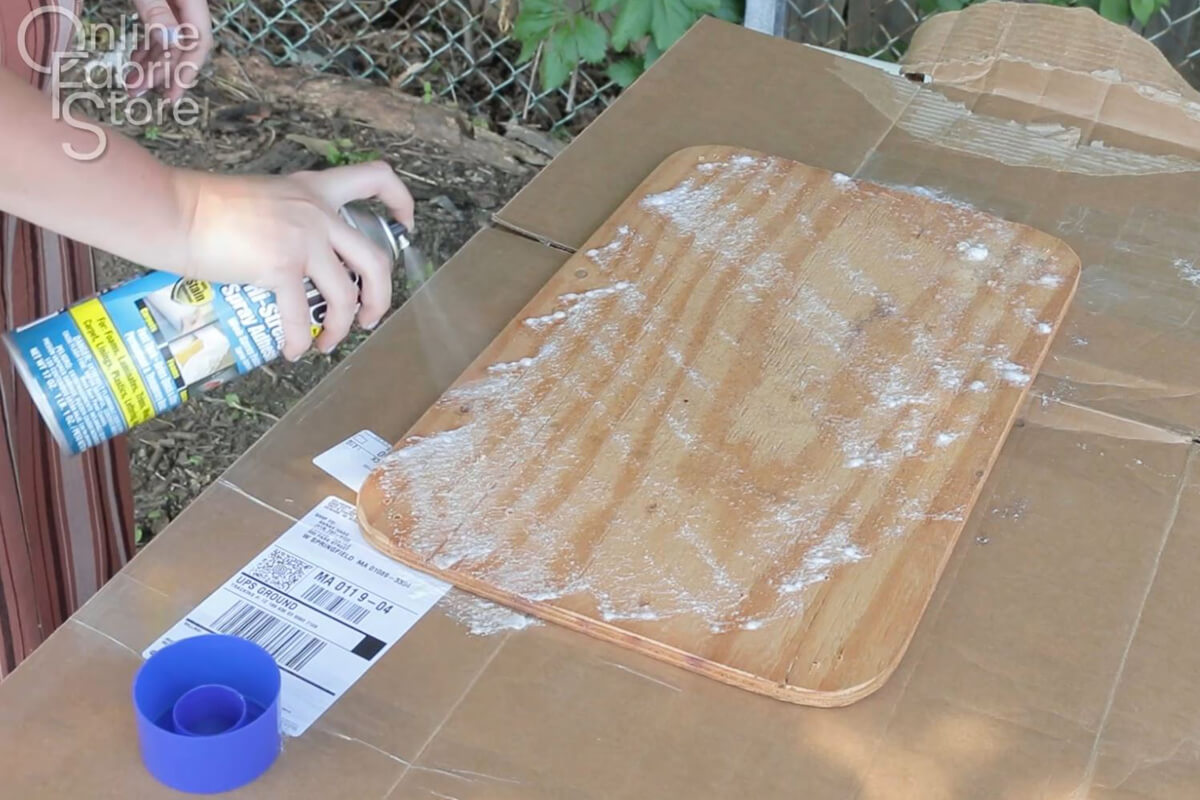
At this point you will also want to use the wood base as a guide for the piece of fabric you are using under your furniture. I wanted to use Faux Leather but you can use almost any material. Most of the time people use dust cover for items that won’t have a very visible bottom.
Whatever you choose, cut the piece out and set it aside for now.
Then spray the wood base with the Pro Stick Hi Strength Adhesive Spray and carefully place the foam lined up on the wood.

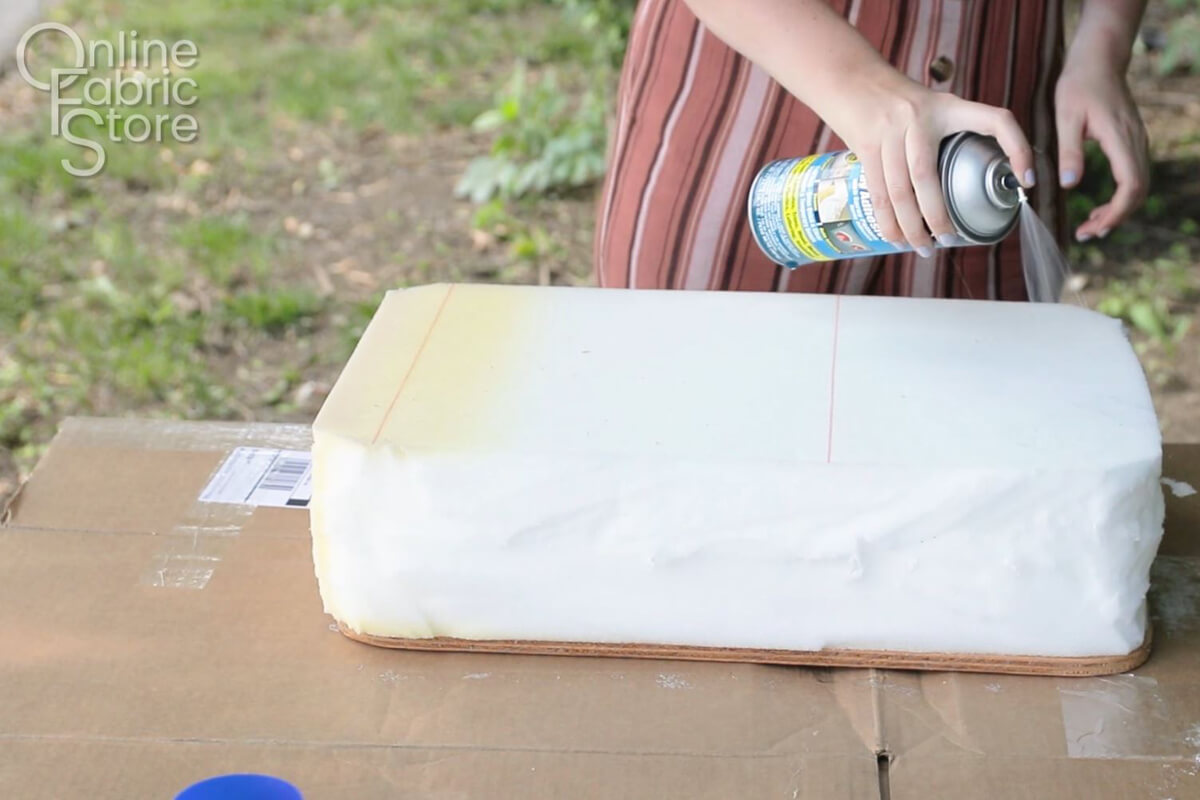
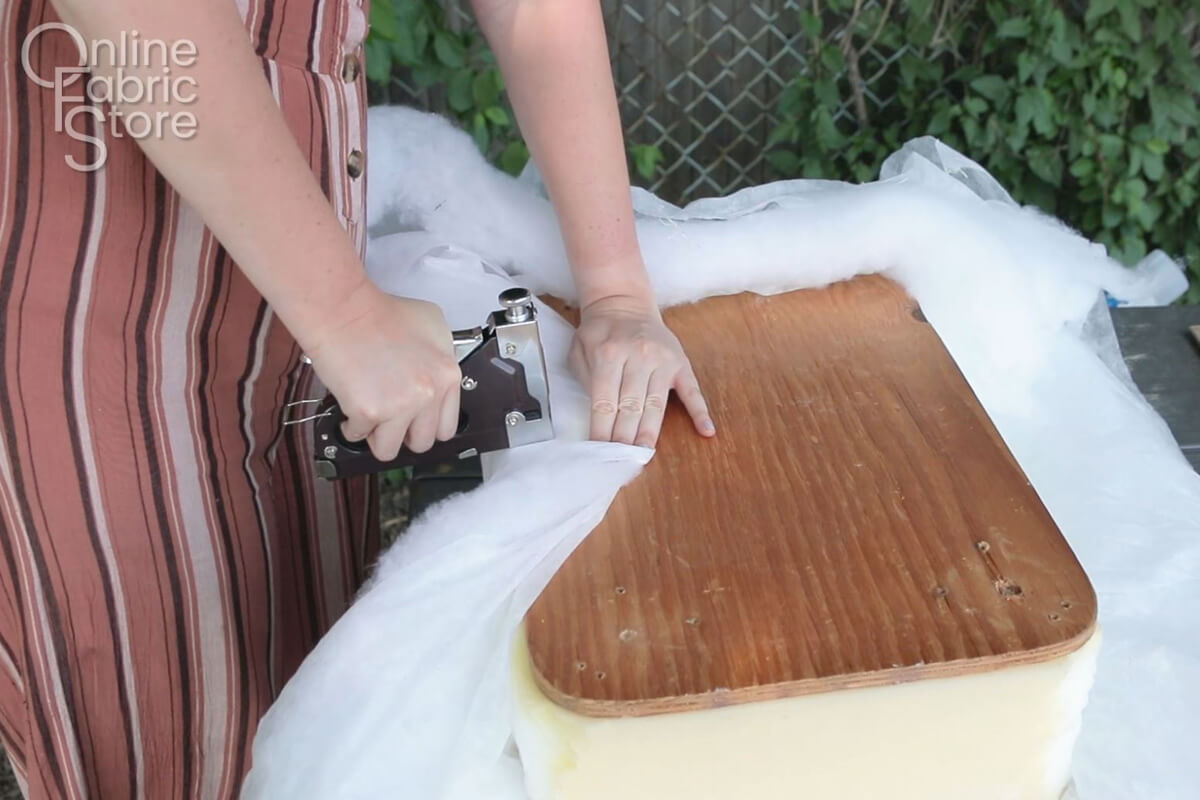
Step 8: Attach Dacron
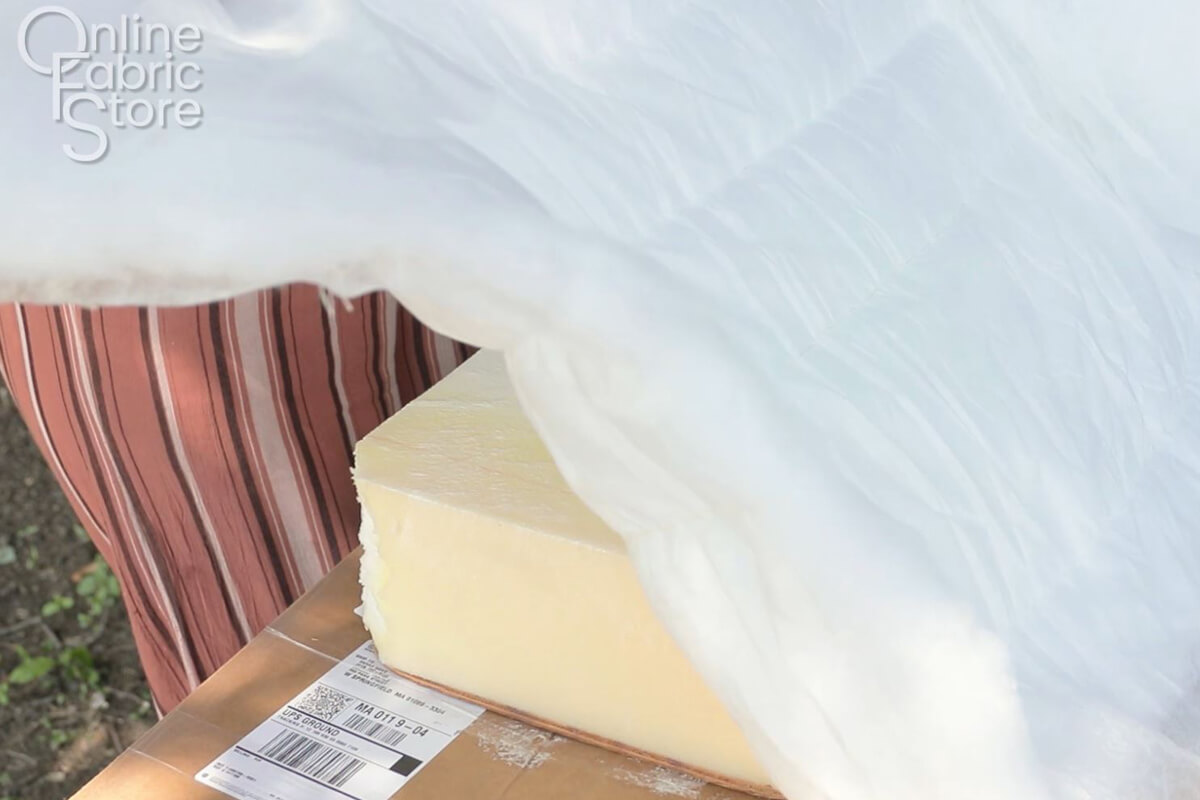
Lay out a piece of Dacron that will easily cover the piece of furniture. Spray the top of the foam with the adhesive spray and place the Dacron wrap centered on top. Wrap the material around to the back side of the wood, pull it pretty tight and staple it in place using a staple gun.
When attaching fabric for upholstery, always start by stapling in the center of all four sides. Then, add staples in between the corners and what you just stapled and continue going around all four sides so that no one side is pulled tighter that other. You want to make the Dacron pretty tight so the edges are nice and rounded.
Cut off any excess wrap.
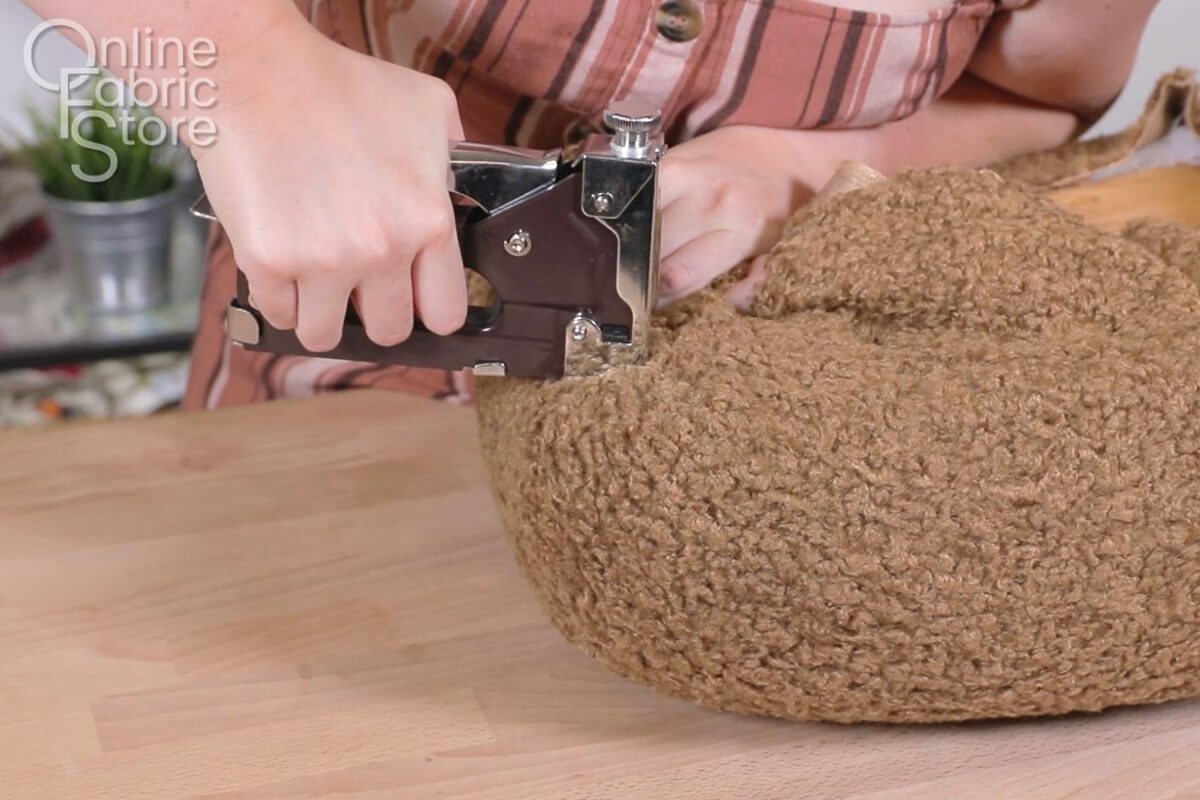
Step 9: Add Upholstery Fabric
Cut a piece of upholstery fabric that will easily fit around the top of your piece of furniture and hang about 4” over the edge.
Place the fabric wrong side up and flip the cushion onto the direct center. Wrap the fabric around the edges and staple it to the underside of the seat the same way as before, starting in the center and working your way out.
If you would like to have folded corners, do them last by stopping the staples about 2” from each corner. Then when everything else is stapled down, choose the side you want to fold the excess fabric to.
I decided to fold all my excess fabric towards the shorter edges, so I stapled right up to the corner on the short edge, took the excess fabric and pulled it tightly toward where I just stapled and then stapled that in place as well.
Cut away any extra fabric.

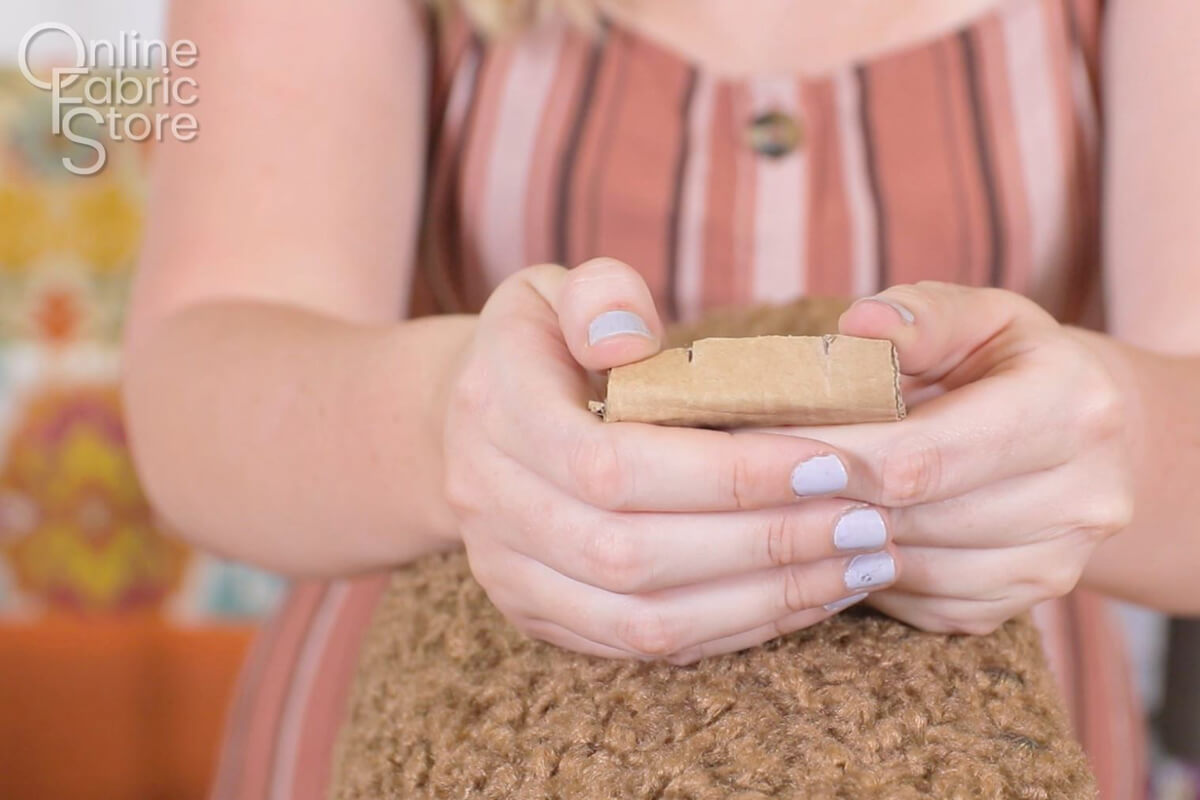
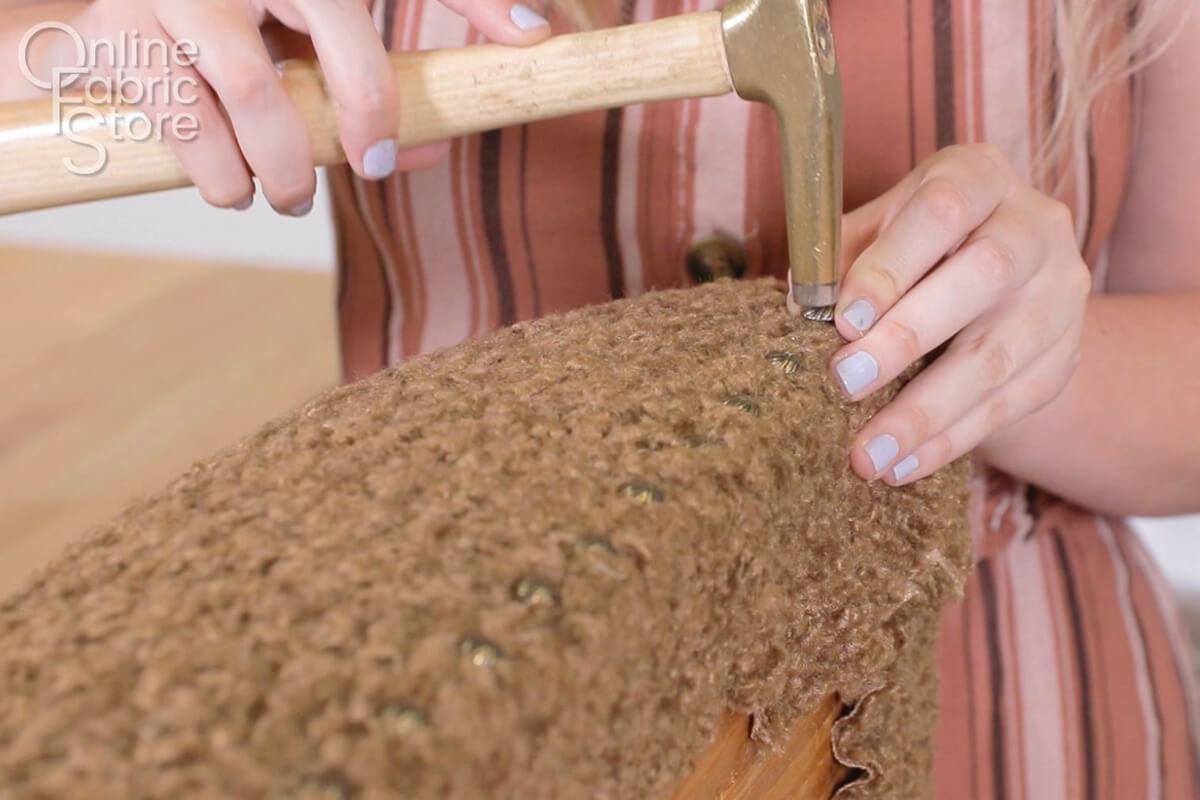
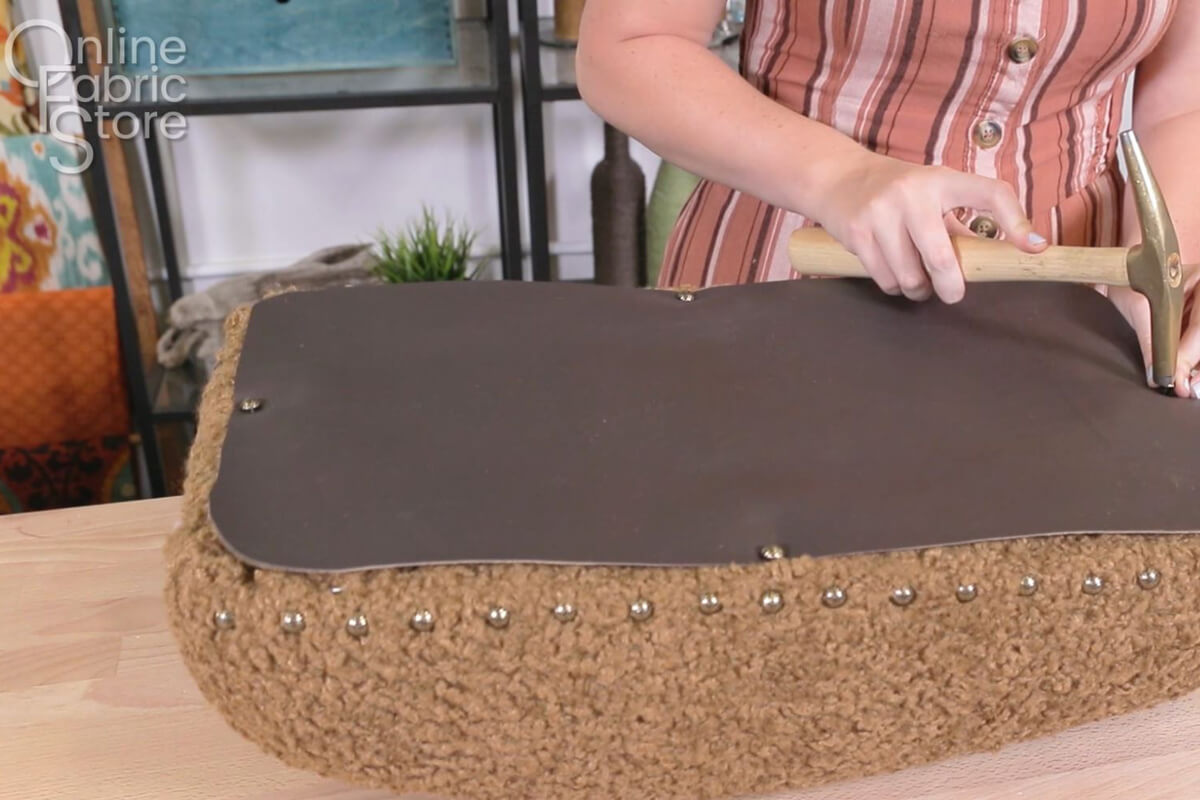
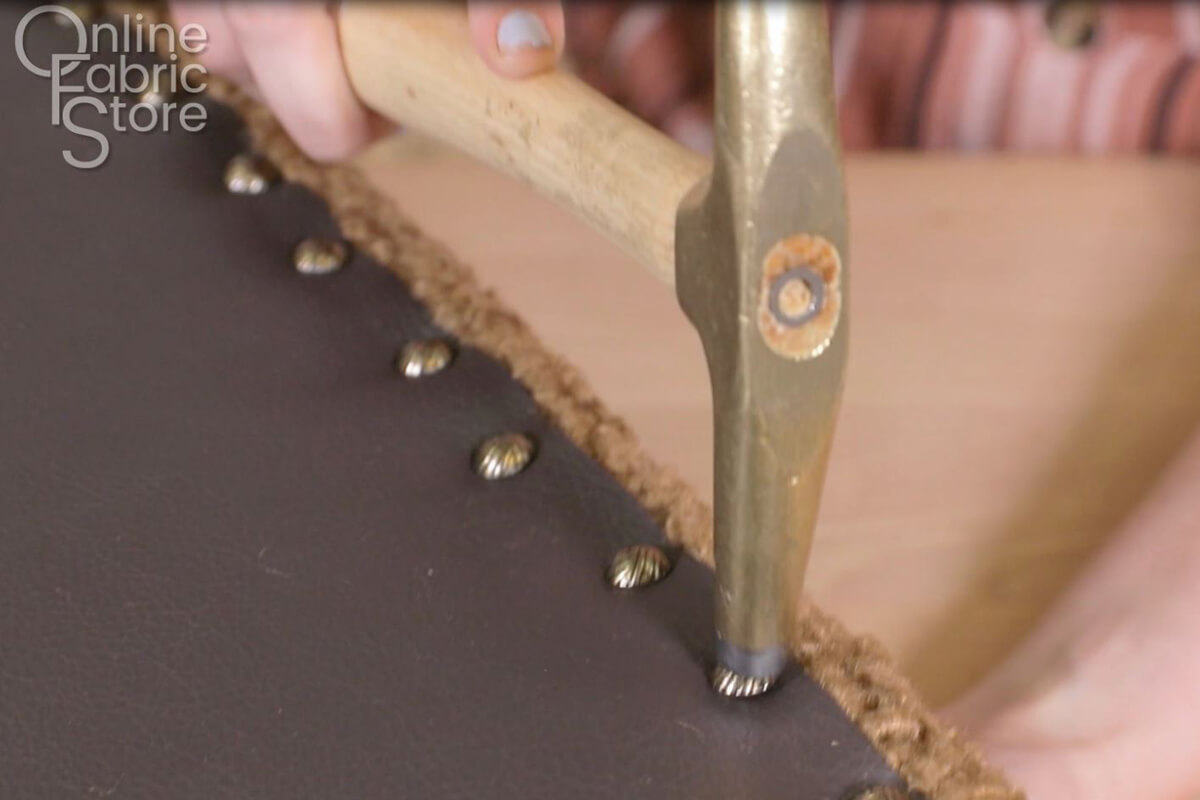
Step 10: Add Decorative Nails
These nails must be attached to the wood base of your furniture or they will fall out.
You may or may not want to add decorative nails around your piece depending on the style you are going for.
To do so, create a stencil for yourself to make it really easy.
With a piece of card board, mark the distance you would like the decorative nails to be apart and make two small slits. Then decide how high up from the edge you want the nails to be and mark that across the cardboard perpendicular to your nail markings. Fold the cardboard on the line and use this is a guide.
Line the fold up with the edge of the piece of furniture and use the notches to line up your nails.
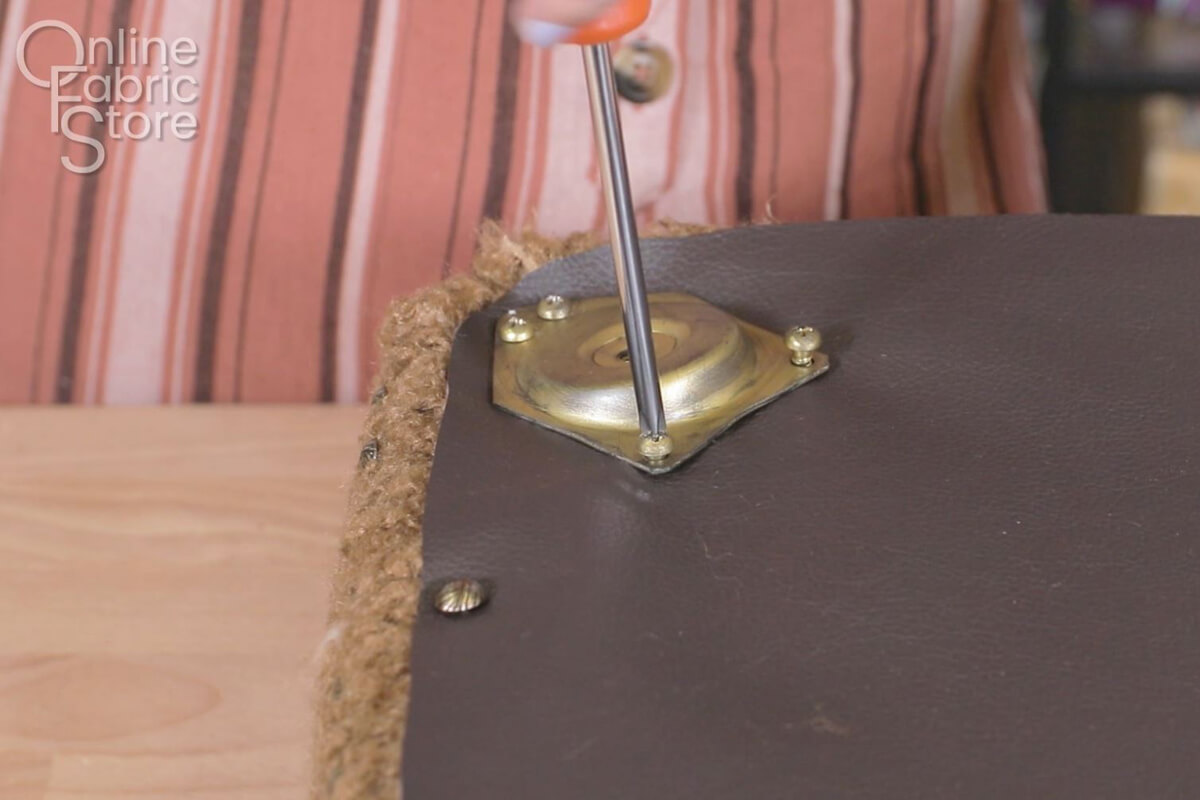
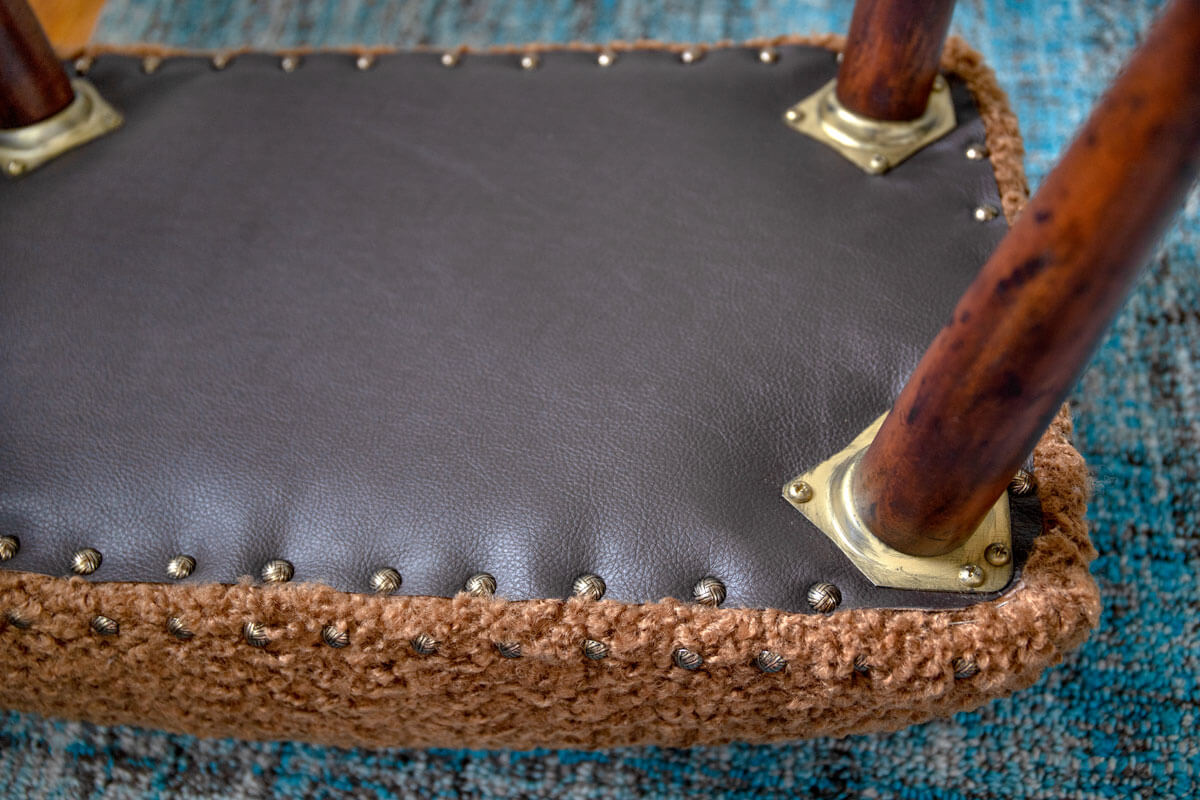
Step 11: Find Screw Holes
Now it’s time to find the holes that the screws go into and attach the bottom.
Luckily my ottoman came with a cardboard bottom that had the screw holes marked out already so I was able to use it as a guide.
If yours does not though you will have to measure the holes from the edges, write it down and then place the vinyl over the bottom.
Then with your awl or hole punch, knock holes into the underlining fabric. It might help to use the hardware in this step as well to be sure that the holes are being placed in the right position.
I had to cut away a lot of extra fabric to get the hardware to fit correctly so keep that in mind. Before cutting staple as close to the edge as you can and then cut away the extra material.
Step 12: Reattach Hardware and Secure Fabric
Place your underlining fabric over the bottom and secure it down with a nail or staple in the center of each side.
Than, reattach the hardware to the ottoman over the underlining fabric to it is being held in place.
Take decorative nails and working from the middle of each side out, hammer the nails into the bottom of the furniture to secure the underlining fabric. You should try to stretch the material out so it doesn’t sag when you flip the furniture back over.
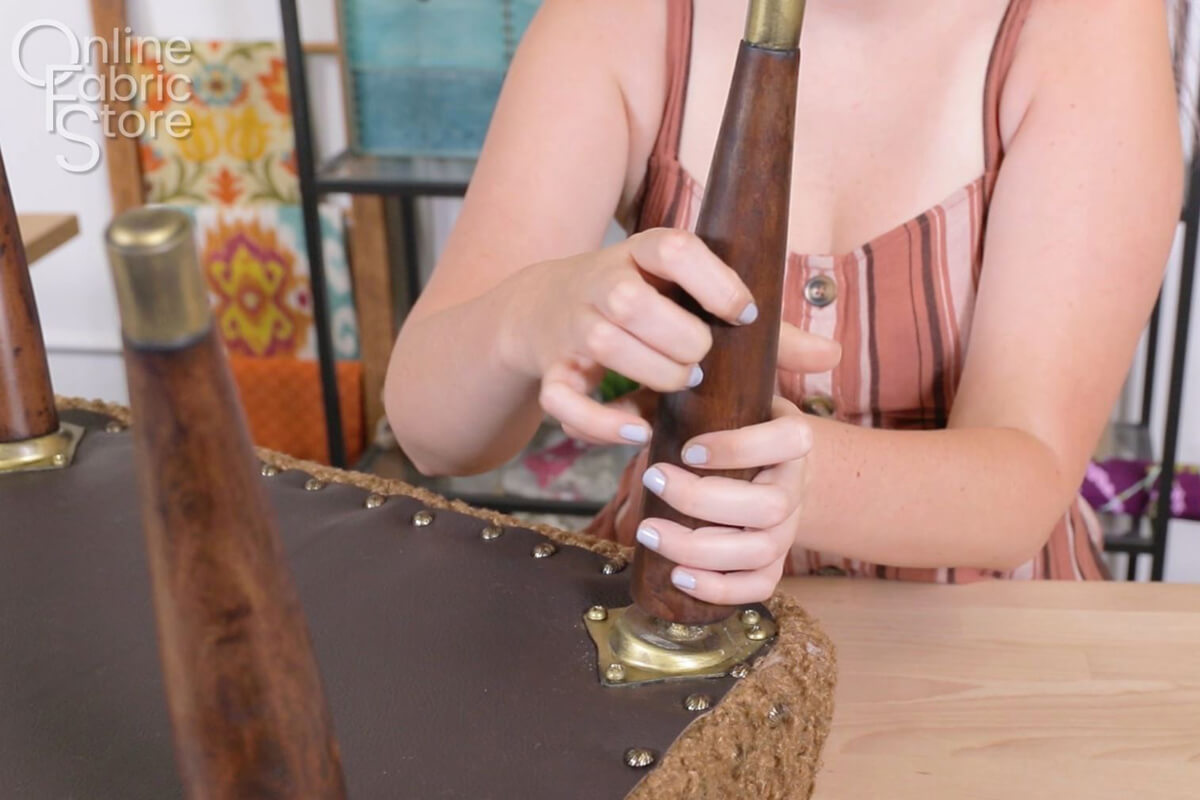
Step 14: Attach the legs
Attach the legs back on and now your project is complete!
Share Your Photos!
Also feel free to send us any specific questions you have!
Have you made this project? We’d love to see it!
Send photos to us at makersmill@onlinefabricstore.net or post it to Instagram with the hashtag #ofsmakersmill.

Get your upholstery fabric here!
-
{{#each productSuggestedQueries.results}}
- {{query}} {{/each}}
-
{{#each categories.results}}
- {{html title}} {{/each}}
{{html attributes.description}}
{{/if}}-
{{#each queries.results}}
- {{query}} {{/each}}