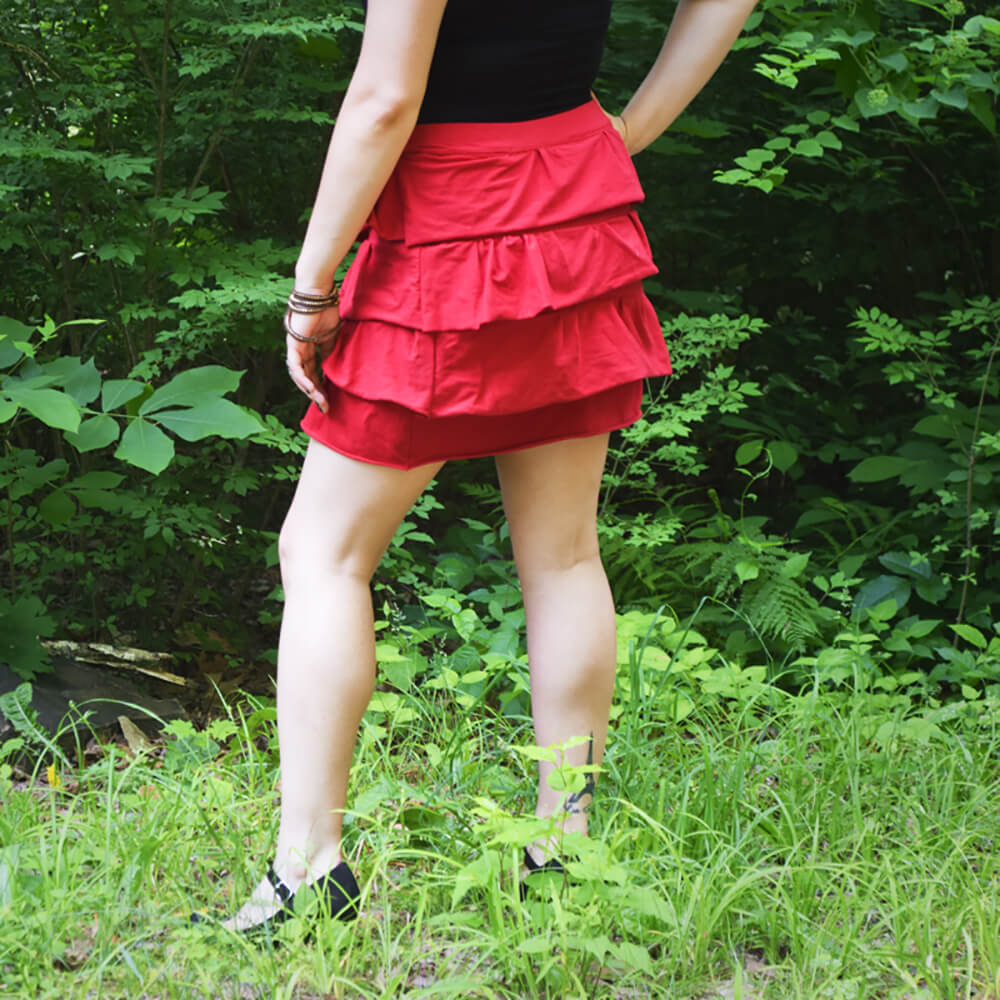
How to Sew a Tiered Ruffle Skirt
- By Jen
- Intermediate
- 1 hour
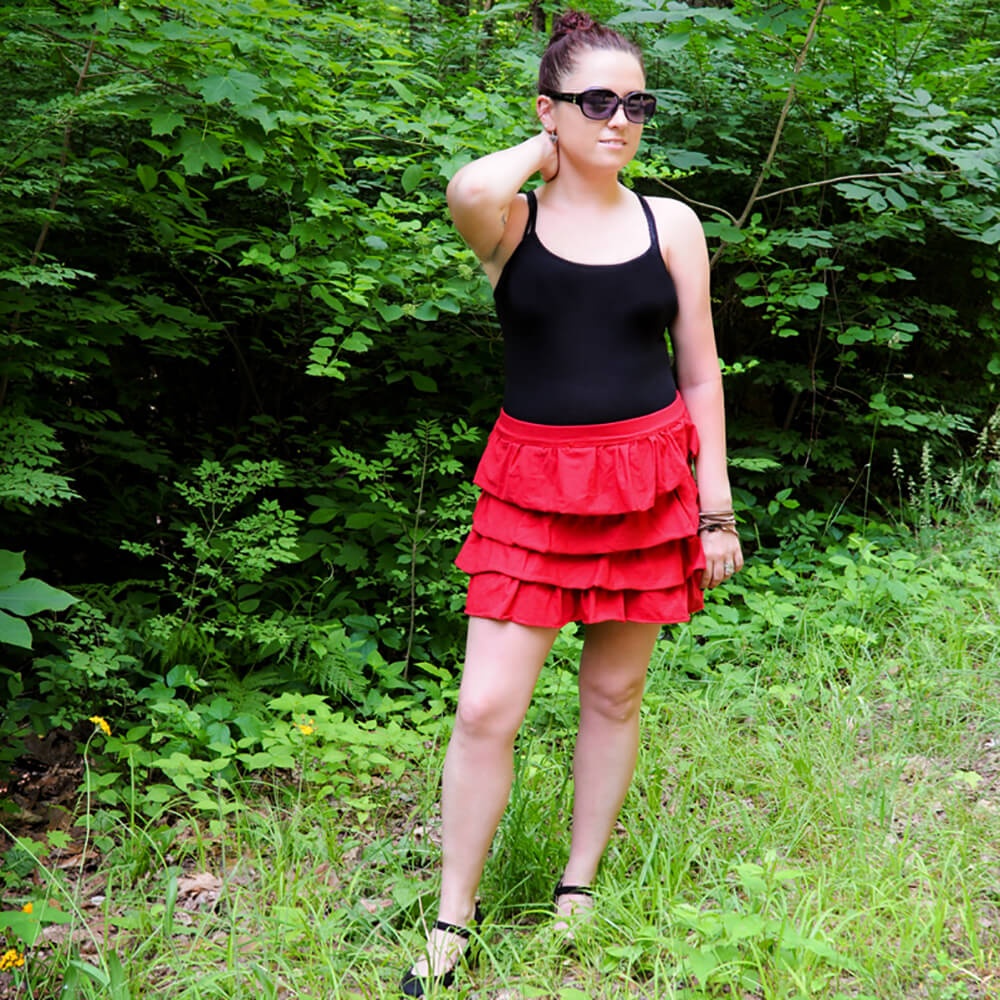
Ruffle skirts are fun to make for adults and children. The one I make in this tutorial is a medium adult size skirt out of a solid jersey knit fabric. You can also mix and match prints and colors for the layers to give it a fun look.

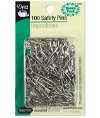
Materials
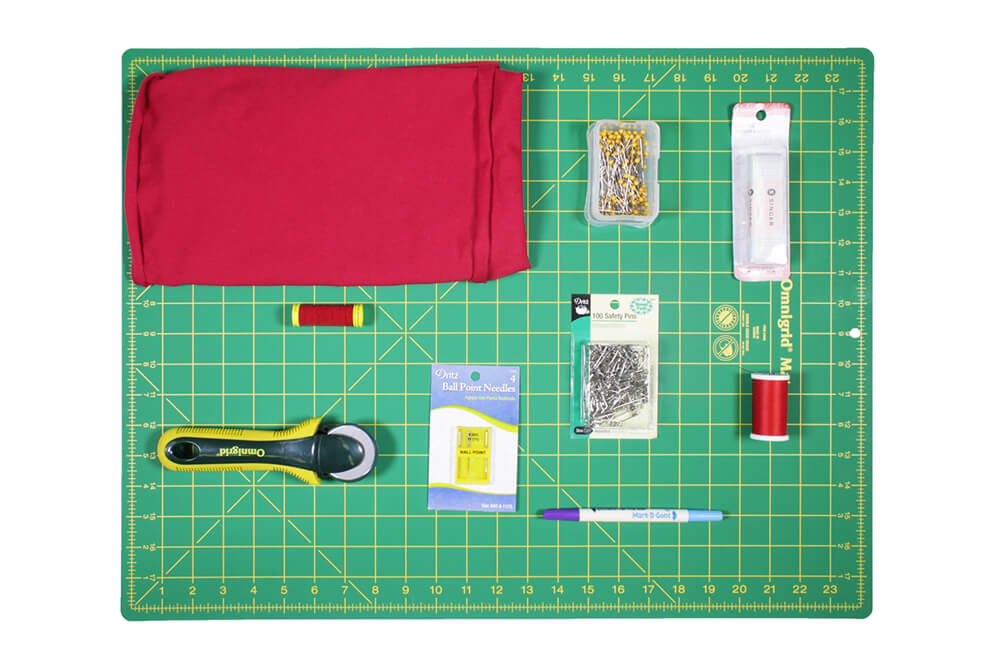
Related Products
-
 Dual Duty XP Thread - Red, 250 Yards
-
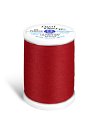
 Red Elastic Thread
-
 175 Quilting Pins - Size 28
-
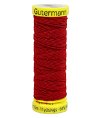
 100 Assorted Safety Pins - Size 00/1/2/3
-
 Dual Tipped Marking Pen - Blue & Purple
-
 45mm Rotary Cutter
-
 Ball Point Machine Needles - Size 9/11
-
 18" x 24" Cutting Mat with Grid
-
 Red Laguna Cotton Jersey
-
 White No-Roll Elastic (1" x 1 yard)
Video
Instructions
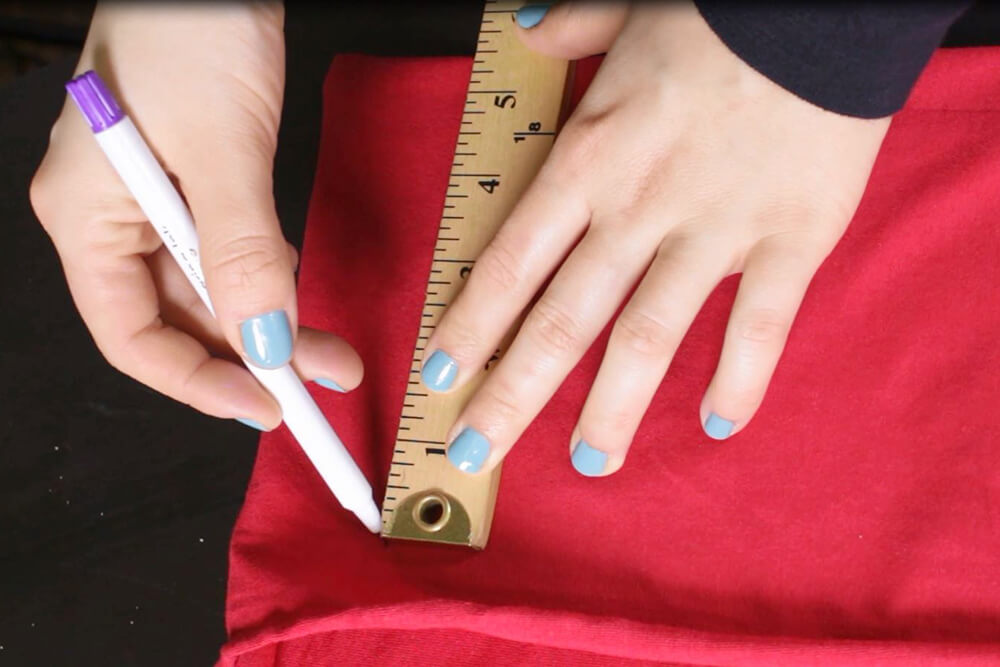
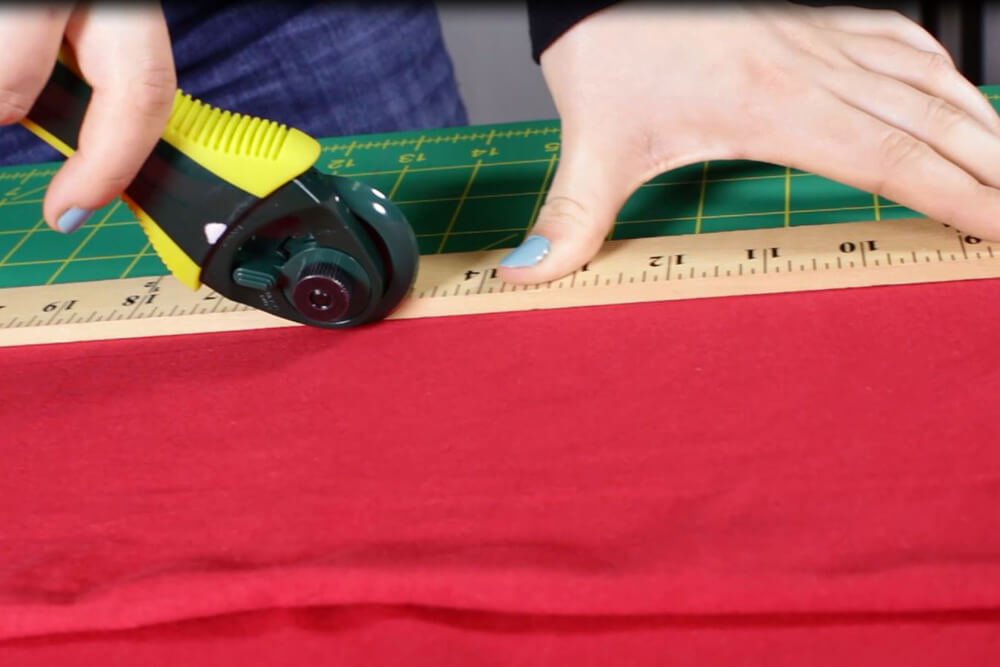
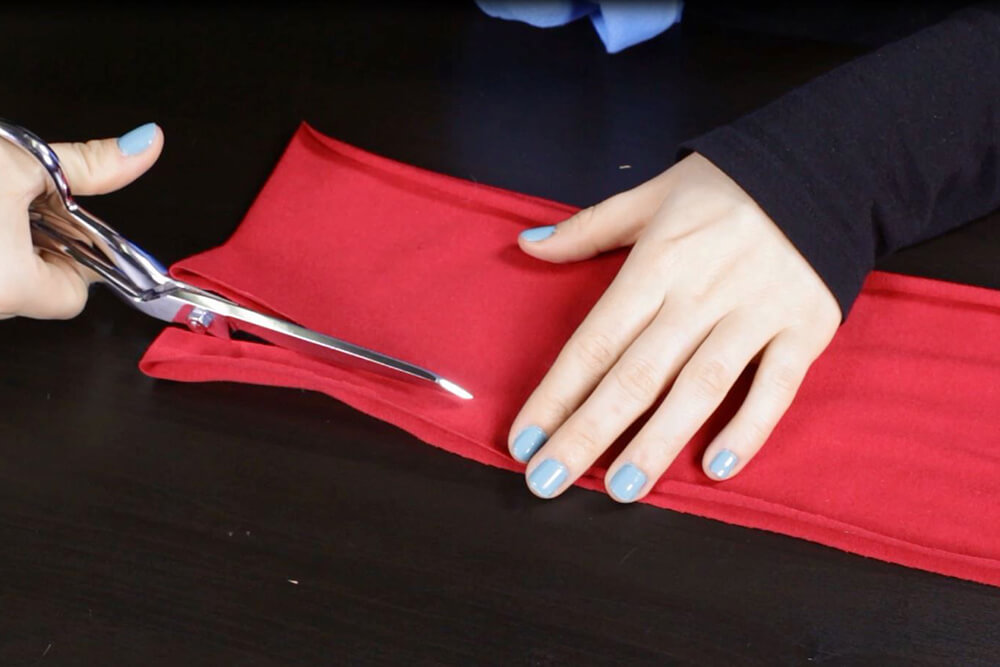
Step 1: Cut the connector pieces and ruffles
With the rotary cutter, Cut 4 connector pieces 36” long, and 5” wide. For the ruffles cut 4 pieces 56” long, and 5” wide.
The connector piece is the strip of fabric that’s stitched underneath the ruffles, connecting them together.
Step 2: Sew the connector pieces
Take the connector pieces with the right sides facing each other and sew the open ends together using a ½” seam allowance.
For solid color jersey fabric there is no difference as to determine the right side. For any stretch fabric, make sure you’re stitching with ballpoint needles.
Do this for all four connector pieces and set aside.
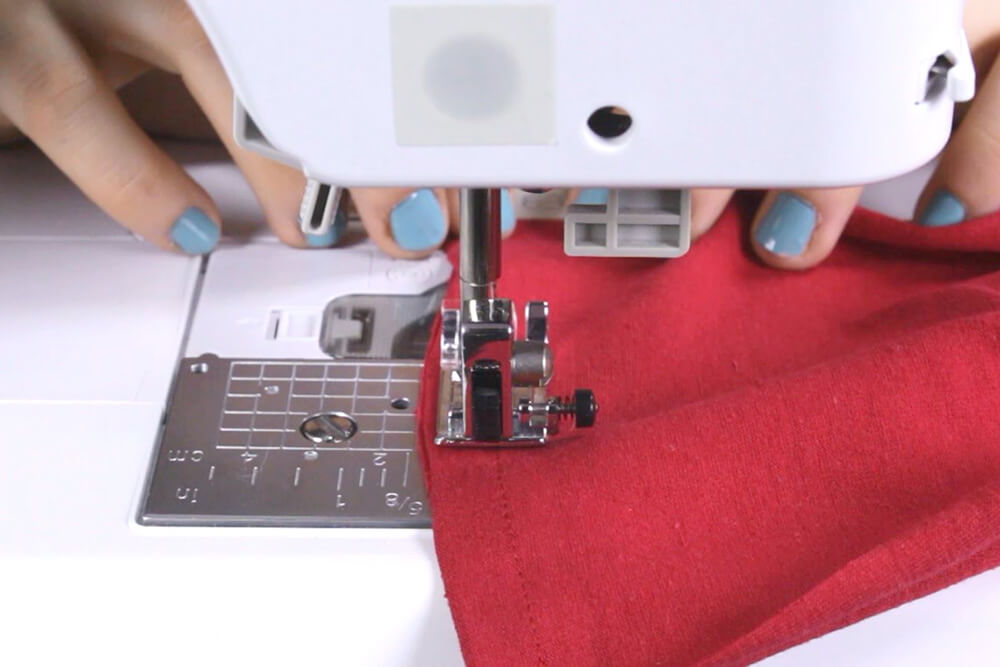
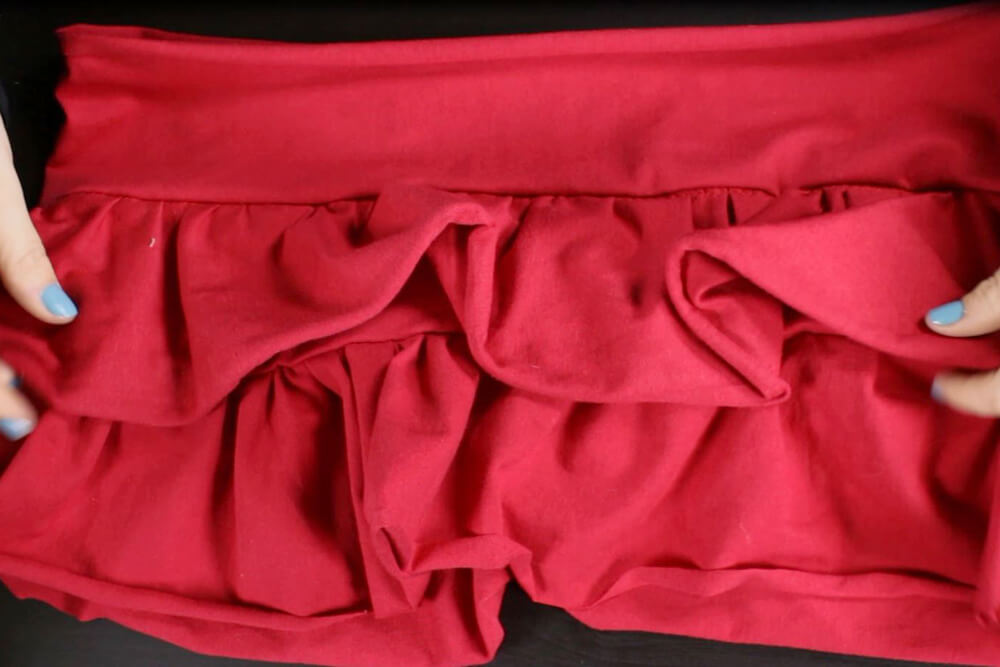
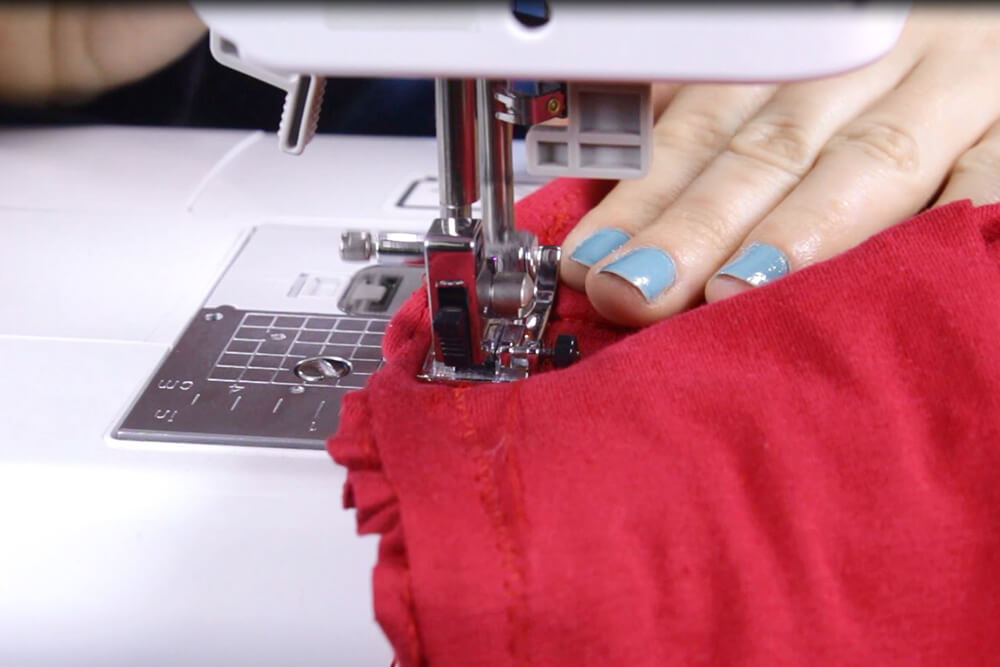
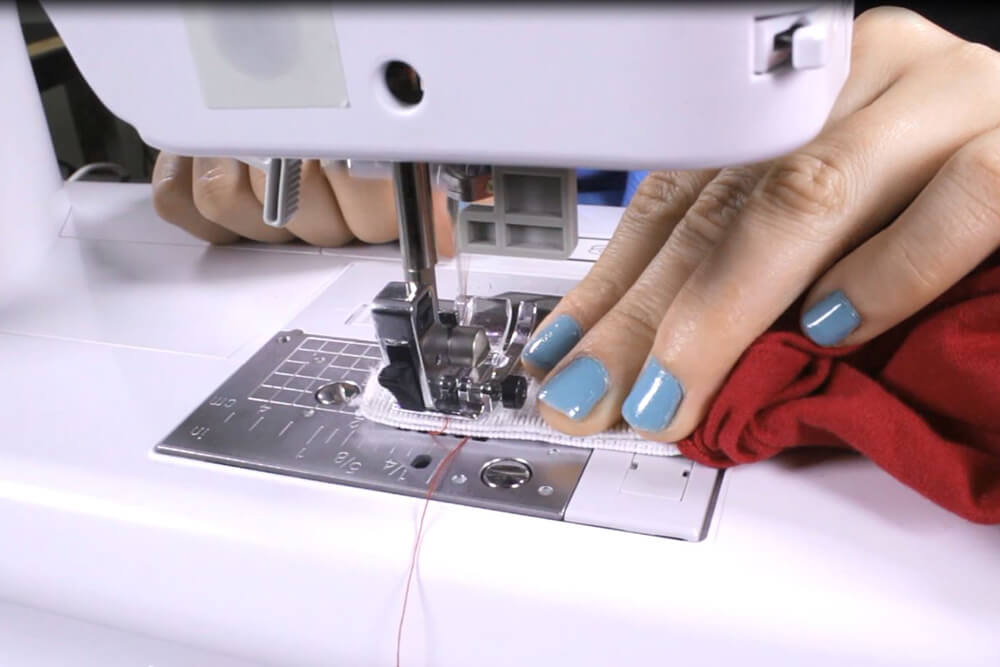
Step 3: Gather the ruffles
Elastic thread is used in the bobbin. This thread will help the stitch stretch with the fabric.
Before you stitch, make sure that the stitch length on your machine is set at the longest stitch possible, which usually 5 or 6 depending on your machine.
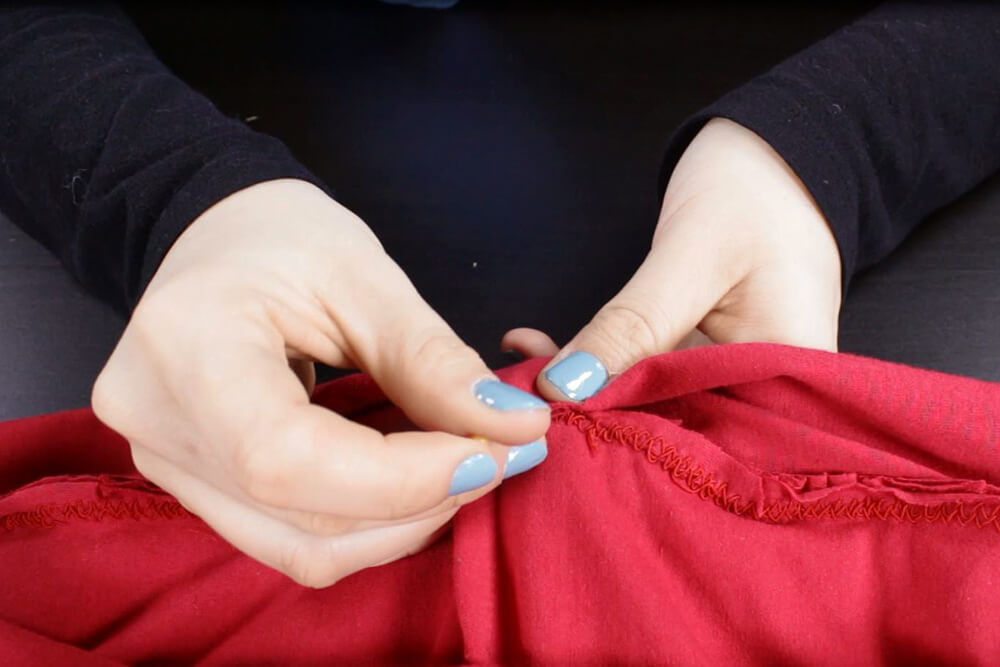
Starting a ¼” in from the top, stitch a straight line across. Leave 4-5 inches of thread before cutting it. ¼” down from there, stitch a second line. Stitch a third line ¼” down from the second line.
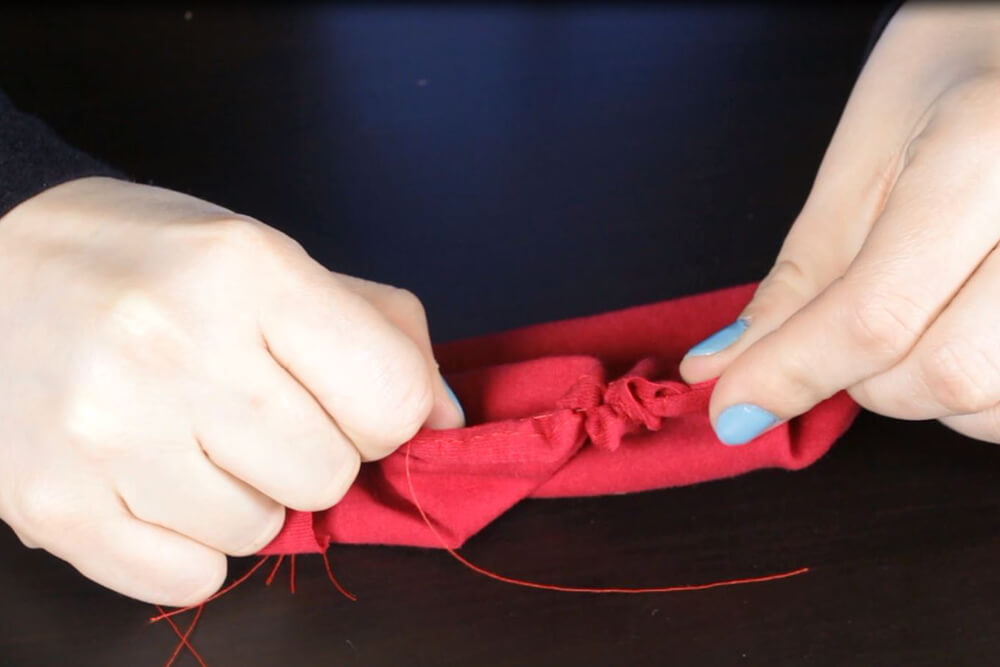
Gently pull and tug on the thread to gather the fabric together. Line the fabric up to the connector piece to make sure they’re both the same length.

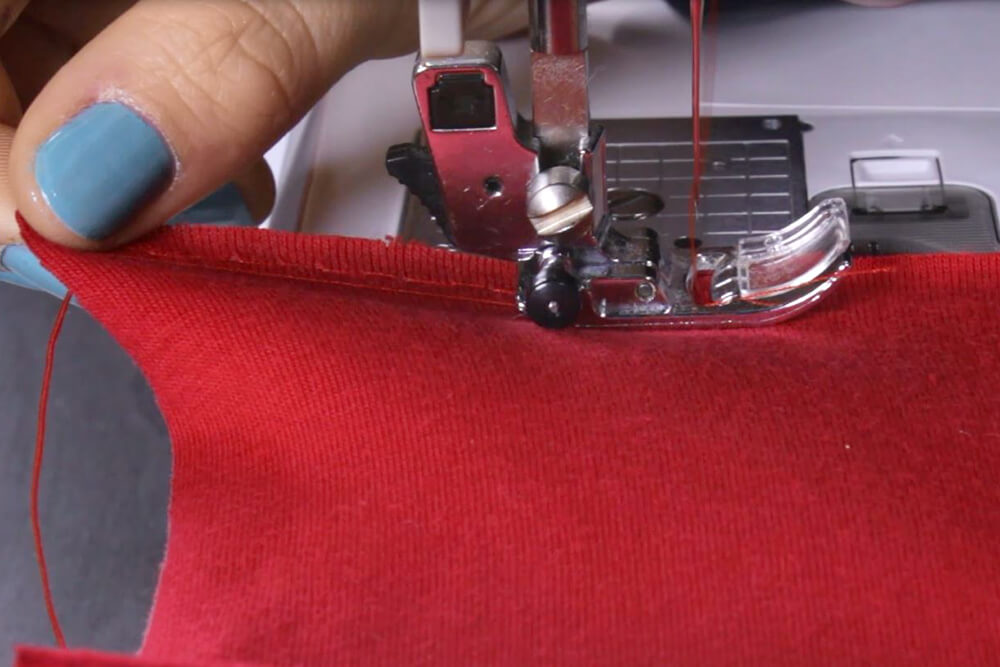
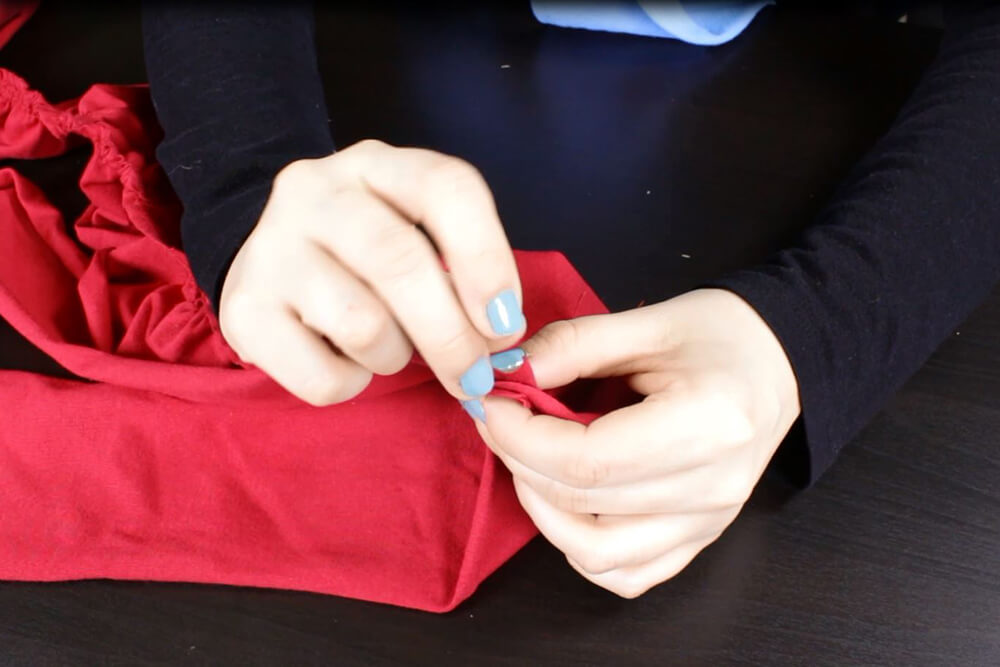
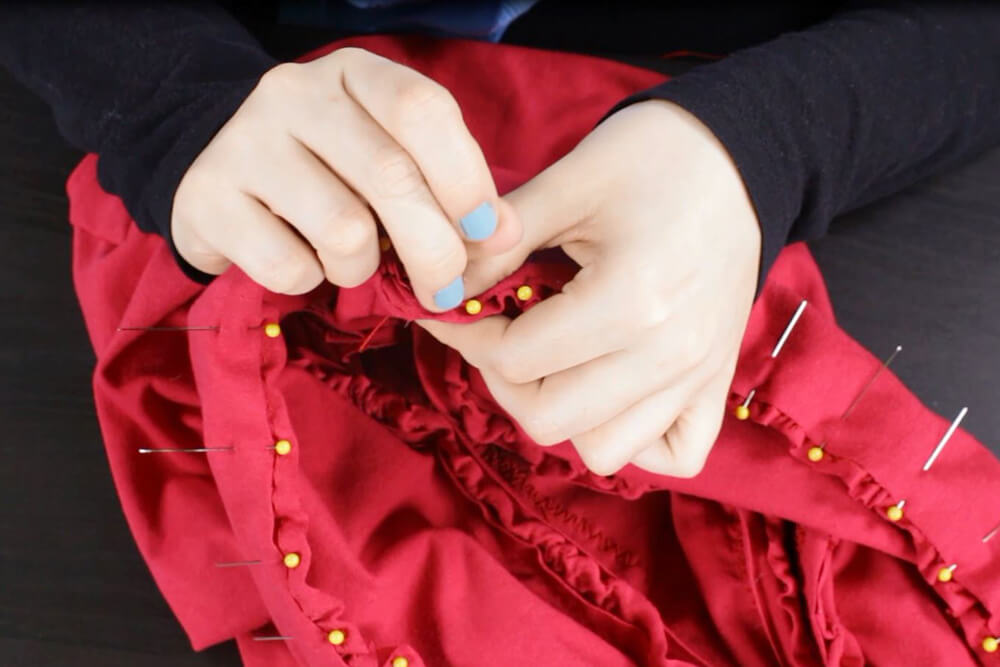
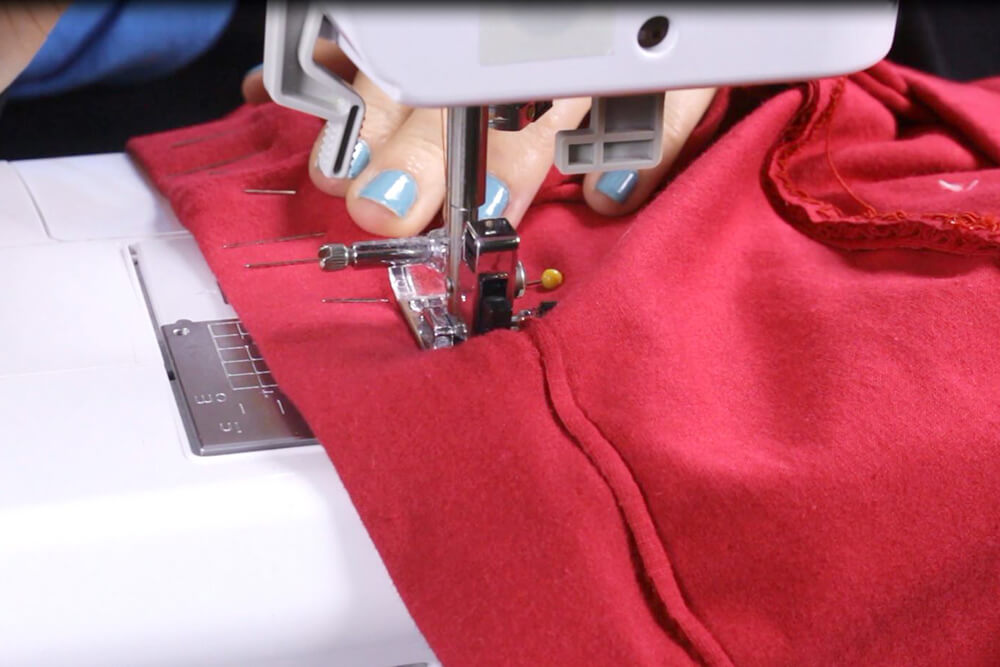
Step 4: Attach the connector pieces to the ruffles
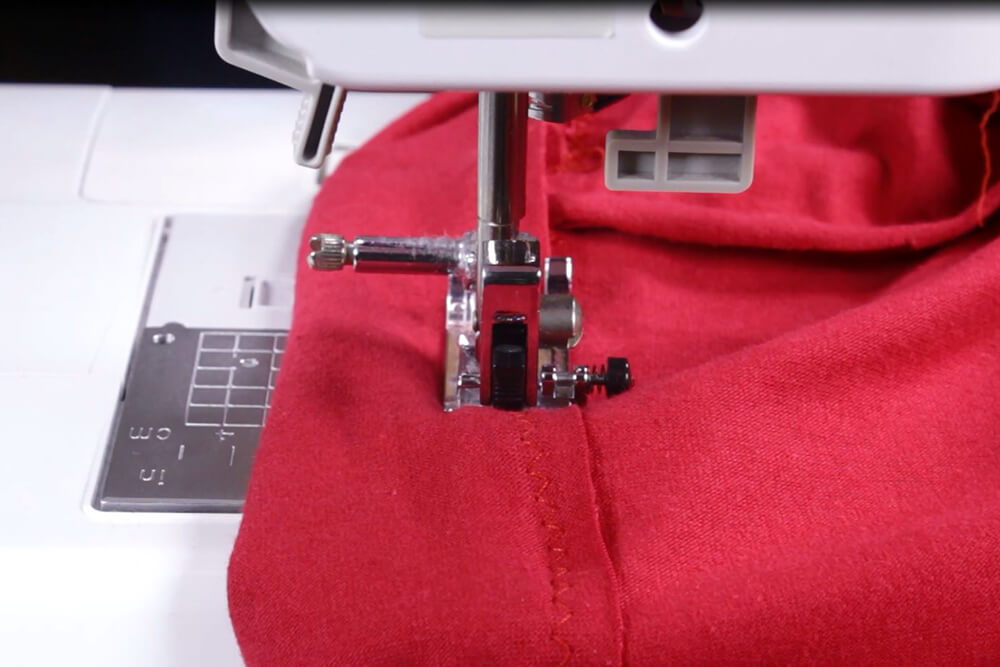
For a zigzag stitch, make sure the length is 2.5 mm and the width is 3 mm. By setting it at this length and width, it helps the stitch stretch with the fabric.
Starting from the bottom, pin and zigzag stitch the right side of the connector piece to the right side of the ruffle using a 1” seam allowance.
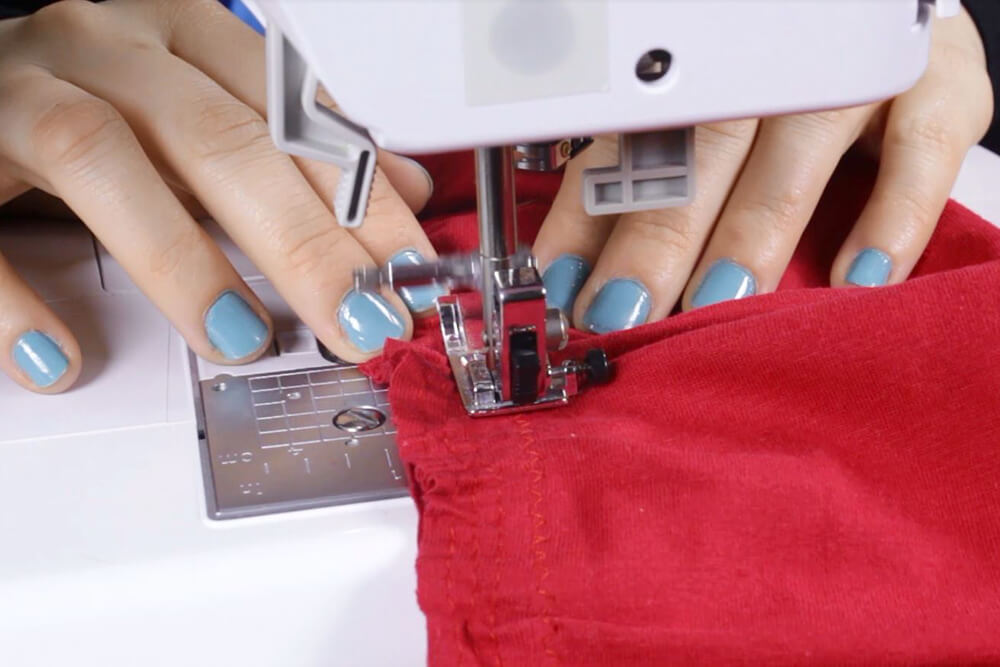
Fold the connector piece up. Pin and stitch the wrong side of the second ruffle along the top. Pin and stitch the right side of the second connector piece to top of the second ruffle and fold up.
Continue this step for the next two ruffles.


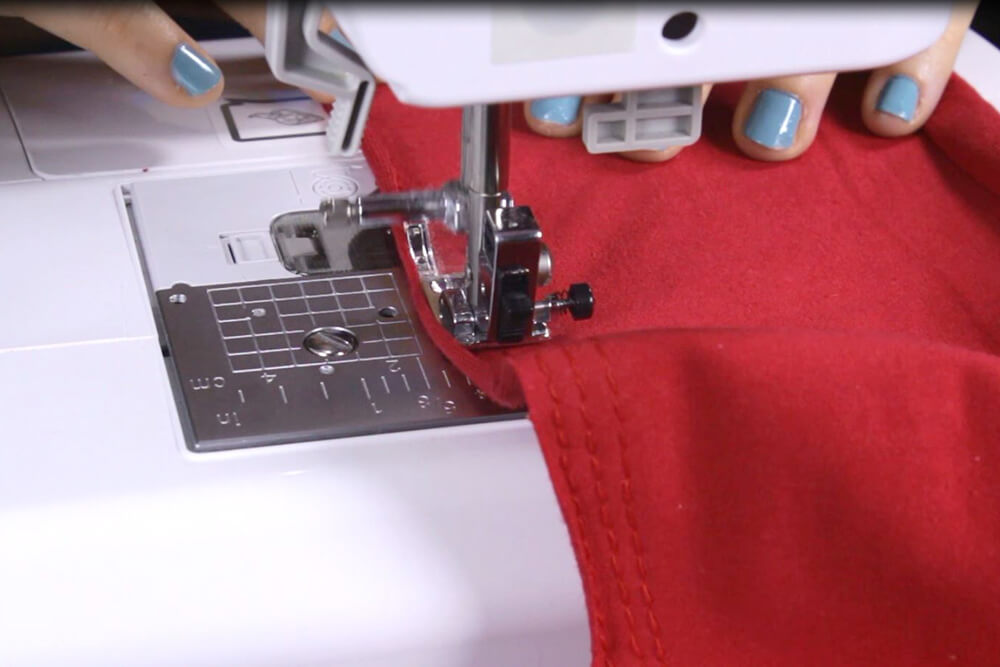
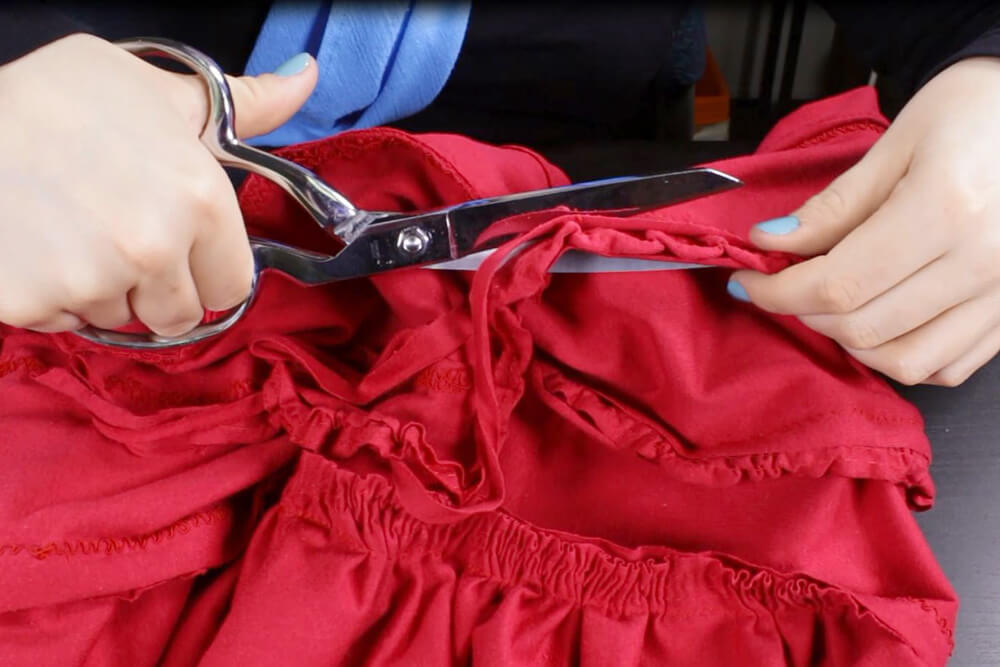
Step 5: Connect the waistband
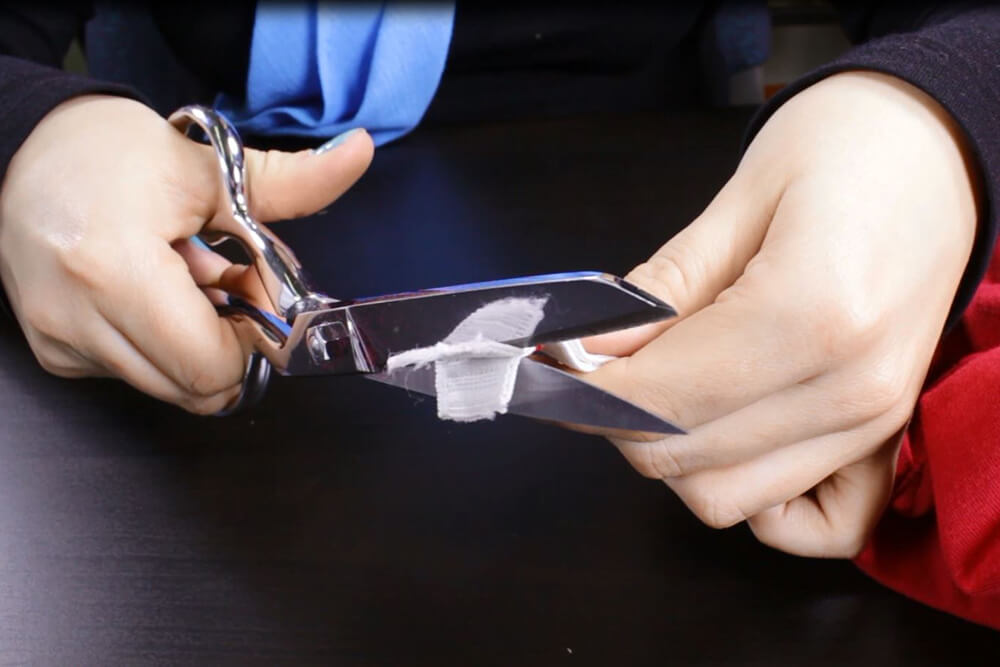
First trim the inside seams down ½”. The last connector piece will be the waistband. Since we’re using 1 inch elastic, trim the waistband down 1/2 inch on each side.
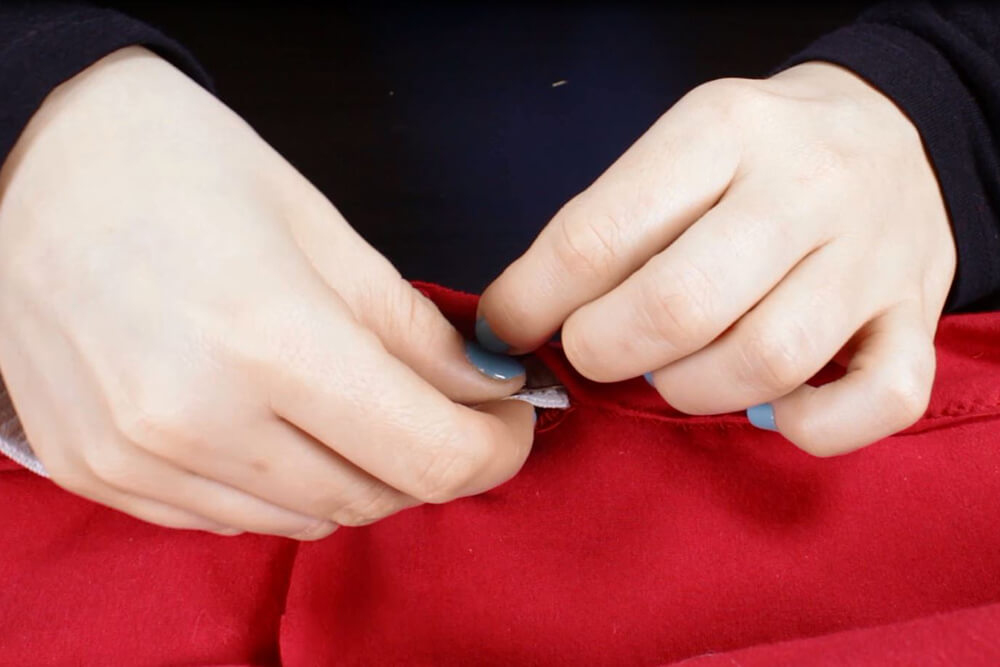
Pin the right side 1/2“ down from the top and stitch with a ½” seam allowance.
Fold the waistband over and pin on the inside. Zigzag stitch along the inside seam leaving 2″ open at the end.
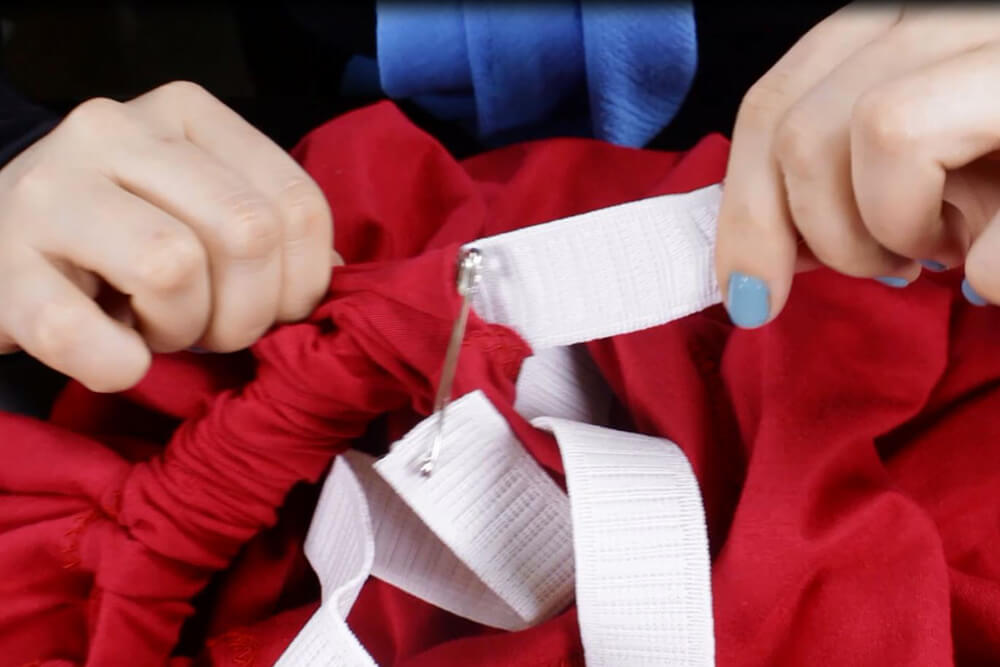
Step 6: Insert the elastic
To insert the elastic, attach safety pins to both ends. Attach 1 end to the opening of the fabric. Insert the other end through the waistband and use the safety pin to pull the elastic through.
Once it’s through, remove the safety pins, overlap the ends ½”, and zigzag stitch.
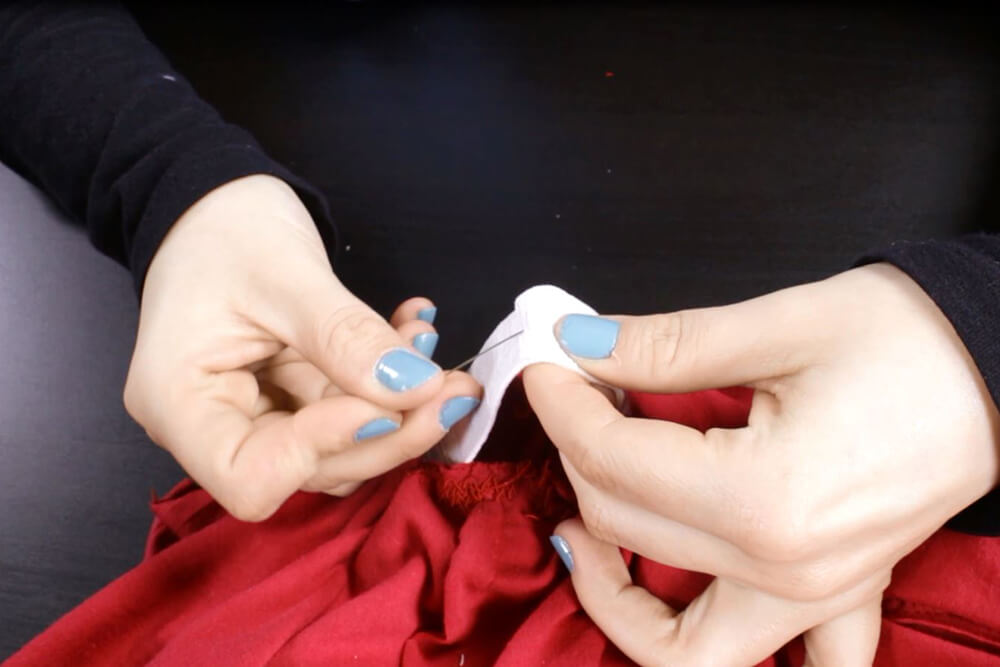
Snip off any extra fabric at the seam. Stitch the opening over the remaining elastic, and your tiered ruffle skirt is now complete.
Ready to try it out? Browse our selection of jersey knit fabric!
-
{{#each productSuggestedQueries.results}}
- {{query}} {{/each}}
-
{{#each categories.results}}
- {{html title}} {{/each}}
{{html attributes.description}}
{{/if}}-
{{#each queries.results}}
- {{query}} {{/each}}