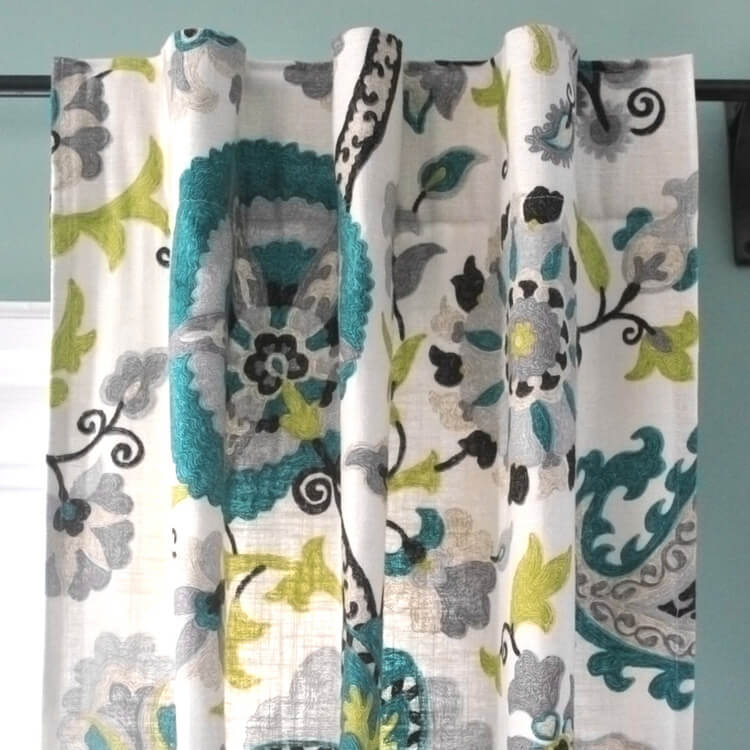
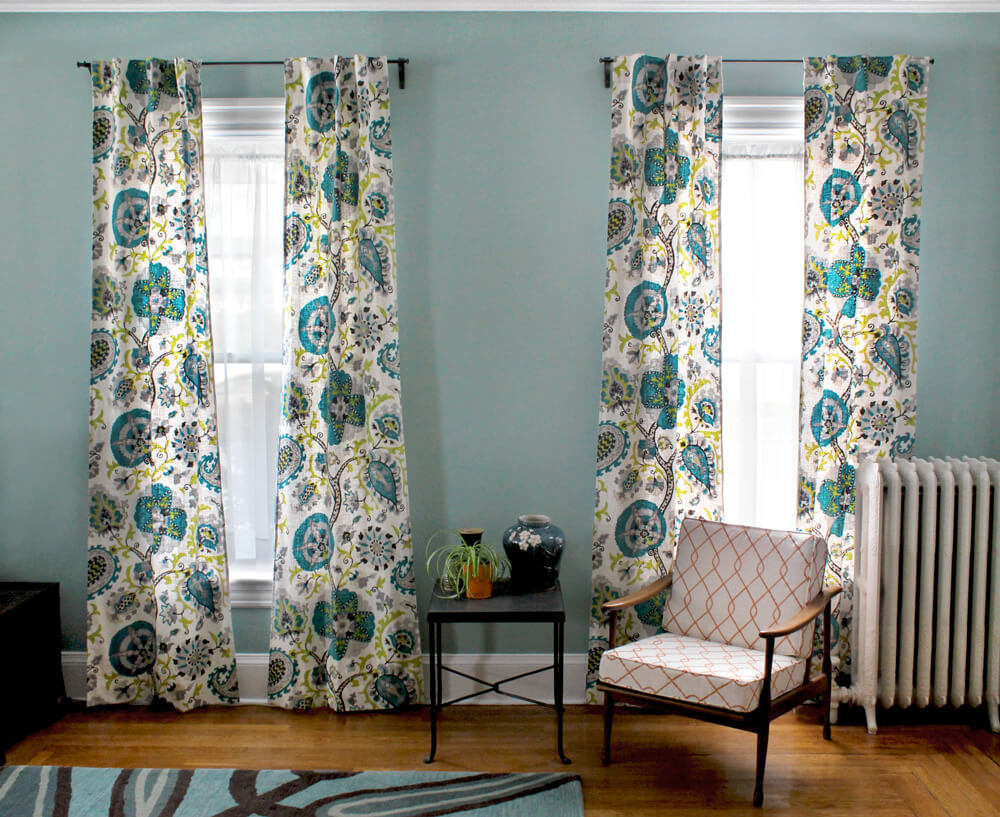
How to Sew Lined Back Tab Curtains
- By Clara
- Beginner
- 2 hours
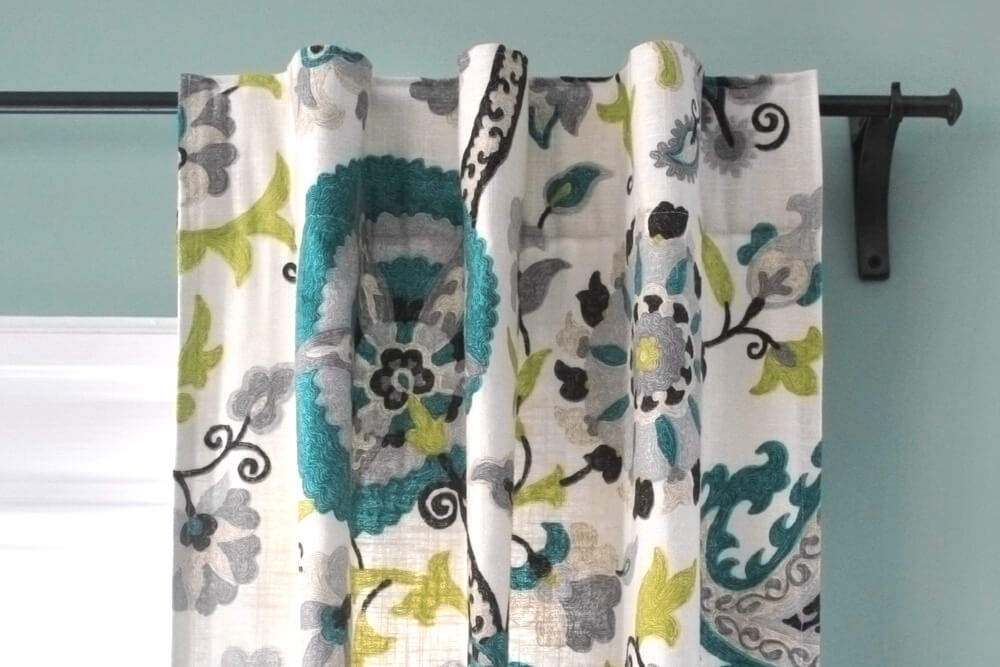
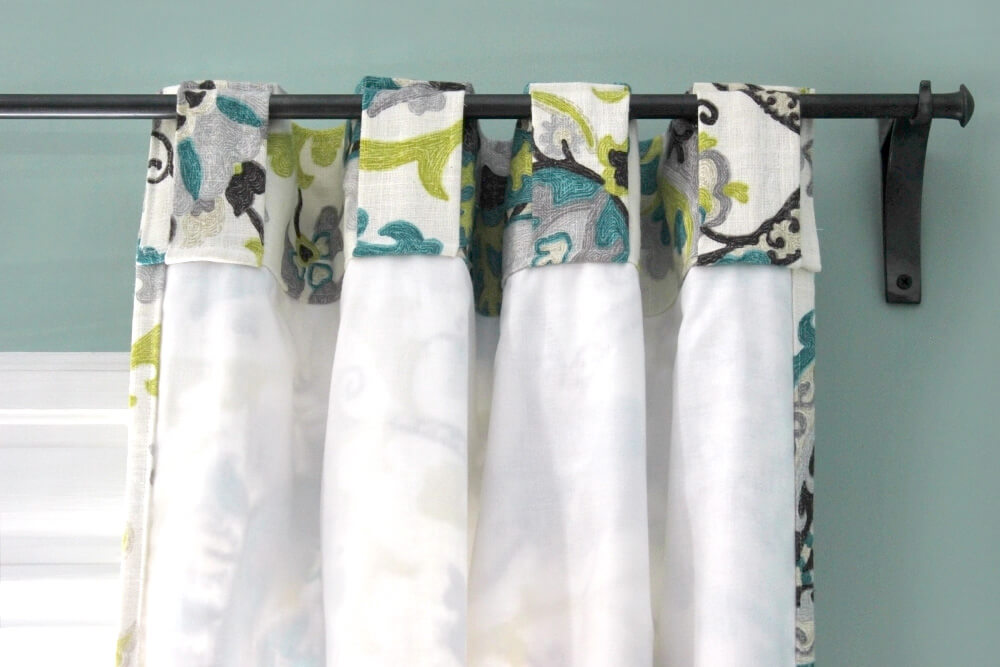
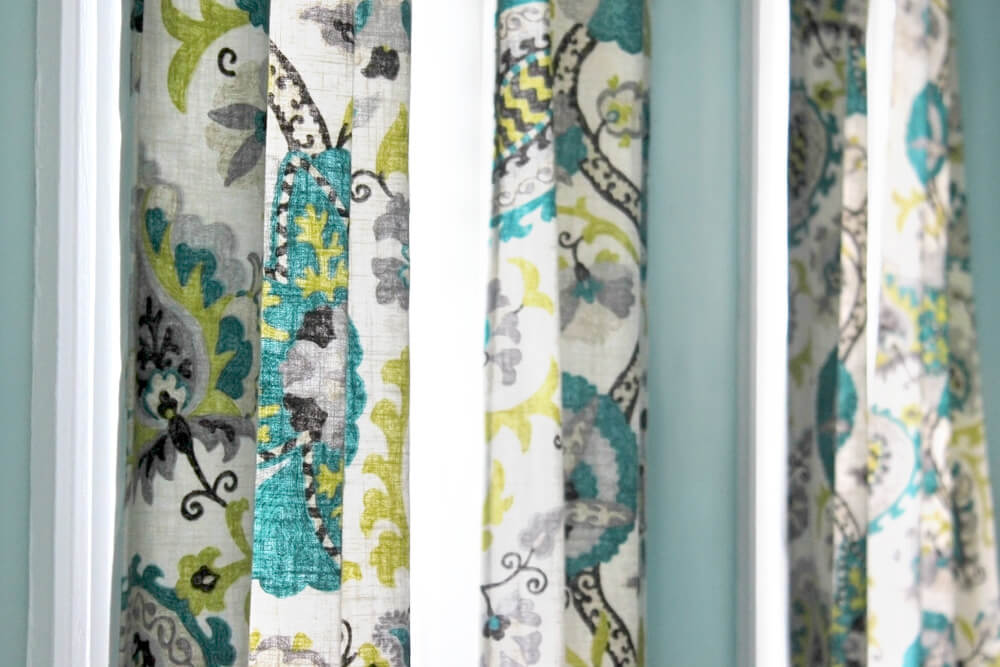
Making your own custom curtains with the drapery fabric of your choice is a great option and surprisingly easy. Back tab curtains hang from tabs hidden on the back of the curtain panel. They have a seamless look, top to bottom, that can fit in any style, from modern to traditional. When open, the tabs create pleats that have a nice drape, but aren’t too formal. These curtains also have a drapery lining to help protect them from sun and moisture damage. Find out more about drapery lining in How to Pick Drapery Lining.
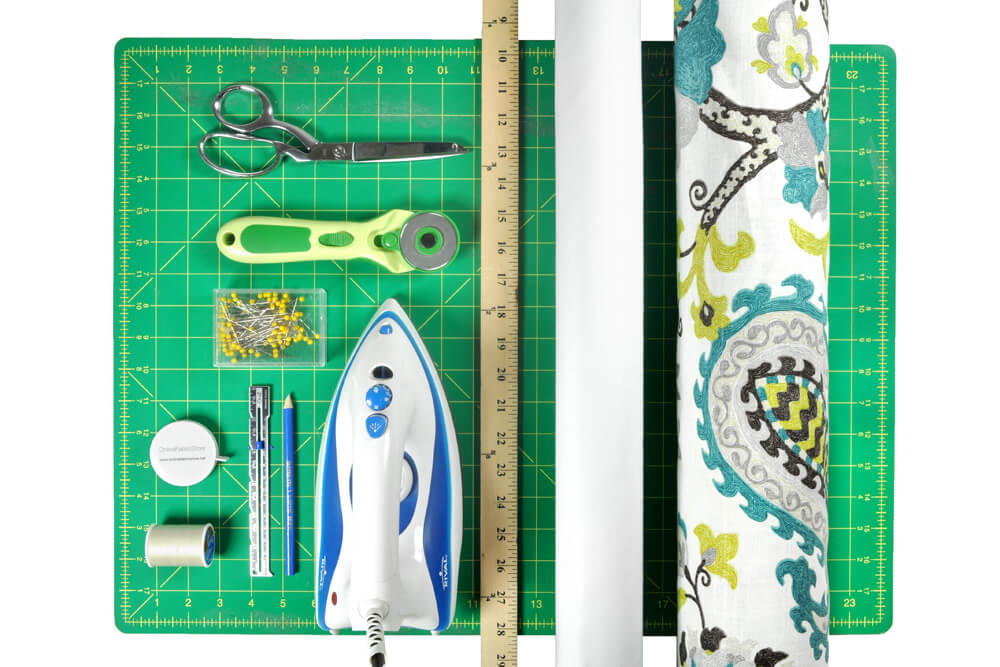
Materials
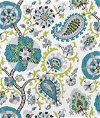
- Drapery fabric
- Drapery lining fabric
- Straight edge
- Iron & ironing board
- Rotary cutter
- Scissors
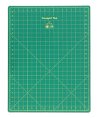
- Cutting mat
- Fabric marker
- Sewing gauge (optional)
- Pins
- Measuring tape or ruler
- Thread
Related Products


Video
Instructions
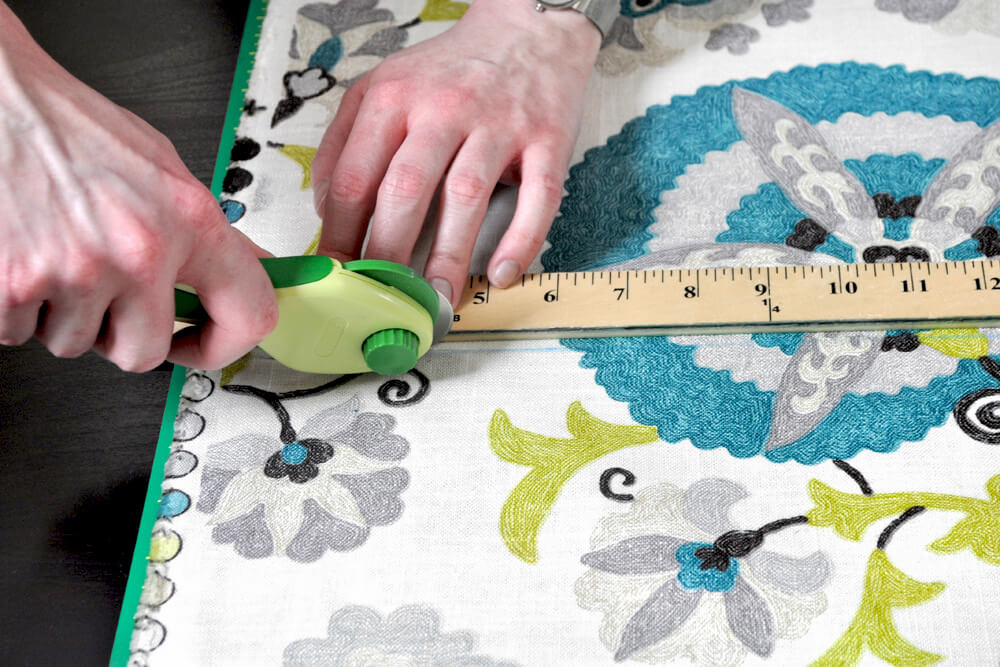
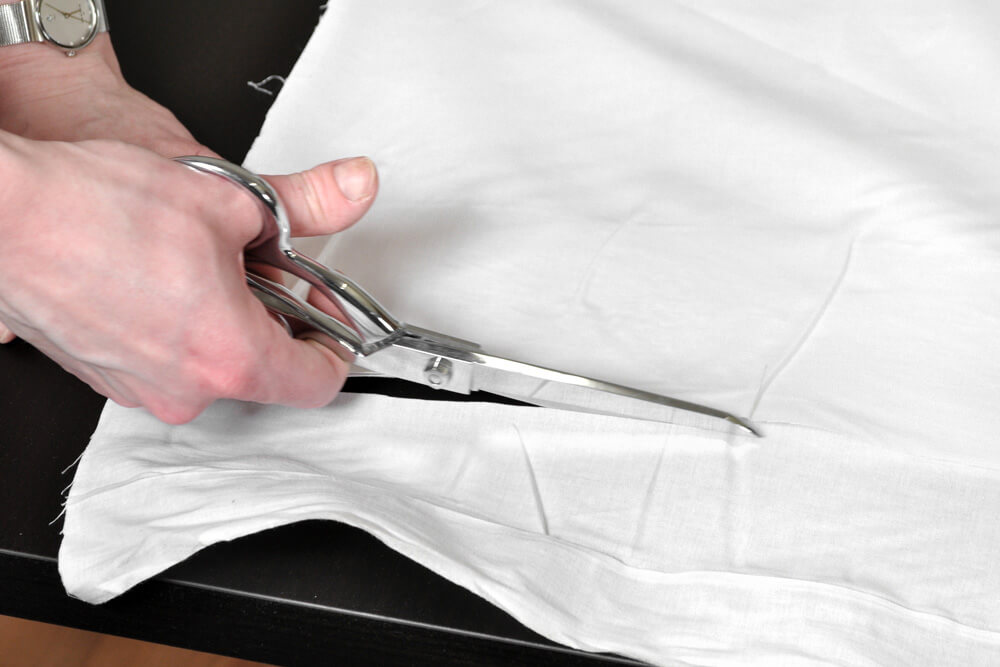
Step 1: Measure & cut the fabric
To determine the length to cut your main fabric, add 10” to your desired finished length. Add 3” to your desired finished width of each panel.
For this project, I’m making 3 sets of curtains, with 2 panels per window. Each panel will be 25” x 95” when finished. I’m using 10 yards of the main fabric and 9 yards of the lining.
Your dimensions will be different, so determine how tall and wide you want your curtains.
To determine the length to cut your main fabric, add 10” to your desired finished length. For this 95” panel, I’m cutting 105”. You may want to add an extra inch so when you hem the bottom, you’ll have a little extra wiggle room to get the curtain to fall exactly where you want.
Add 3” to your desired finished width of each panel. For my 25” panels, I’m cutting the fabric in half to get two 28” pieces. Most décor fabrics are 54” in width, but I’m also using the selvage edge to gain a little extra width.
Then cut the lining to the finished dimensions of the panels, which for me is 95” x 25”.
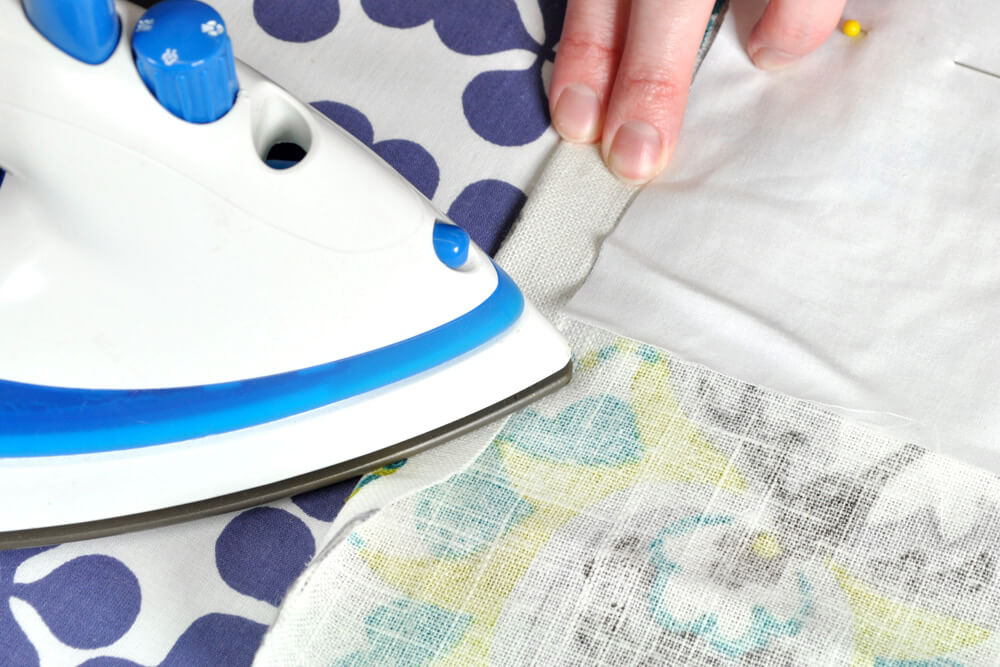
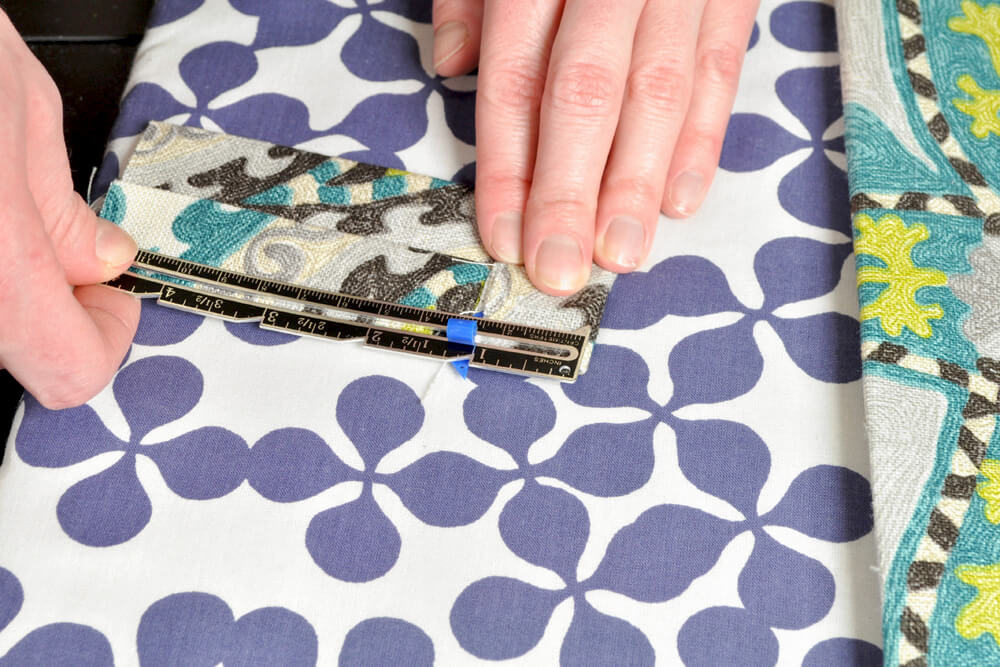
Step 2: Make the tabs
Cut 4.5” x 6” pieces for the tabs. The finished tabs will be 2” wide. You want about 6” of space between tabs, so I’ll need 4 tabs per panel.
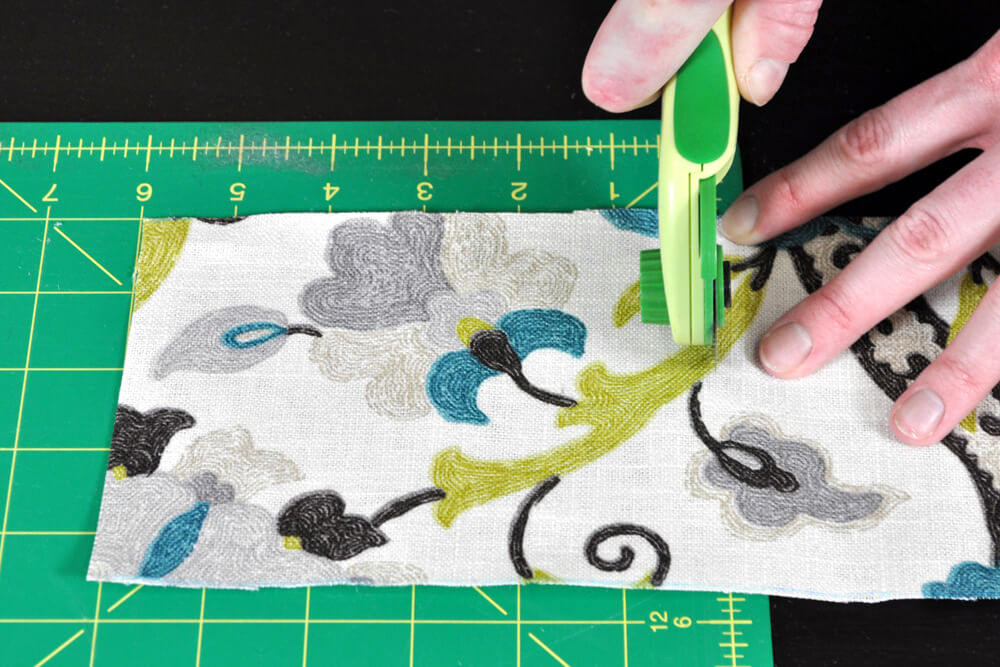
Fold one of the pieces in half with right sides facing. Sew along the raw edge with a 1/4” seam. Back stitch at the beginning and end.

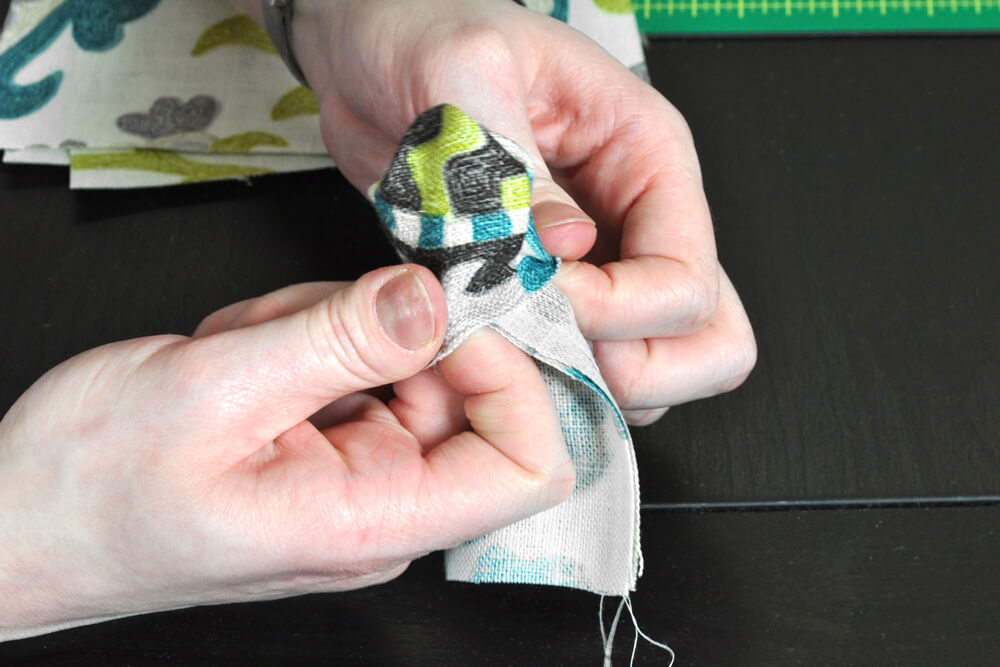
Another option is to use a wide ribbon cut into 6” lengths to make the tabs since they’ll be hidden once hung.
Turn the tube right side out. Put the seam in the center and iron it flat. Repeat for the rest of the tabs and set them aside.
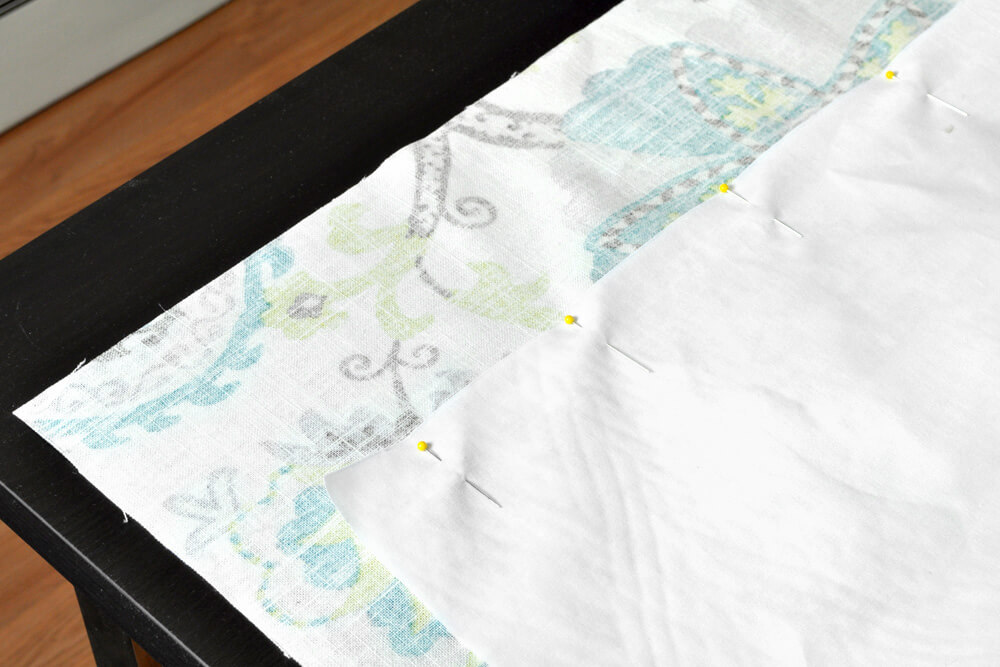
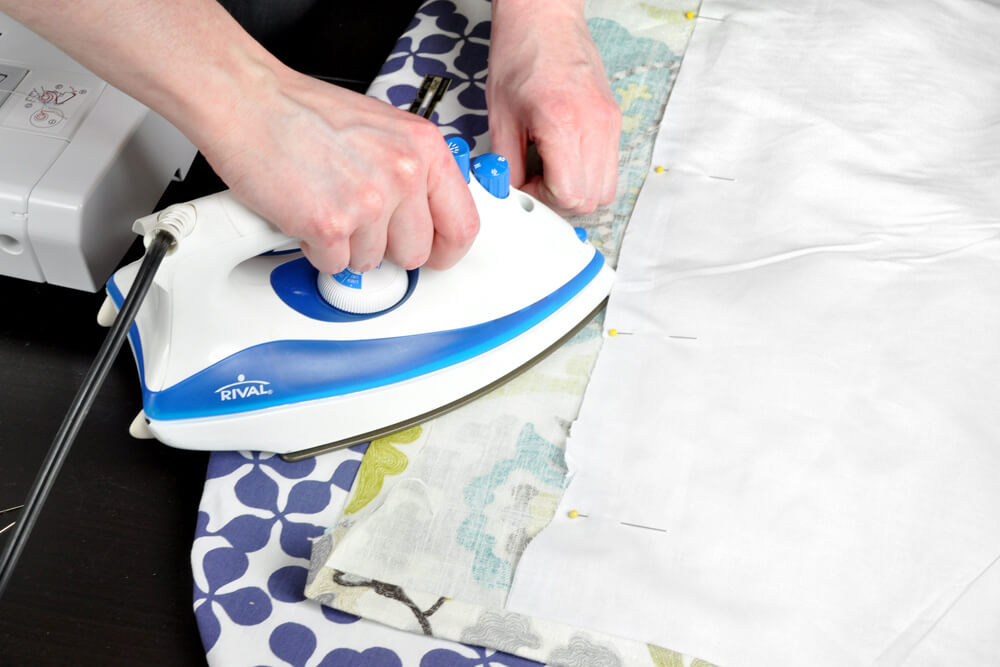
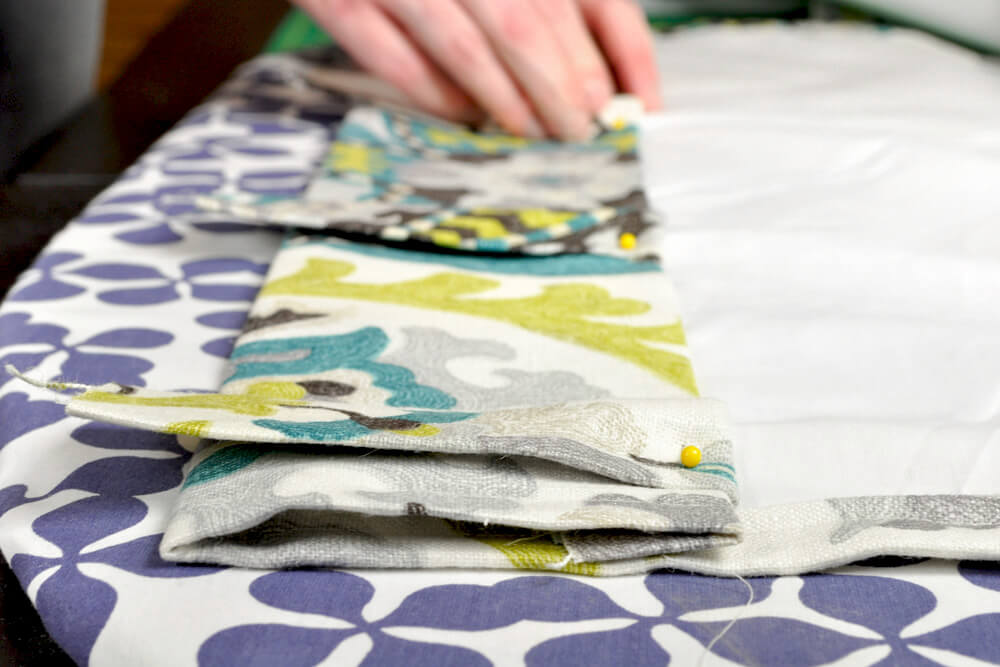
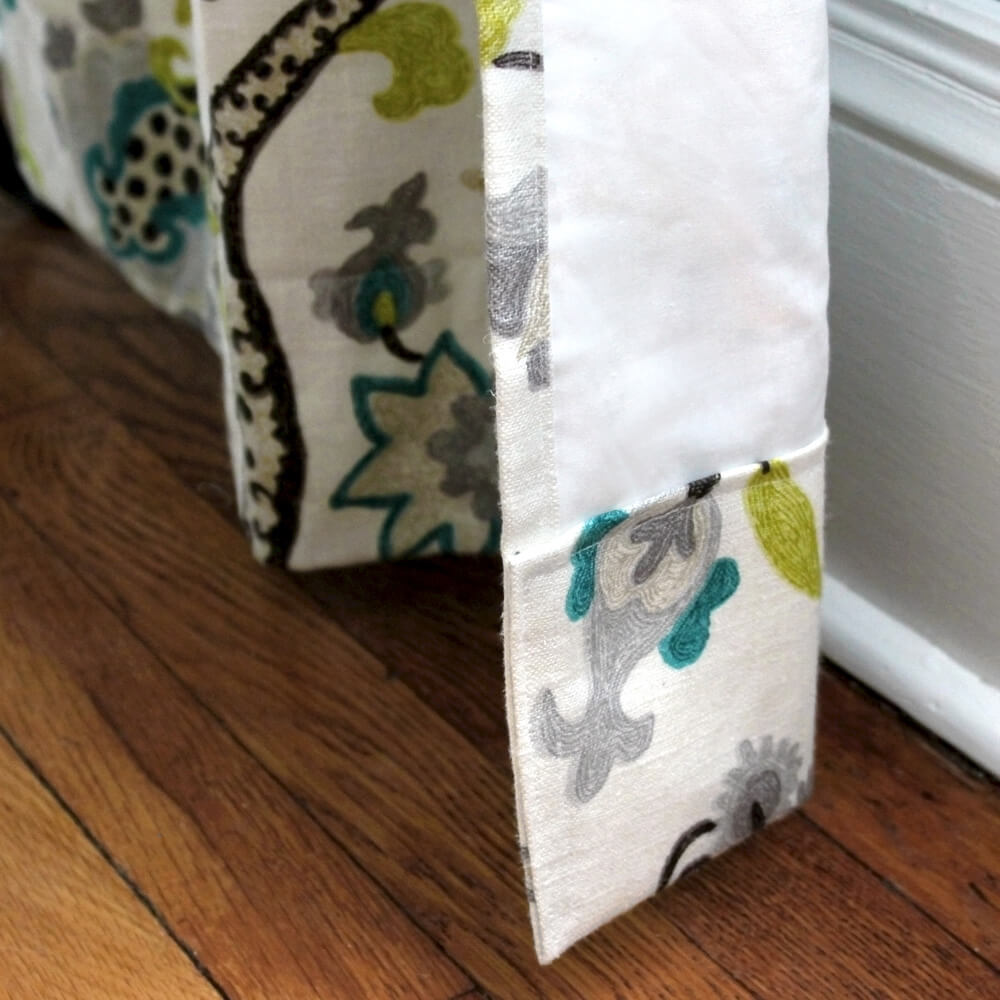
Step 3: Pin fabric and lining
With the main fabric facing down, center the lining with 5” on each end and 1.5” on the sides. Pin around all the sides.
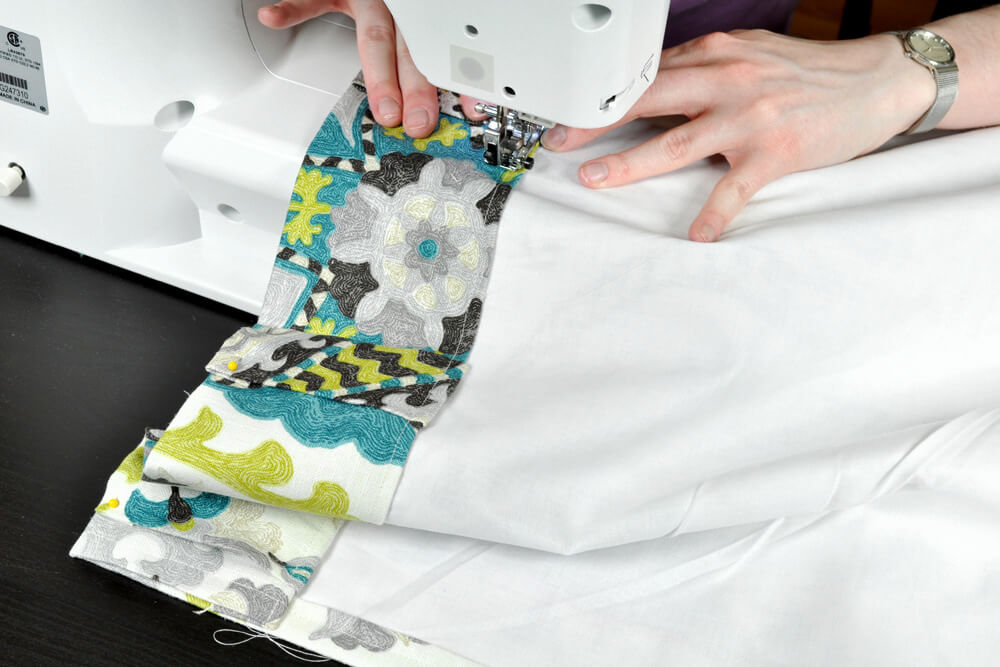
Step 4: Sew the sides & bottom
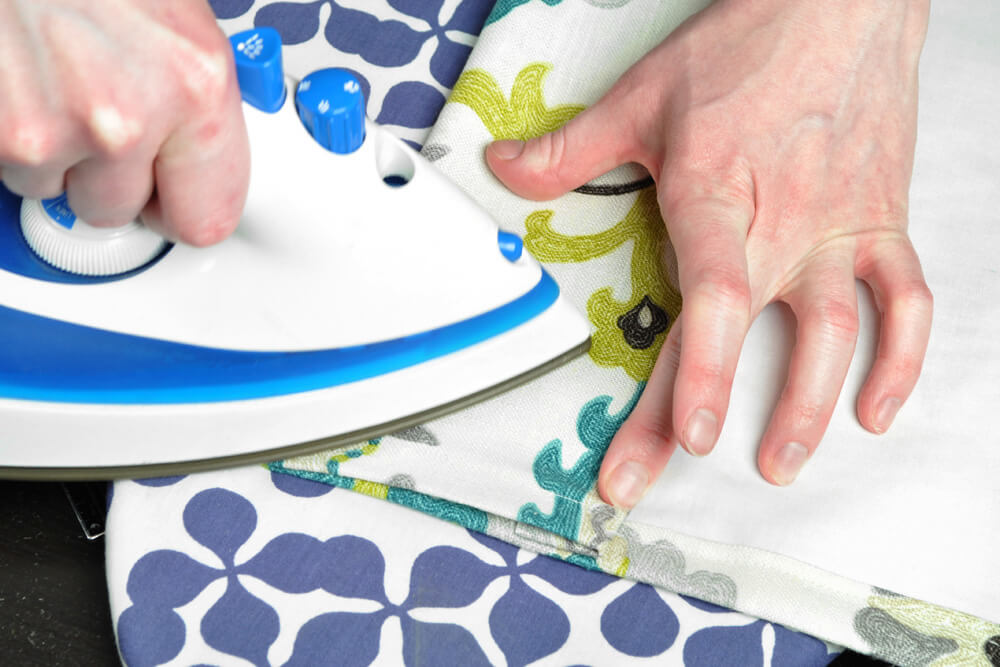
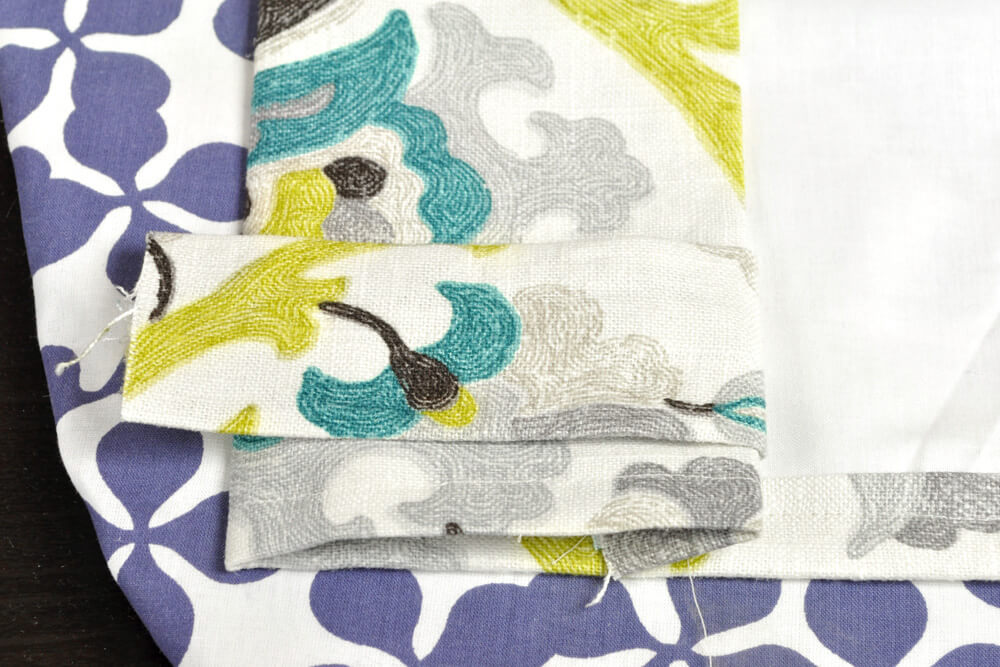
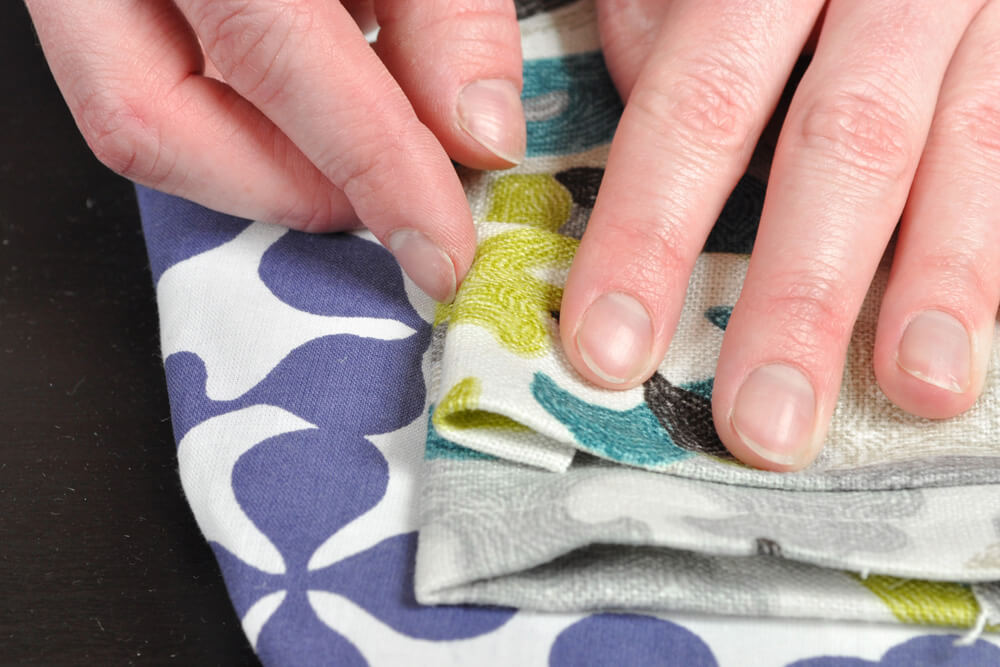
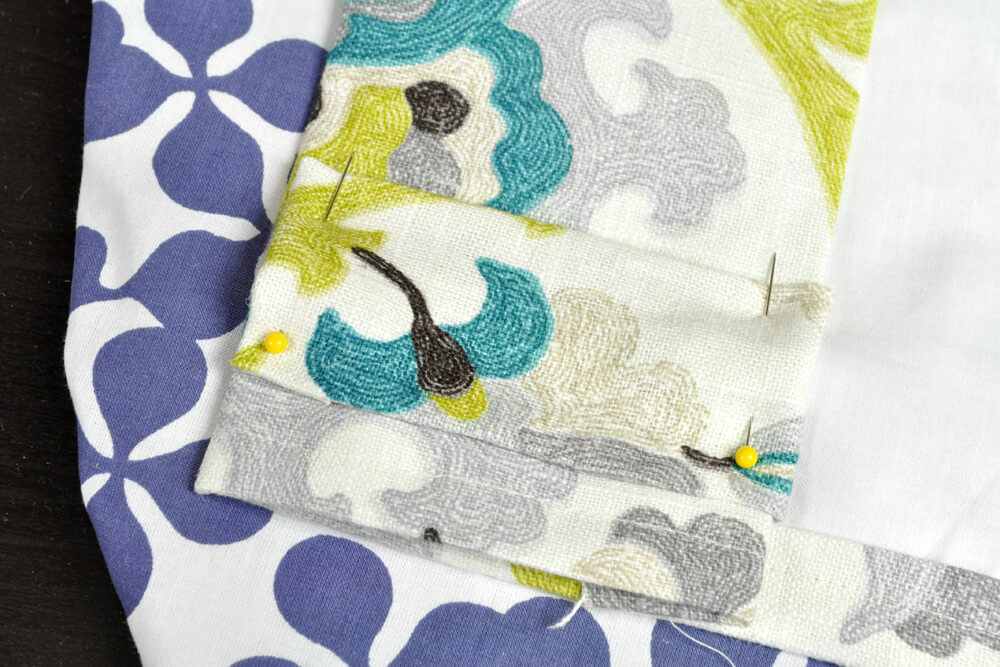
On the sides, fold over the edge ¾” and iron. Then fold it over ¾” again, iron, and re-pin.
Sew down the length about 1/8” to ¼” from the inside fold. Repeat for the other side.
If you want a double folded hem, which will add a little more weight to the bottom, fold the fabric over 4” twice instead. Just account for this when cutting the length of the fabric.
For the bottom hem, fold the fabric in 1” and iron. Then fold it over again another 4” and iron.
If you want to make sure the bottom of the curtain falls exactly where you want, leave the bottom hem to the last step and hang the panel first. Then you’ll know exactly how much to hem.
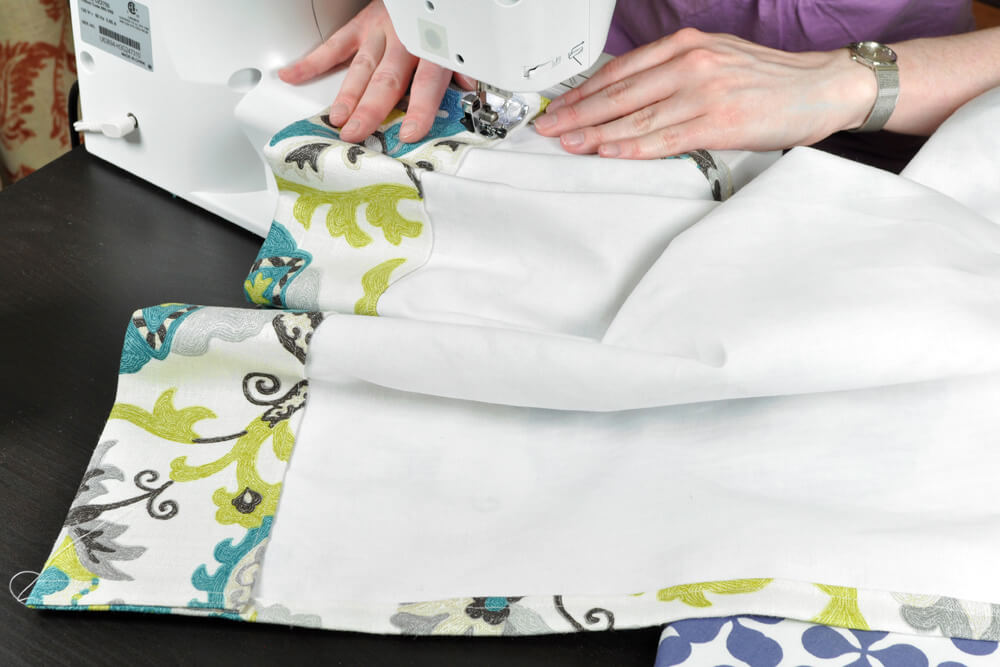
Starting at the bottom corner, sew up the side, pivot at the top of the fold, and sew across to the next corner. Pivot again and sew along the side to the bottom corner.
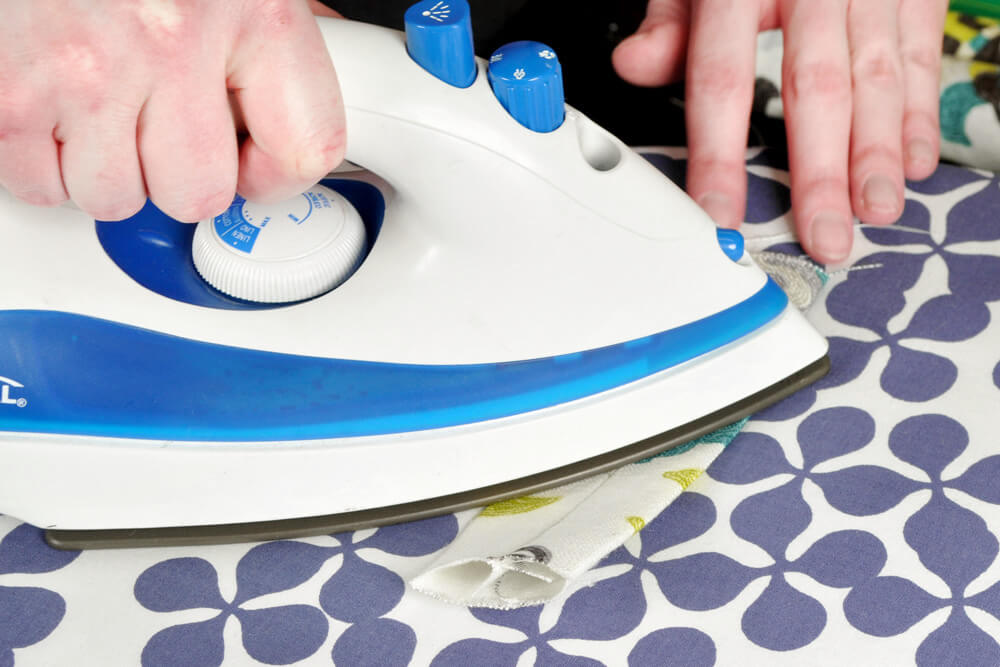
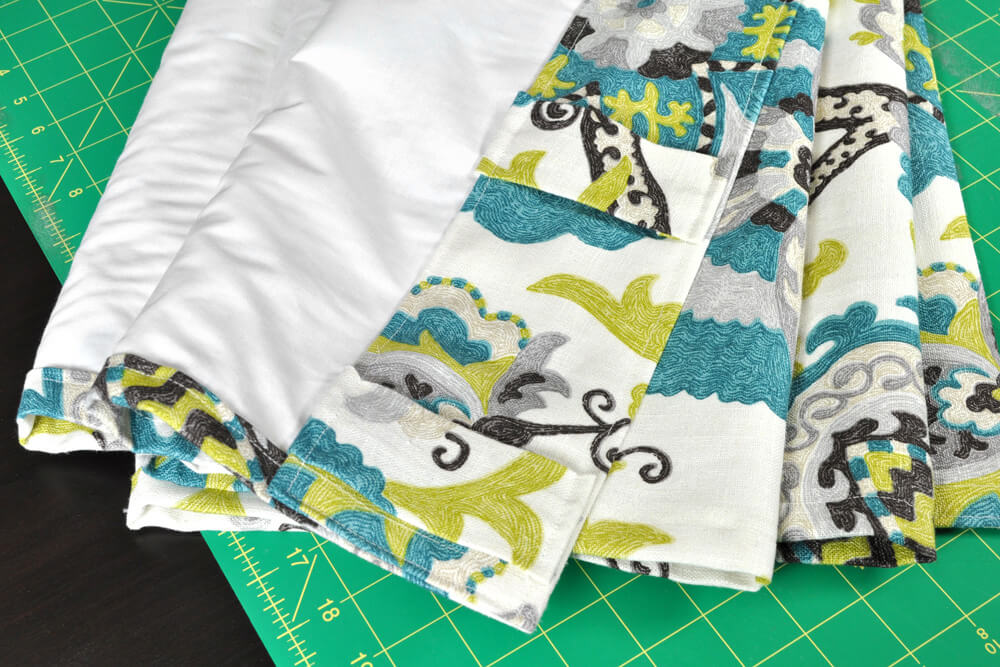
Step 5: Sew top & tabs
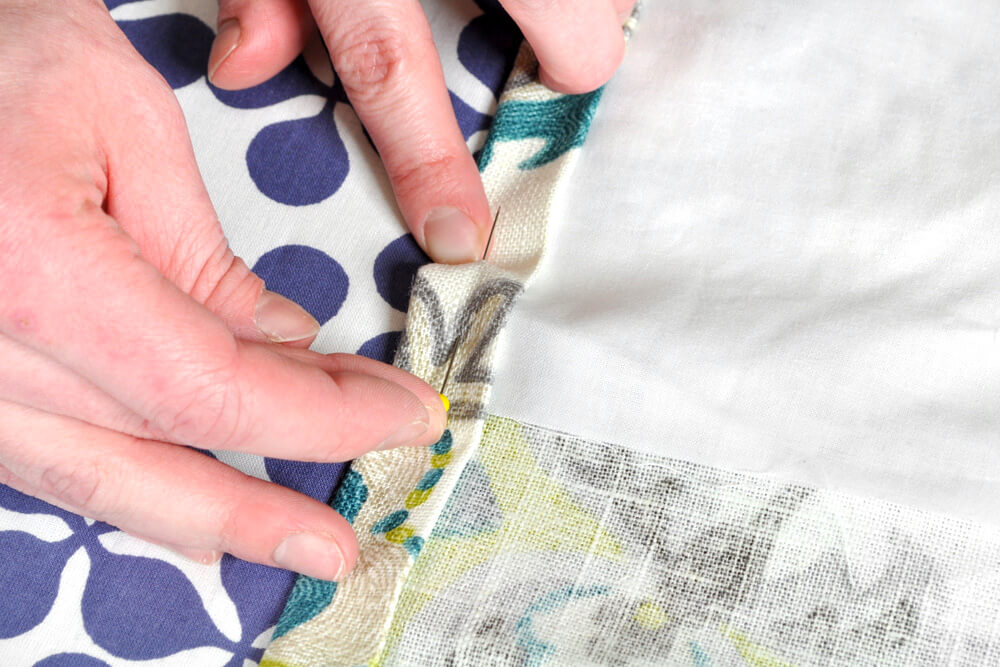
Repeat the same steps for the top as for the bottom, but stop before sewing. Fold over the end of a tab 1” and iron.
Take the folded end and tuck it under the bottom edge of the top fold. Do the same for the rest, spacing them out evenly. Pin in place.
Then fold under the top end of the tab so it’s even with the top of the curtain. Iron and pin. Repeat for the rest of the tabs.
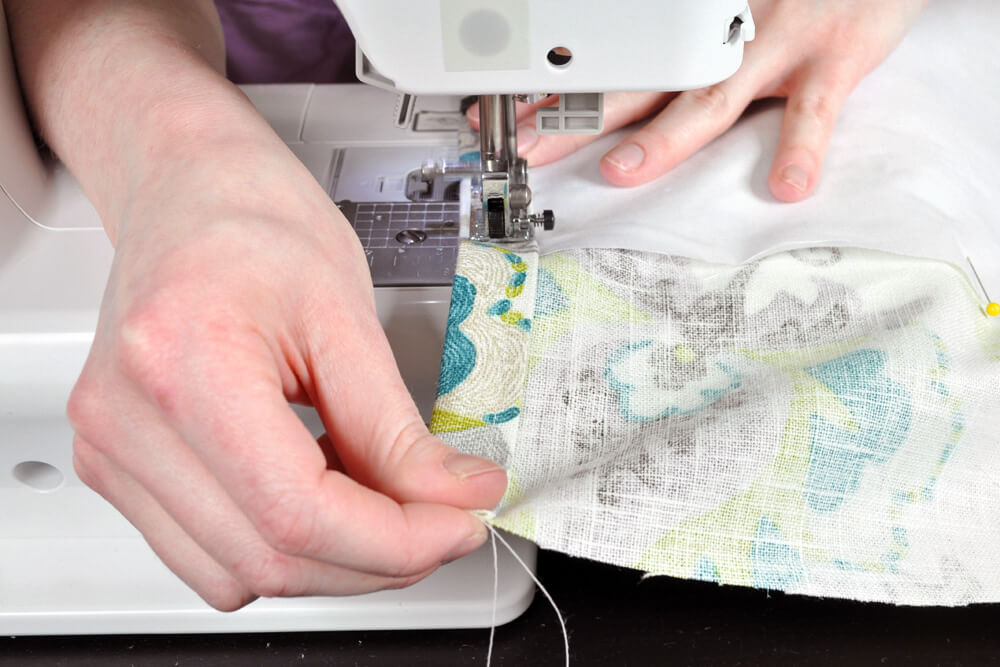
Finally sew around all the sides of the top to secure the tabs. The curtain panel is complete!
Looking for more beautiful drapery fabric? Click here!
-
{{#each productSuggestedQueries.results}}
- {{query}} {{/each}}
-
{{#each categories.results}}
- {{html title}} {{/each}}
{{html attributes.description}}
{{/if}}-
{{#each queries.results}}
- {{query}} {{/each}}