
Start by hand winding the elastic thread onto the bobbin. You don’t want to make the thread tight so try not to put any tension on it when winding.
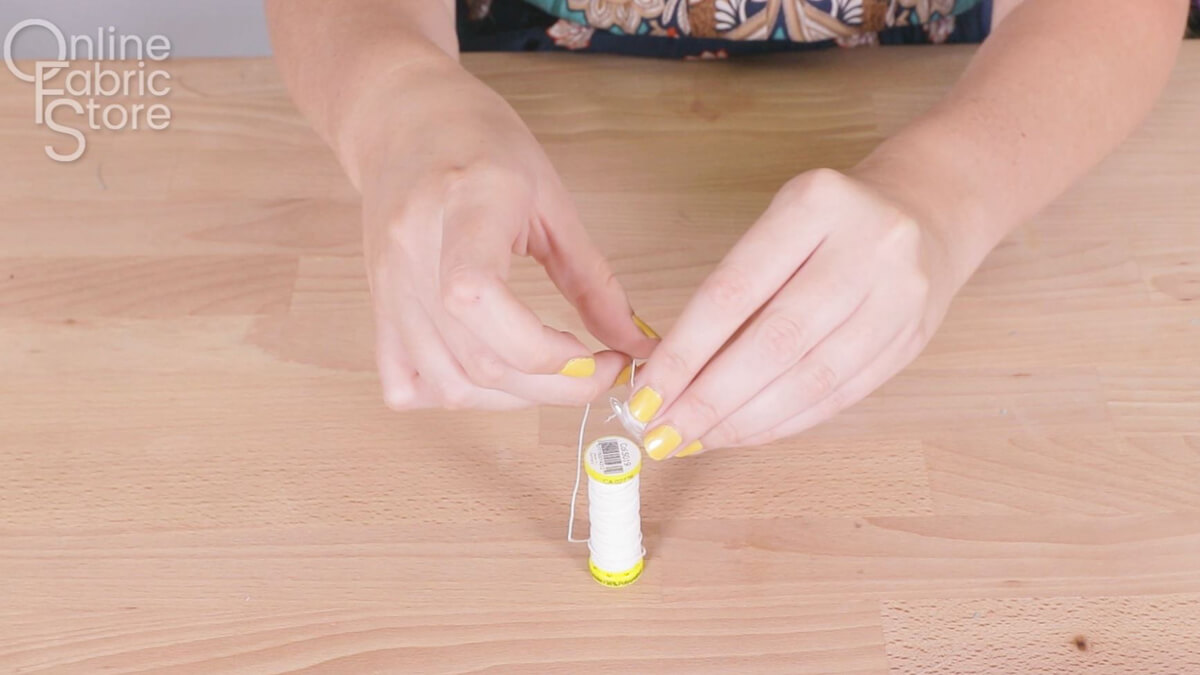 Hand wind thread
Set your stitch length to as long as it will go.
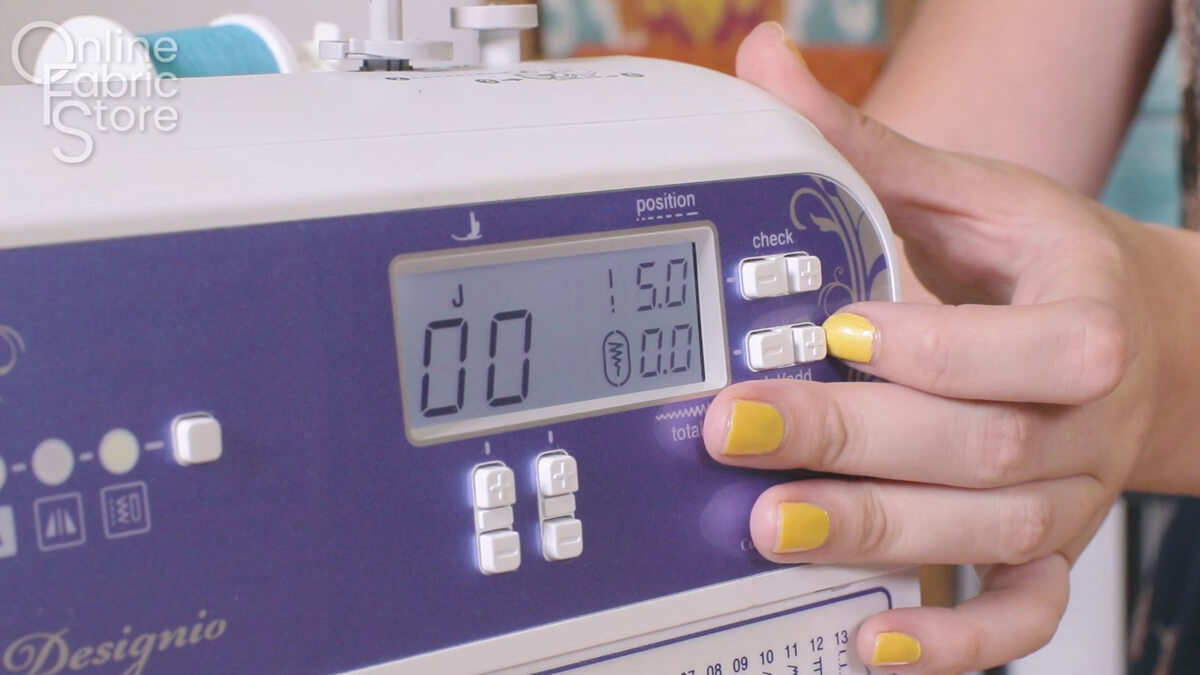 Set stitch length
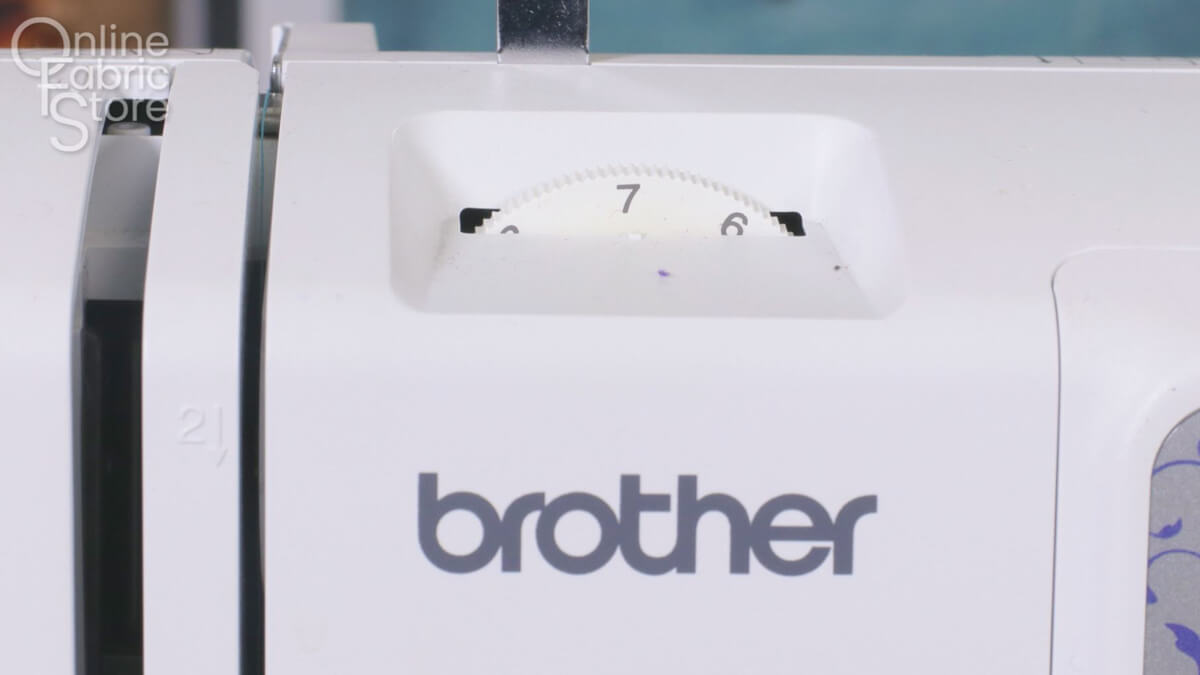
UNLESS you have a top loading brother machine (like me) (IF YOU DO, skip this step and go to the next)
You also want to set your tension a little higher than normal. Around a 7 for most cotton fabrics but you are going to want to test the fabric to find that sweet spot.
 Tension
Don’t forget to loosed it back up when you are done!
If you have a top loading brother, you are going to have to take an extra step.
So instead of changing the tension on your machine, take off the cover over the bobbin case and slide out the bobbin case as well.
On the case there is a green screw, you are going to want to tighten that. I don’t have a screwdriver that small so I am using a random tool that fits in there.
Put the bobbin in the case, replace the case and cover so it will not jump around when pulled, and then start sewing.
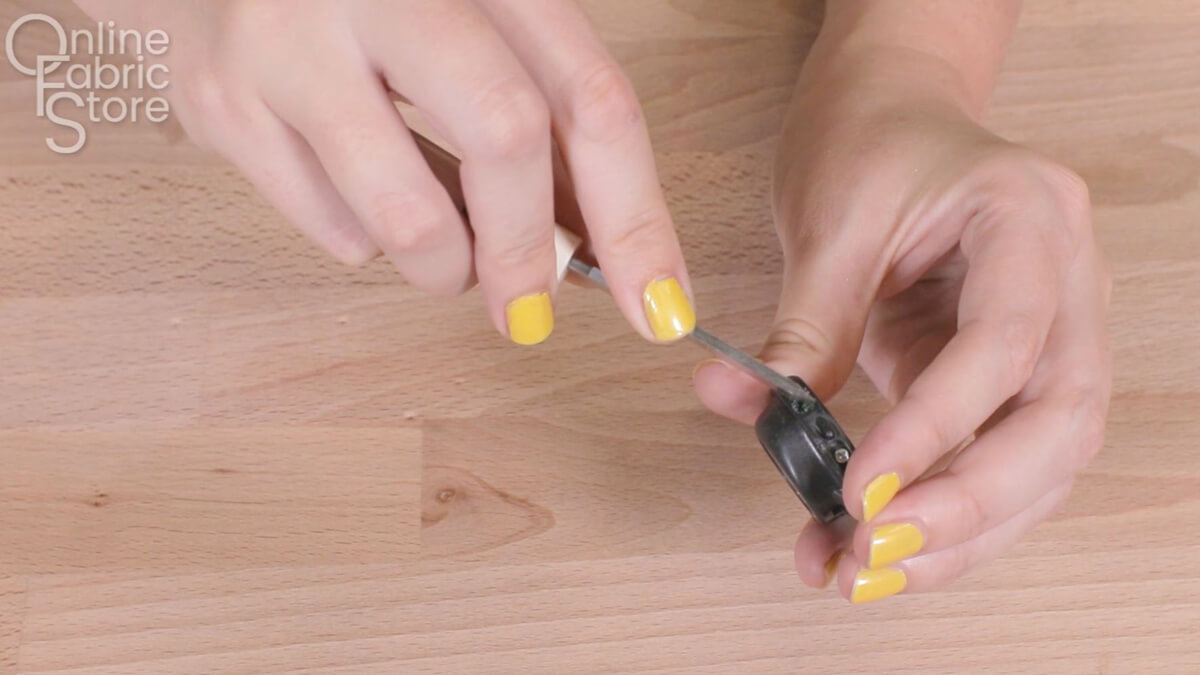 Tighten screw
Back stitch at the beginning or end.
You want to check to make sure you have enough elastic thread in the bobbin before making each shirred stitch line because the elastic needs to be the whole length of the stitch. So if you run out mid stitch, you need to start the stitch from the beginning.
Repeat this process as many times as necessary to finish your project.
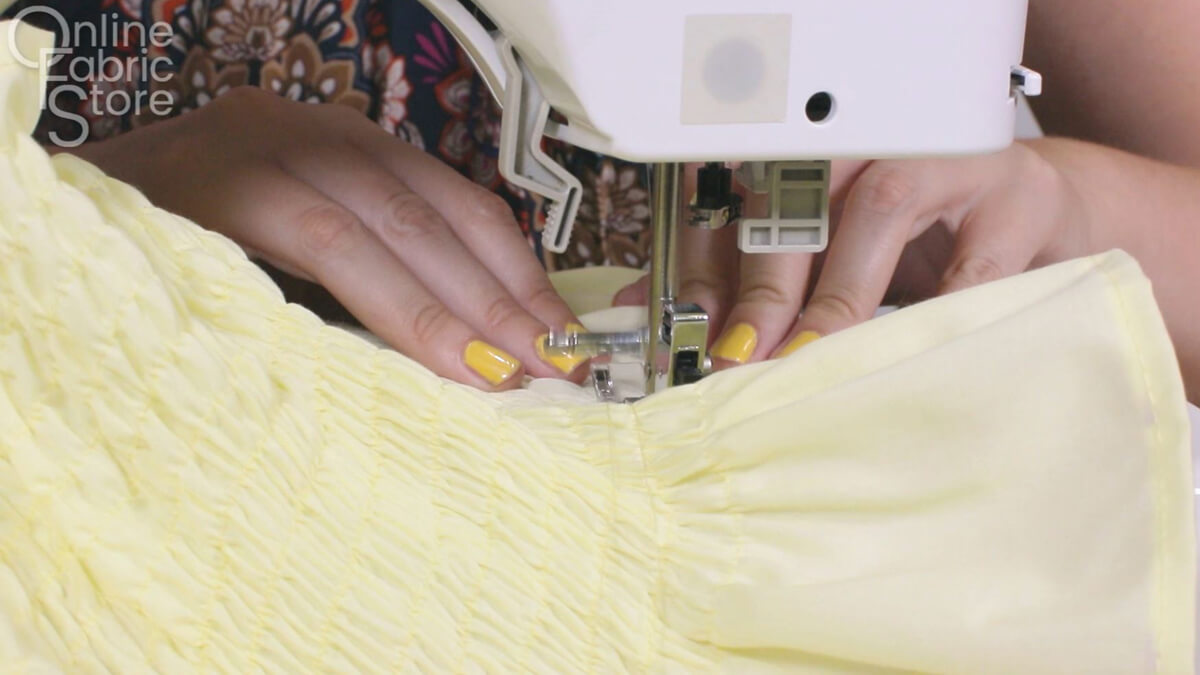
You want to make the lines the same distance apart.
Also, as you make more lines of shirred material, you want to make sure you are stretching out the fabric so where you are sewing lays flat.
 Stretch out the fabric
Note, that some fabrics shirr better than others, fabric that are too heave or to lightweight will not work. The perfect material for this technique is a cotton quilting fabric but other materials can work too. Test your fabric first to make sure it will work.
When you turn the fabric over, your thread should look like it is looping around the elastic, as opposed to a regular stitch where they meet in the middle of the fabric.
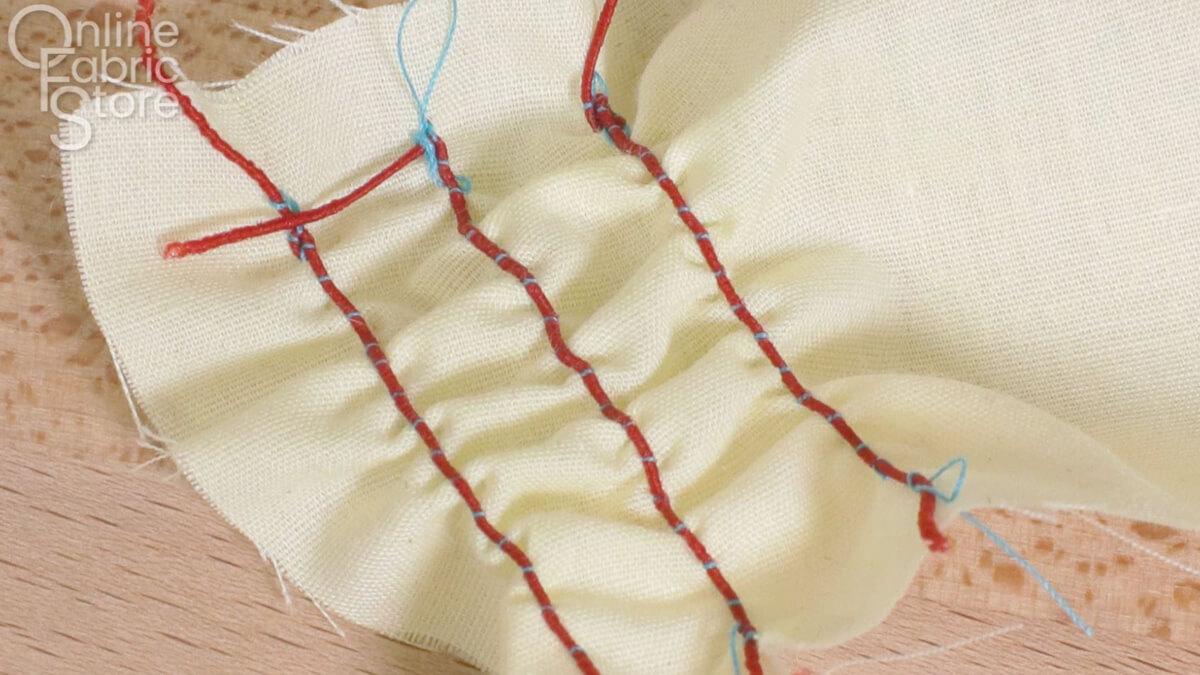 How it should look
Spray and iron
You can spray and iron your material so it will bunch up more.
 Spray and iron
And now you’re ready to tackle your next shirring project.