How to Stain Wood with Rit Dye
- By Clara
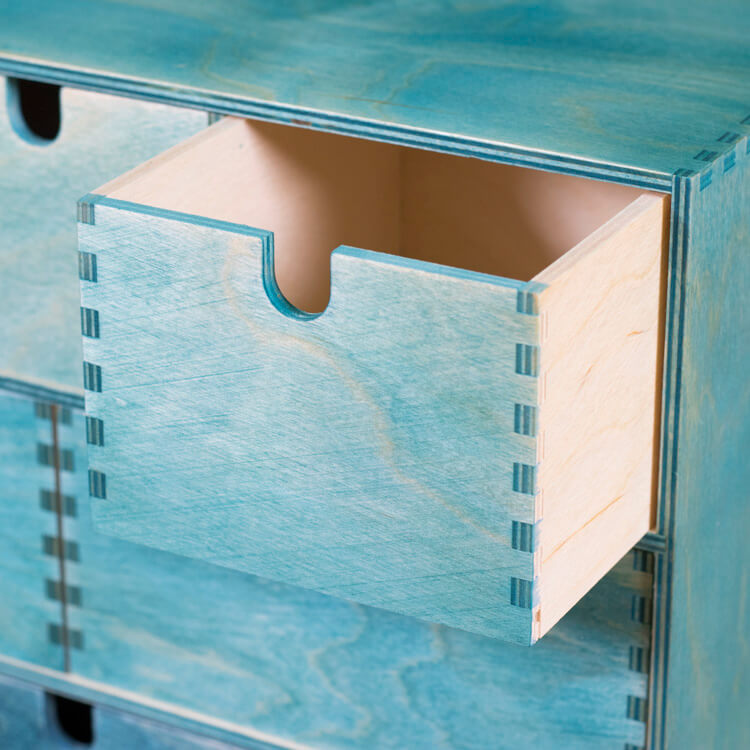
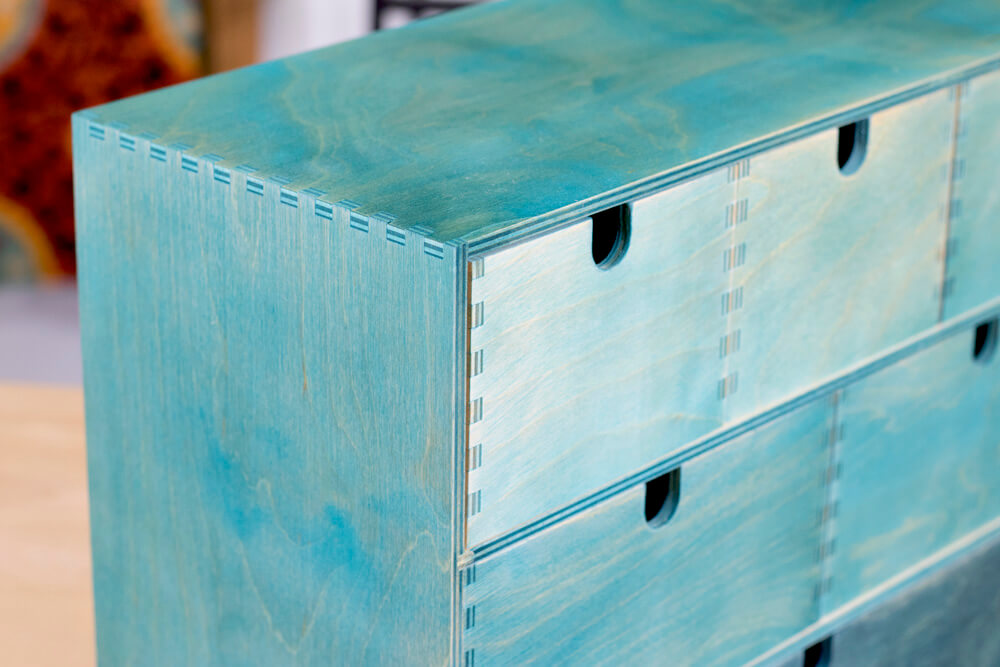
Fabric dye isn’t just for fabric. You can use Rit dye to stain wood and wicker as well. This adds color without covering the grain of the wood. The finish has greater texture and dimension than paint.
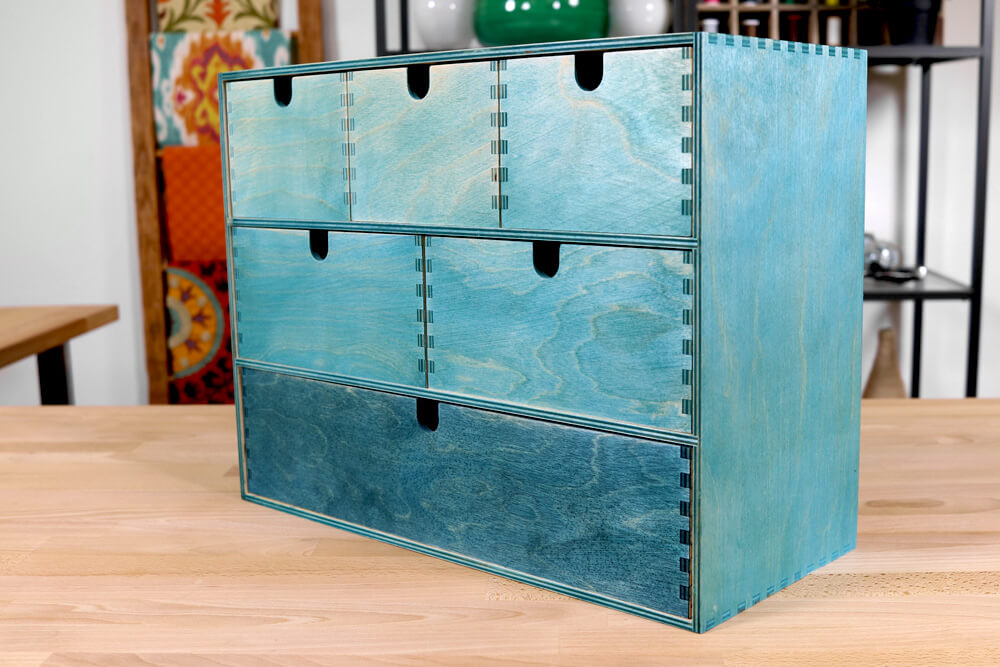
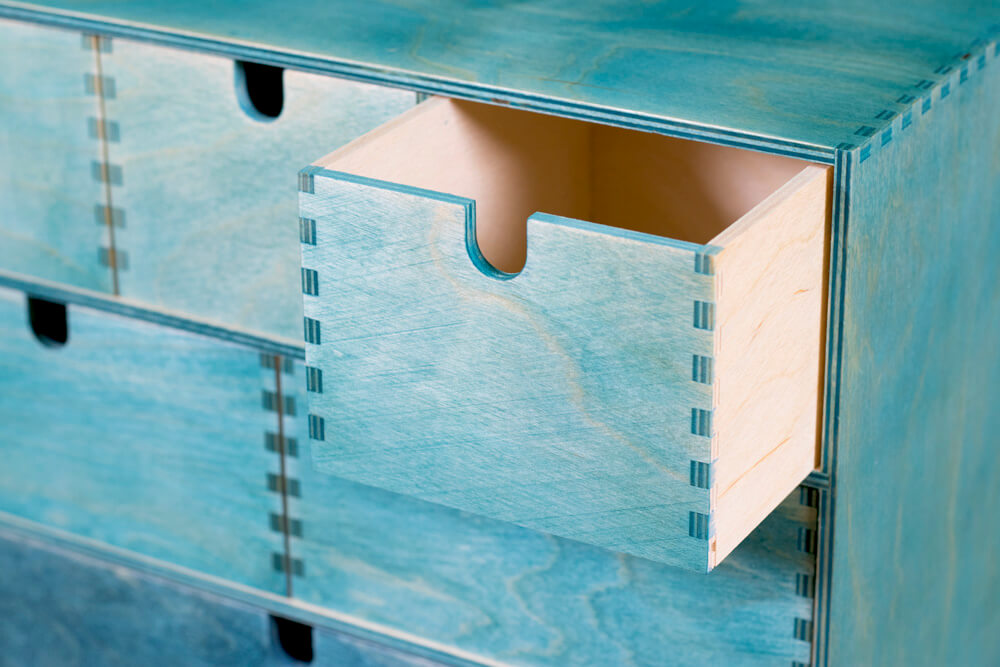
Today, I’m staining an unfinished set of drawers. Sanding and layering colors will give it a more rustic look.
You can also try applying the Rit dye in different ways like using a stencil.
Want to get the printable PDF instructions?
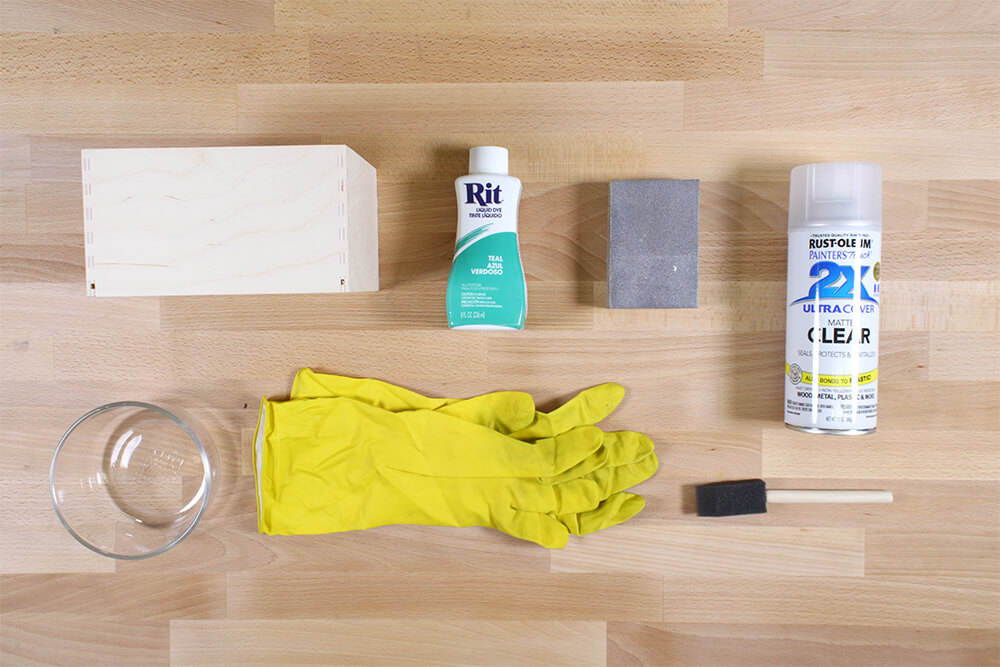
Materials
- Rit dye
- A wood or wicker item
- A brush
- Container for mixing the dye
- Gloves
- Sand Paper
- Clear sealer
Video
Instructions
Step 1: Mix the dye
Rit dye will work on unfinished wood like this, so if your item is painted or varnished, you’ll have to scrape and sand the surface first.
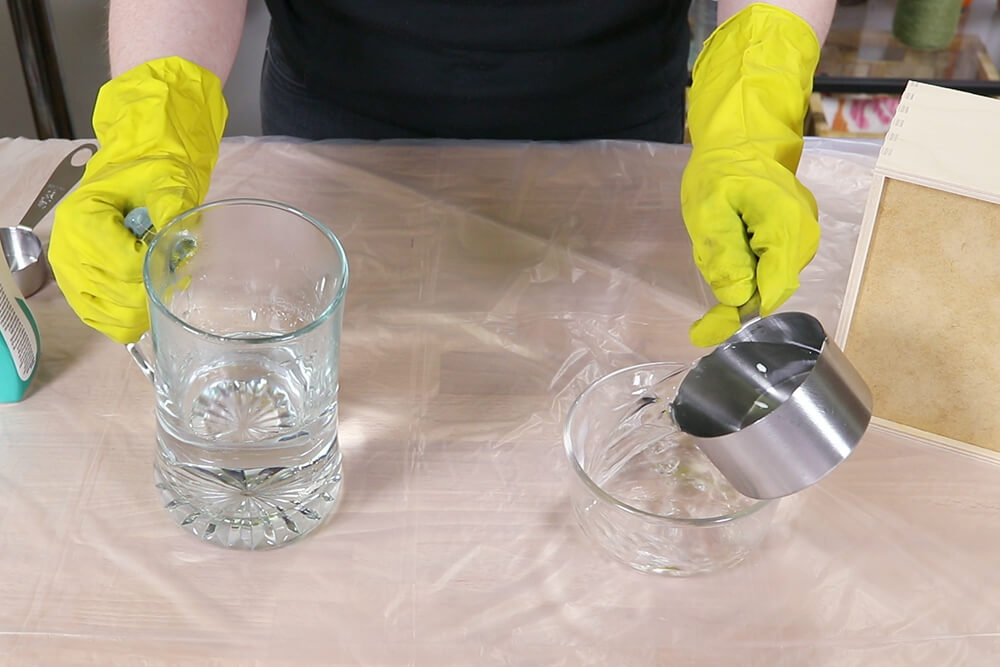
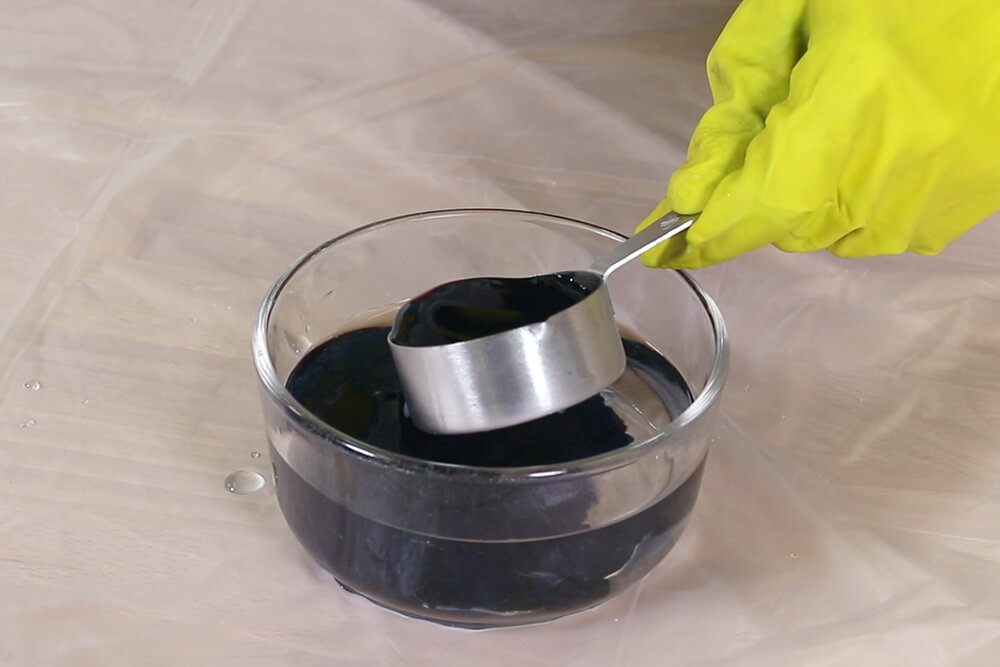
Put on your gloves and mix ¼ cup of liquid Rit dye with a cup of hot water. You can increase this ratio for larger projects.
If possible, test out the color in an unnoticeable spot. Add more dye or more water until it’s the color you want. Keep in mind it will dry a little lighter.
Step 2: Apply the dye
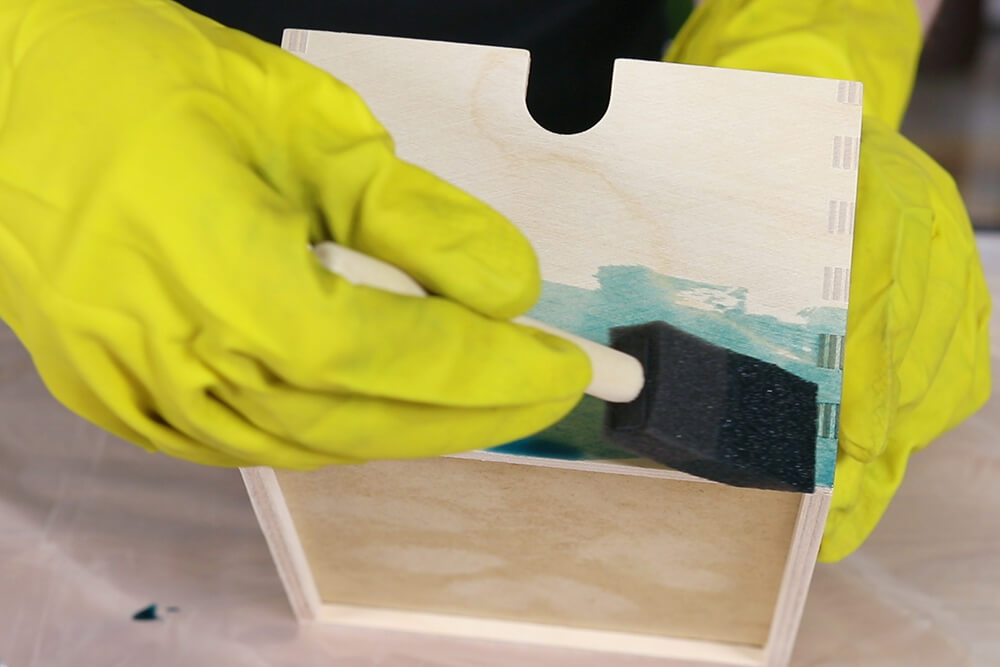
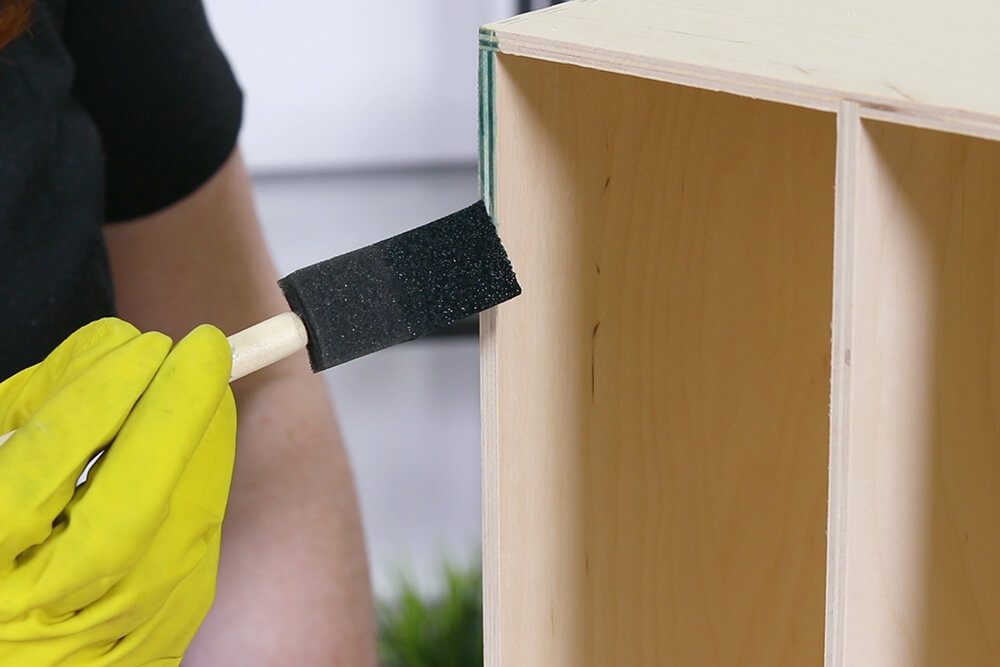
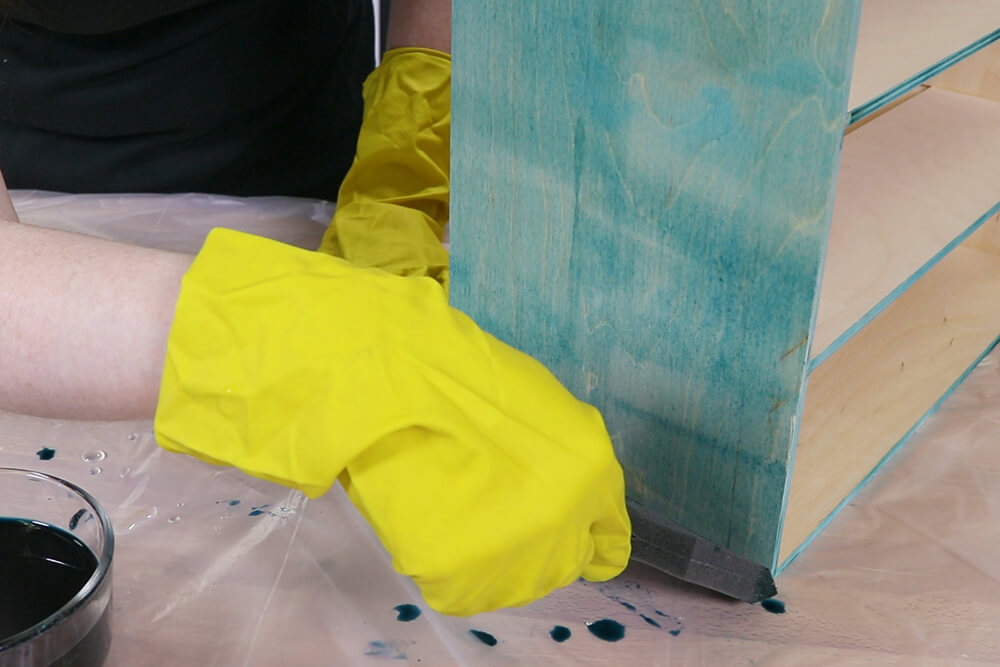
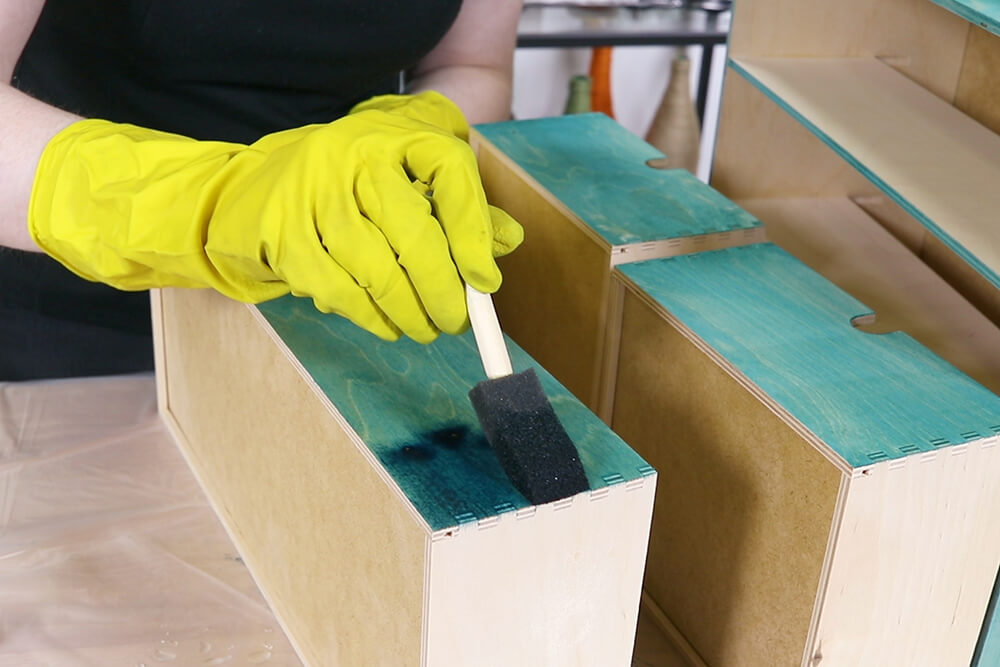
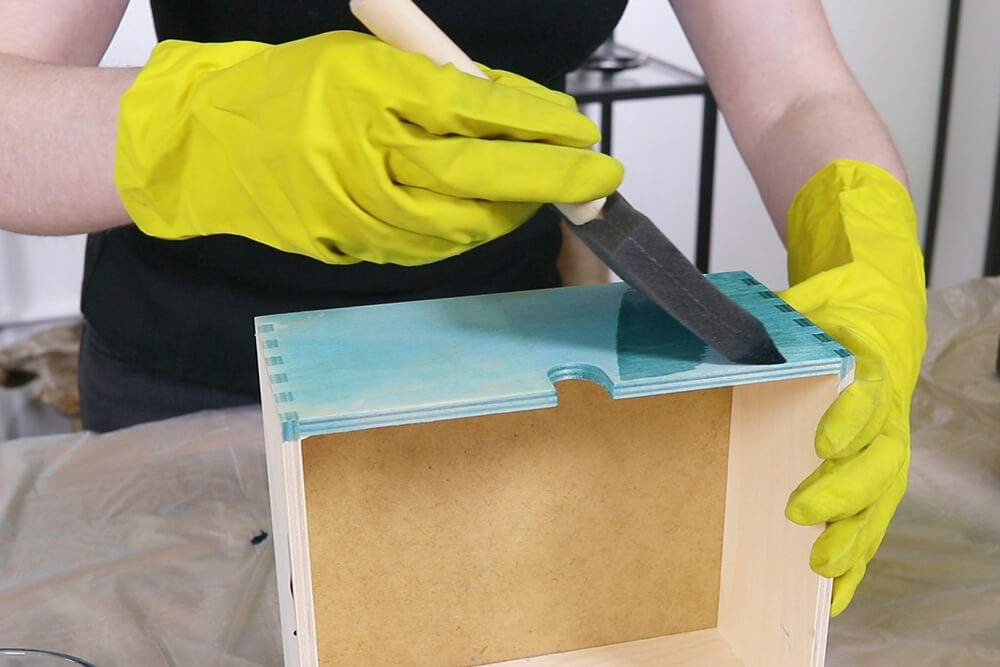
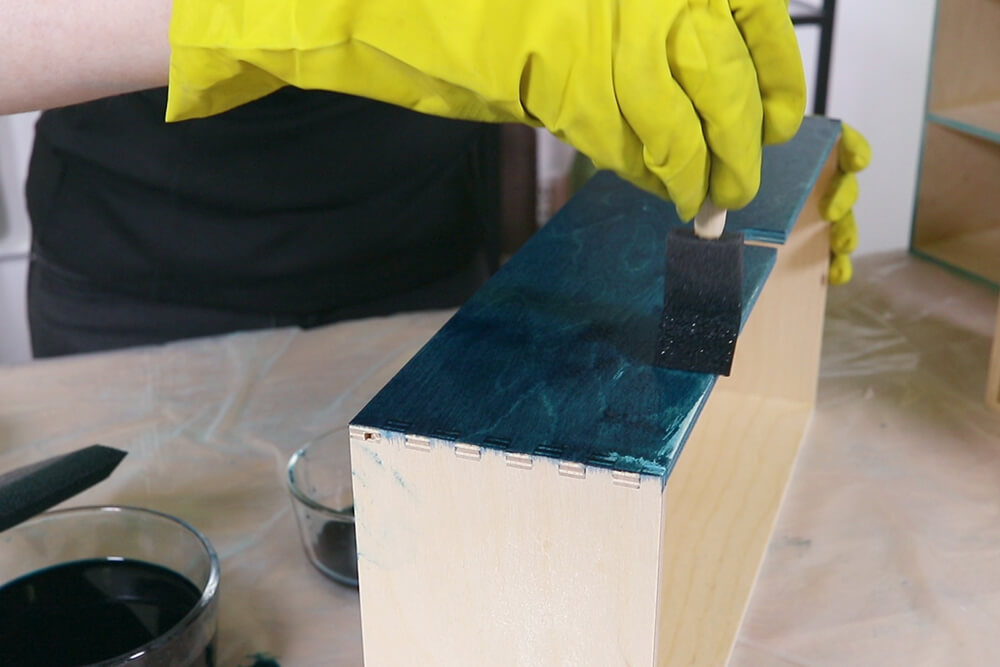
Use a foam brush, a bristle brush, or a cloth to apply the dye.
For smaller objects, you can immerse it in the dye.
You’ll want to keep the dye hot for best absorption, so you can microwave it occasionally if needed.
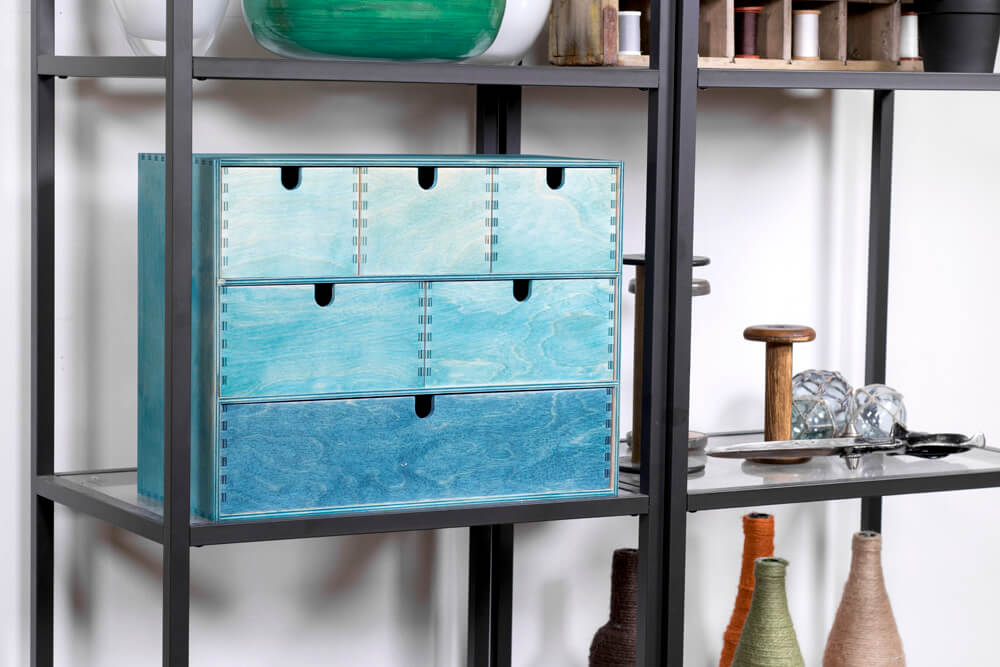
I’m going for an ombre effect with the top drawers light and the bottom drawer dark. I’m using undiluted dye on the last drawer.
Step 3: Sand and apply second coat (optional)
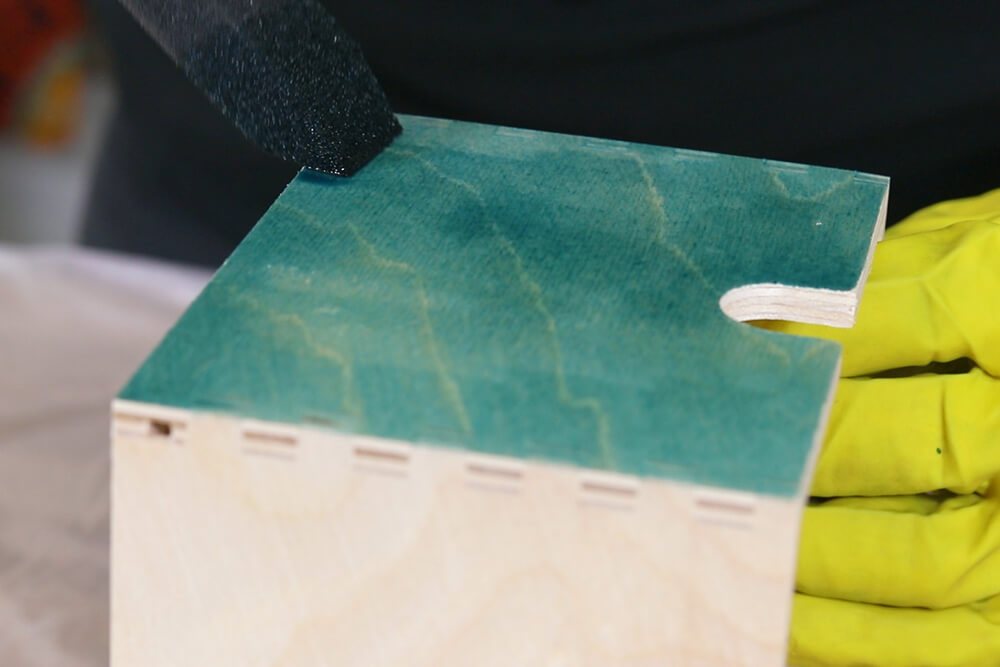
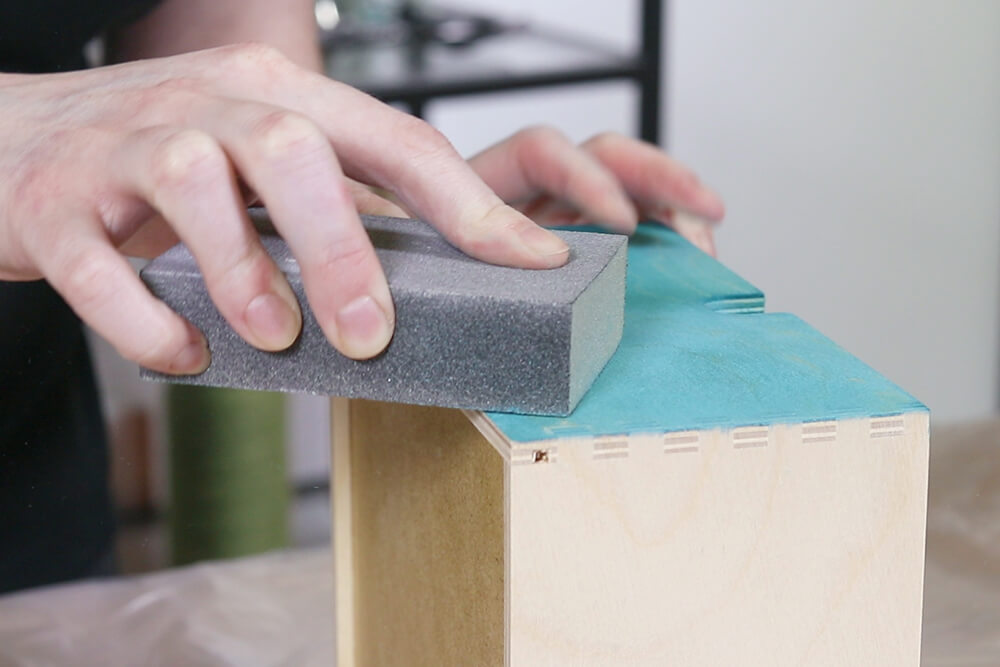
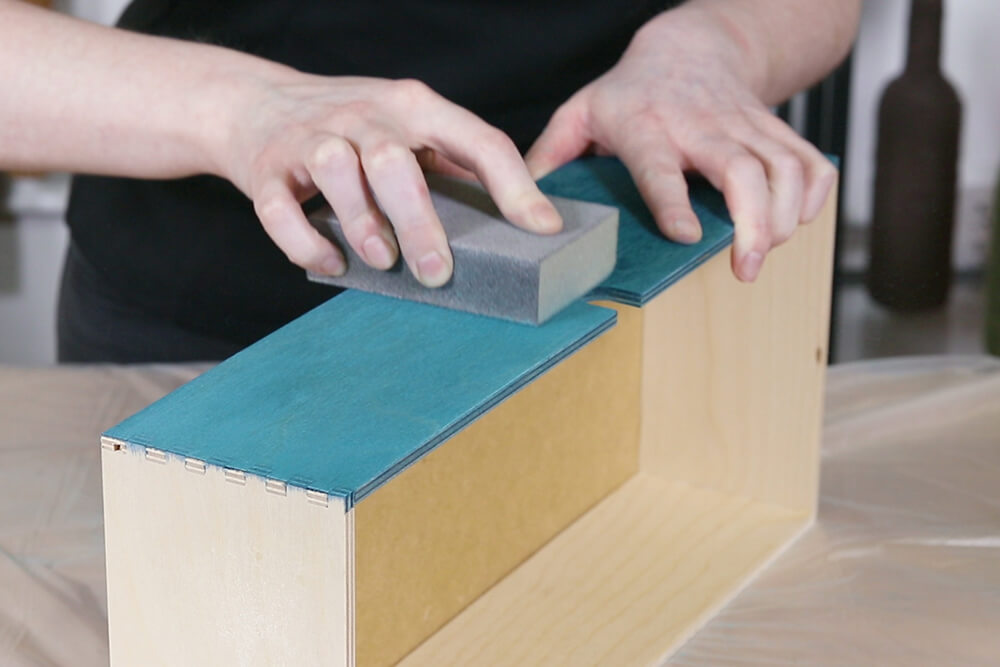
After it’s dry, you can try sanding it to create a rustic look. It also brings out the wood grain more.
Step 4: Apply a finish
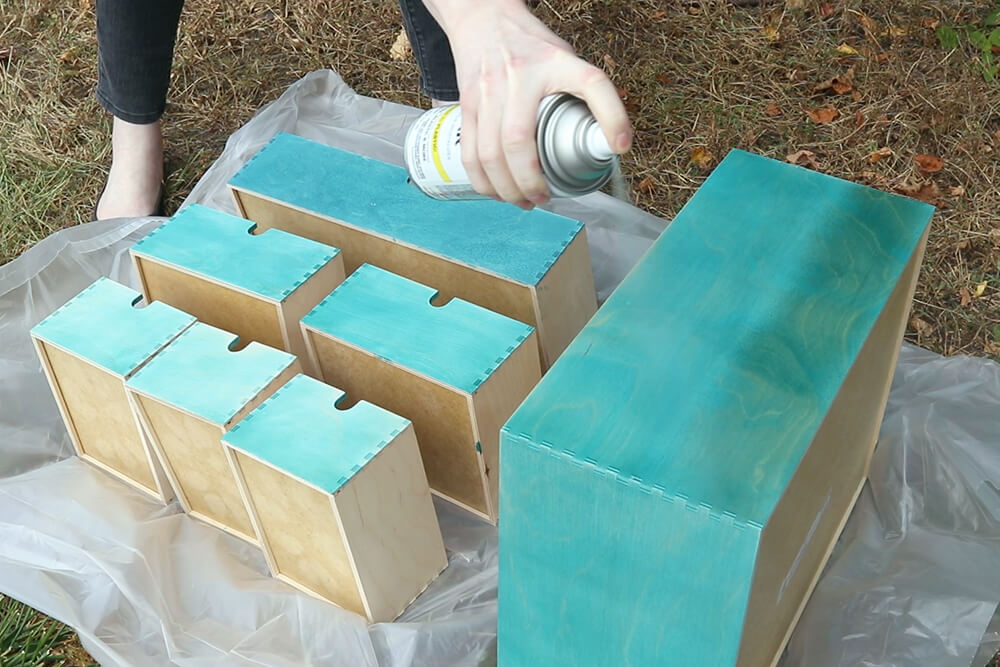
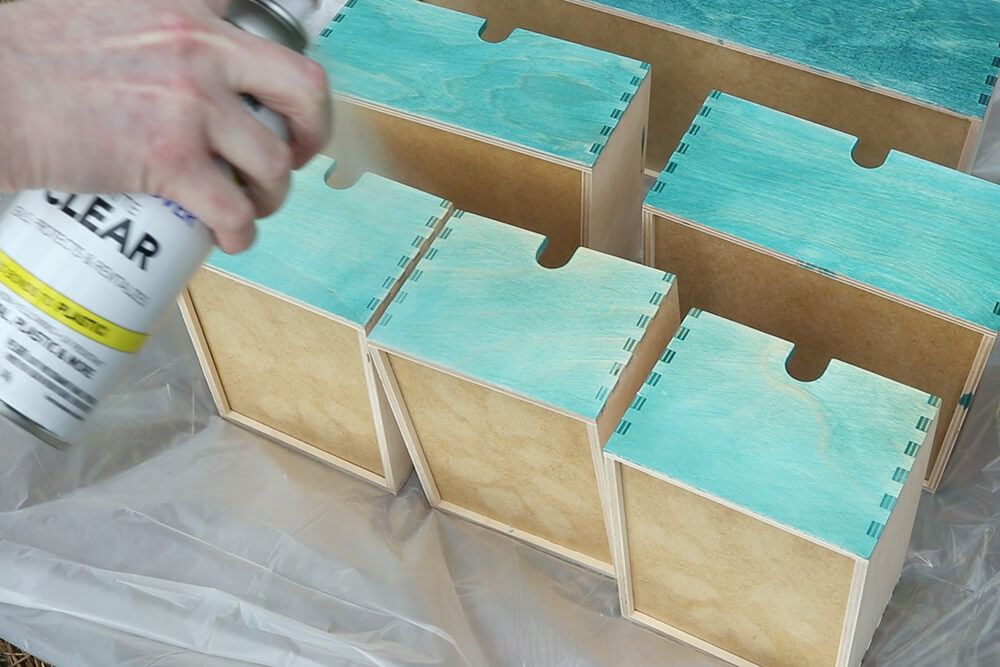
I’m using Rust-Oleum Painters Touch Ultra Cover 2X Matte Clear to finish the wood, but you can also use polyurethane or another finish.
The matte clear coat gives it protection without changing the appearance once dry. A glossier finish looks good too and may further enhance the wood grain.
Let it dry and it’s done.
Shop Rit Dye for your wood staining project.

