
How to Dye Fabric: Marble Dyeing with Shaving Cream
- By Cathy
- 30 minutes
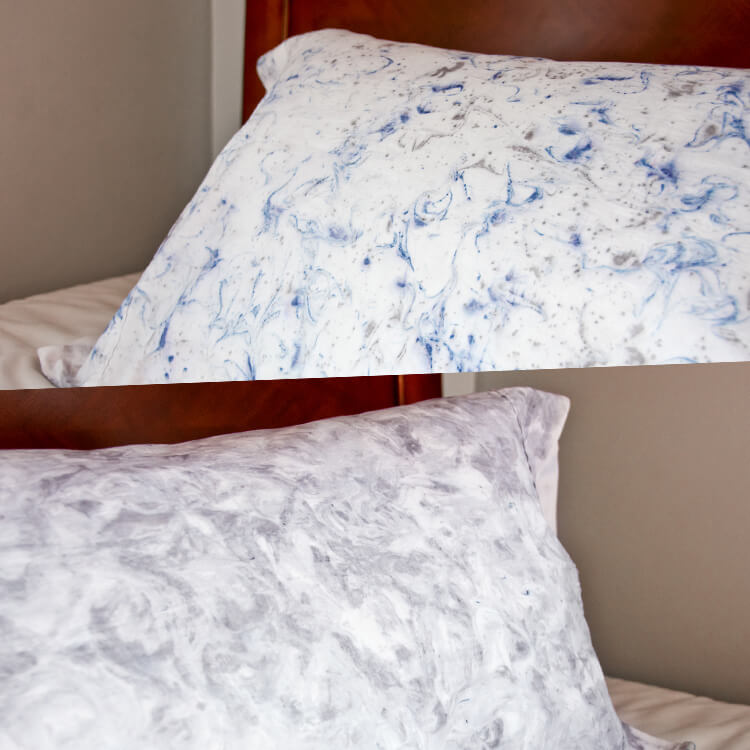
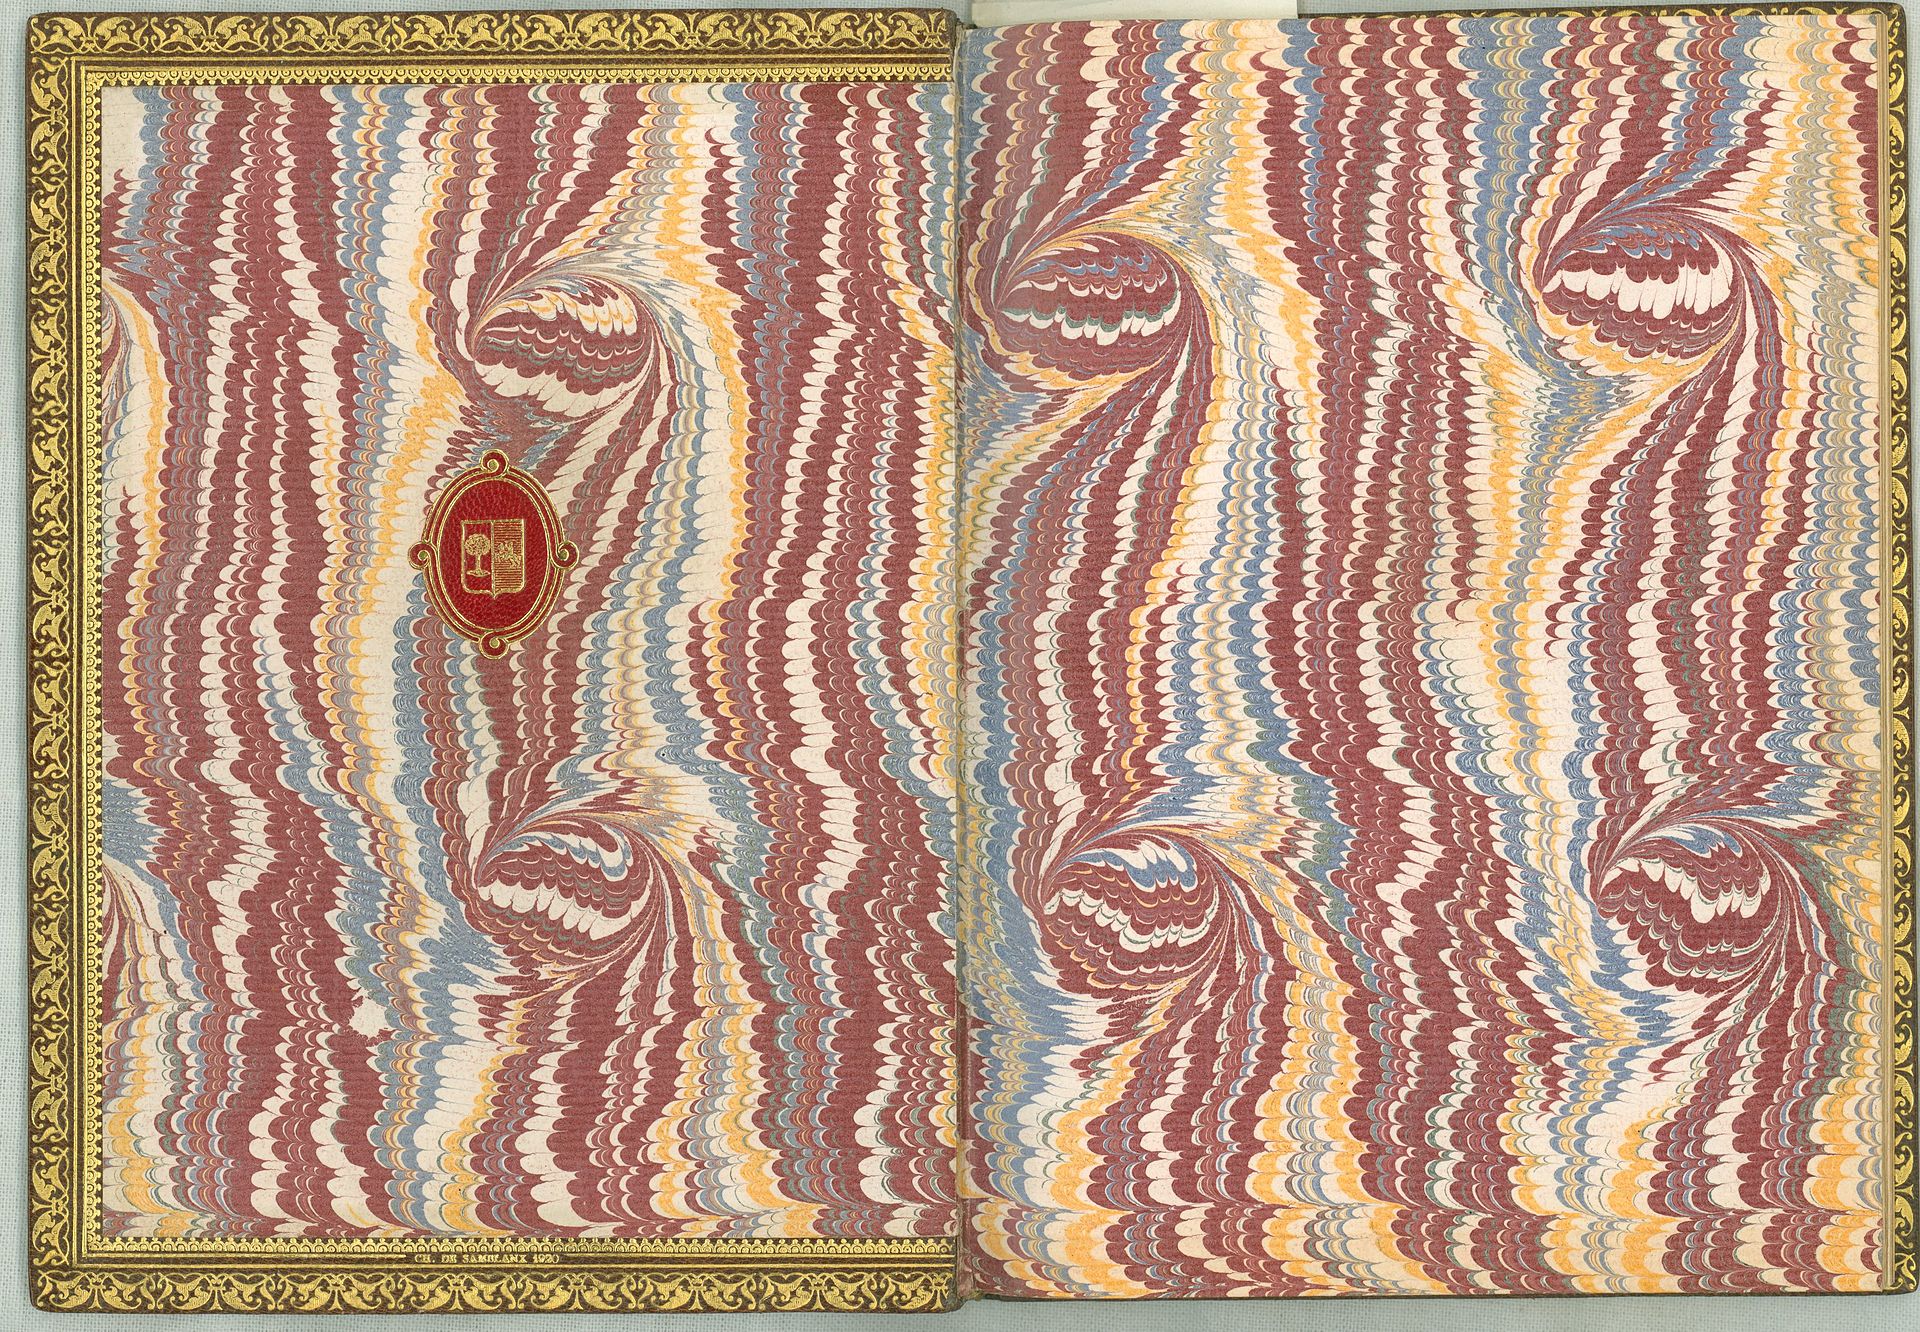
Marbling’s been around for centuries. It mimics a natural design that’s found in stone (or a nice rib eye). You’ve probably seen the marbling technique used on things like end papers in a book, or in a stationary store. But did you know that you can marble fabric, too? I’m going to be using liquid Rit Dye and shaving cream to deck out some plain white pillowcases. I’m going to experiment with one dry pillowcase and one damp pillowcase just to see how well each retains the color. So let’s dye-ve right in!
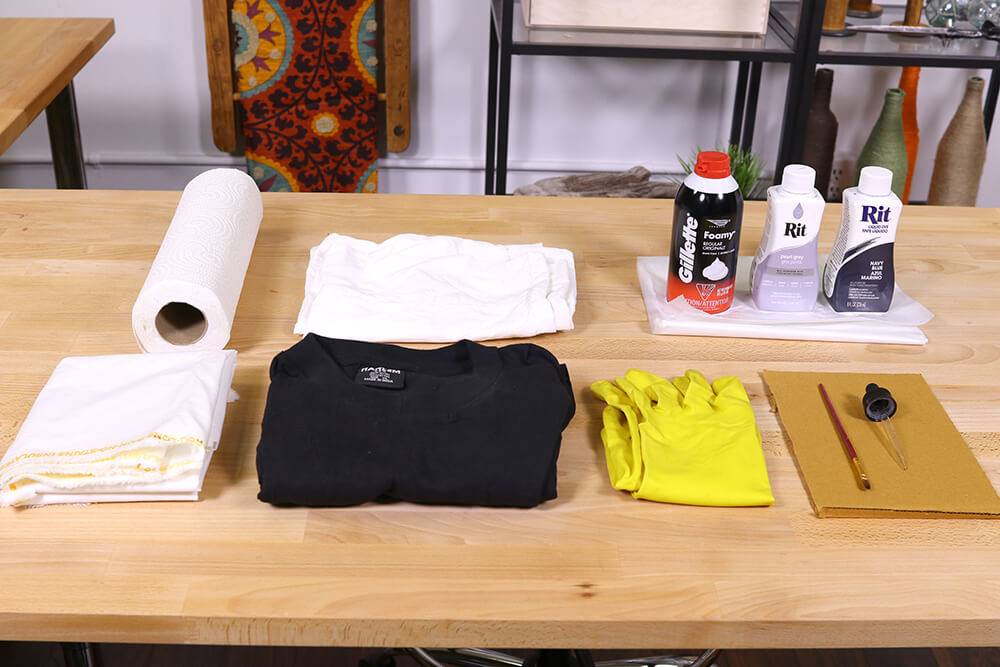
Materials
- Presscloth (drapery lining scrap)
- Trash bag
- Something to dye (100% cotton pillowcases)
- Shaving cream
- Rit All Purpose Liquid Fabric Dye
- Flat edge
- Medicine dropper
- Paintbrush
- Paper towels
- Gloves
- Old t-shirt or apron
- Iron
Related Products
Video
Instructions
Step 1: Prepare your work space
You should also put on an old t-shirt or apron if you don’t want to get your clothes messy.
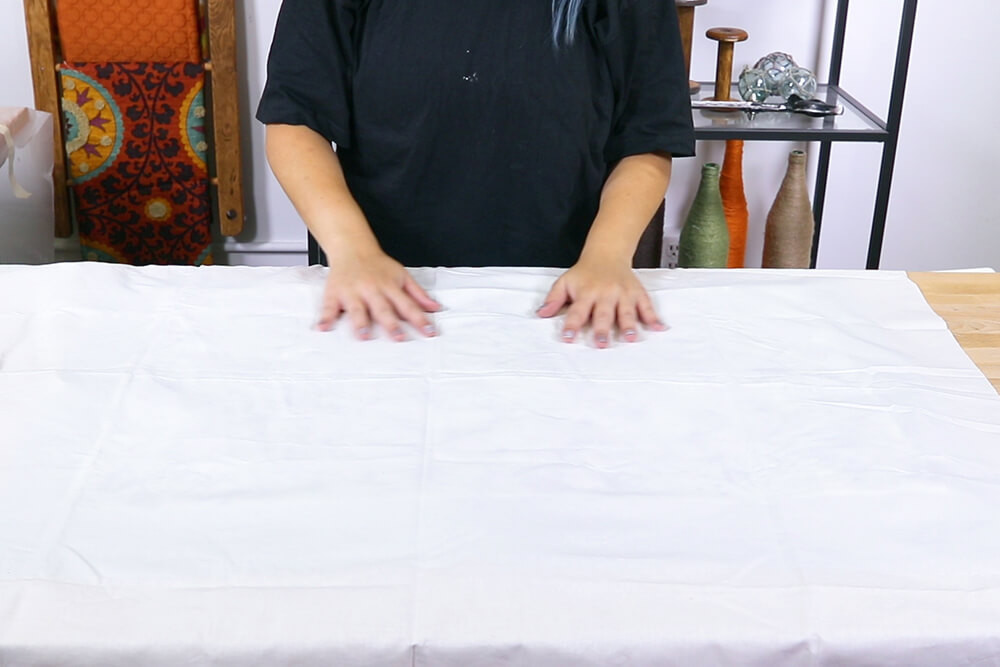
Match your fabric to the type of dye you’re using, or vice versa. All-purpose Rit Dye likes cotton fabric, so I’m using 100% cotton pillowcases. If you’re using new fabric, make sure to pre-wash it ahead of time to remove any sort of finish it might have.
You can lay out your object first and make a few dots at the corners to better gauge the area you’ll need to fill.
Lay out a trash bag so it’s large enough to cover your work surface, cutting it open will double the amount of space you’ll have to work with. You don’t need to use a trash bag, it just makes cleaning up a lot easier.
Depending on the size of what you’re marbling, you can even use something like the top of a pizza box if you don’t want to waste a trash bag.

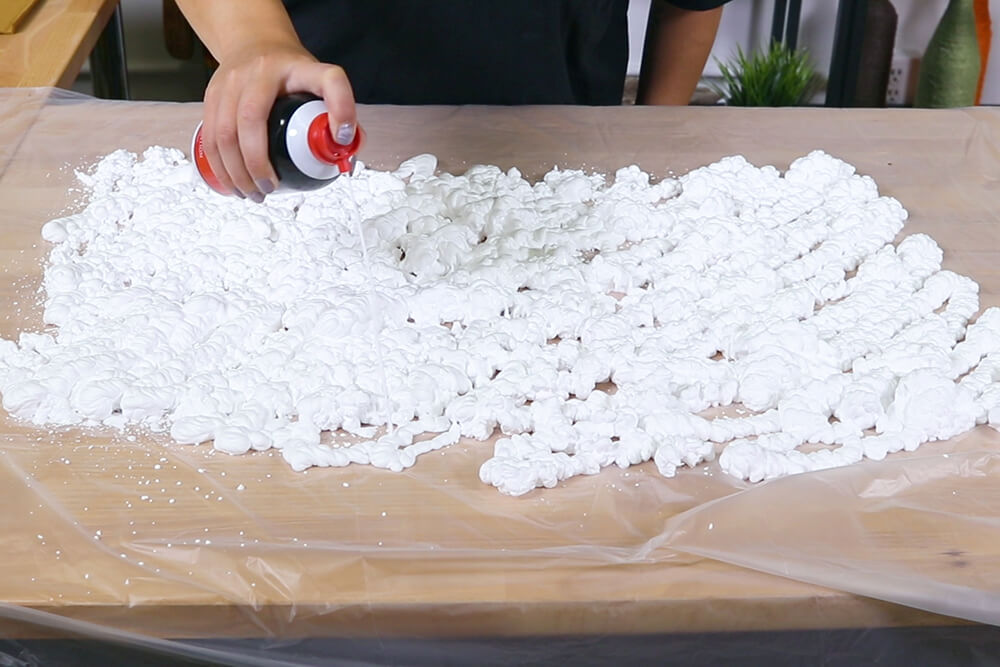
Distribute the shaving cream across the surface so it’s large enough for your object, it doesn’t need to be too thick, about 1 inch of cream all around will do, just enough to cover the surface.
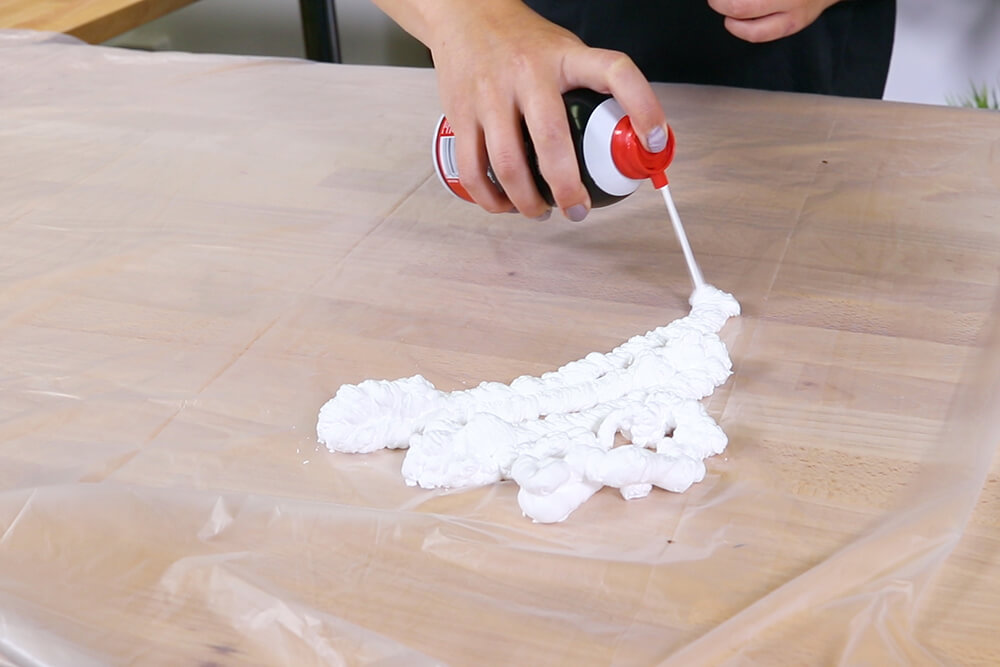
I’m a big child and loved the way that the shaving cream felt on my bare fingers. It reminded me of when we used to clean our desks at the end of the year in middle school.
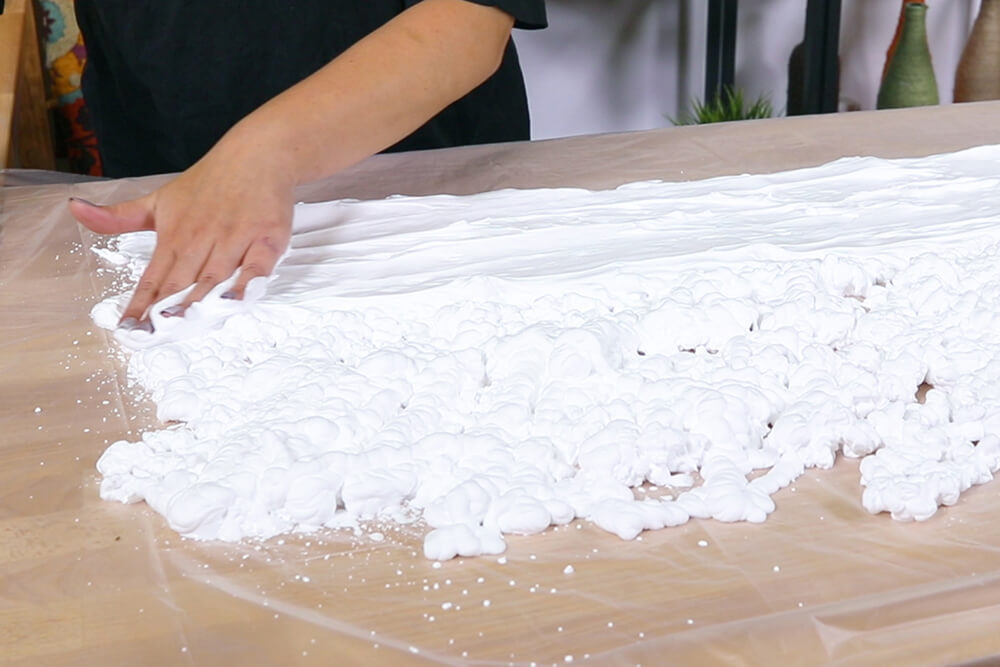
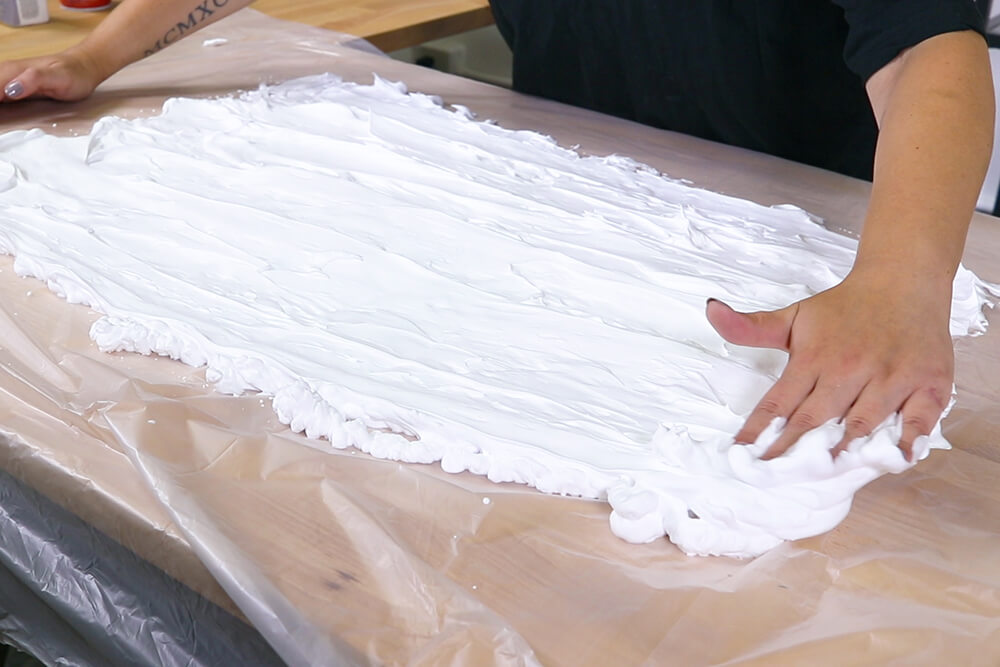
Smooth it out a bit using your fingers or a flat edge.
Step 2: Add dye to the shaving cream
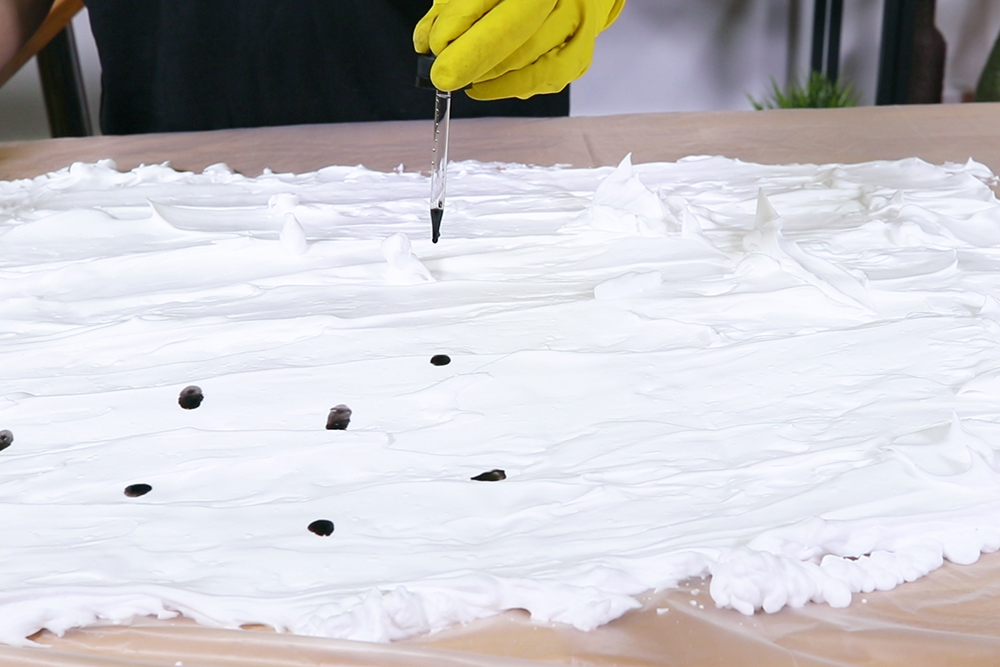
If you don’t want to run the risk of staining your fingers or hands, put on some gloves.
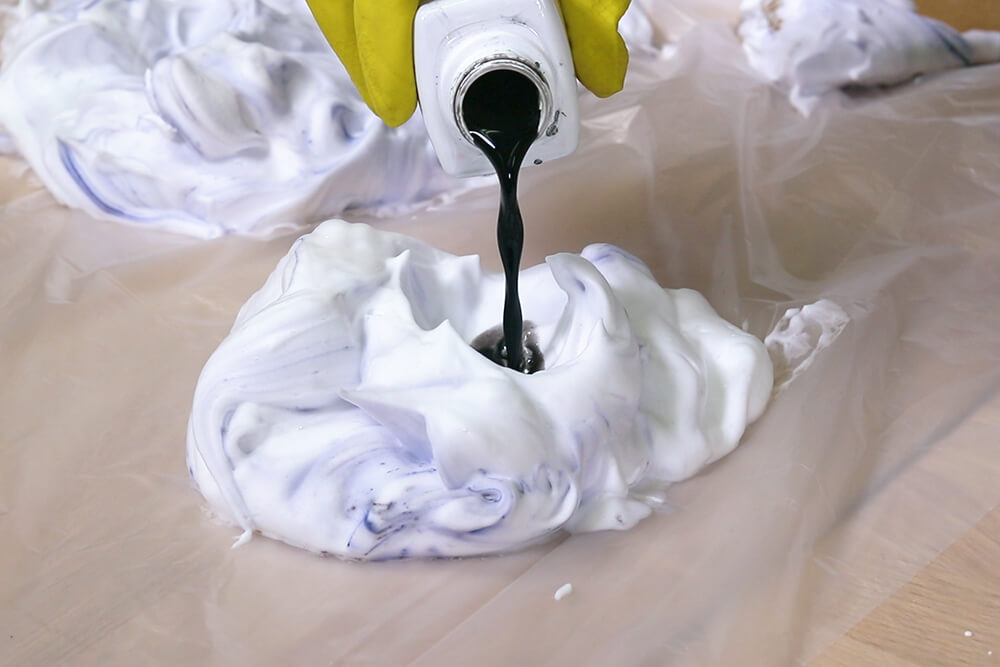
Next, drop the dye on top of the cream. Make sure to shake the bottle first. If you don’t have a medicine dropper, a straw would work, too. You’d just need to be more careful with how much dye is let out at a time.
When trying to figure out what colors might look nice together, or what colors combined will create other colors, using a color wheel helps a bunch.
In the end, less is more, so be careful of how much dye you’re adding into the cream. You can use however many colors you’d like, but you should probably keep it to about 2 or 3 or less.
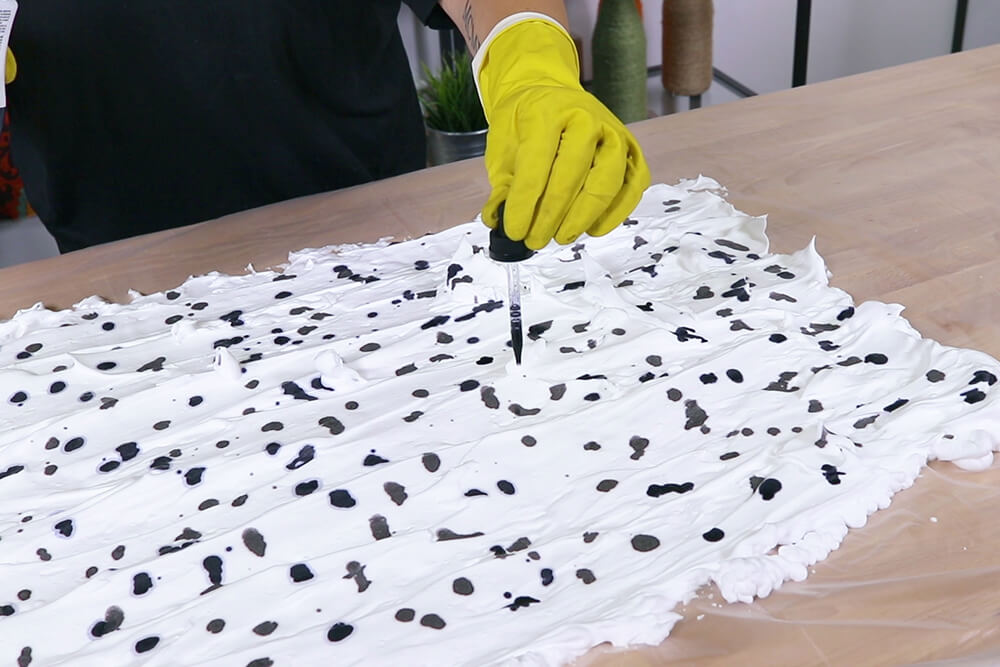
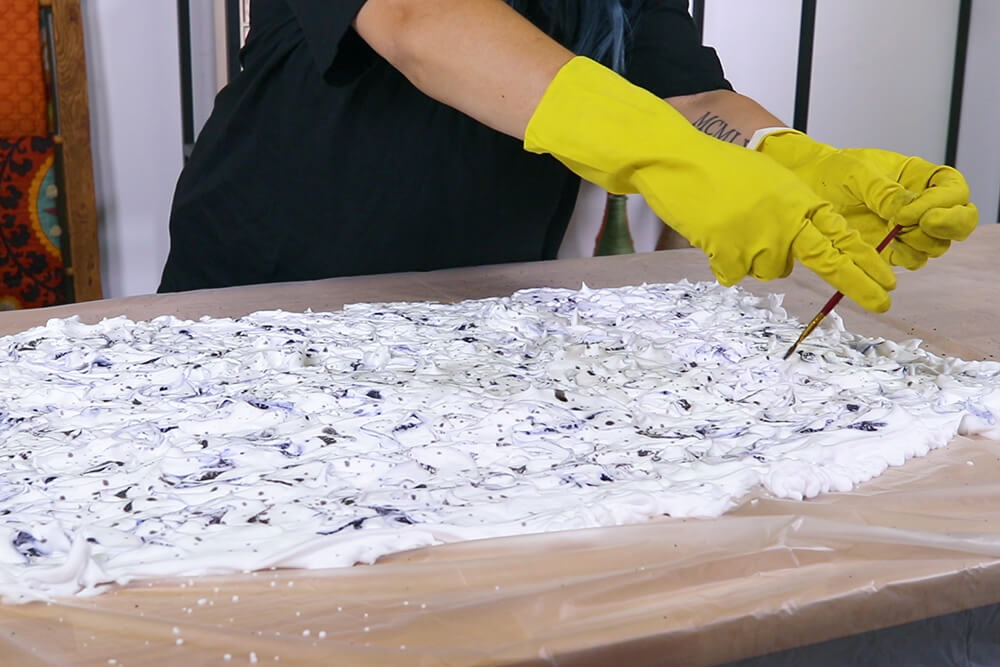
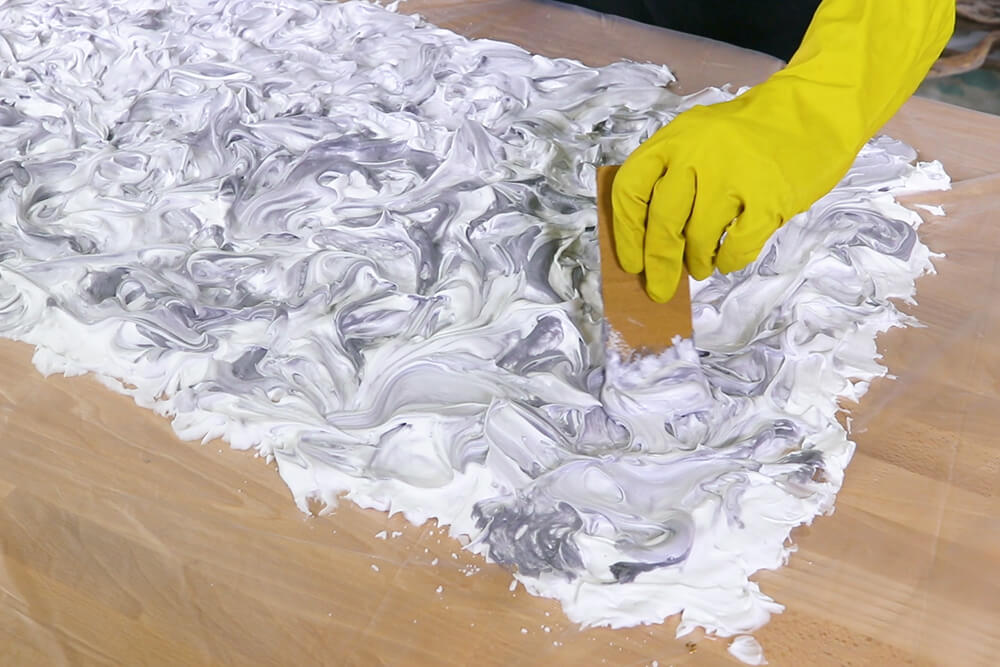
Using whatever tool you’d like, swirl the dye into the surface of the cream. Be careful not to press your tool in too deep as that will push the dye to the bottom of the cream which isn’t what you want.
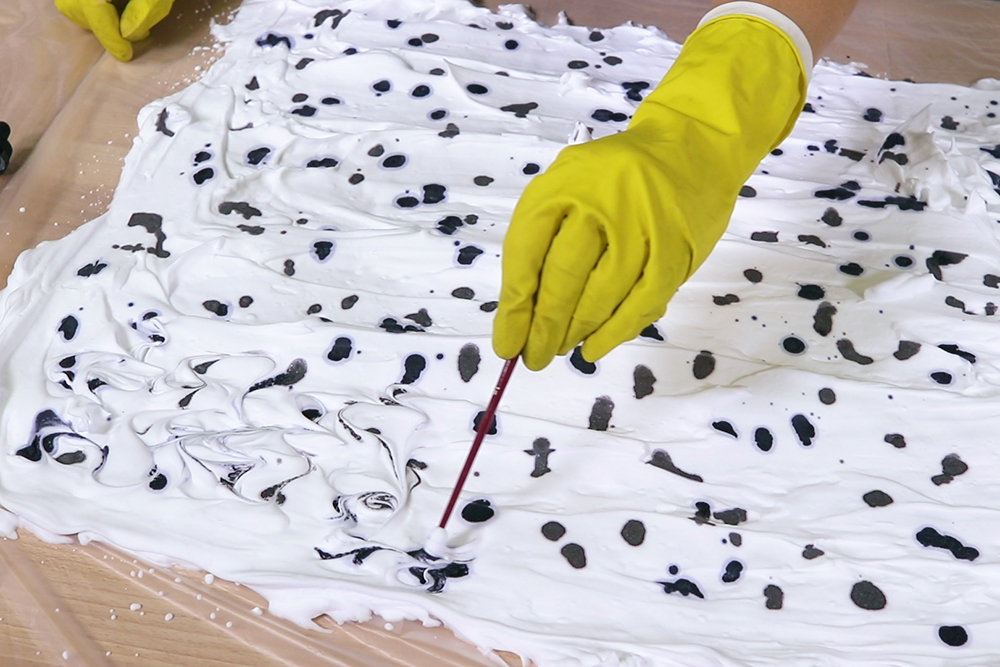
I went ahead and used the bristle side of this paintbrush to give a more speckled effect. There’s no right or wrong way to add dye to the shaving cream, it’s all about personal preference and experimentation!
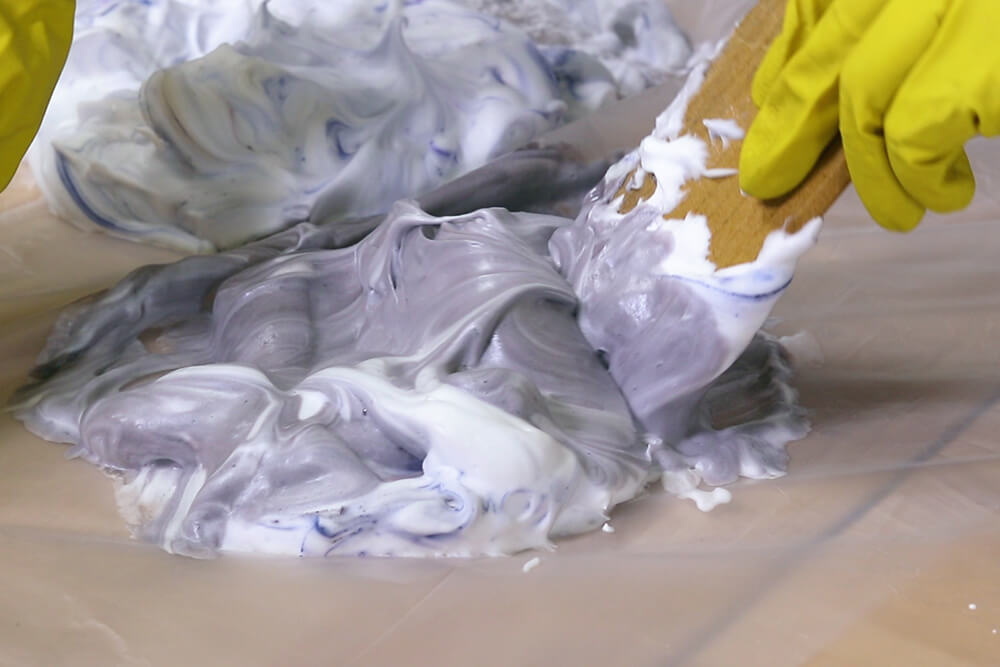
You can also reverse this technique by creating a larger batch of dyed cream, then add white cream into it.
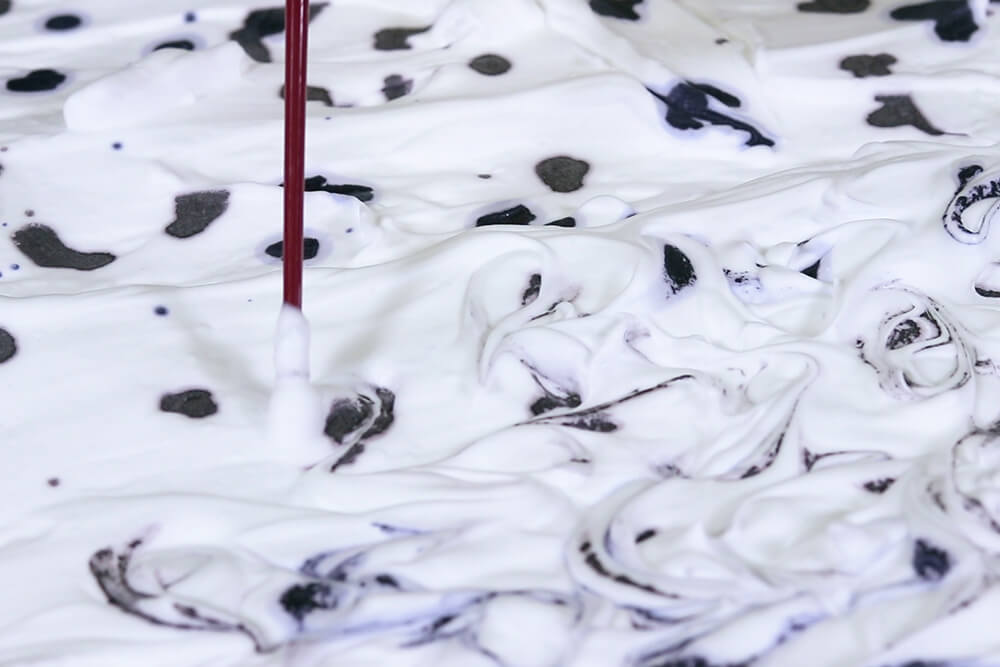
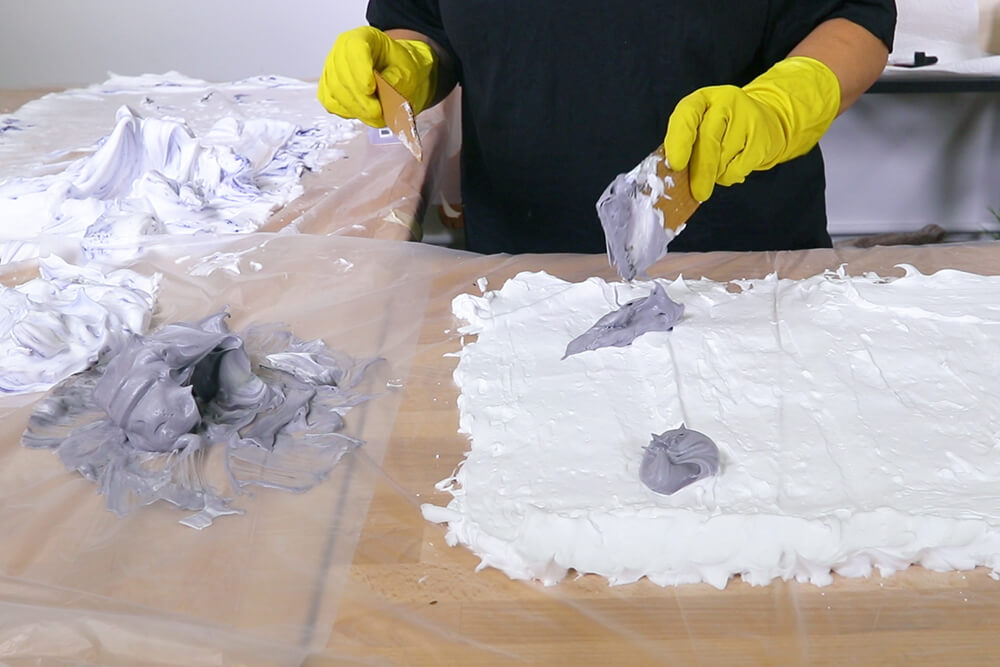
Another technique for marbling is to create smaller batches of cream with the dye mixed into it, then add that colored batch to the larger shaving cream surface with a small tool.
You’re basically replicating the process of adding color onto a blank surface. Doing this will create more prominent veins in the design and allows you to play around a bit with texture.

Step 3: Dye the fabric
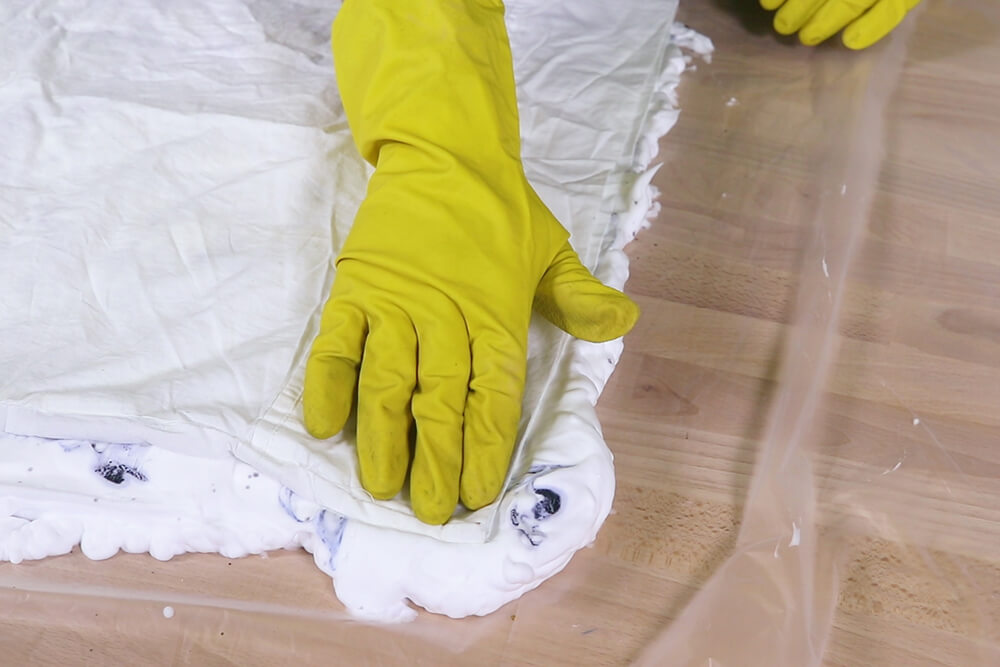
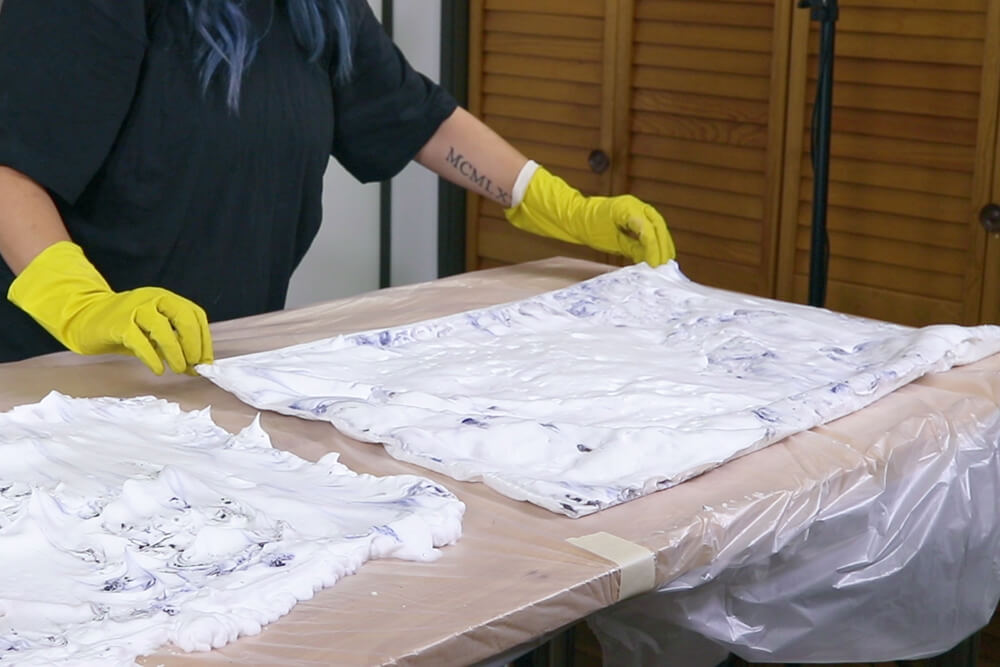
Gently place your pre-washed fabric on top of the cream starting from one side. Lightly press down with your fingers and let it sit for a few minutes.
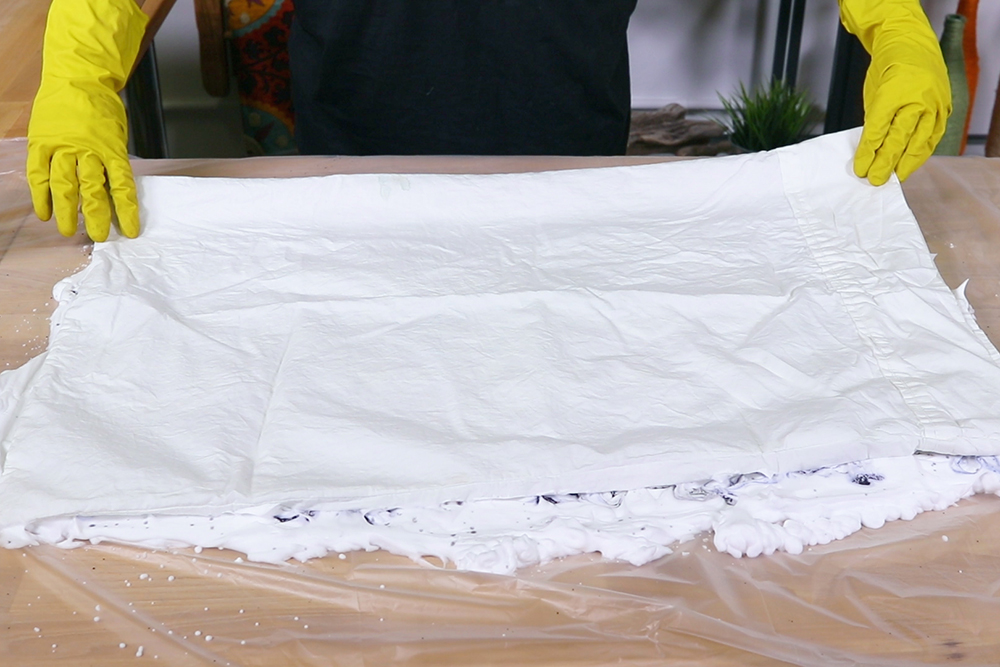
Make sure the entire surface is touching the marbled dye, you can push the fabric down a bit to get to the corners if you have to.
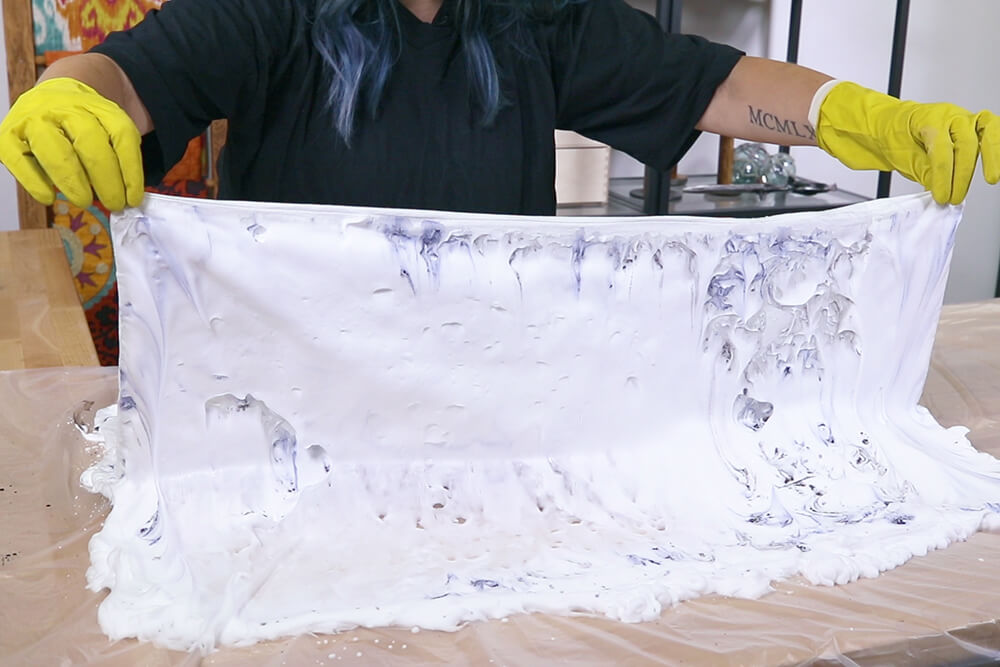
Gently remove the fabric by pulling it up from one end or corner and set it aside onto another covered surface, cream side up.
Step 4: Remove the shaving cream & heat set the dye
Be careful not to press too hard or you risk smudging the dye.
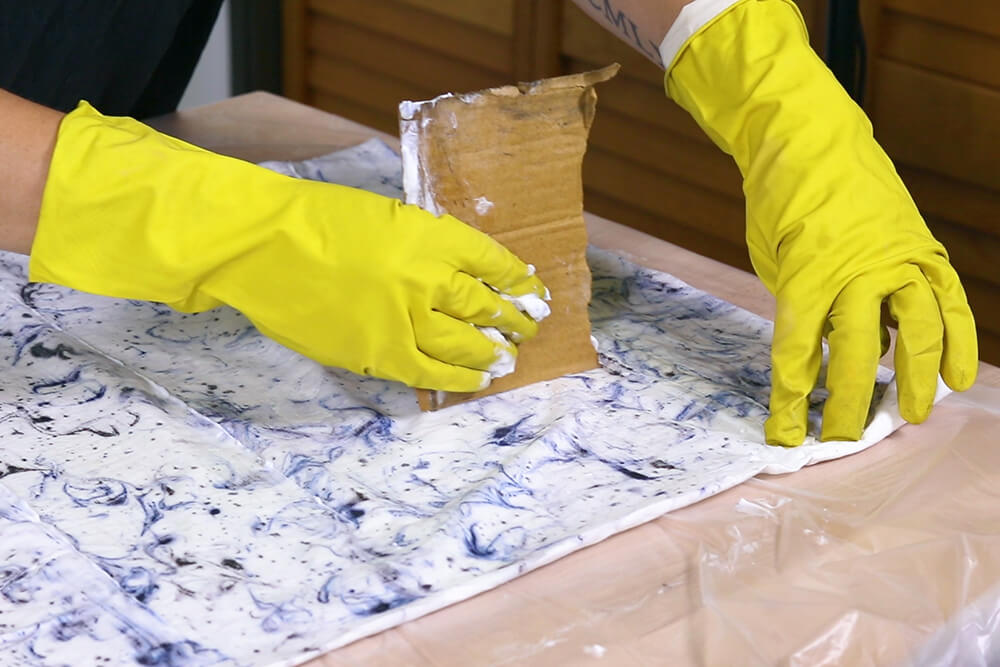
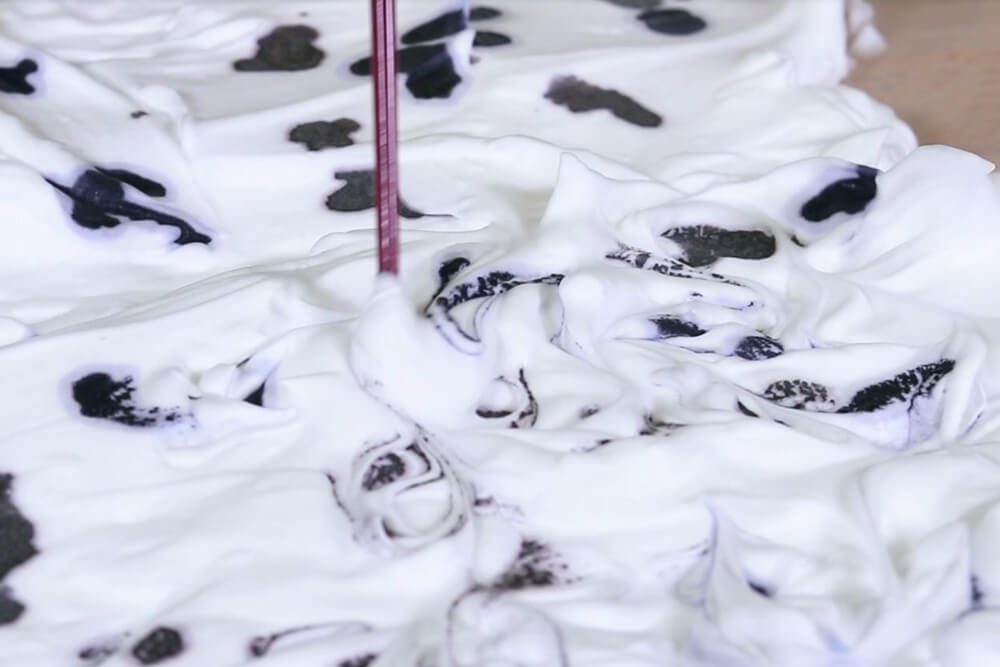
After the fabric has sat for a few minutes, use your squeegee or a sturdy flat edge, and scrape away the excess shaving cream.

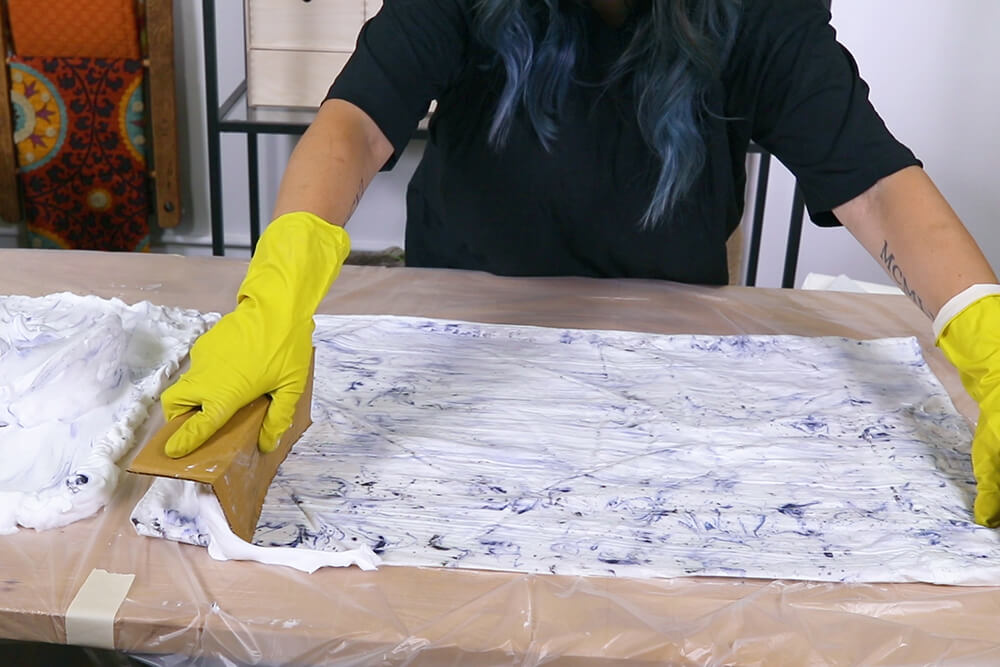
If you have to go in for another pass, make sure to wipe the blade completely clean first.
If you’re only using one color, here’s a good place to try out that reverse technique I mentioned earlier with as little wasted cream as possible.
If you need to dye another item, you can just re-use this cream by adding a little more to the top and then smooth it out again. This creates a blank canvas without having to start all over.
Just be careful while smoothing it out as you don’t want the dye from below to mix with the new cream, unless that’s an intentional look!
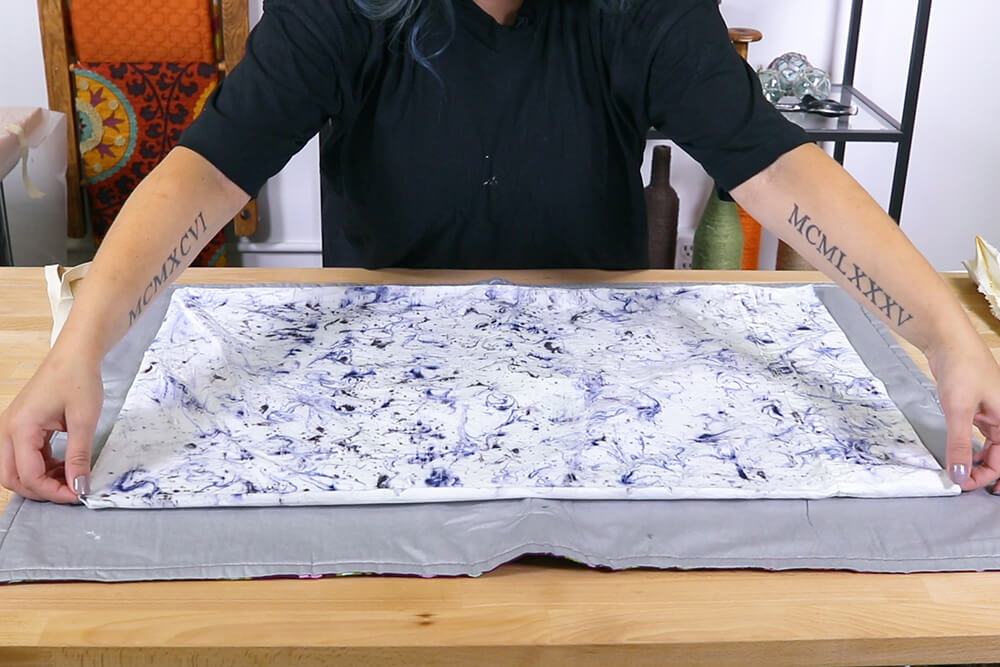
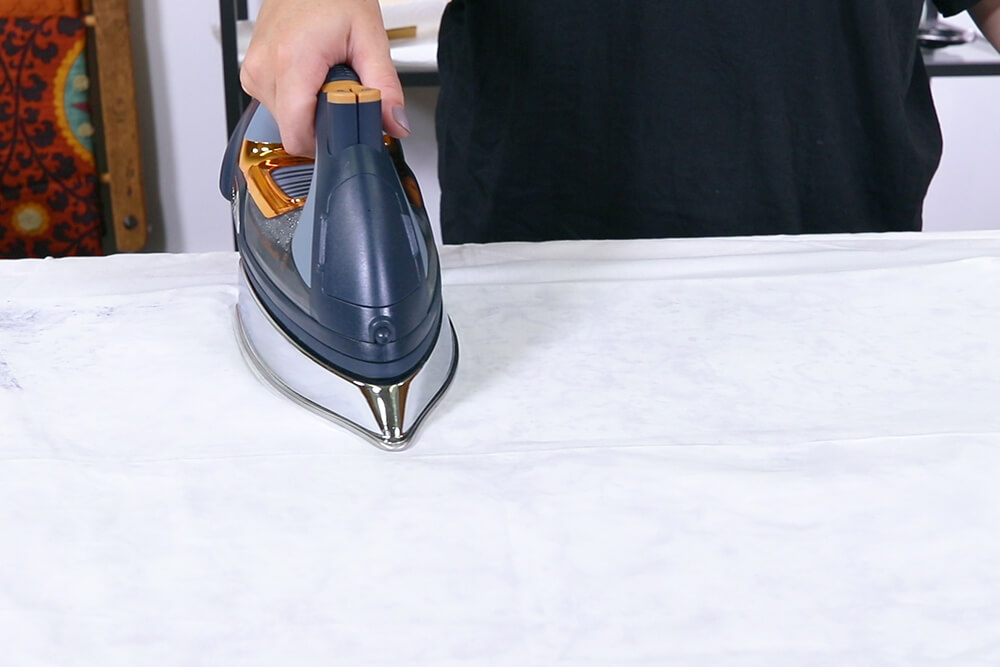
I reversed this ironing mat Clara made so that I didn’t ruin it.
After most of the shaving cream is removed, heat-set the dye with a hot iron and a press cloth. Make sure not to iron directly onto the dyed fabric.
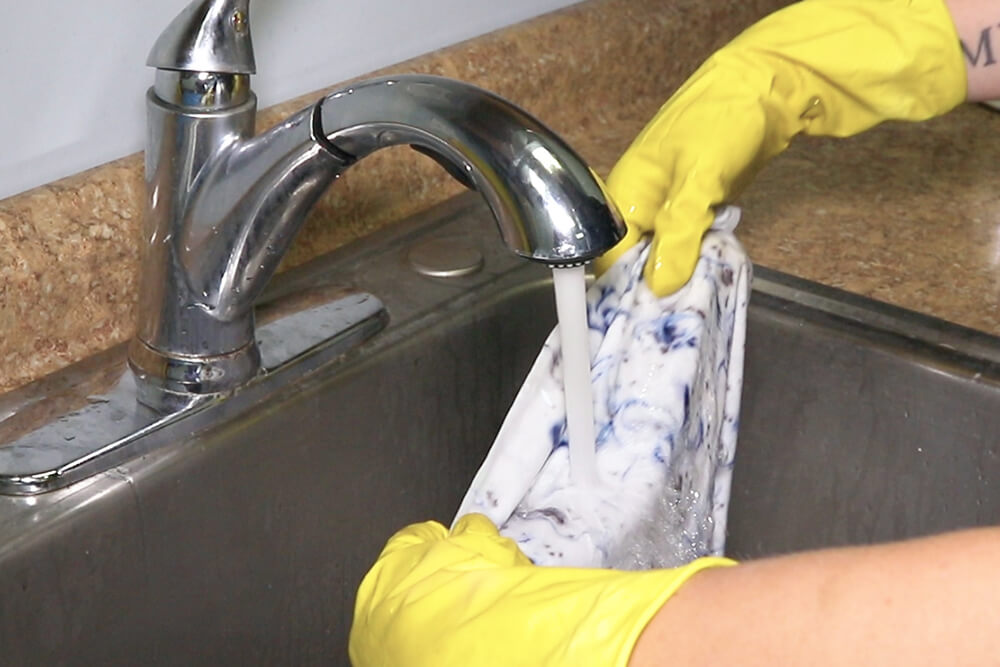
Step 5: Rinse and hang to dry
Rinse out the fabric in cold water until the water becomes clear and hang to dry.
Comments and conclusion
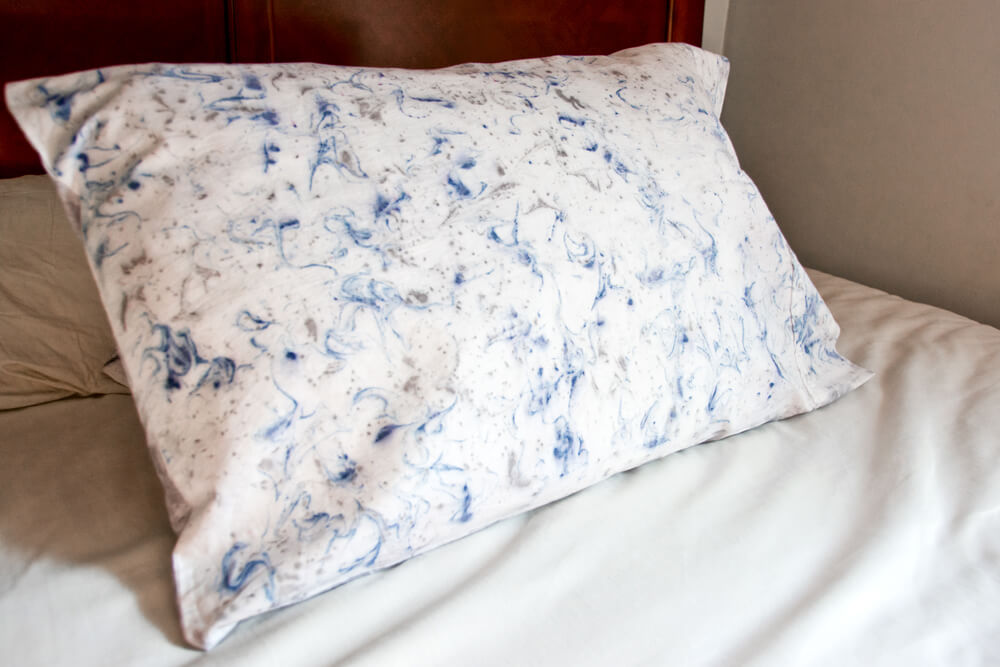
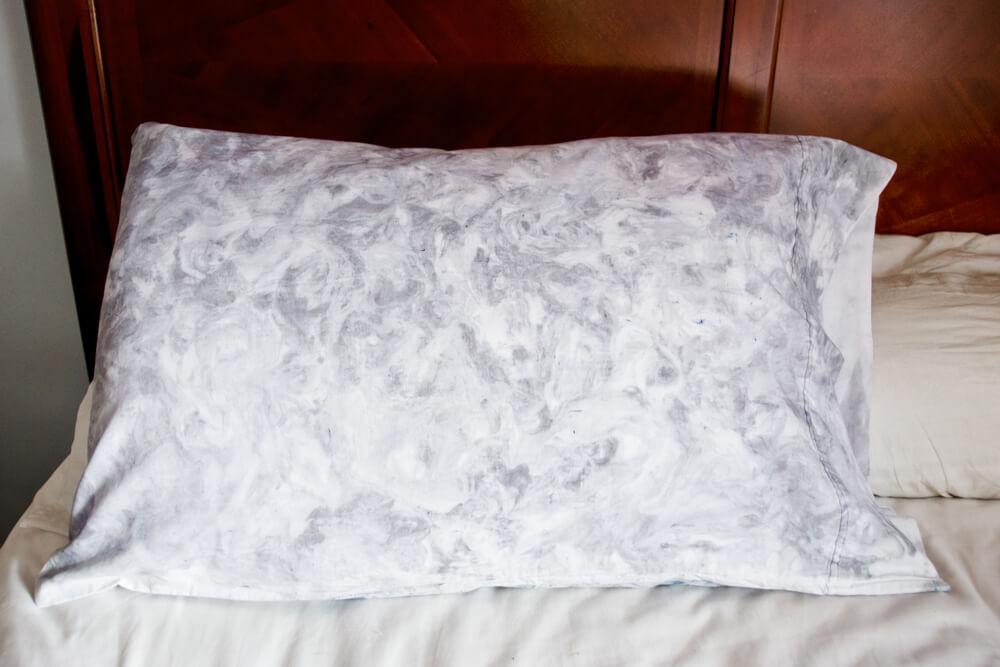
For me, despite everything I read on the internet, using dry fabric as opposed to damp fabric seemed to work better.
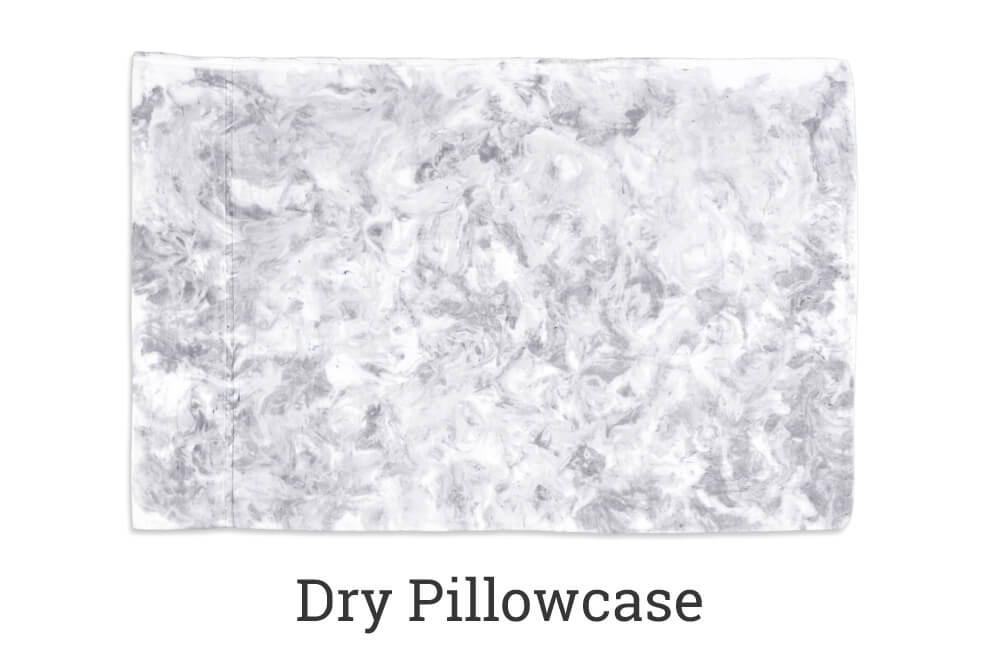
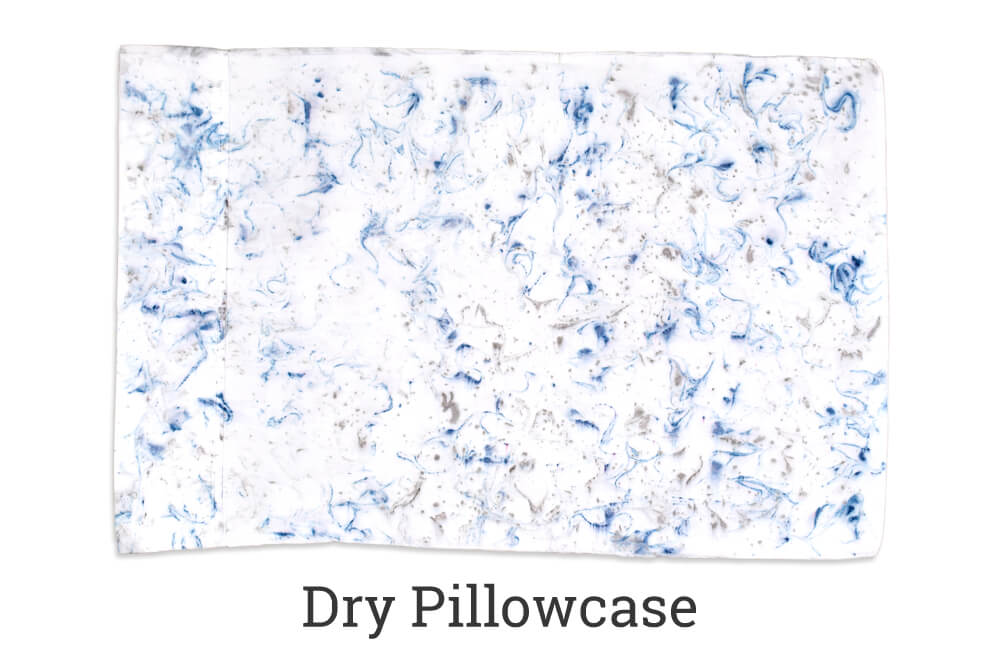
I used the same techniques on both dry and damp fabric and found that the colors transferred better, didn’t bleed, and were more vivid when the pillowcase was dry.
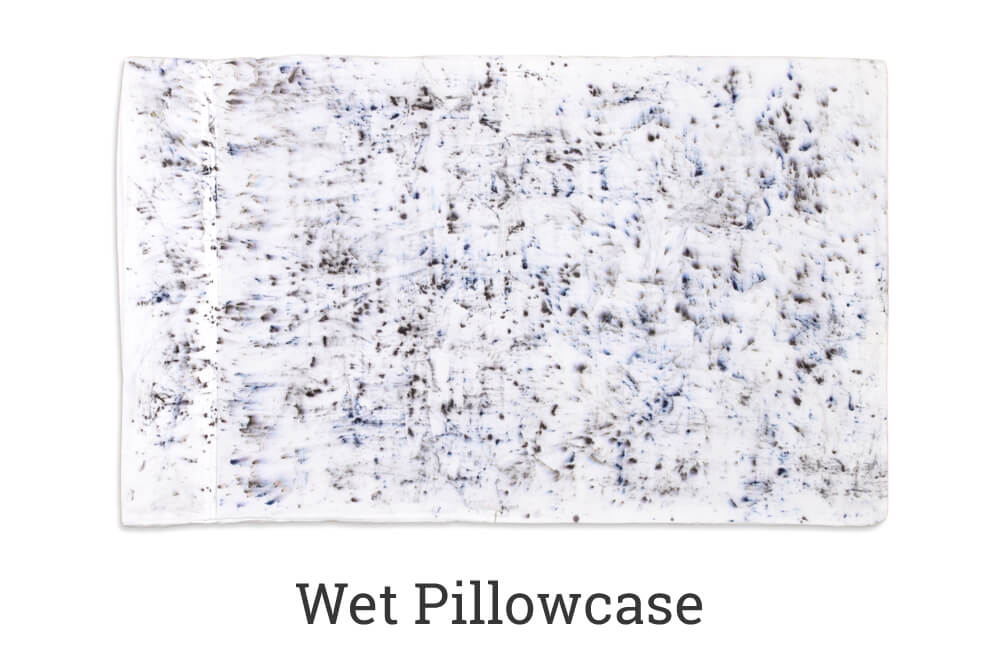
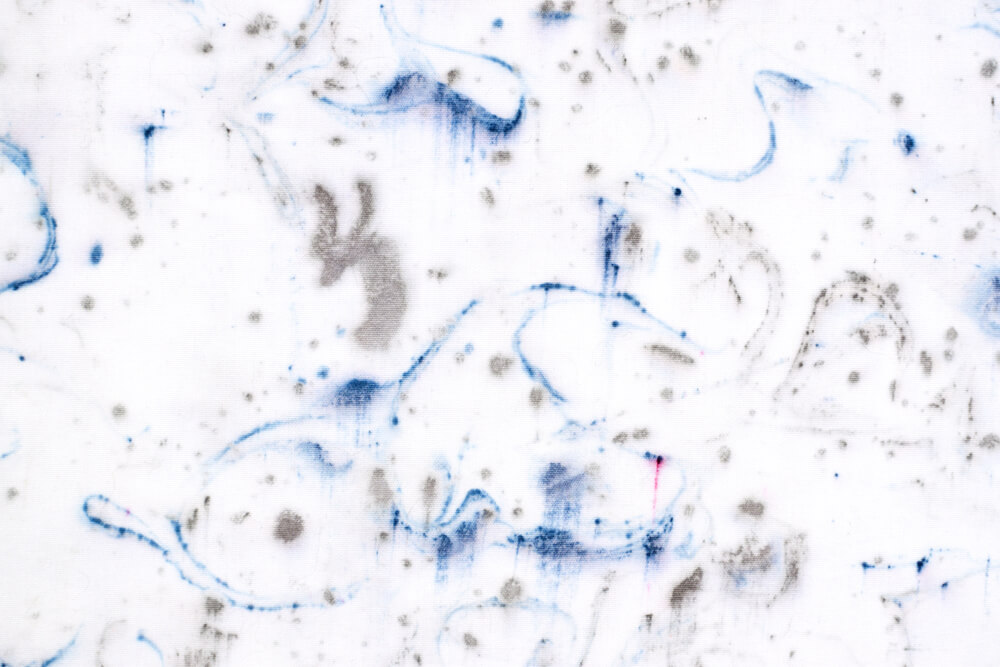
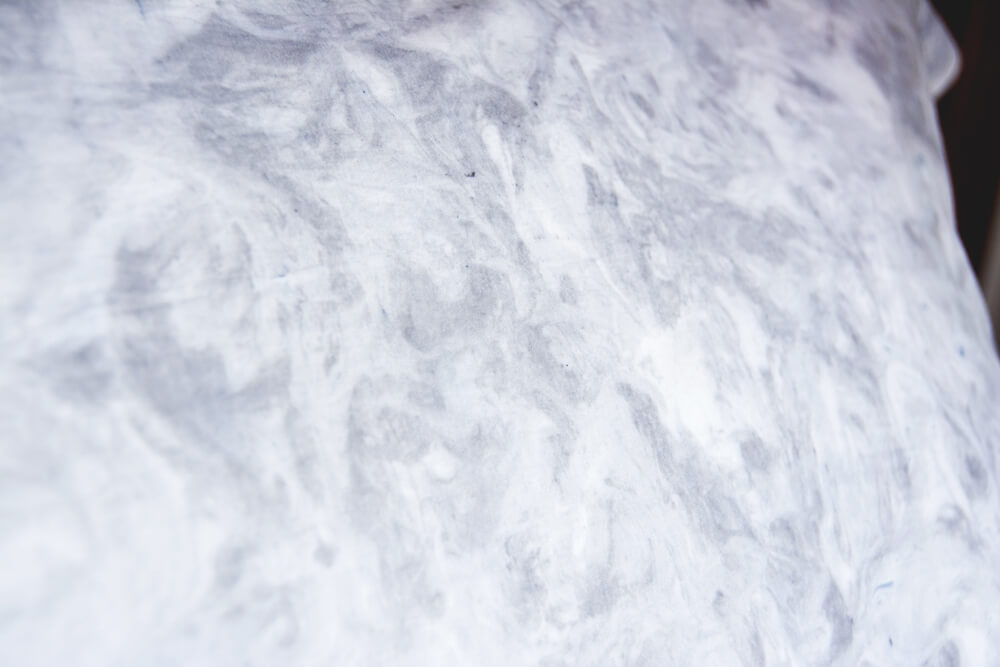
I actually didn’t even bother to rinse out the back side of the damp pillowcase (second image below) because of how disappointed I was with the front side. The second image technically looks more saturated but that’s only because I never took the time to rinse it.
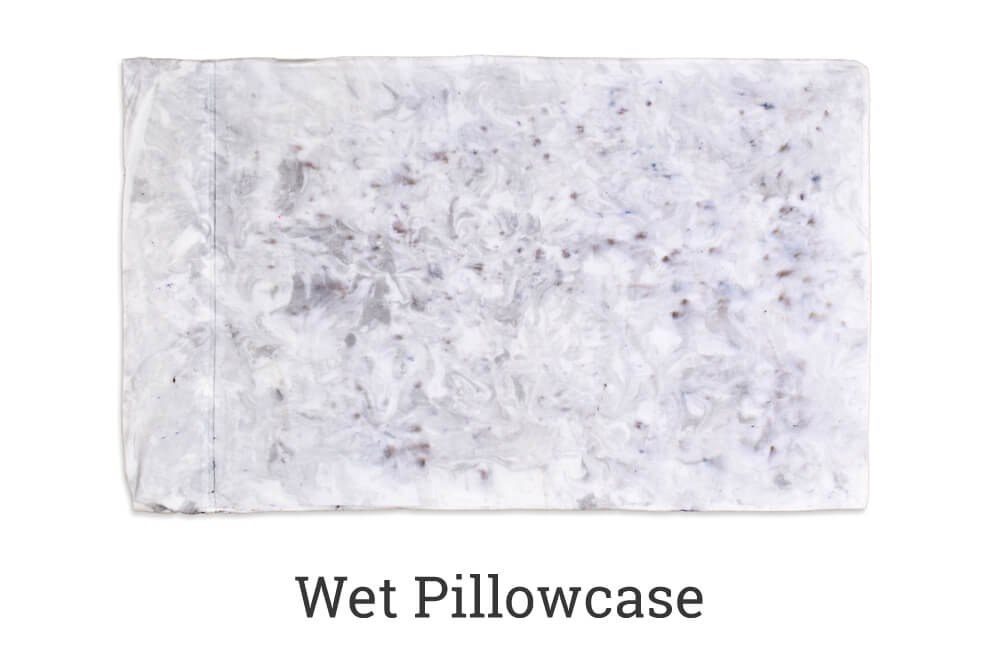
Lesson learned from the damp pillowcase: If you’re planning on marble dyeing separate designs on something with two sides like I did, it might help to place a piece of cardboard or something flat and sturdy in between the fabric while doing the second side so that the dye doesn’t bleed through and transfer onto the reverse.
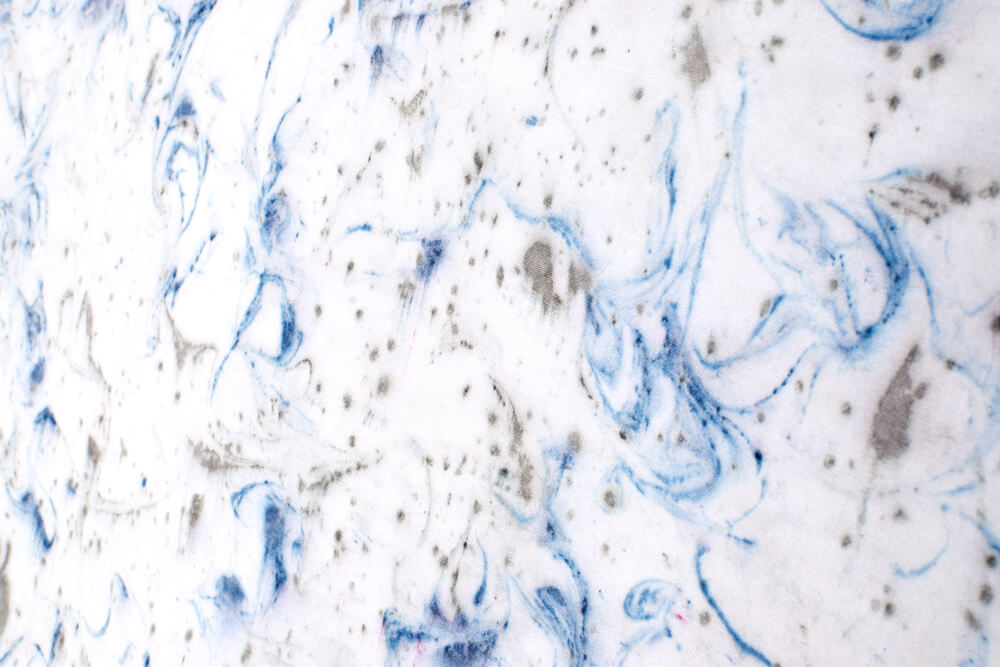
I’m not sure if it was the shaving cream, or the dye, but I noticed with the first technique that the dye congealed a bit on the shaving cream surface. When I went to swirl it, it clumped up a bit and that translated onto the fabric.
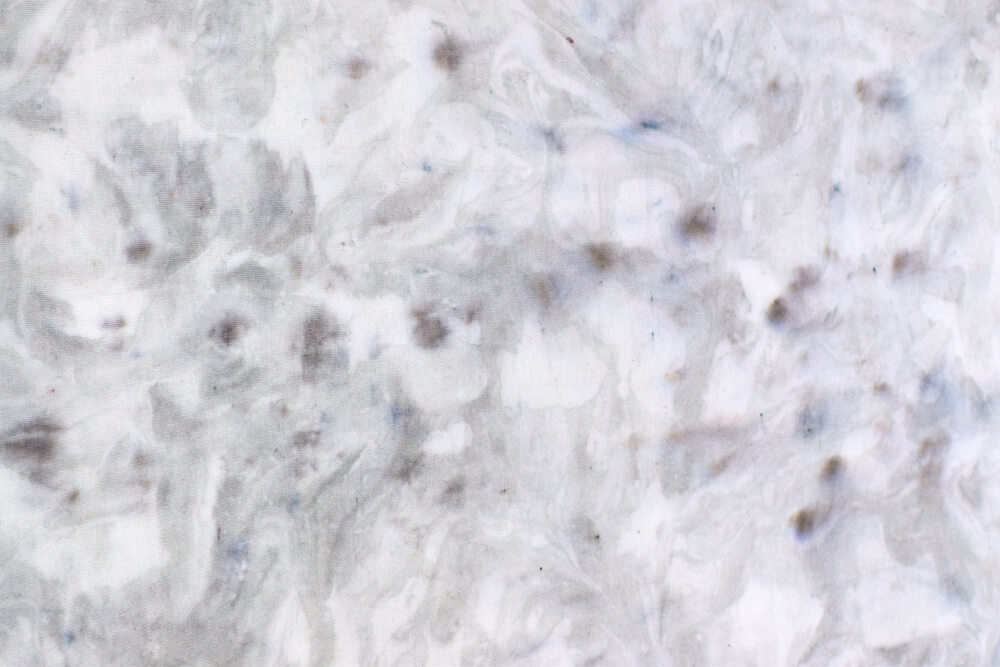
Remember what I said about being careful not to press down too hard when wiping away the shaving cream? Make sure to listen to that advice.
From far away you can’t really notice the smearing, but the design would have looked a lot nicer had I been more gentle with removing the shaving cream. If you think you’re pressing too hard, chances are you are!
When it came to setting the dye, the internet recommended putting the fabric in a microwave. Now I don’t know about you, but I like using my microwave for food, not fabric and dye.
I read elsewhere that you can heat set with an iron, so that’s what I did. Heat setting the dry pillowcase was fine. No problems. I probably should have put something in between the layers to avoid the risk of heat setting the wrong color onto the wrong side, but I didn’t and got lucky.
Maybe I’m an idiot and should have let the damp pillowcase dry first before ironing it (yup), but I went ahead and ironed it while it was damp anyway (stupid). I figured that it was the same principle of applying heat to damp fabric like you would in a microwave, so I went ahead and just did it.
All in all, I don’t think enough heat was applied to truly set the dye. I also think that since the fabric was damp to begin with, the design didn’t transfer as crisp as it did when the pillowcase was dry. I’m not sure if using a microwave would have given me better results than an iron would, but it would be something to try out in the future when I have an extra microwave at my disposal.
No two marbled things look exactly the same, so have fun with this project. You can use this technique on more than just fabric: try creating your own card stock, or water marble your nails with nail polish! What do you think of the whole marble-but-not-marble trend? Let us know in the comments below!
Want to marble dye your own fabric? Click here to shop all Liquid Rit Dye!
-
{{#each productSuggestedQueries.results}}
- {{query}} {{/each}}
-
{{#each categories.results}}
- {{html title}} {{/each}}
{{html attributes.description}}
{{/if}}-
{{#each queries.results}}
- {{query}} {{/each}}