4 Easy Holiday Decorations
- By Jen
- Beginner
If you’re looking for a few simple holiday decorations, you’ve come to the right place. These projects won’t take up a lot of time and money to make, you don’t even need a sewing machine. Got a closet full of scrap fabric? These projects are perfect for for getting rid of your leftovers.

Materials
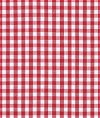
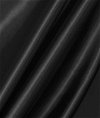
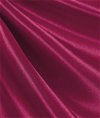
- Fabric (Ornament/Tree/Garland)
- Shears (Ornament/Tree/Garland)
- Hot Glue Gun (Ornament/Tree/Ribbon Frame)
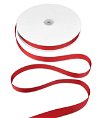
- Satin ribbon (Ornament)
- Styrofoam Ball (Ornament)
- Styrofoam Cone (Tree)
- Burlap Ribbon, 2 colors (Ribbon Frame)
- Scissors (Ribbon Frame)
- Frame (Ribbon Frame)
- Twine (Garland)
Related Products


Video
Instructions
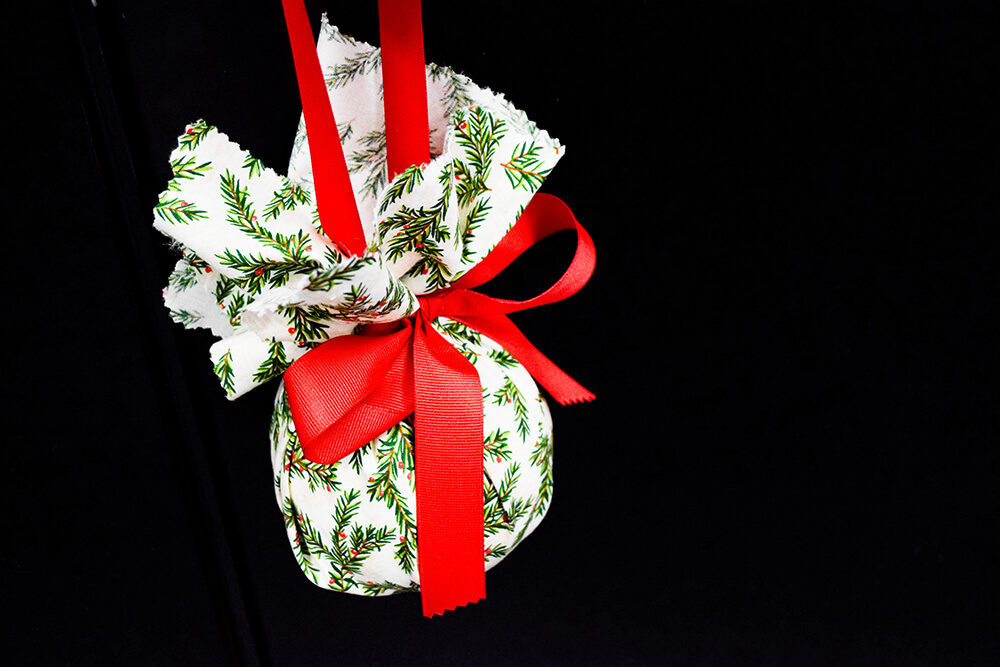
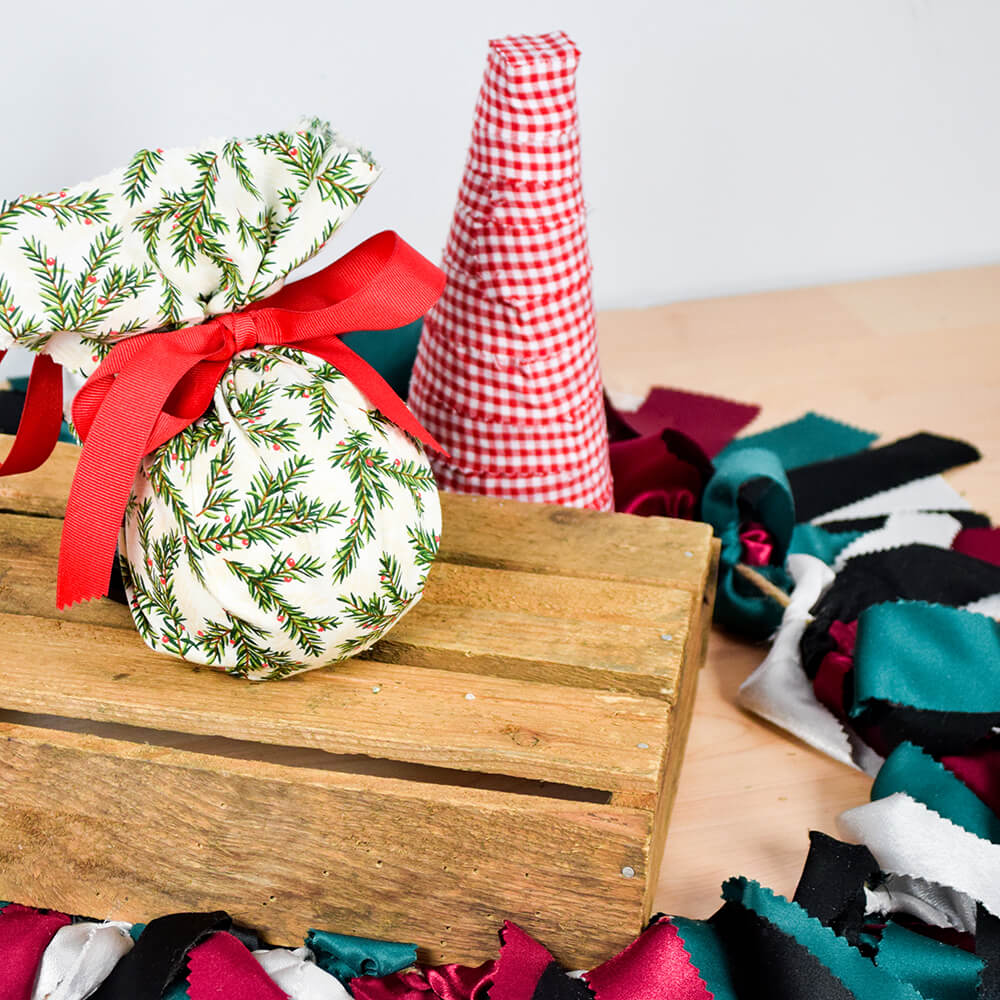
Fabric Ornament
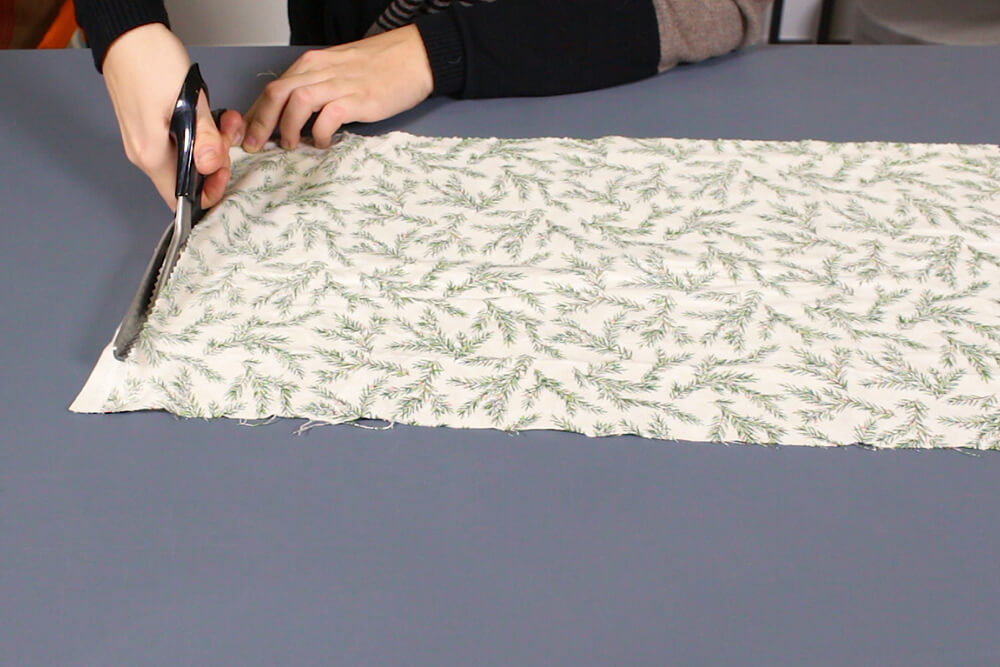
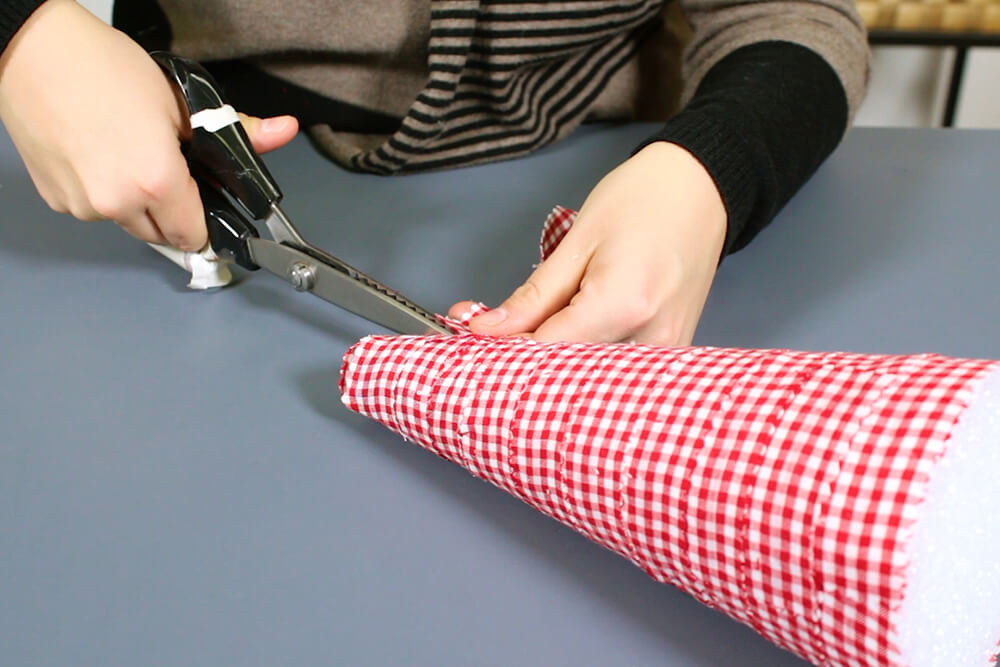
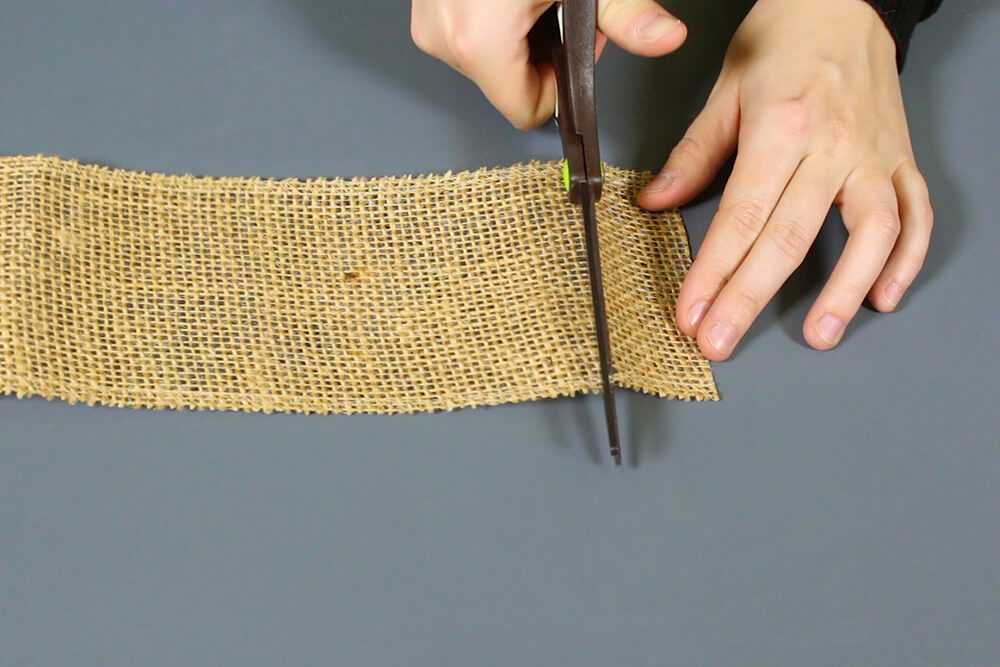
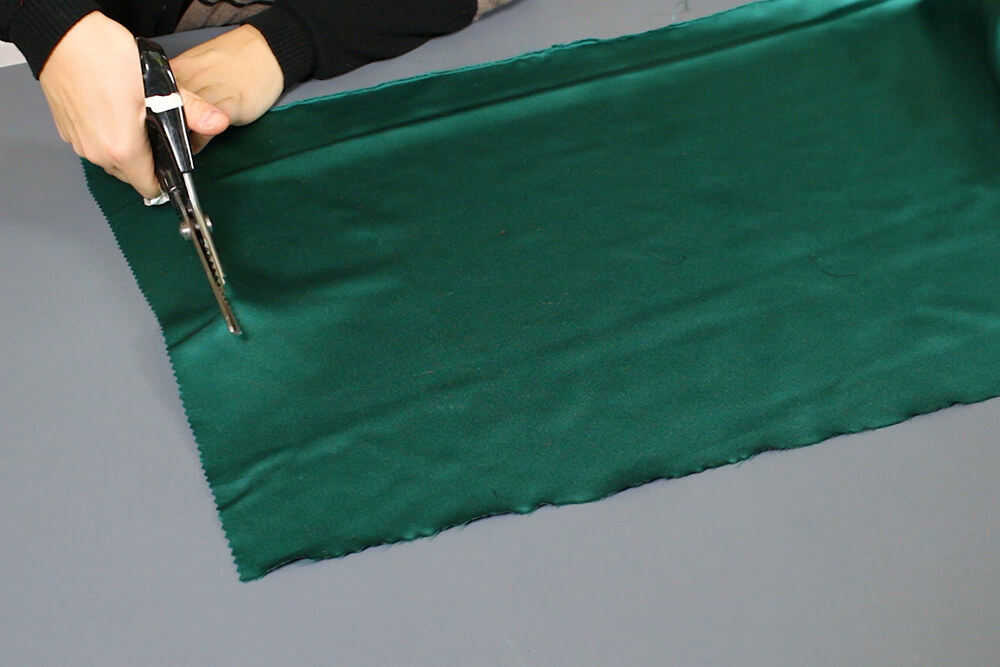
I’m using shears on this fabric so the ends don’t fray.
Cut out a piece of fabric that will easily wrap around your Styrofoam ball. This piece will be about 12 by 18 inches. Cut 1 piece of ribbon that’s about 2 feet long, and 1 piece that’s about 10 inches long.
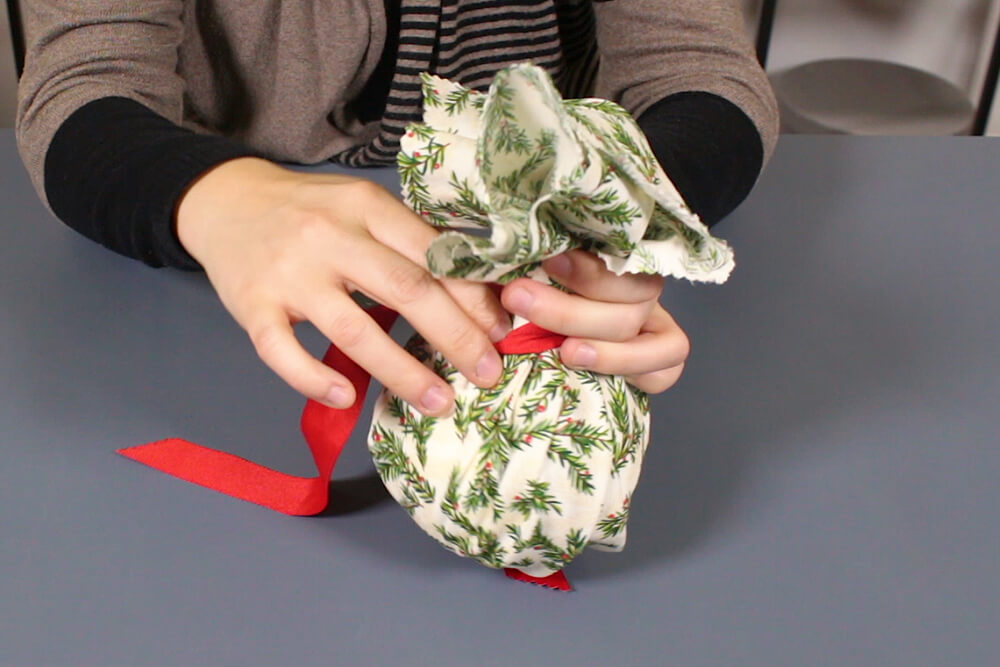
Put the Styrofoam ball in the middle of your fabric, and glue 2 sides of the fabric to the ball.
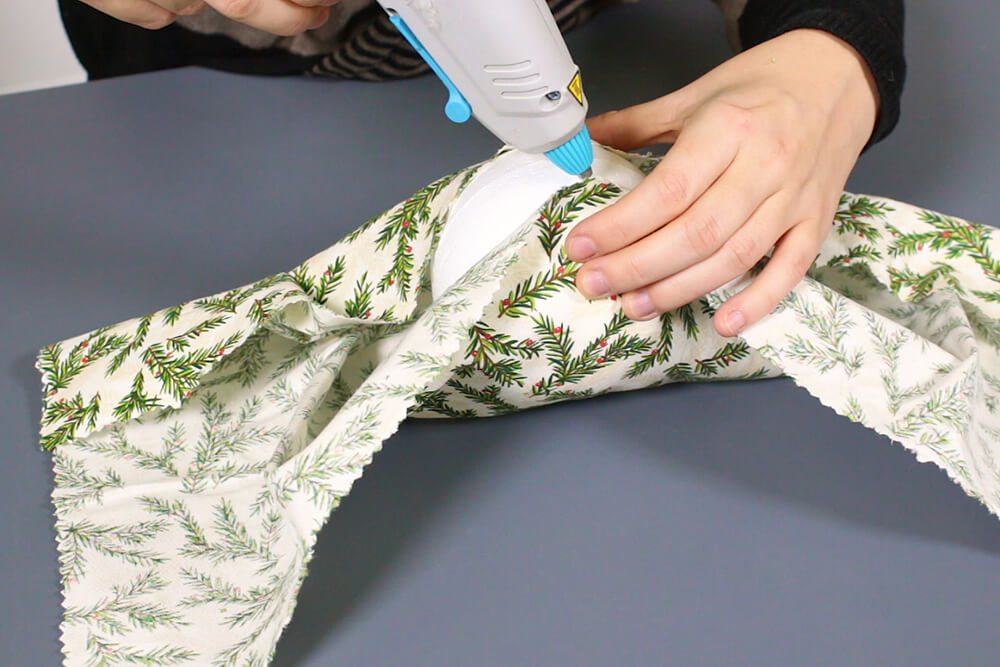
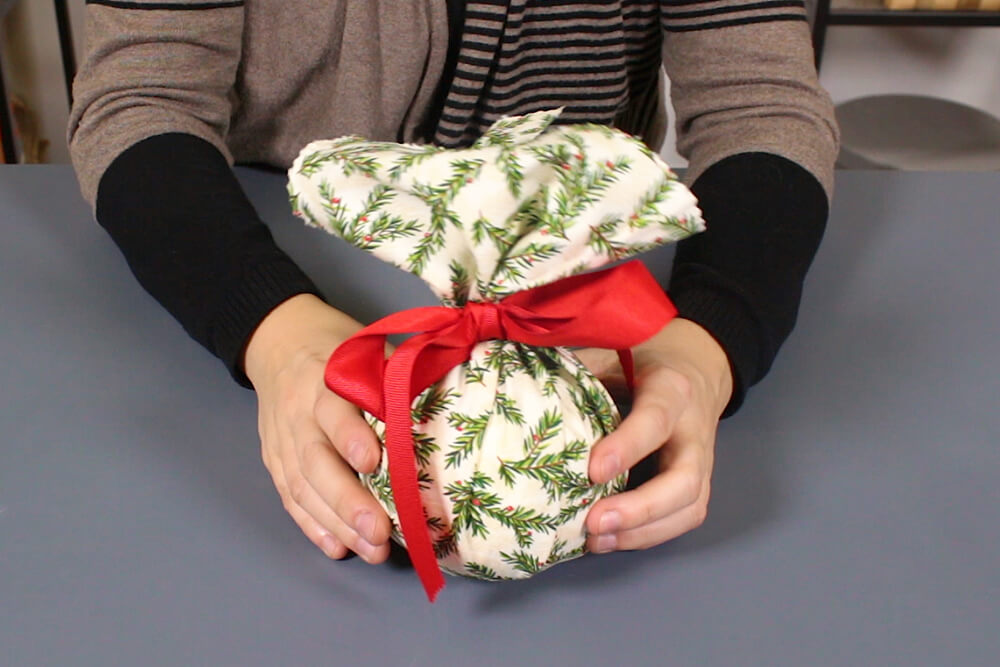
Wrap the fabric around the ball and twist a few times to make it tight. Tie the longer piece of ribbon around the twist and into a bow.
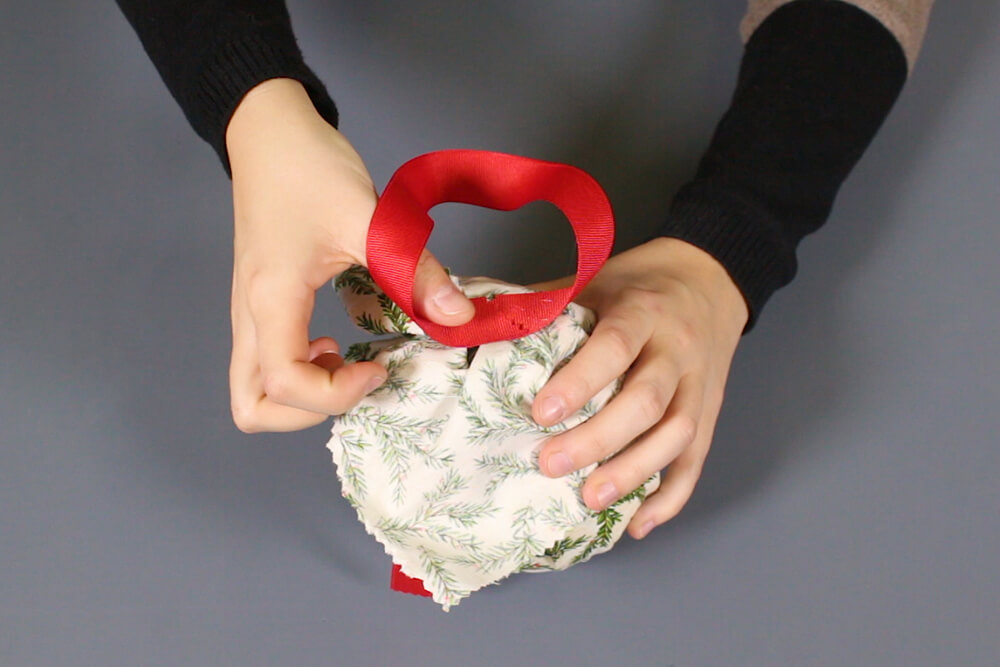
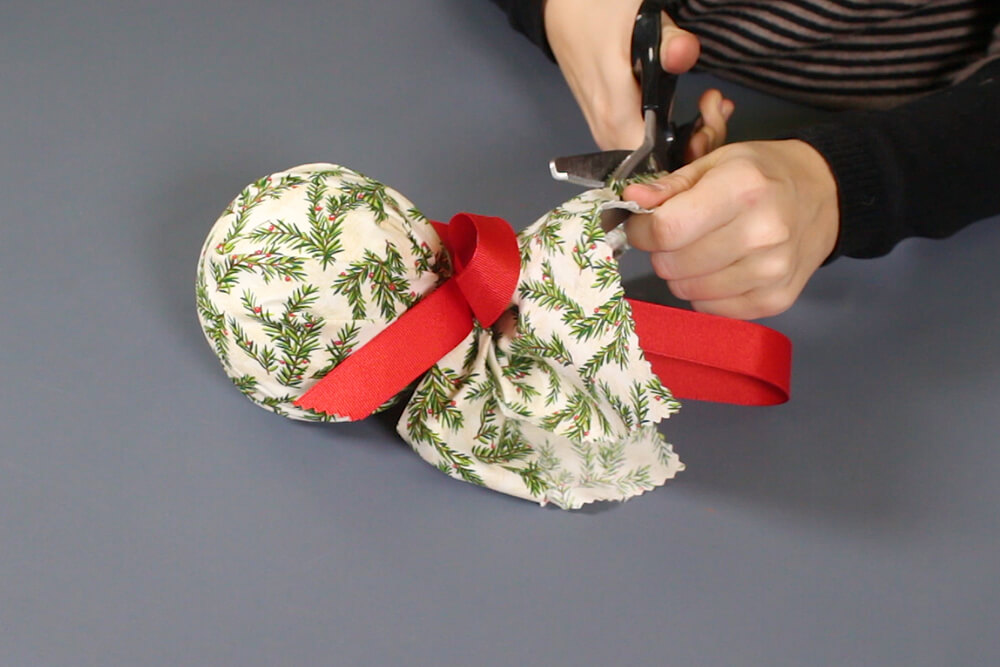
Loop the smaller piece of ribbon and glue the ends to the top of the ornament. Trim extra fabric if necessary.
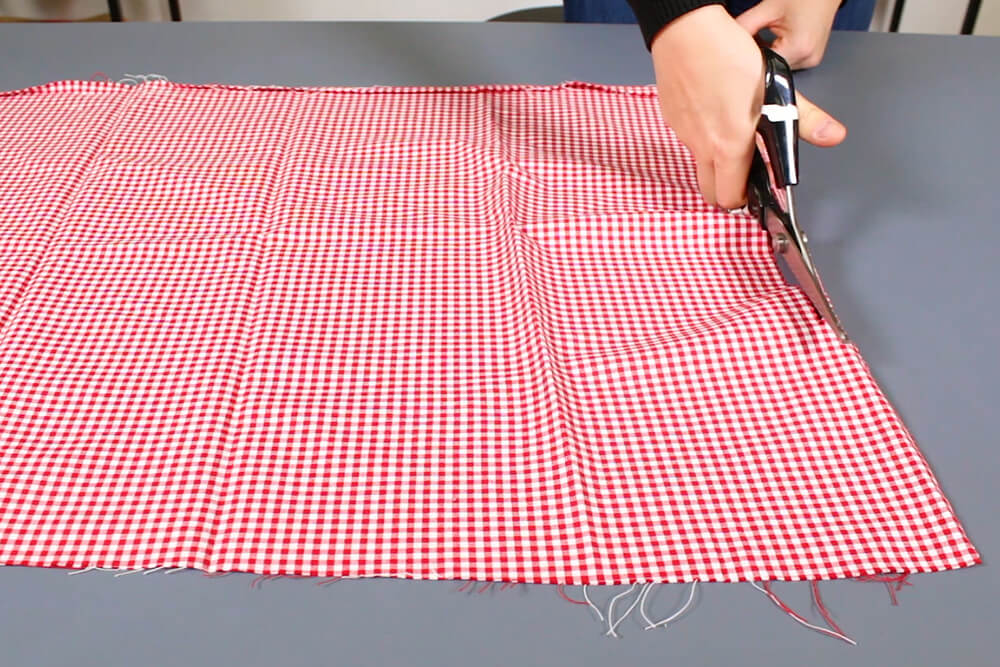
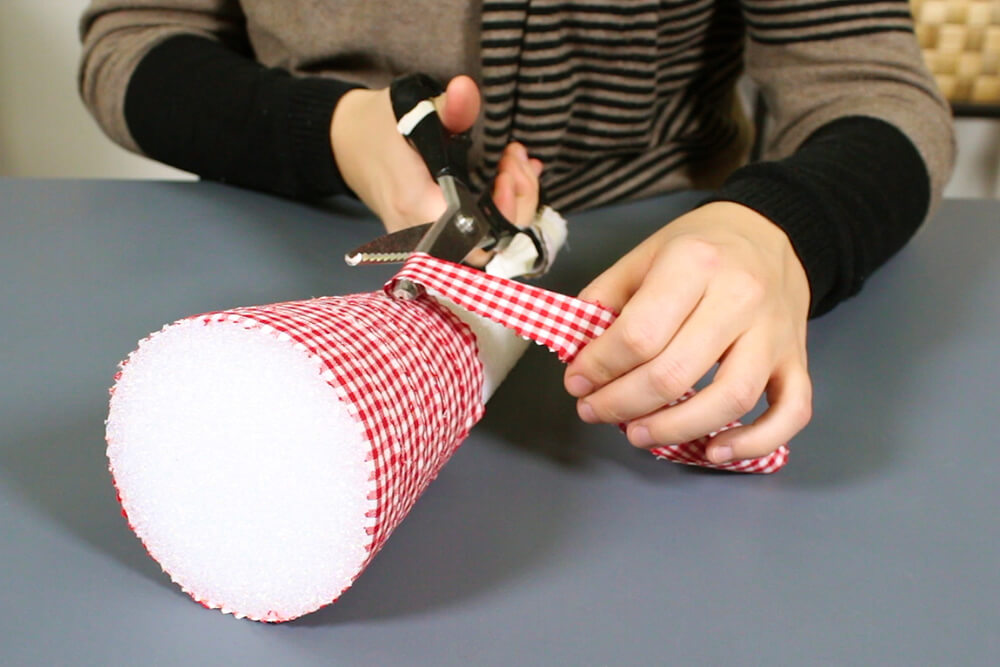
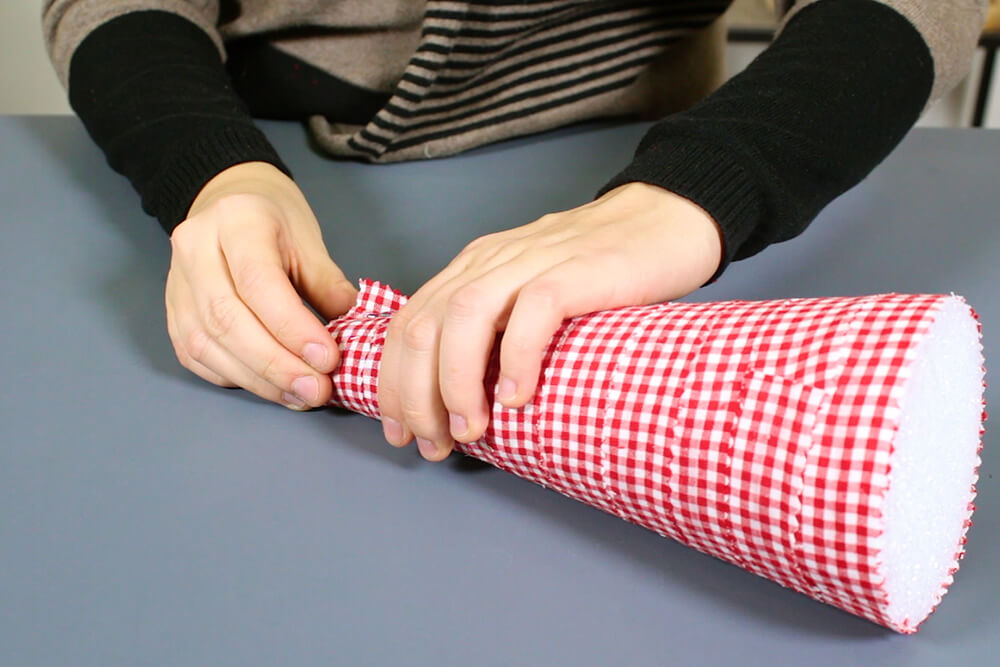
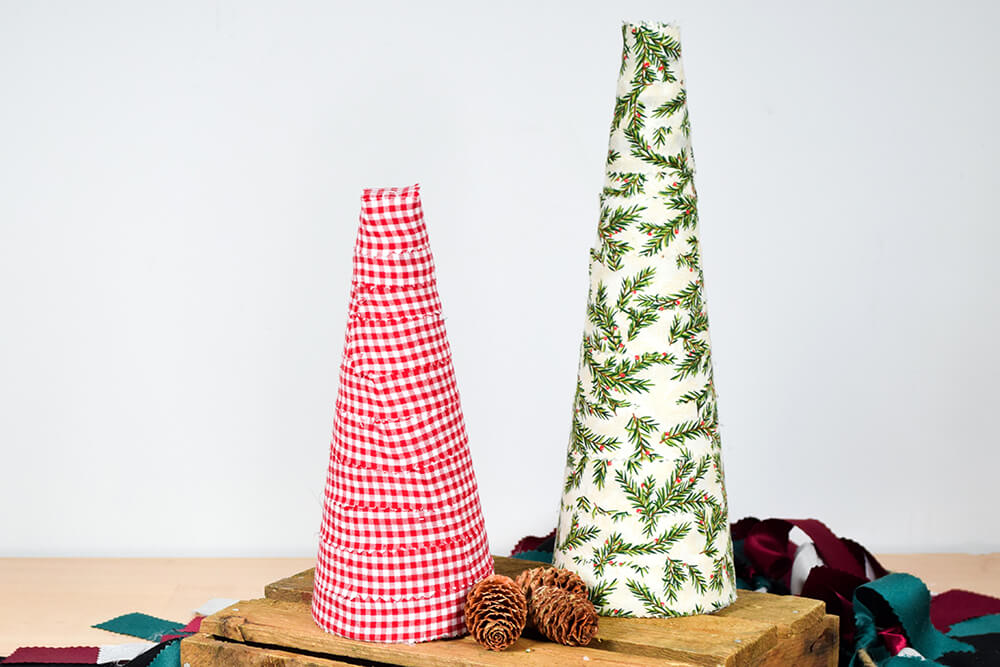
Fabric Tree
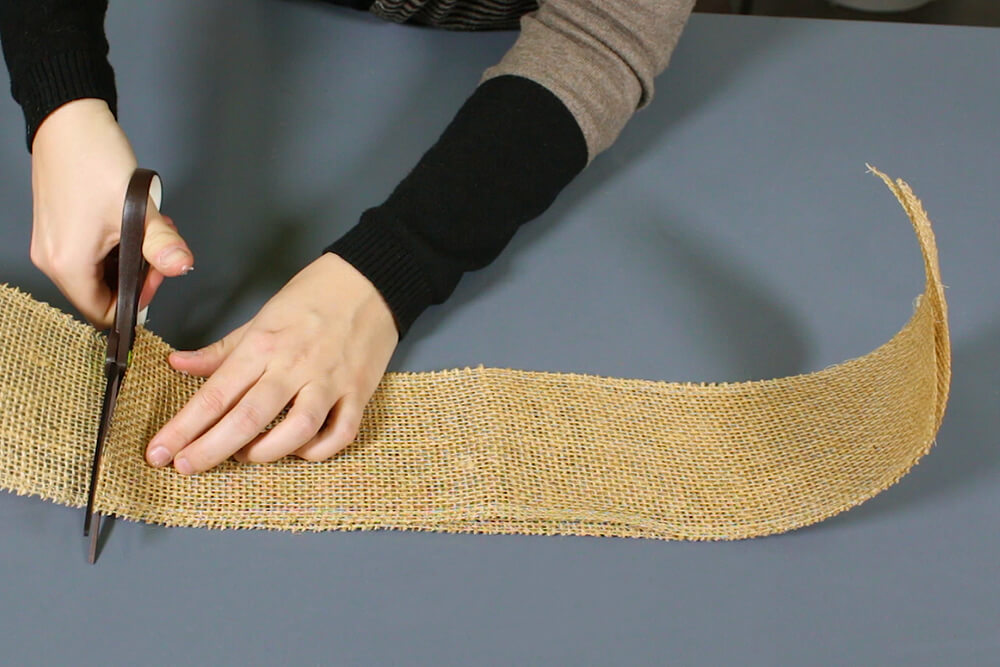
The bottom of the tree needs longer strips but the top is smaller so you can use shorter strips.
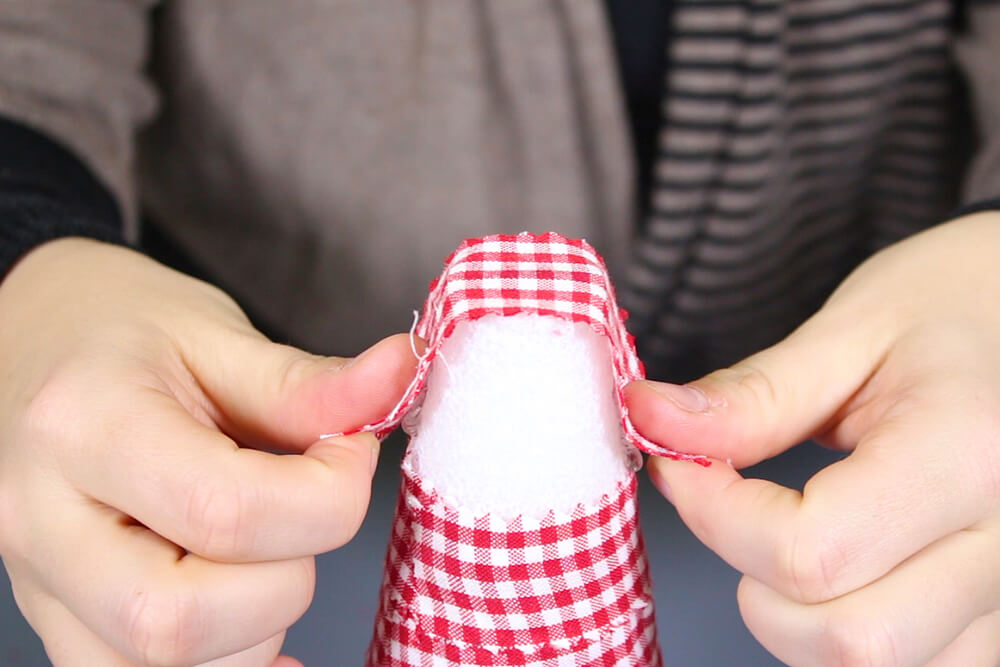
Cut enough strips of fabric to wrap around the sides of the Styrofoam cone. I ended up using 8-10 strips that were about 2 by 16 inches.
Starting at the bottom, glue the strips around the base of the cone.
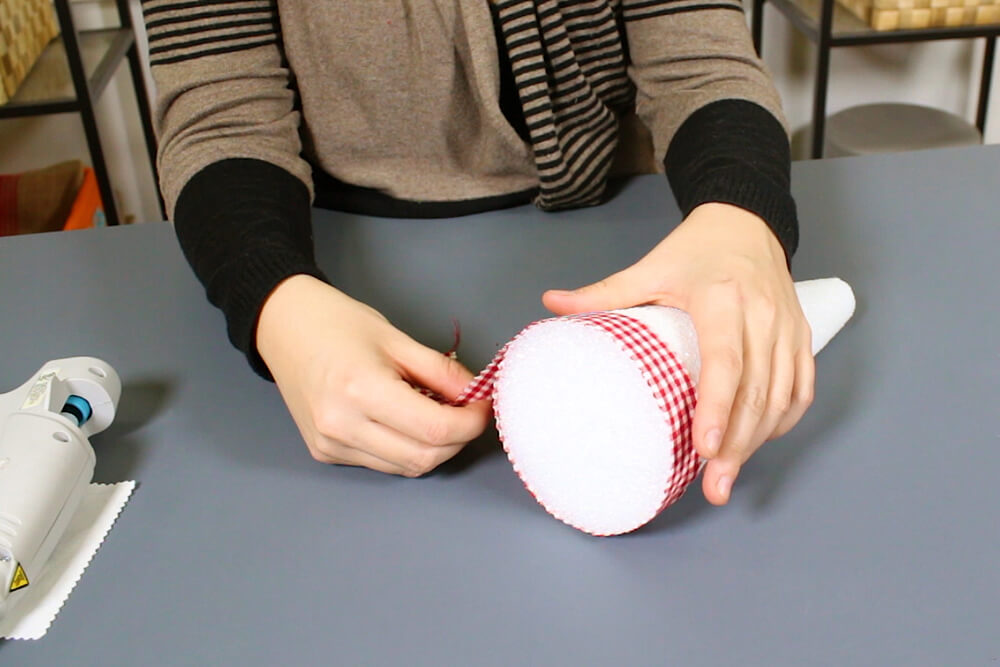
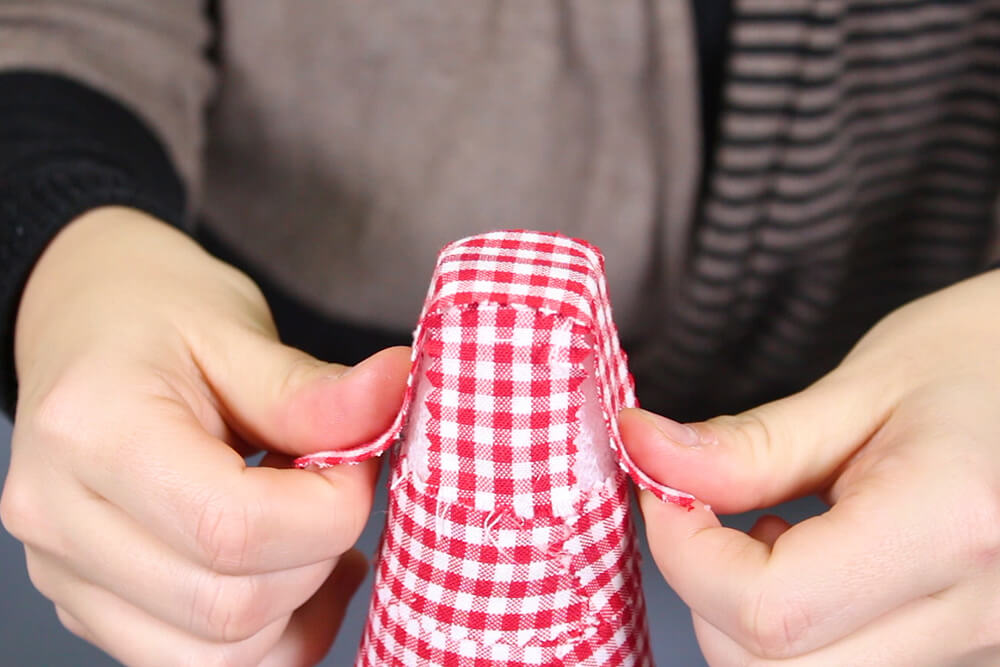
Continue gluing strips around the cone working your way to the top. Stop a few inches from the top.
Glue a couple shorter strips to cover the top so they crisscross.
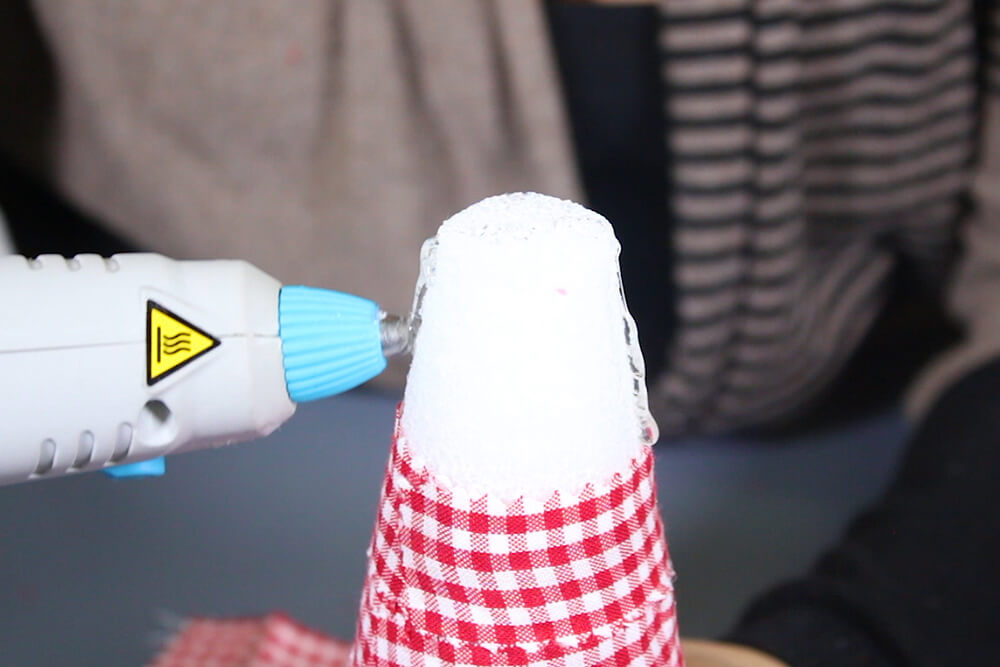
Glue another 1 or 2 strips around the top of the sides of the cone. This will cover the ends of the shorter strips.
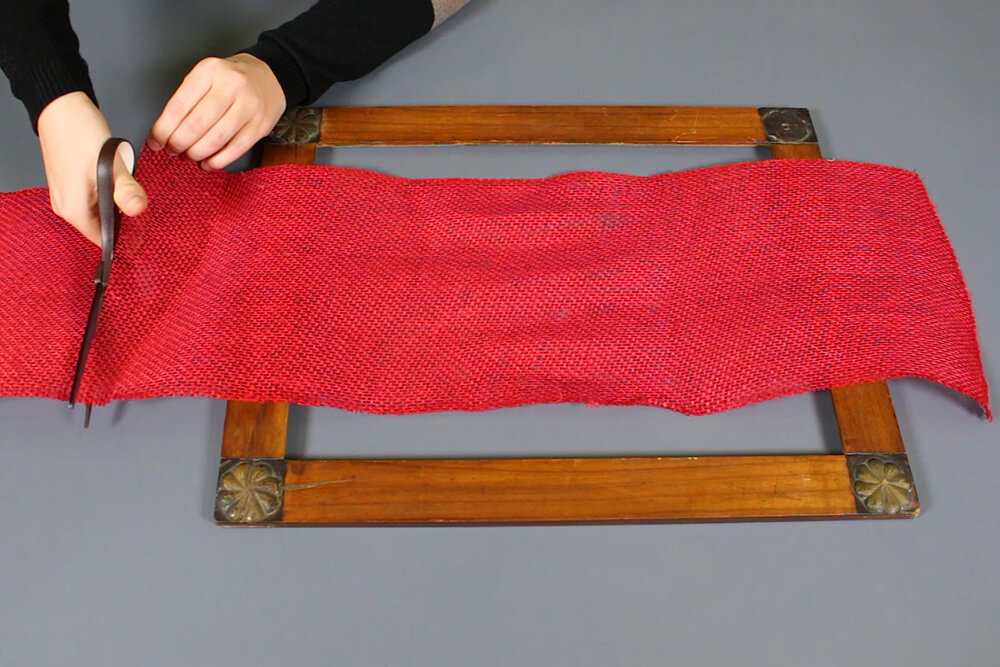
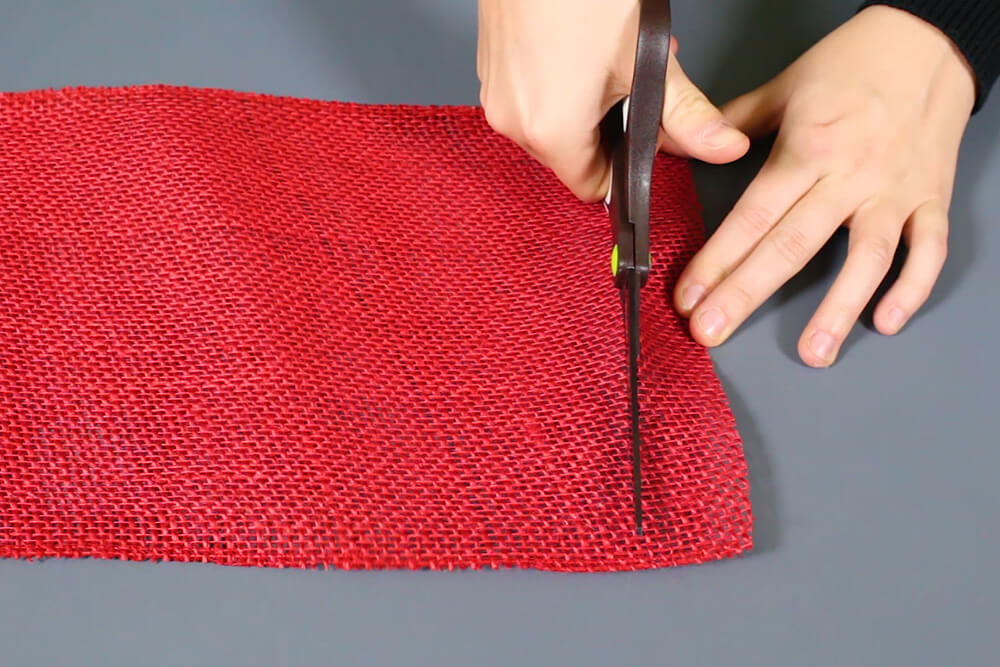
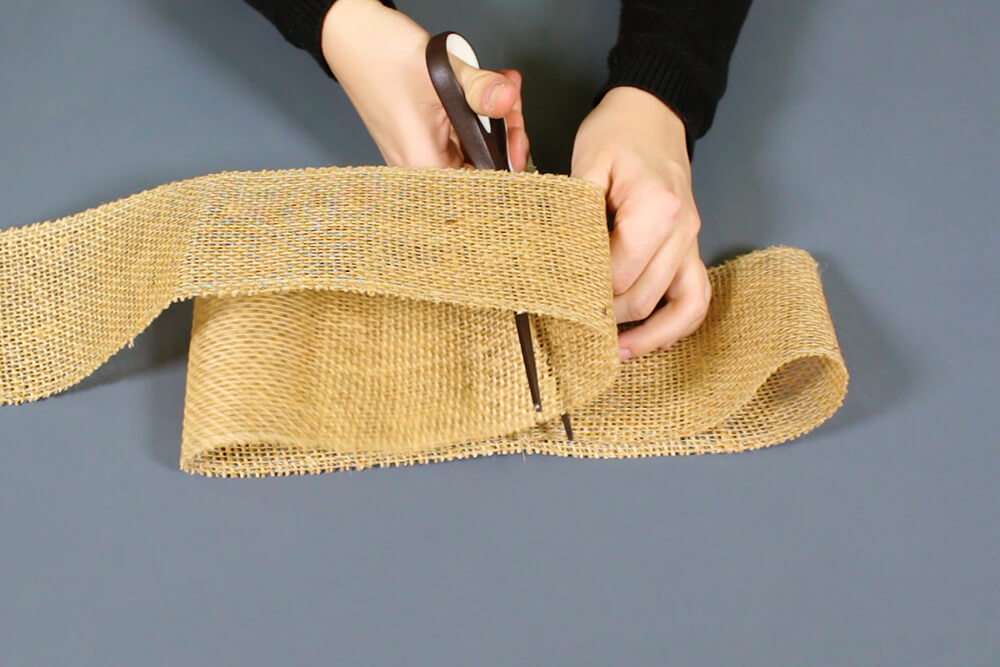
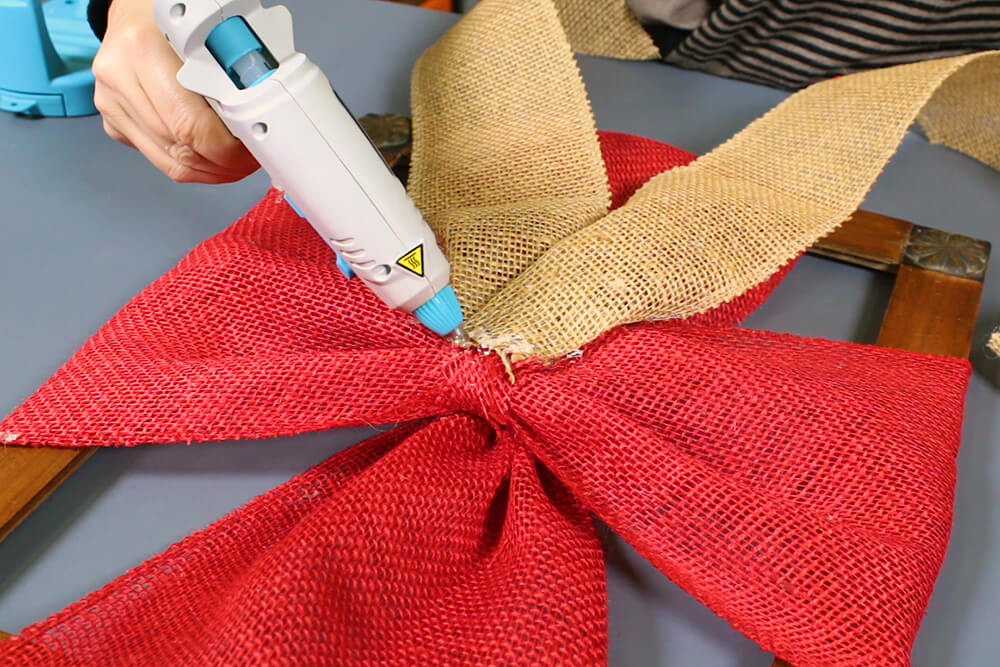
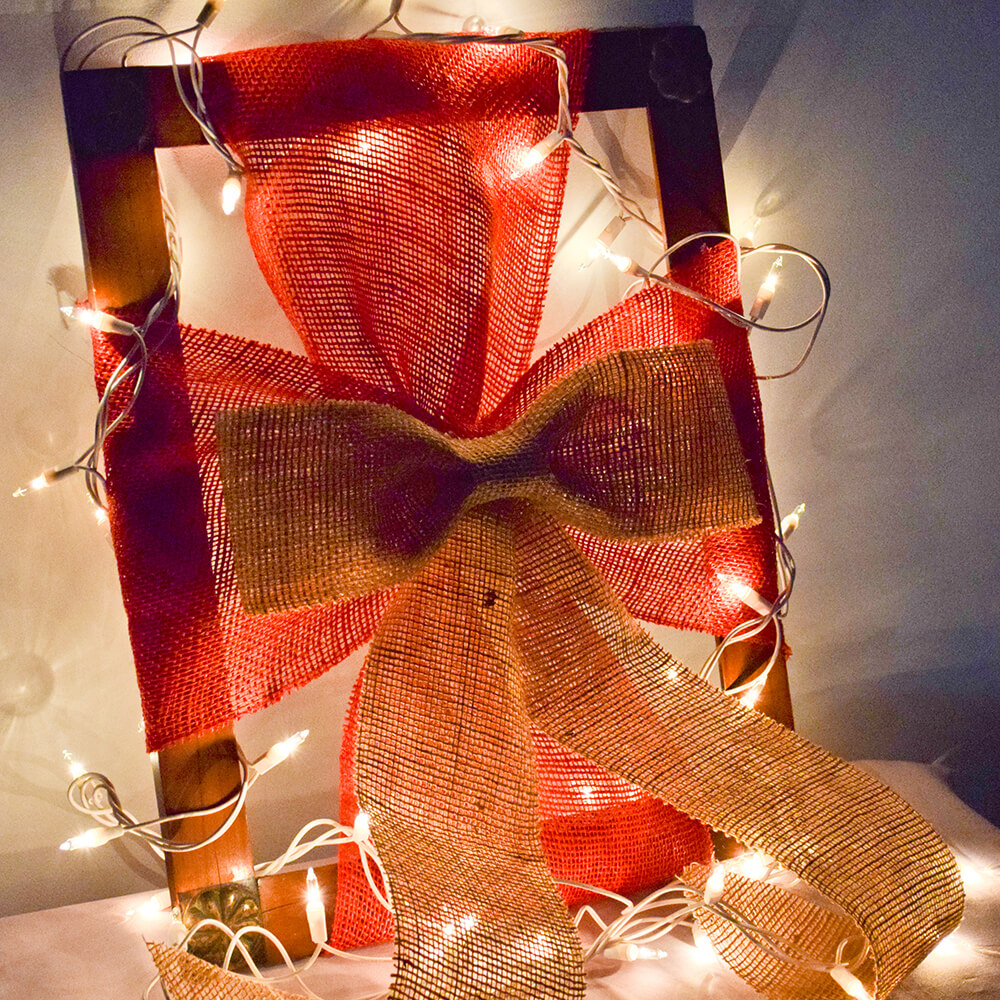
Burlap Ribbon Frame
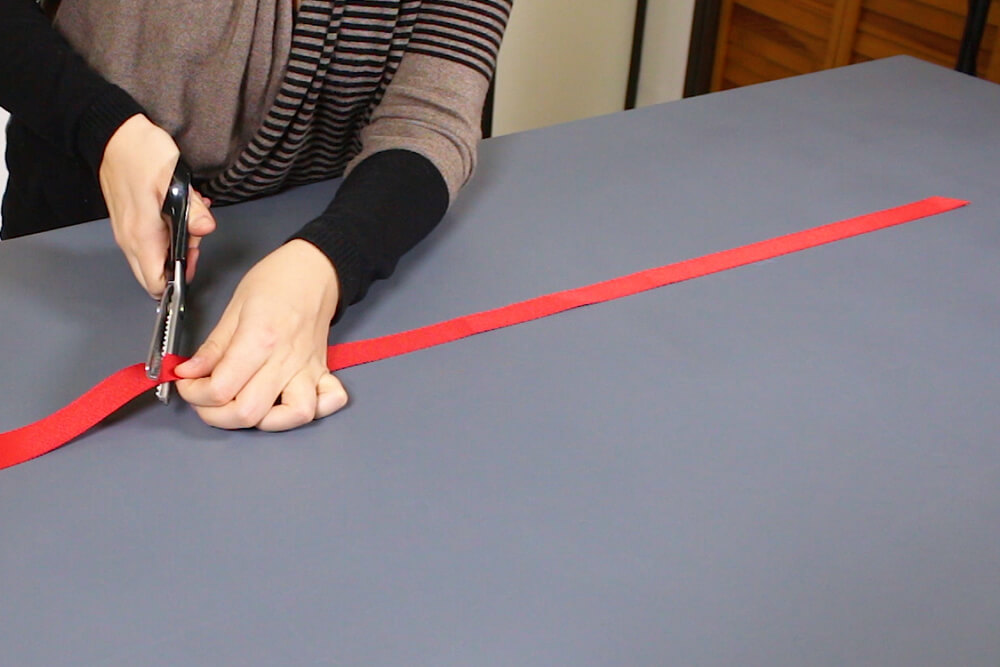
You will need another piece about 6 inches longer than the width of the frame and another 2 inch wide strip of ribbon so you can cut those now as well.
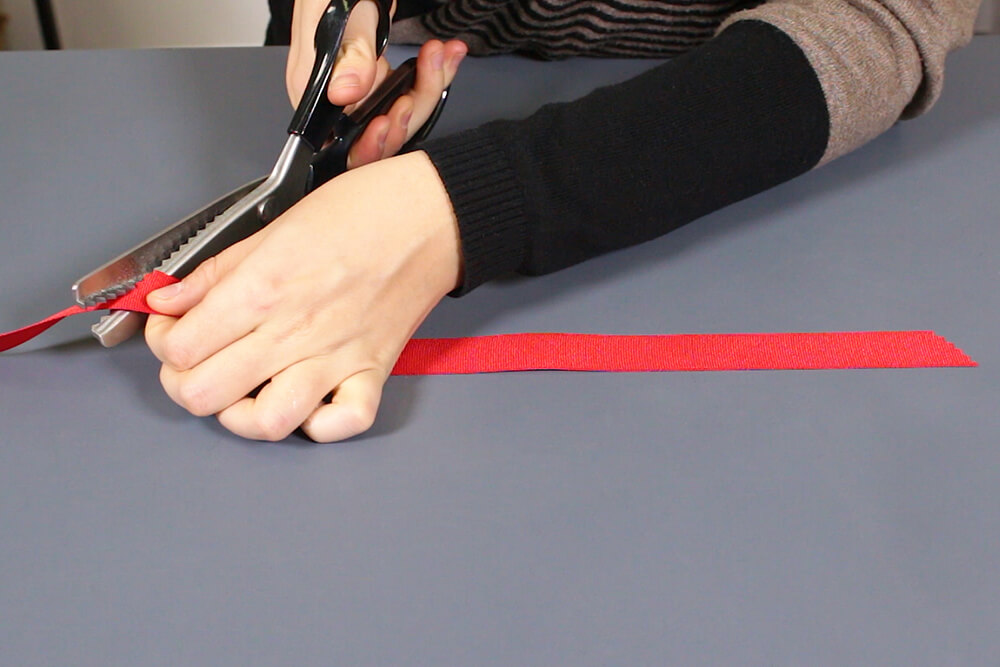
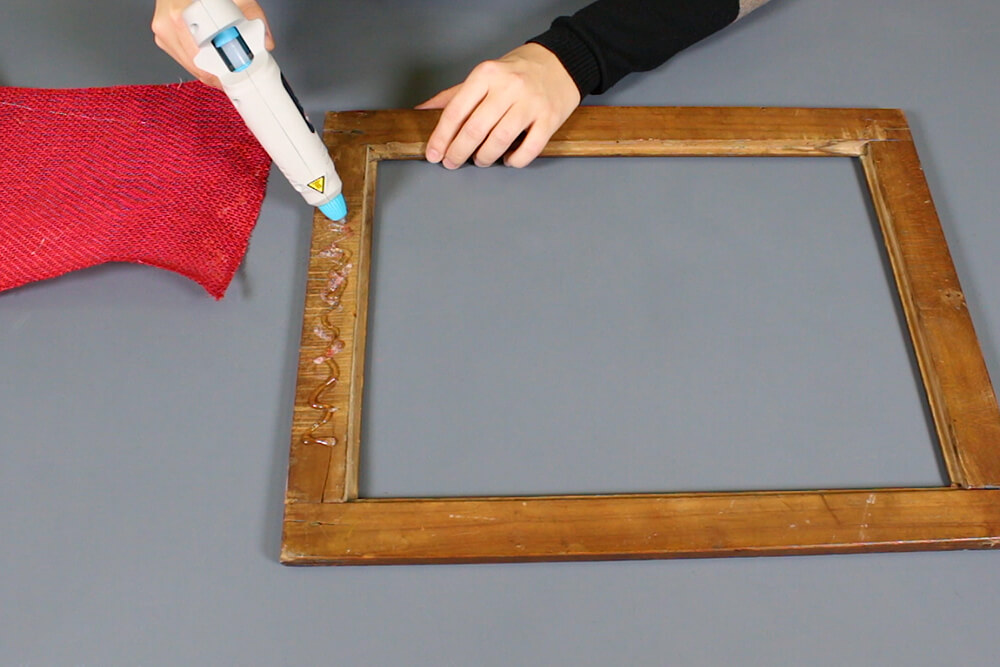
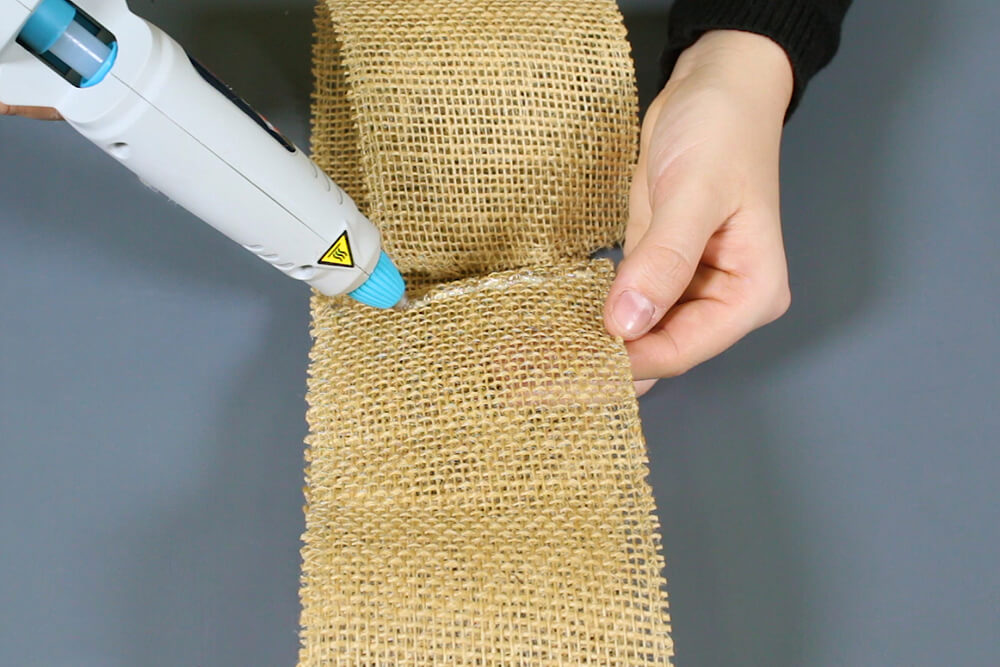
Cut a piece of the burlap ribbon that’s about 6 inches longer than the length of the frame. Also cut a strip of ribbon that’s about 2 inches wide. This piece will wrap around the middle of the larger piece.
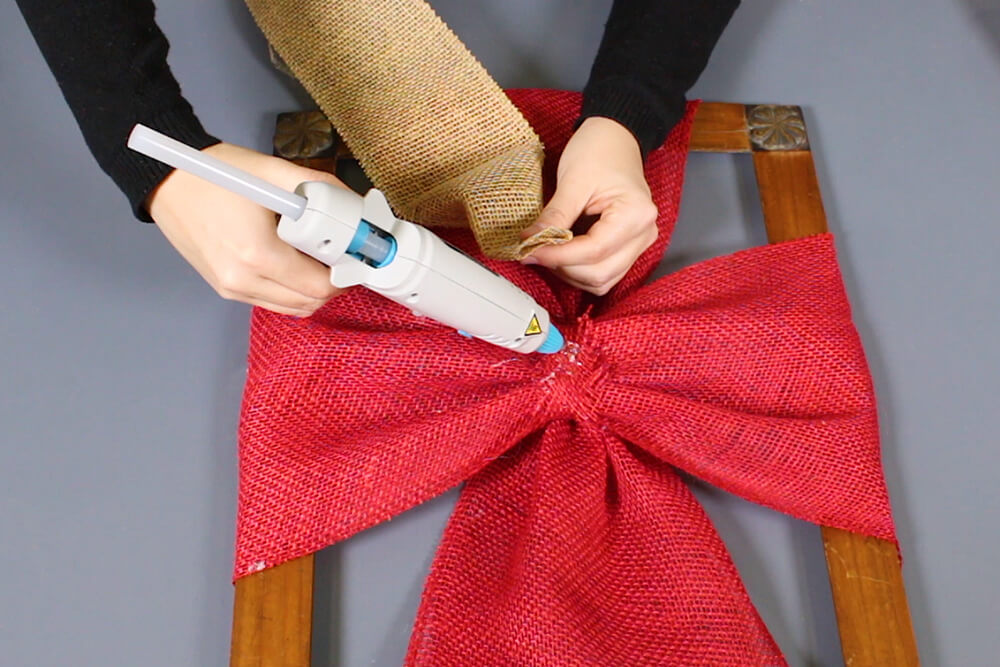
You may want to use a spoon or other tool to protect your hands from burning on the hot glue.
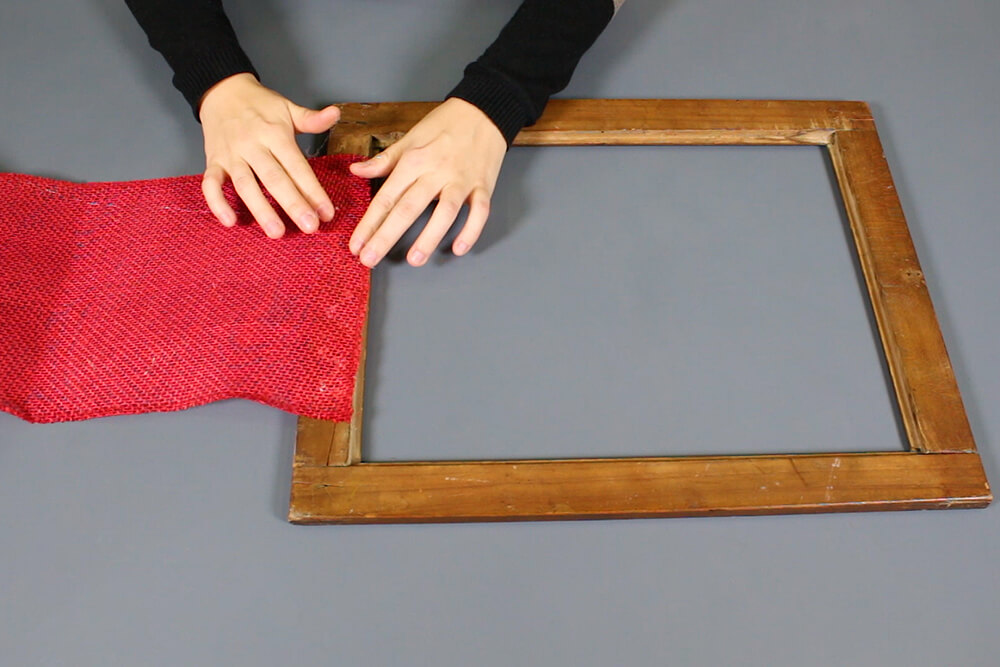
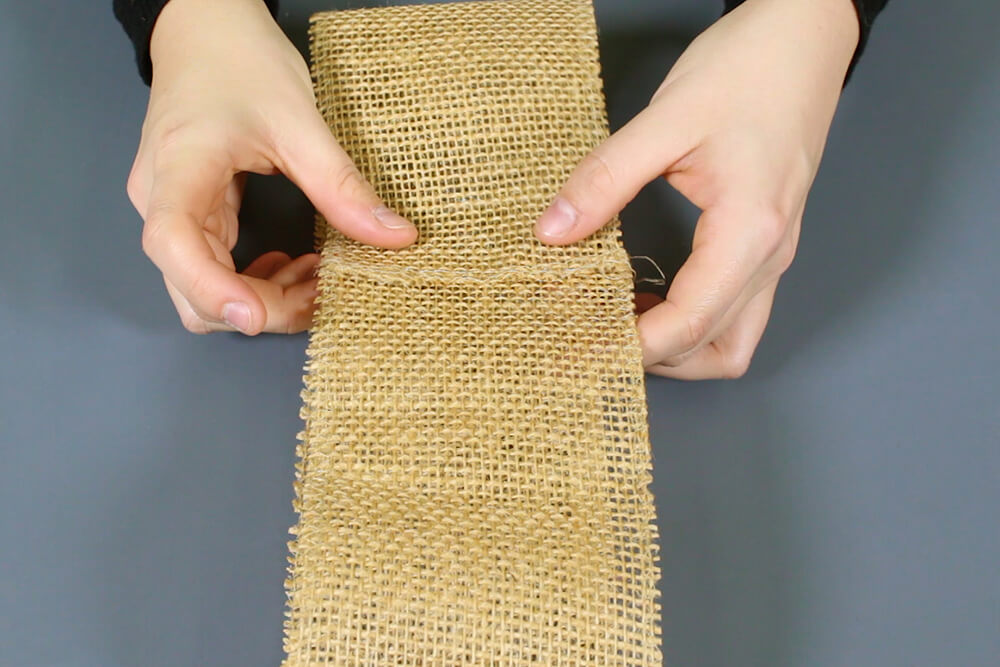
Glue the ends of the large piece of ribbon to the back of the sides of the frame. The ribbon should be loose in the middle so that it can be gathered in the next step.
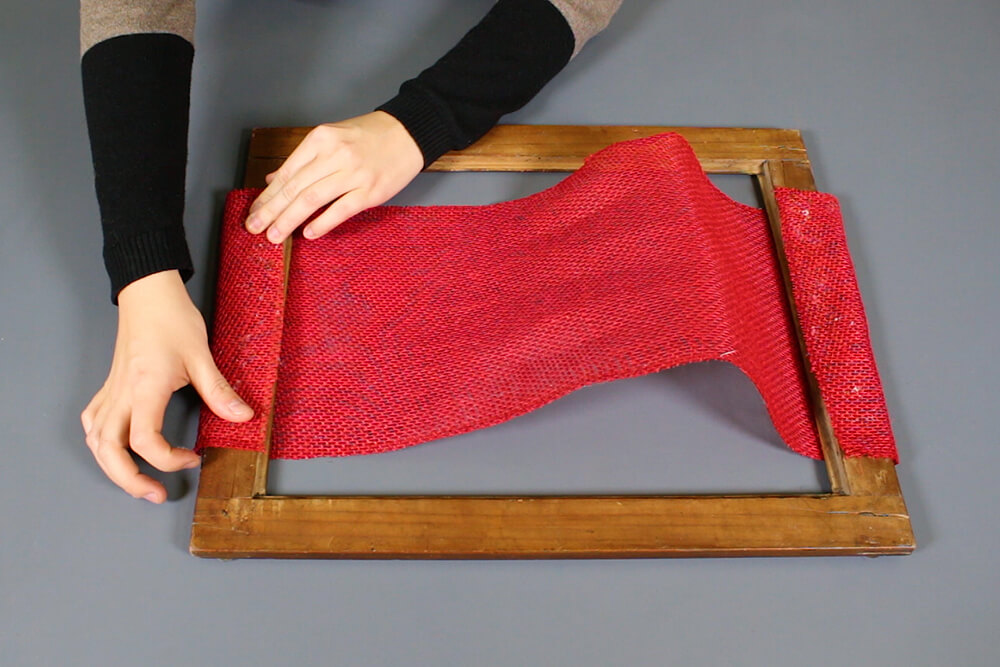
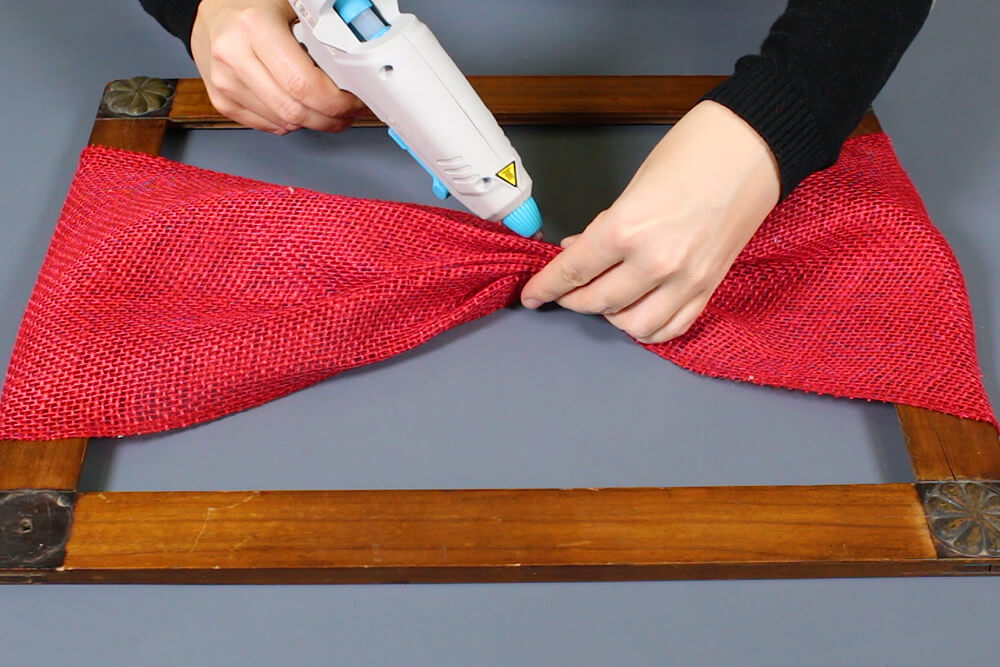
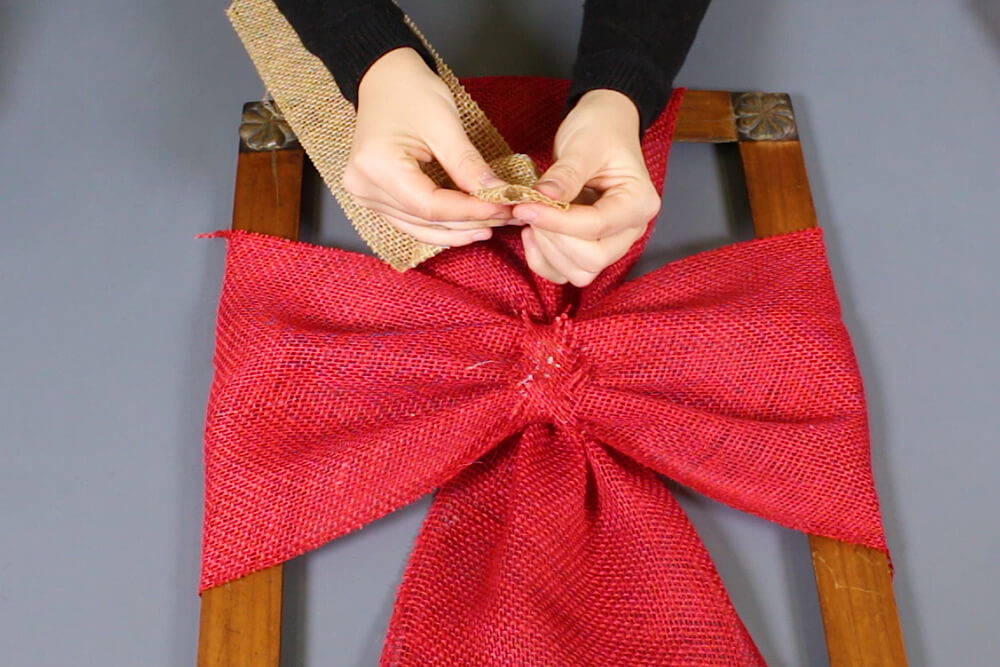
Gather the loose ribbon in the middle. Glue one end of the strip to the gathered ribbon and wrap it around tightly. Glue the other end of the strip down to secure it.
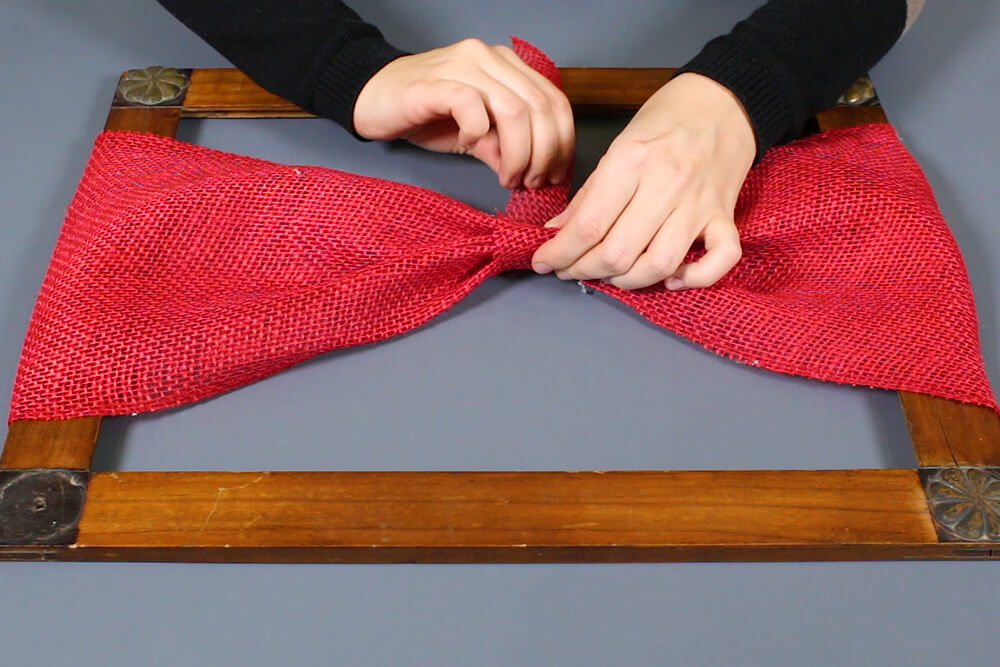
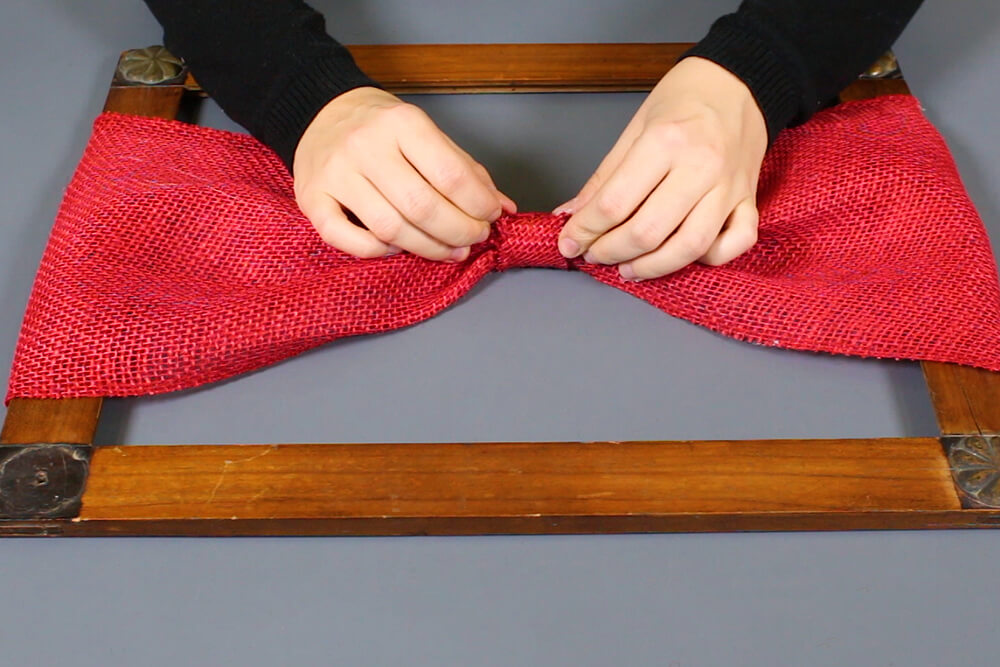
Repeat these steps with another piece of ribbon going the opposite way across the frame.
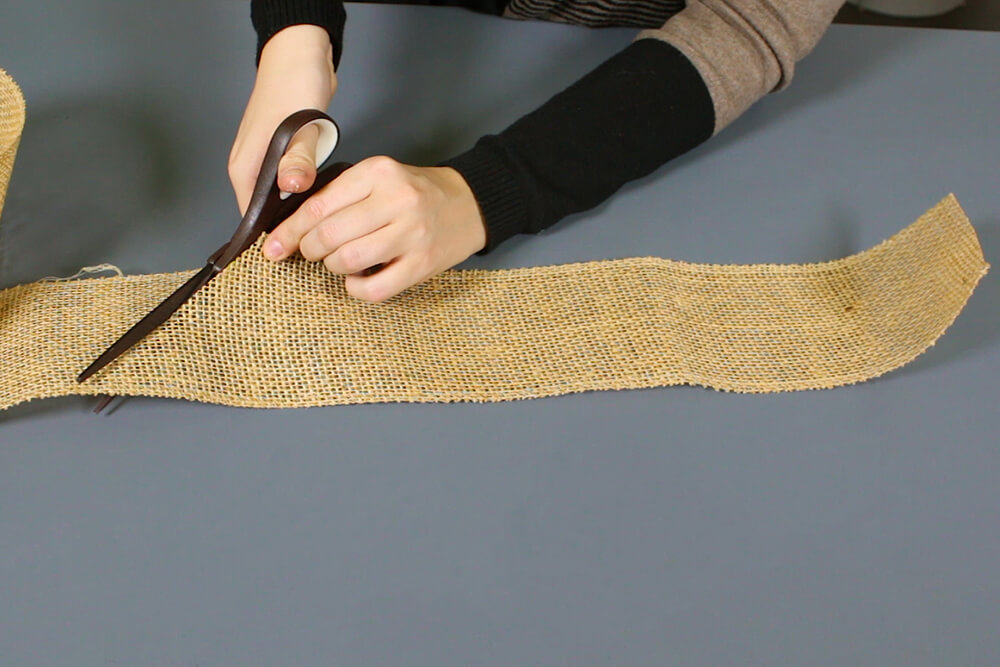
The 1 foot long strips will look nicer if you cut the bottom ends at a 45 degree angle.
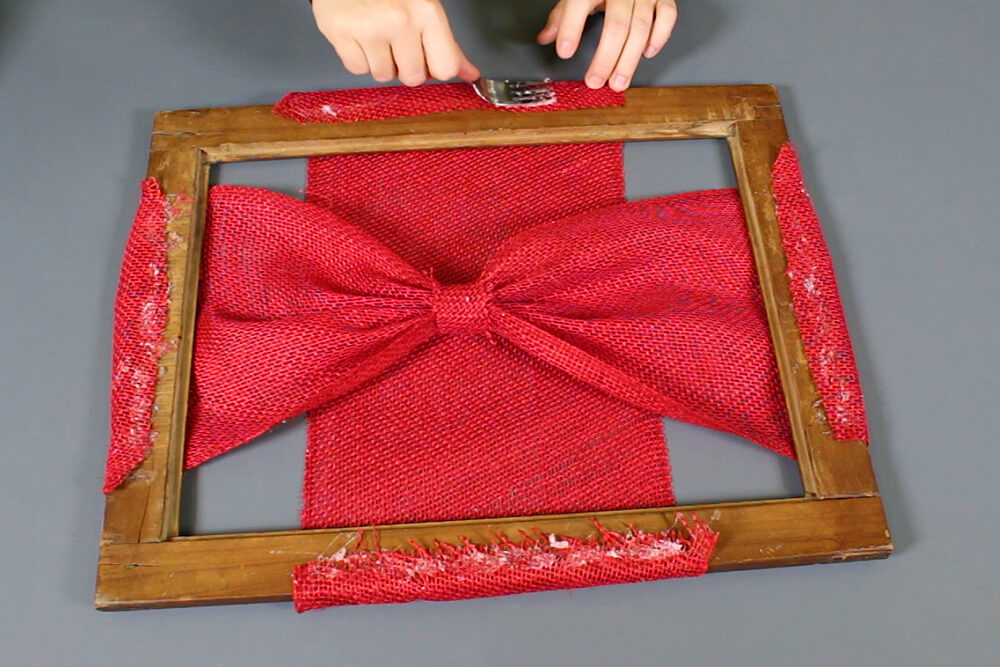
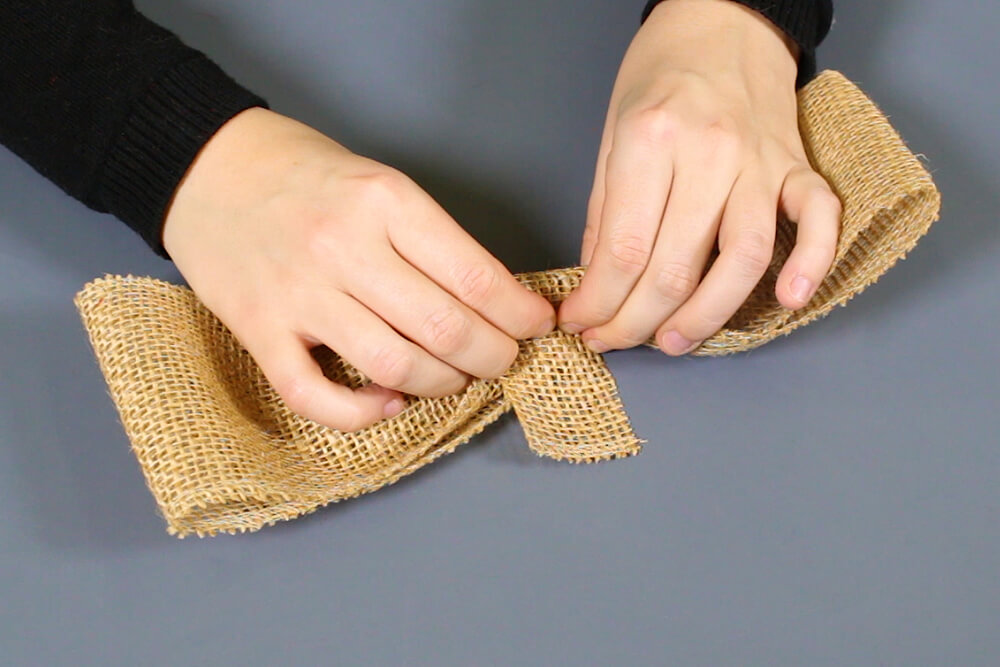
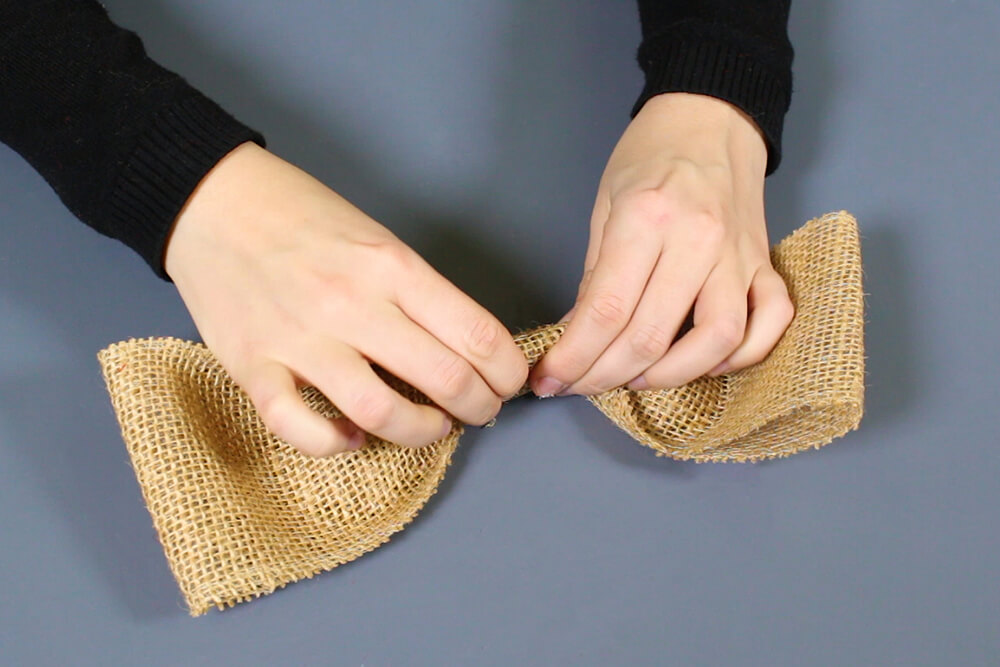
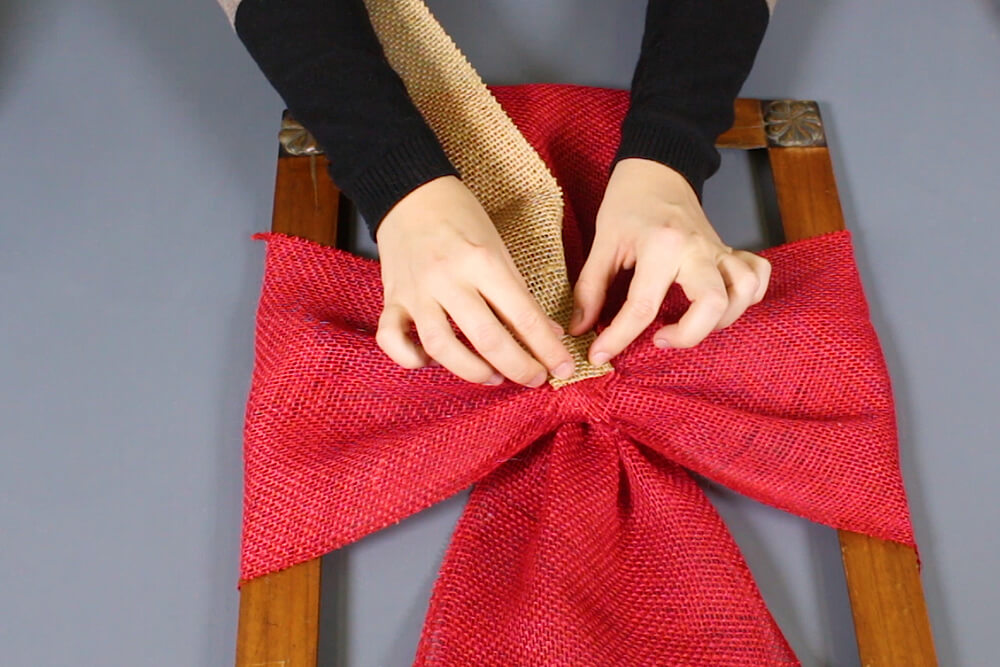
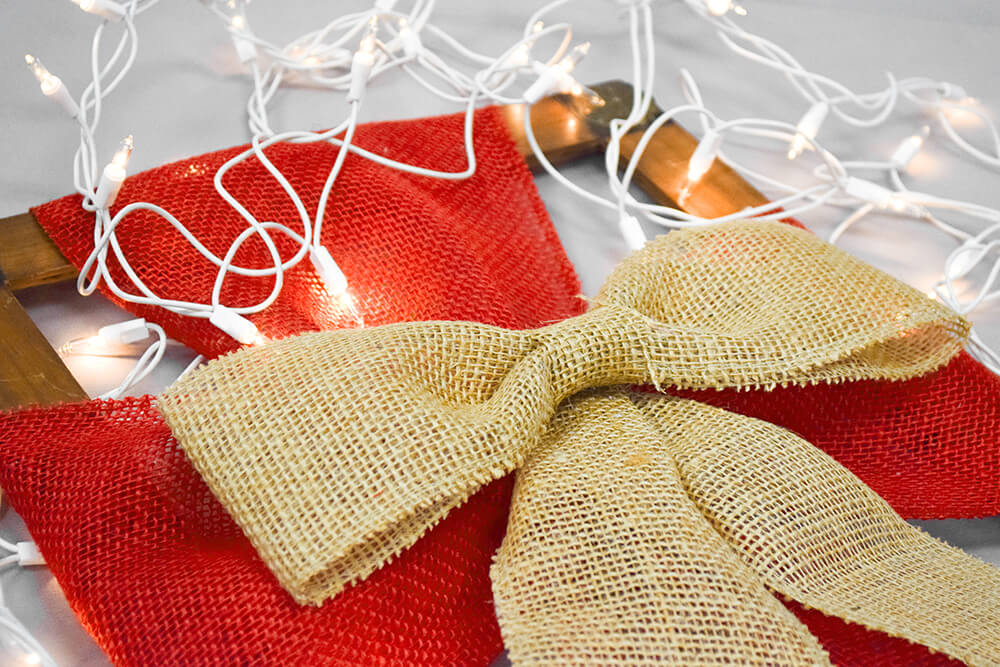
Out of the second ribbon color, you’ll need 4 pieces. One piece that’s about 2 feet long, one 2 inch strip, and 2 pieces that are a little over 1 foot long.
Glue the ends of the 2 foot long strip together. Gather in the middle and wrap the small strip around the middle of the whole piece. Glue the strip at both ends.
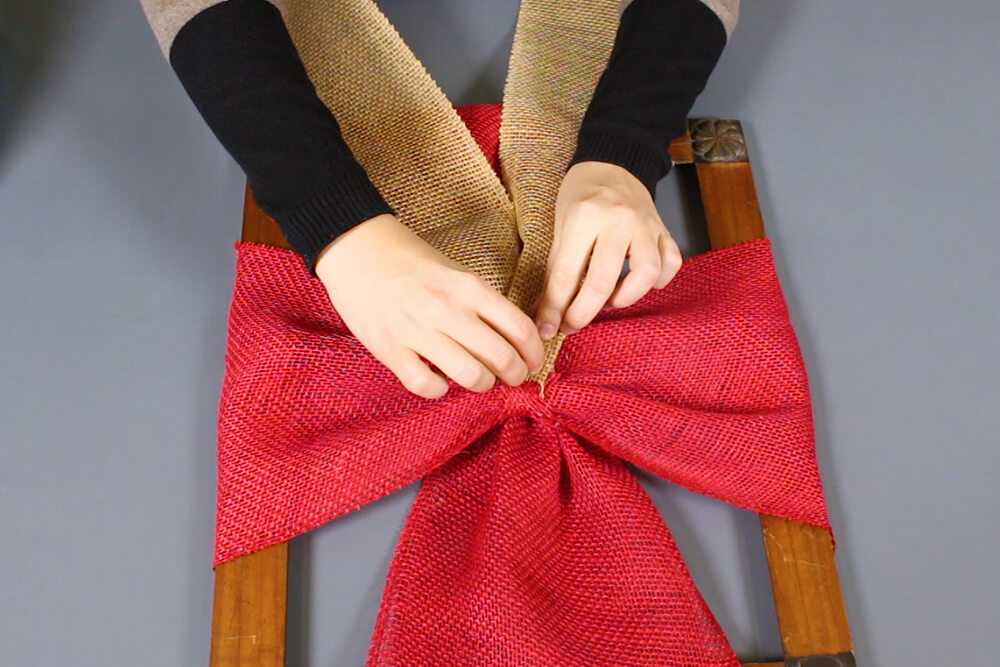
Next attach the 1 foot long strips to the frame. Fold down the ends at the top and glue to the center. Do this for both pieces.
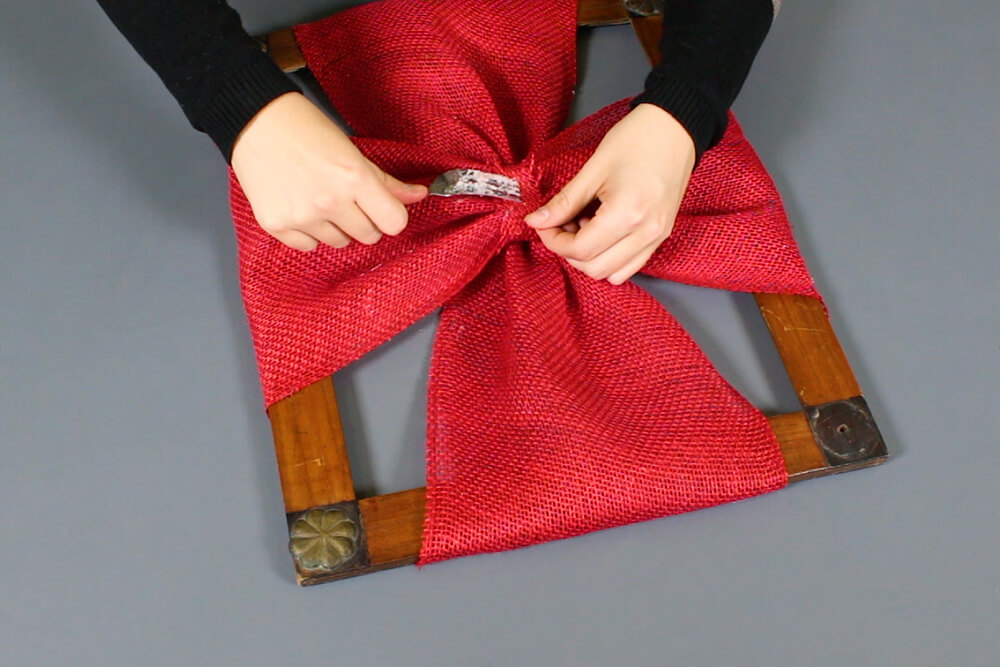
Finally, take your wrapped piece and glue it to the center of the frame.

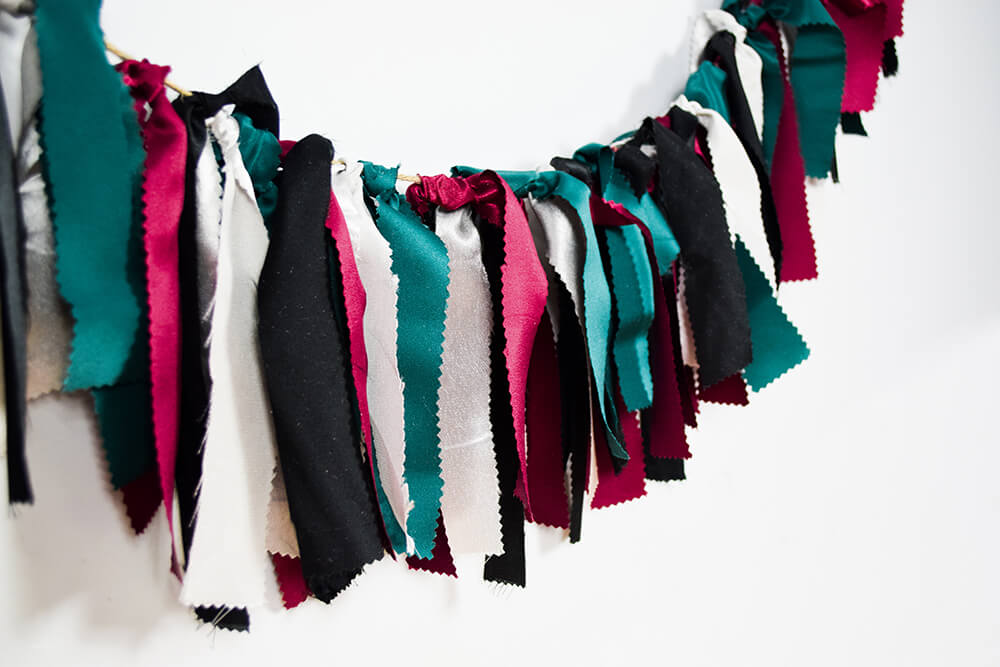
Holiday Fabric Garland
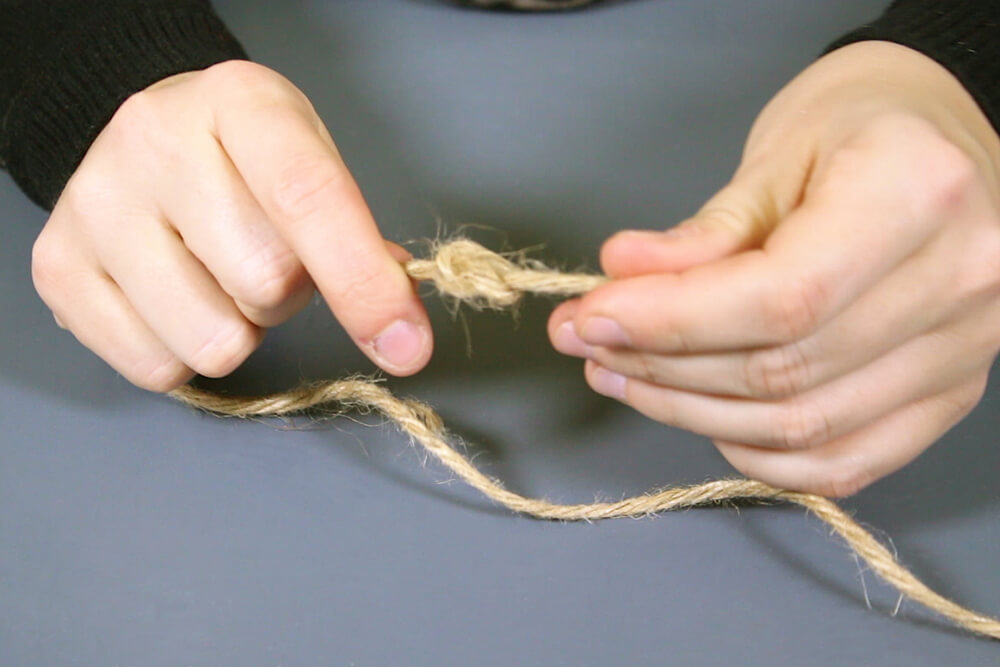
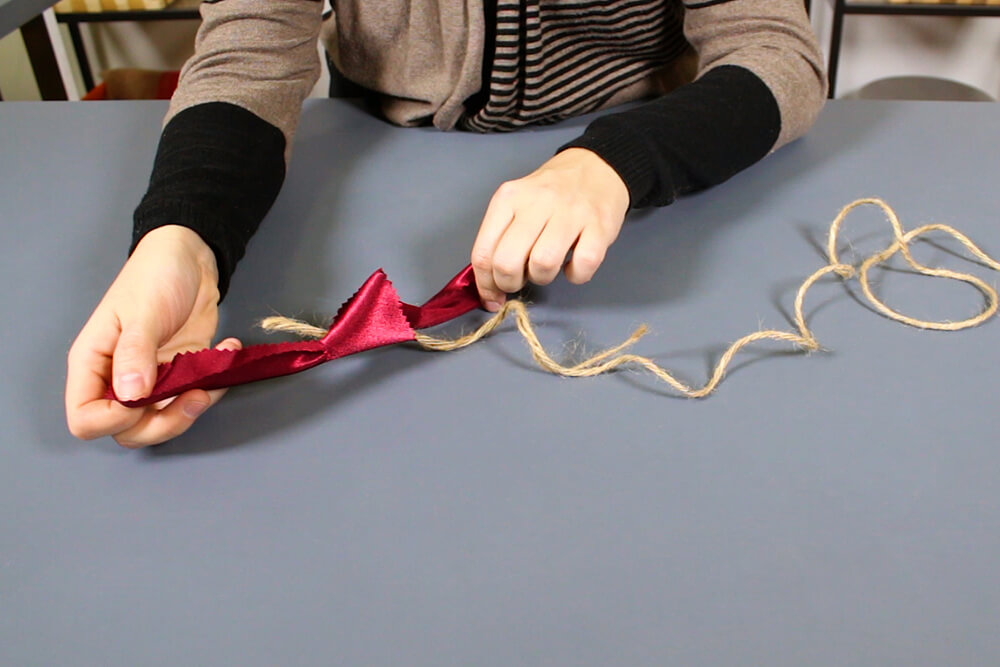
Cut the twine to whatever length you’d like your garland to be. Mine will be about 55 inches long. Tie knots at both ends of the twine.
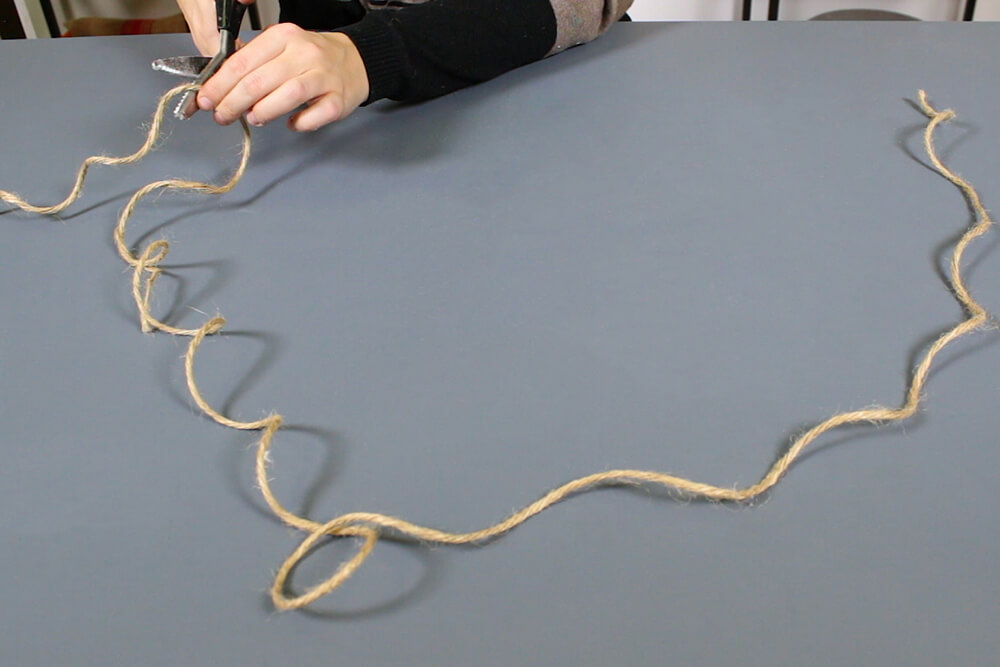
I’m using pinking shears here to prevent fraying.
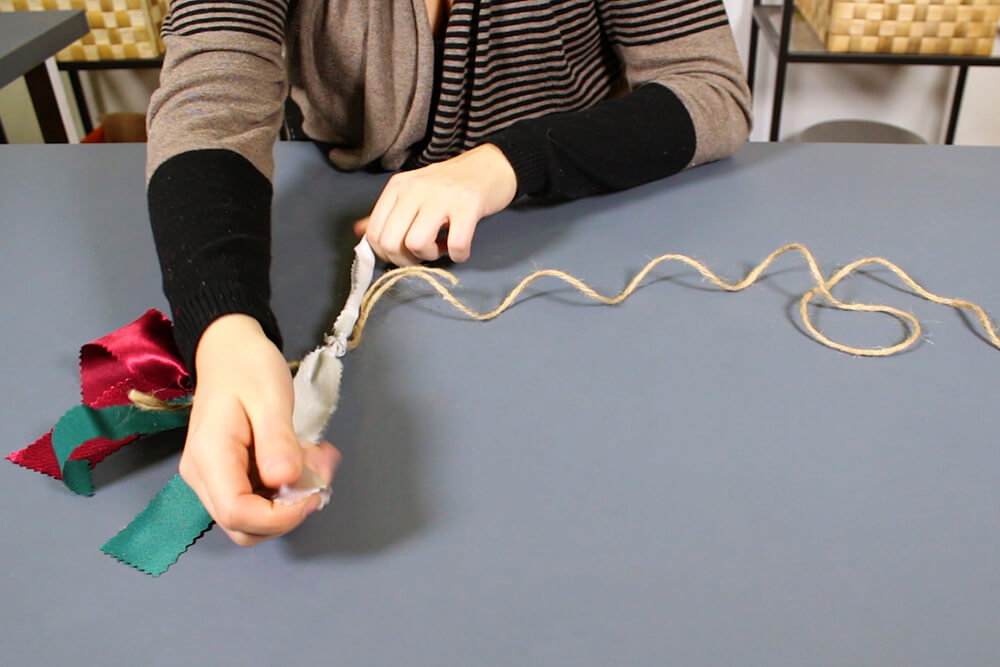
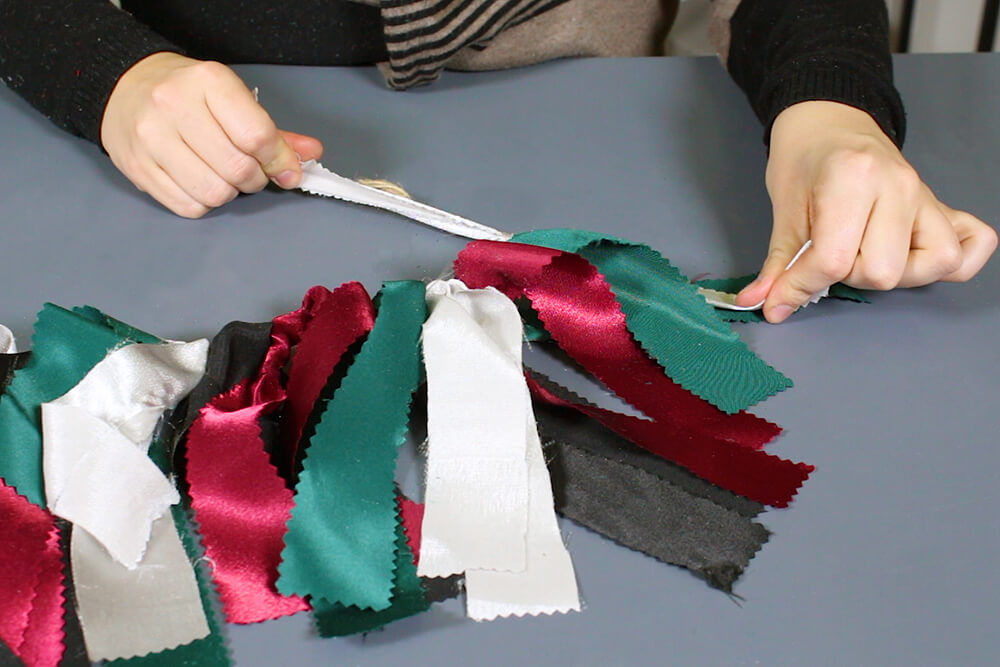
Cut strips of fabric to tie around the twine. I’m cutting about 30 strips total using 4 different colors. These strips will be about 1-2 inches wide and 15 inches long.

Tie the strips around the twine forming a knot in the middle, alternating different colors. I’m tying them all close together for a full looking garland, but you can space them out more if you’d like.
Ready to make some decorations? Check out our selection of decor fabric!
-
{{#each productSuggestedQueries.results}}
- {{query}} {{/each}}
-
{{#each categories.results}}
- {{html title}} {{/each}}
{{html attributes.description}}
{{/if}}-
{{#each queries.results}}
- {{query}} {{/each}}