How to Make a Fit and Flare Dress
- By Alyssa
- Intermediate
- 1 hour 30 minutes
I am a big fan of summer dresses. Really dresses of any kind, but as soon as it starts getting warm out I like to whip out my favorite ‘pantsless’ outfits.
I wanted a pretty specific dress this year though, so instead of shopping online or trying on dozens of dresses in stores, I decided to make my own.
These instructions are for people of all ages and sizes because this dress does not require a pattern.
Just make sure you have a measuring tape so you can take your own unique measurements.
It can be made longer, in a different material, or by doubling the bust panel you can make more coverage in the back. That is the magic of a simple (yet beautiful) dress like this. It can be completely made to be your own unique piece.

Materials
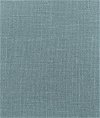
- At least 2 yards of fabric
- A Dritz Loop Turner
- Elastic
- A safety pin
- A ruler
- Fabric marker or chalk
- Thread
- Scissors
- Pins or clips
- Pattern Paper
- A sewing machine
Related Products


Video
Instructions
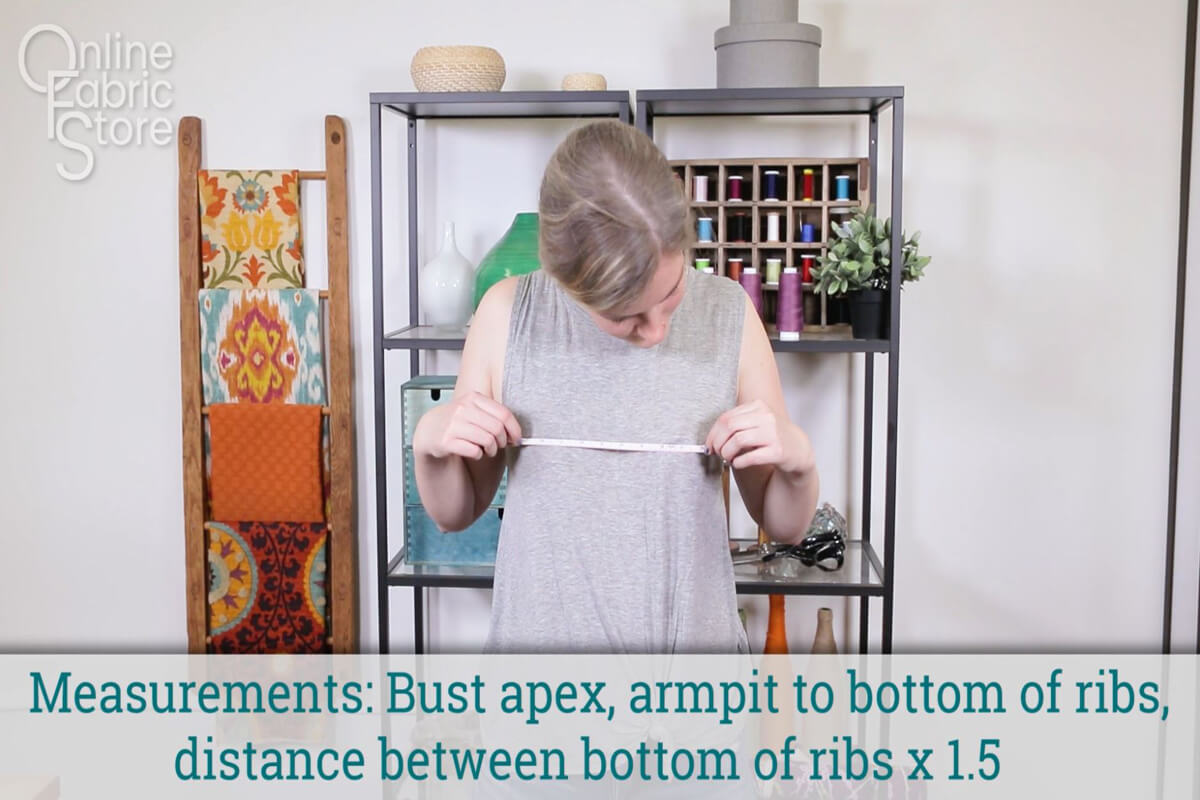
Step 1: Taking Measurements
Here are some measurements you will need.
Bust Apex (the highest points on either side of the bust):
Armpit to the bottom of the ribs:
Bottom of the ribs x 1.5:
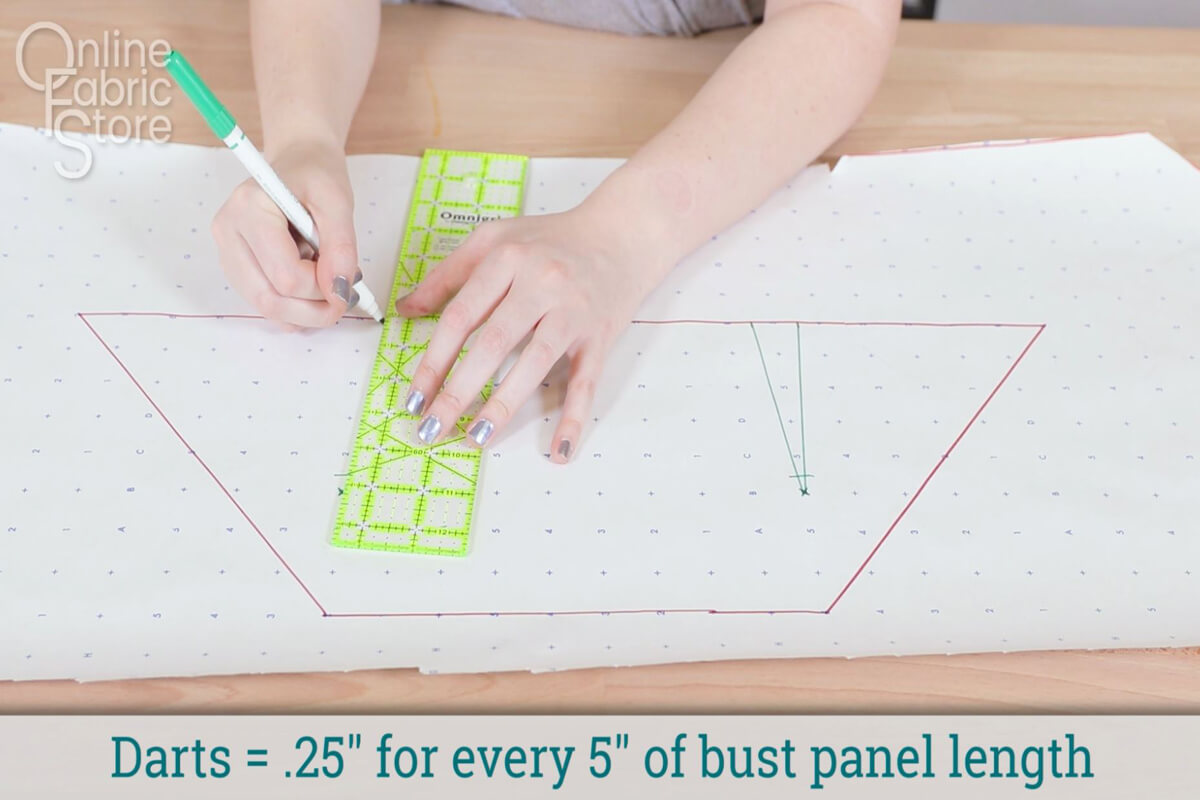
Draw this shape onto a piece of pattern paper.

Also measure from the apex to the bottom of your ribs:
Mark these points on your pattern paper by dividing the distance between apexes in half and plotting them of either side of the direct center.
Make sure they are only as far away from the bottom of your ribs as your measured.
These spots will be your dart tips so make sure they are marked appropriately.

Your darts should be ¼” for every 5 inches long your bust panel is. That would make each of my darts 1 inch. So I am going to make a notch ½” inch from either side of the line I just drew.
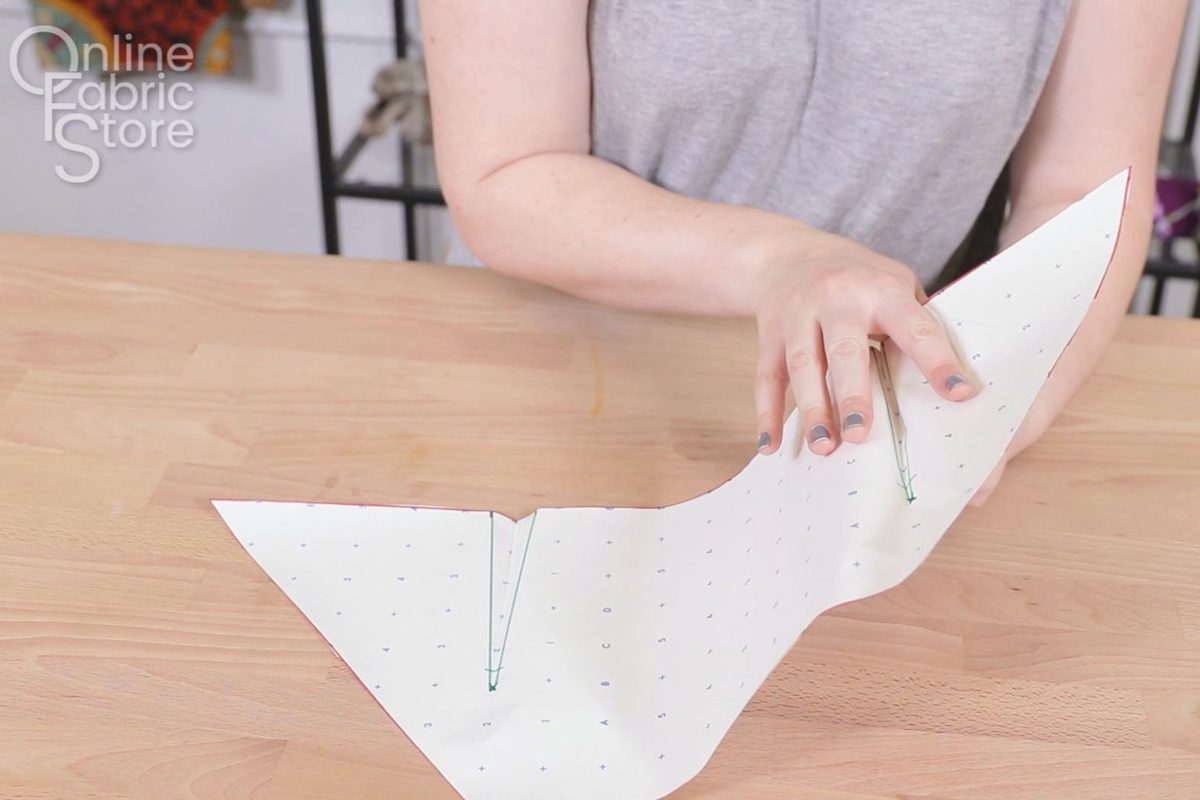
Cut the bust panel out of the pattern paper.
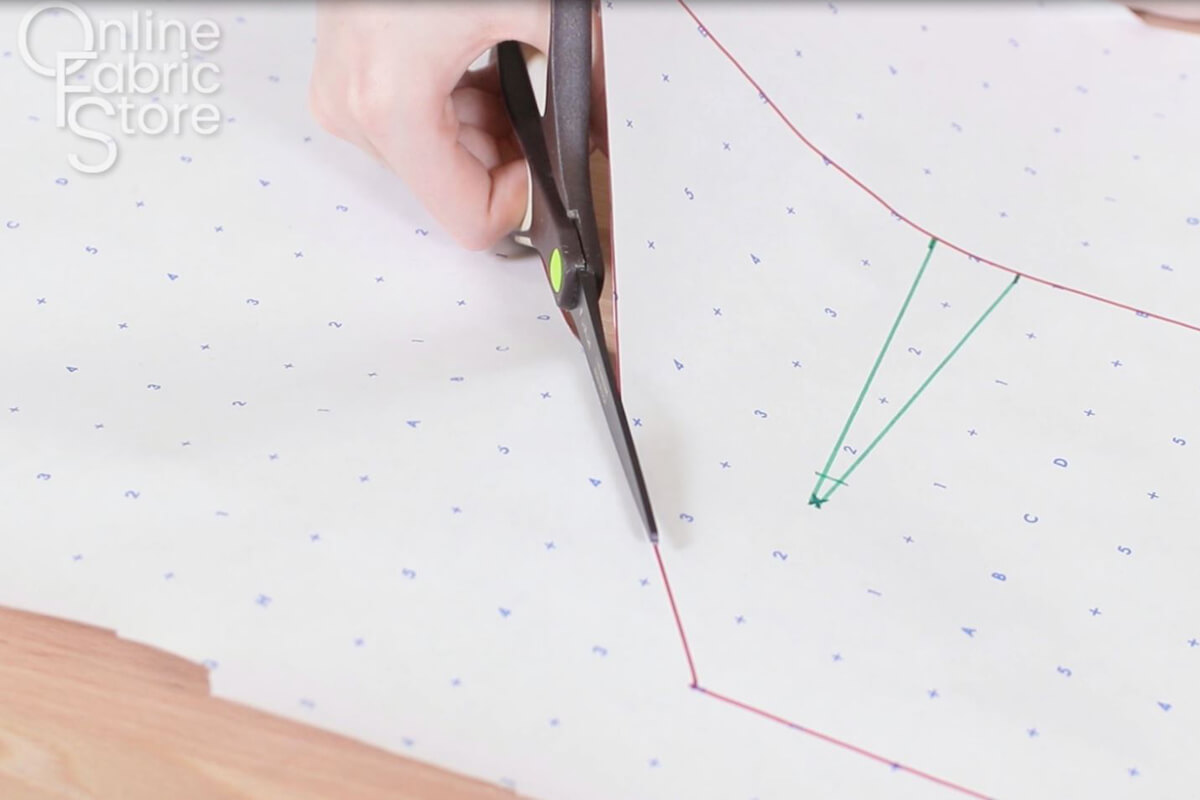
True the darts by folding down the center line of the dart and making sure the notches line up.
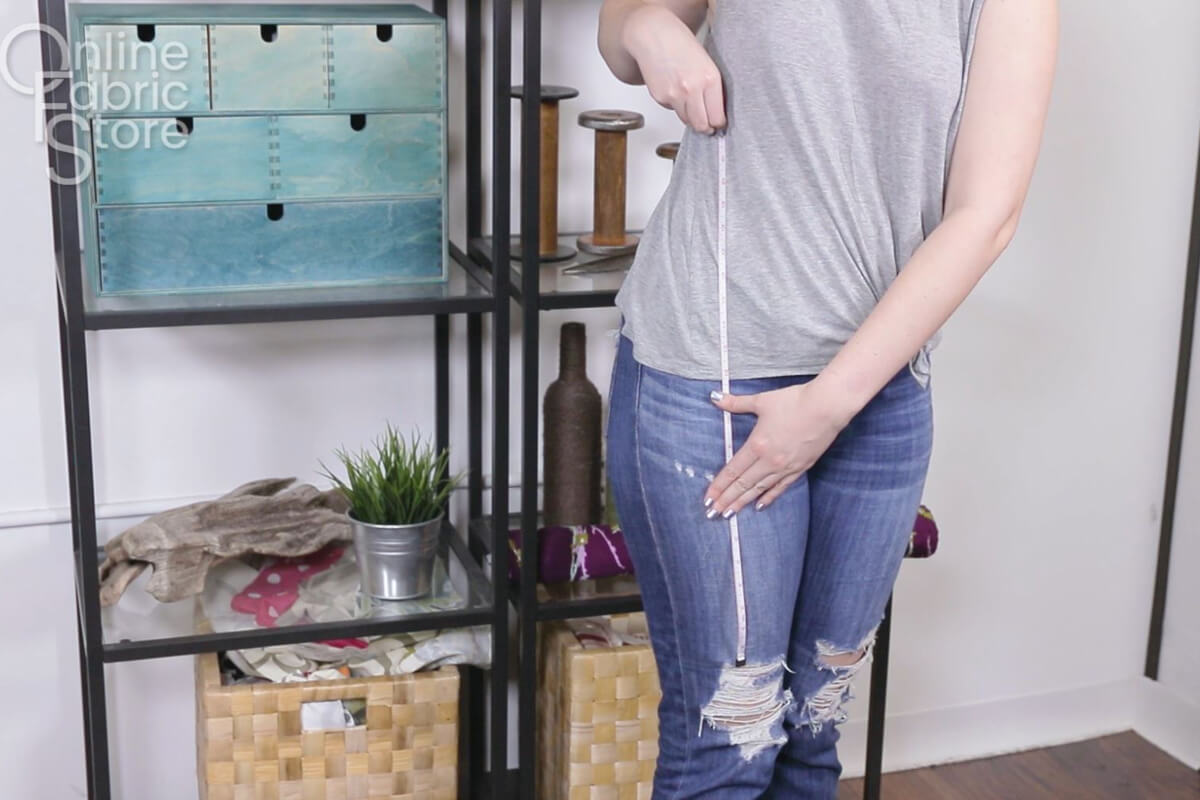
Also measure the distance around your waist and the length that you want the skirt to be from your bottom ribs.
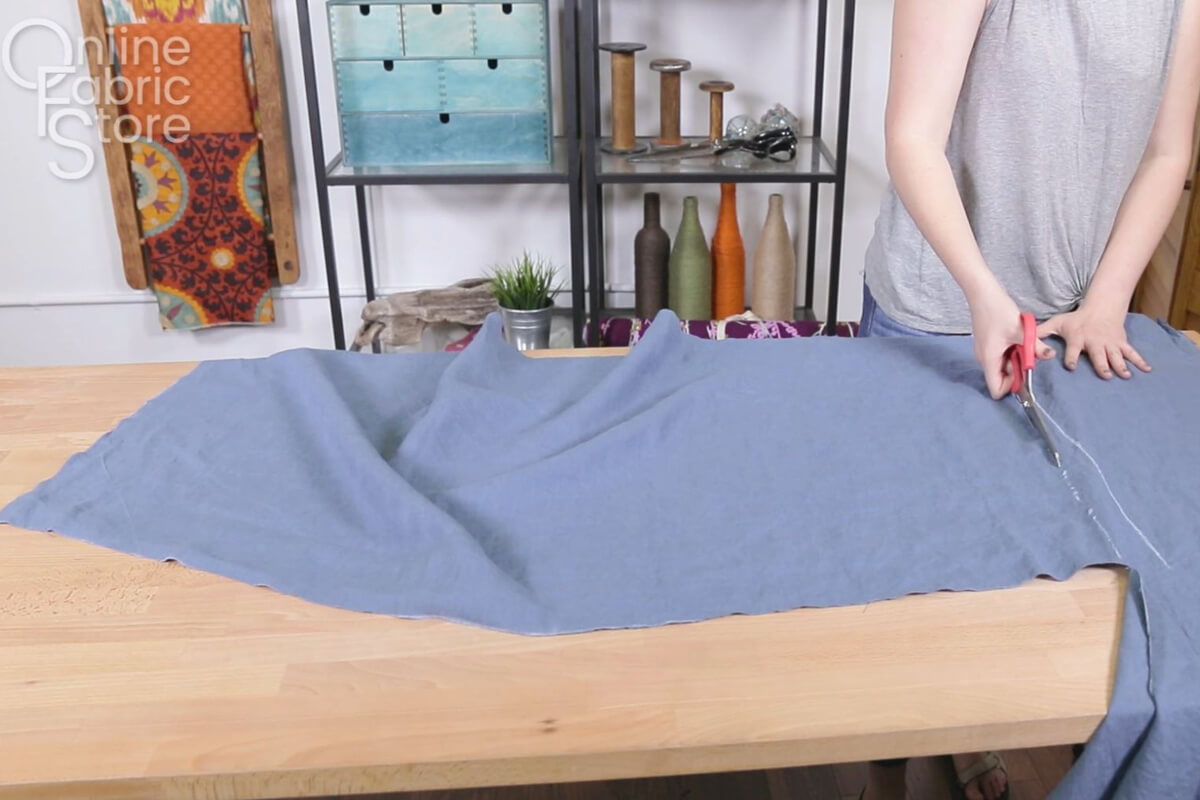
Step 2: Cutting the fabric
Always pre-wash and iron your fabric
Use the pattern paper to cut out the bust of your dress.
Cut two strap pieces that are 3 x 60” each.
Also cut out two panels for your skirt. Each panel should be 1.5 x the width of your waist by the length of the skirt plus ½” to each measurement for seam allowance. If you want your dress to have more body, cut these pieces so that the bottom edge is 1-5 inches wider than the top edge.
Also, cut two 1 x 3″ strips of fabric for strap loops.
Lastly, cut out 4 pocket pieces. For details, see our how to add pockets tutorial.
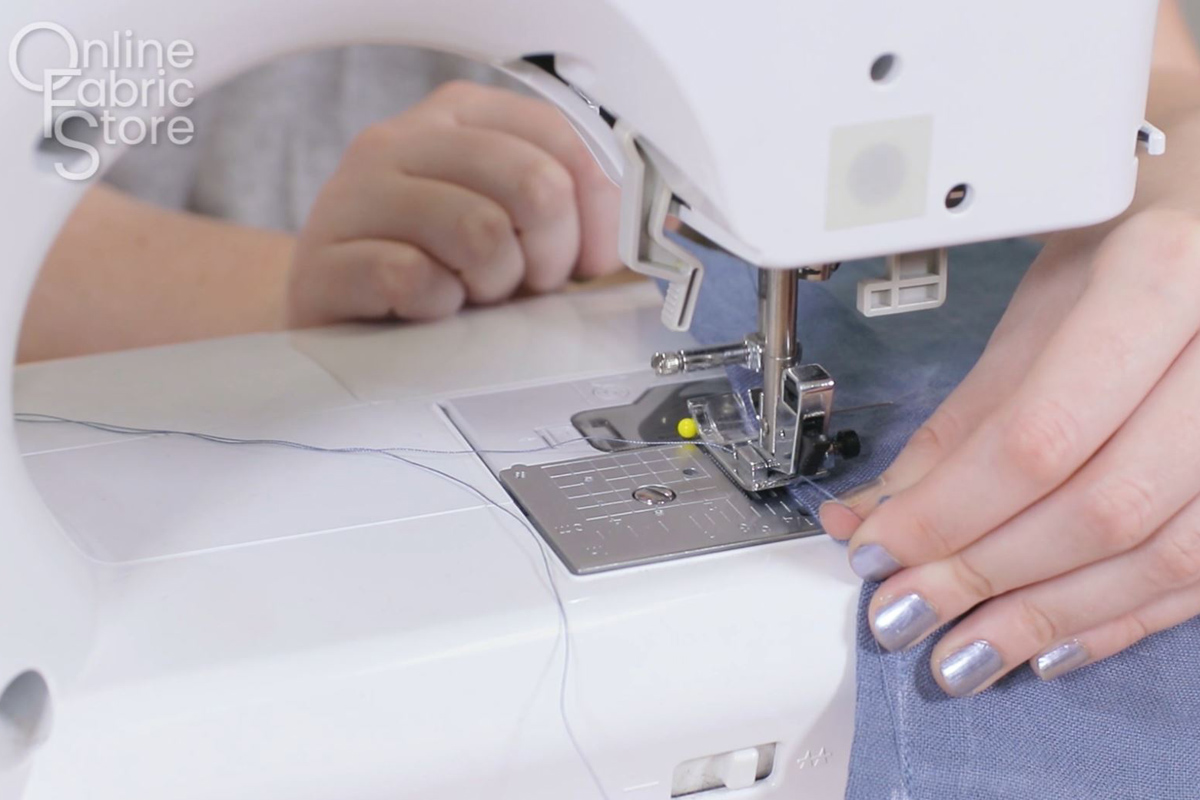
Step 3: Make your darts
Sew your darts into the bust of your dress. For more information, see our how to sew darts tutorial for details.
Step 4: Attach the straps
Fold in the top edge of the bust panel ¼” and sew.
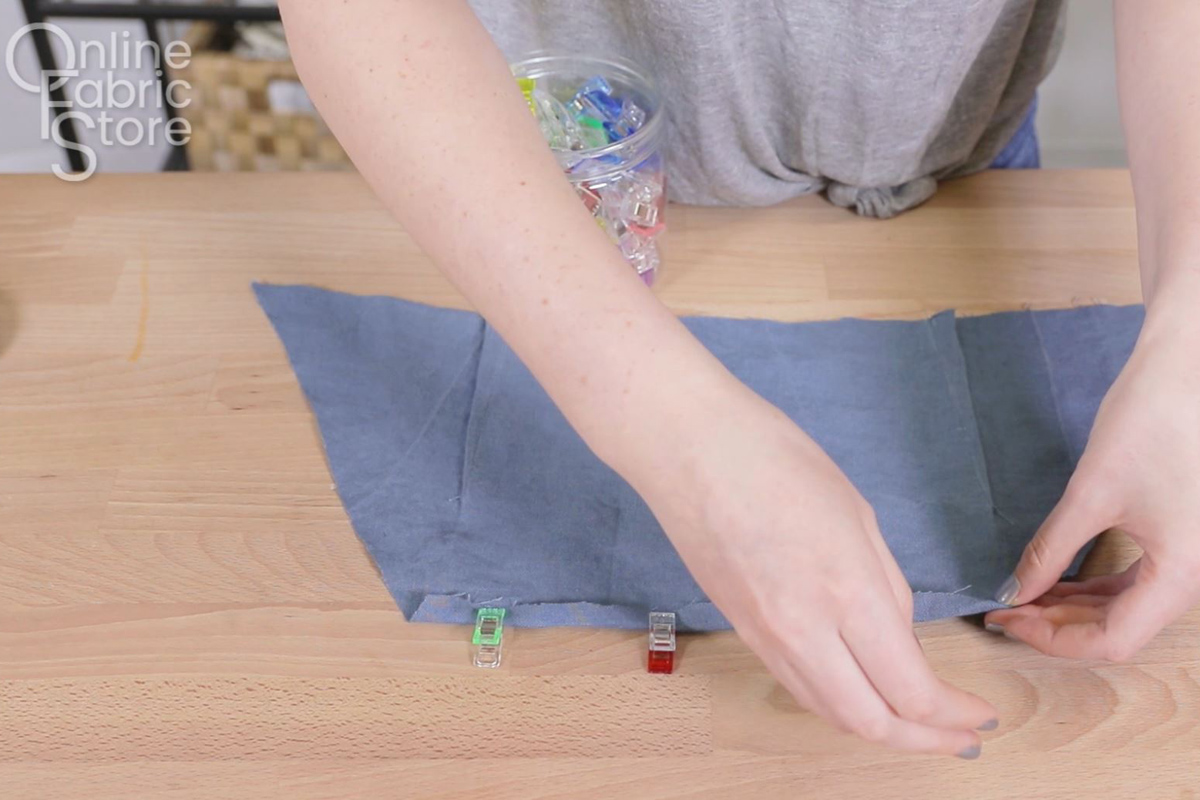
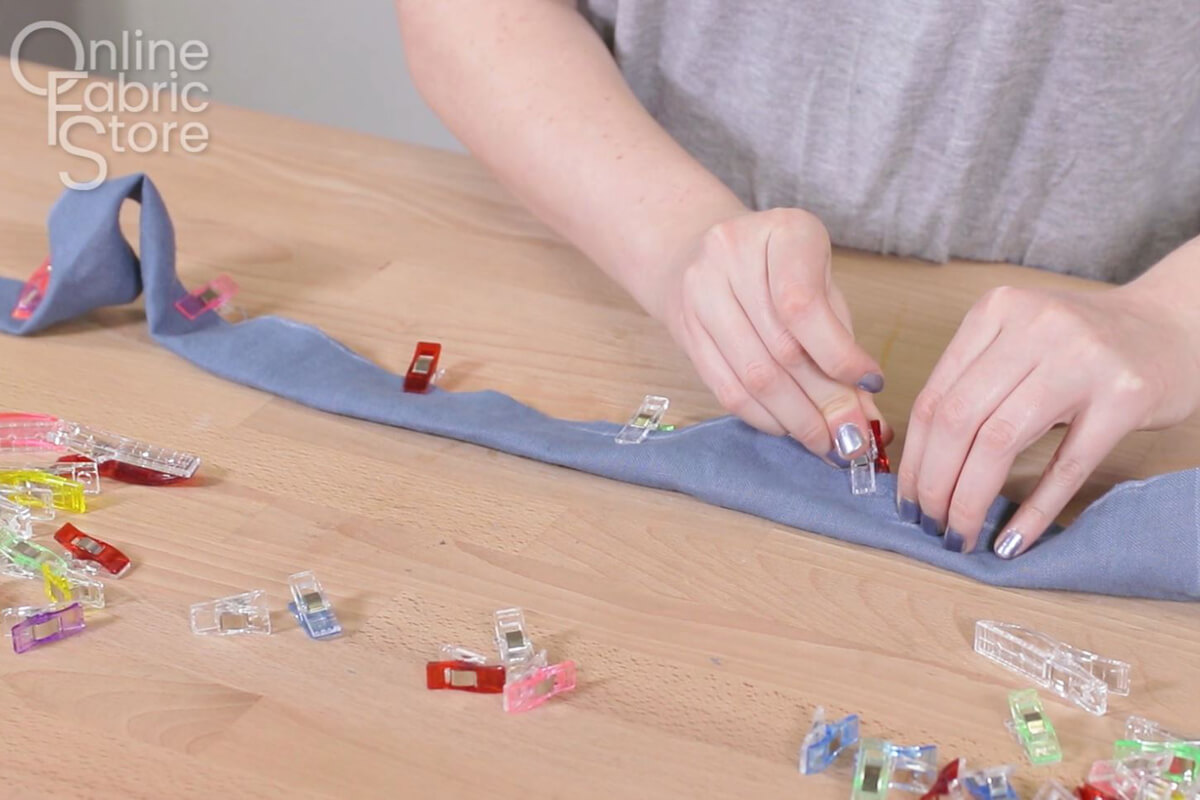
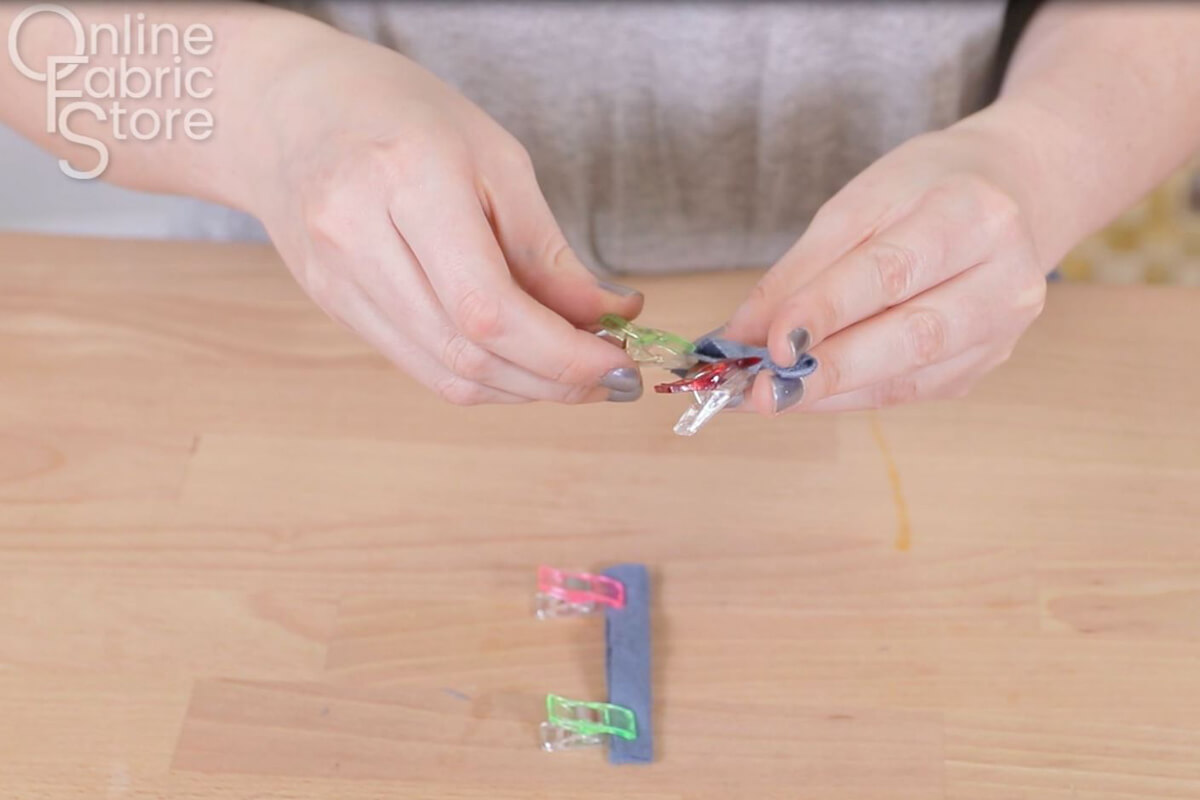
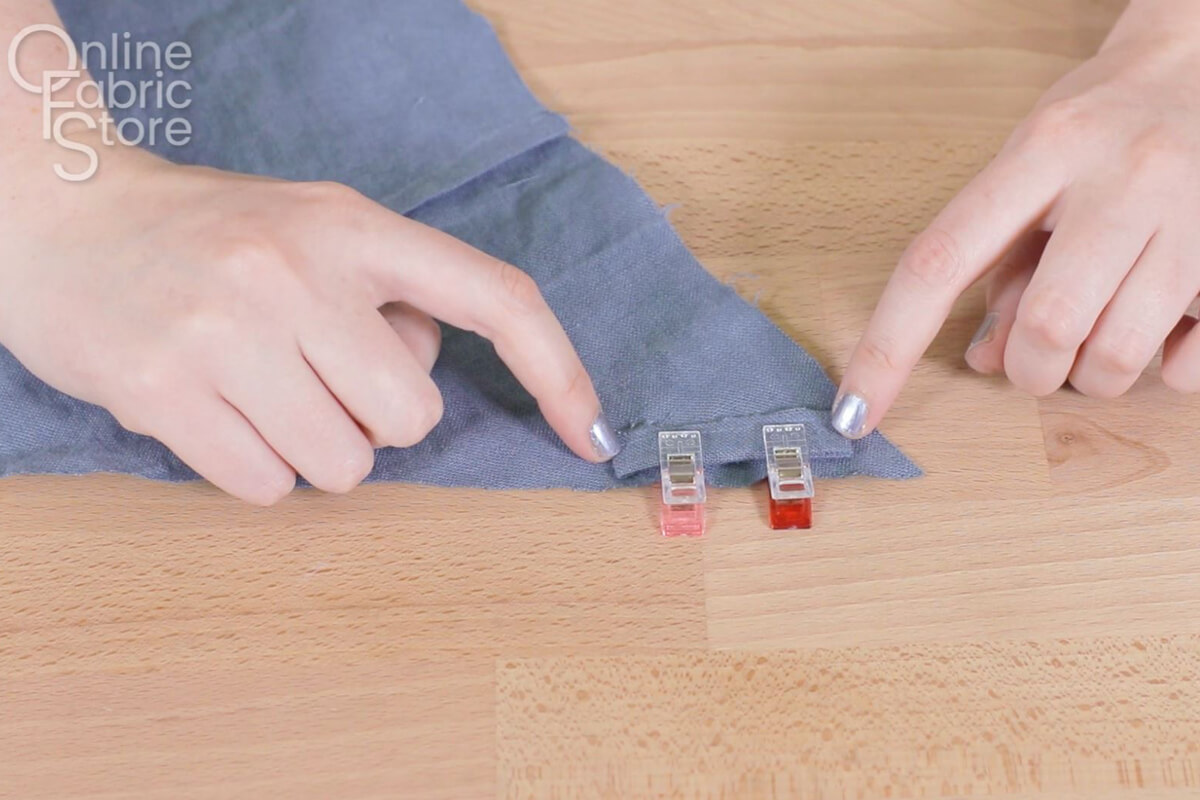
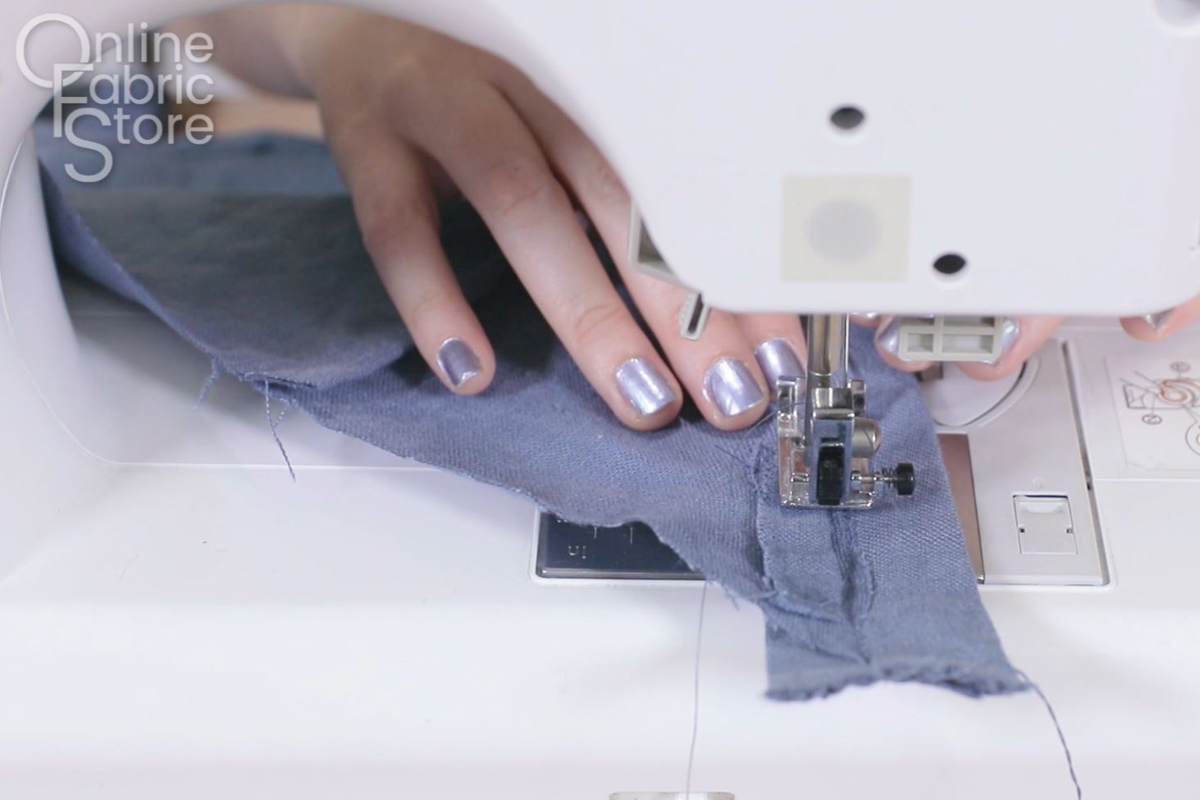
Fold the straps in half-length wise and clip. Sew up the open edge and turn the strap right side out with the Dritz loop turner. Do this to both straps.
Make sure when you sew the straps on, not to sew them down.
Take the 1×3” strips of fabric and repeat that same process.
With the smaller strips, sew them 1/4” away from the bottom seam and the edge of the bust panel. Make sure they lay pretty flesh against the material. This will give you the option to tie the strap behind your back.
Then pin the straps along the edges of the bust panel so the excess fabric is all facing towards top of the dress. This will become two adjustable straps that you can tie all different ways. Sew the straps along the inner edge. I placed by bust panel so it was in line with the strap seam.
Step 5: Sew the skirt panels with pockets
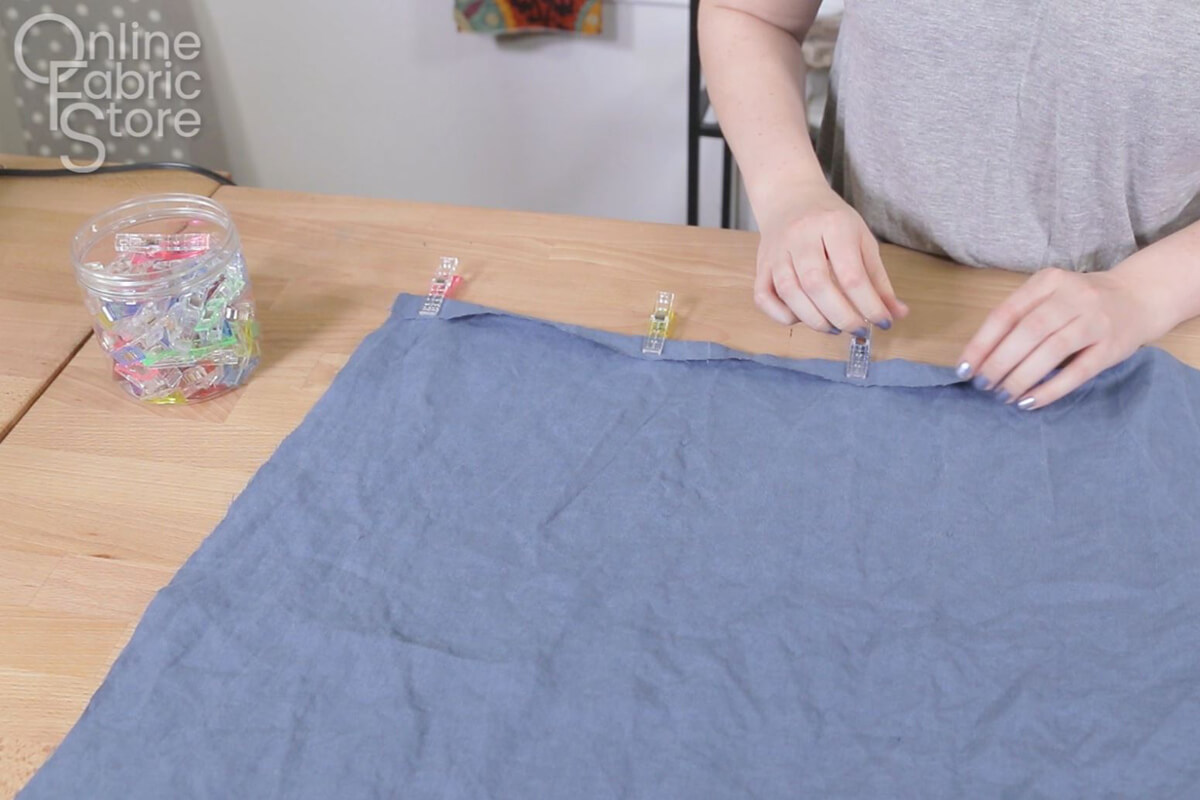
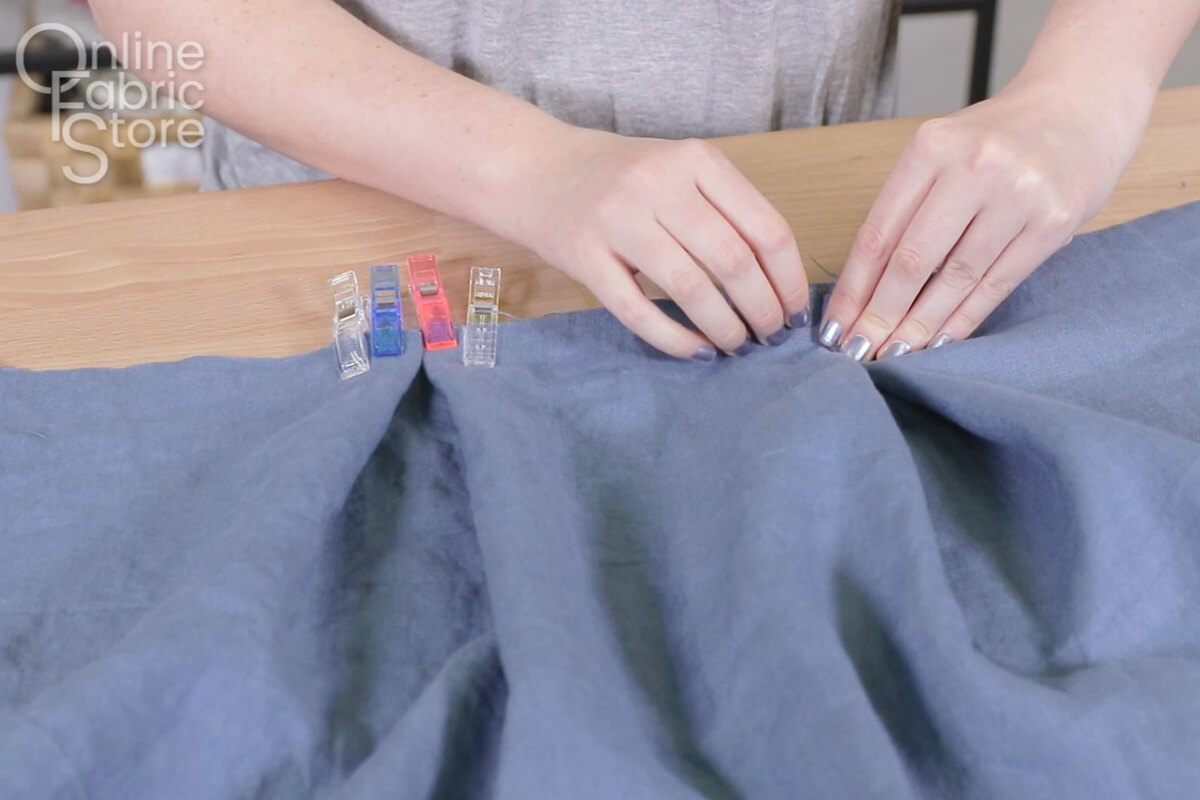
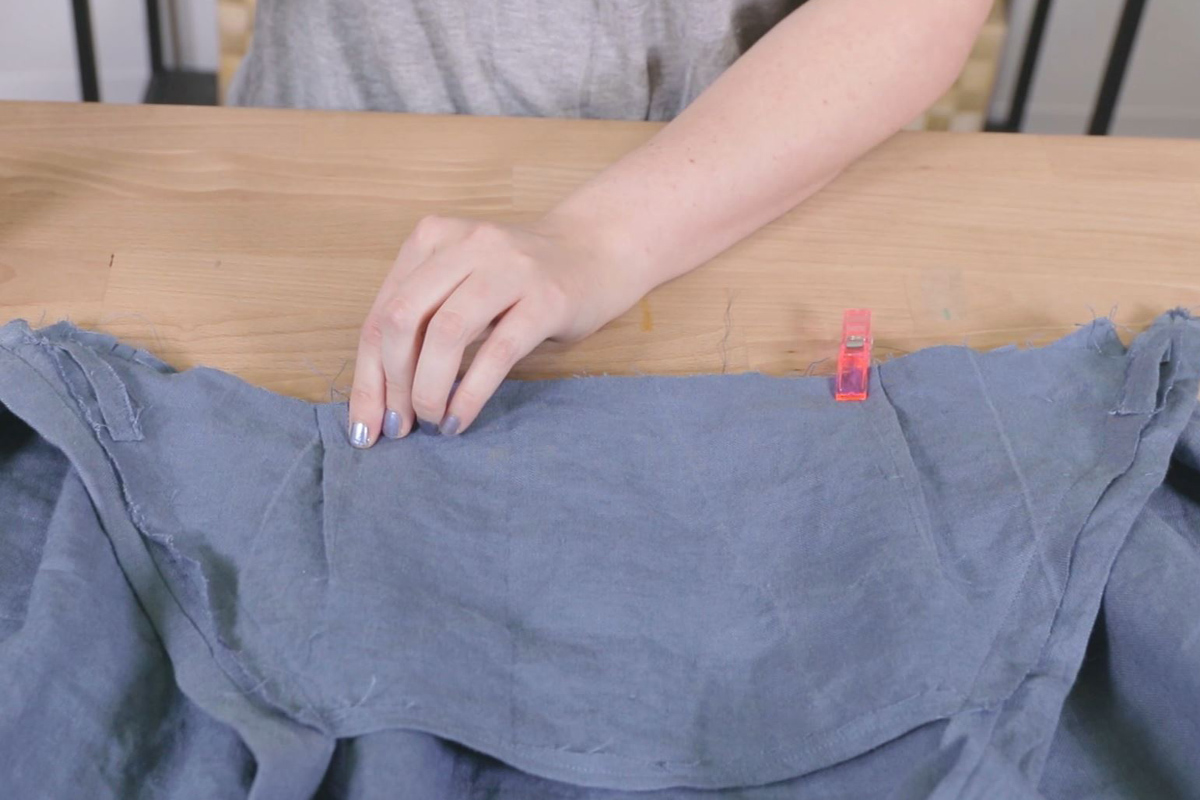
Now move to the skirt panels. Pin and then sew 1/2” channels to the top of the back piece and ¼” channels to the bottom edges of both pieces.
Also add box pleats to the front panel the exact same distance apart as your darts. If you’ve never made box pleats, see our How to Make Box Pleats tutorial for full instructions.
Also add a few more pleats so that the width of the panel is about the same as the bottom of the front panel. I ended up with four pleats, but you could have more or less depending on how large you decide to make them.
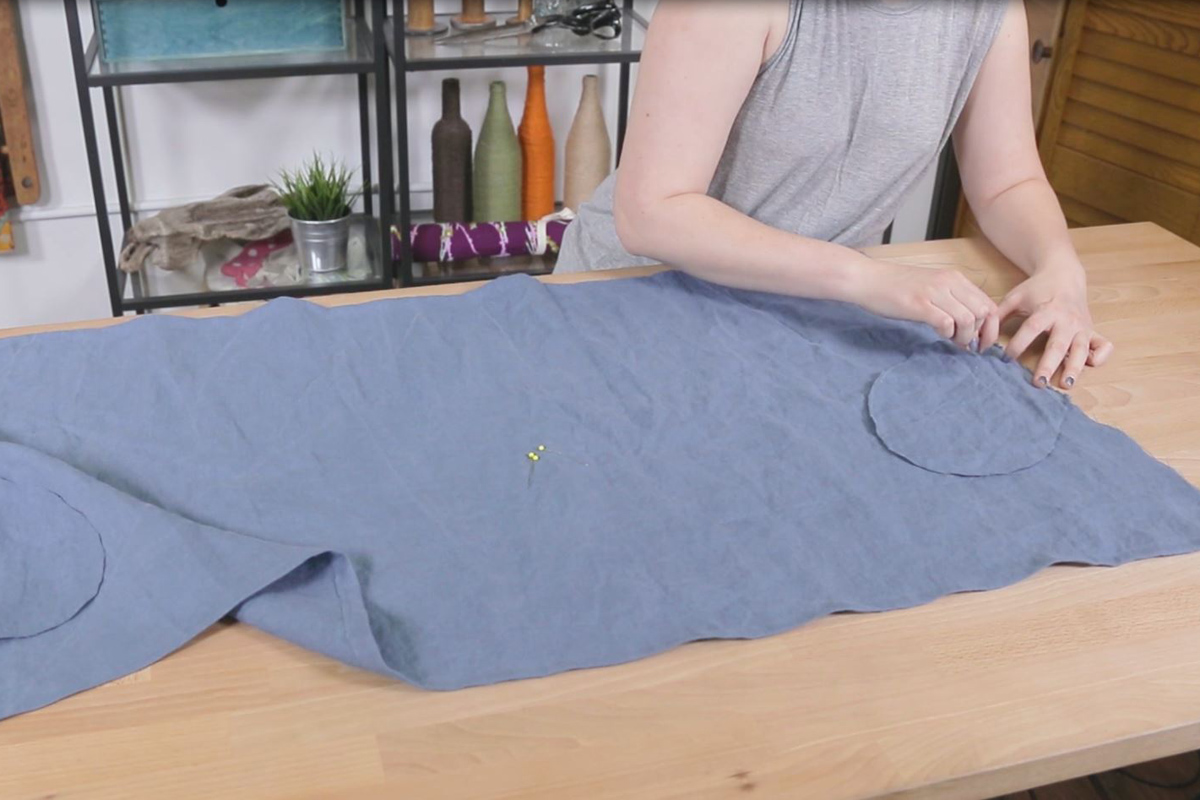
Now decide how far down you would like your pockets to be and mark then pin and sew the pocket pieces to the skirt panels as well. Make sure you are sewing the right panels to the right sides so that they will match up when you bring all the pieces together.
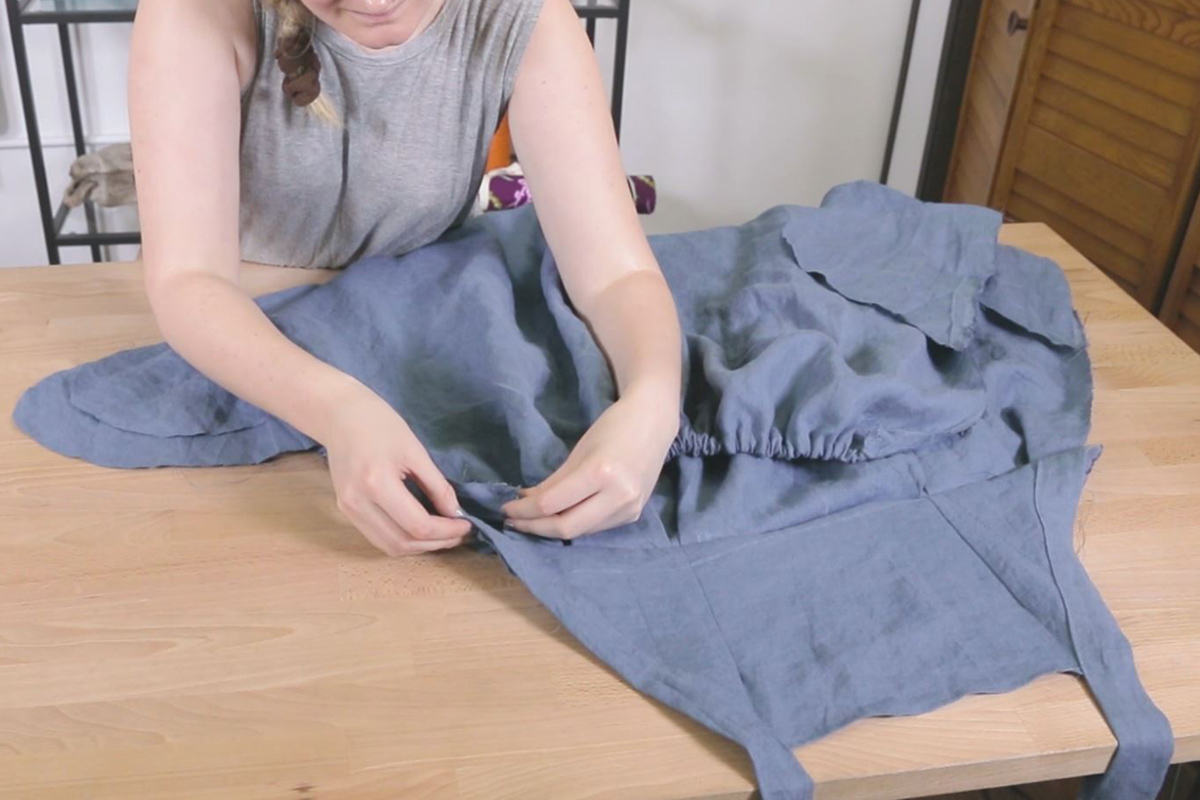
Step 6: Add elastic
Take a piece of elastic that when stretched gently is slightly longer than your back ribs.
Attach a safety pin to both ends and string one end through the channel you just made in the top of the back piece.

Sew the ends of the elastic ¼” away from the edge of the panel on both sides.
Step 7: Sew the pieces together
Clip together the bust panel and the front panel with right sides facing. Make sure the bust is centered on the piece so the pleats and darts match up. Sew with a quarter inch seam allowance.
Now clip the back side of the skirt to the front with right sides facing. Make sure the pockets are lined up and sew down the side seams and around the pockets.
Step 8: Alterations
Try on the dress and make sure everything fits right. My dress needed a few minor alterations that I hopefully was able to minimize for you after making a few trials of this garment.
The most important one was the placement of the loops that you are able to tie the straps through on the back. I sewed these closed two times, even though I knew to be careful of them. So if you make that mistake, don’t be discouraged.
I also placed my pockets to low. This was totally my bad and I was just not paying attention.
Lastly, I added a little Dritz Fray Check on some of the seams so they did not fray. This is totally optional but it did help me a lot because linen frays badly. You could also surge or cut the seams with pinking sheers.
Beyond that take your time and you will have a beautiful dress for years to come.
Want to know what the perfect summer apparel fabric is?
-
{{#each productSuggestedQueries.results}}
- {{query}} {{/each}}
-
{{#each categories.results}}
- {{html title}} {{/each}}
{{html attributes.description}}
{{/if}}-
{{#each queries.results}}
- {{query}} {{/each}}