How to Make Goblet Pleat & Cartridge Pleat Curtains
- By Clara
- Intermediate
- 1 hour
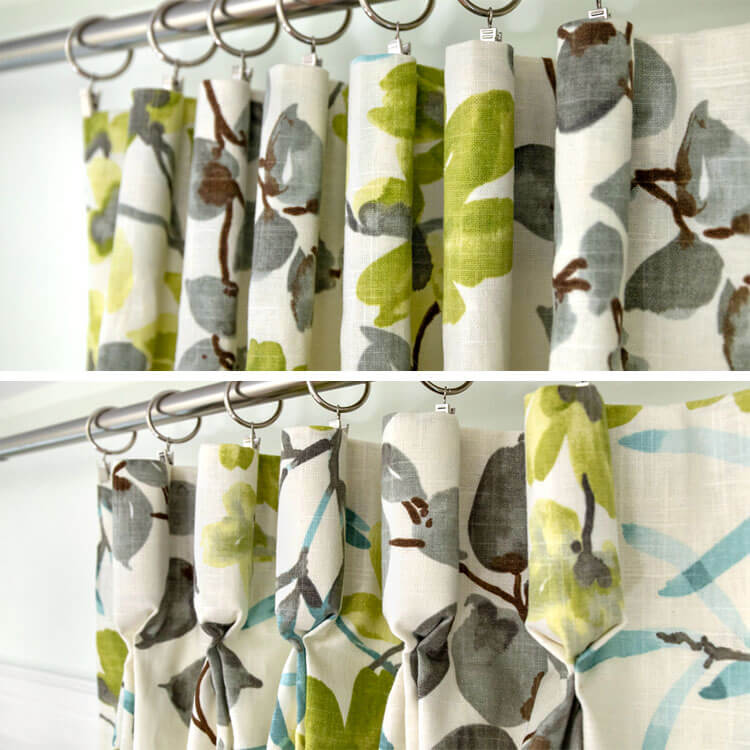
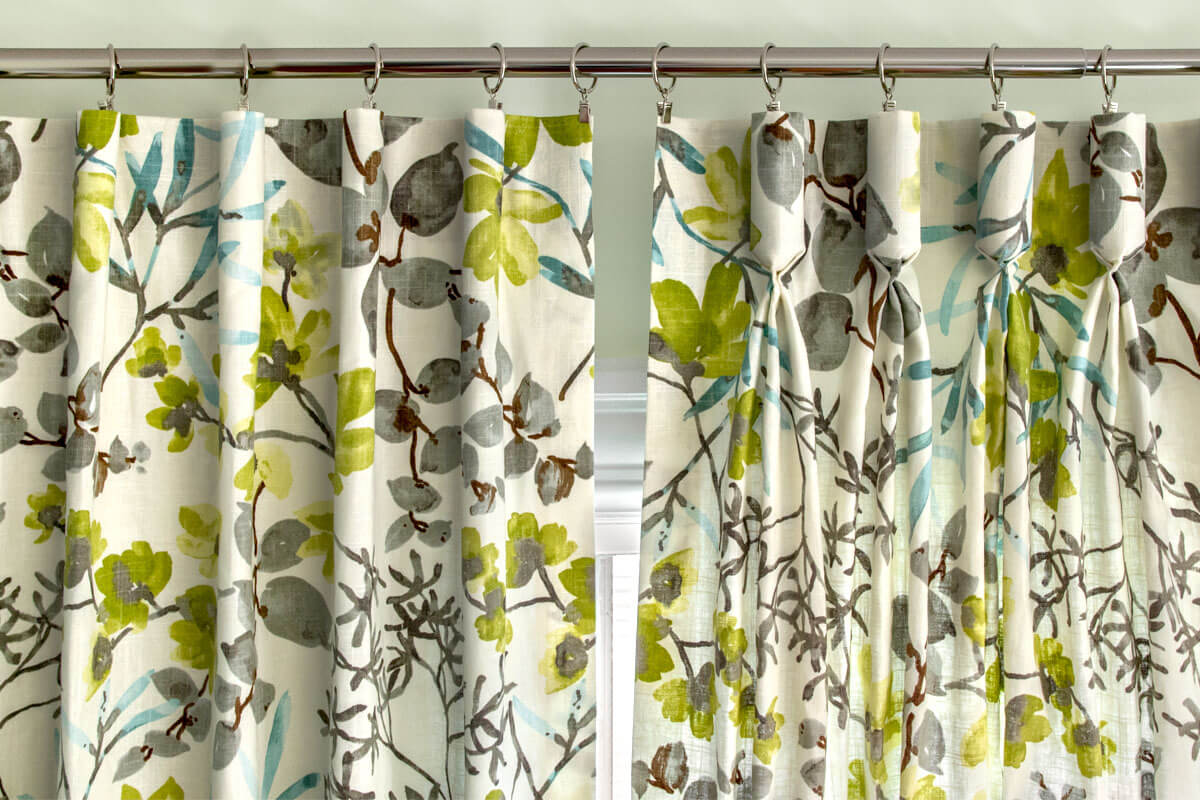
Learn how to make Goblet pleats & Cartridge pleats with these simple step-by-step instructions. Goblet pleats have a traditional look while cartridge pleats have a more modern style, but they are made the same way. I’ll show you how to make professional looking drapery headers for both types of pleats.
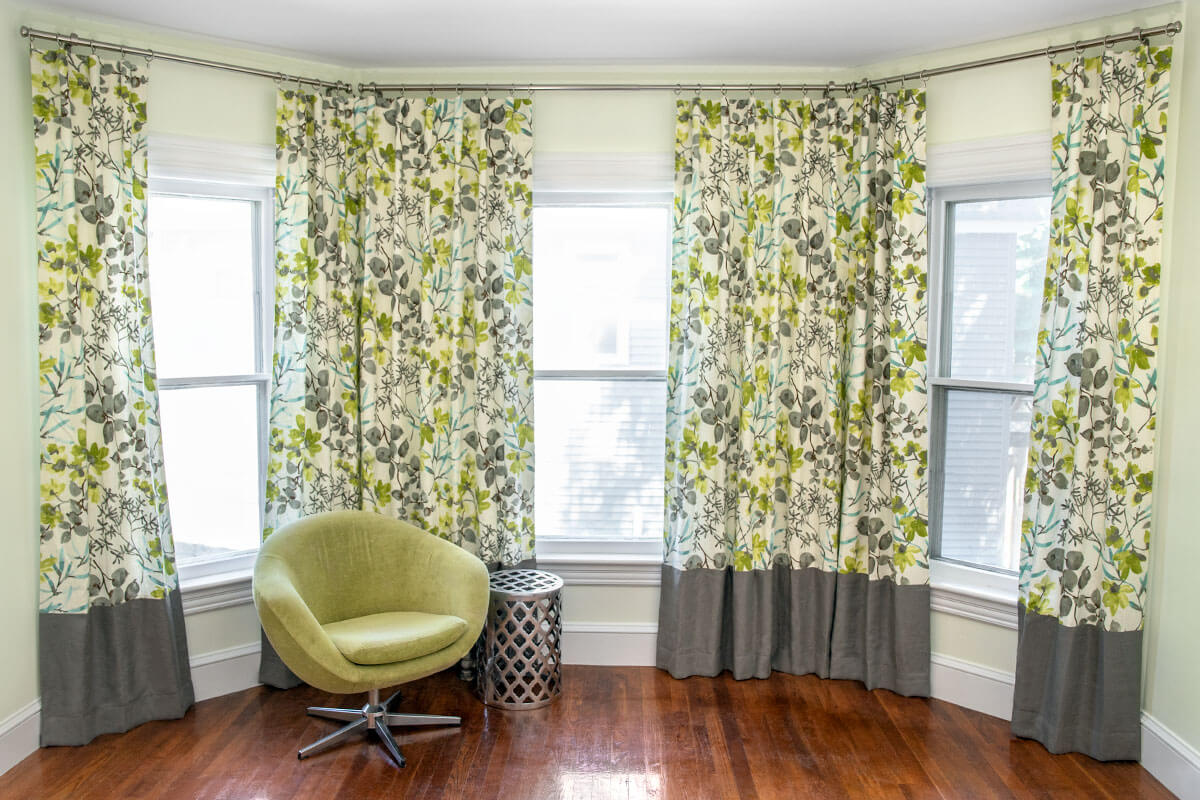
I’m going with the cartridge pleat drapes for my room which will be stationary, but they also work well as functional curtains since they’re easy to slide open and closed.
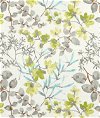
Pick out some décor fabric and get started!
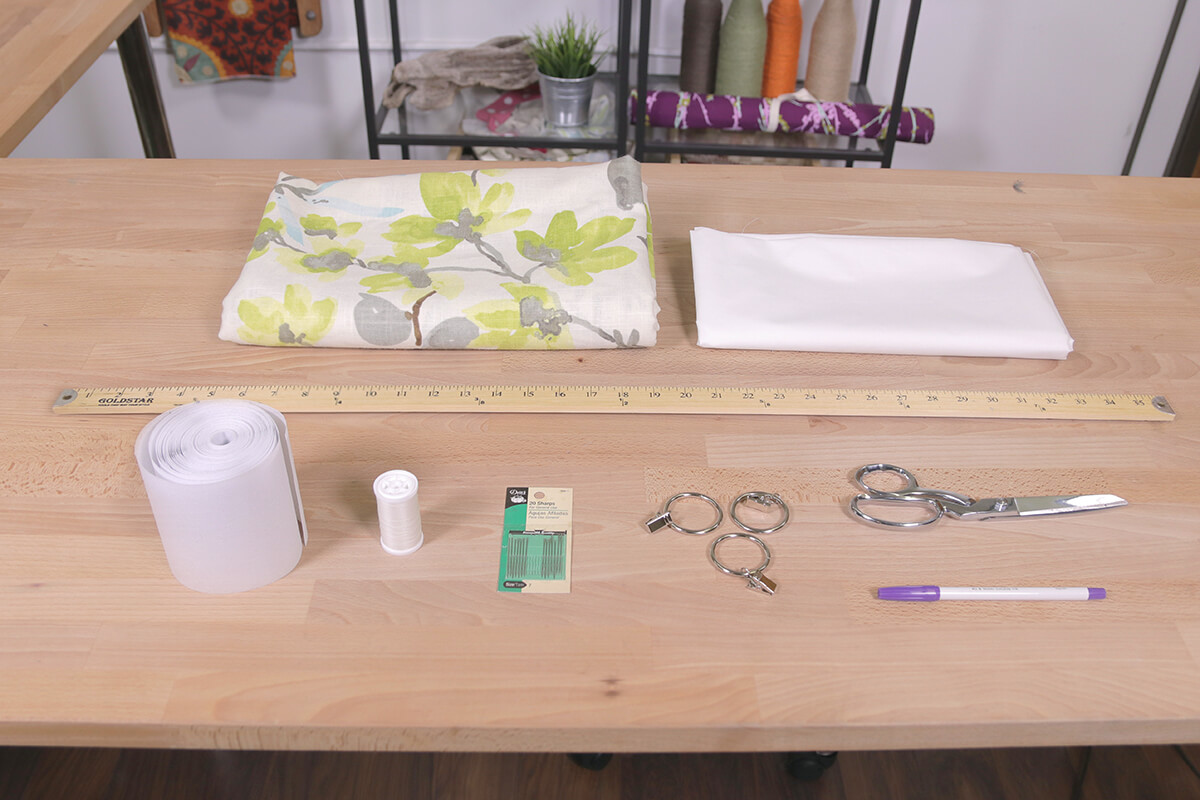
Materials
- Drapery fabric
- Drapery lining
- Ruler
- Buckram
- Thread
- Fabric marker
- Hand sewing needle
- Scissors
- Drapery rings
- Iron
- Sewing machine
Related Products


Video
Instructions
Step 1: Sew the curtain panel
I added a band of solid fabric at the bottom of my panel as a decorative accent. This is a handy trick of you are short on fabric or want to lengthen existing curtains.
There’s a number of ways to sew curtain panels so choose your favorite method and put together your panel up to the point of the header.
We suggest our back tab curtains tutorial for a simple method or our inverted box curtains tutorial for a professional look, which is the technique I’m using here.

Step 2: Create the header
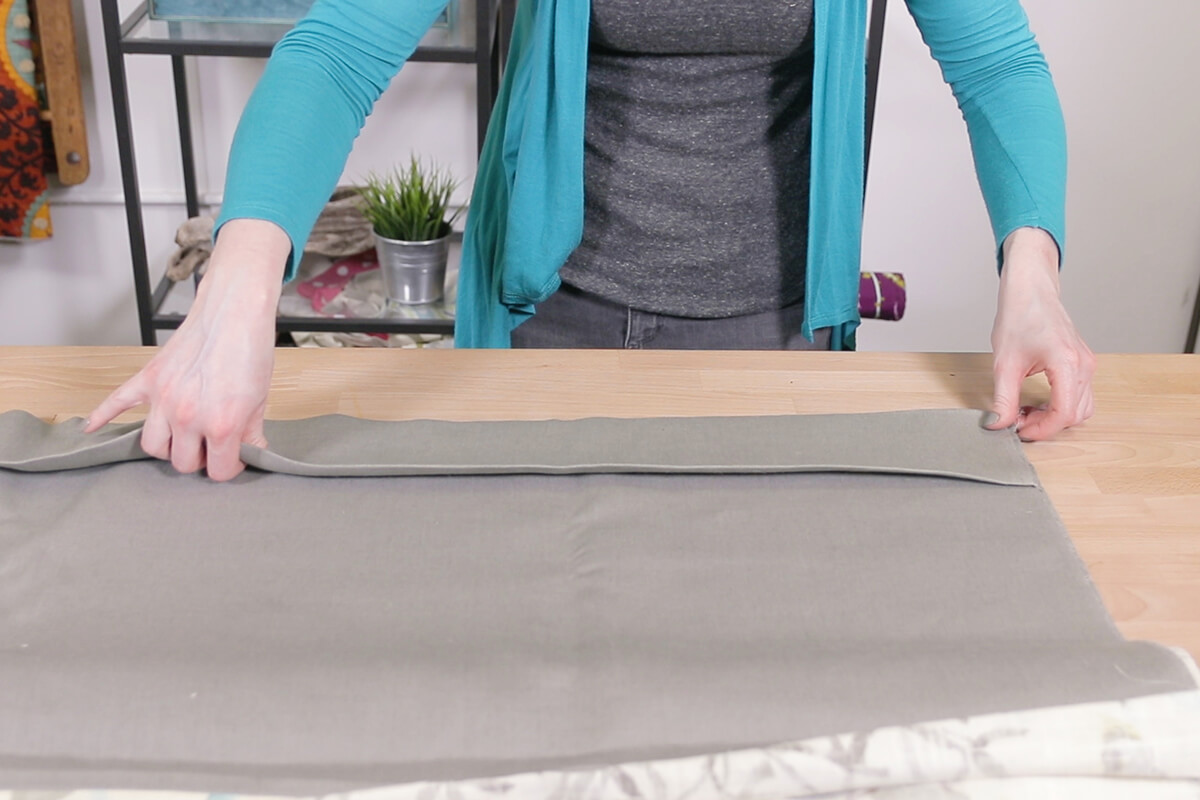
Drapery buckram is used in the header to make the pleats look crisp and hold their shape. 4 or 5 inch buckram is typically used for longer drapes.
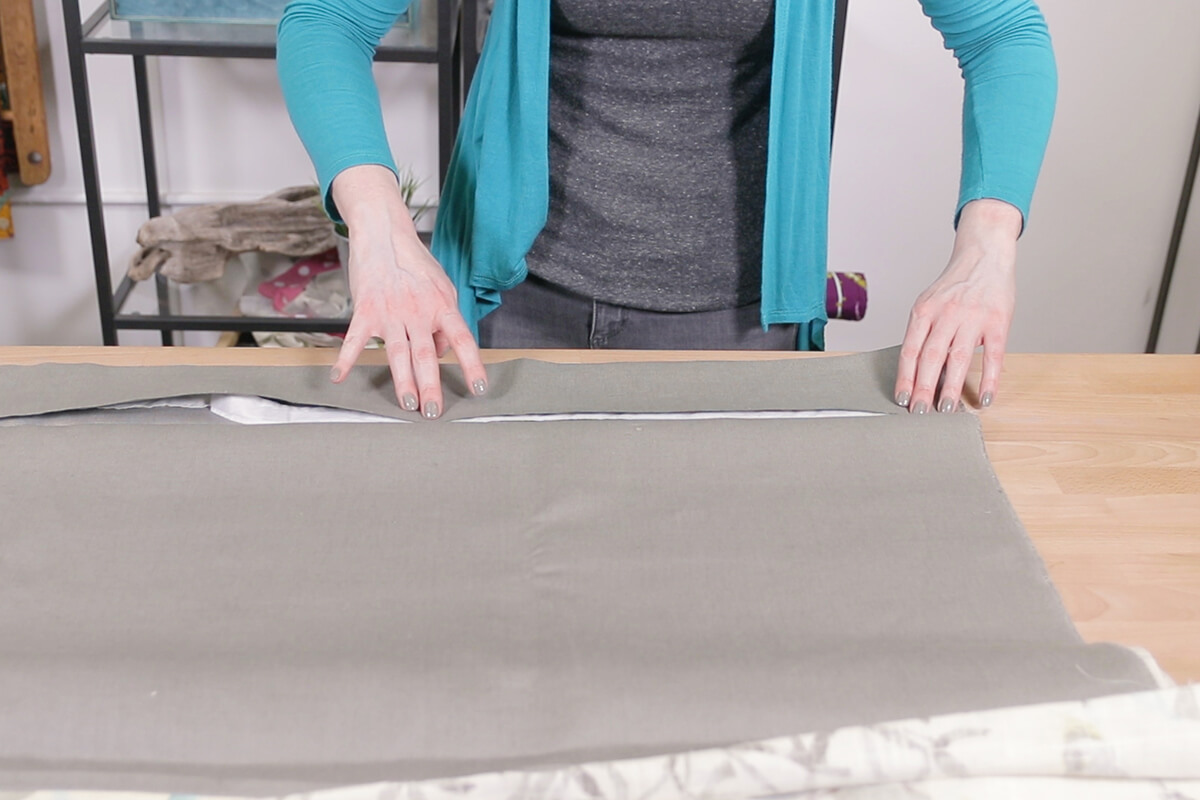
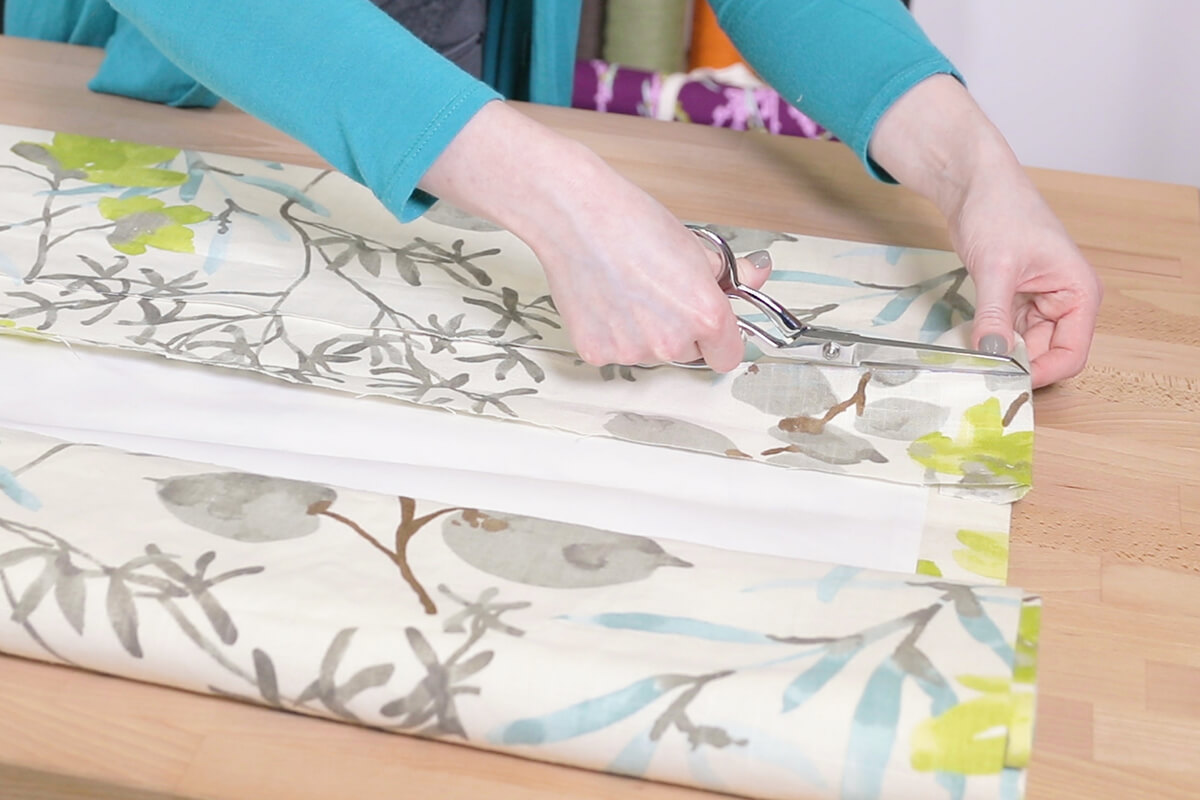
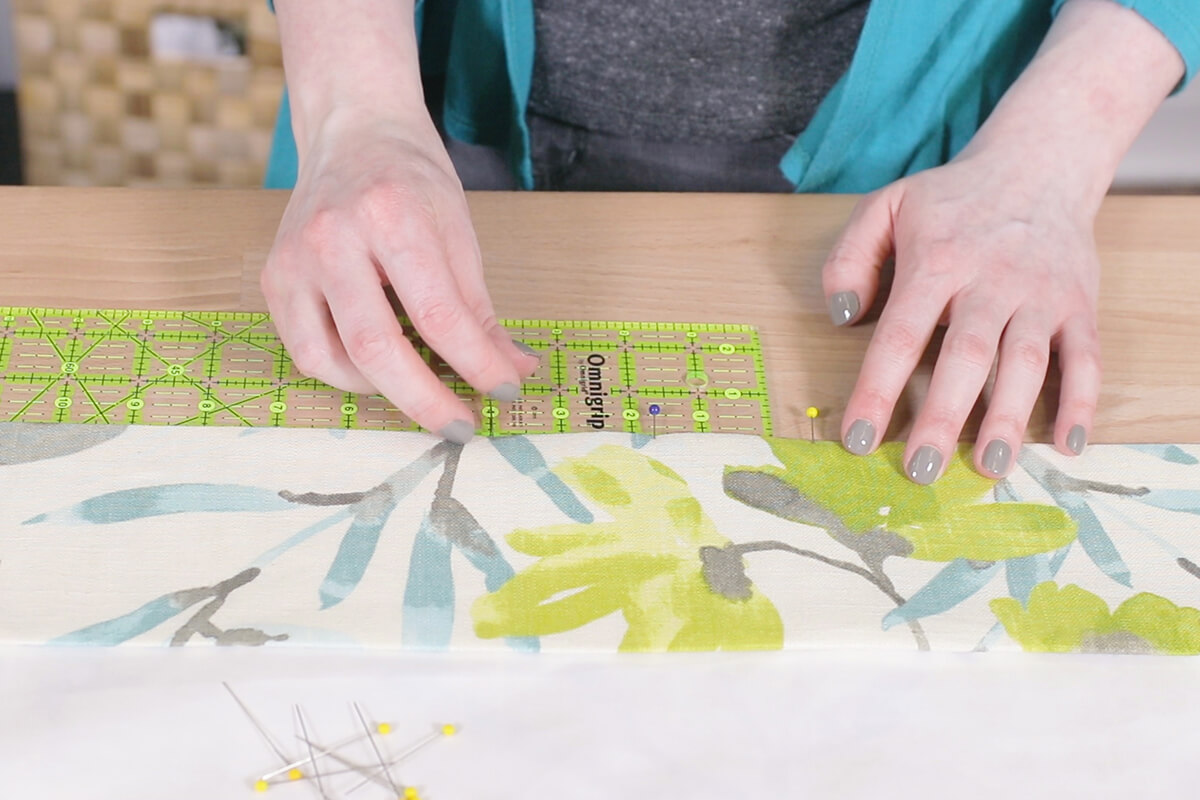
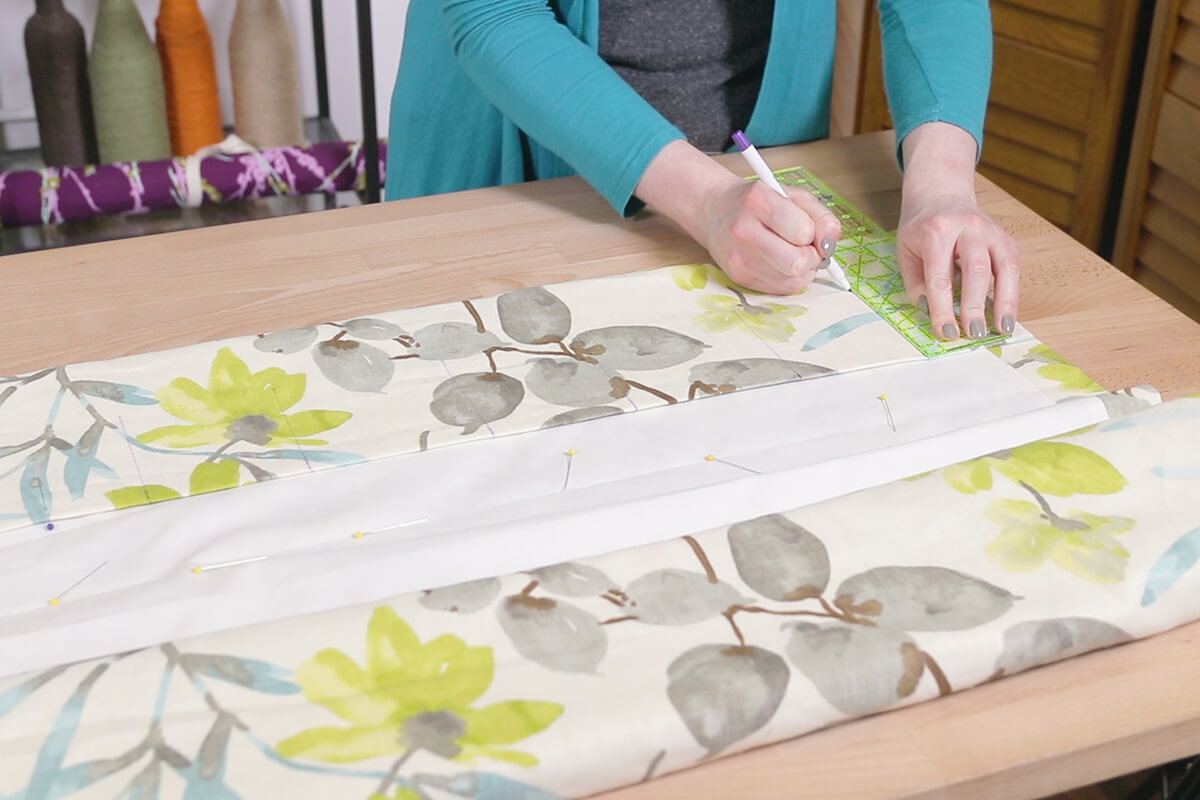
Measure your panel from the bottom hem and mark your desired finished length with a pin on both sides.
Fold the fabric at the pins and iron.
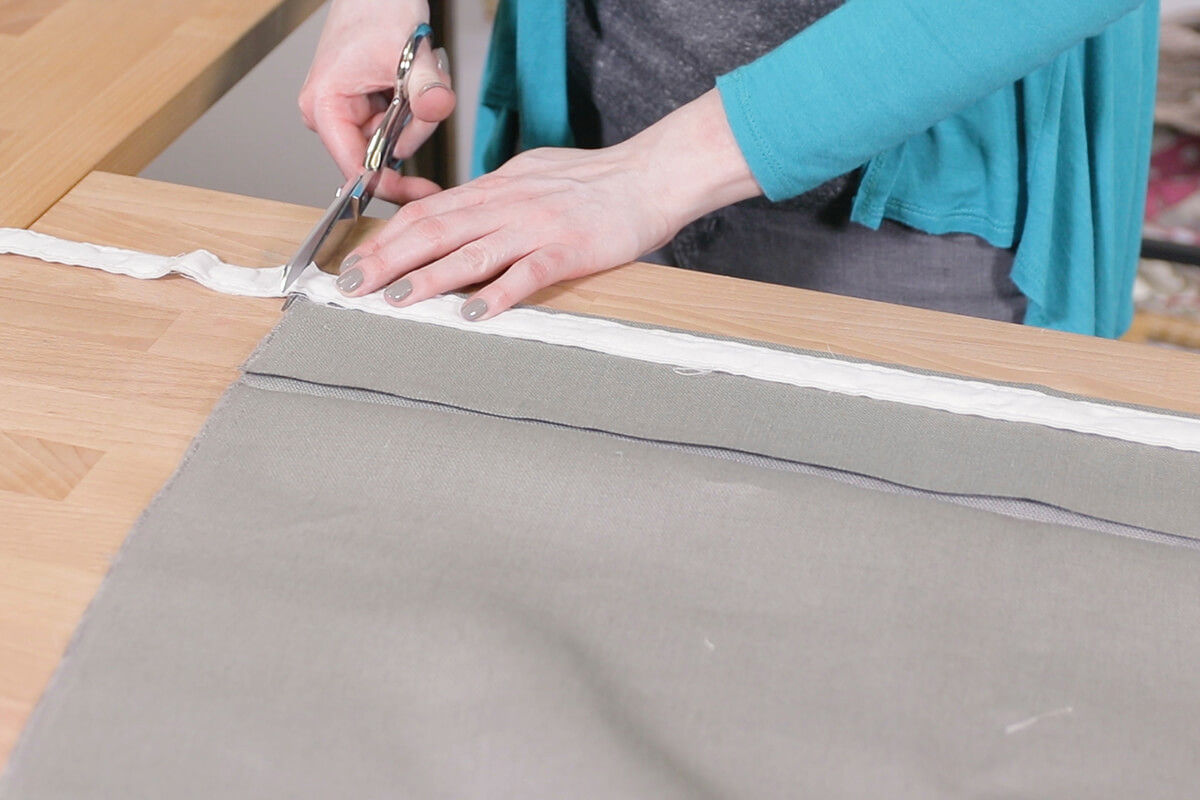
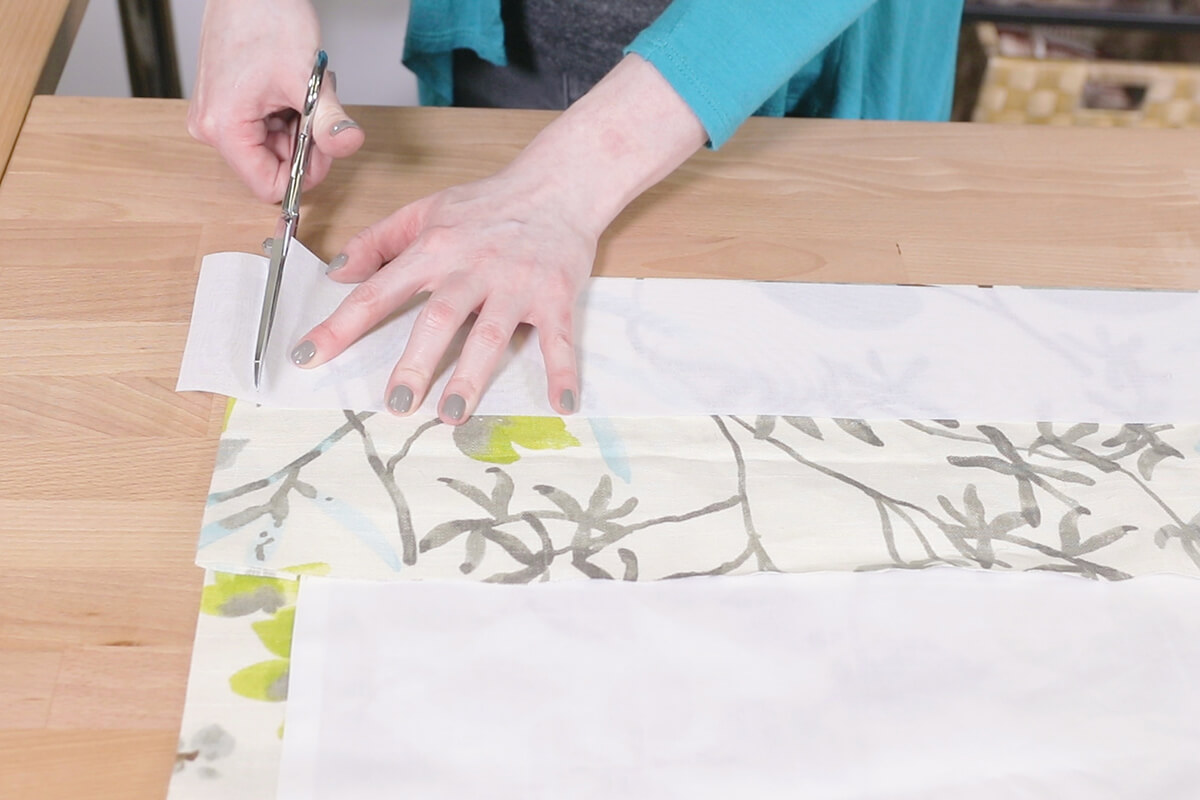
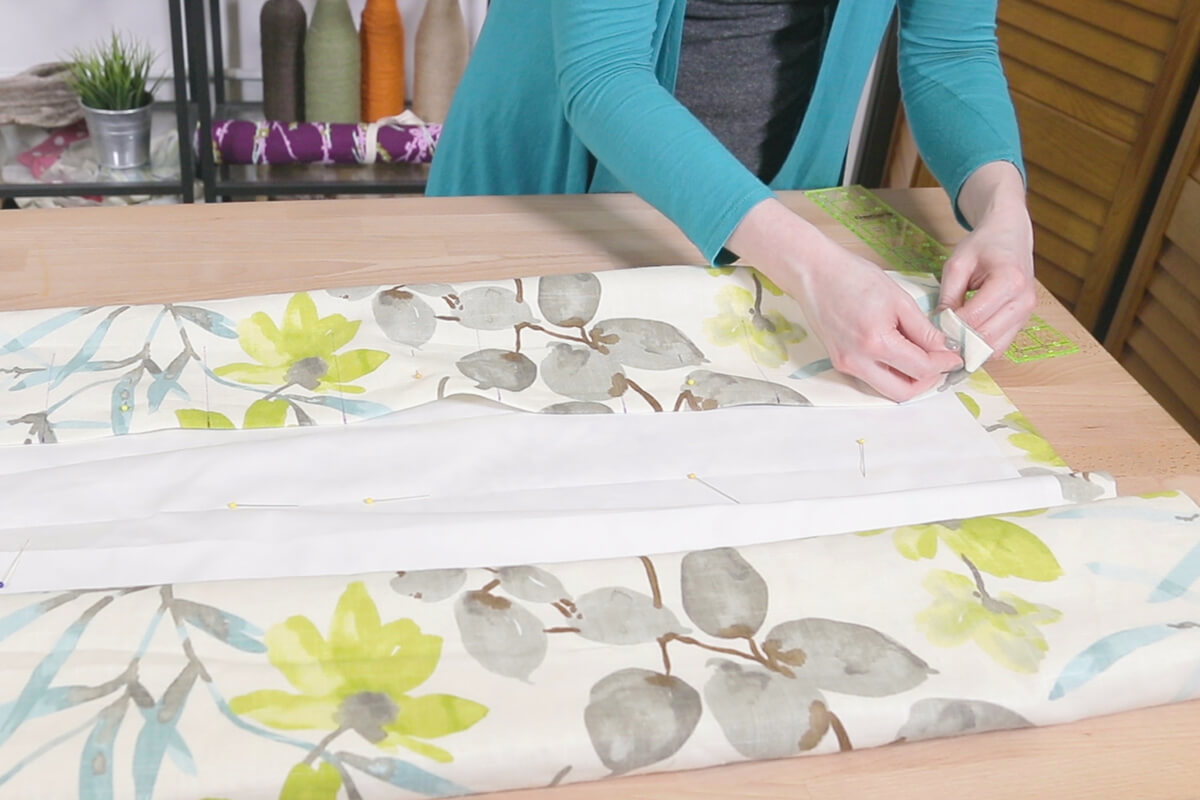
Cut off any extra fabric so there’s double the height of buckram left above the crease.
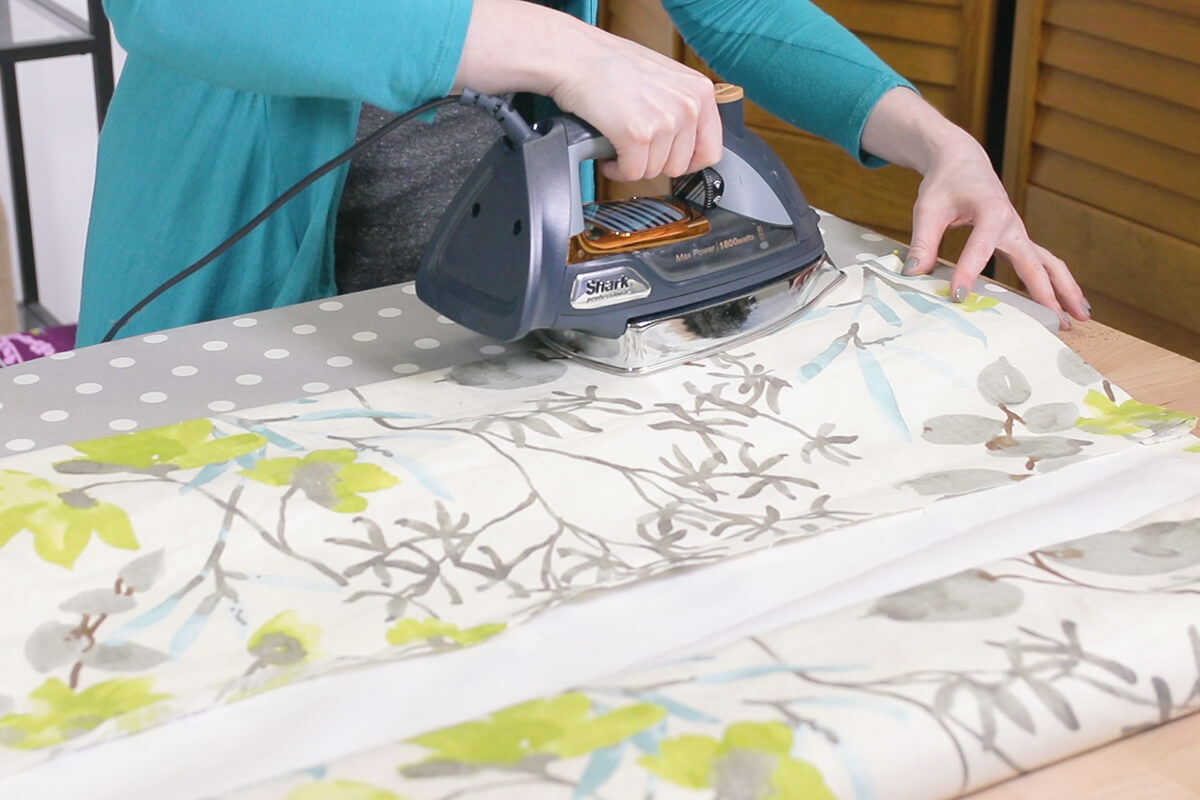
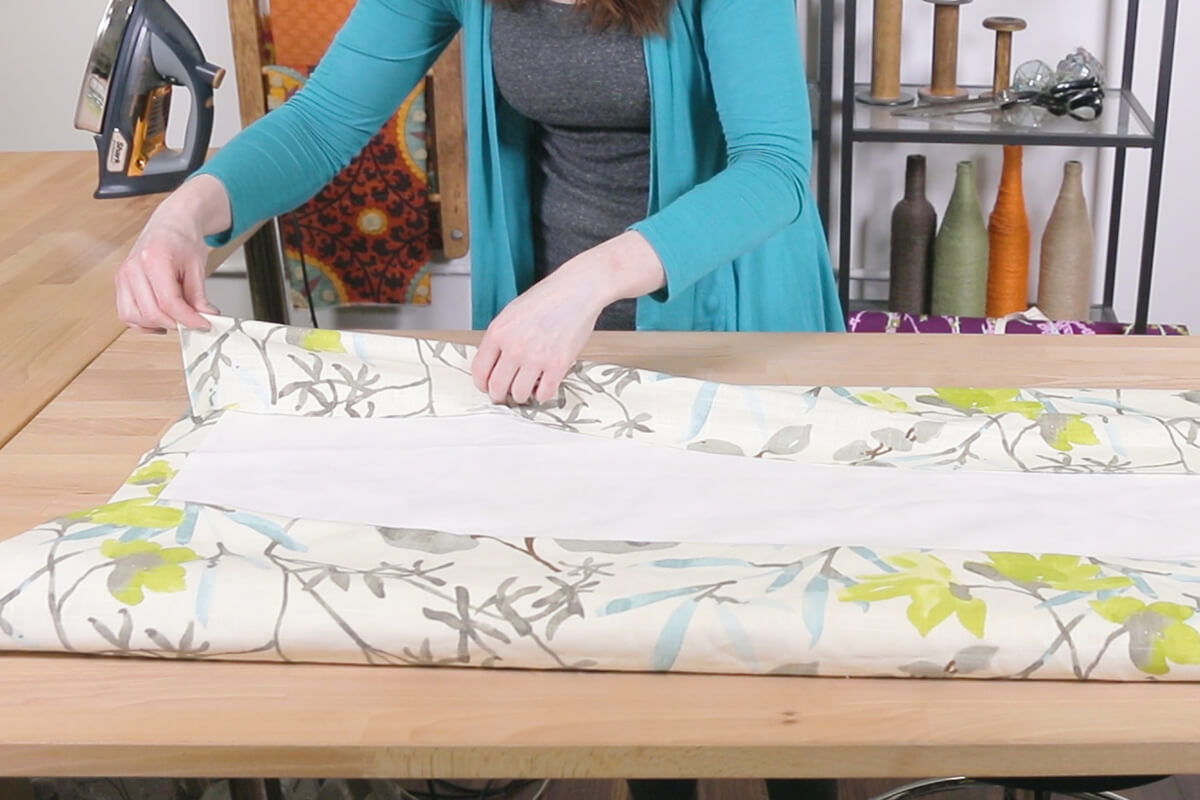
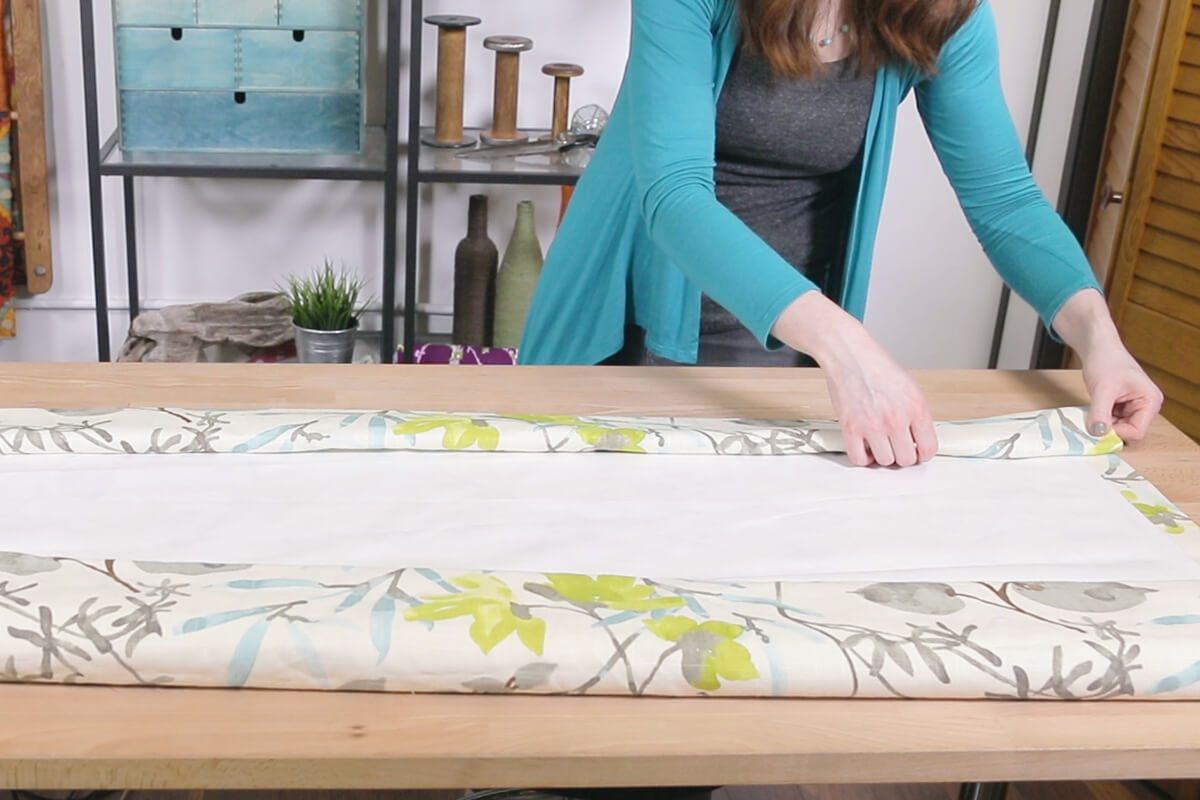
Place the buckram below the crease, fold the fabric over it. Tuck under the rest of the fabric and iron. Pin the header in several places.

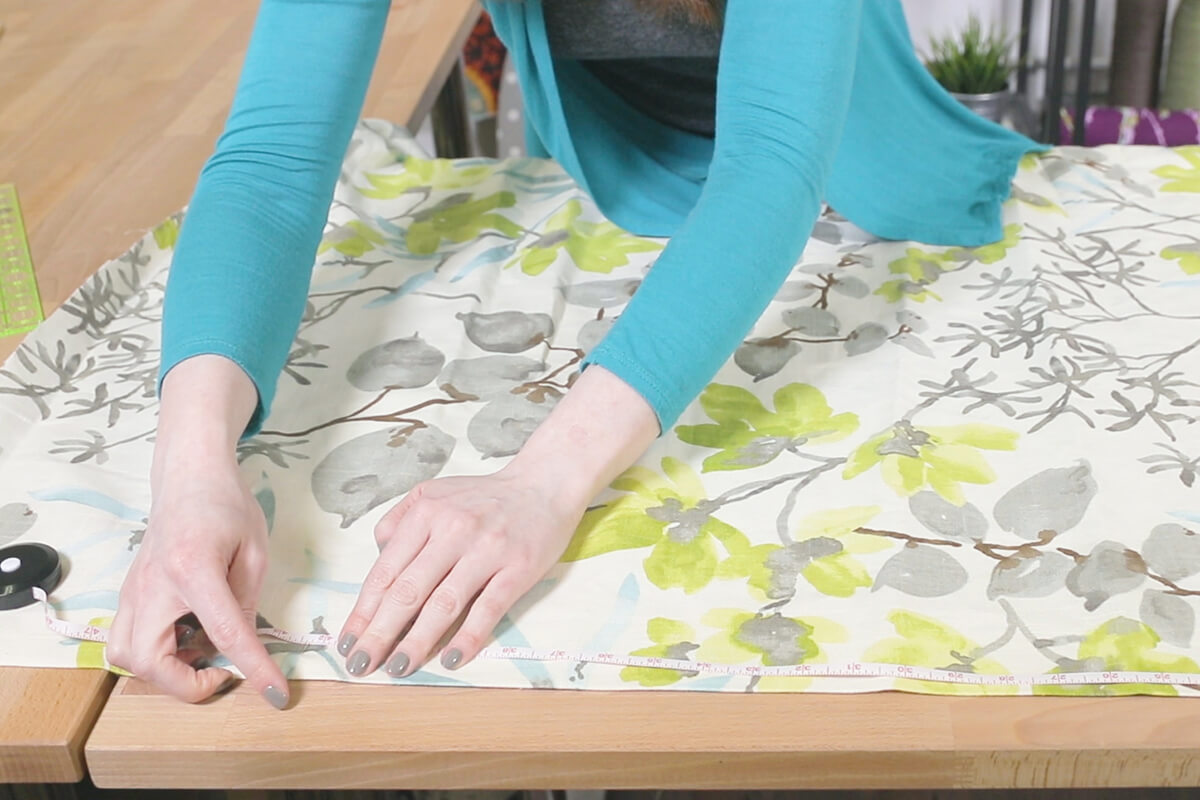
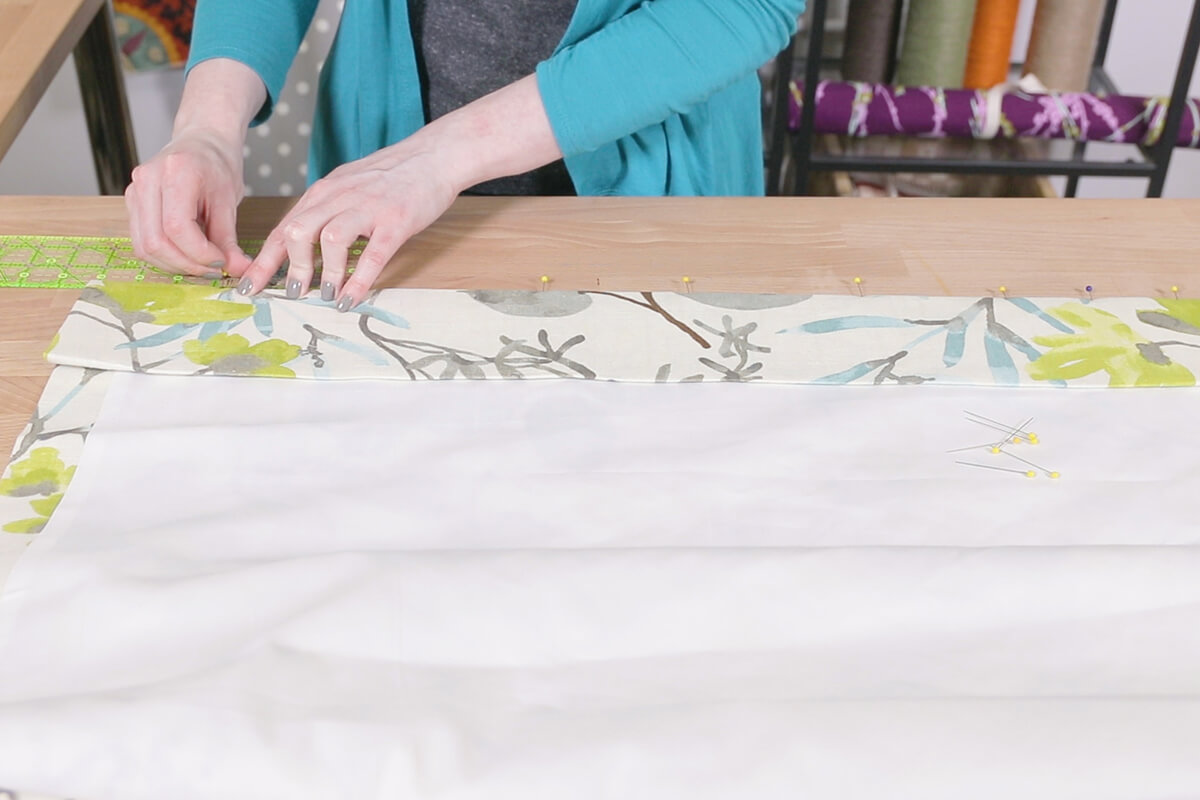
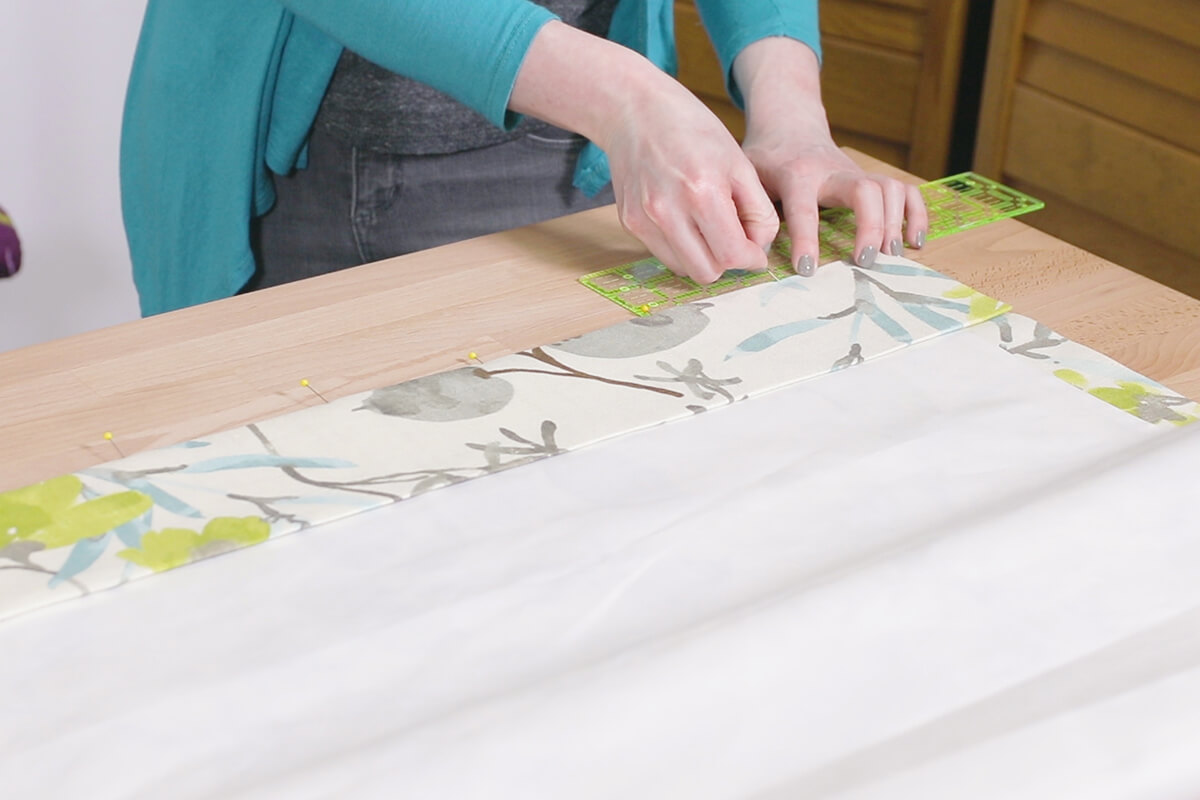
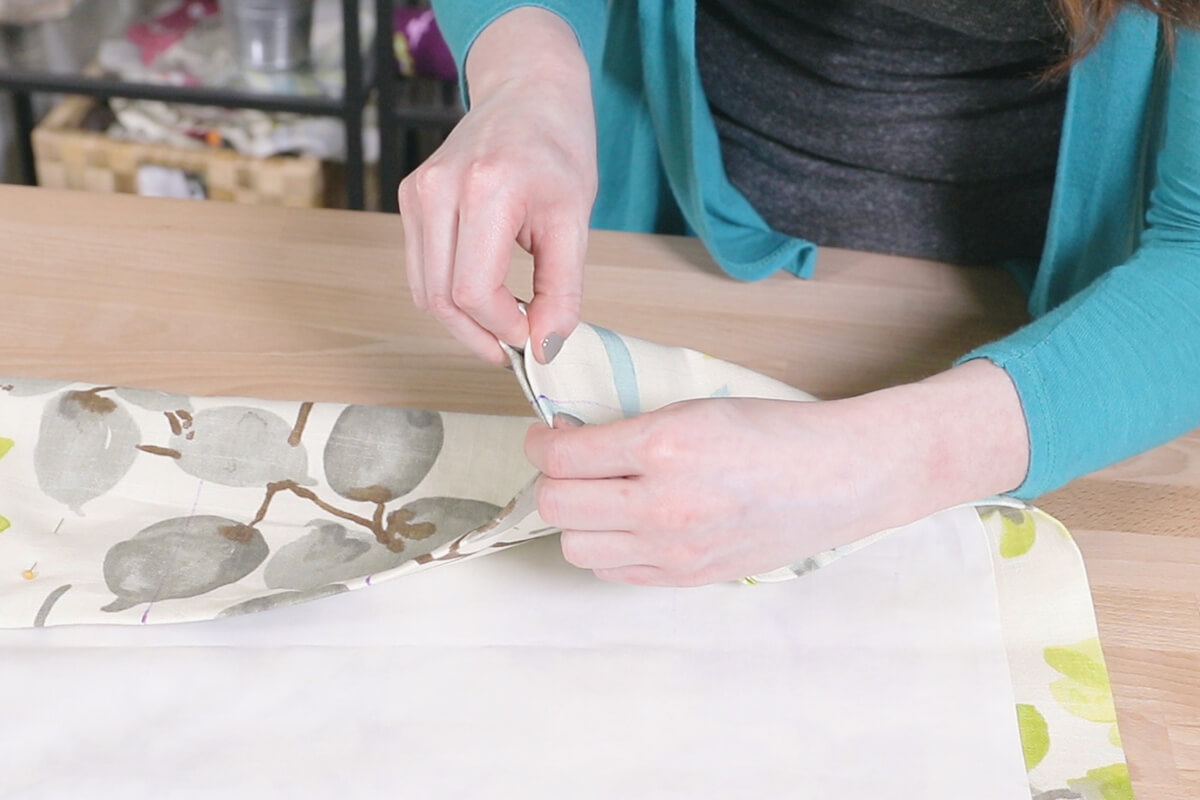
Step 3: Plan the pleats
I like to start in the middle and center either a pleat or the space between pleats. You can try both to see which works better for your width.
Use pins to plan out the size and spacing of the pleats.
The width of the panel before it’s pleated should be about 2 times the finished width of the panel.
If you need your panel to be an exact width, you can figure out the pleating on scraps of fabric before sewing the panel.
My cartridge pleats will be 3 ¾” with 4 ½” in between and 3 ¾” on each end. There’s no right answer so do what you think looks best for your curtains.
If you are attaching the outside edge of the curtain to the wall, one of the ends should be the distance from the rod to the wall, which is known as the return.
If you’re making goblet pleats, you may want the size of the pleats to be larger.
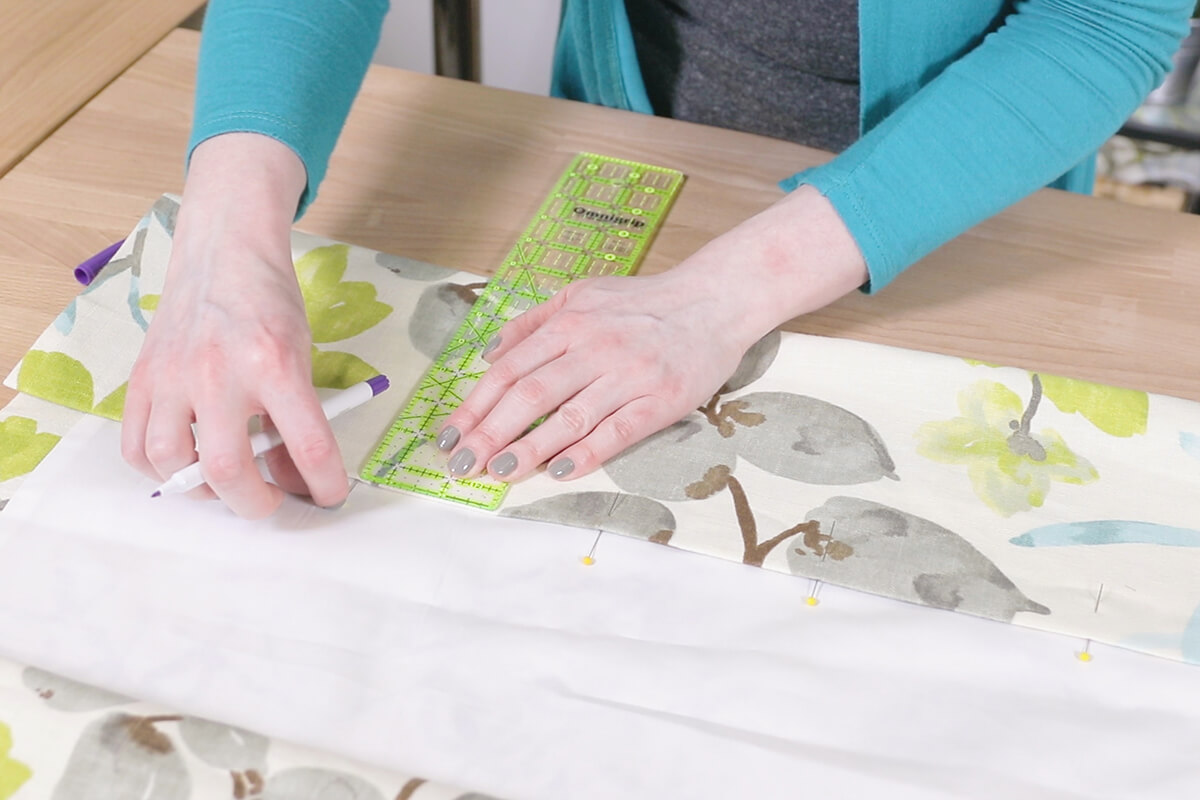
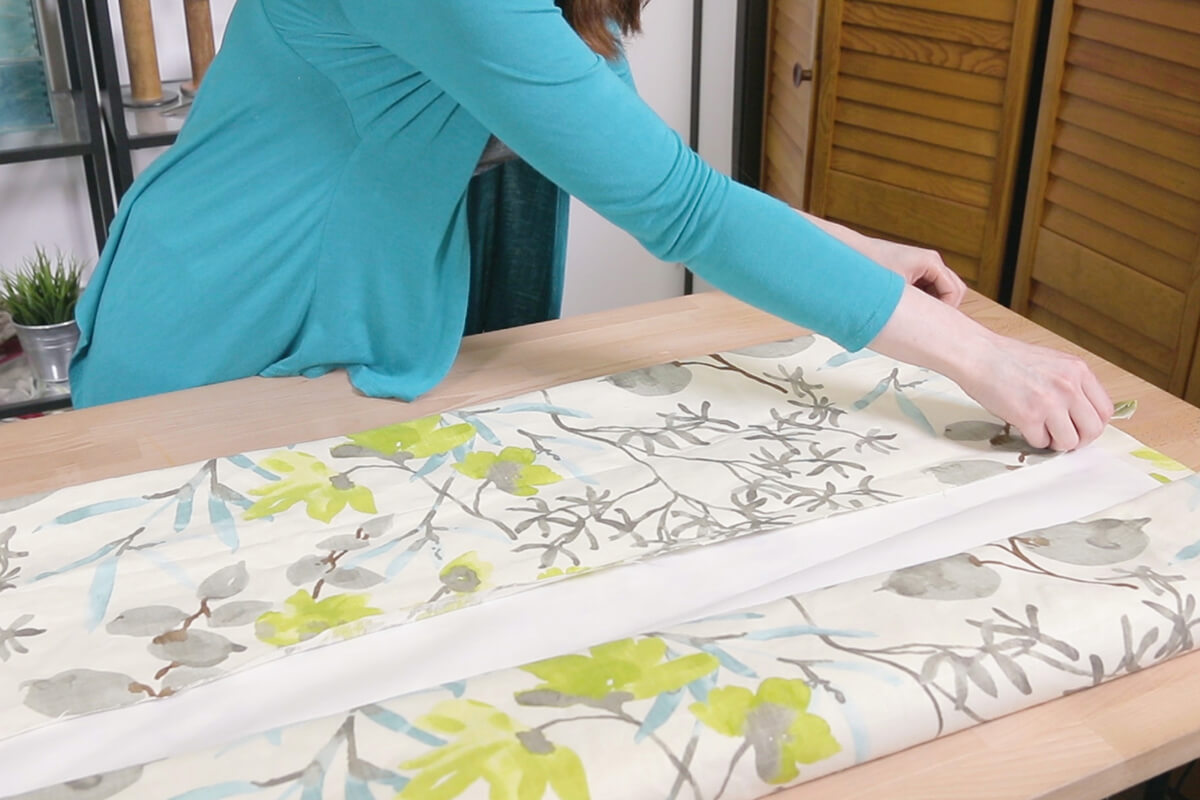
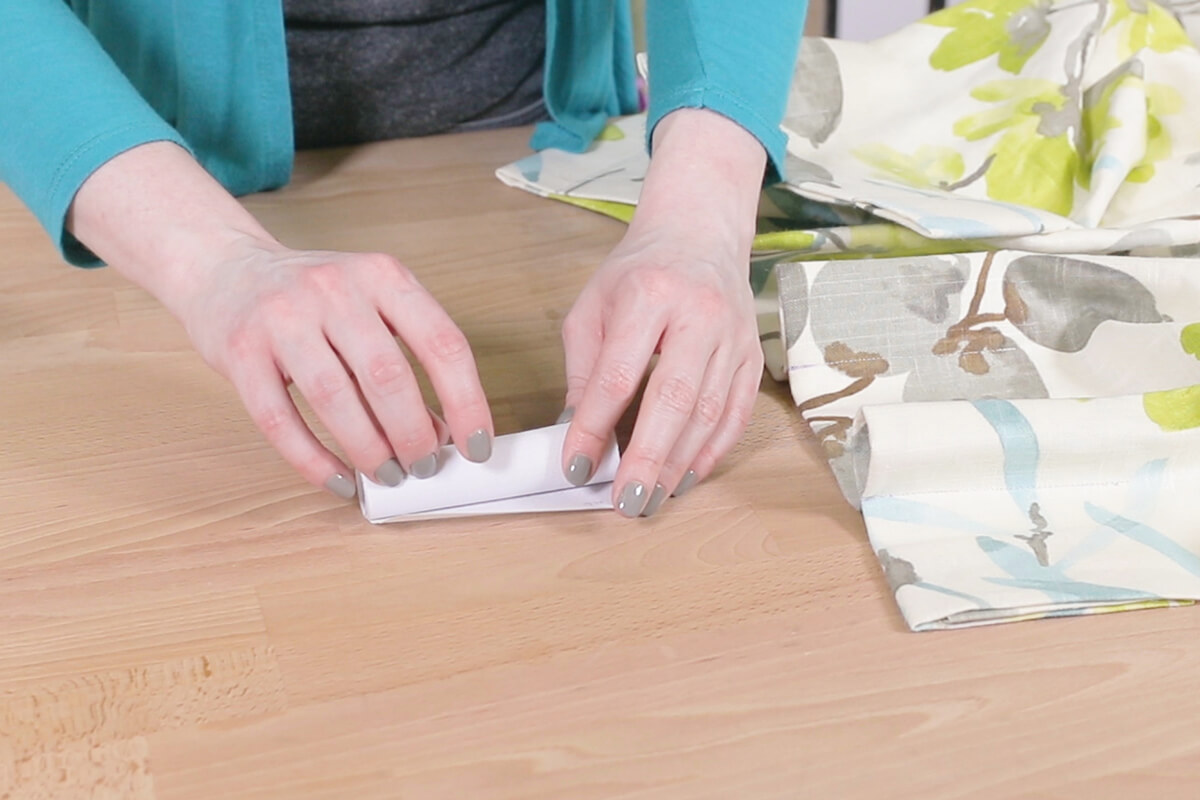
Step 4: Sew the pleats
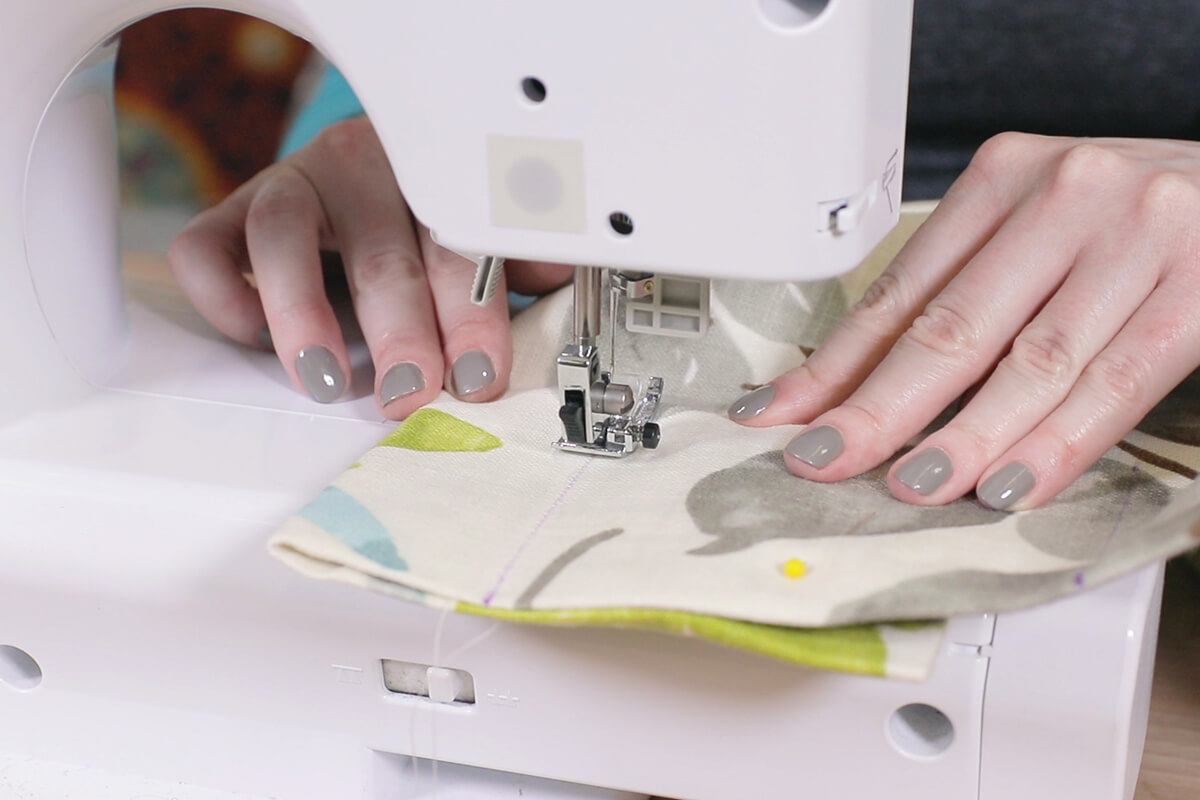
Use a disappearing marker or chalk to mark a line from each pin to the bottom of the buckram.
Fold the header so the first 2 lines match up with the front of the curtain facing out.
Sew down the line, back stitching at the beginning and end. Repeat for the rest of the pleats.
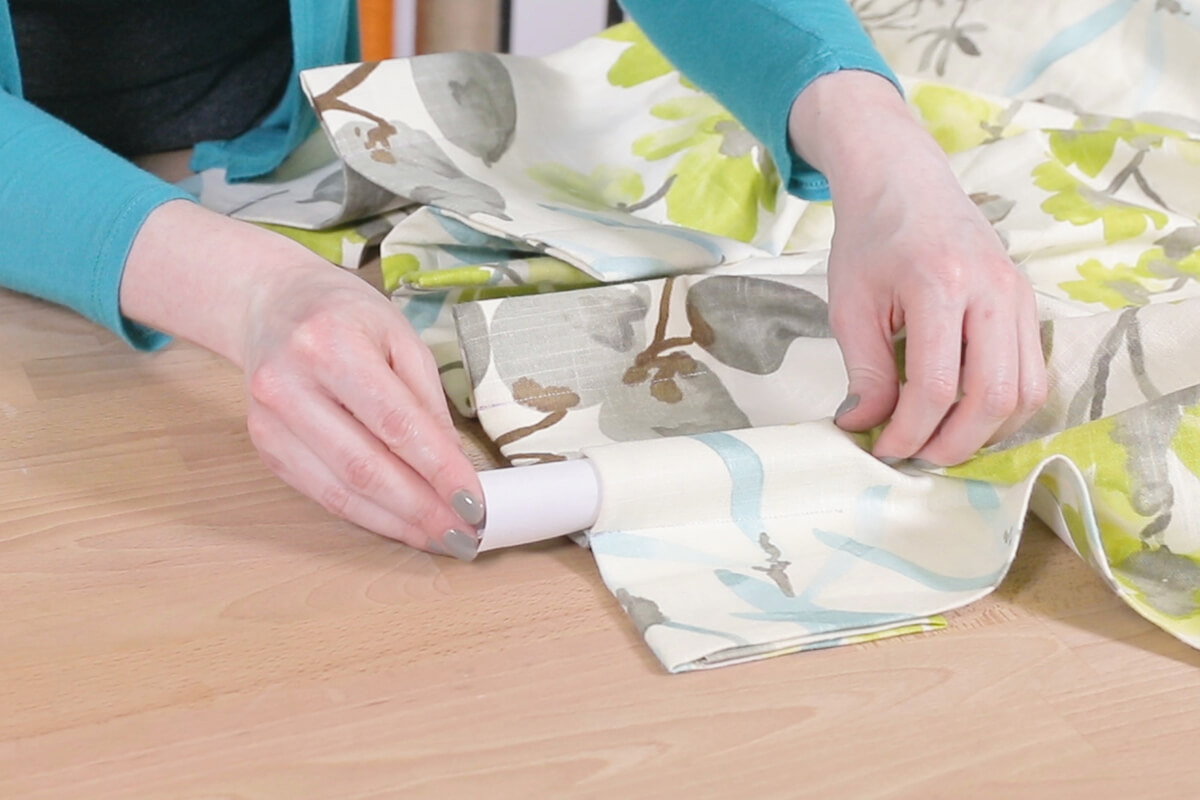
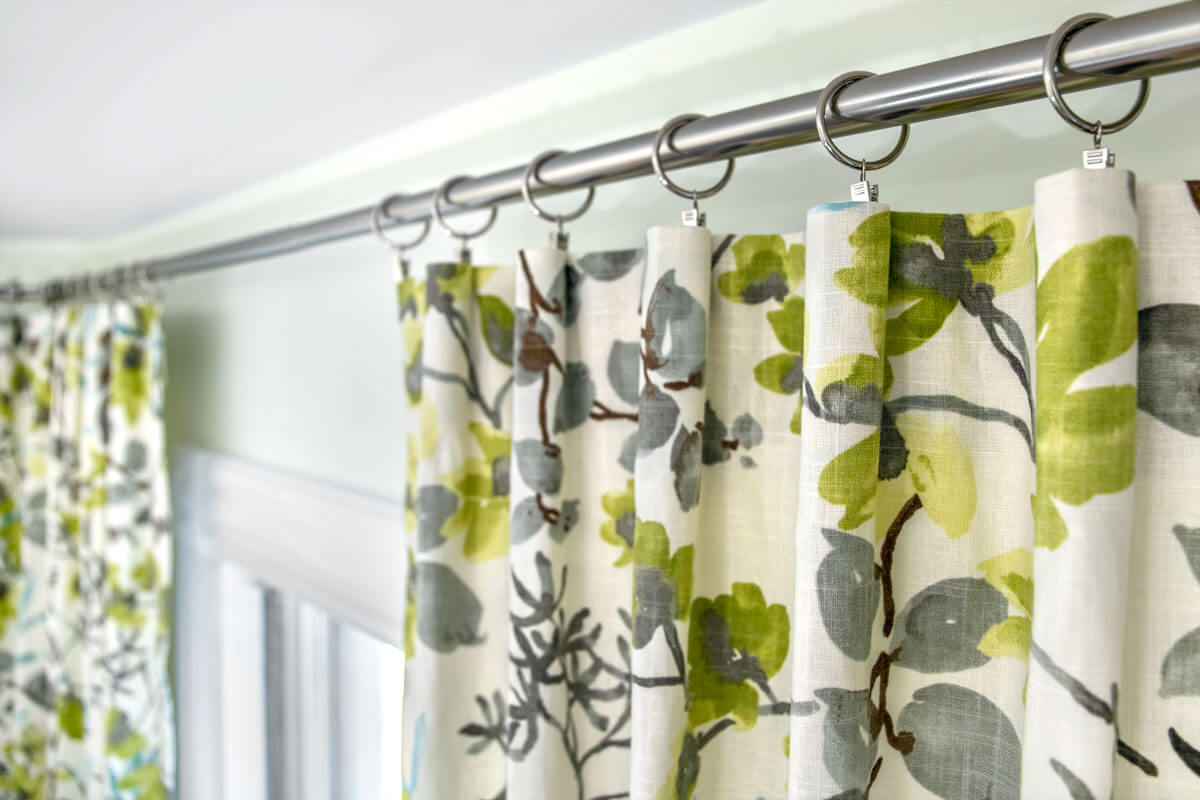
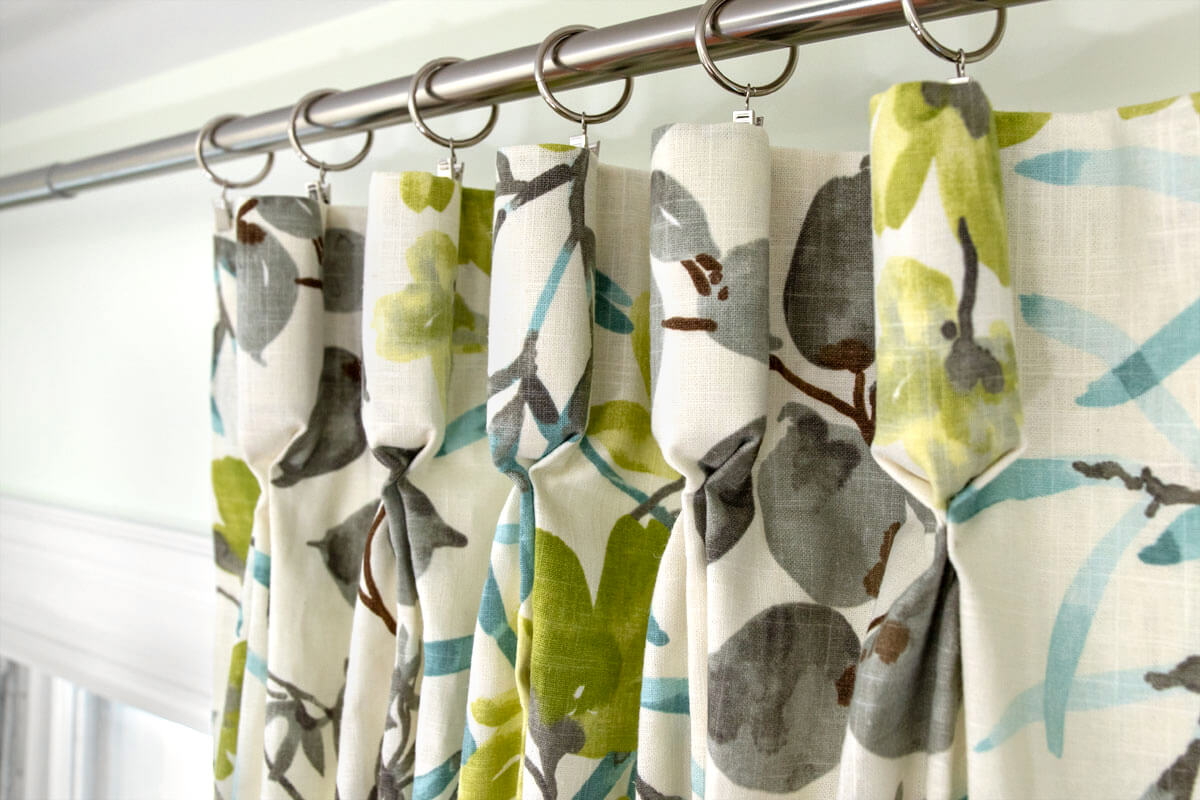
Cut about a foot of buckram for each pleat and wind it up so it fits inside. This will hold the pleats in a cylindrical shape.

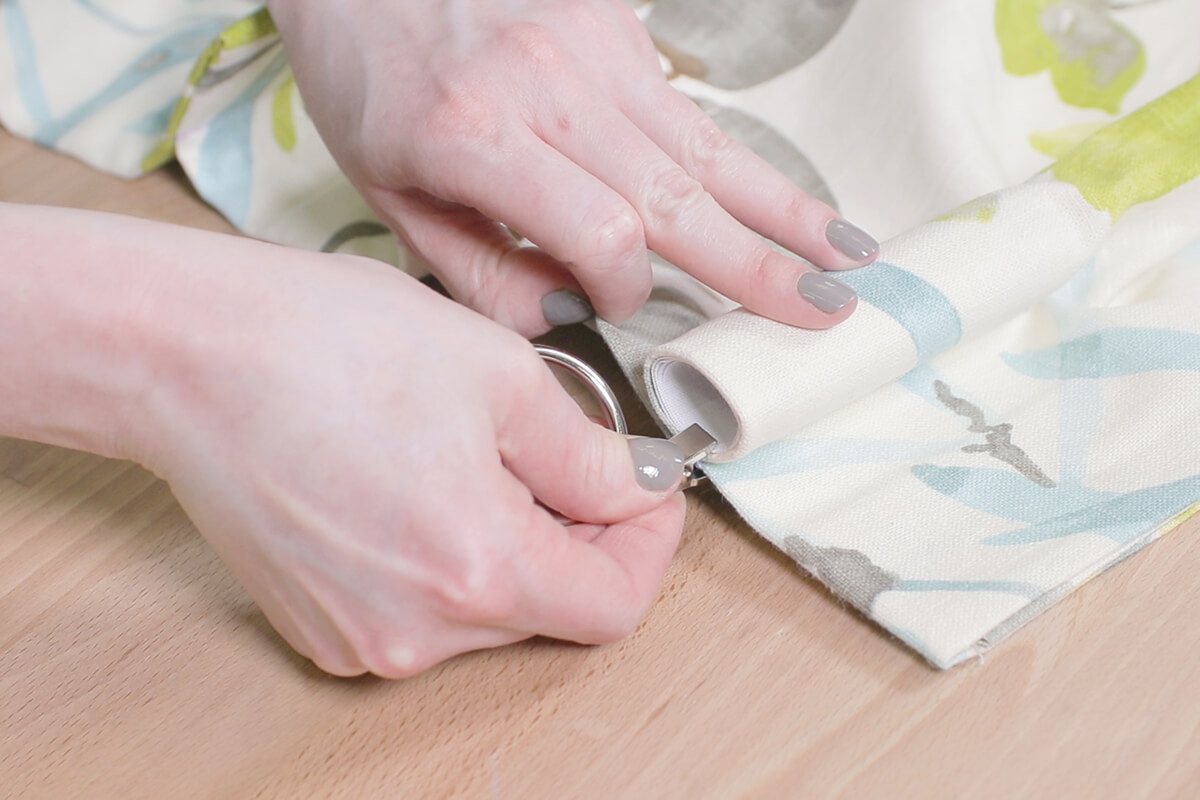
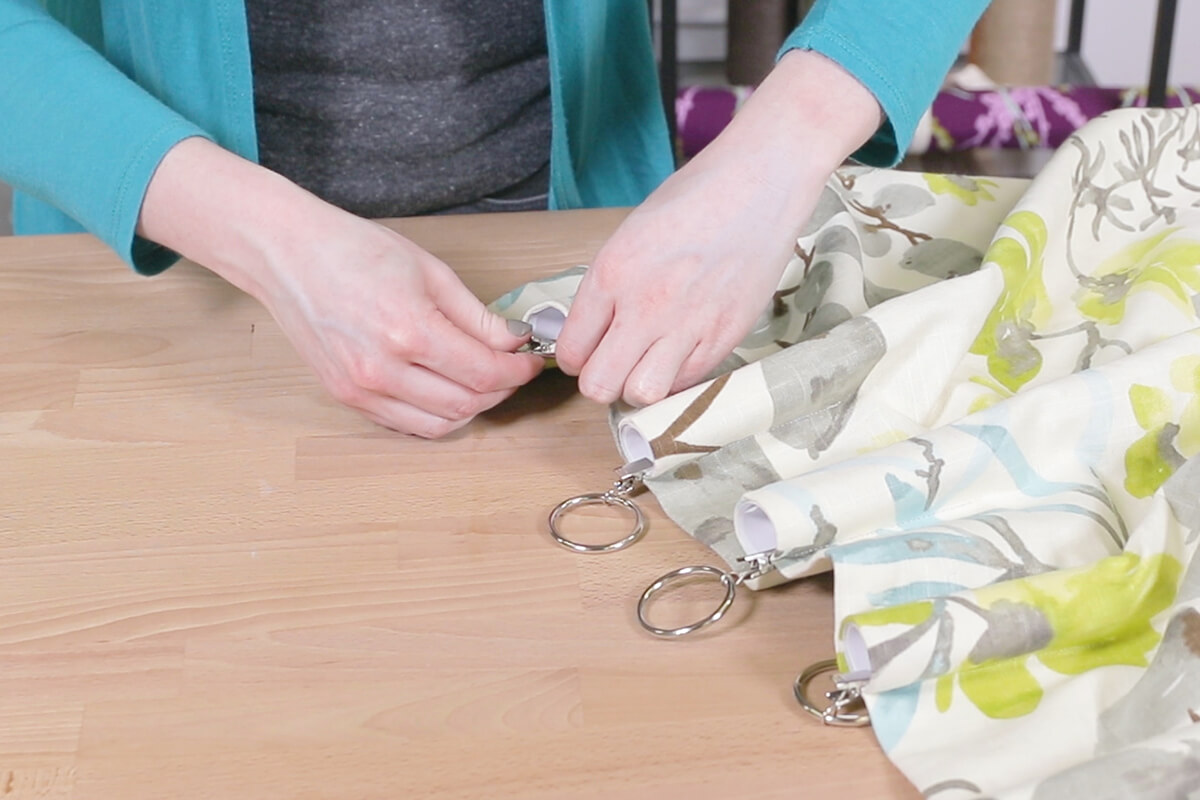
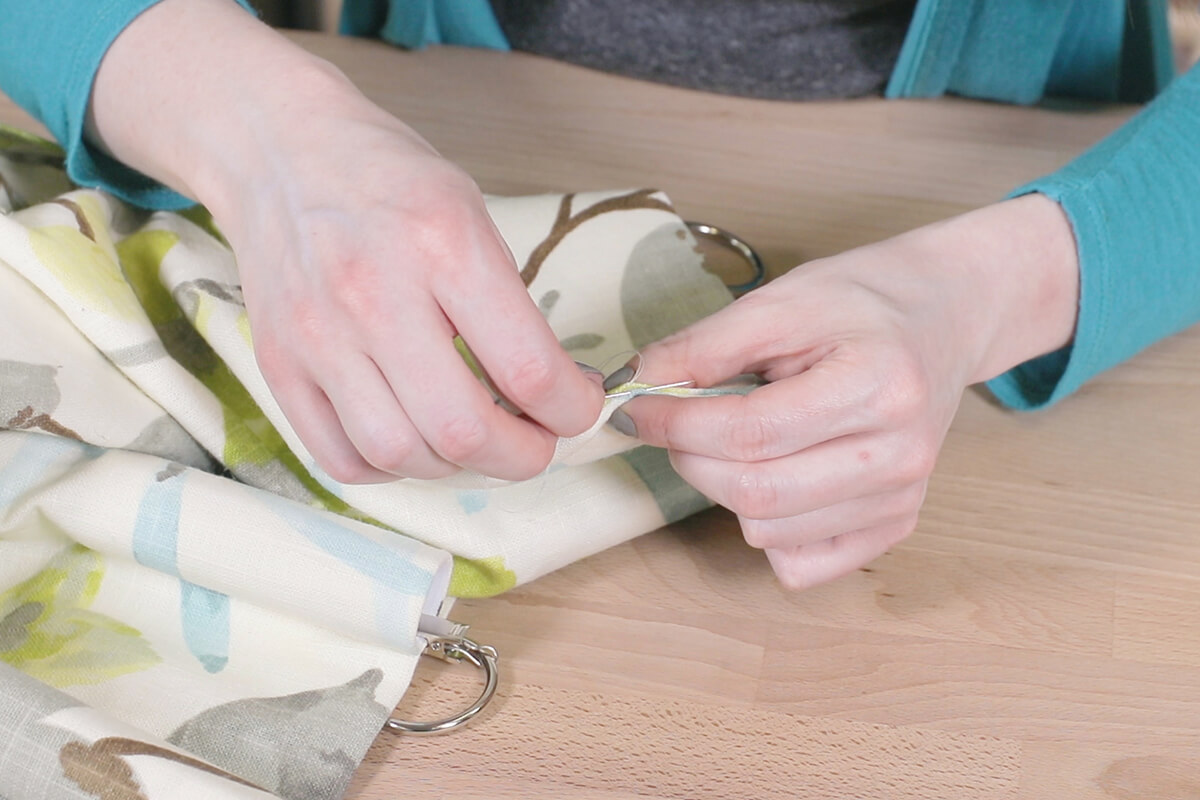
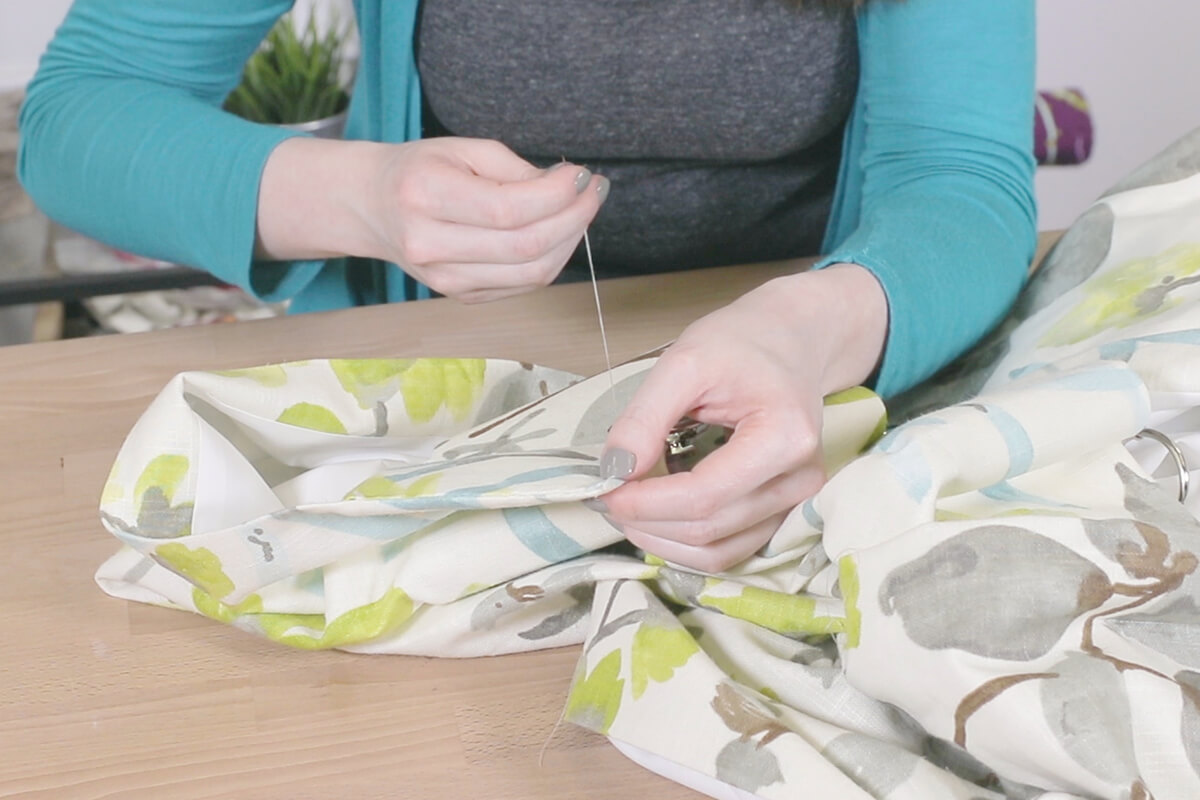
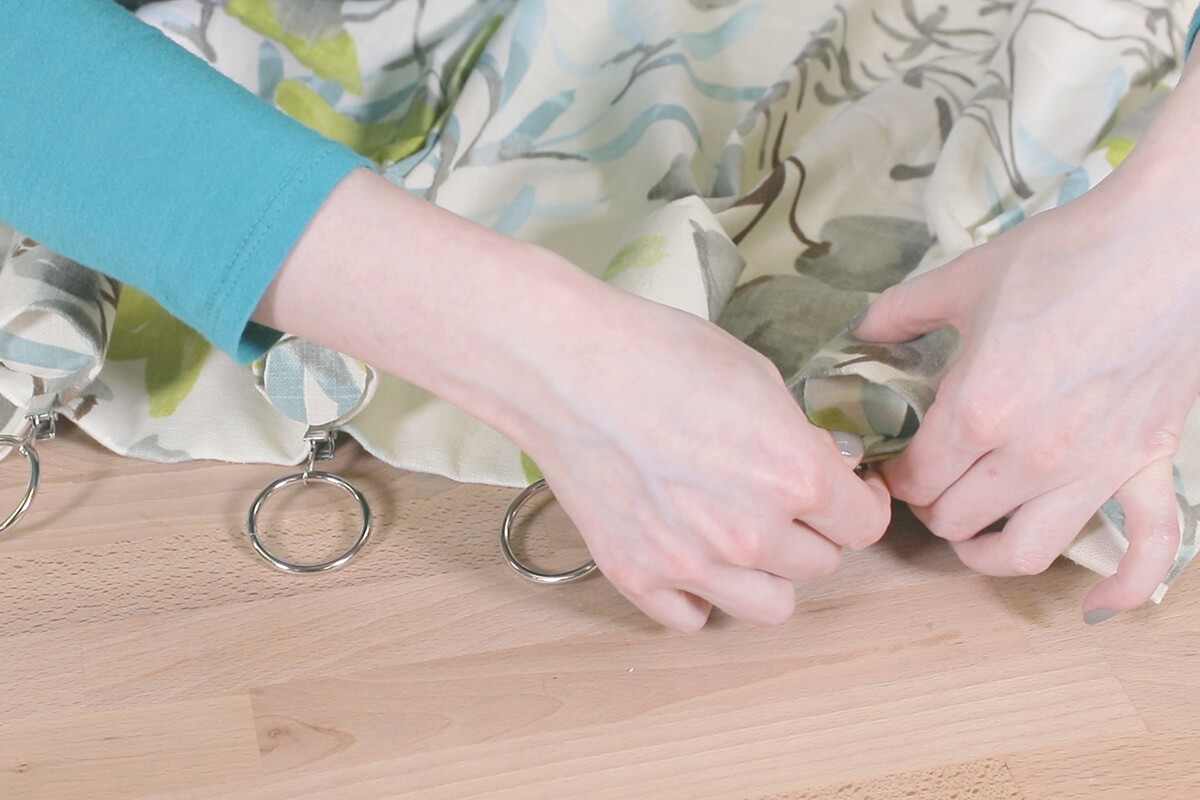
I’m using rings with clips and attaching them to the back of the pleat and the buckram. You can also use drapery hooks and eyelet rings. Make sure you take the hardware into account when determining the height of the drapes.
Hand sew the edges of the heading if you don’t want the stitching to be visible. See our invisible stitch tutorial for details.
If you’re making cartridge pleats, the curtain is ready to hang.
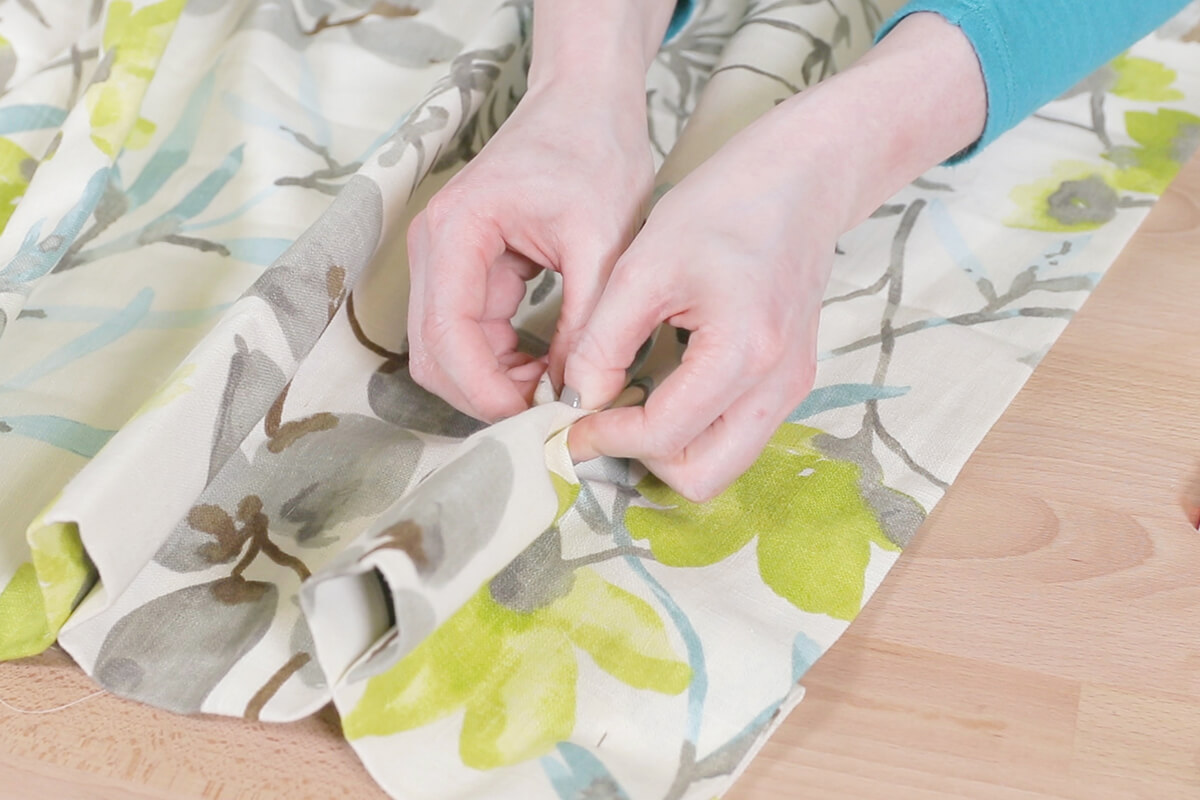
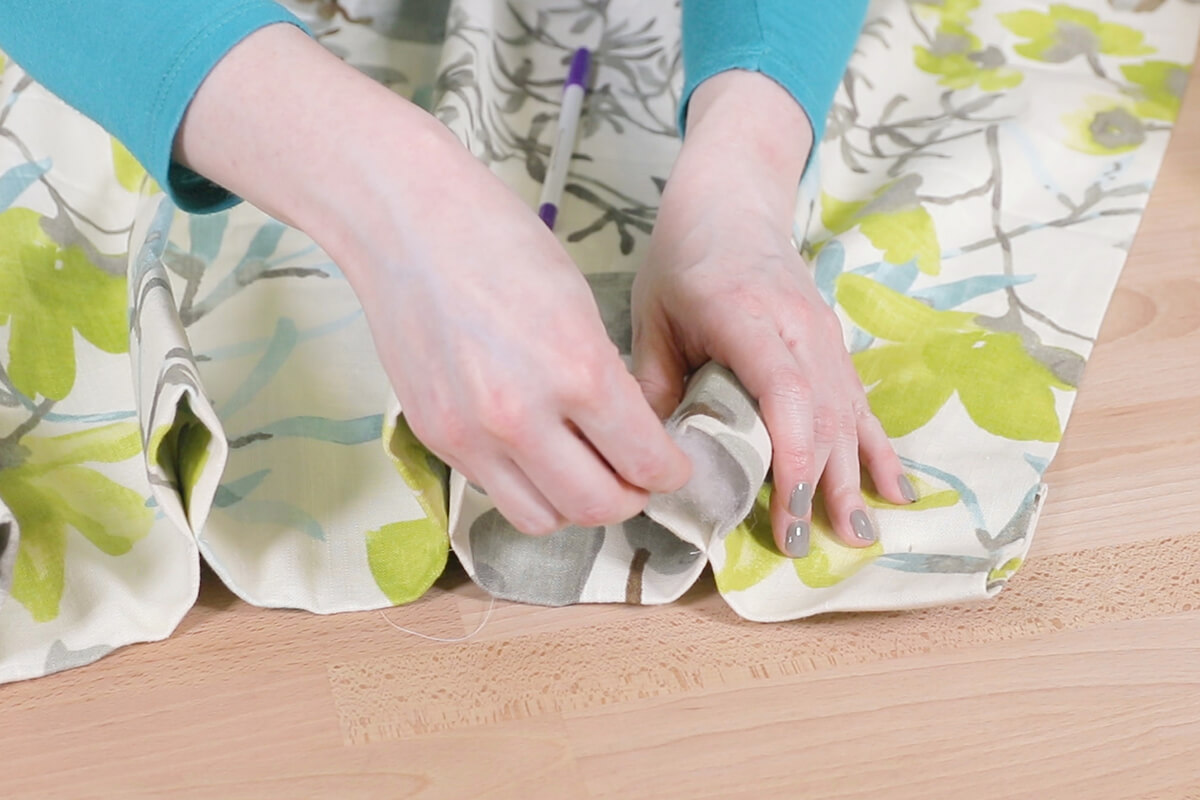
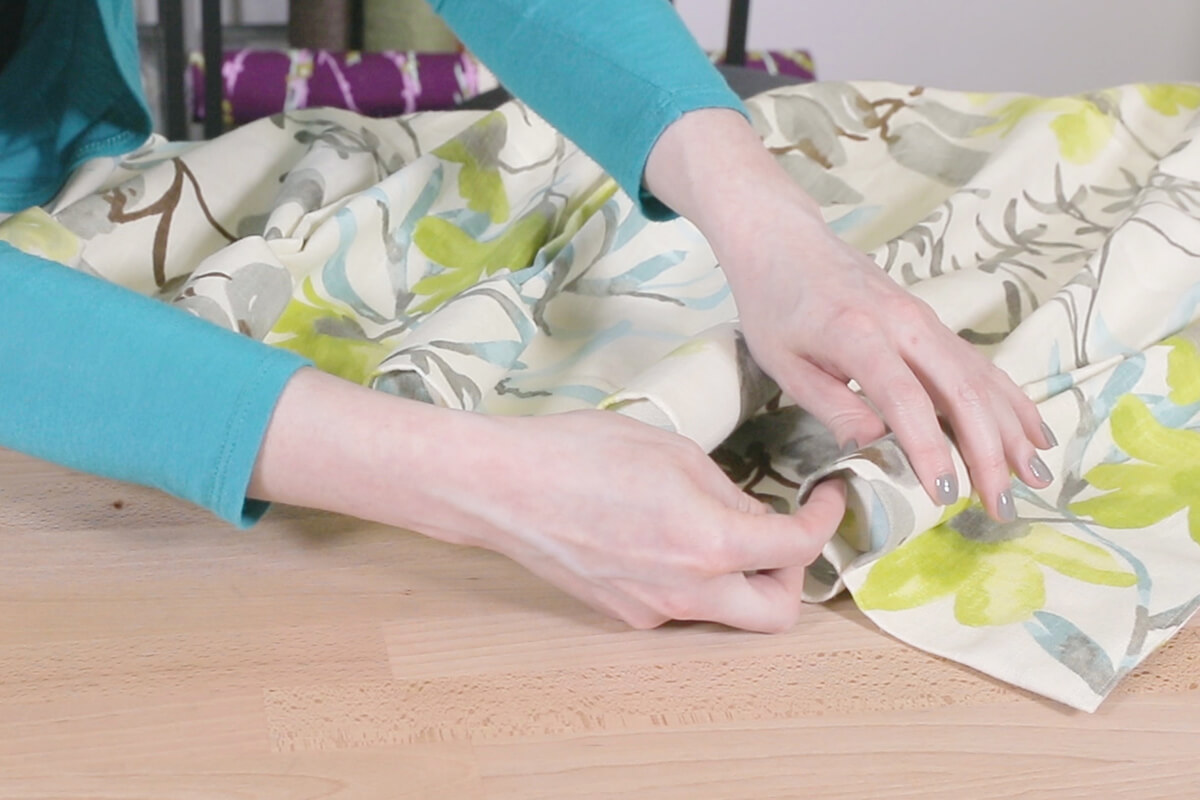
Goblet pleats are formed by pinching the bottom. To do this, form 3 small pleats below the heading and tack them together with a needle and thread. You can also add embellishments like buttons if you like.

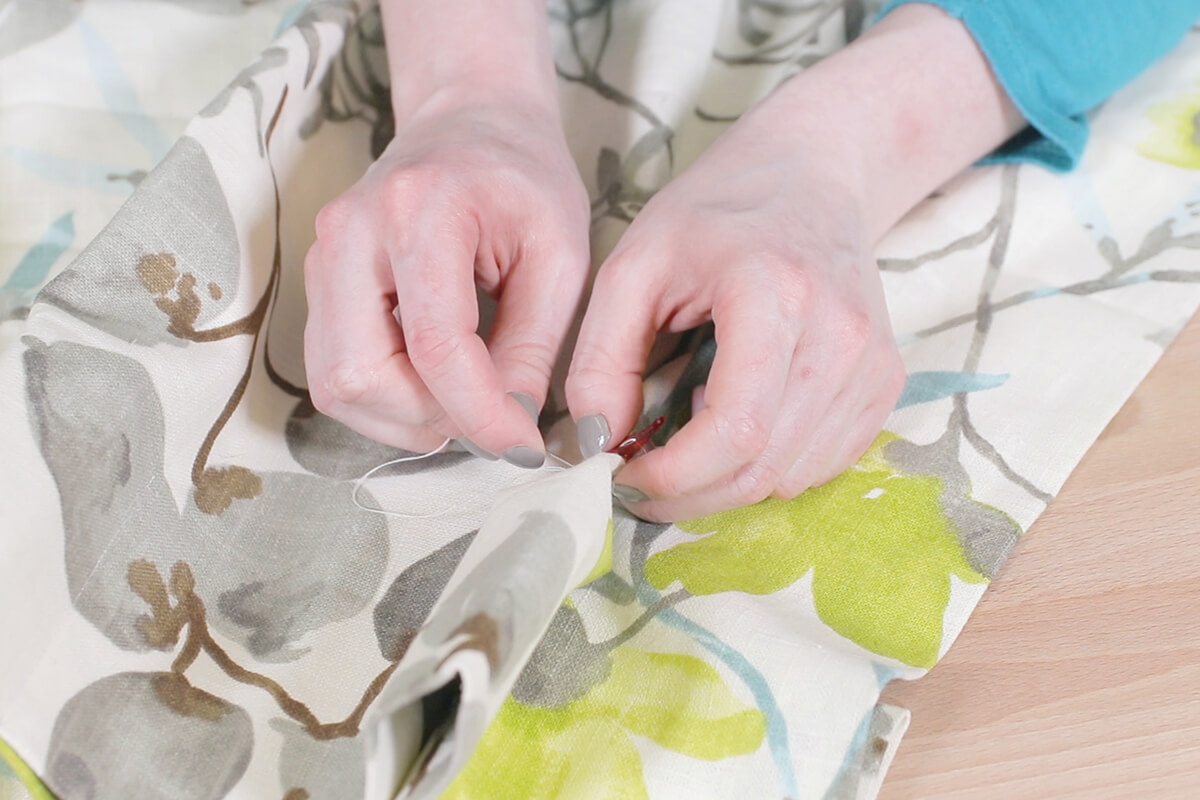
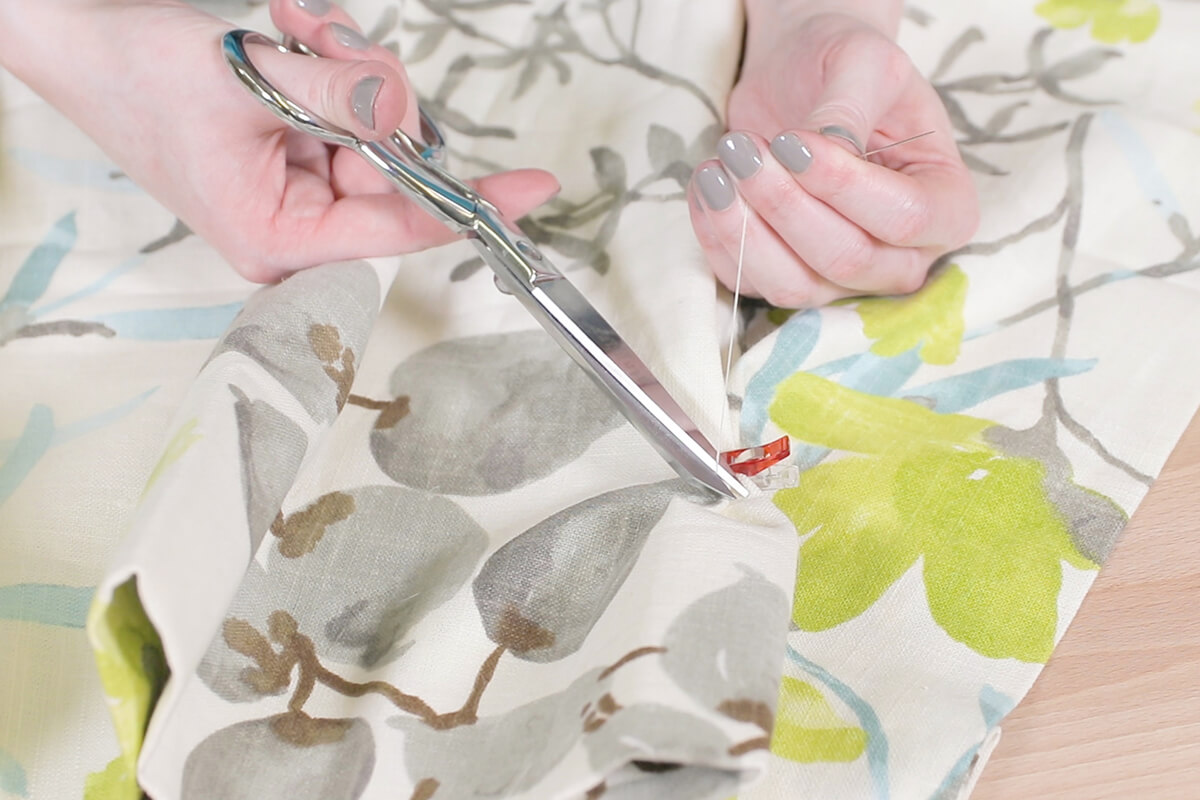
For a softer look, you can use stuffing instead of buckram to hold the shape of the pleats. Add it after tacking the fabric together.

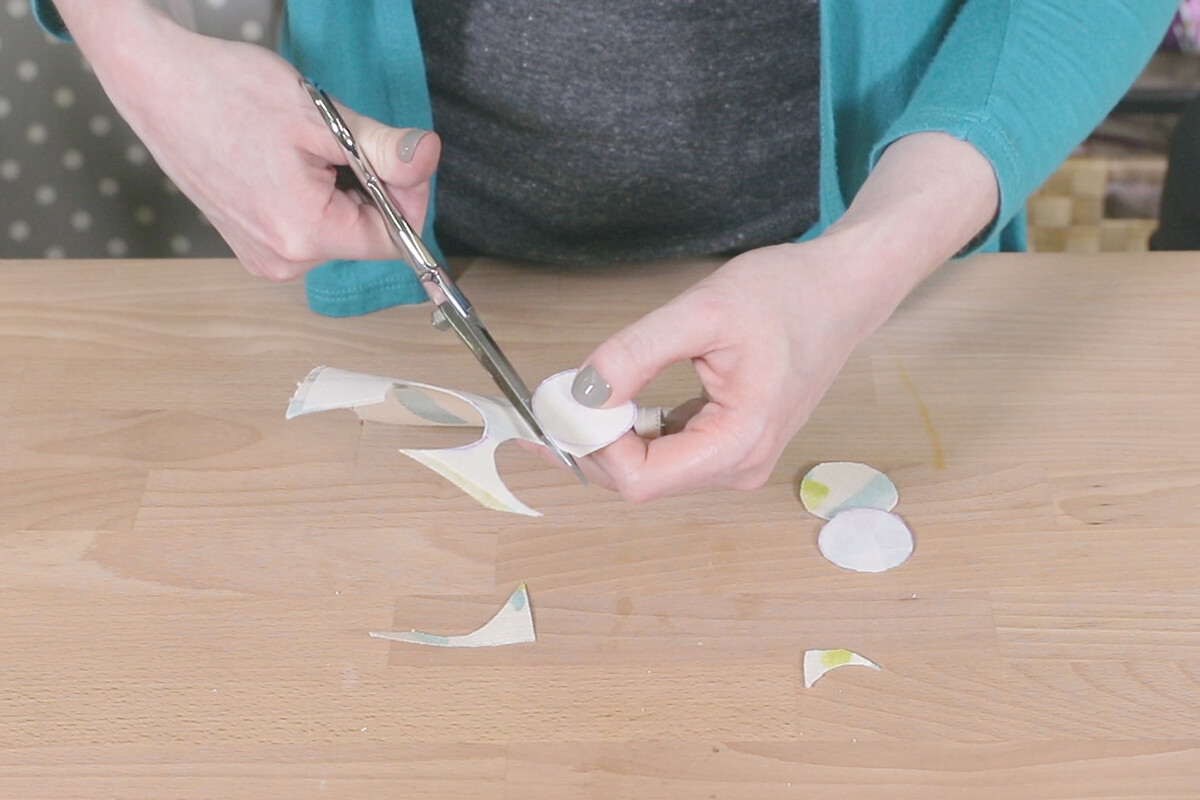
To hide the stuffing if you’re looking down on the curtain, use fusible stabilizer on the back of the fabric and cut circles to fit in the pleats.

Make your own curtains with our gorgeous décor fabric.
-
{{#each productSuggestedQueries.results}}
- {{query}} {{/each}}
-
{{#each categories.results}}
- {{html title}} {{/each}}
{{html attributes.description}}
{{/if}}-
{{#each queries.results}}
- {{query}} {{/each}}