
How to Make a Bug Net for a Hammock
- By Alyssa
- 45 minutes
Summer is upon us and I am ready for hammock and camping season to begin! That being said, I already have a bug bite on my pinkey toe so I am living in a constant state of discomfort.
That’s why I set out on a mission to make a net for my hammock.
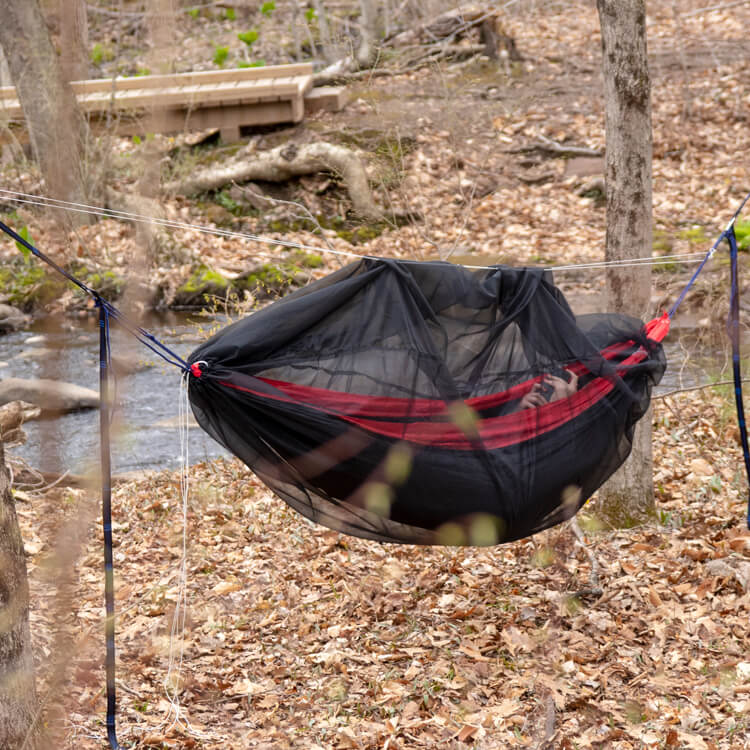
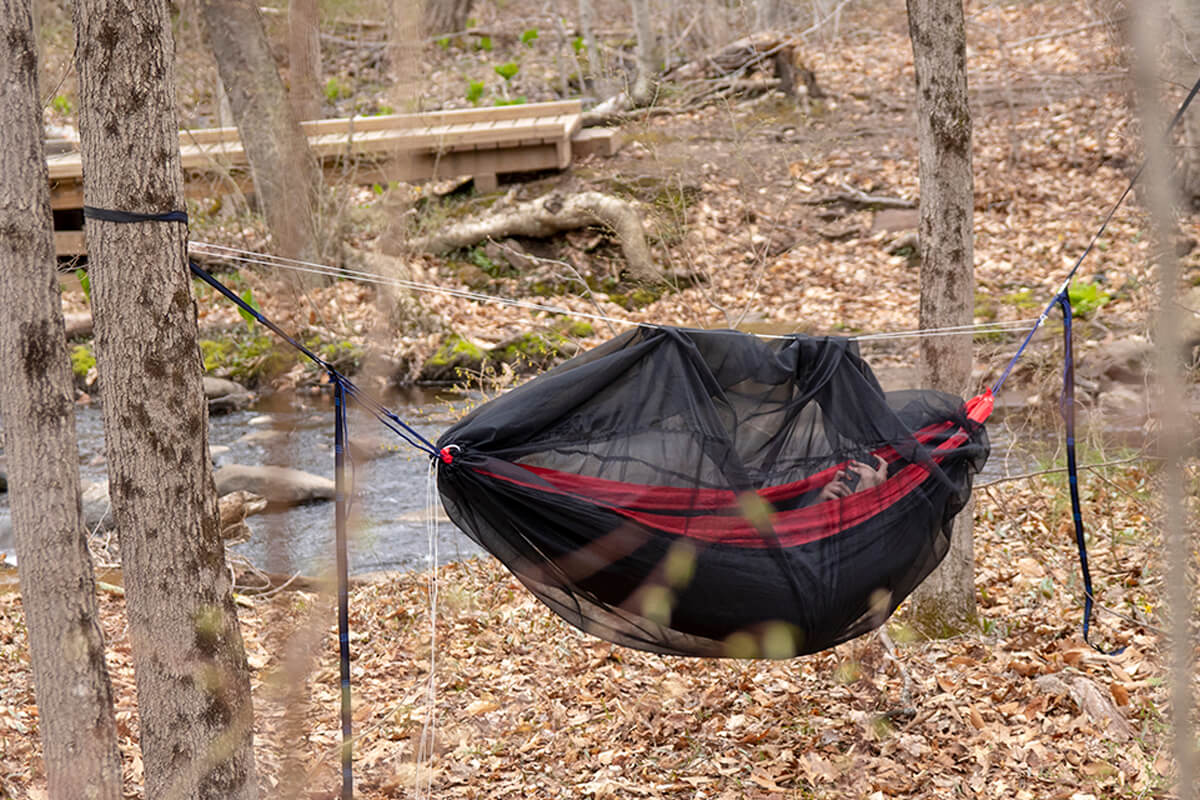
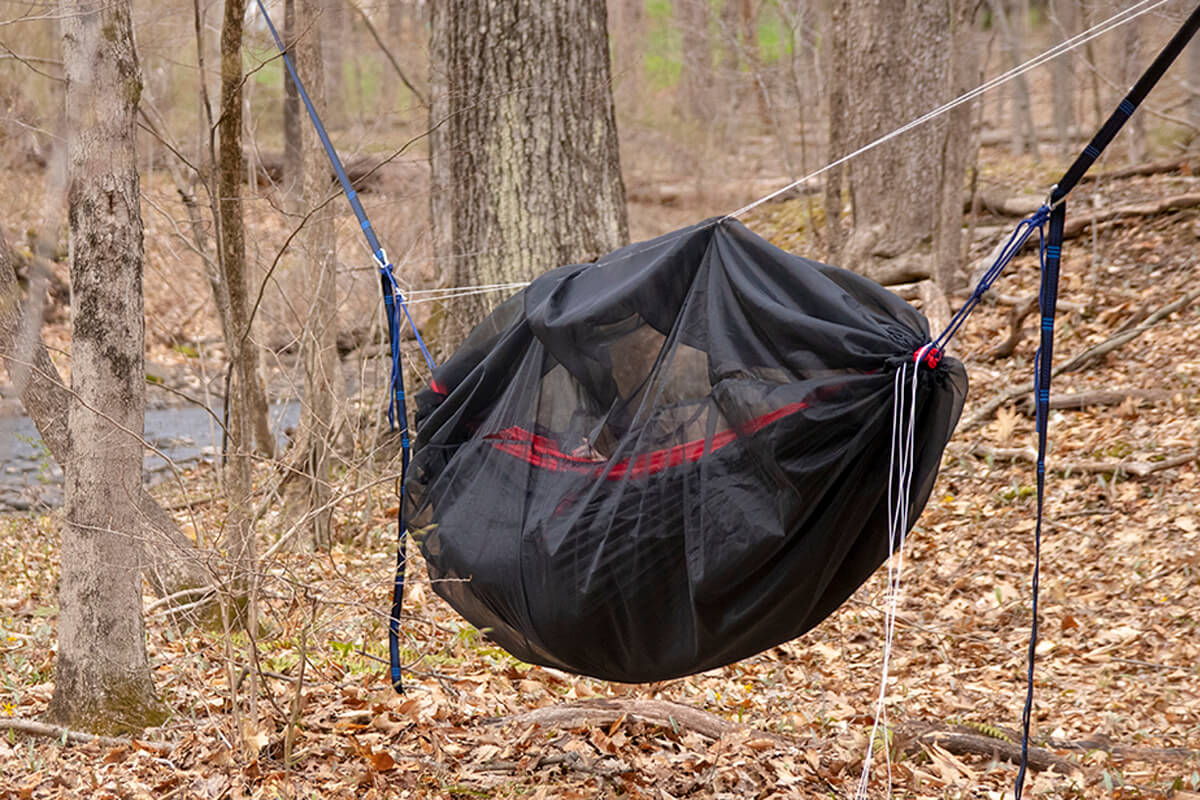
The task was simple, make a net that was as easy to set up and store as the hammock itself.
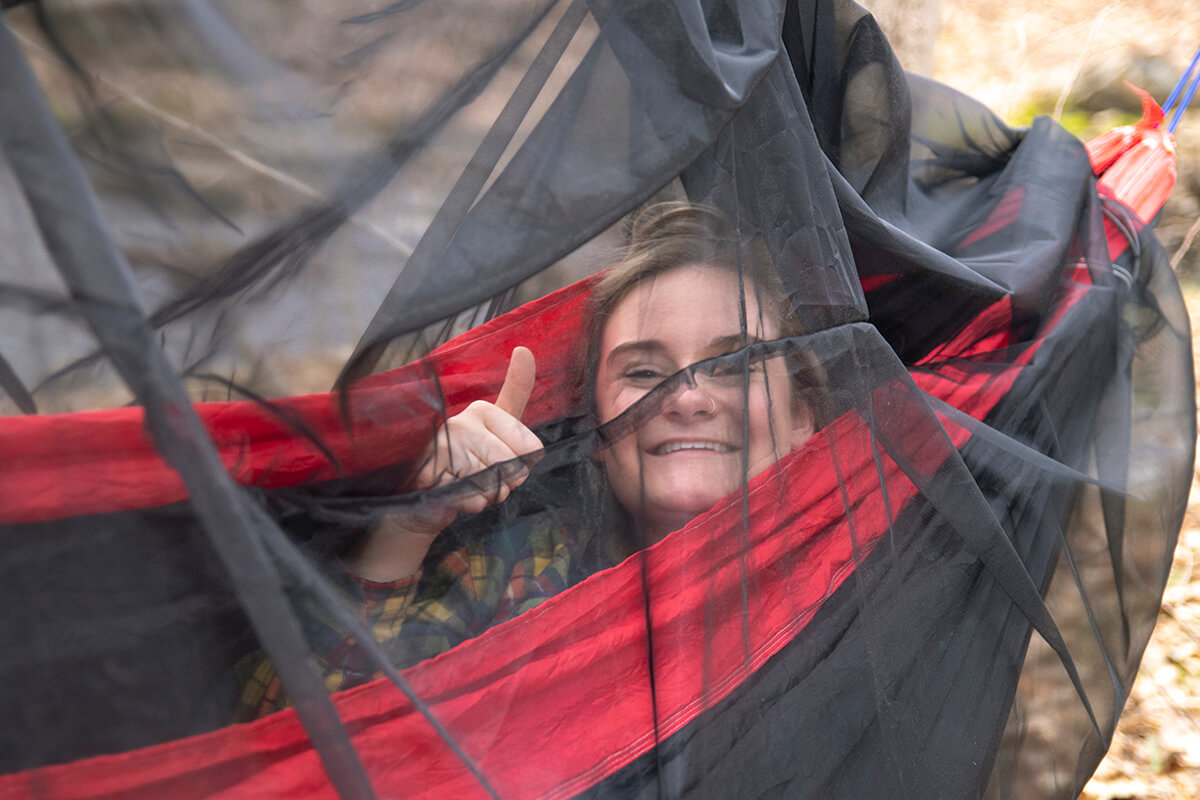
The result, you can see for yourself (is AWESOME)
Materials
Related Products


Video
Instructions
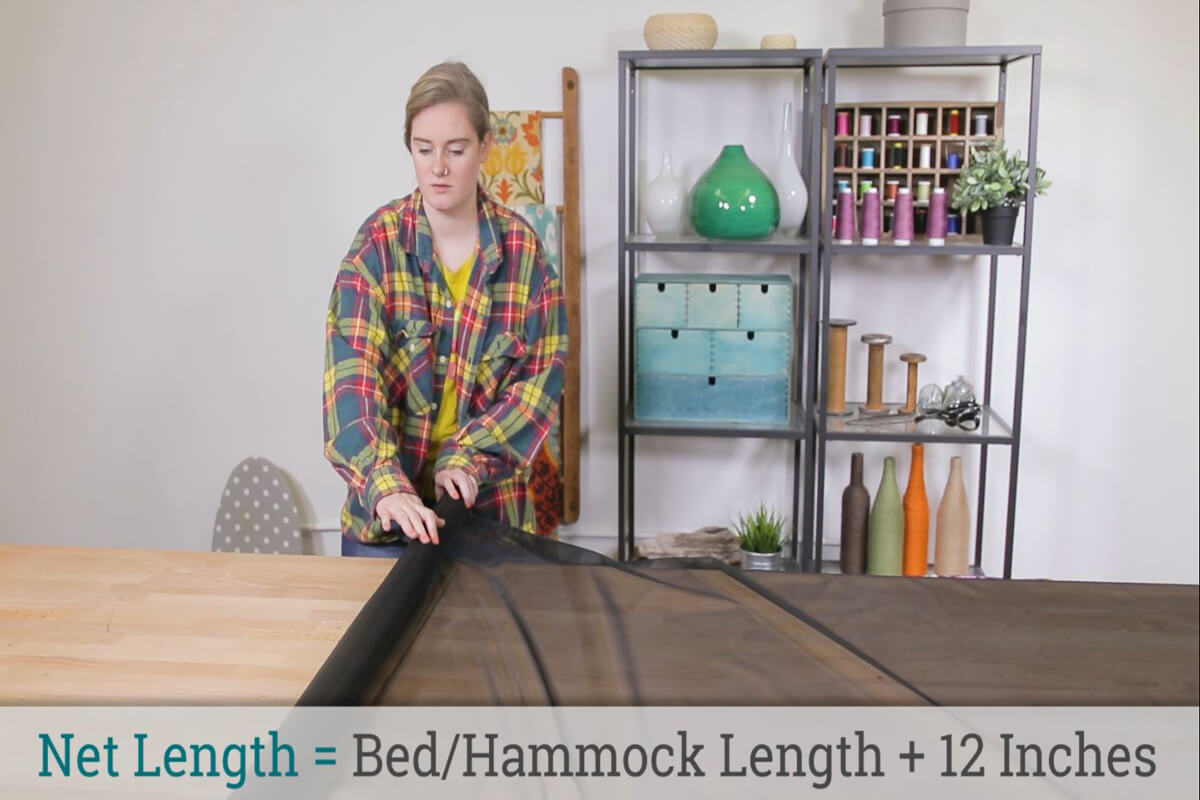
Step 1: Measure
Determine the length of the pieces you will need by measuring your bed or hammock and adding 1 foot for seam allowance and overhang.
Once you figure out the length of the pieces you need, calculate the number of panels you will need by increments of the width of the netting which is 54.”
You will want the piece that is above your head to be about 3 feet away from your body so that the net doesn’t sit on you while you sleep so make sure to add that into your equation.
Always round up on this step because its better to have more fabric than it be laying close to your skin.
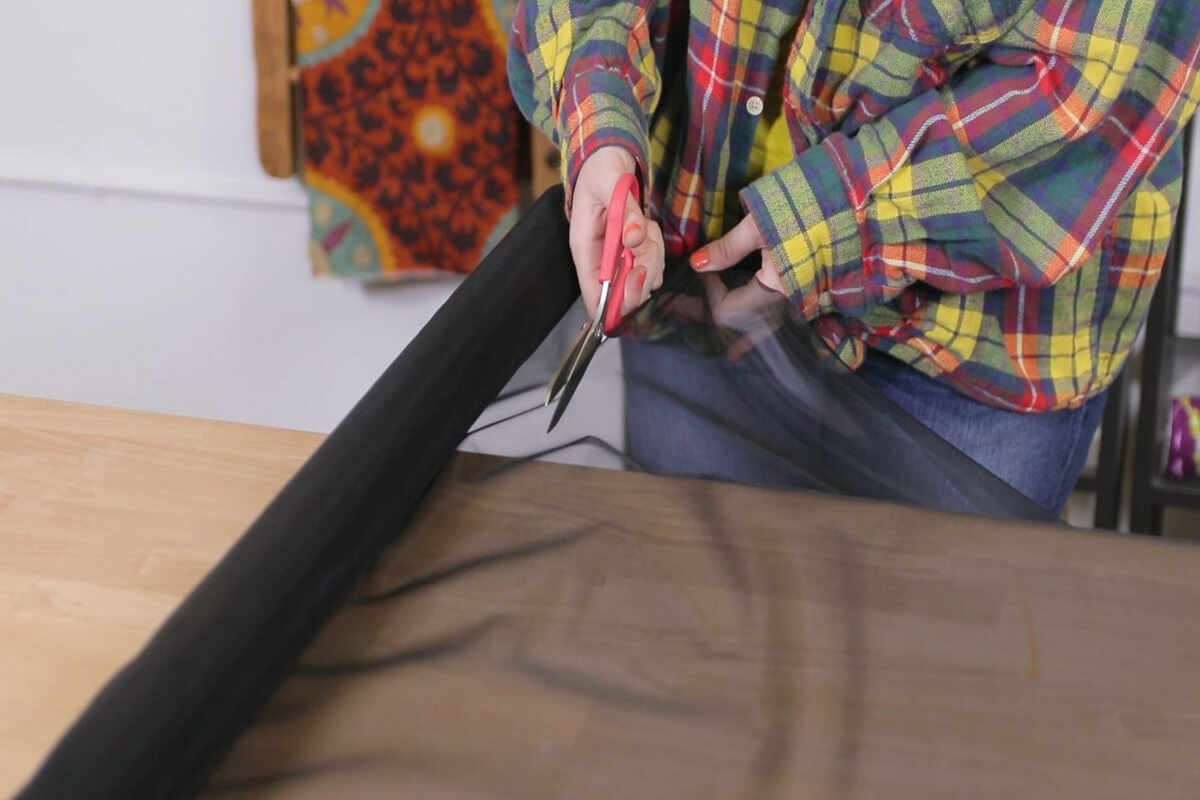
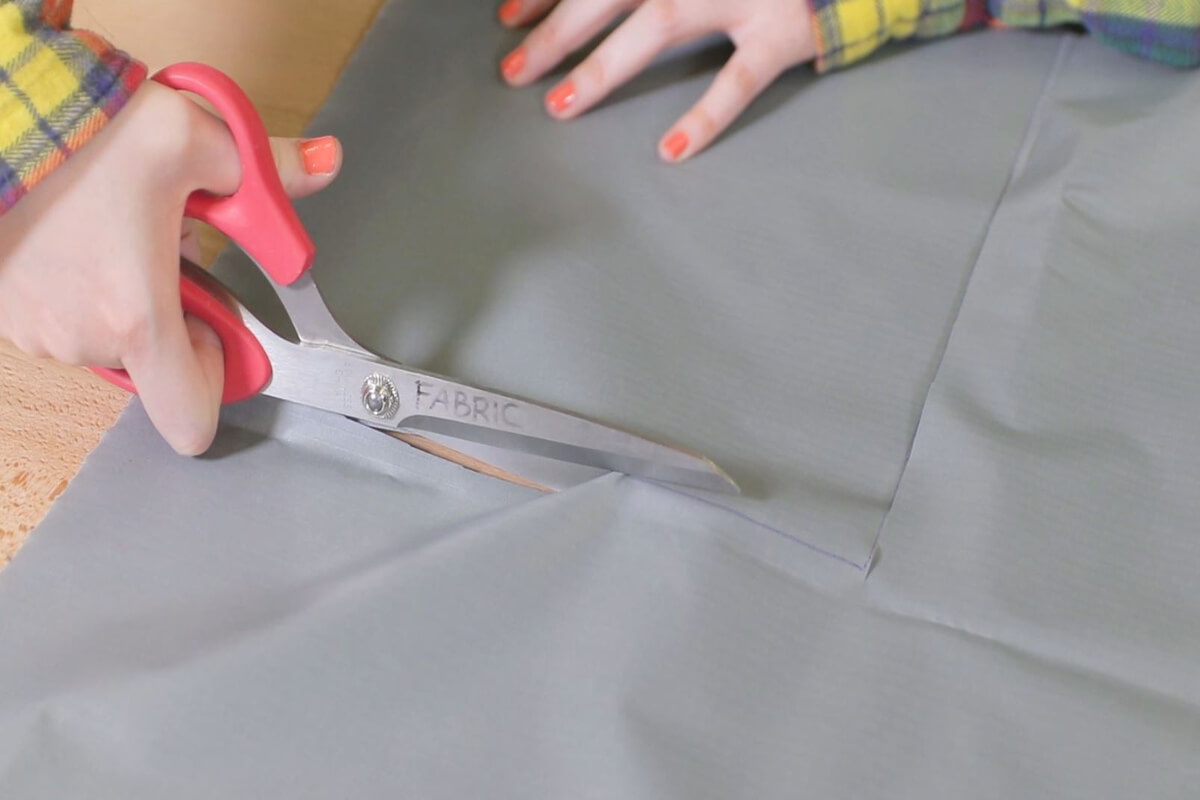
Step 2: Cut
Cut as many panels of the netting to the length that you need it.
Also cut a piece of cording that is 10” longer than whatever increment of 54” you calculated.
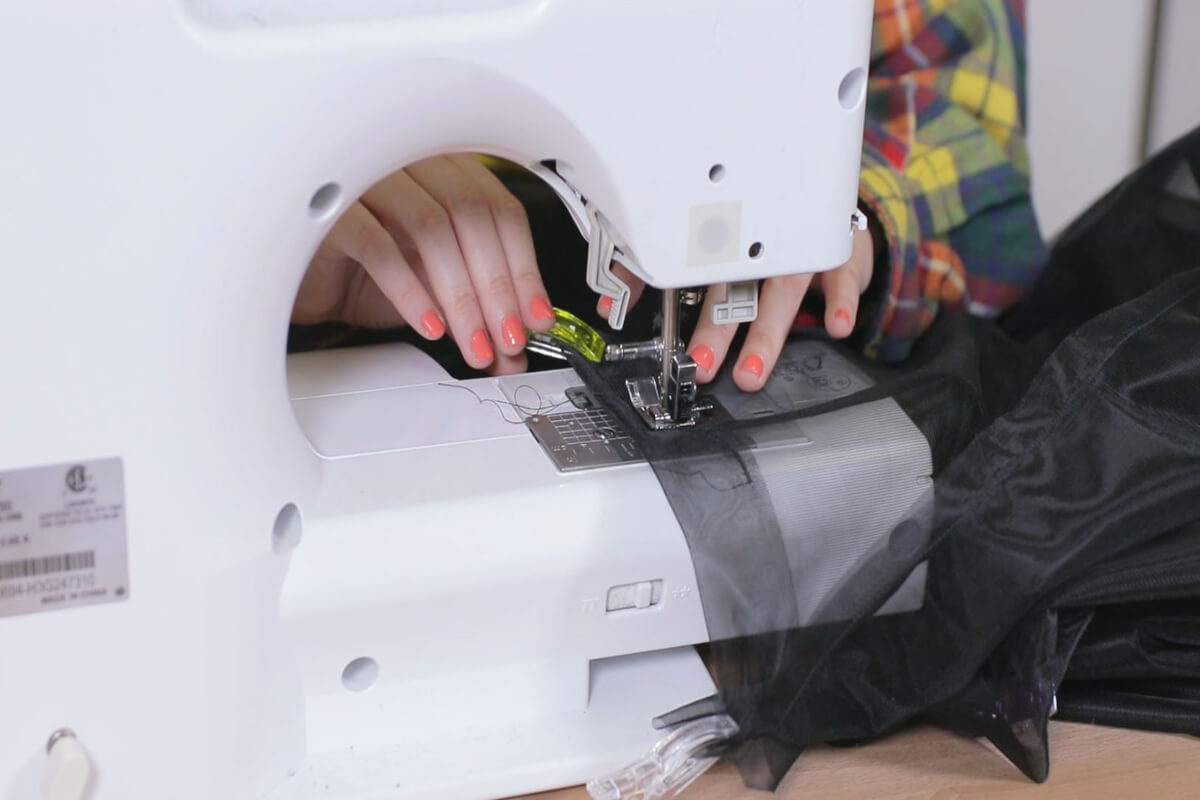
Step 3: Sew
With right sides together, sew the now long ends of the rectangle together so it creates a tube shape.
If you have more than two panels, sew them together along the long ends and then create the tube shape by sewing the first and last edge together.

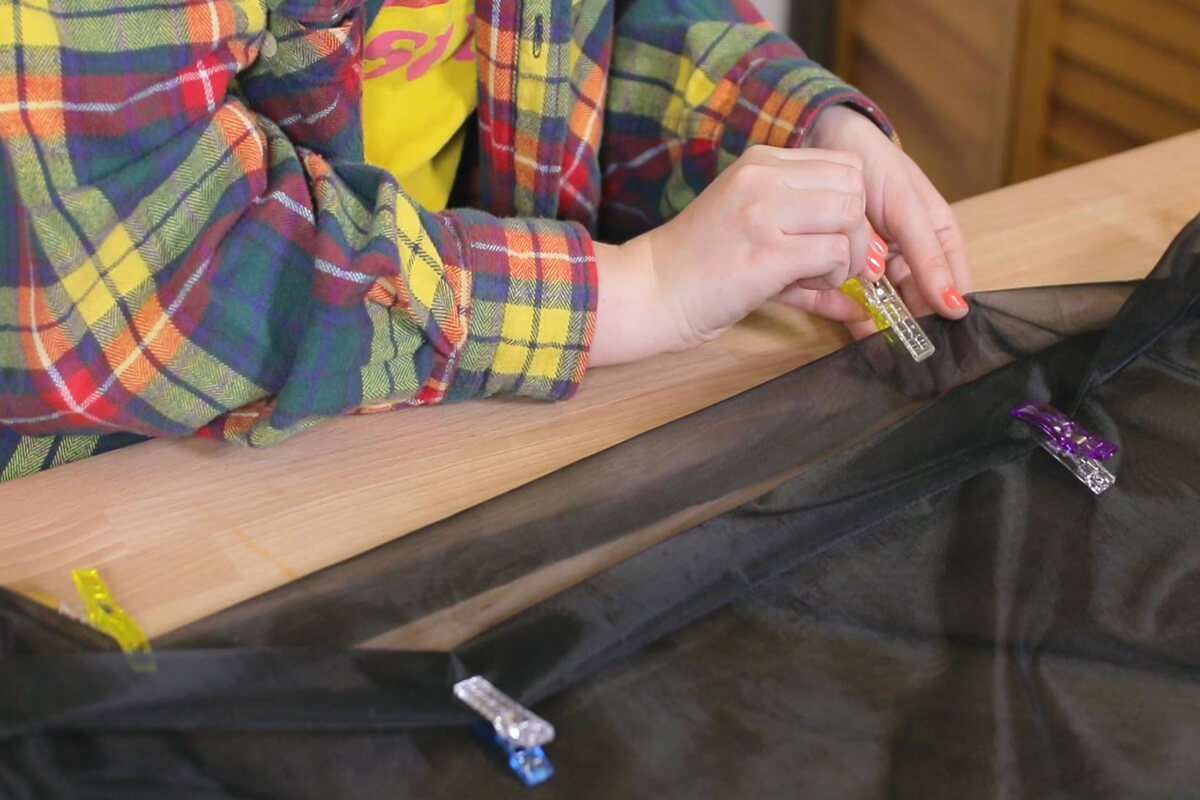
Step 5: Create channels
On both ends of the tube, create 1” channels by pinning and then sewing down the raw edge of the netting. Leave two 3” openings on opposite sides of the tube.
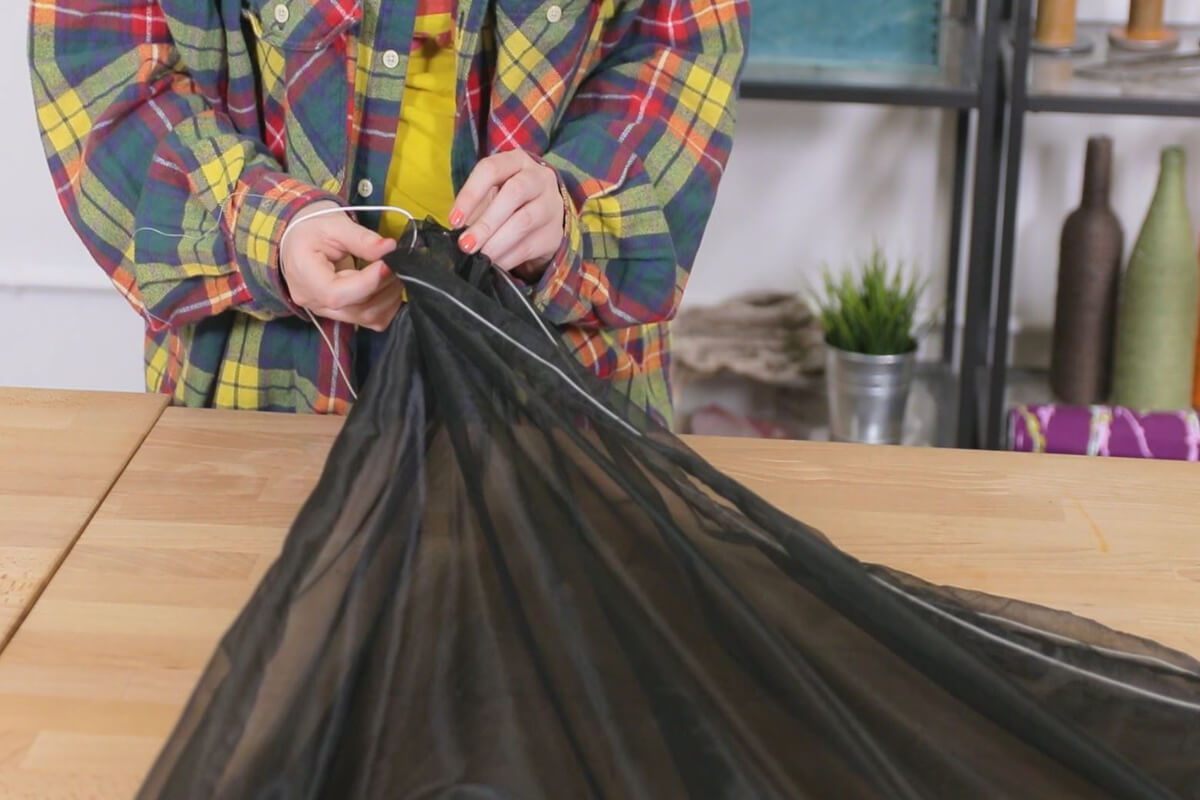
Step 6: Insert the draw string
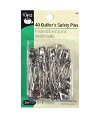
Using the safety pin attached to one end of the cording, thread the cording through one side of the channel and through the other. Tie it off with the other side of that length of cording.
Thread the other piece of cording using the same method but start on the opposite side of the tube.
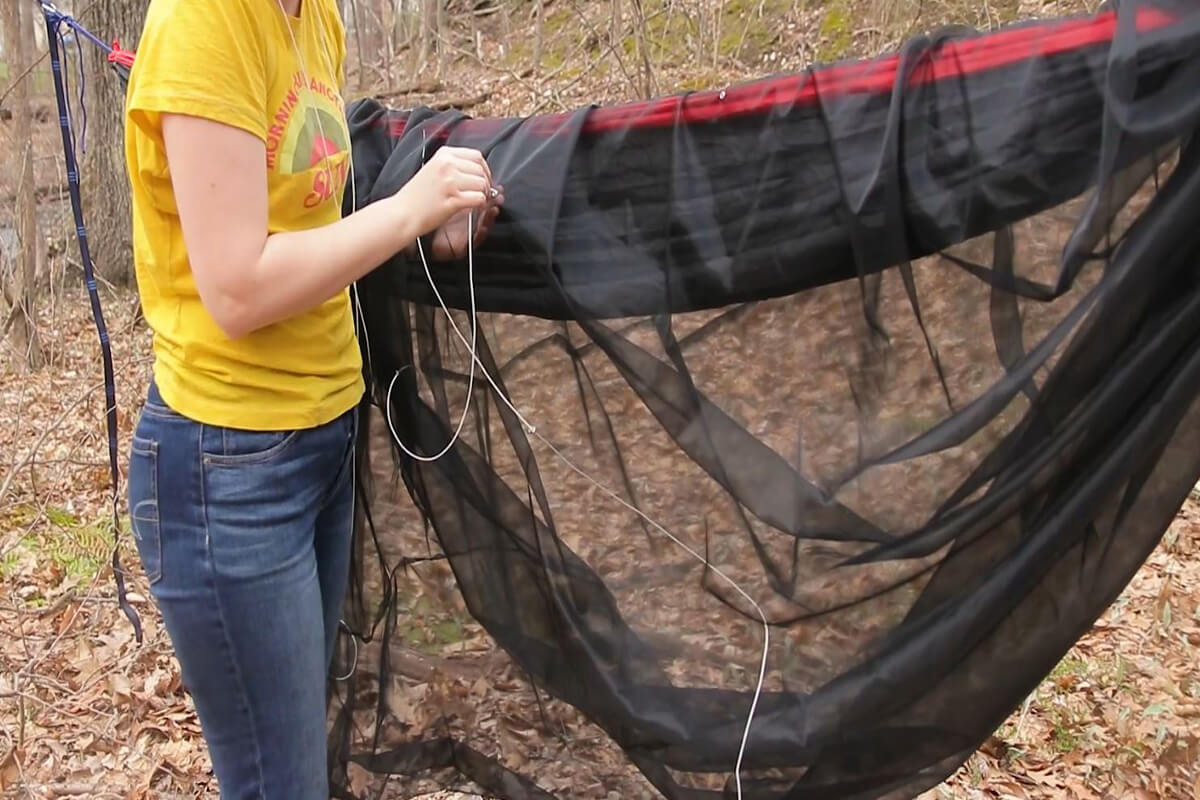
Step 7: Create head space
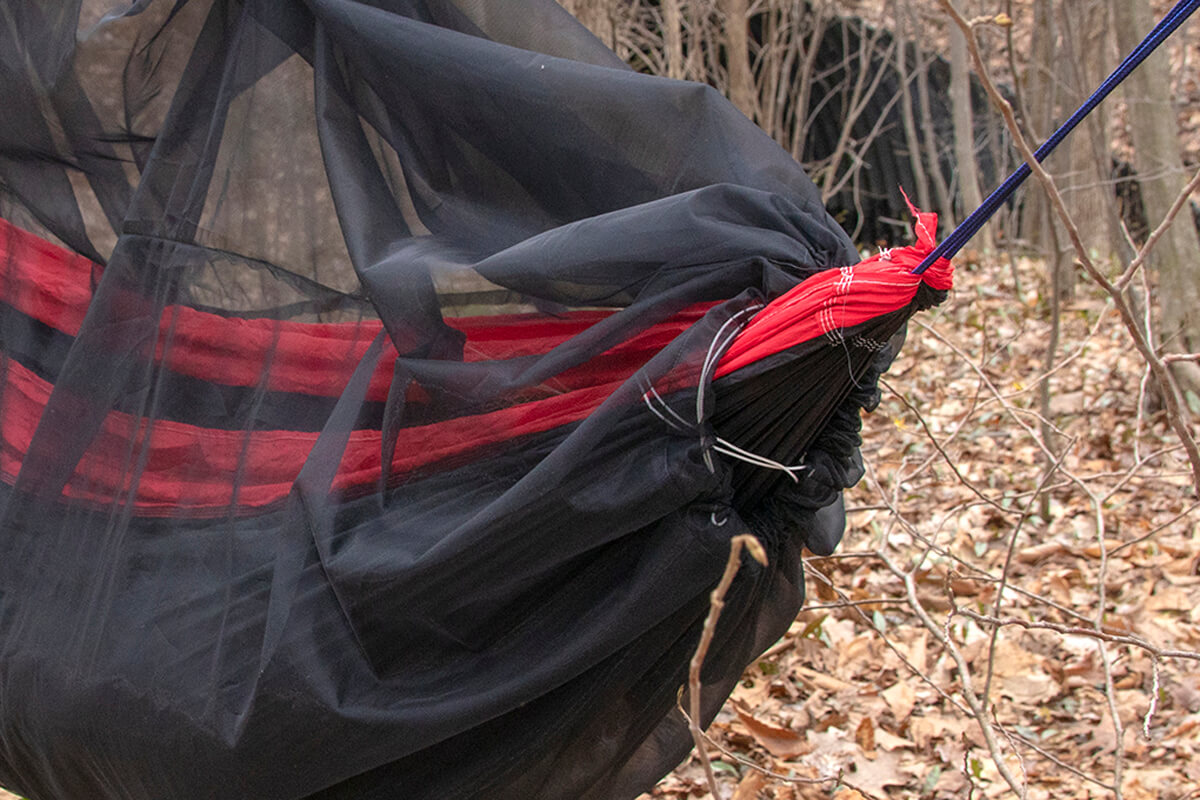
The extra length of rope should be used to attach to a tree or other nearby object so the net hangs above you while you sleep.
Flip the tube right side out.
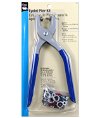
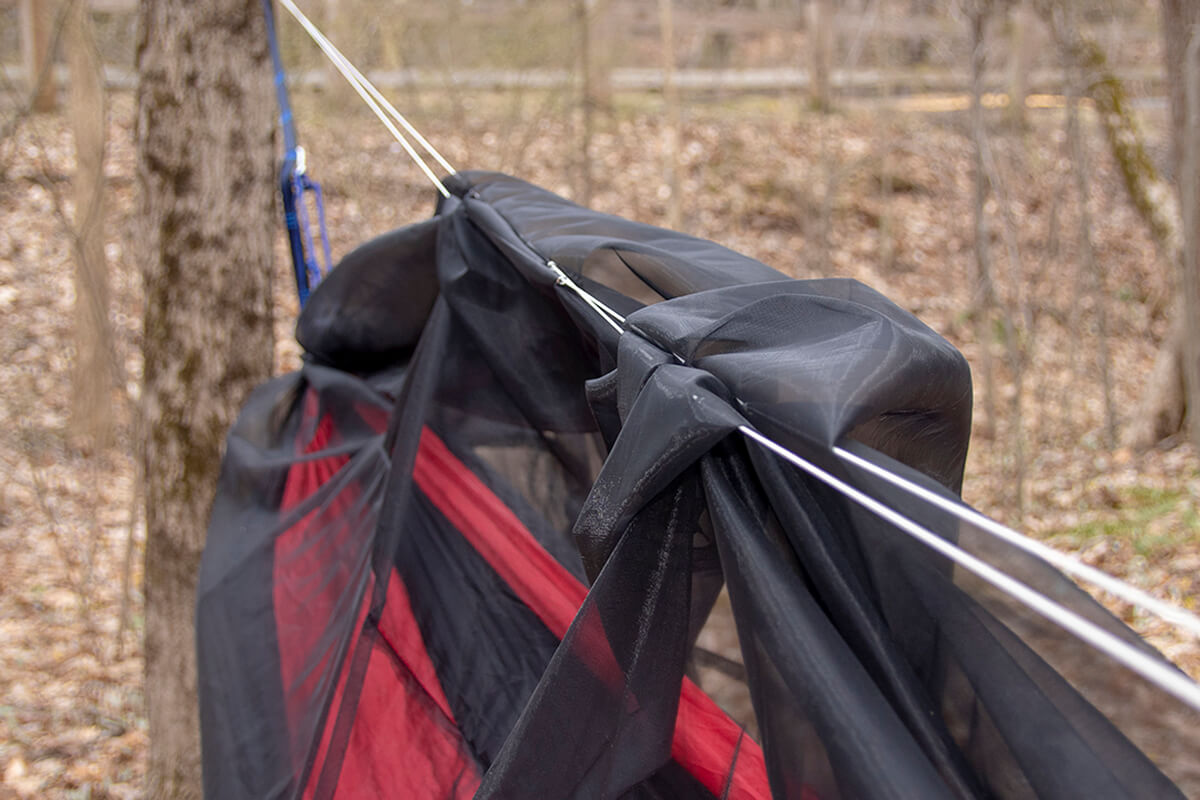
Attach four eyelets using pliers to the direct center of tube on the top in the shape of an “x” (this should be in the center between the four openings of the channels.) Also attach an eyelet on both sides of the tube about 2 feet from each opening. There should be 8 eyelets on the net now.
Cut two 20-foot lengths of cording (or longer!) and string them though from the outside of the net in through one of the corners, out through the center than directly back in and then out through the opposite side. Do this to both 20-foot lengths to create a large “X.”
Tie the strings loosely in place on both sides so they don’t come out while the net is in transit.
Step 8: Make the carrying case
8″ x 12″ was an appropriate sized bag for me but you may need more or less depending on the size of your net.
Cut out two pieces of ripstop that are 8”x 12” and clip them together with right sides facing.
Sew around all but one of the 8” edges.
Make the bag into a drawstring bag. If you need help making the bag, see out How to Make a Reusable Drawstring Bag tutorial for details.

-
{{#each productSuggestedQueries.results}}
- {{query}} {{/each}}
-
{{#each categories.results}}
- {{html title}} {{/each}}
{{html attributes.description}}
{{/if}}-
{{#each queries.results}}
- {{query}} {{/each}}