How to Make a Crop Top
- By Jen
- Beginner
- 45 minutes
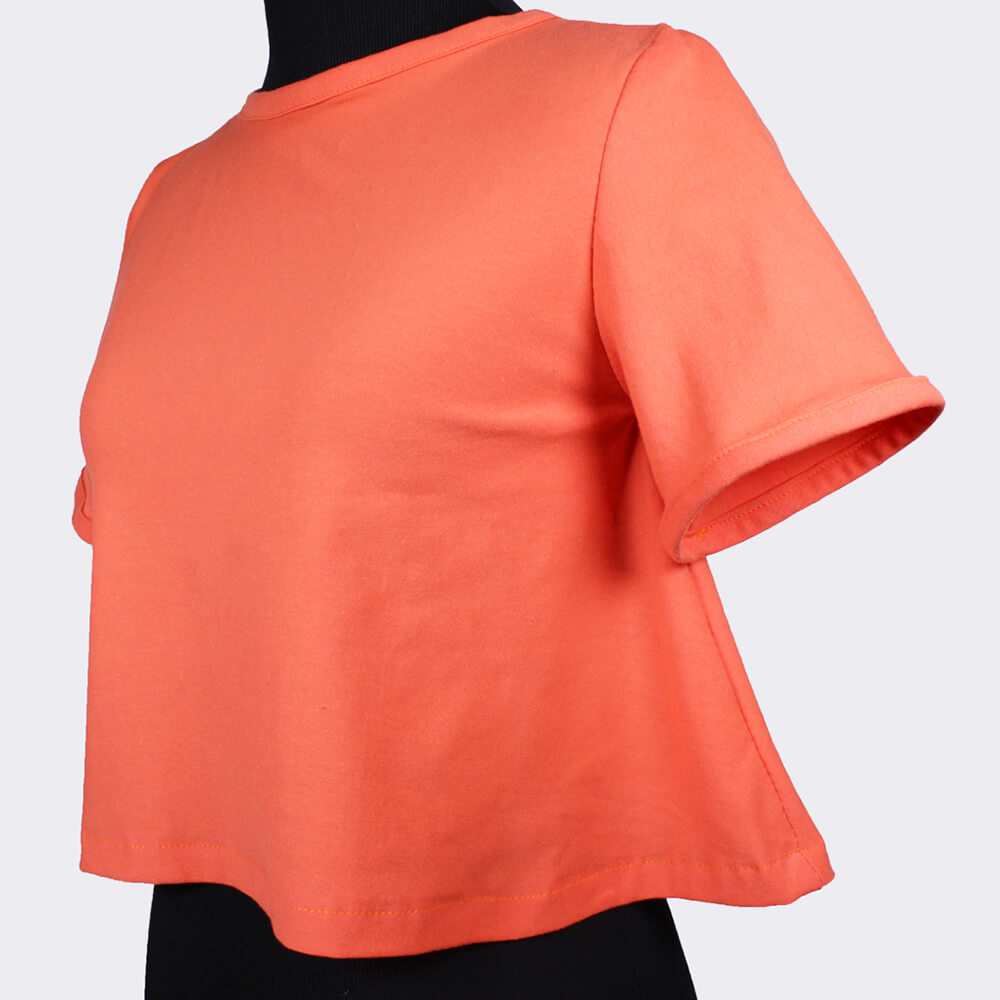
A hot clothing item for the summer months is the crop top. You see them in all the trendy stores, and probably think to yourself, how easy would it be to make? Well, fortunately they are easy to make, and don’t require a lot of fabric.
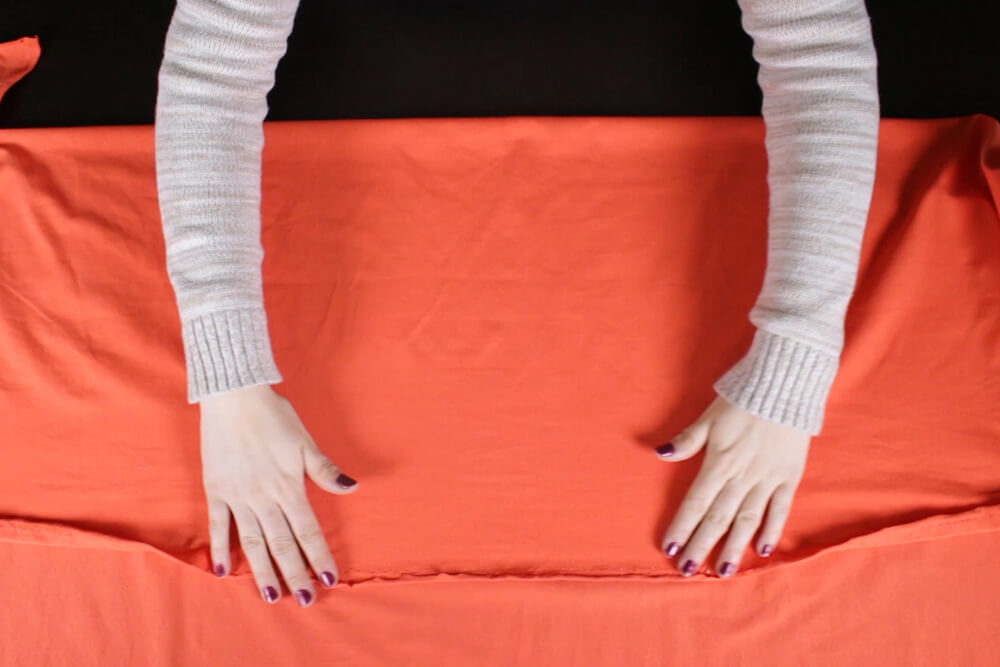
You can make them out of the majority of apparel fabrics, but in this tutorial I chose jersey knit because it stretches and is a lightweight fabric for the warm weather.
Sign up to our mailing list to get the FREE pattern and printable PDF instructions.

Materials

Related Products


Video
Instructions
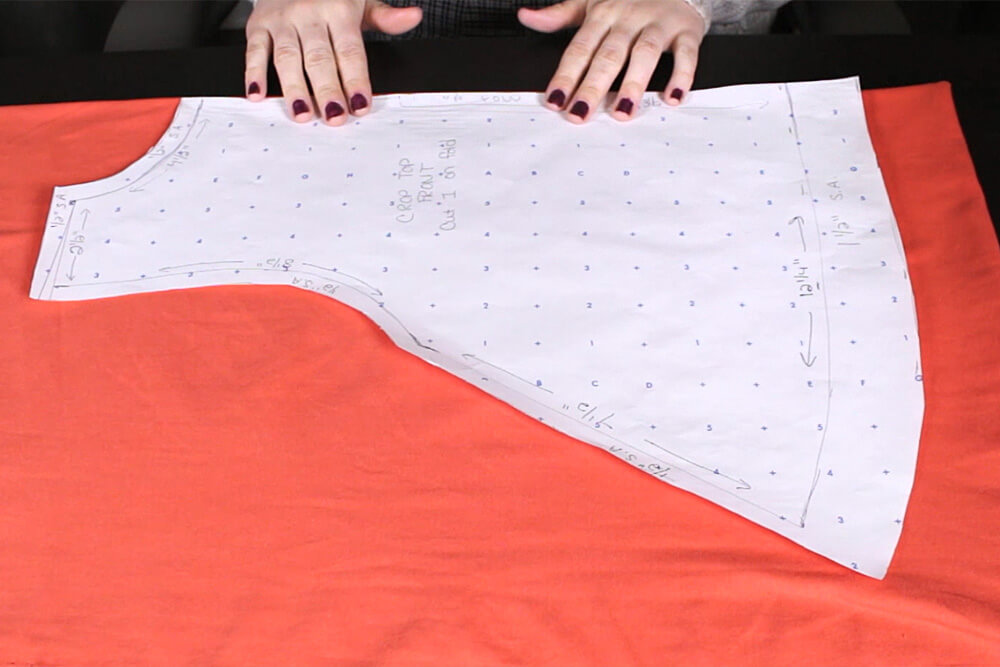
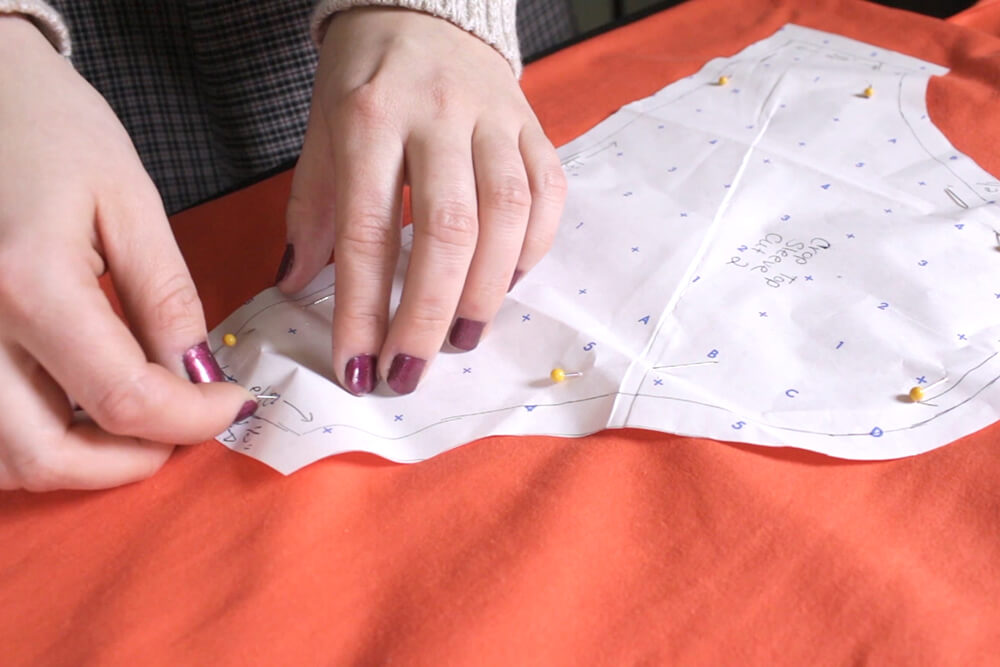
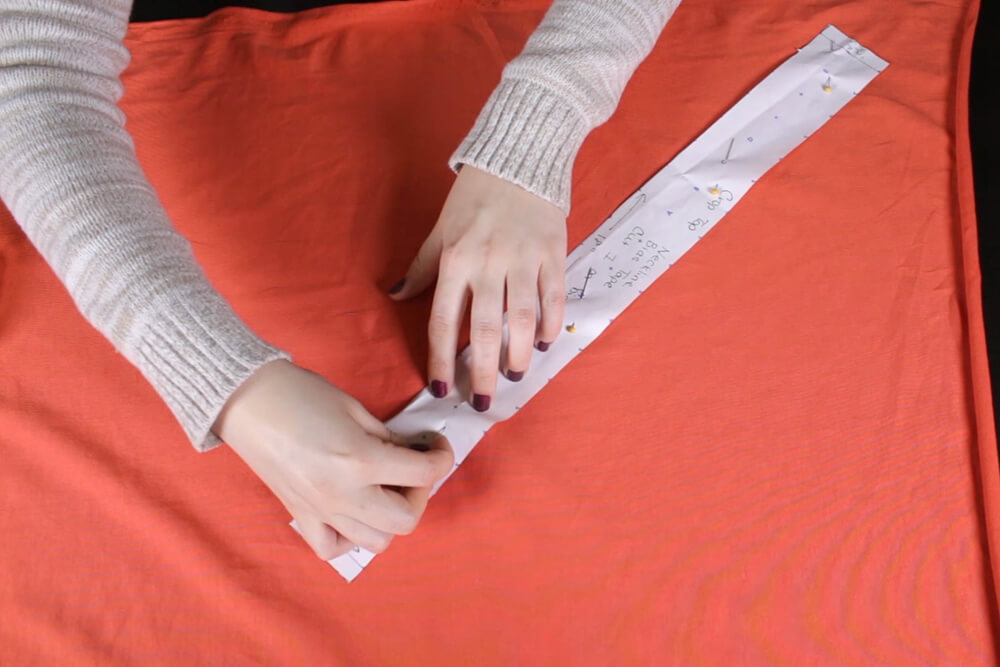
Step 1: Cut out the front pattern
Fold over the fabric and pin the front pattern. The front pattern’s center should be aligned with the fold of the fabric. Then cut and set aside.
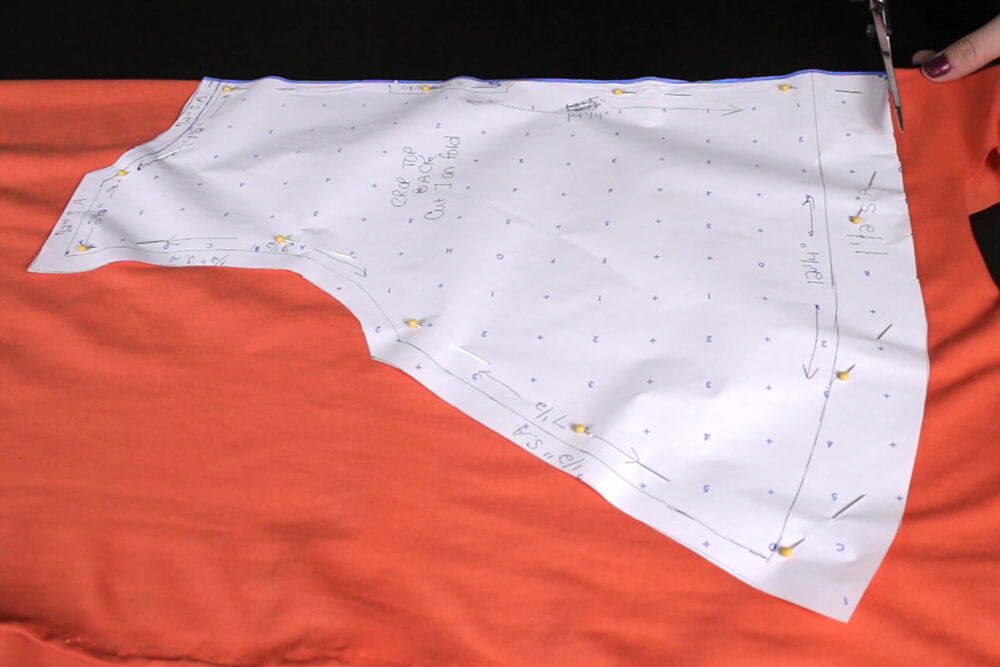
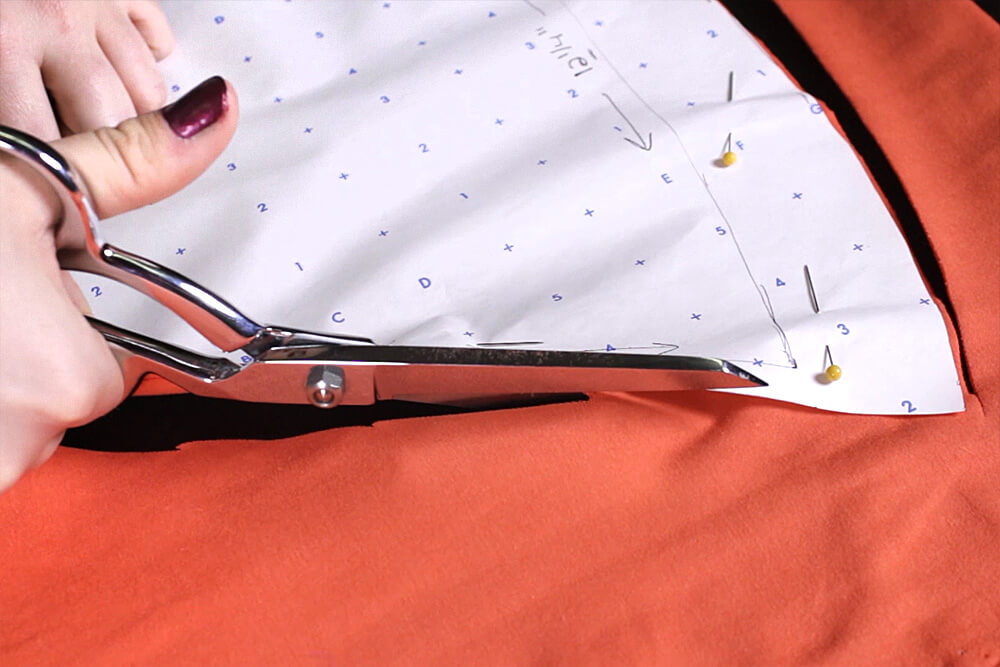
Step 2: Cut out the back pattern
Fold the fabric over 20″. Pin the center back to the fold line and pin all around the pattern. Cut and set aside.
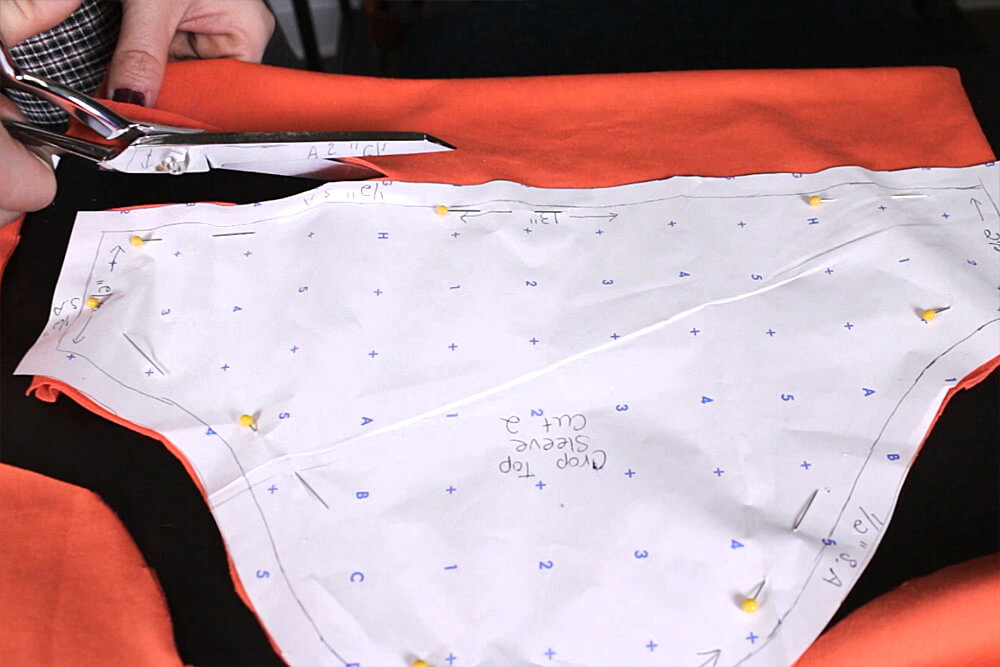
Step 3: Cut out the sleeves
Fold the fabric in half. Pin the sleeve pattern in the center of the fabric and cut.
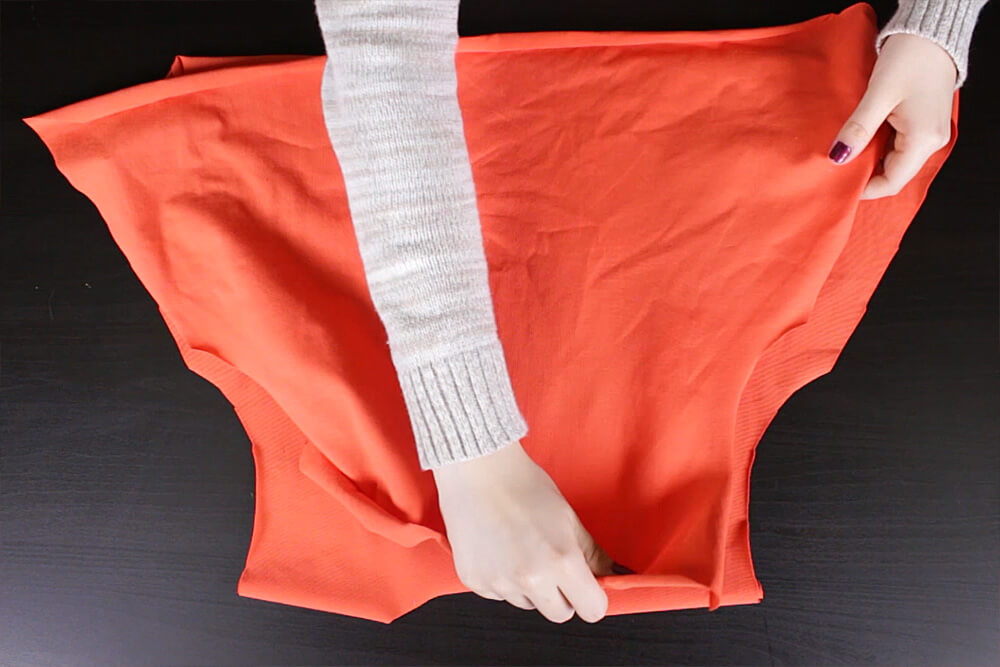
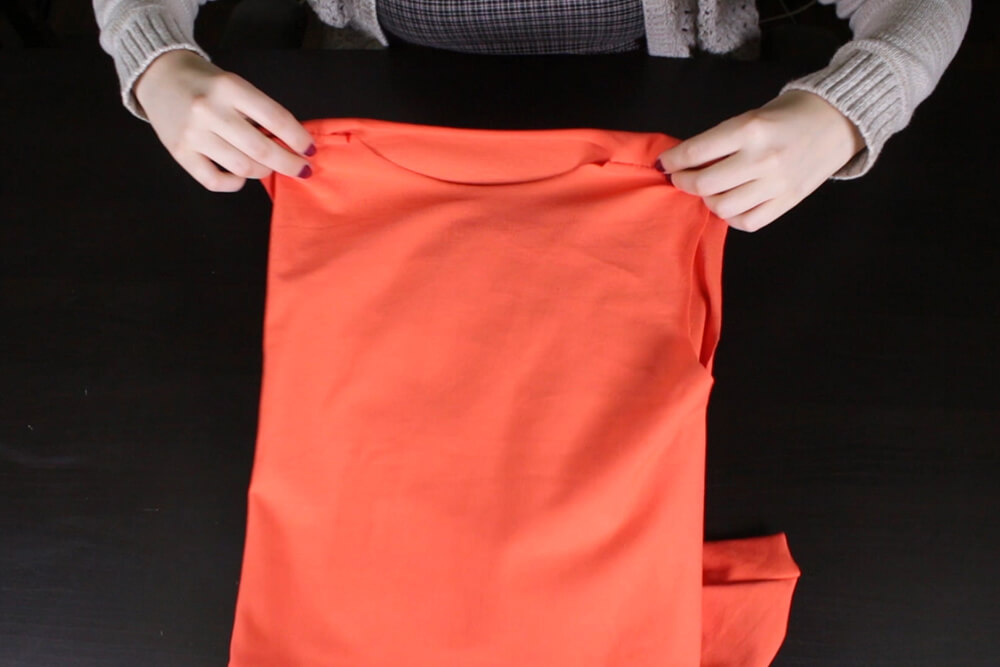
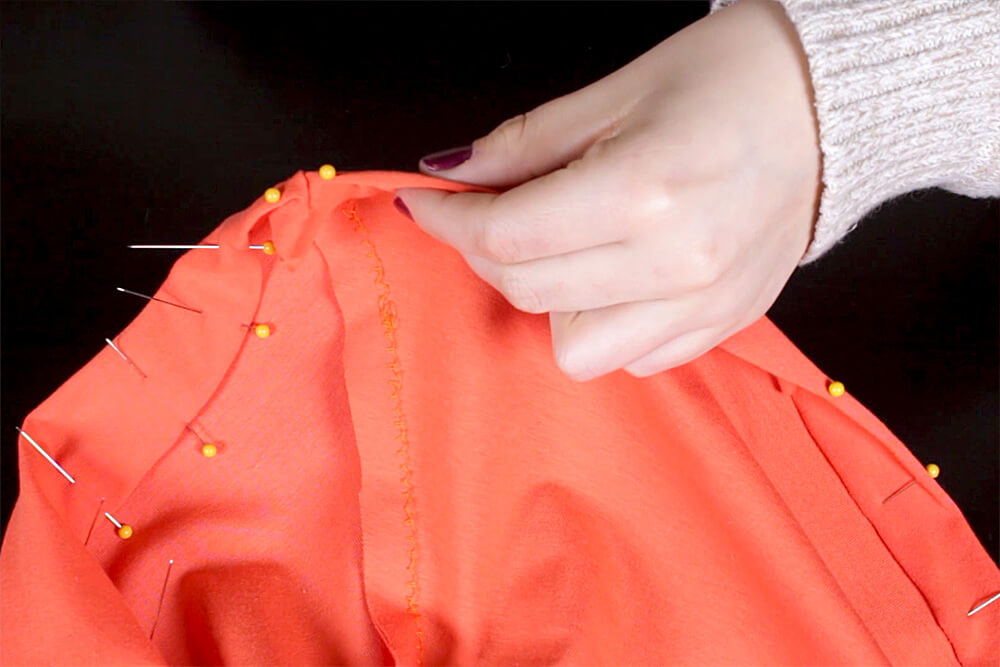
Step 4: Sew the front & back
First, remove the pins from all of the patterns.
Line up the front and back sides together and pin. If you’re using a fabric where you can determine a right side, pin the right sides together.
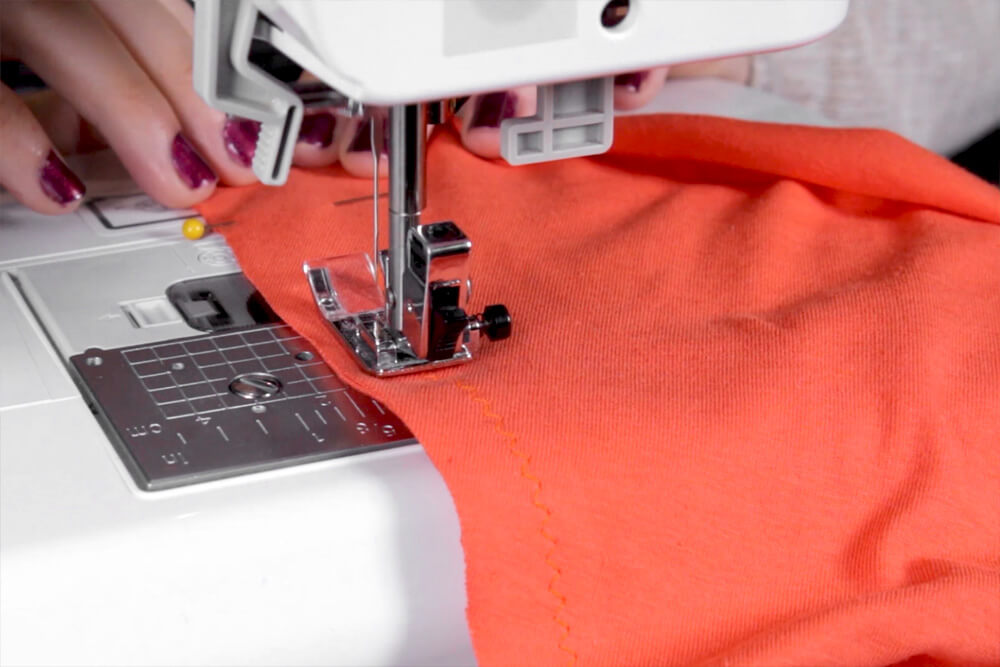
Then, line up the front and back shoulders together and pin. Make sure the machine is set at 2.5 mm in length and 3 mm in width. Zigzag stitch the shoulders and sides with a 1/2″ seam allowance and fold to the right side.
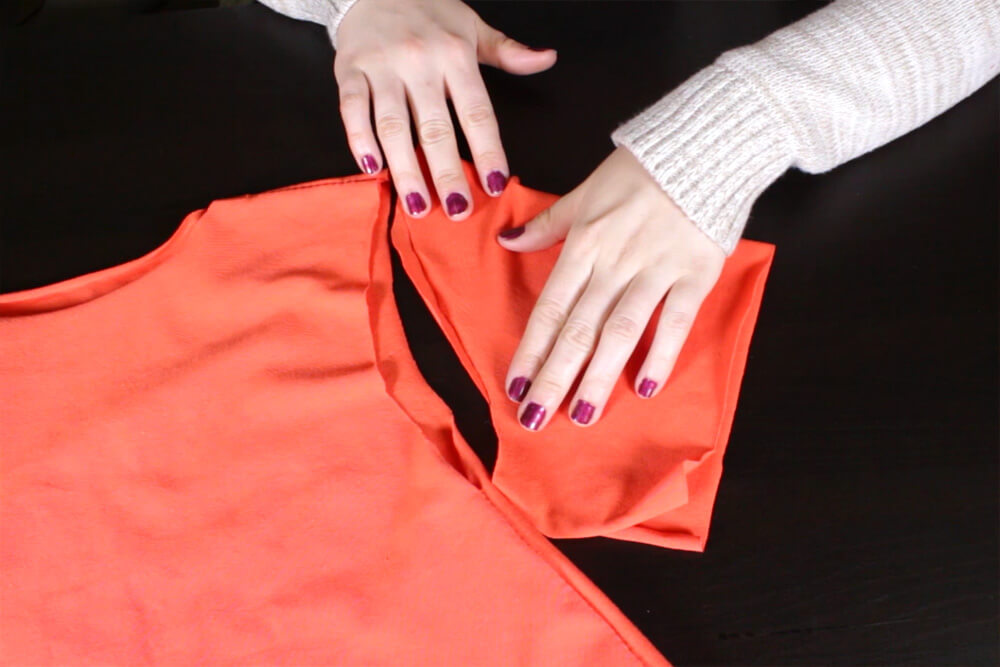
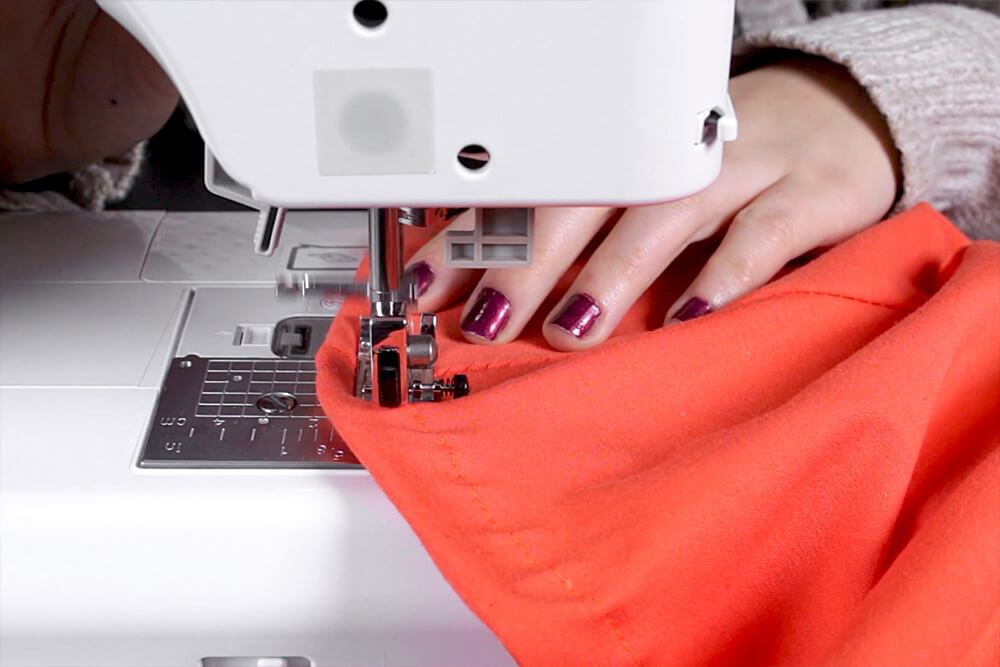
Step 5: Attach the sleeves
Take the edge of the sleeve and line it up at the bottom of the armhole. Pin the sleeves along the armholes and stitch with a 1/2″ seam allowance.
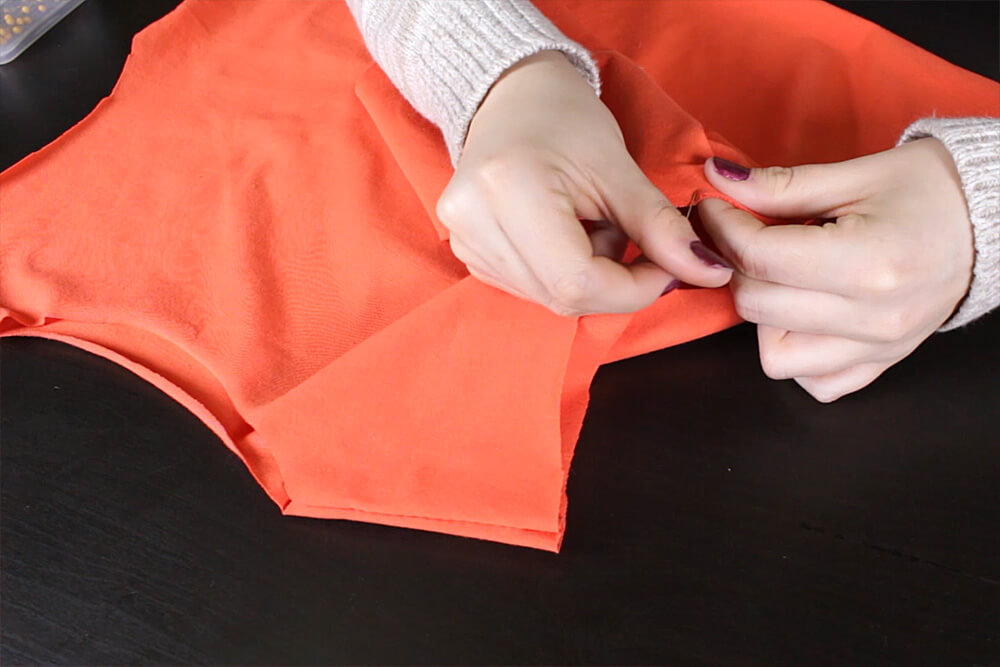

Then, pin and stitch the side seams of the sleeves with a 1/2″ seam allowance.
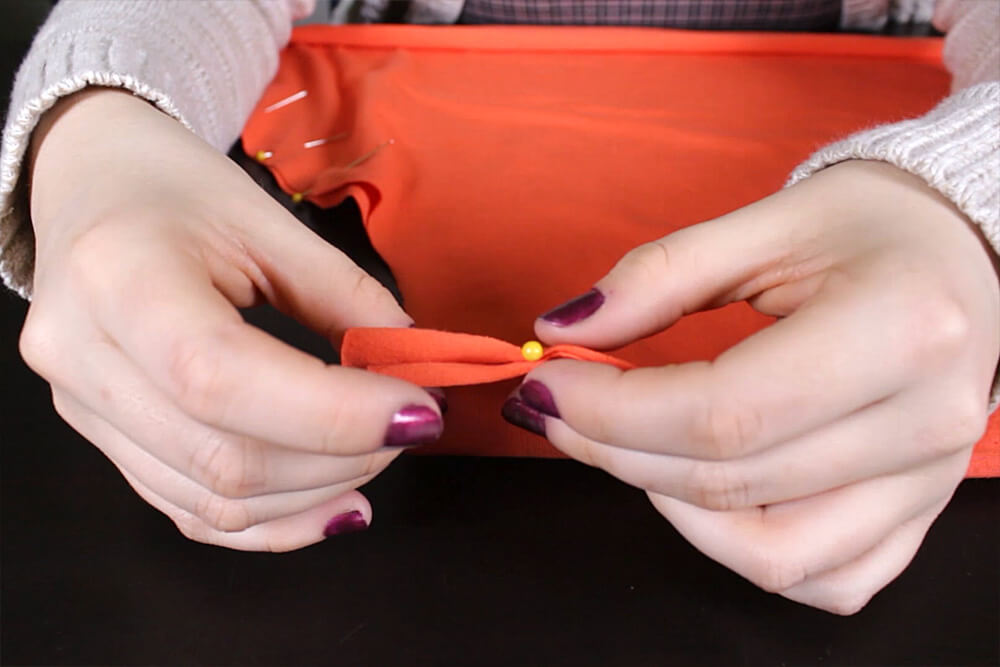
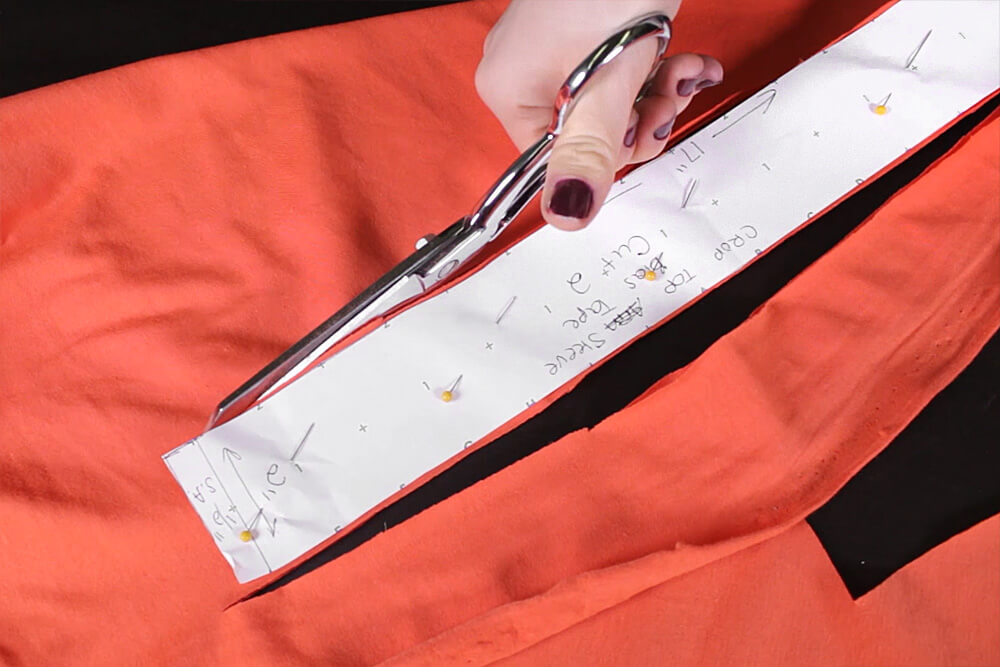
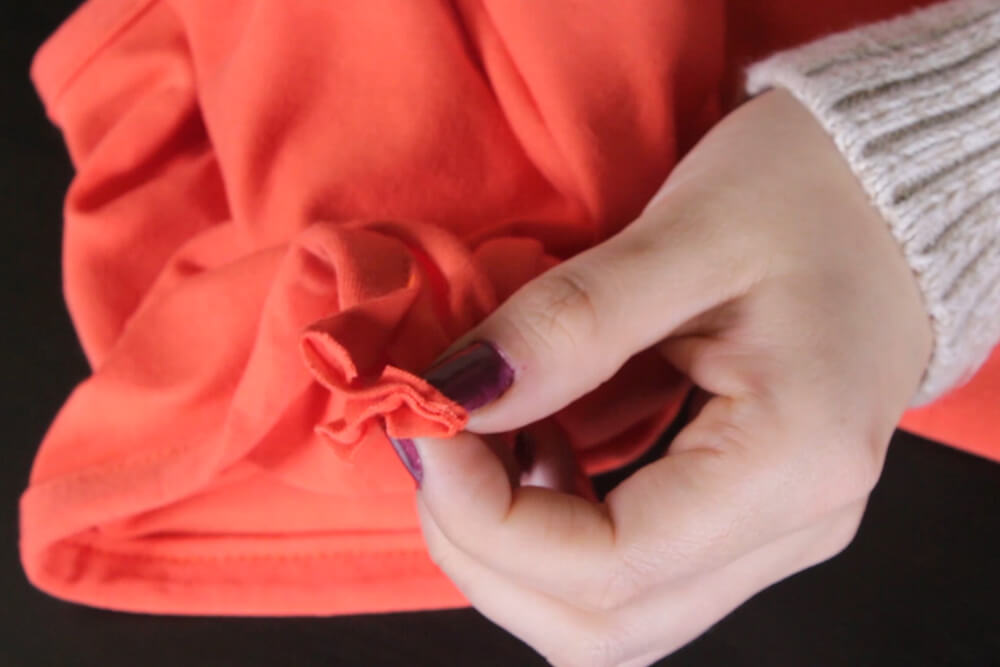
Step 6: Cut & sew the bias tape
Pin and cut the bias tape pattern strips. Make sure they’re pinned at a 45 degree angle, that is the bias of the fabric.
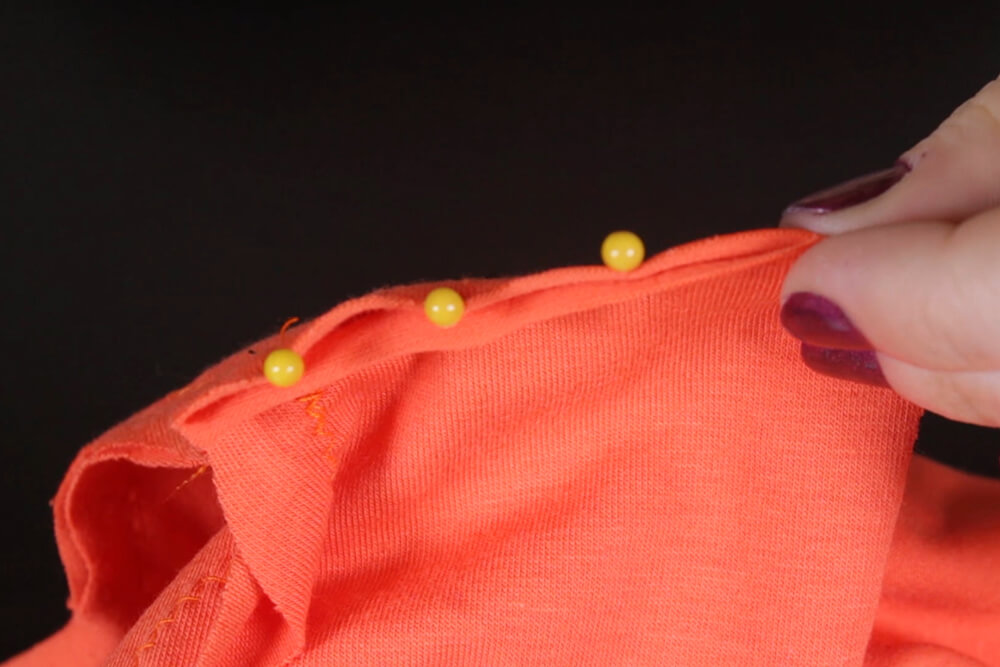
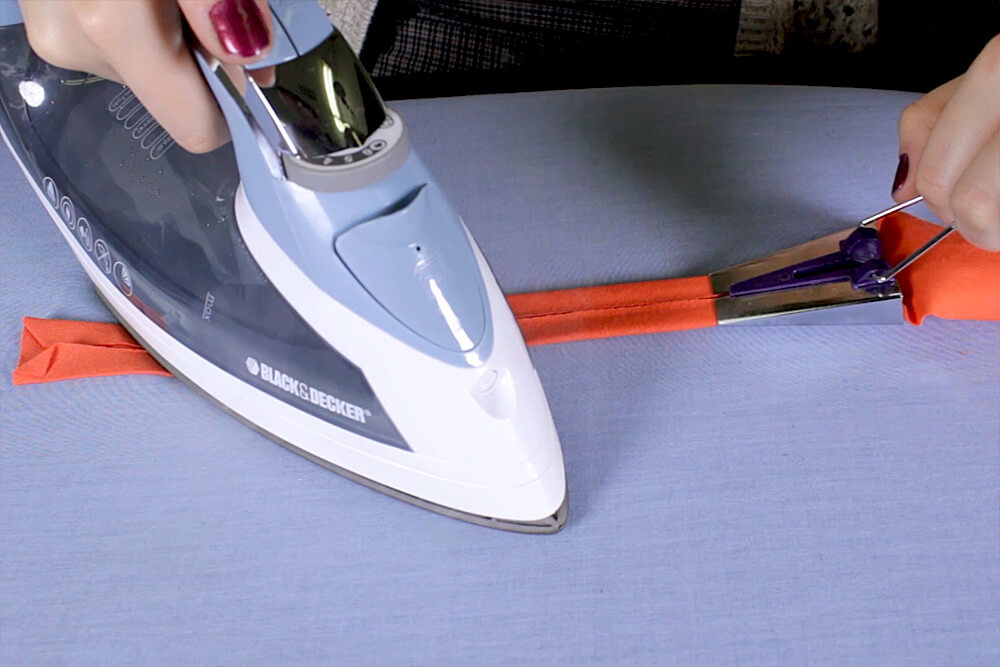
Insert the strips into the bias tape maker. Pull the bias tape maker and iron the bias tape as it’s coming out. Take the 2″ by 17″ bias tape and attach it to the sleeve by folding it over and pinning along the sleeve opening.
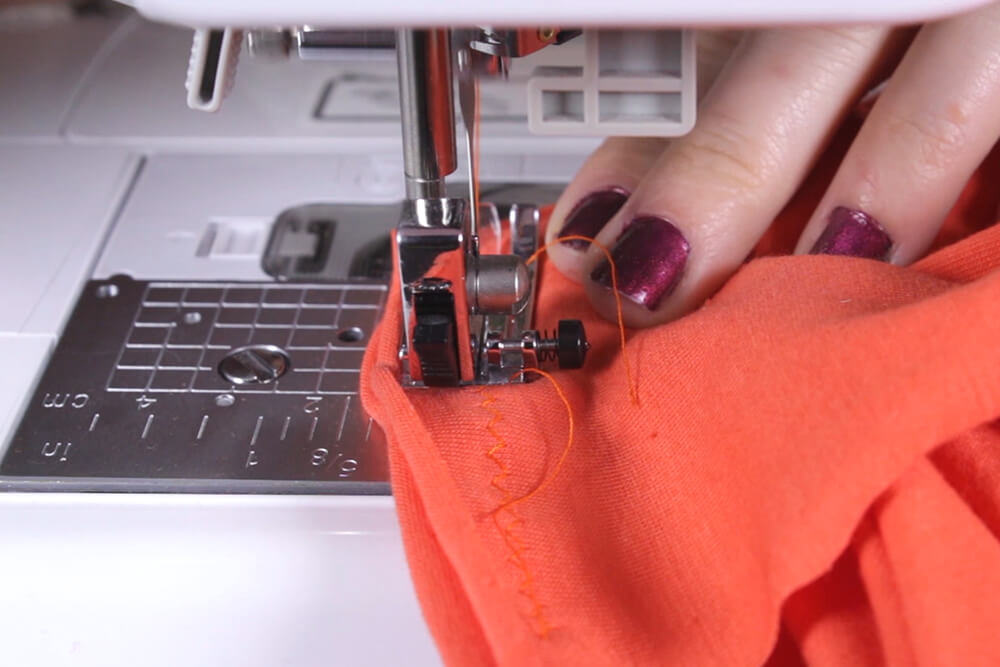
Start 1/2″ in and stitch along the sleeve. Leave a 1/2″ at the end.
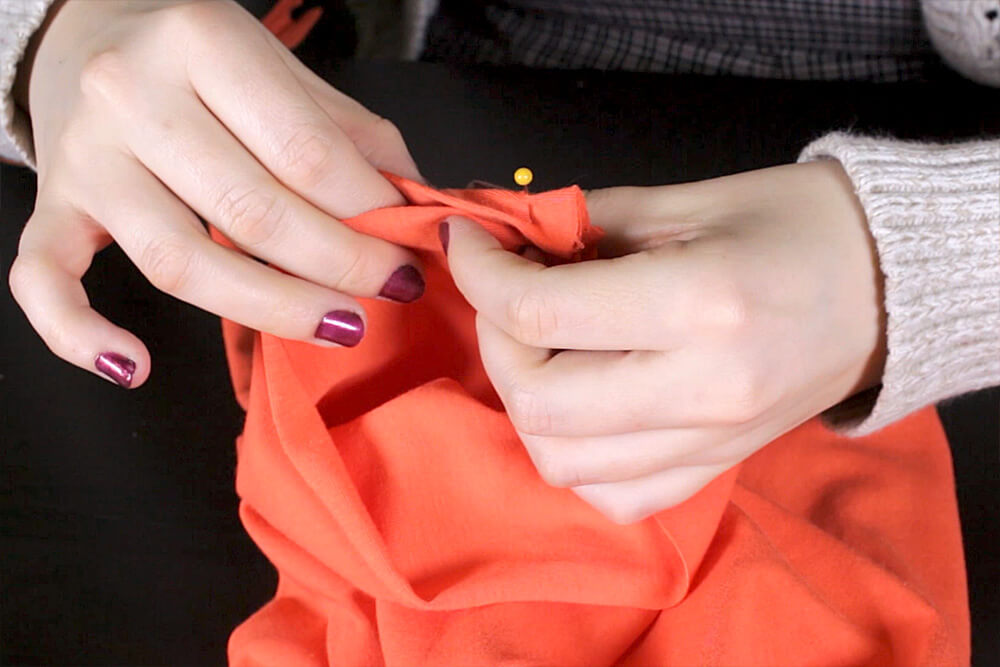
Pin the right sides of the bias tape ends together and stitch. Fold over the bias tape, pin, and stitch to the sleeve.
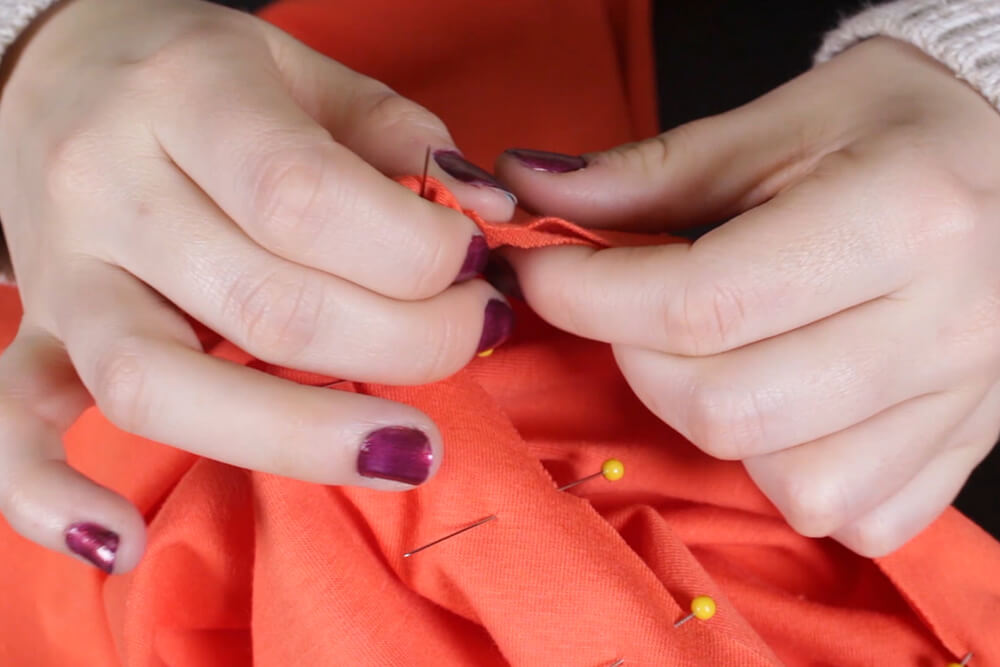
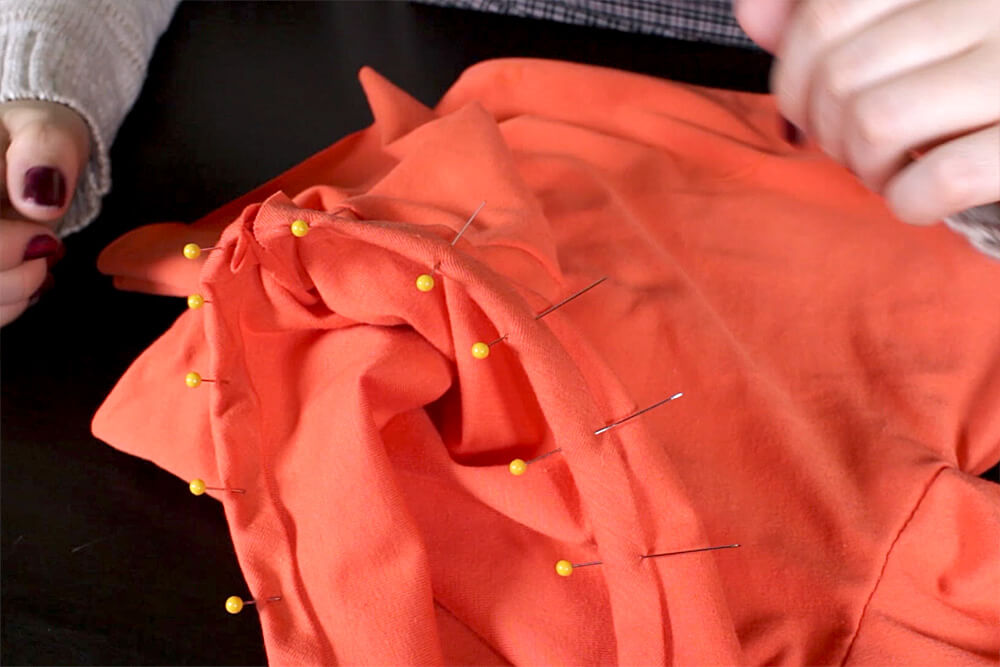
Repeat this for the other sleeve. Attach the 2″ by 18″ bias tape to the neckline the same way as the sleeves.

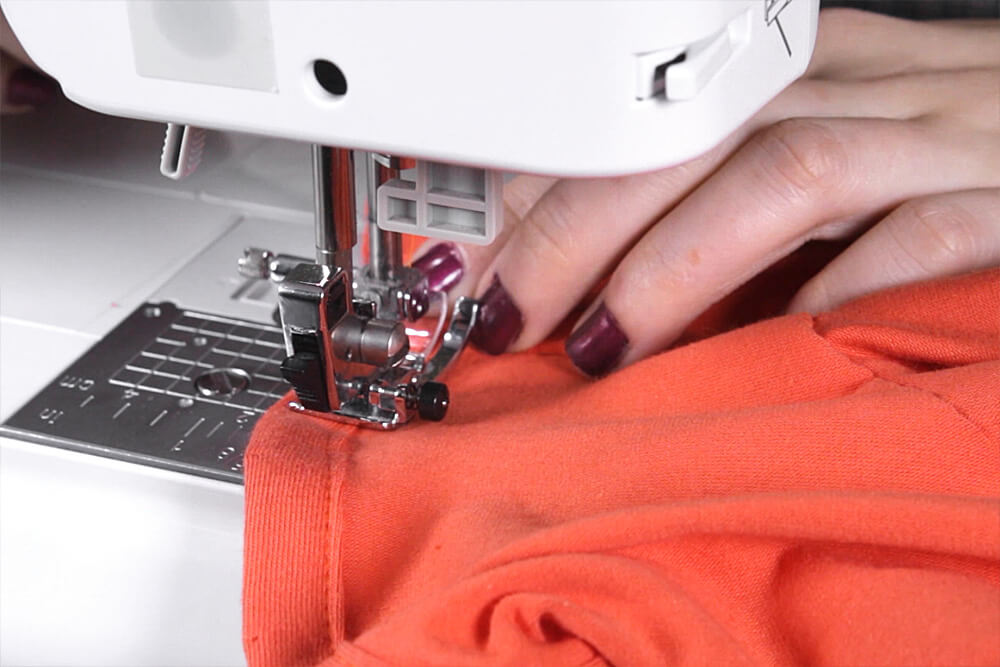
Step 7: Hem the bottom
Fold the hem 1″ up to the inside. Pin & stitch with a 3/4″ seam allowance. Back stitch at the beginning and the end, and your crop top is now complete.

Feeling inspired? Check out our selection of jersey knit fabric!
-
{{#each productSuggestedQueries.results}}
- {{query}} {{/each}}
-
{{#each categories.results}}
- {{html title}} {{/each}}
{{html attributes.description}}
{{/if}}-
{{#each queries.results}}
- {{query}} {{/each}}