
How to Make a Cushion with Piping
- By Alyssa
- 1 hour 45 minutes
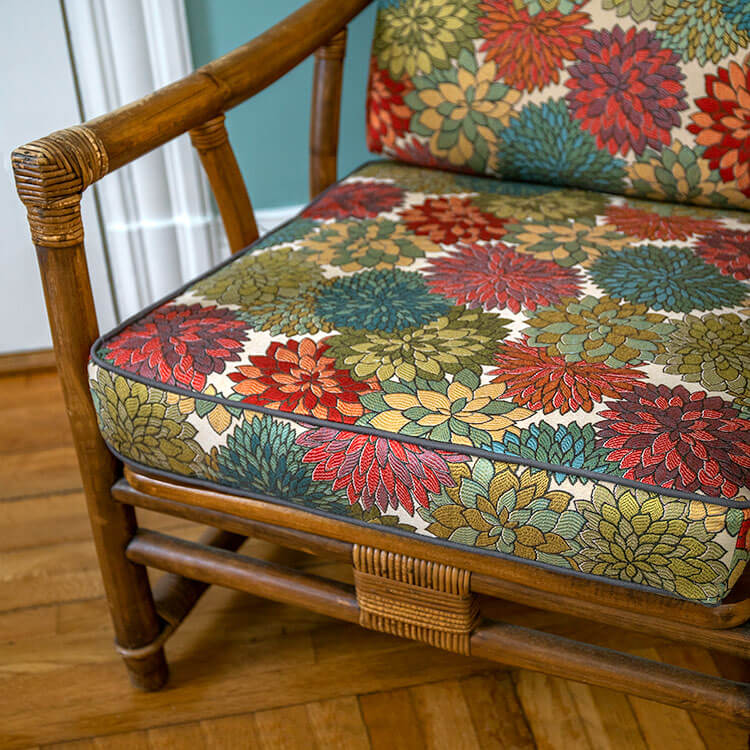
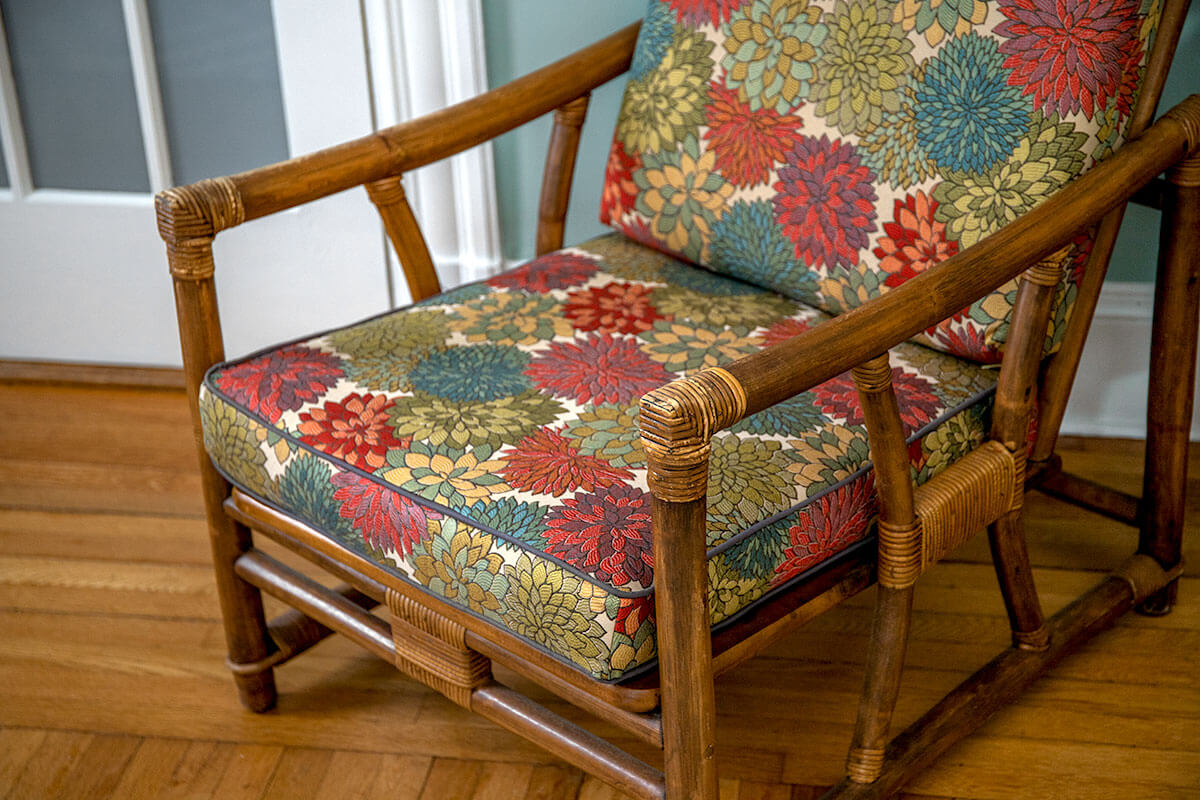
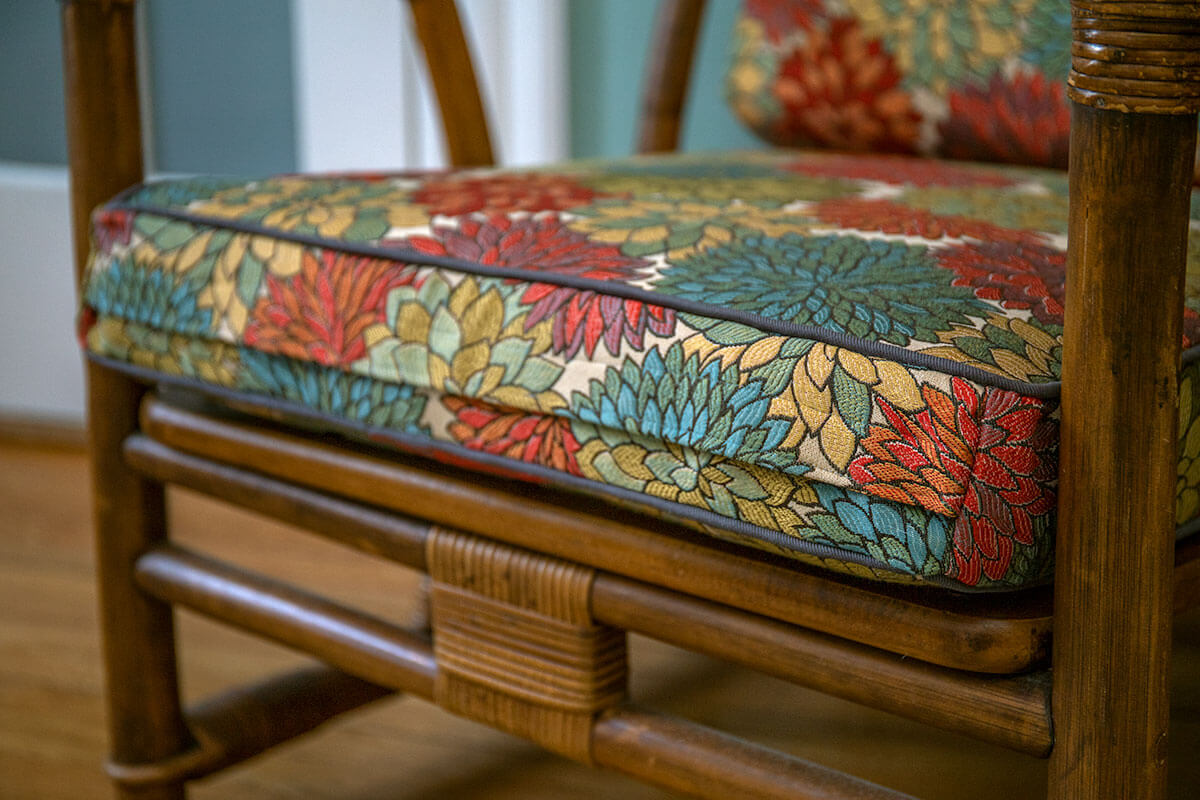
To finish up with this awesome chair we bought at the Brimfield Flea Market, we decided to make a cushion to compliment the basic cushion that we made a few weeks back.
We loved the way the cushion added a little sophistication to the completed chair without making it look too formal. And best of all, it is hardly more difficult than its basic counterpart (a few more pieces of fabric and a couple of extra steps, but you CAN do it!)
Here’s how you can make your own.
Materials
- Decor Fabric
- Denim Fabric
- Upholstery Foam
- Cushion Wrap
- Welting Cord
- A Ruler
- Thread
- Scissors
- Fabric Marker
- Foam Spray Adhesive
- Velcro®
- A Serrated or Electric Knife
- And a Sewing Machine with a Zipper Foot
Related Products
-
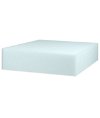 3 x 30 x 108 High Density Upholstery Foam
-
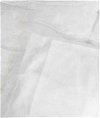 Cushion Dacron Wrap
-
 Knife Edge Dressmaker's Shears - 8"
-
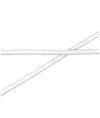 Fiberflex Tissue Welting Cord Single - 4/32"
-
 Hook Fastener 3/4" Sew-On Black - 5 Yard Roll
-
 Loop Fastener 3/4" Sew-On Black - 5 Yard Roll
-
 Dual Tipped Marking Pen - Blue & Purple
-
 Gunmetal Topsider Bull Denim
-
 Pro Stick 60 Hi-Strength Web Spray Adhesive - 17 Oz
-
 Quilter's Ruler - 6" x 24"
-
 Mumsford Carnival
Video
Instructions
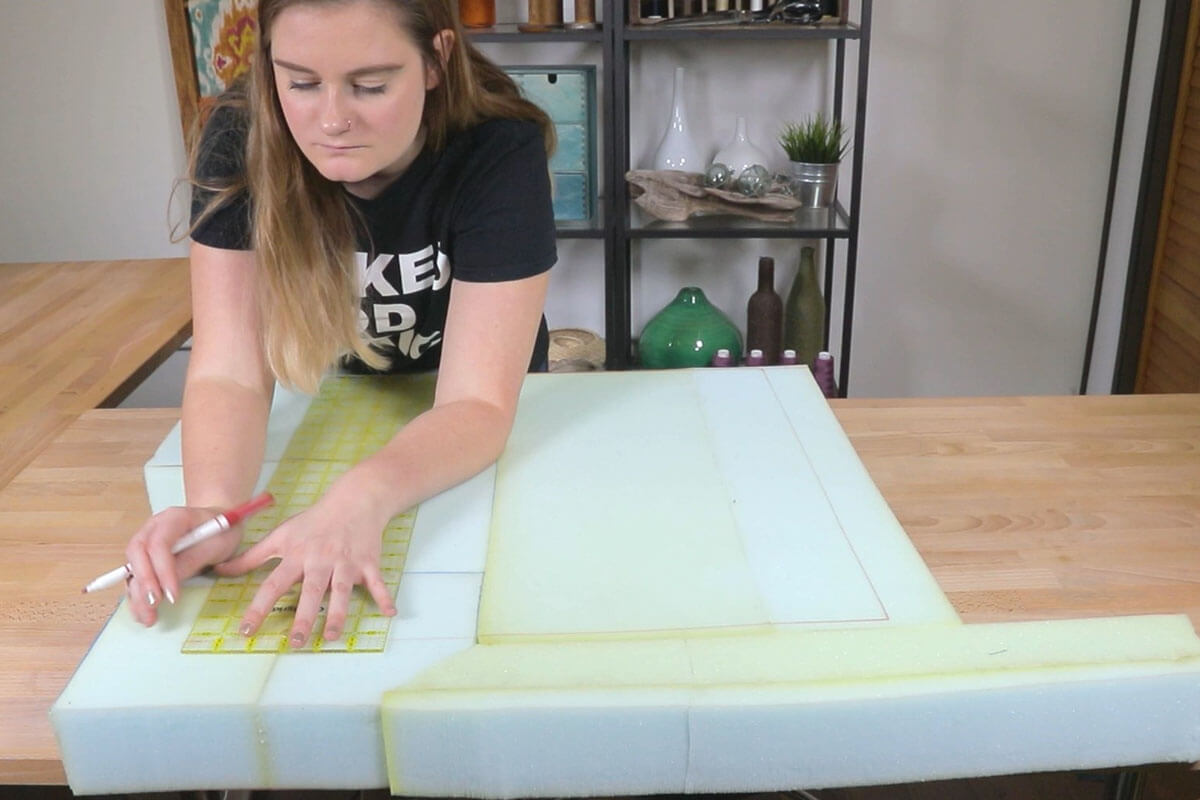
Step 1: Cut the Foam & Padding
The cushion I will be making is 23” x 21” x 3”
Decide the size you want your cushion to be and mark the foam to your dimensions. Don’t forget to turn the foam over and mark the other side too.
Use an electric or serrated knife to cut the foam.

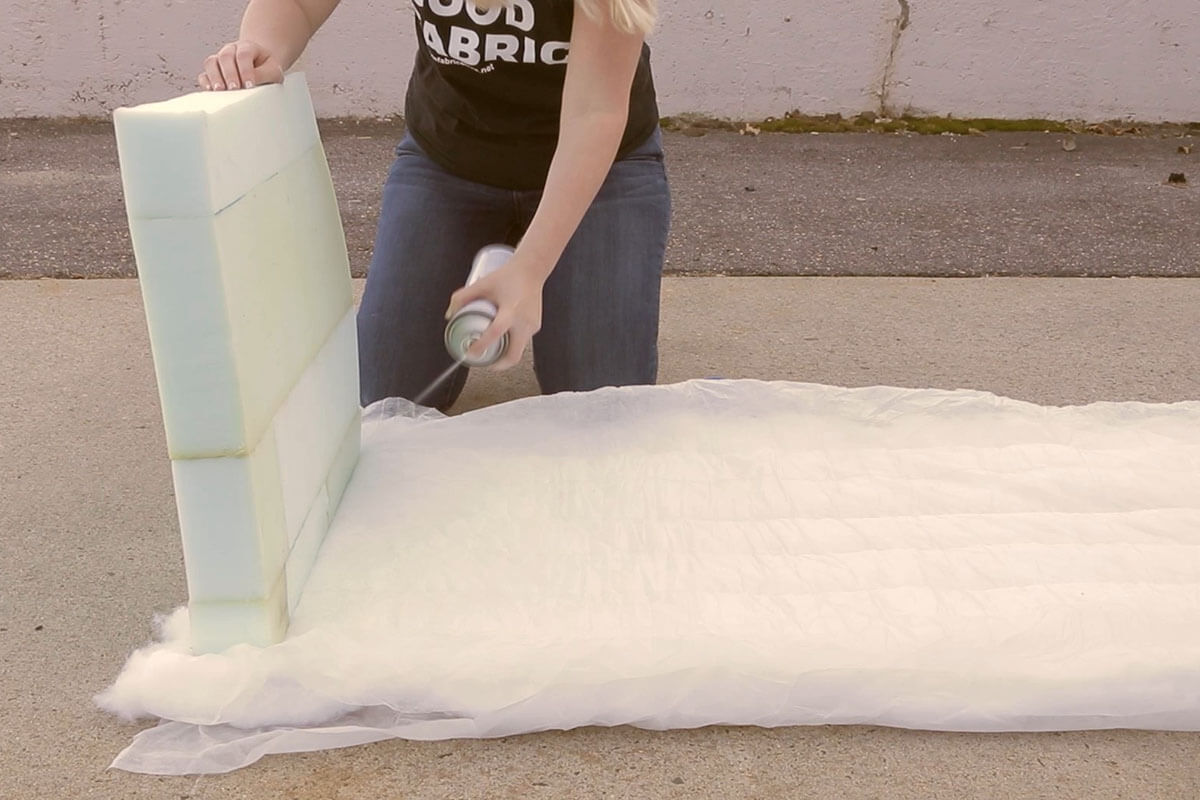
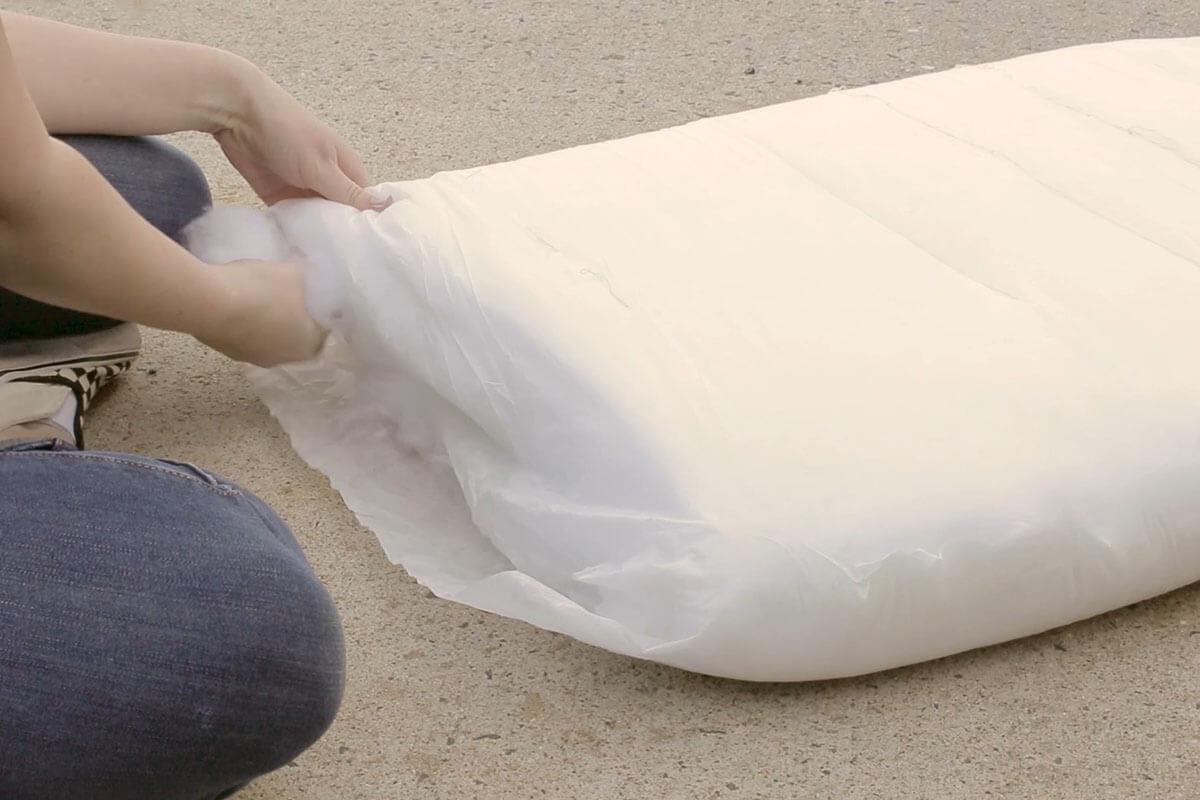
With spray adhesive, attach Dacron cushion wrap to your foam. Spray it onto the foam and lay the padding on top. You want to make sure when you are covering your foam that the Dacron does not get bunched up in any places. If it is overlapping on the corners or sides, cut off sections so the padding will lay flat.
Step 2: Measure & Cut the Fabric
So I’m cutting two pieces that are 23” x 22”
First, measure and cut two pieces for the top and bottom of your cushion. They should each be the same dimensions as the top of your foam plus one inch to each measurement for seam allowance.
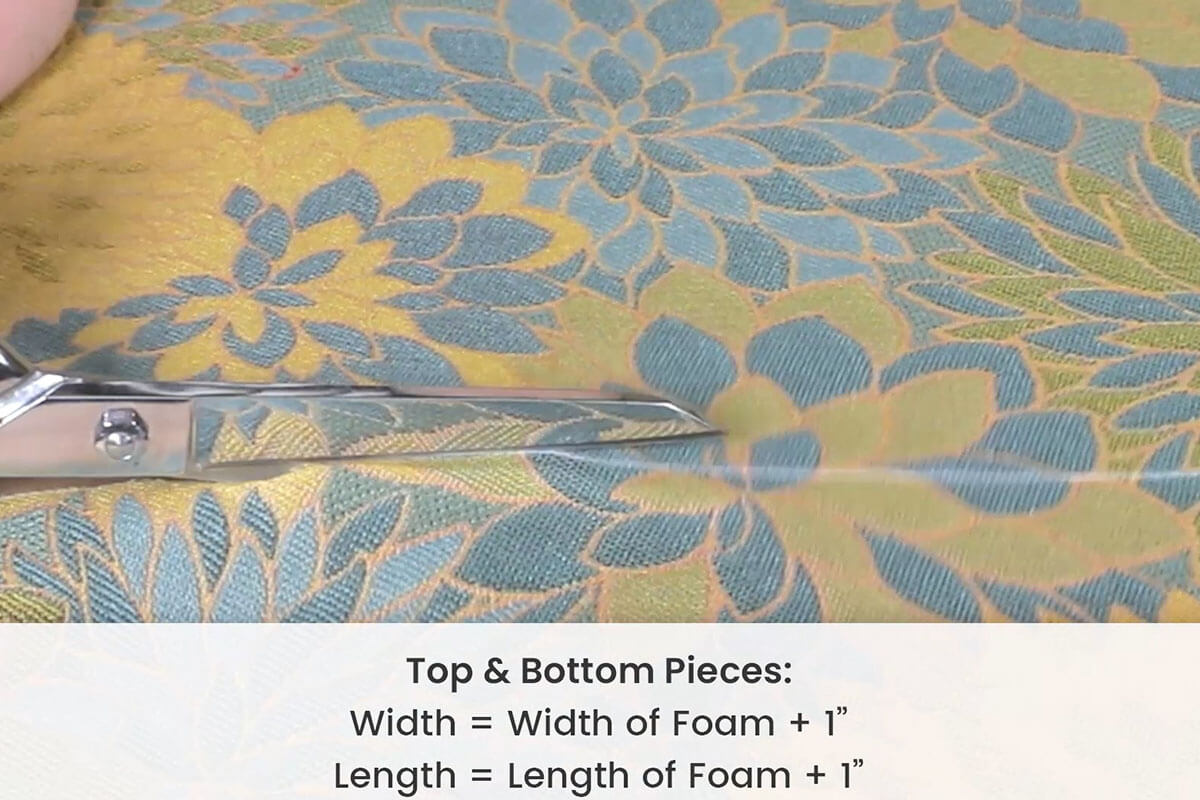
Usually when you make cushions and pillows you want the cover to be slightly smaller than your form, by 1 or two inches, this is so the cushion looks nice and full. In this case we are making the cover the same size as the foam because we added the Dacron padding so that will give it that extra oomph we are looking for.
You really want to pay attention to your corners when cutting fabric, it is really important that each corner is a 90 degree angle. To achieve this, you can use a piece of printer paper, or preferably, a ruler like the one I have to line up your pieces perfectly.
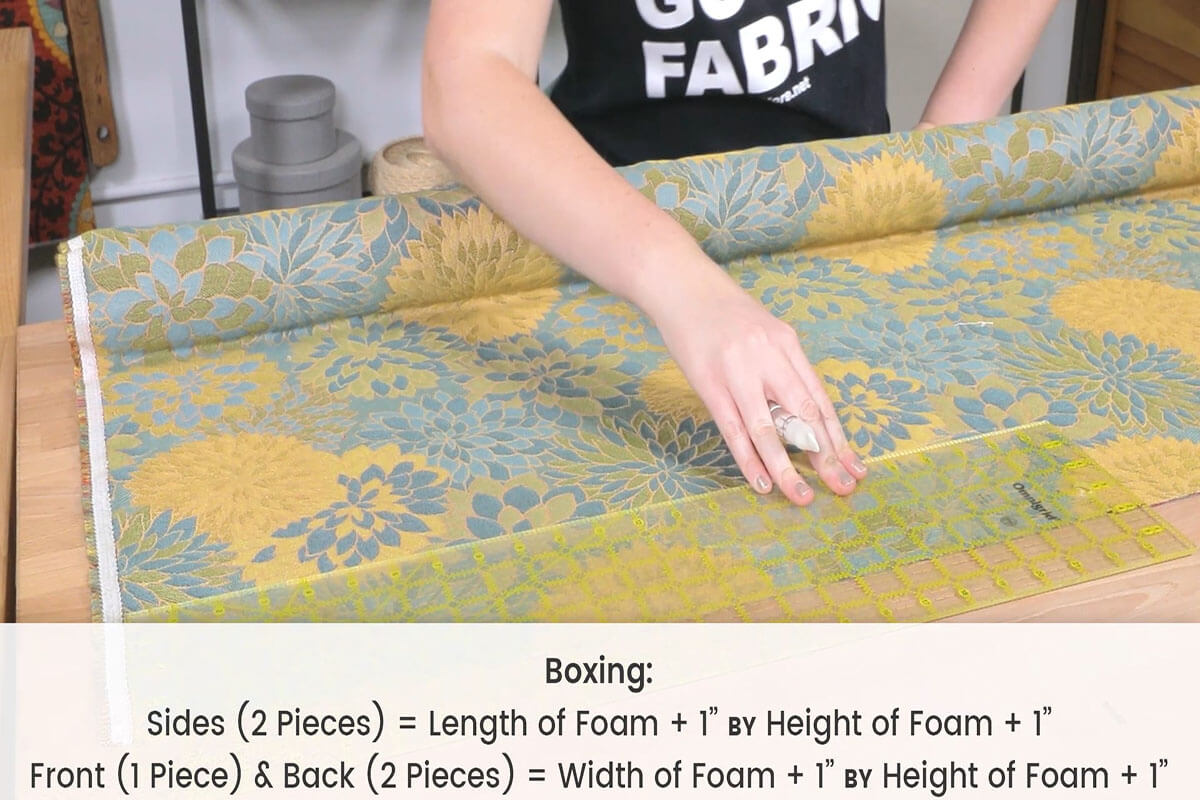
To make your cushion with a Velcro®
opening, you are going to need to cut 5 pieces. Two that are 24” x 4” and three that are 22” x 4”. I came to these measurements by taking the length and height of each side of the foam and adding 1” to each measurement to account for the seam allowance.
Then measure and cut the boxing, which is the piece that will wrap around the sides of the cushion. You will need a piece of fabric that is long enough to wrap around your entire cushion, but because my fabric is not wide enough, I will have to cut several pieces to create boxing. If you are able to get away with making it one piece I recommend doing so and then you can skip the next few steps.
If you’re working with a patterned fabric, you’ll want to pay attention to how the pattern is aligned on your panels for all pieces.
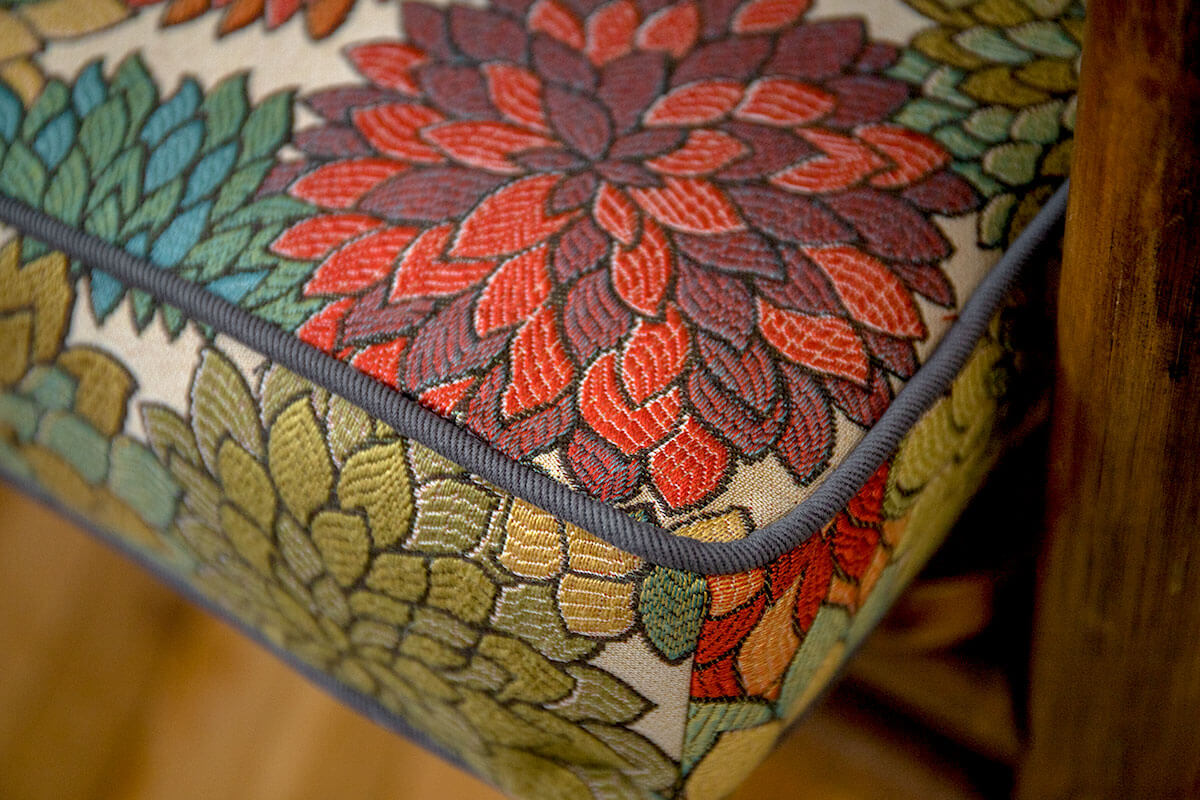
The last piece of fabric you will want to cut for this cushion is for the piping. The perimeter of your cushion will be the length of your piece of fabric and cording plus about 5” for joining the fabric together. Your piping should be (width of cording + seam allowance) x 2

My piping is 1/8” and I will be using a ½” seam allowance so my fabric will be 1 1/4” thick by 95” long. I am going to have sew together several pieces to achieve this, and remember, you have to make enough piping for the top and bottom of this cushion so I’ll actually need double that length.
Step 3: Sew the Piping
Don’t sew super close to the welting cord yet, we will take care of that later on in the process.
Sew your two pieces of piping. If you’ve never made piping before, its really easy. We have a step by step tutorial that I will link so you can feel confident when you go to make some for your cushion.

Then, sew the piping to the body pieces with the raw edges facing outwards.
Step 4: Sew the Velcro
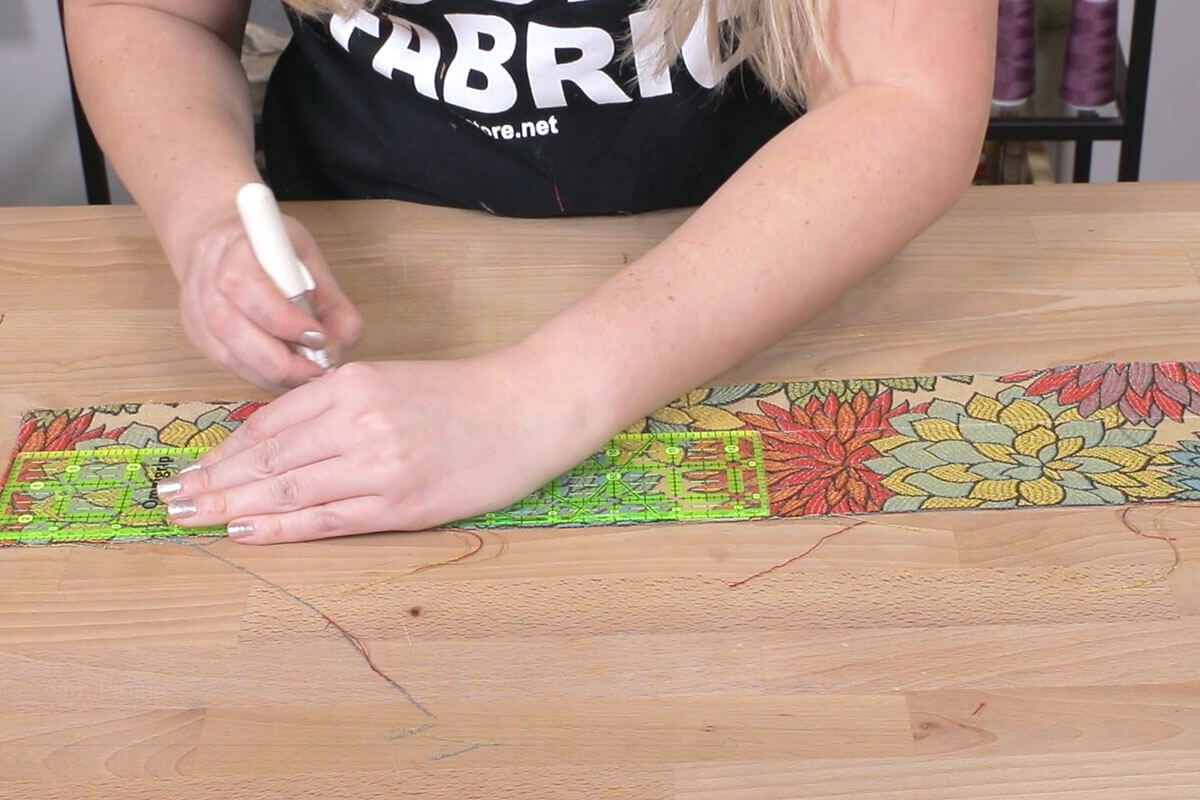
To make up the back panel, you are going to need two pieces of boxing that will be the same height as the rest so you’ll want to start by figuring out where to fold the fabric.
For me my piece needs to be 4” tall. So, by dividing that number by two, I got 2” for each piece. I also need to add a half an inch to both pieces for seam allowance. So I am going to mark a line at 2.5” and that will be where I fold my fabric in.
Then pin the fabric so the raw edge is hidden.
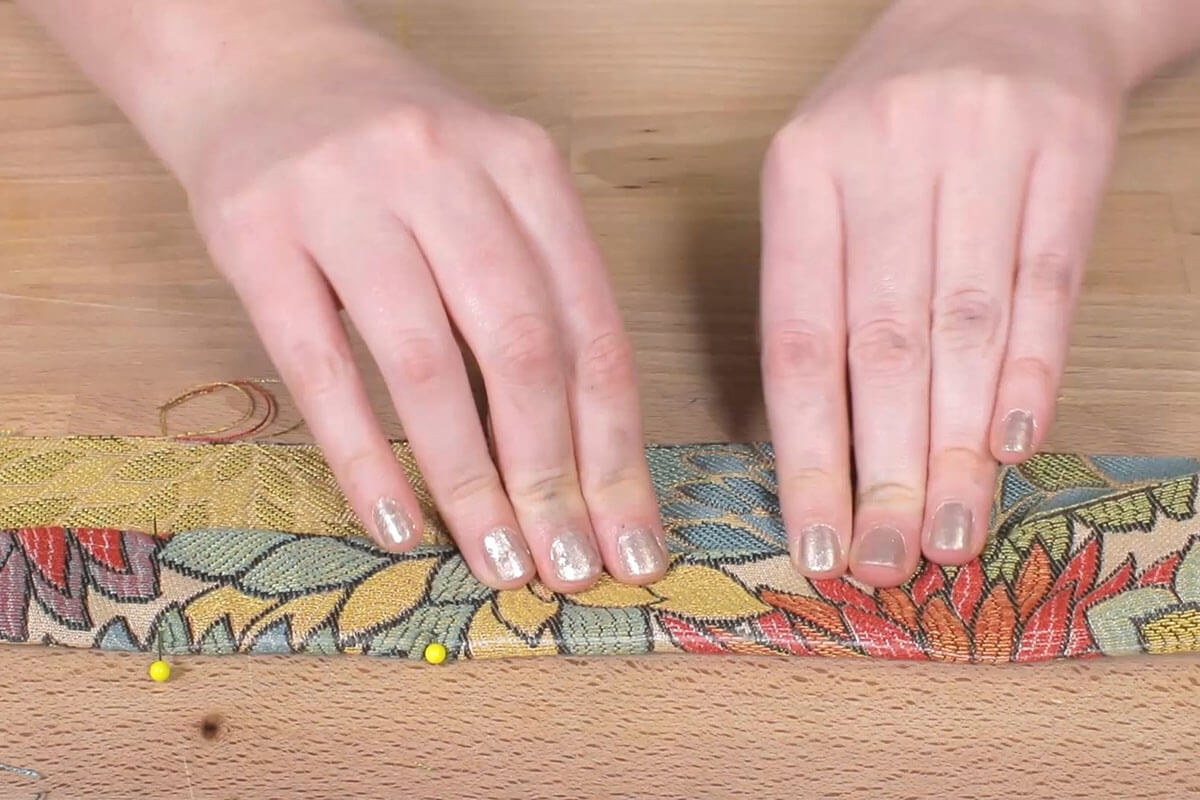
Place the velcro on your pieces, you can pin them in place to remind you where they will go, but the loop side should be on the outer edge of the bottom piece of your boxing panel and the hook side should be on the inside of the upper edge.
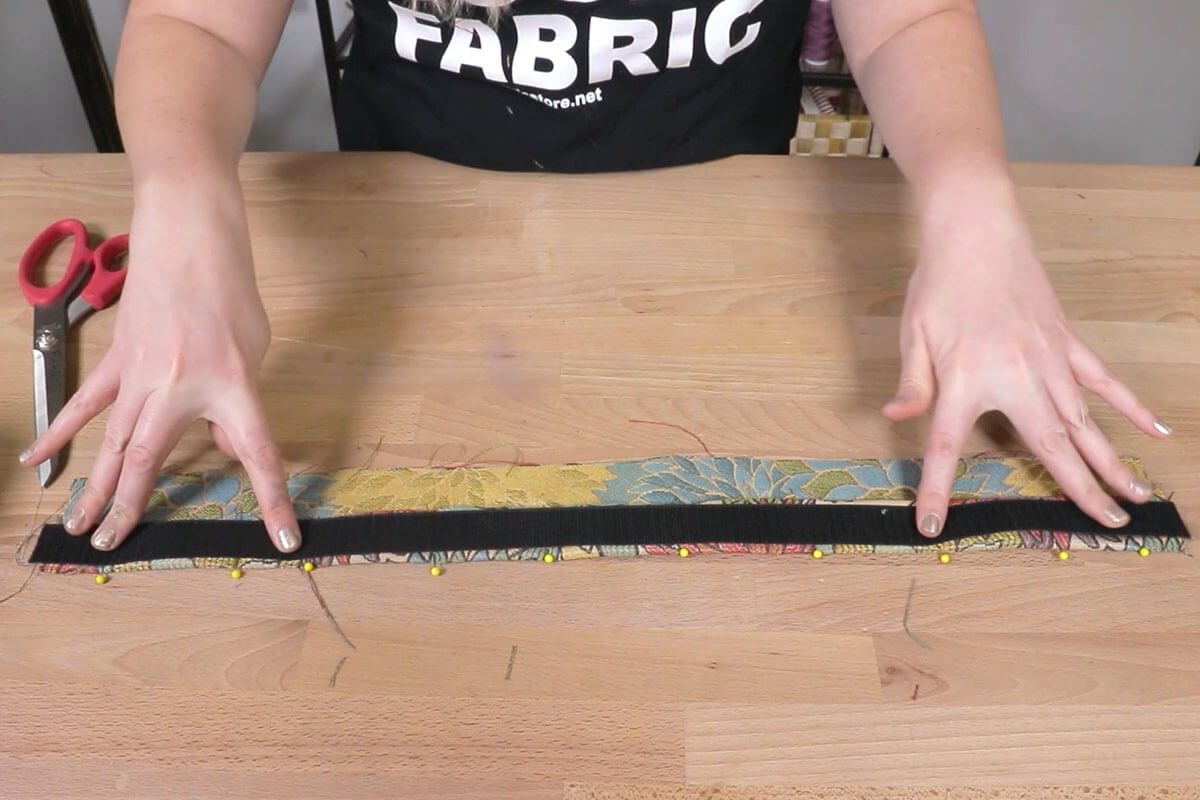

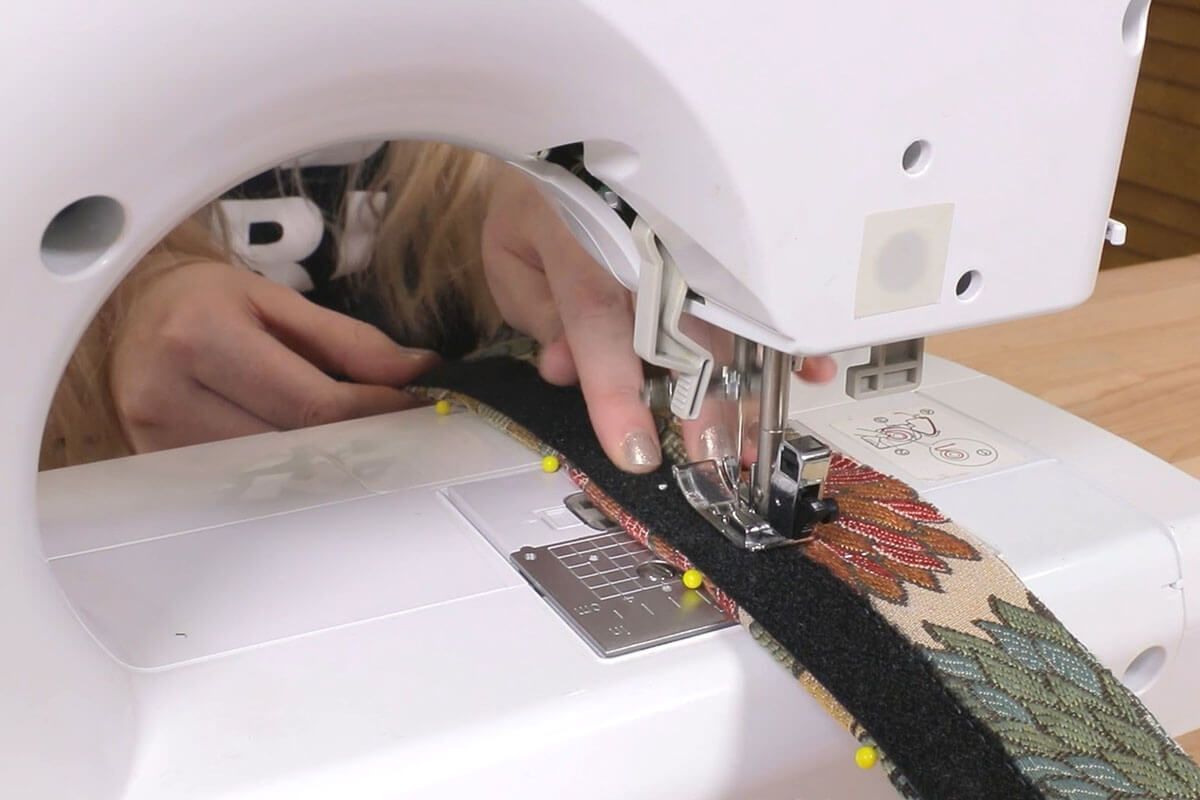
Sew the velcro to each piece being sure to sew on the outer edge of both sides.
Step 5: Sew Together
Pay attention to what pieces you are sewing if your cushion is not a perfect square, you want the sides that are the same length to be parallel each other.
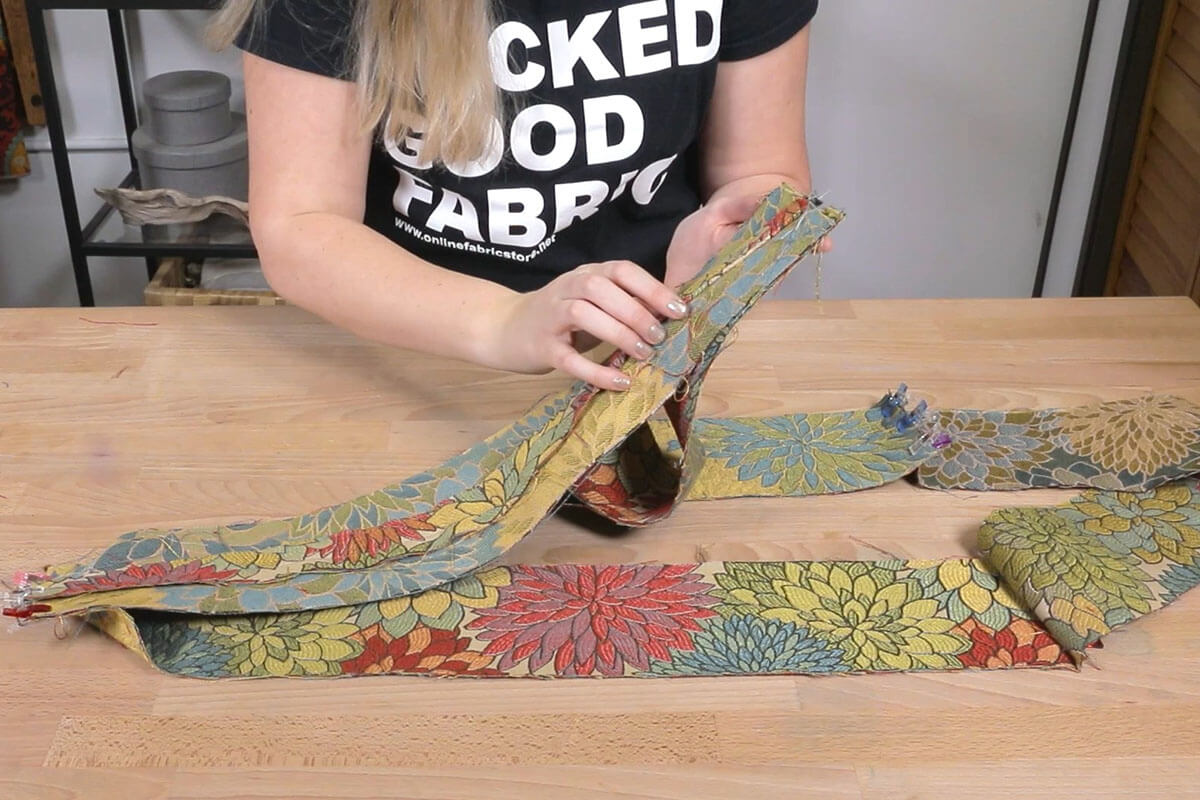
Start by sewing the boxing. Lay the first two out with right sides together and sew up the short side with a half inch seam allowance. Continue doing this until you have a loop of fabric.
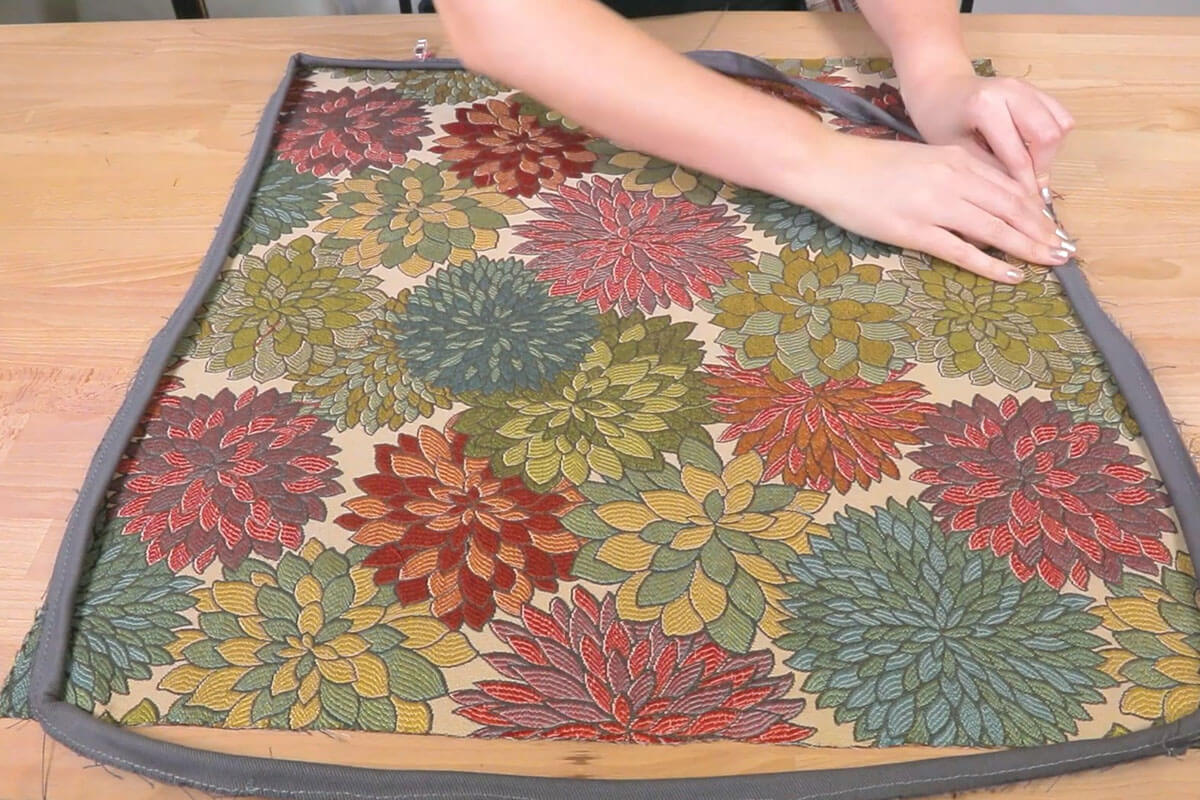
Now, you need to pin the boxing to the body of the cushion.
Take the body piece and match up the sides that are the same length. Start pining the fabrics together with the right sides facing and the piping sandwiched between the two pieces. Make sure that your corners are matched up perfectly so the seam is right on the edge.
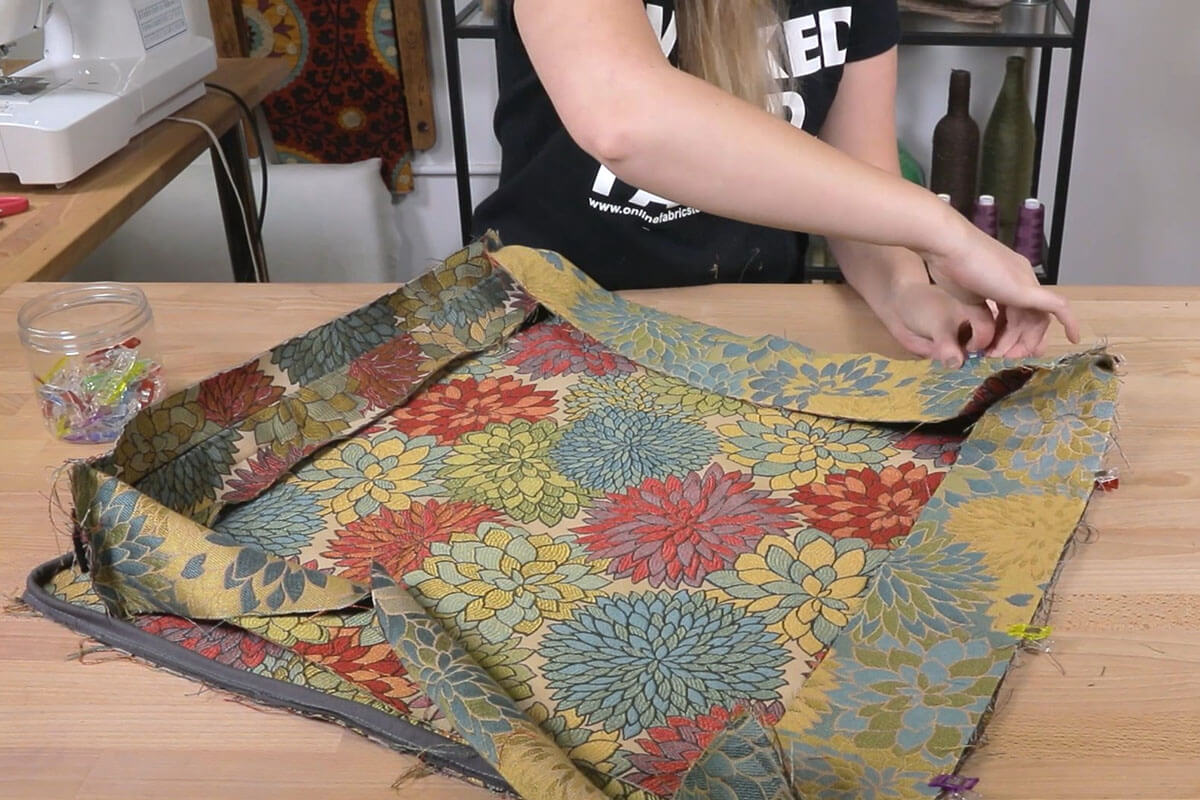
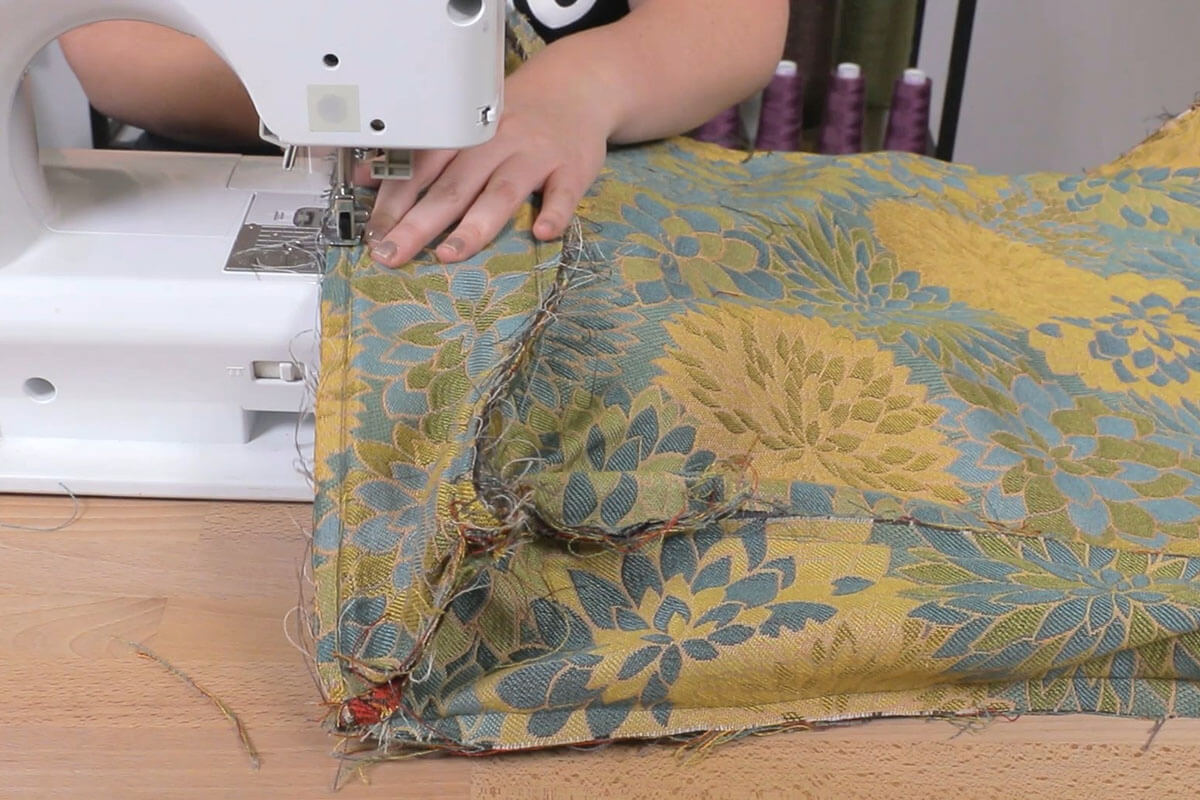
Sew around the entire perimeter of this side with a zipper foot as close to the welting cord as you can get.

Now move to the other side of the cushion following the same process. Don’t forget to backstitch at the beginning and end.
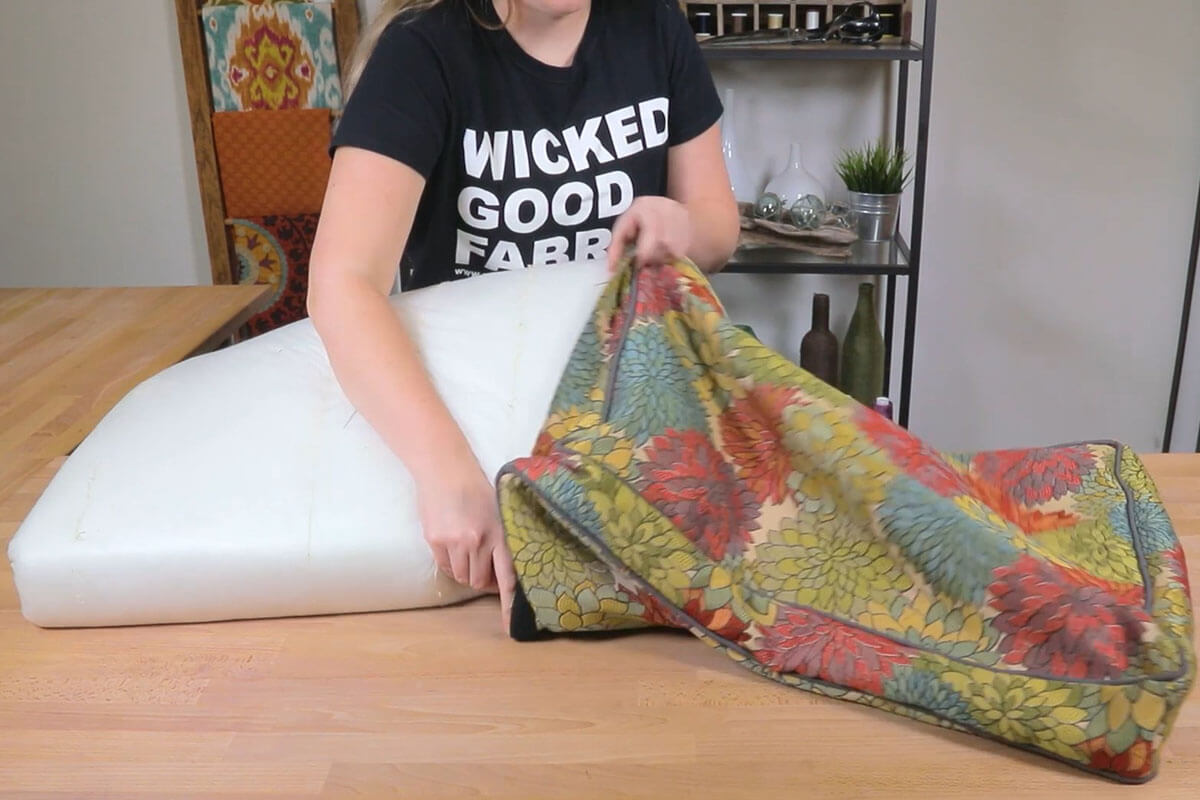
Step 6: Flip and Stuff
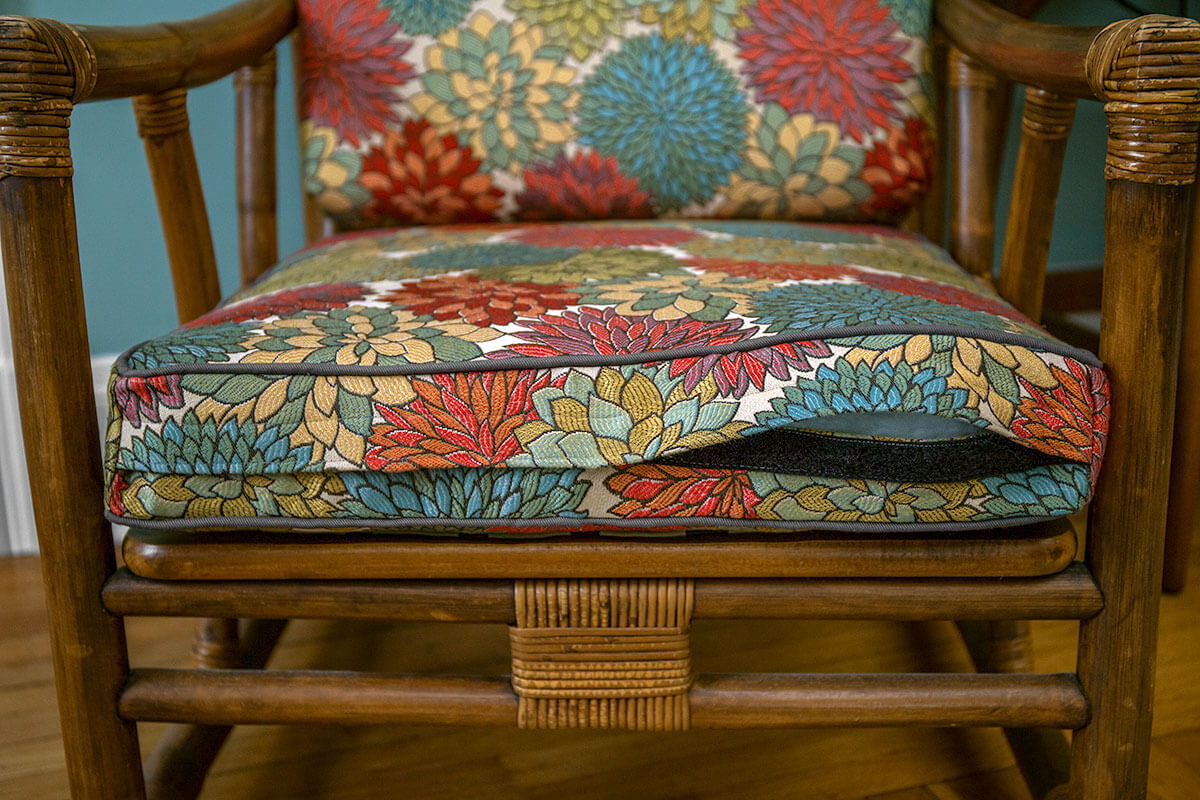
Flip the cushion right side out through the Velcro opening and stuff the foam inside. Make sure that all the padding is laying flat and the corners are properly pushed out.
-
{{#each productSuggestedQueries.results}}
- {{query}} {{/each}}
-
{{#each categories.results}}
- {{html title}} {{/each}}
{{html attributes.description}}
{{/if}}-
{{#each queries.results}}
- {{query}} {{/each}}