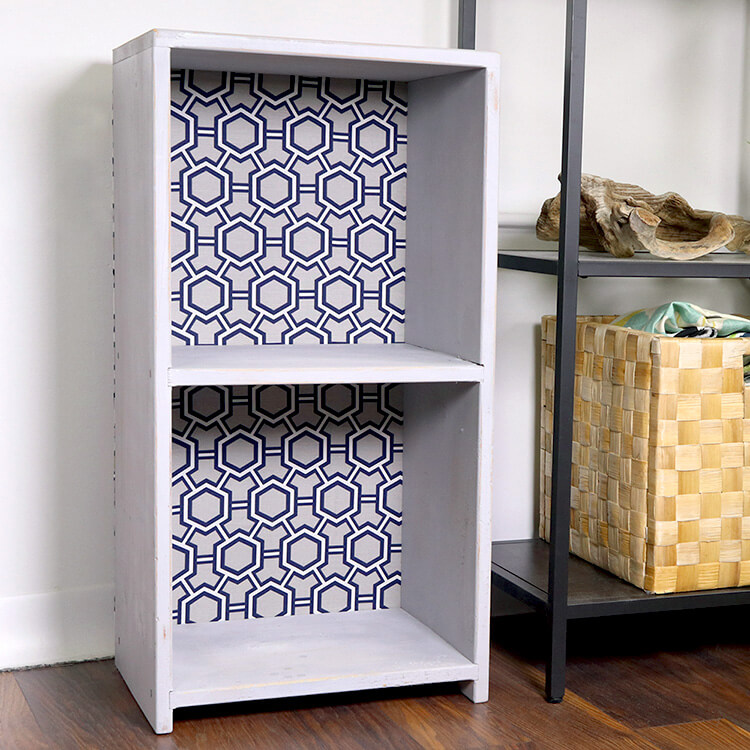
How to Make a Fabric Backed Wooden Shelf
- By Jen
- Beginner
- 1 hour 30 minutes
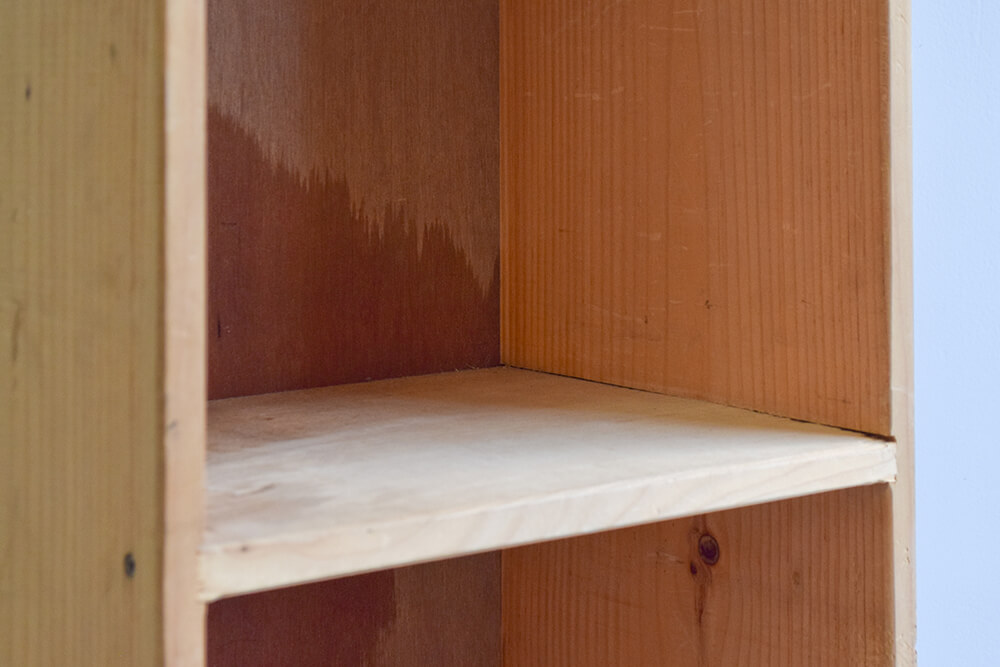
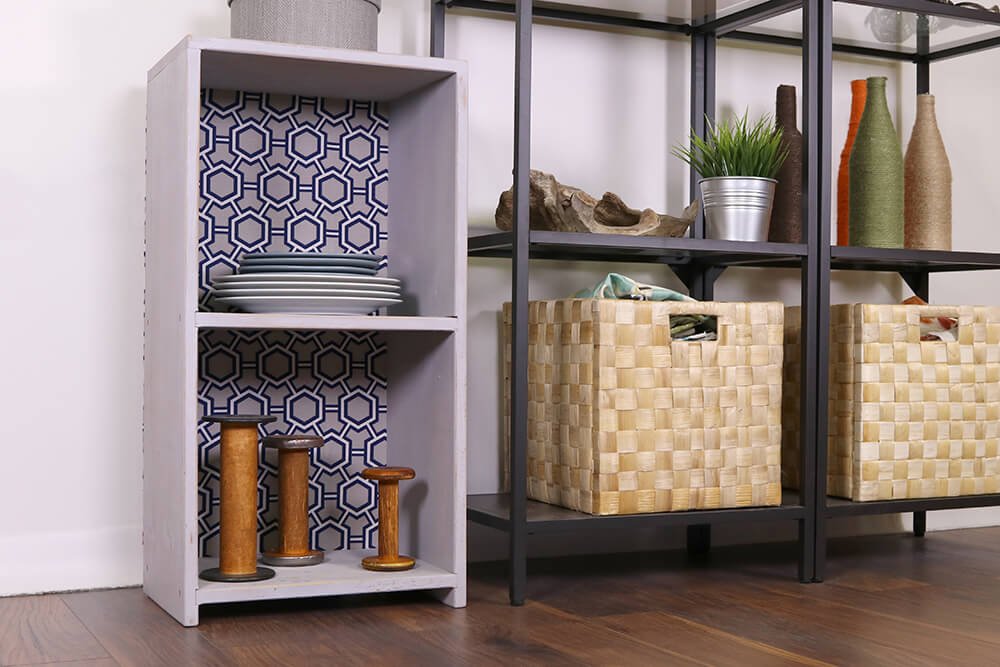
One of our finds from this year’s Brimfield Antique Flea Market was an old beat up book shelf. The wood was scratched and the back was stained, but with a little fabric and RustOleum paint I was able to transform it into a unique rustic shelf.
Materials
- Wooden shelf
- Paint
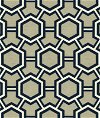
- 1 yard of fabric
- Spray adhesive
- Staple gun
- Staple remover (or flat head screwdriver)
- Sandpaper (optional)
Related Products
Video
Instructions
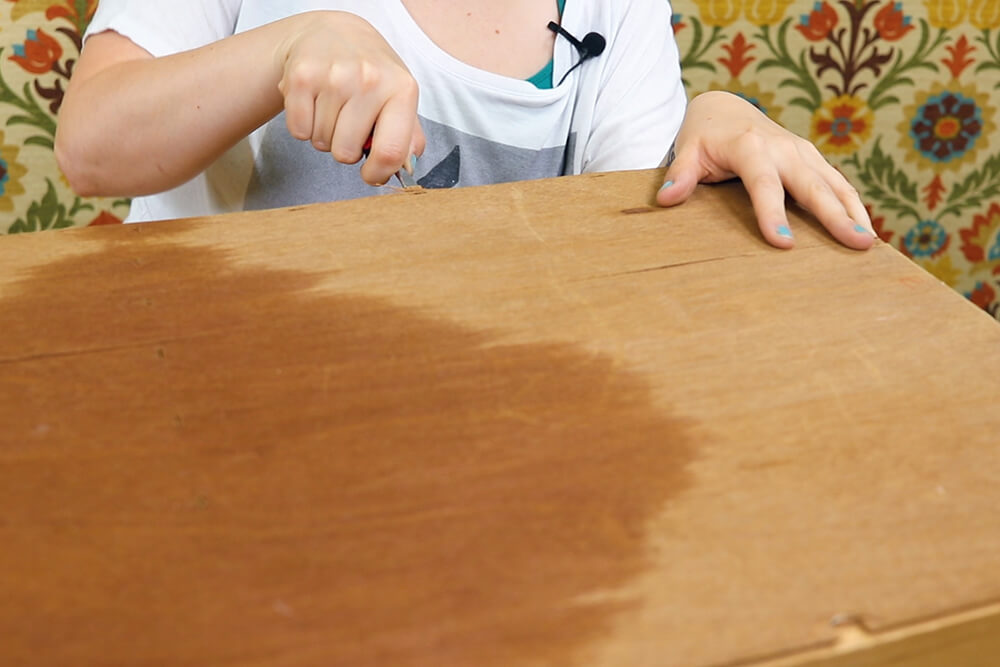
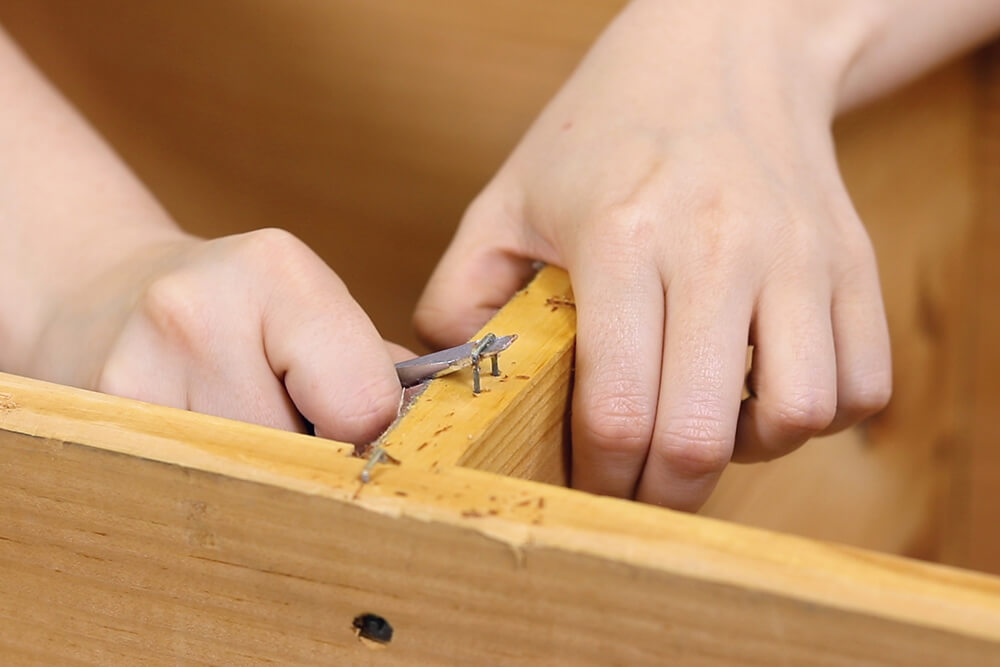
Step 1: Remove the back
First I need to take off the back piece and remove all the staples along the edges. I’m using a flat head screw driver for this.
If the back cracks a little bit that shouldn’t be a problem because it’ll be covered with fabric after.
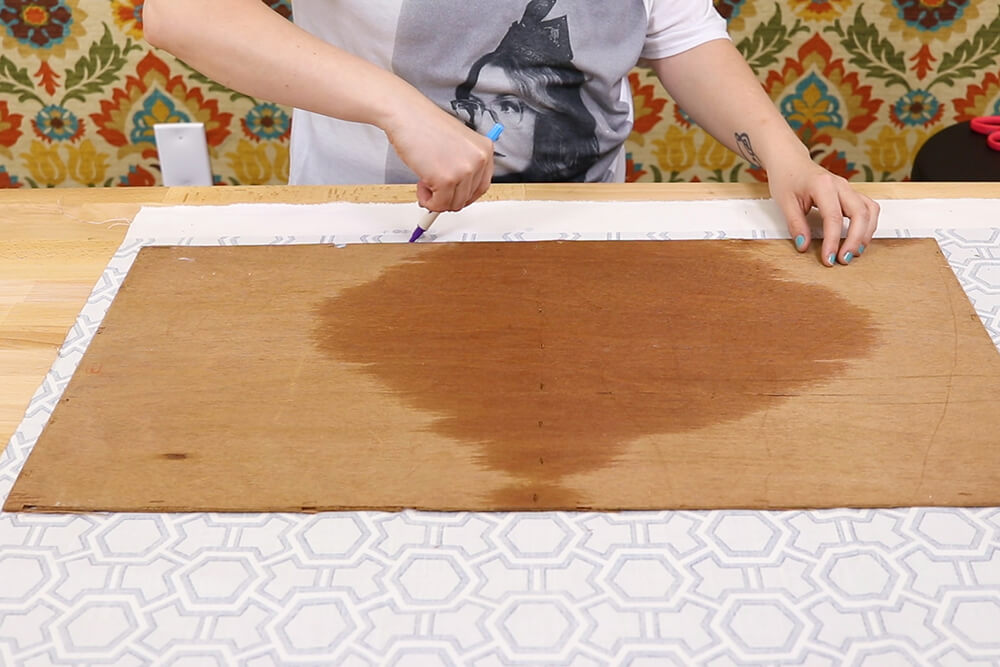
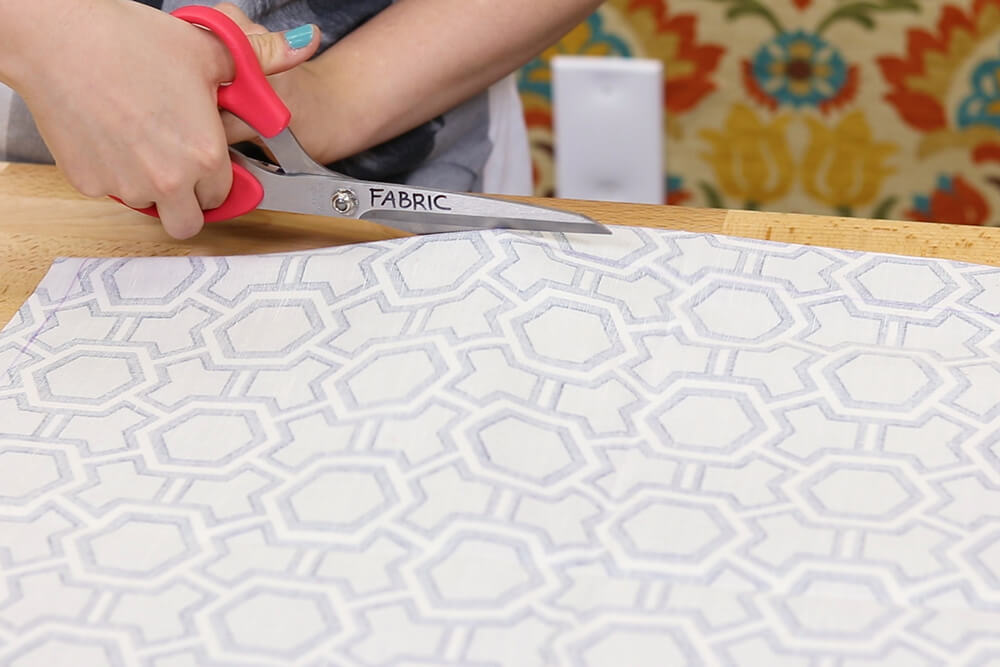
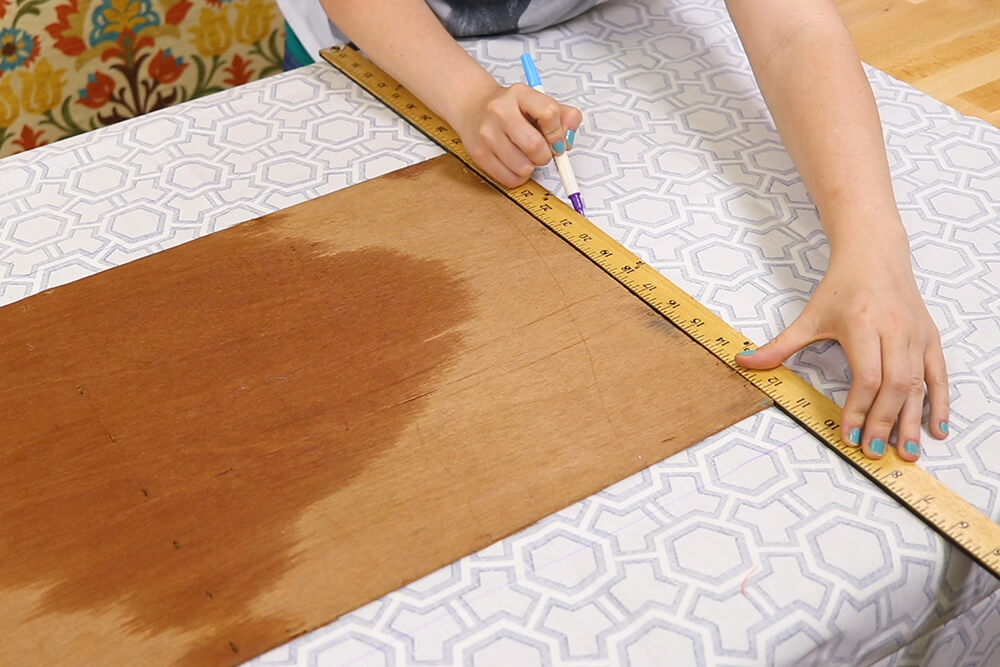
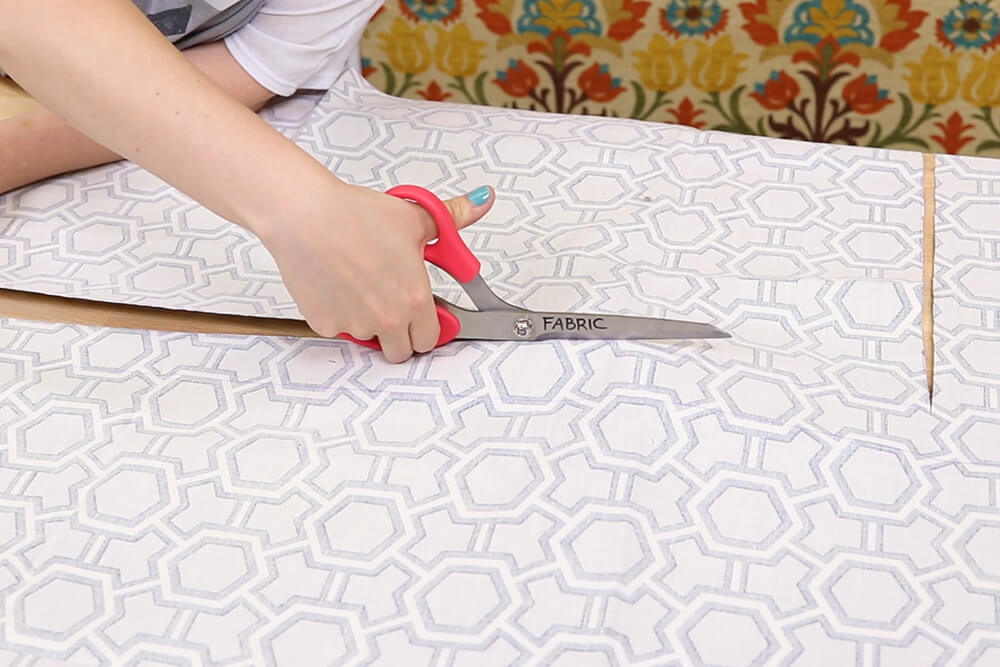
I’m using the back piece as a template to cut out 2 pieces of fabric. One piece will be the same size as the backing, and the other piece will be about an inch larger on all four sides.
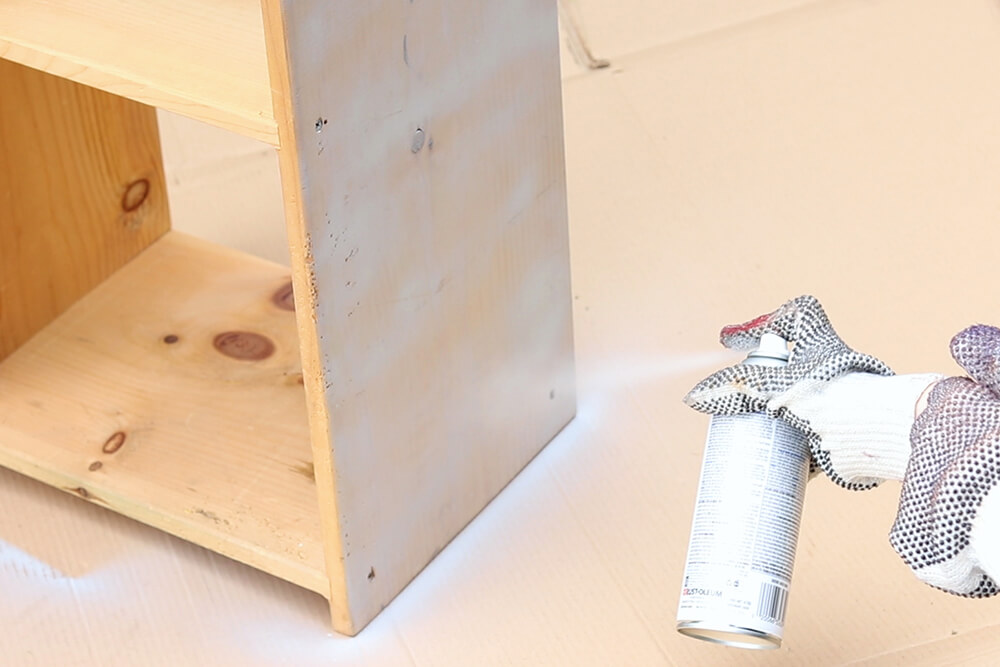
Step 2: Paint the shelf
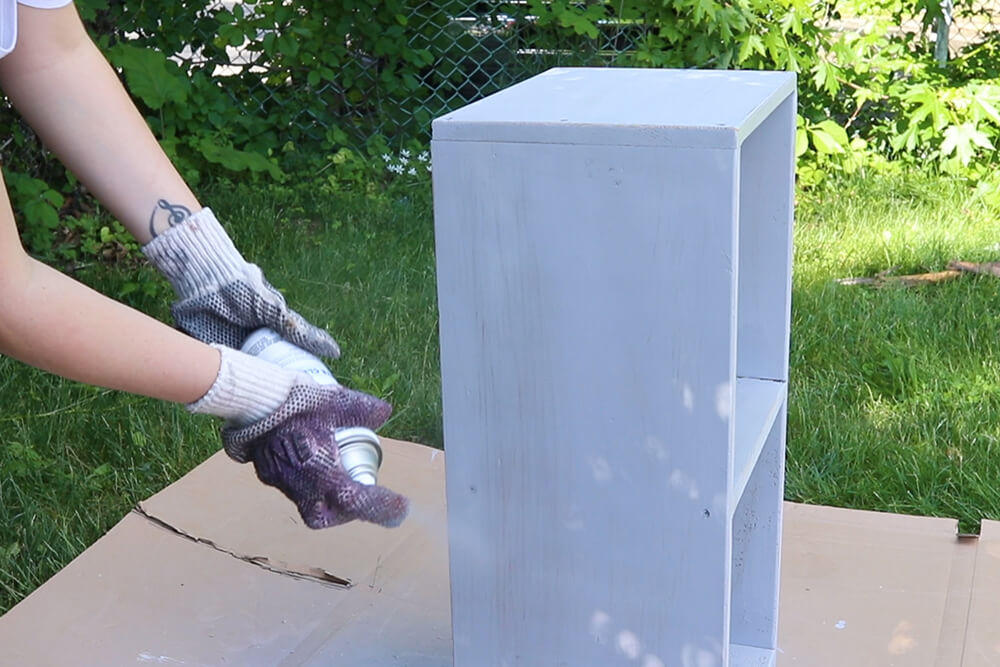
If you’re using spray paint you’ll want to be outside or in a well ventilated area.
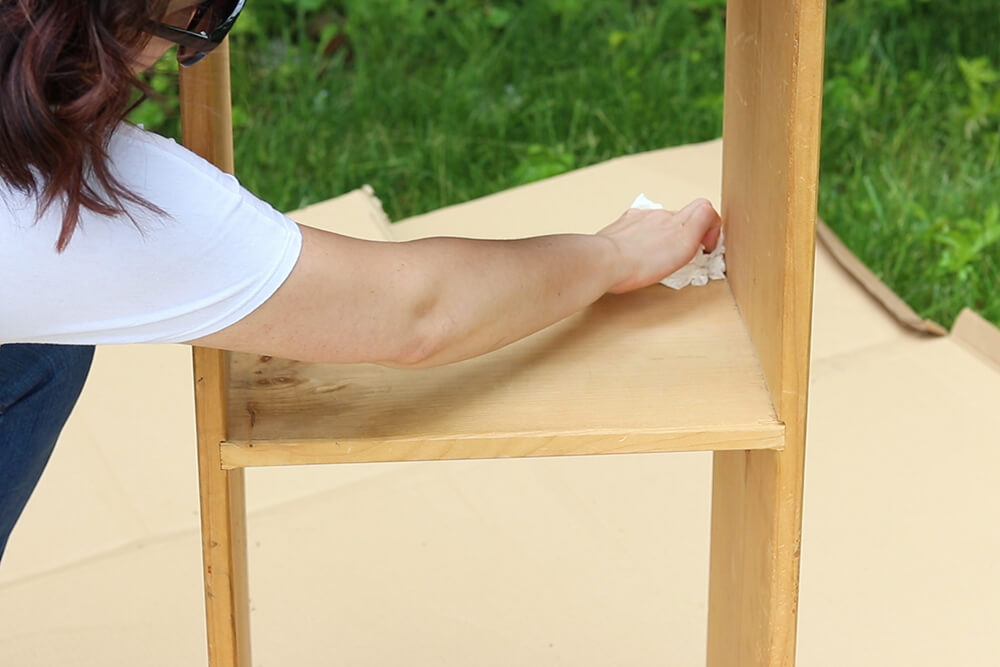
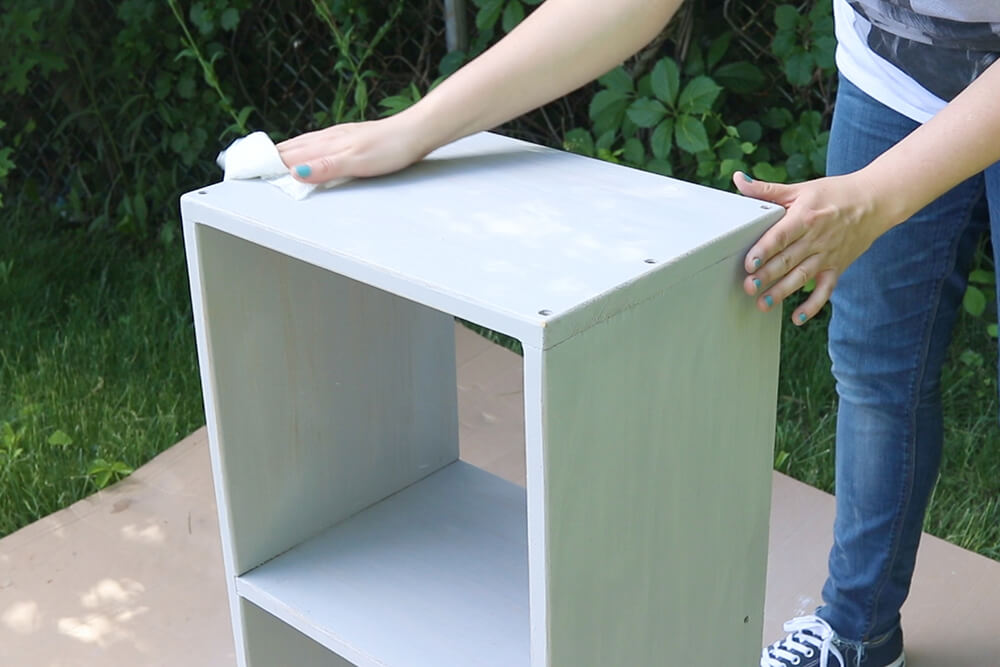
Before painting, it’s a good idea to wipe the shelf down with a damp paper towel.
Once it’s clean, put on some gloves and go at it. This first coat doesn’t need to be solid. After giving it a base coat, let it sit for a while to dry.
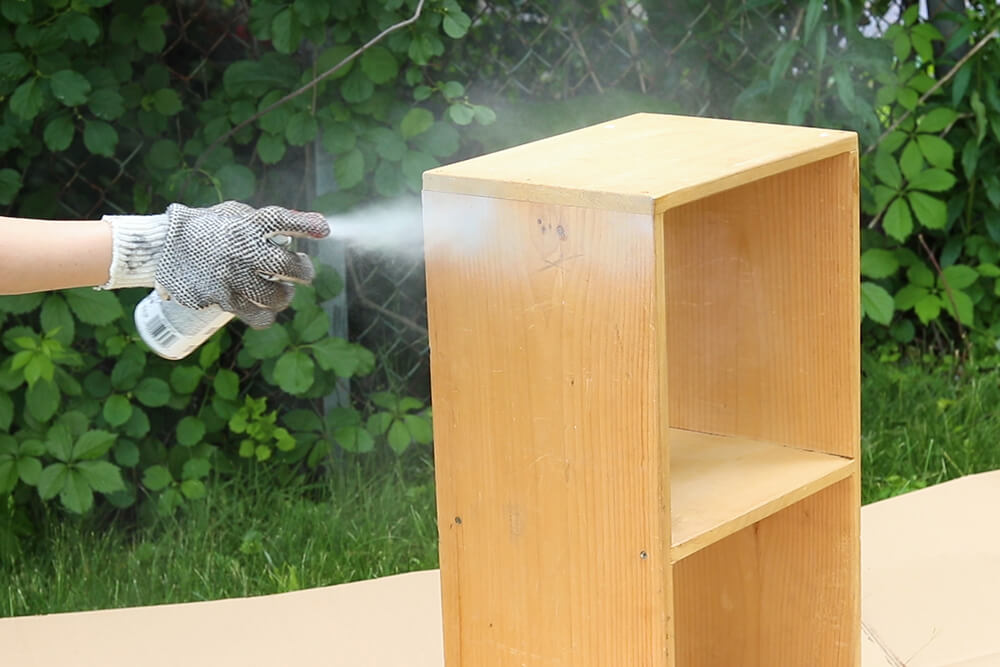
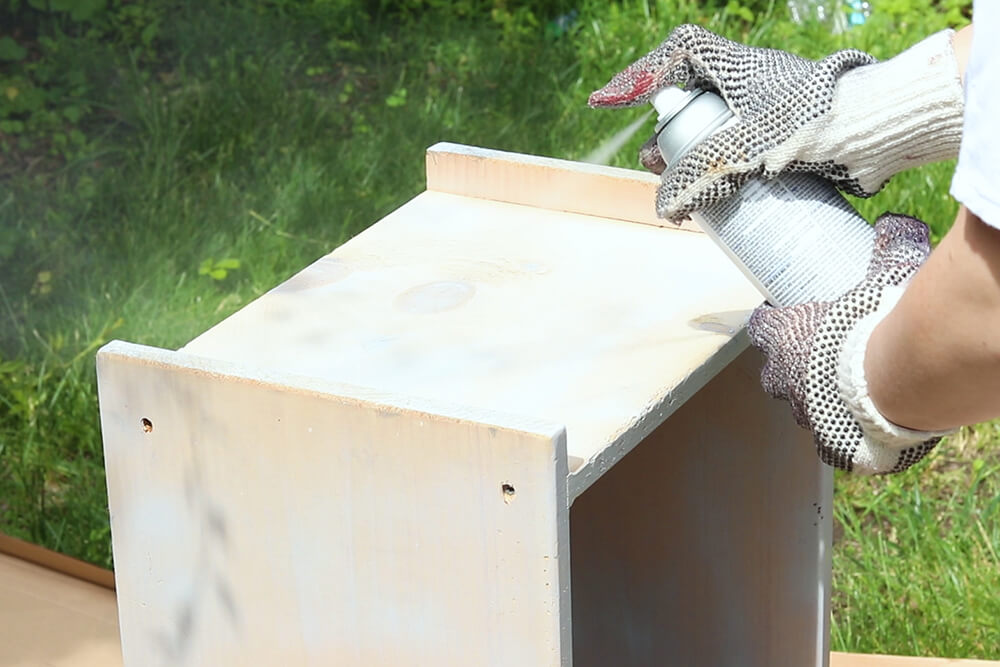
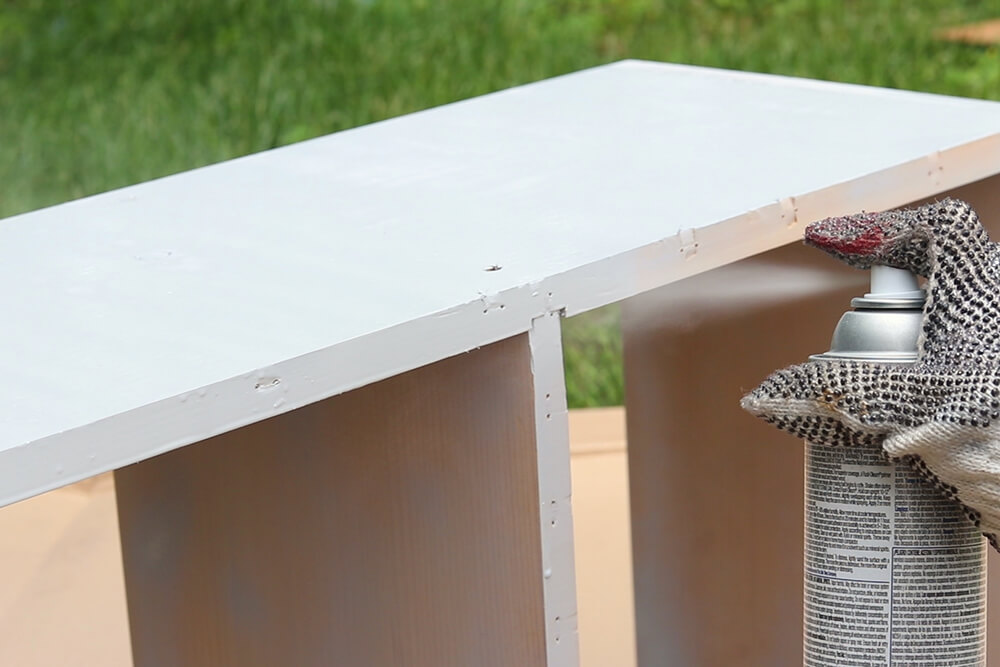
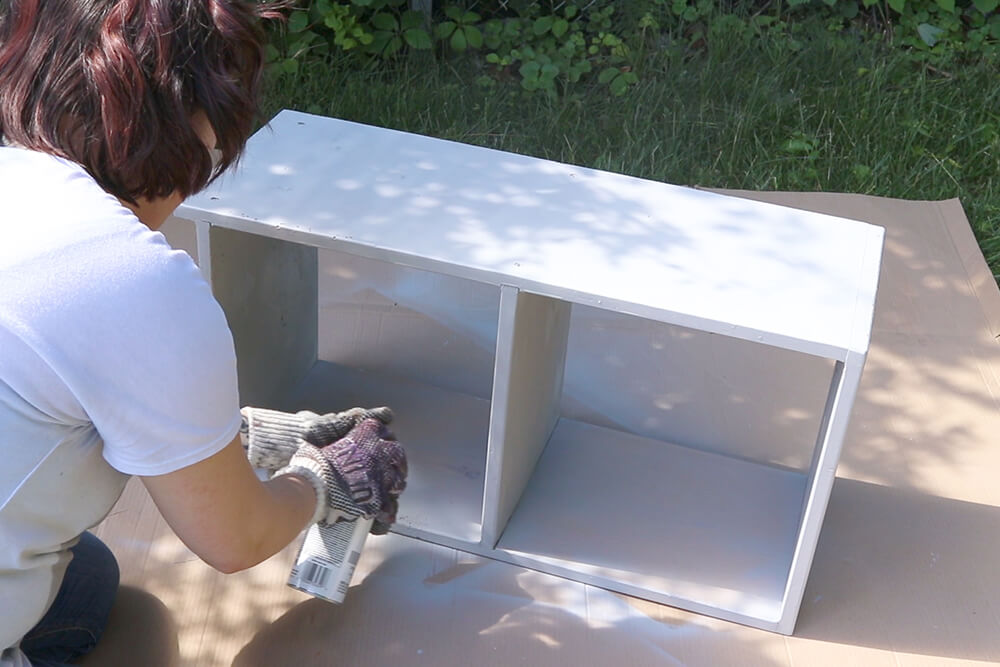
After letting it dry, add a second coat of paint. This coating should be more solid than the first, so you may want to paint a little slower this time.
Let it sit and dry again.
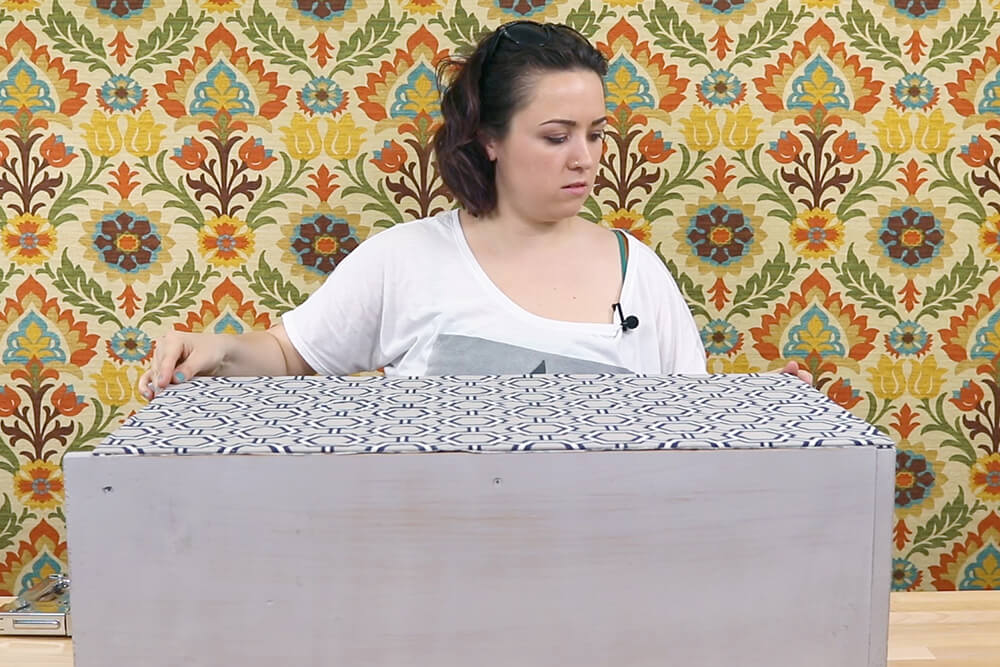
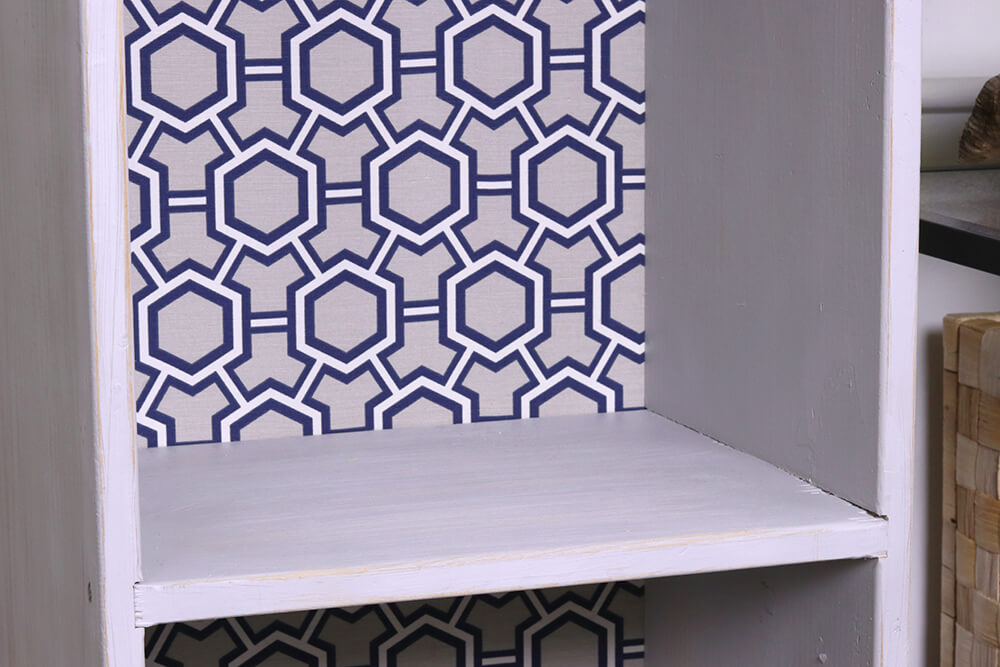
Step 3: Attach fabric to the back
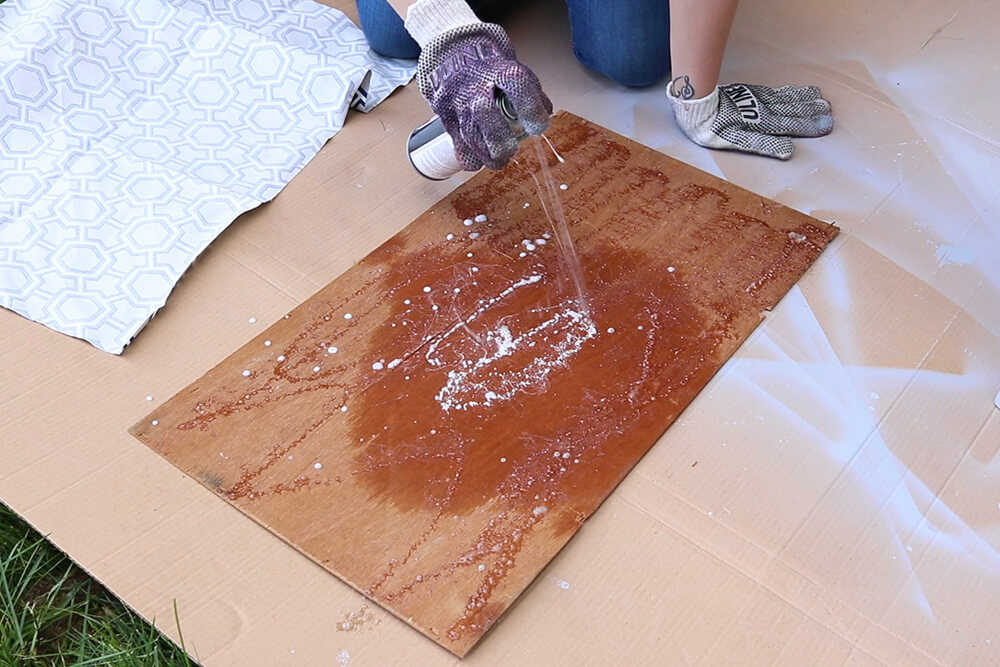
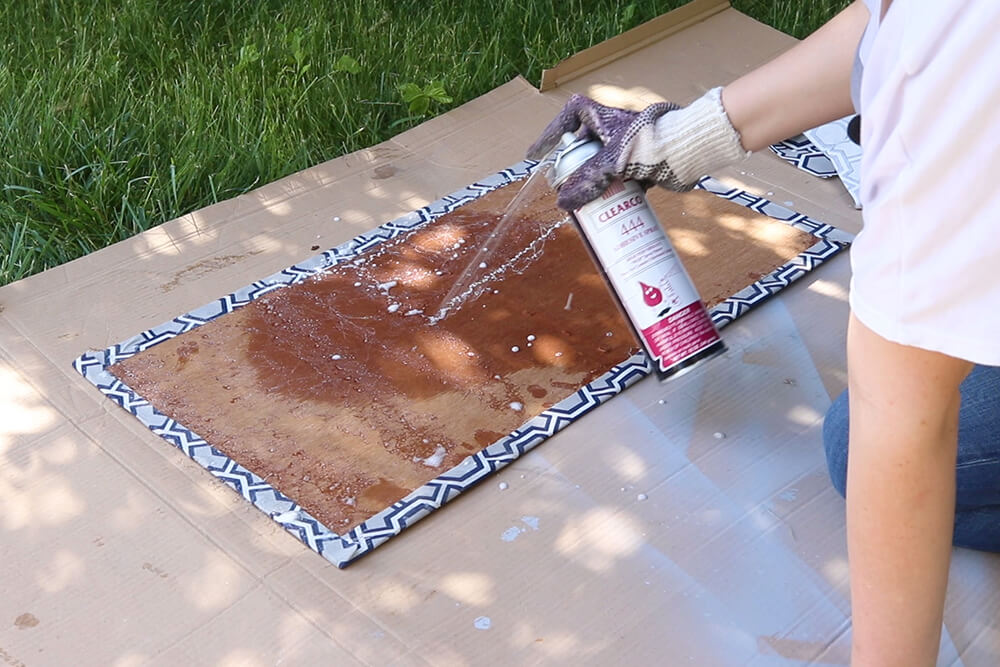
While the shelf is drying, I’m going to attach the fabric to the back board using spray adhesive.
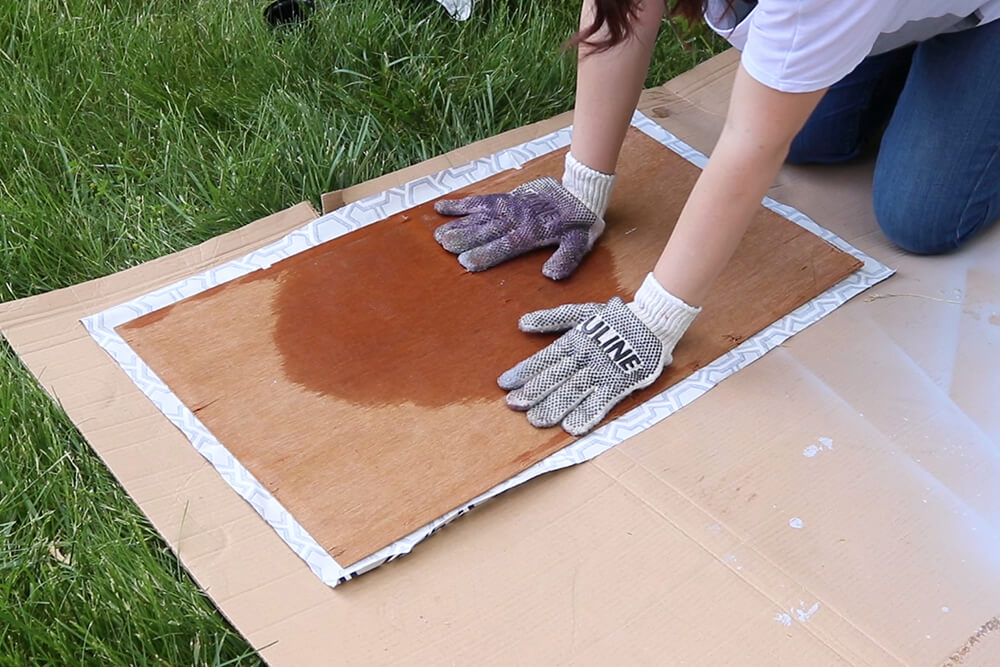
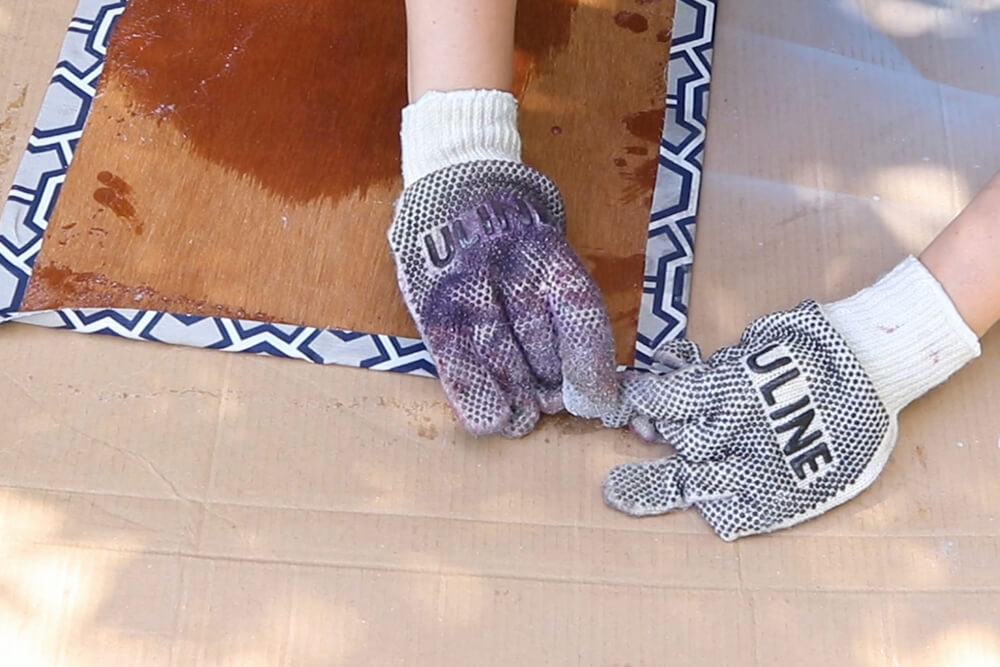
Apply adhesive to the board and place it on the wrong side of the larger piece of fabric. Press the board down flat so the glue sticks to all parts of the fabric.
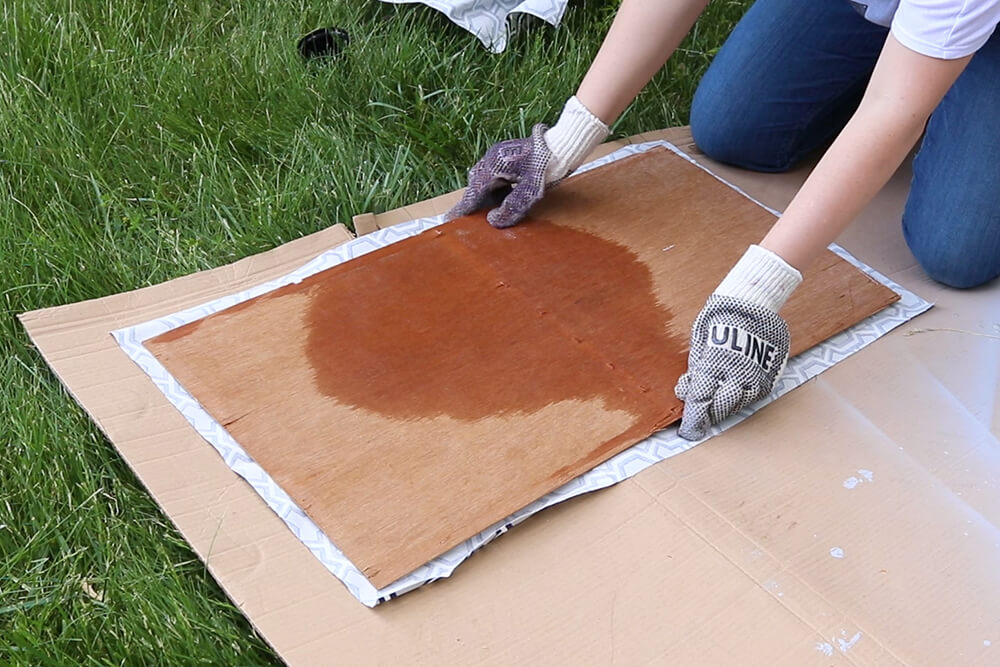
Then spray along the edges and fold the ends of the fabric over.
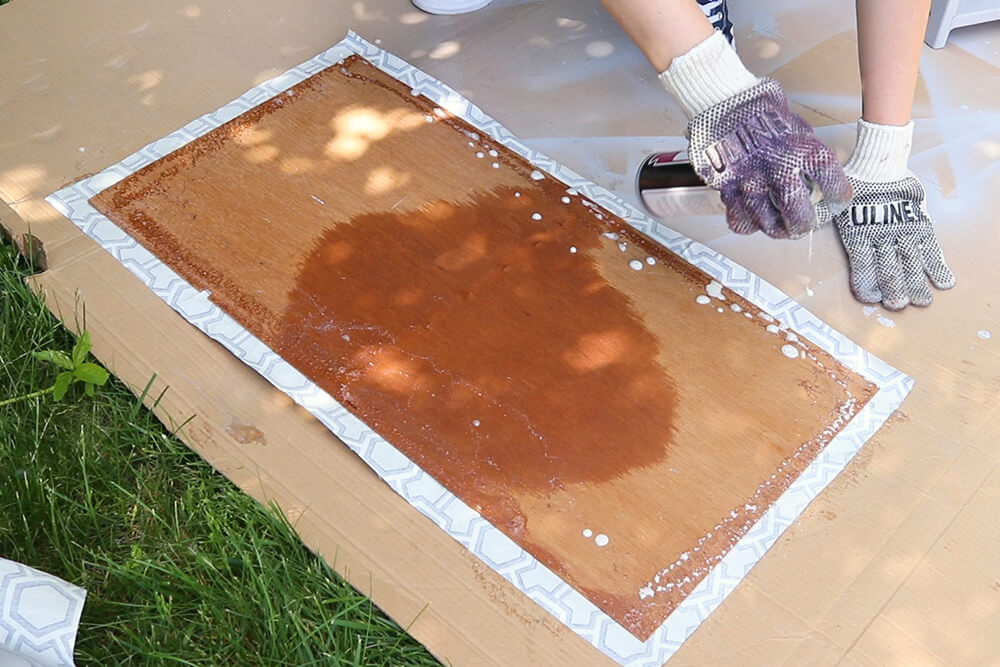
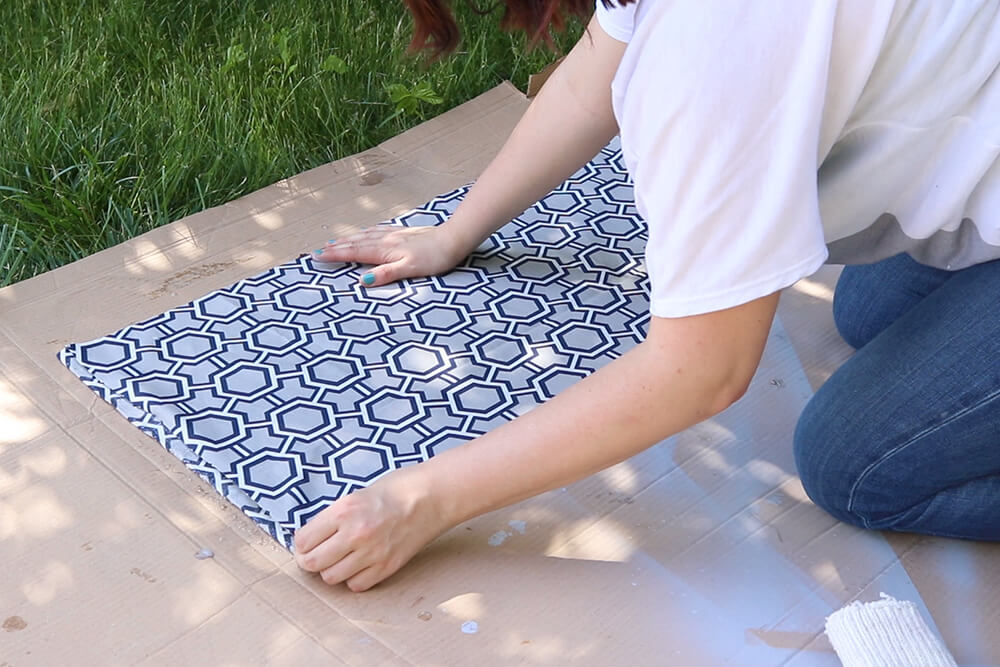
Apply spray adhesive to the uncovered side of the back piece, and place the smaller piece of fabric on top.
Smooth out the fabric so there are no bubbles.

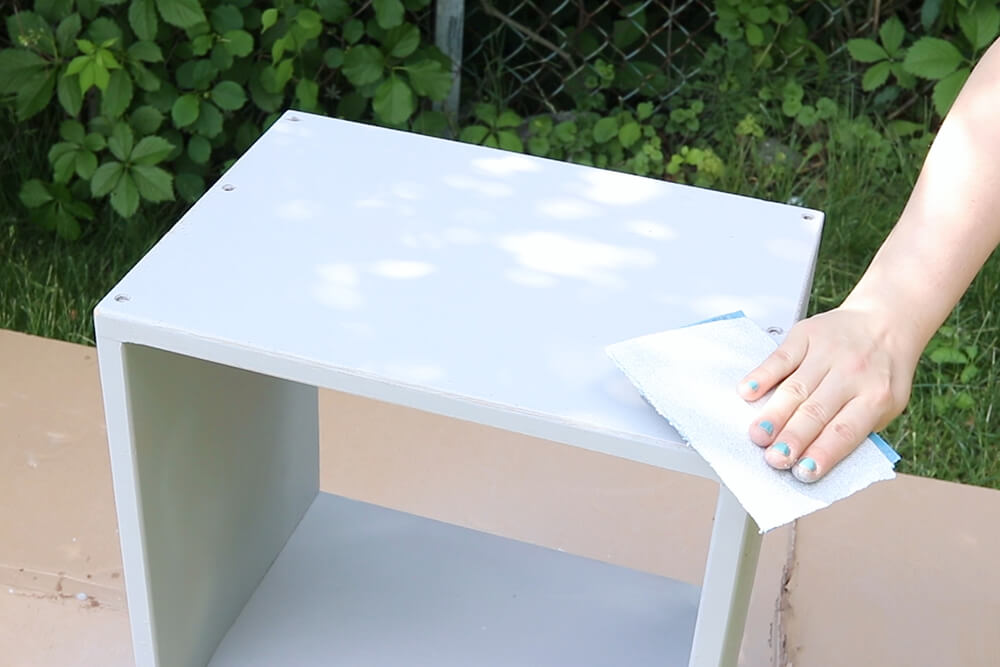
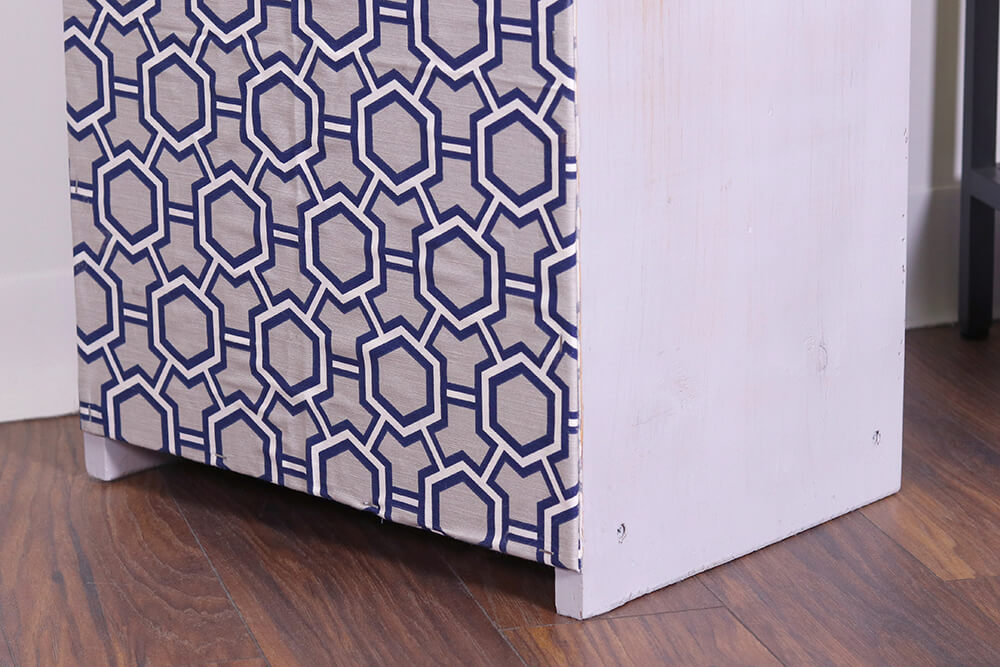
Step 4: Finish the shelf and reattach the backing
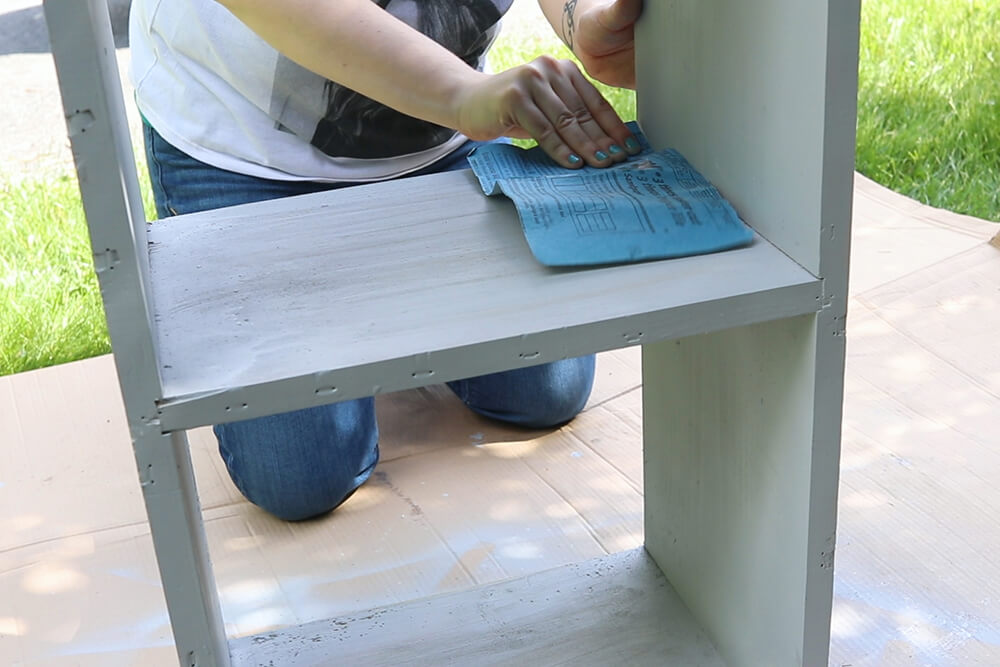
I’m going for a rustic, distressed look with this shelf so I’m giving the whole thing a good sanding, especially the edges and corners.
Wipe down the shelf after sanding.
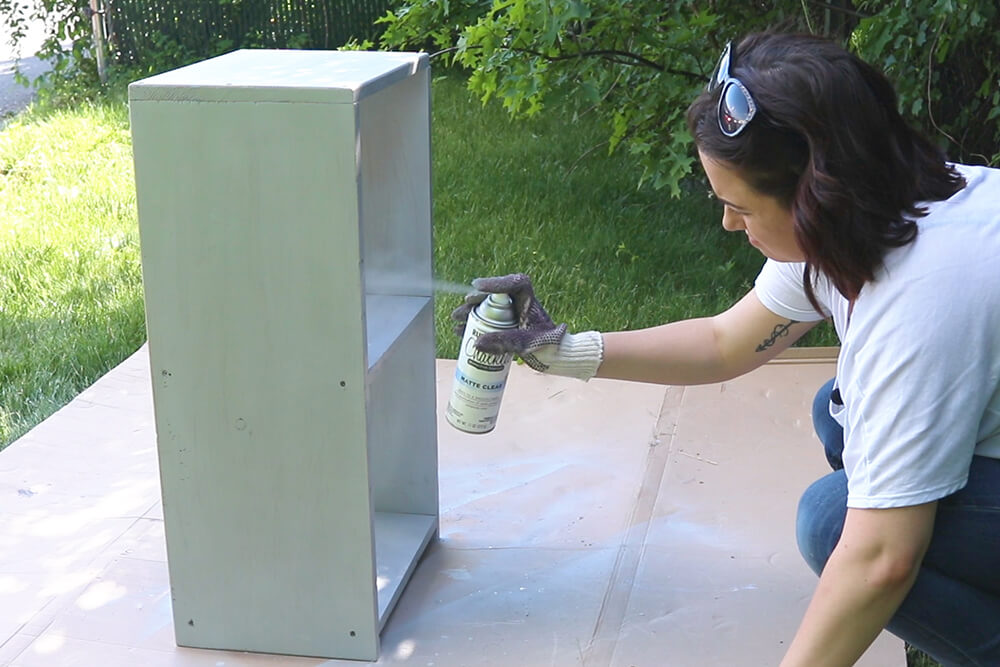
Now I’m just going to apply one coat of matte clear spray, and then let it dry.
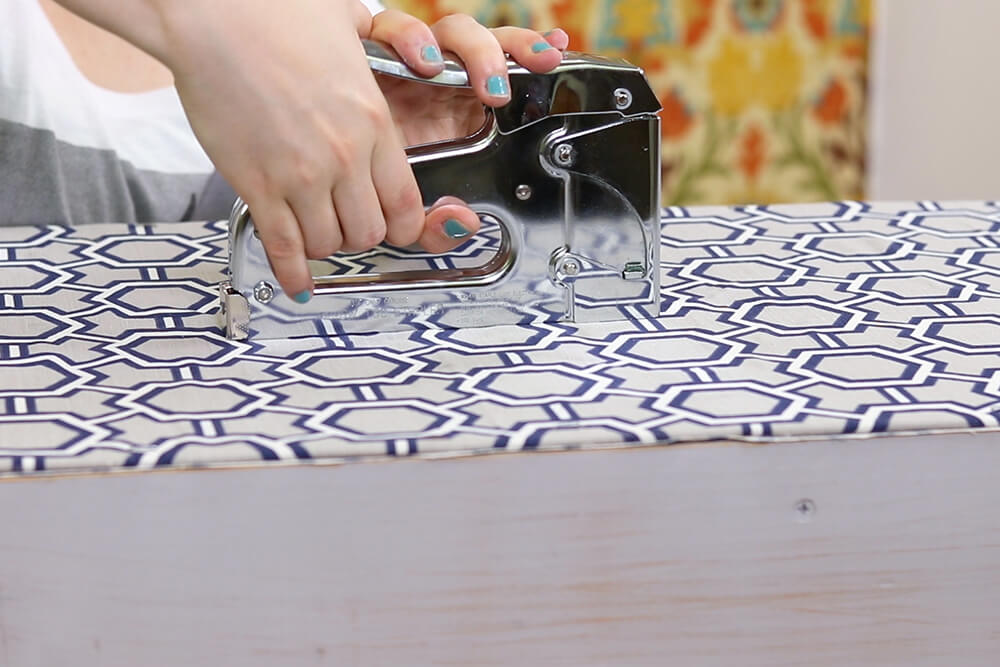
Now all that’s left is to attach the back board.
Place the board on the back of the shelf with the raw edge side of the fabric facing down. Make sure the board is lined up correctly with the edges of the shelf. Staple along the sides and middle like it was before.
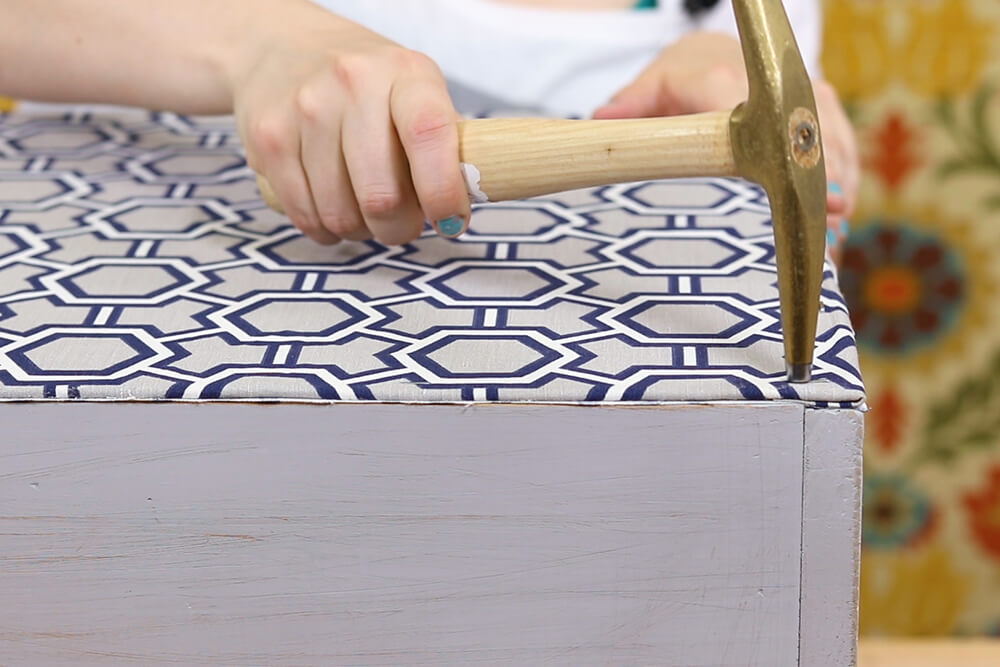
Hammer down any loose staples, and it’s done!
-
{{#each productSuggestedQueries.results}}
- {{query}} {{/each}}
-
{{#each categories.results}}
- {{html title}} {{/each}}
{{html attributes.description}}
{{/if}}-
{{#each queries.results}}
- {{query}} {{/each}}