How to Make a Fringed Shawl
- By Alyssa
- 30 minutes
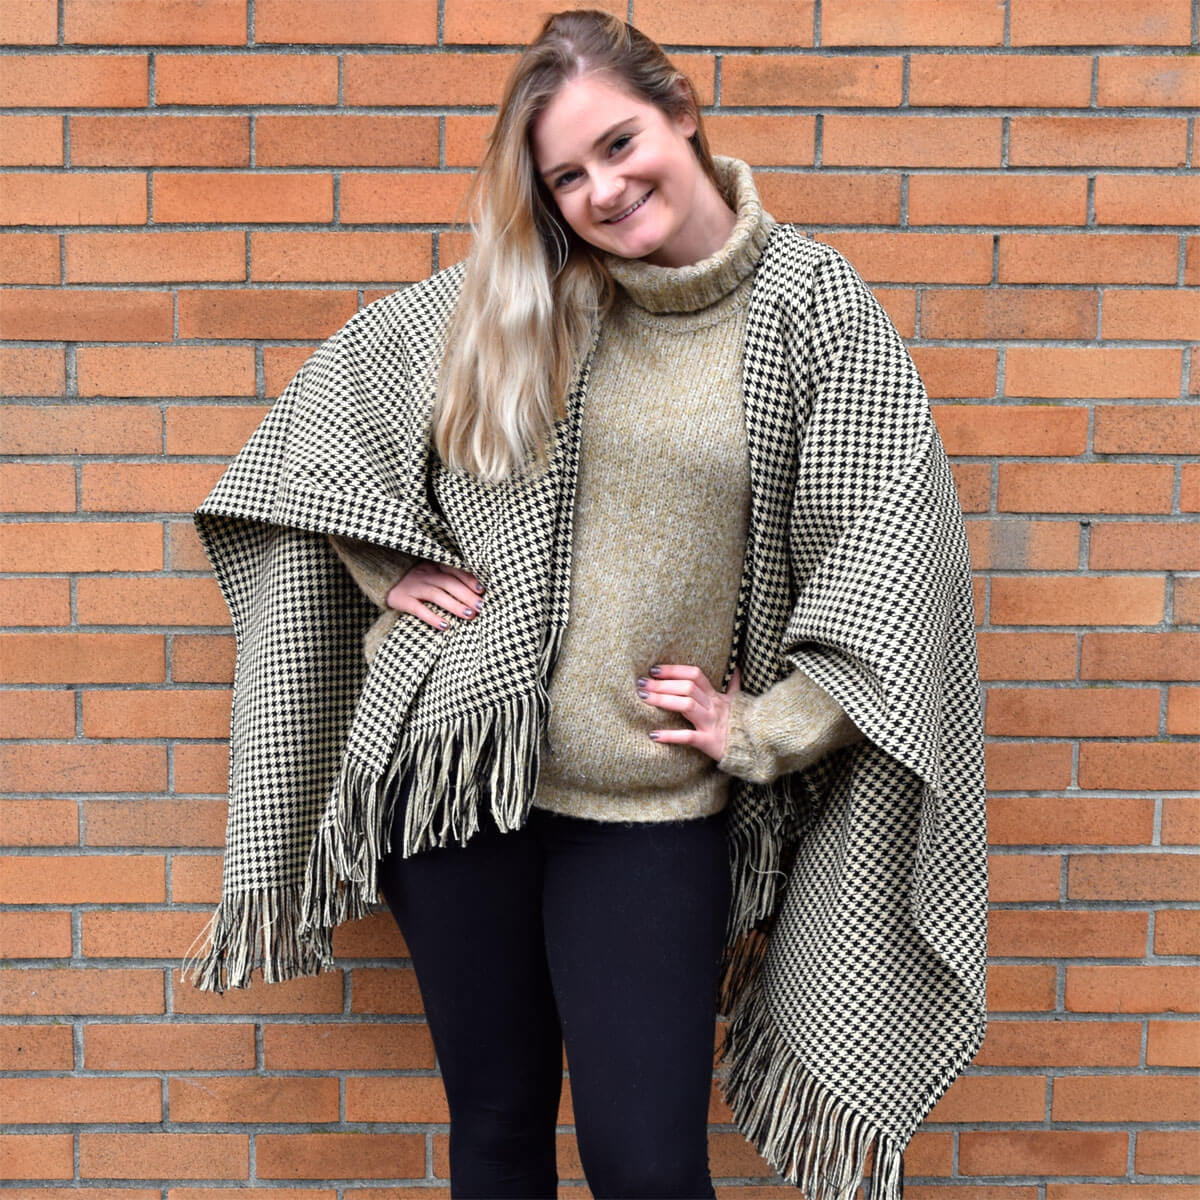
Shawls are a great addition to any outfit as a statement piece or simply to add some outer wear to your look.
The nice fringe on this shawl makes it easy to dress up or down for any occasion.
Just pick your fabric and get to sewing your new favorite piece in your wardrobe.

Materials
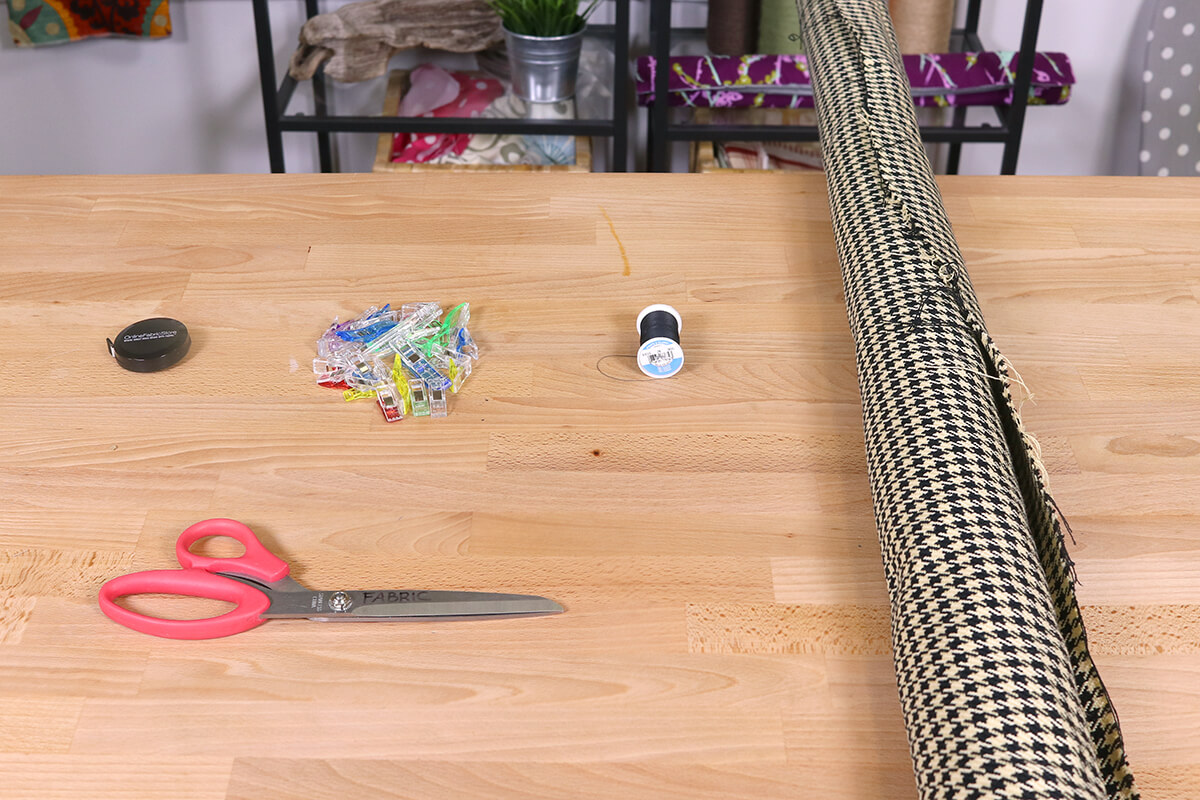
Related Products


Video
Instructions
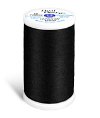
Step 1: Cut your Fabric
This shawl is appropriately sized on me but I am 5’8”.
I am cutting out a rectangle of fabric that is 67”x 52”. If you are going to be making a different sized shawl, your ratio should be 1¼ inch long to 1 inch wide.
You also want to cut the neck hole out. To do this, I folded my fabric in half the long way. Then cut into the fold 1” around 26” from one of the ends. Then you want to cut in another inch, but do this one on a curve so it ends up being parallel to the fold. Now cut straight across to the end that is 26” away.

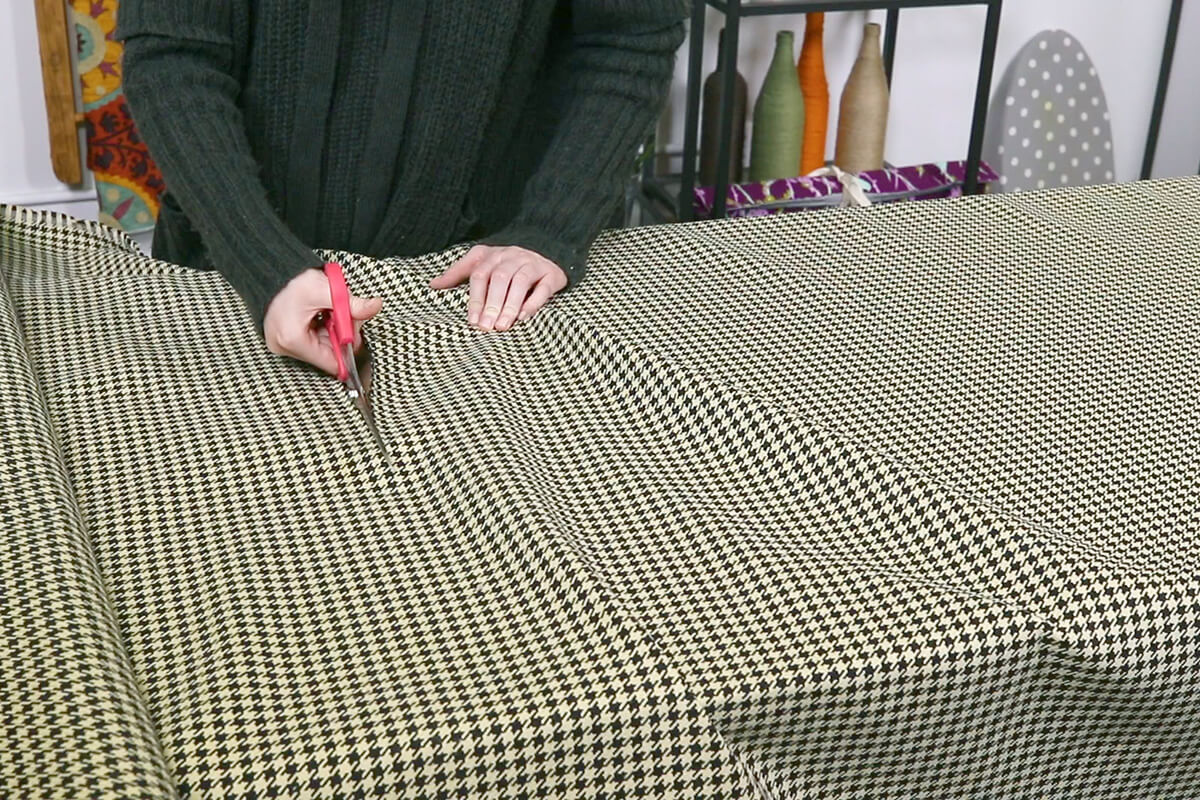
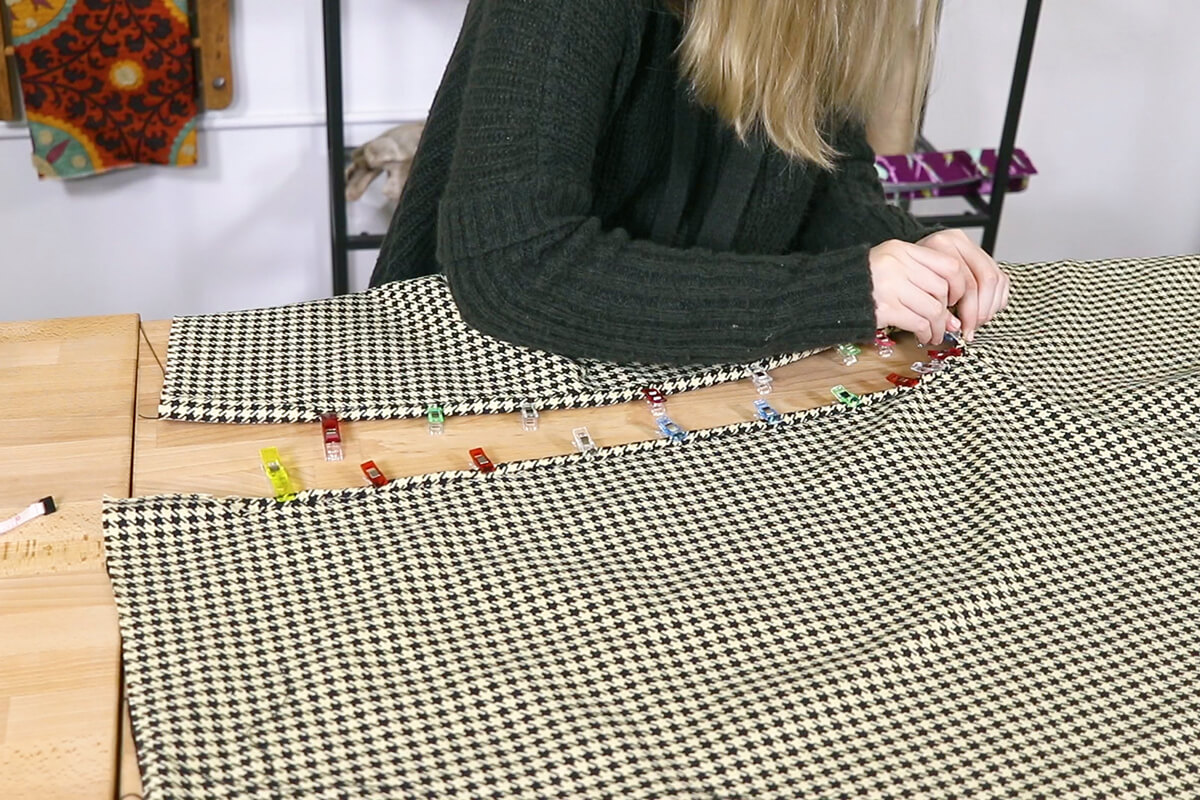
Step 2: Clip
On the 67” sides of your rectangle, fold the fabric in ¼ inch and then fold it ¼ inch again so you are hiding the raw edge. Clip this in place. Do this to both sides and the neck hole. Also mark 5” from each edge on all four corners and the ends of the neck hole. This will be where you make your fringe, so you don’t want to sew here.
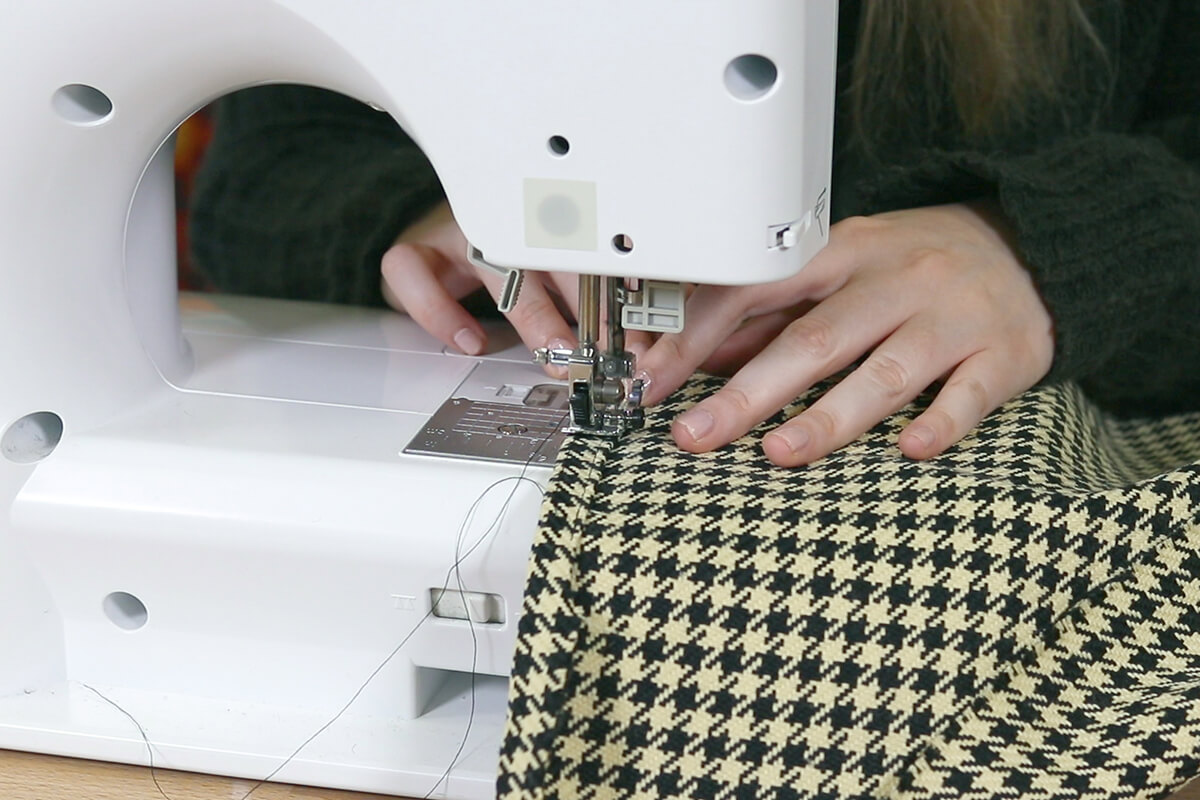
Step 3: Sew down the edges
Sew the ¼ fold by using a top stitch on the inner edge of the fold. Remember to start after your 5-inch fringe allowance and stop before you hit it on the other side. Back stitch at the beginning and end to secure the edge.
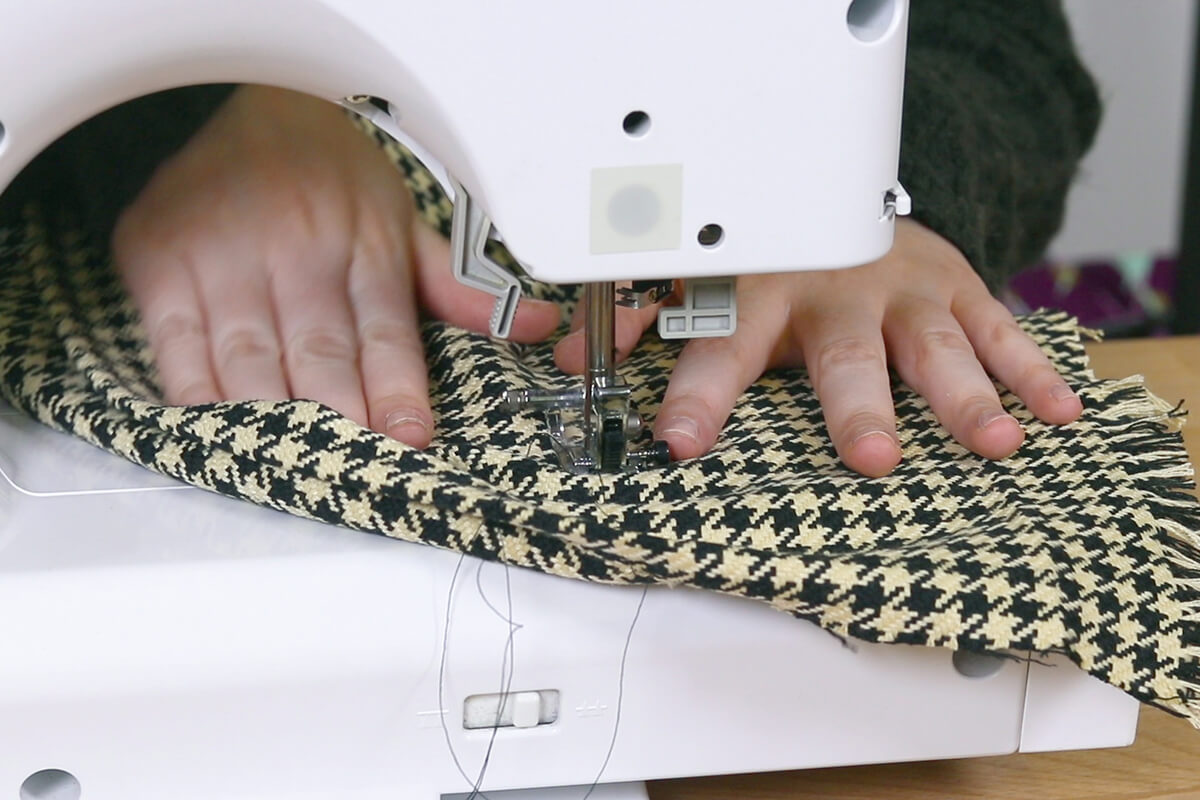
Step 4: Sew to secure the fringe
Topstitch across the edge on your fringe edge where you would like your fringe to start. I am making my fringe 5” long so that was worked into my ratio and I will be sewing 5 inches from the edge of that end.
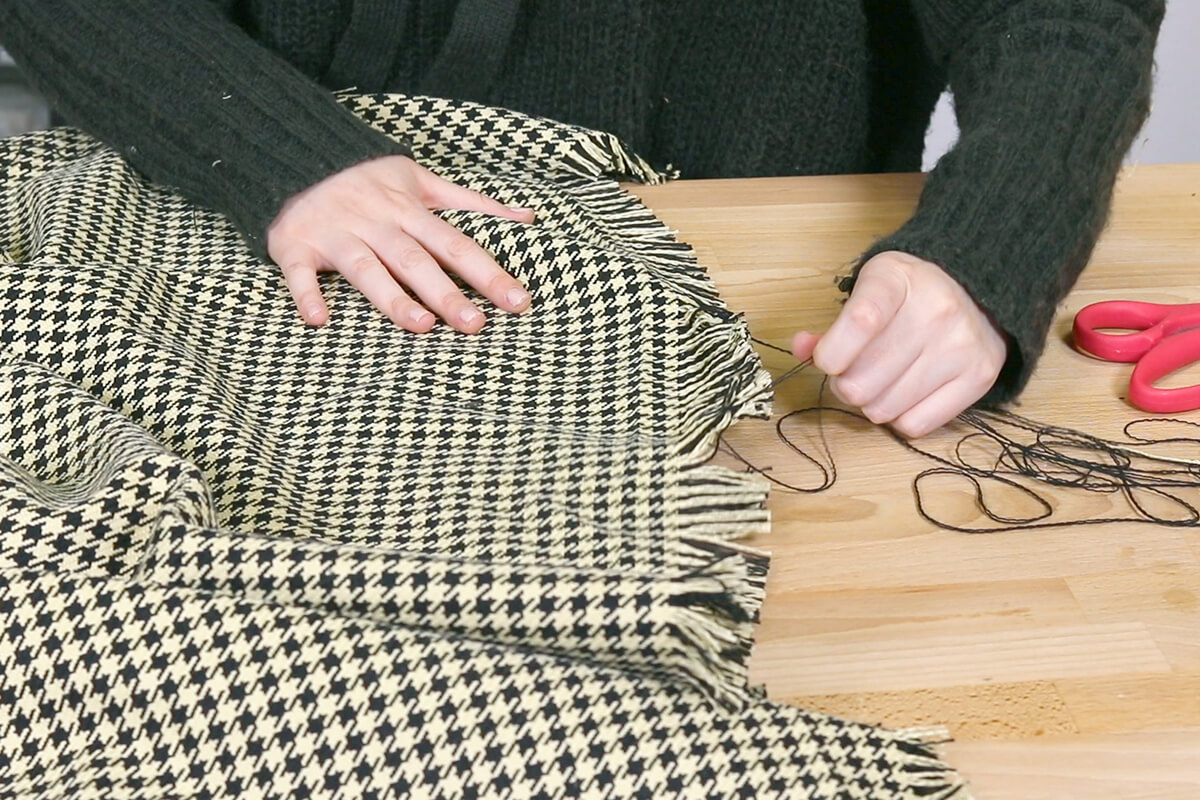
Step 5: Fringe
Create your fringe by pulling out the horizontal threads out of your fabric on both ends.

-
{{#each productSuggestedQueries.results}}
- {{query}} {{/each}}
-
{{#each categories.results}}
- {{html title}} {{/each}}
{{html attributes.description}}
{{/if}}-
{{#each queries.results}}
- {{query}} {{/each}}