How to Make a High Low Tunic
- By Jen
- Beginner
- 1 hour
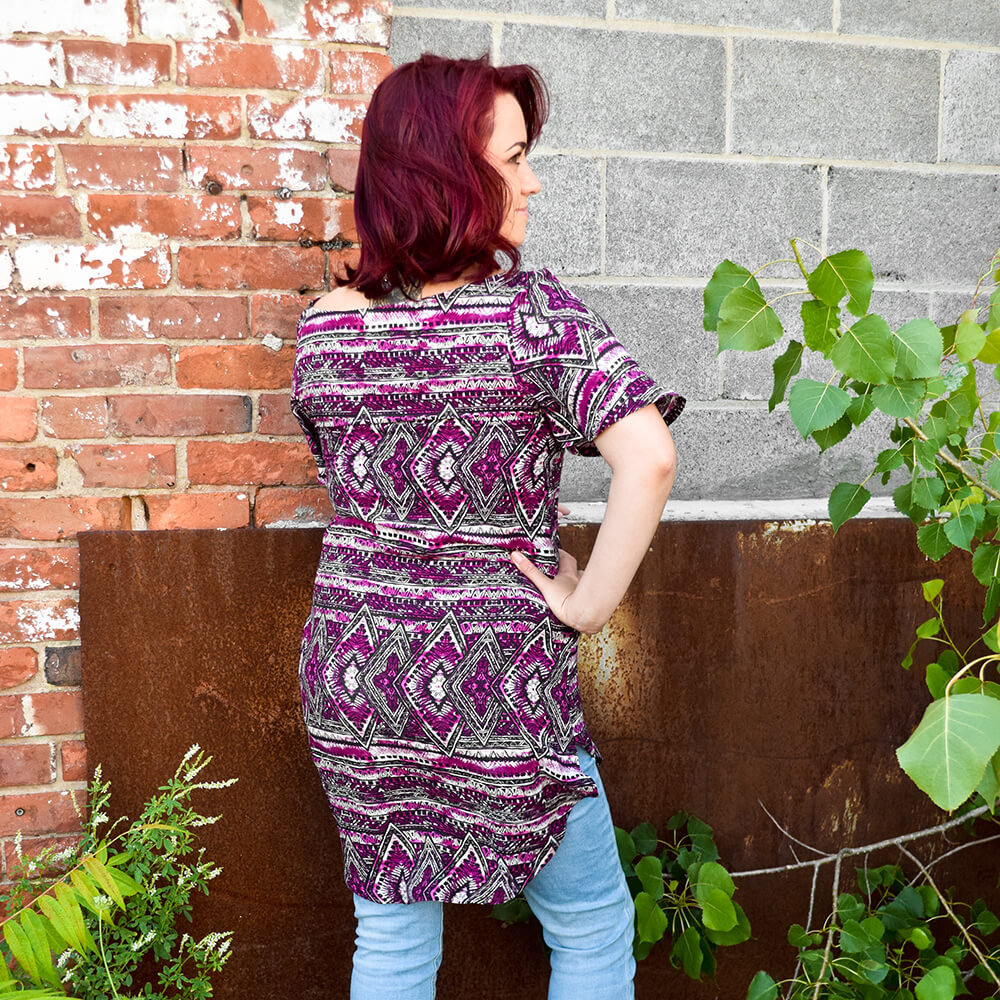
Tunics are a great and easy item of clothing to own because they can be dressy (depending on the fabric) or casual. You can pair them with leggings, jeans, boots, sandals, and….pretty much anything. This tunic that I’ve designed and created is longer in the back and shorter in the front for an edgy look. The sleeves are loose and flowy, making the tunic comfortable to wear. It is made out of challis fabric, which might possibly be the best fabric ever, especially for a project like this.
Sign up to our mailing list to get the FREE pattern and printable PDF instructions.

Materials
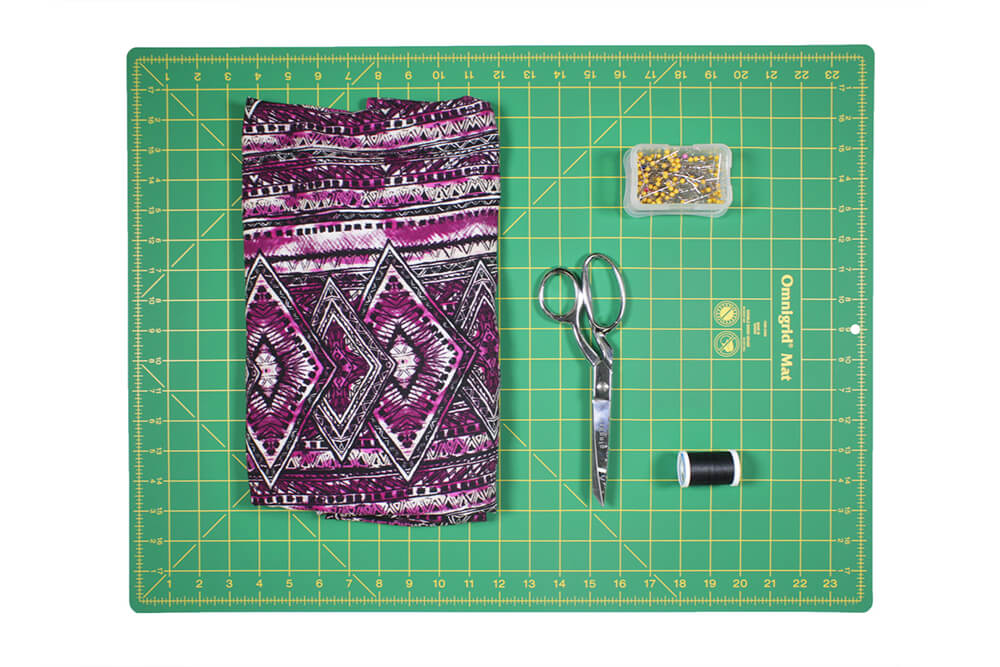
Related Products


Video
Instructions
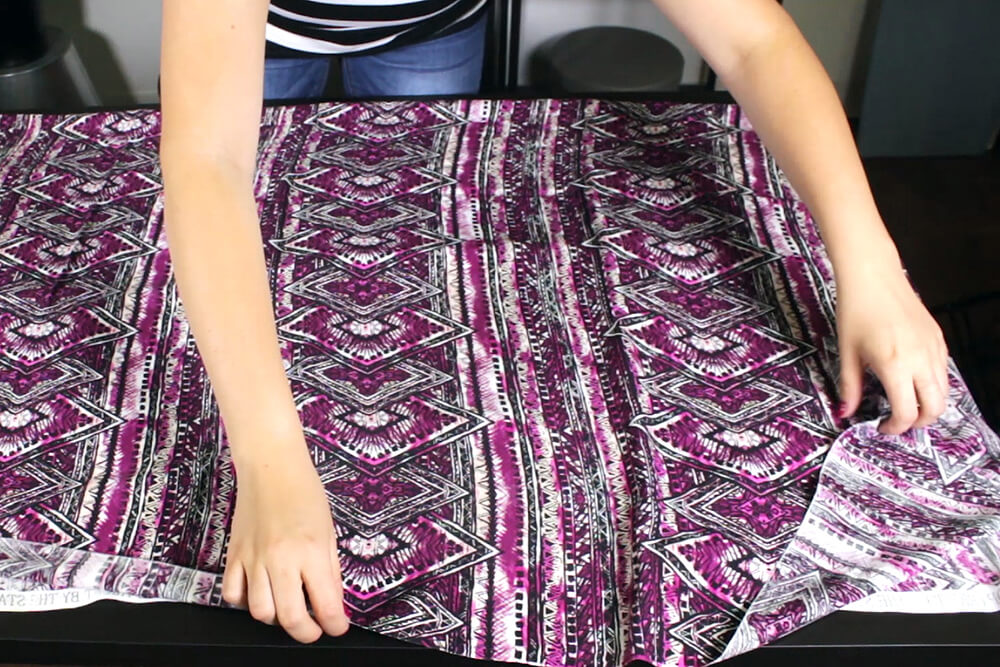
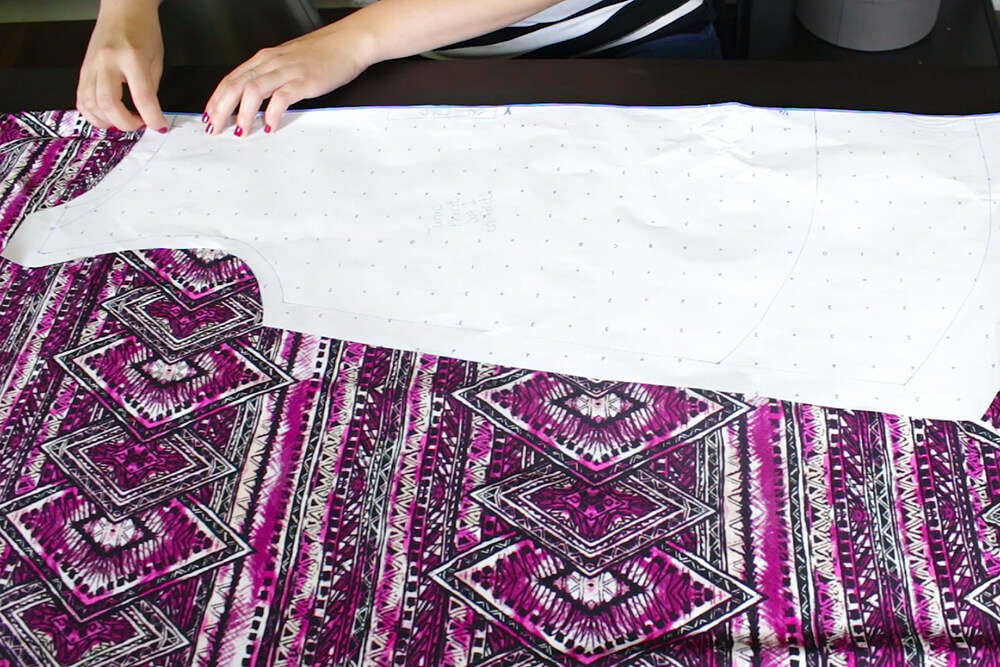
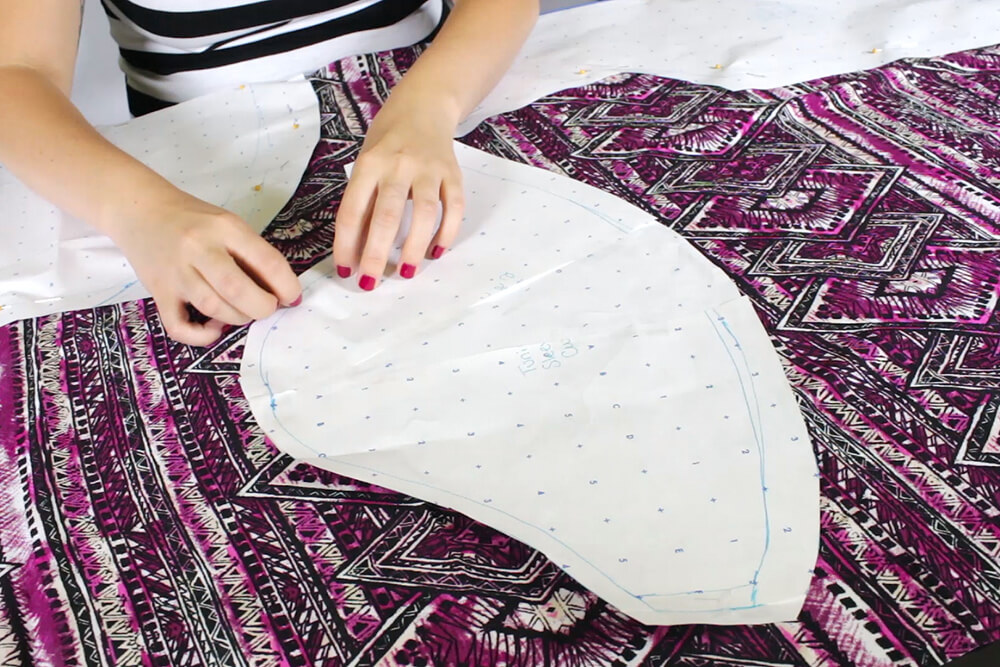
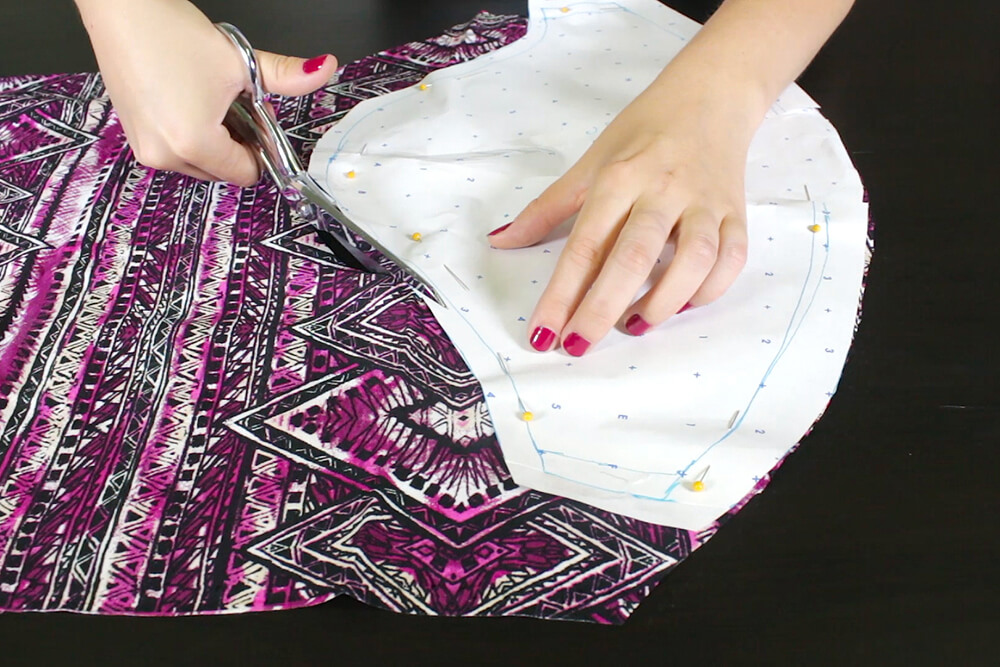
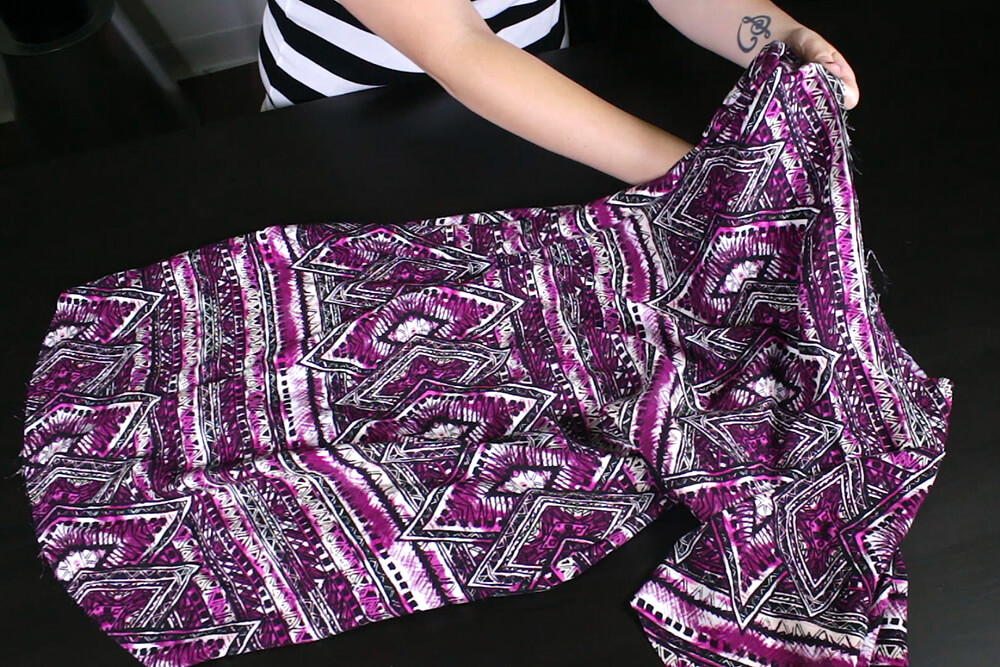
Step 1: Pin & cut the pattern
To start, fold the fabric in half. Make sure the pattern is running vertically from you. Pin the front and back patterns to the fold line. In the center, pin the sleeve pattern to the fabric and cut out all the pattern pieces.
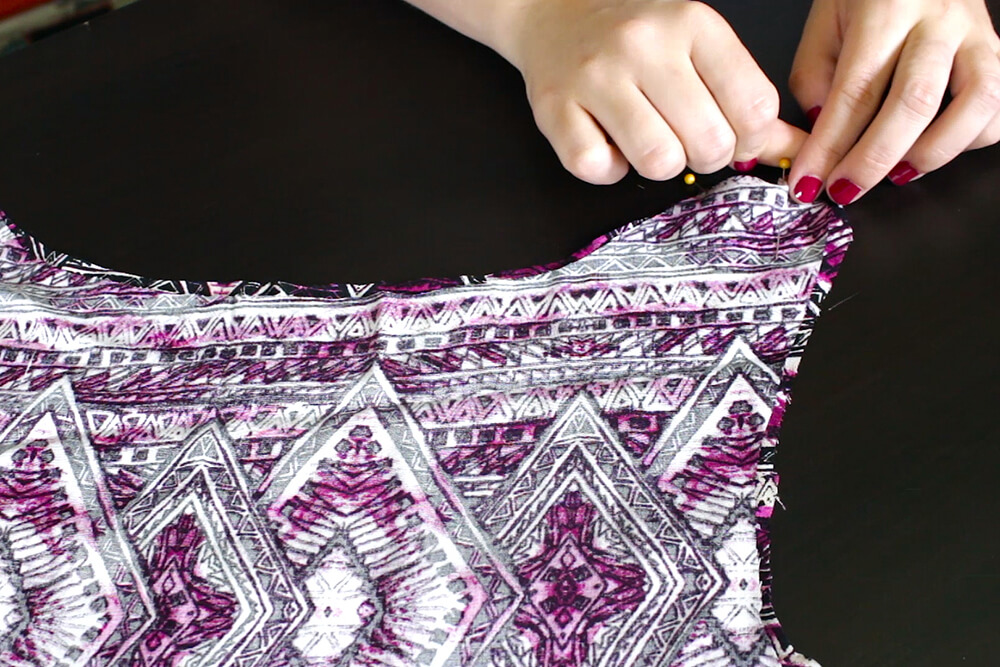
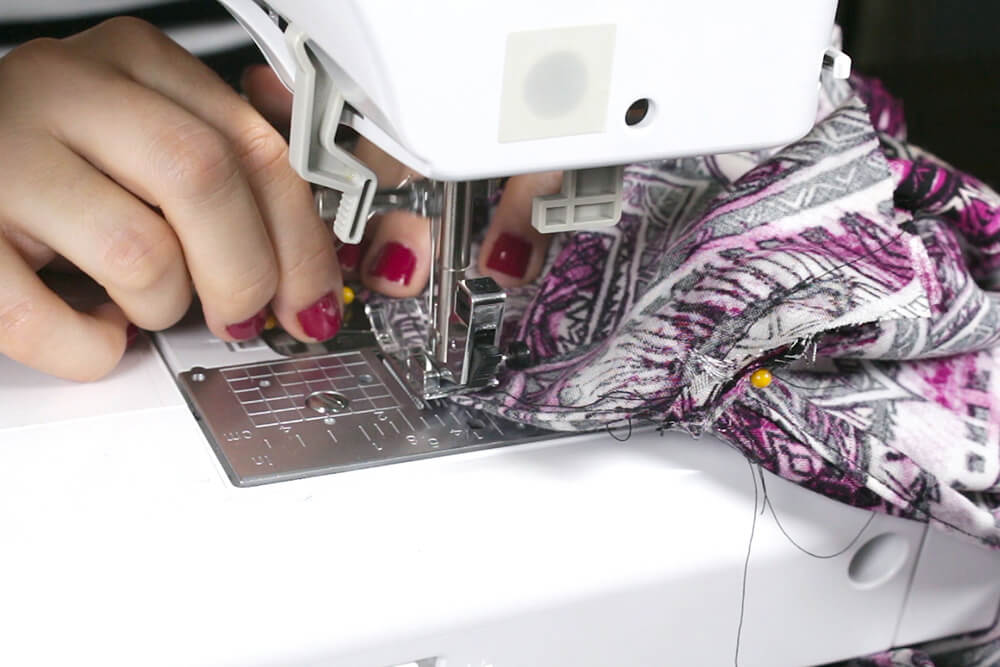
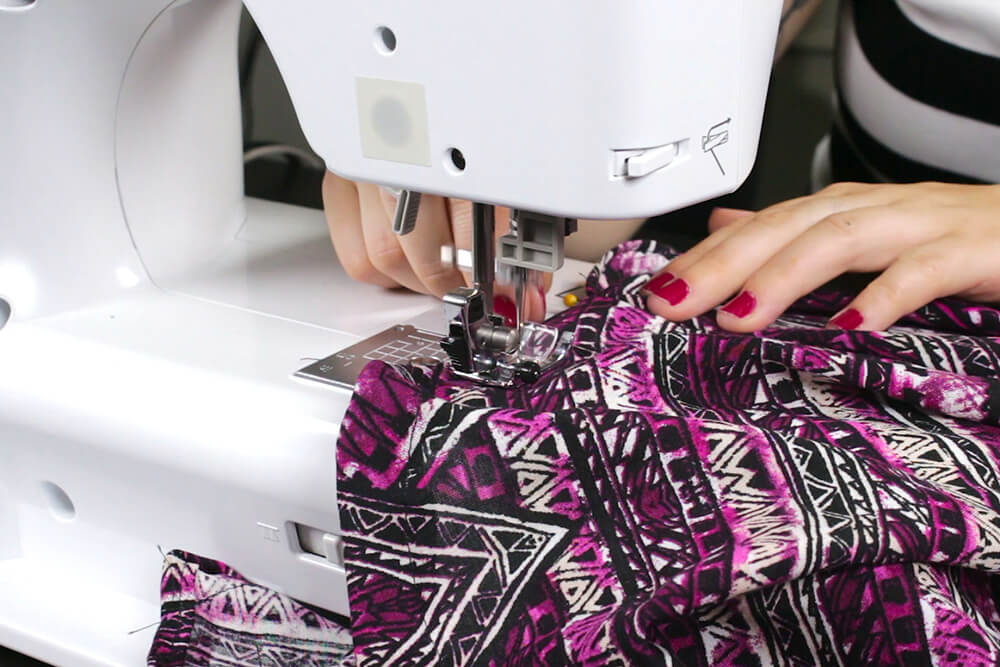
Step 2: Sew the front & back
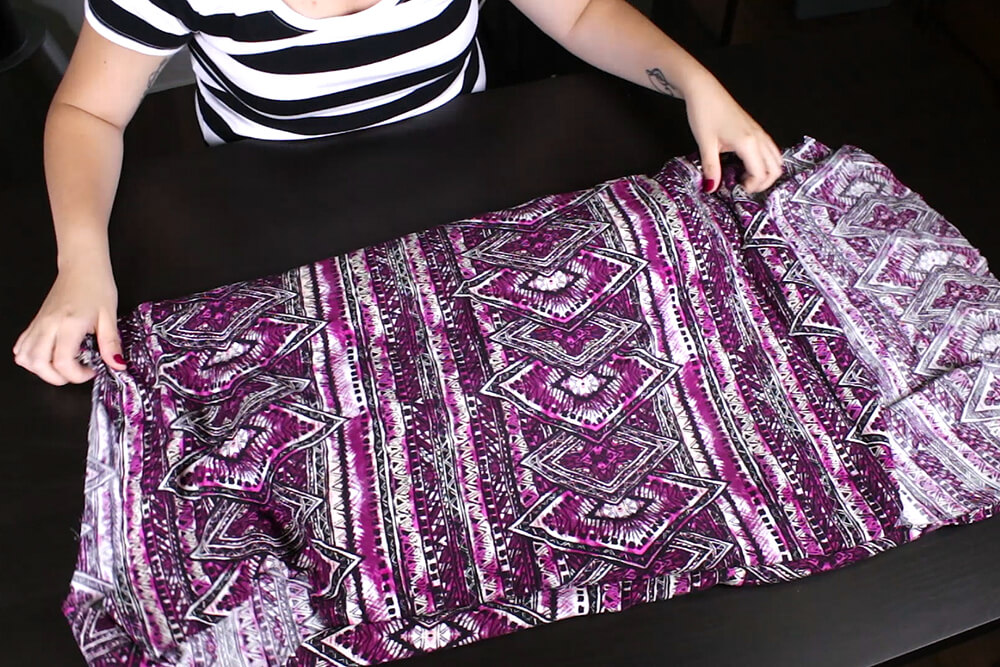
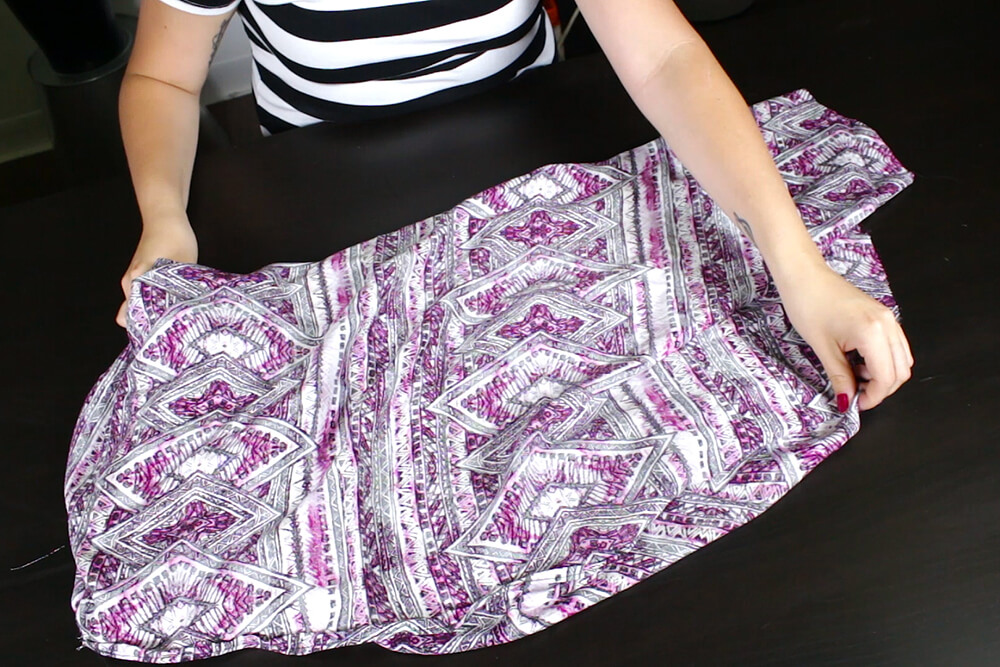
First, remove all the pins and pattern pieces. Lay the back piece flat on the table, right side up, and place the right side of the front piece on top. Make sure the shoulders and sides line up. Remember the back is longer, so the sides won’t match up completely.
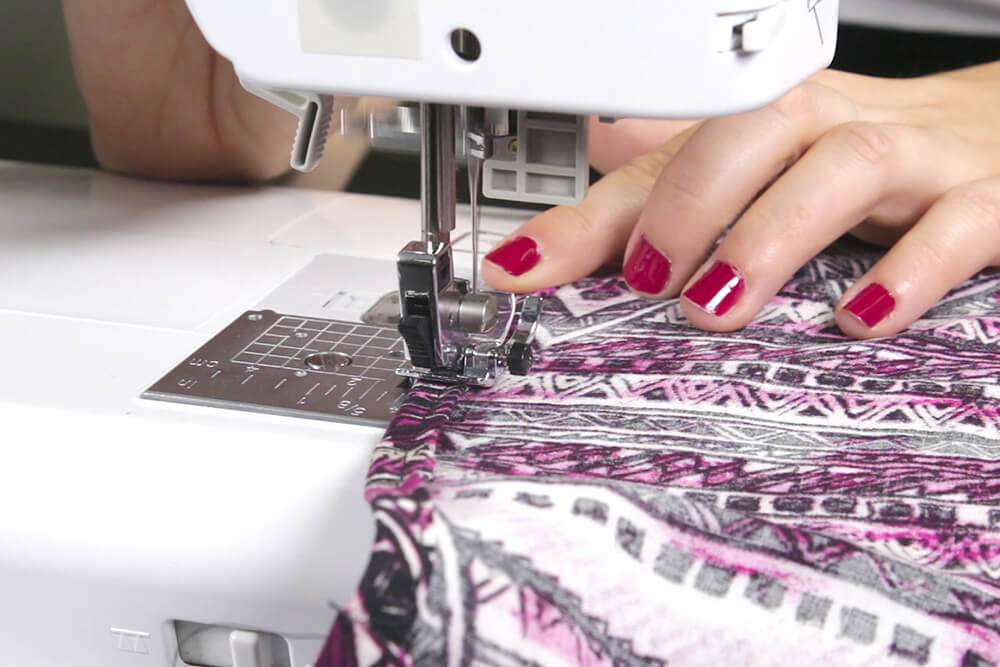
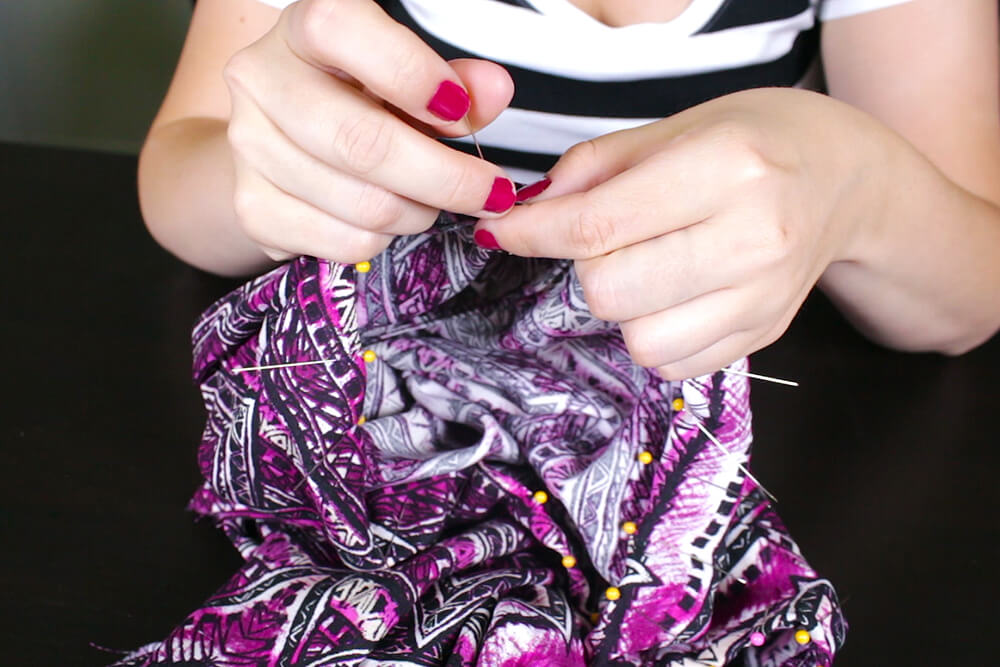
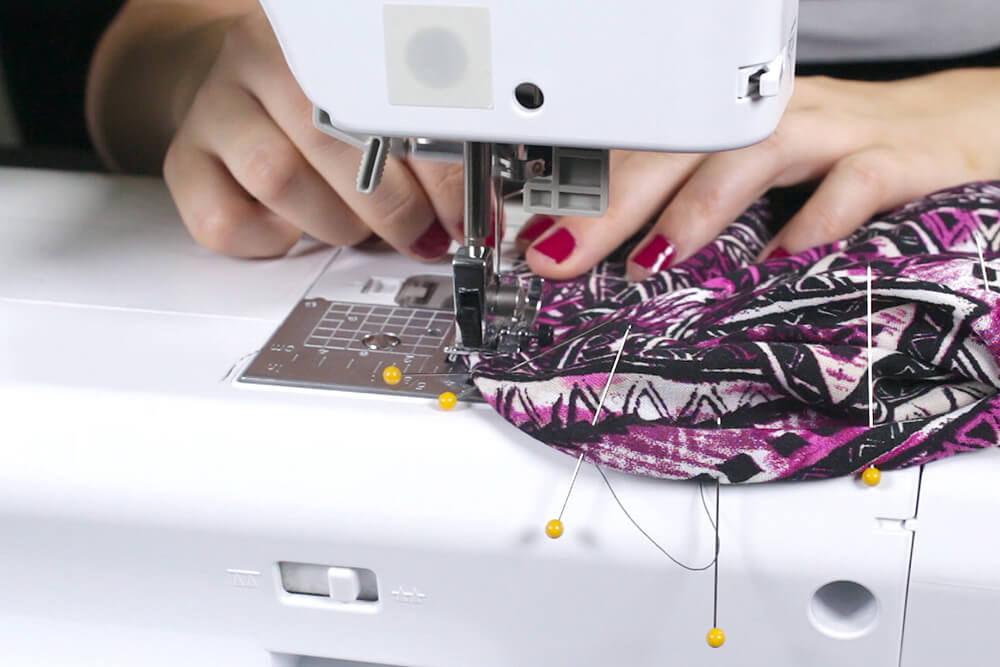
Pin the shoulders and the sides, and stitch with a 1″ seam allowance. For the shoulders, start 1″ in and leave 1″ at the end. For the sides start 1″ in, and leave 2″ at the end. Every time you sew make sure to back stitch at the beginning and the end to secure the stitch.

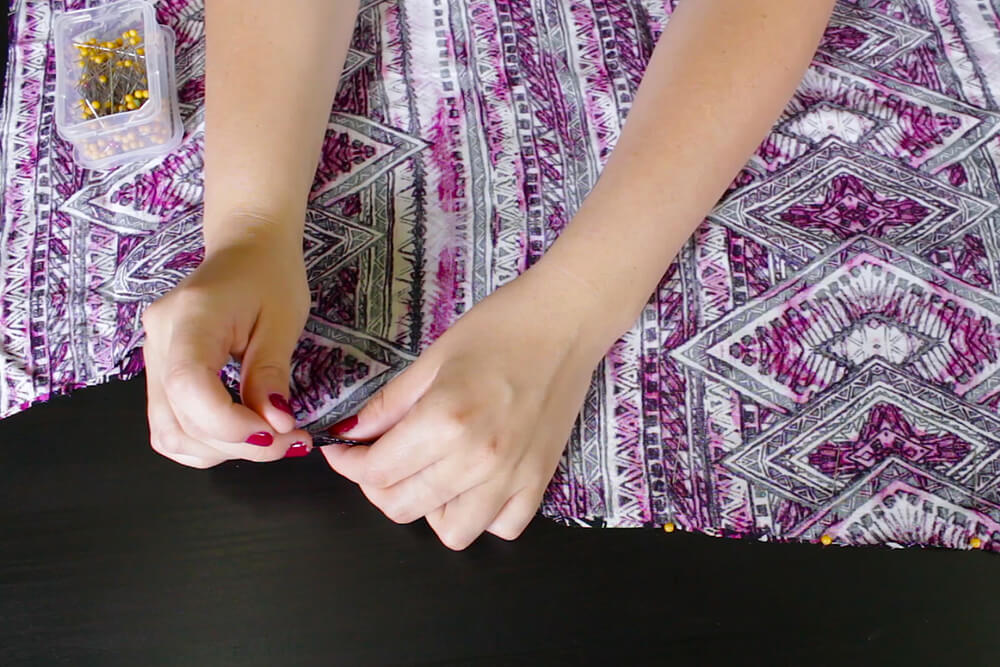
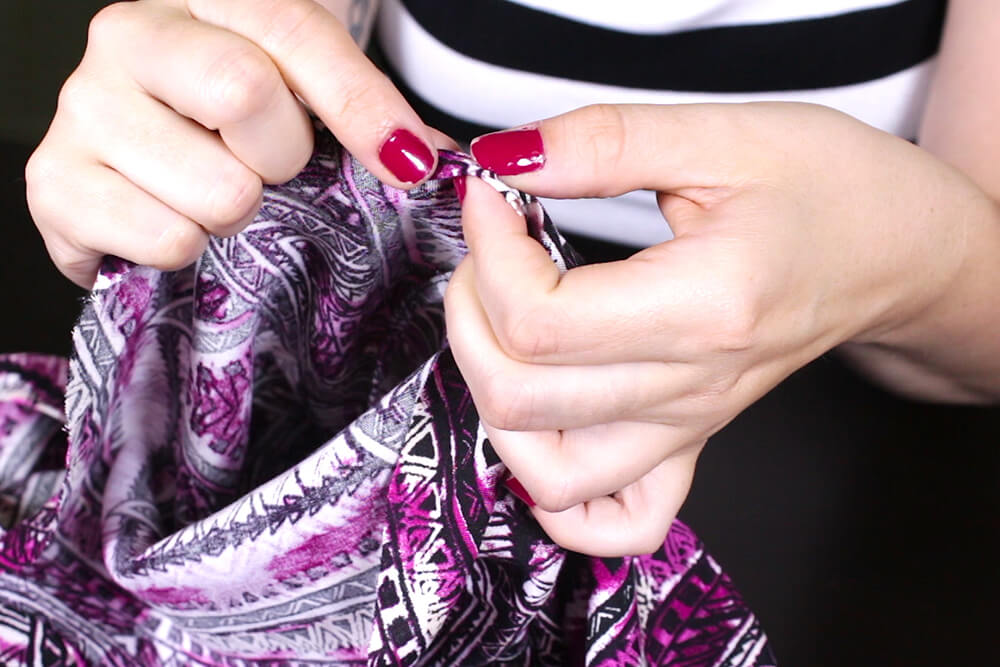
Step 3: Finish the inside seams
For the shoulders, fold the seam allowance over a ½” twice, and stitch. The stitch line should be about a ¼” in from the edge. For the sides, the extra fabric at the bottom will be folded over by itself. When you’re done, fold the tunic to the right side.

Step 4: Attach the sleeves
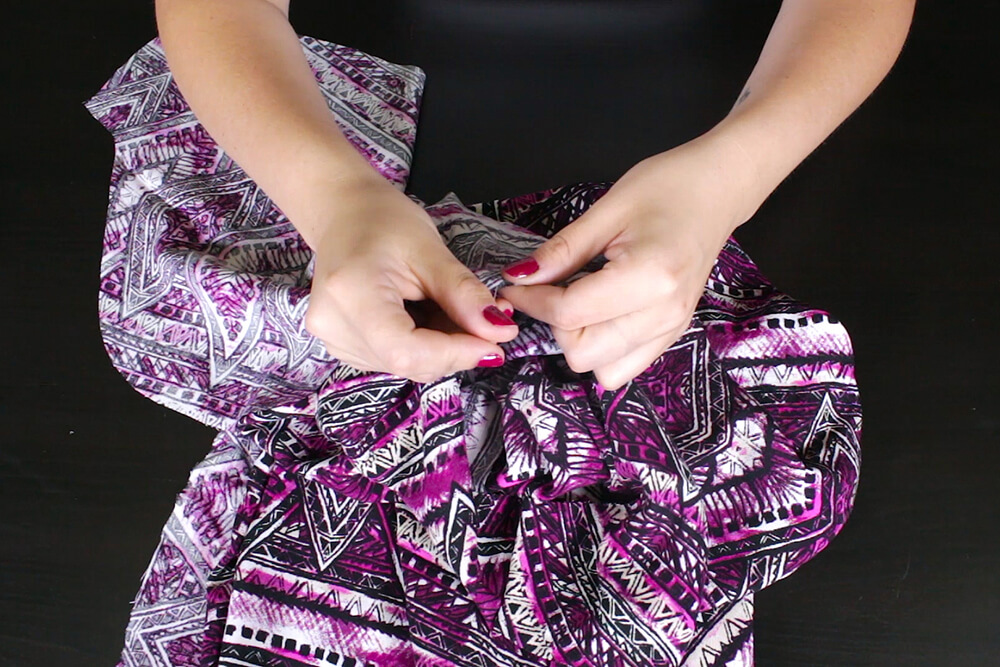
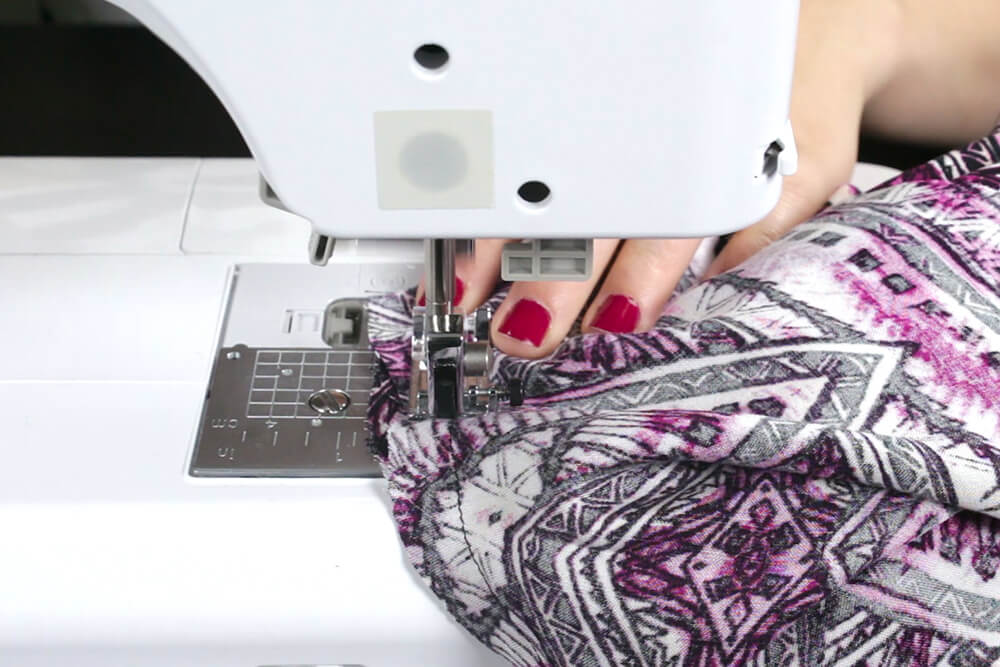
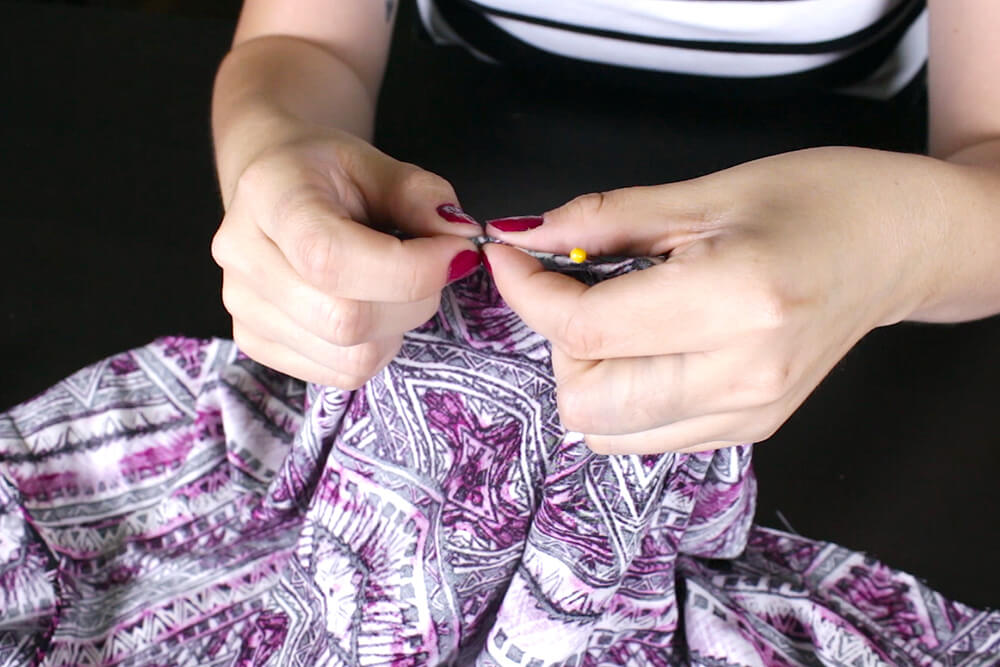
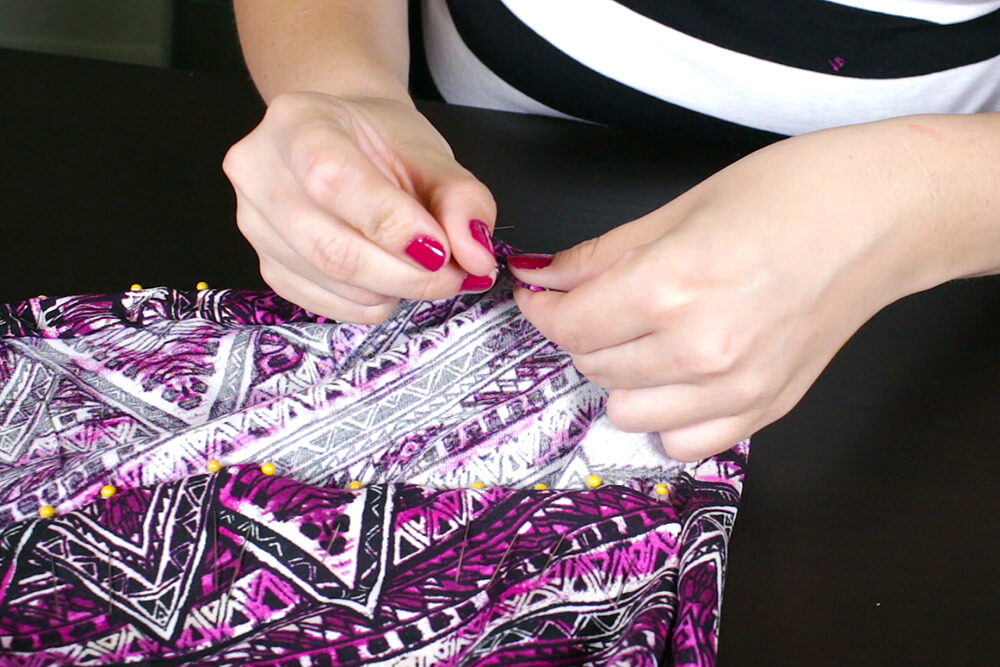
Pin the top corner of the sleeve to the bottom of the armhole. Right sides should be facing each other. Pin all around until you’ve reached the end and stitch with a ½” seam allowance. For the sleeves, start stitching a ½” in and leave a ½” at the end.
Pin the side of the sleeve and stitch with a ½” seam allowance. Repeat this step for the other armhole.

Once the sleeves are attached, fold the tunic inside out. To finish the edges of the sleeves, fold the seam allowance over a ¼”, pin, and stitch. Do the same for the sides of the sleeves. Fold the tunic to the right side.
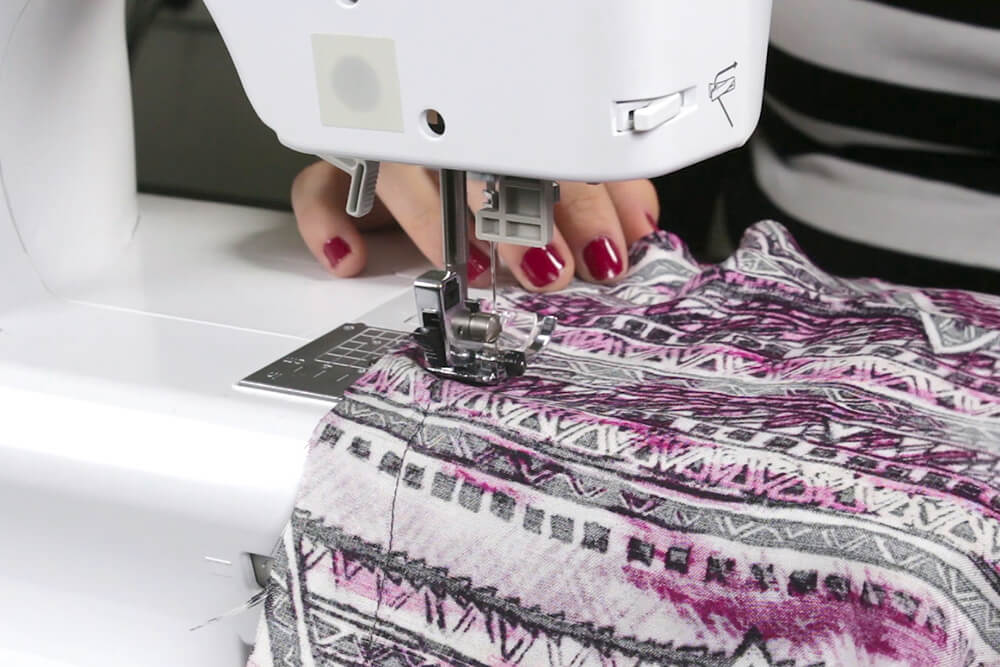
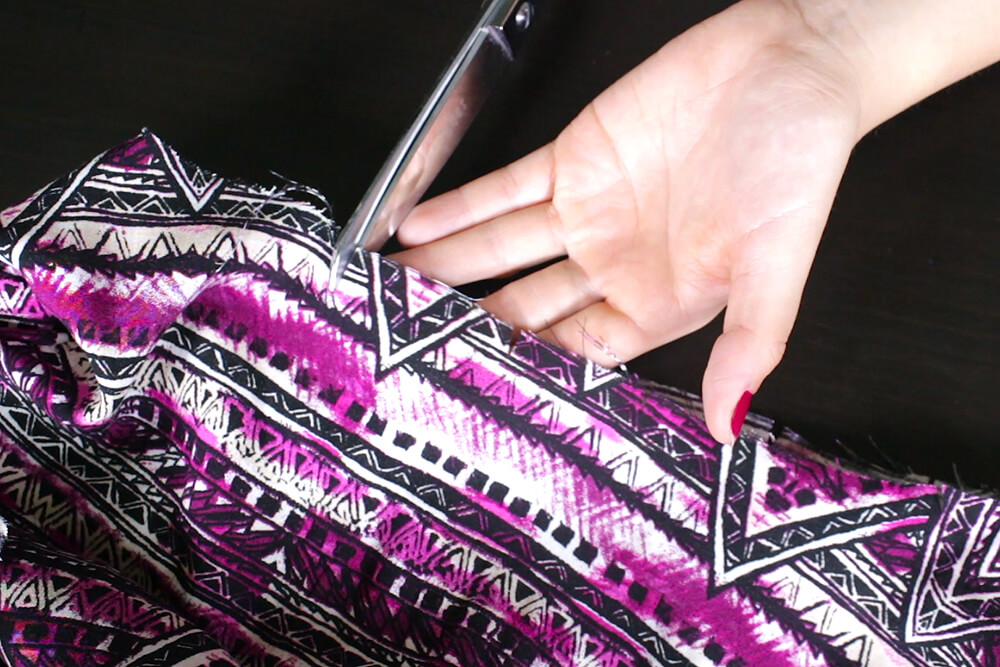
Step 5: Finish the outside & hem
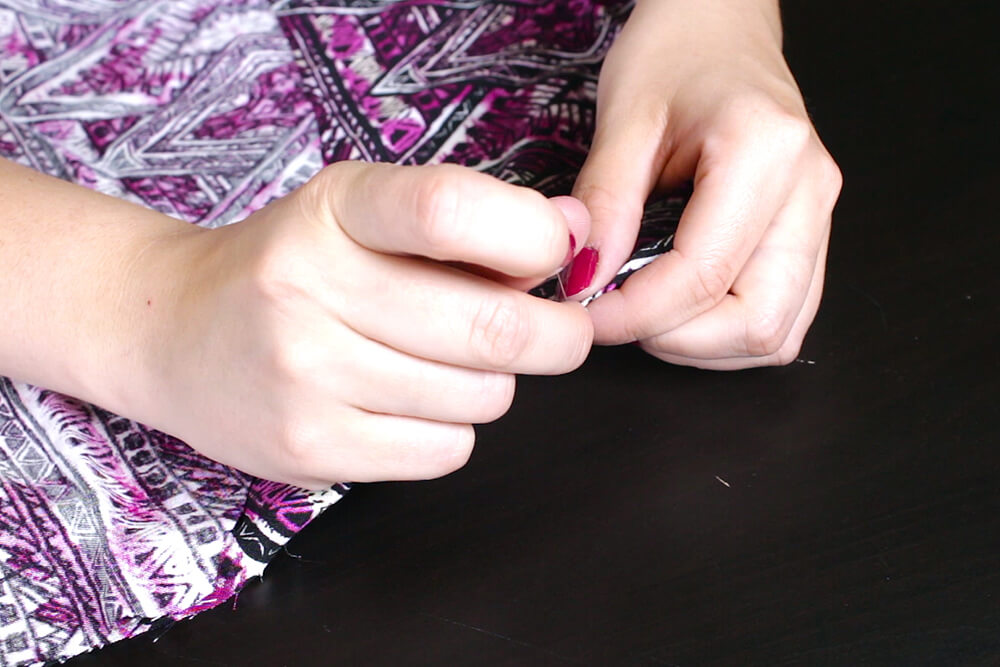
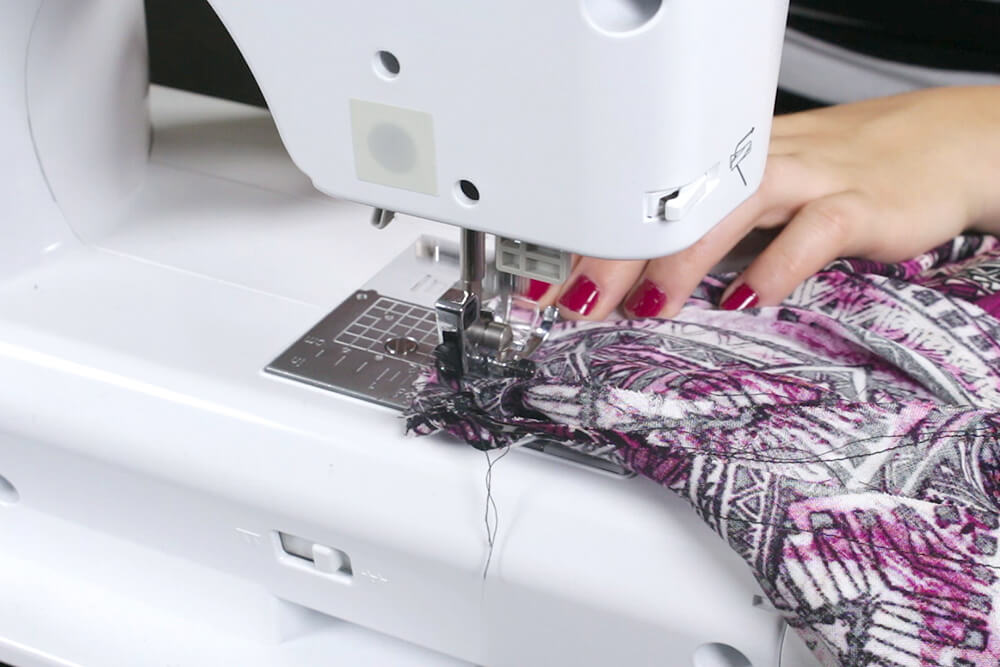
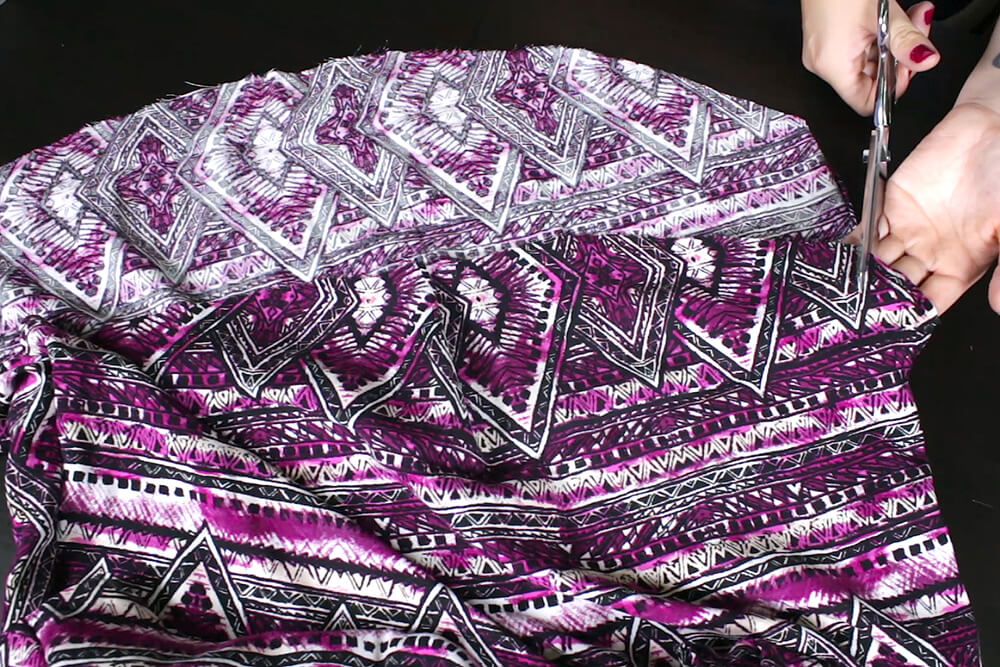
Starting with the neckline, make ½” snips along the front and back. This will help the fabric fold better on a curve. Fold the edges over a ½” twice, pin, and stitch. The stitch line should be about 3/8″ in from the edge.
For the sleeves, fold the edges over a ½” twice, pin, and stitch.
When you get to the hem, make 1″ snips along the front and back. Fold the edges over 1″ twice, pin, and stitch with a ¾” seam allowance.
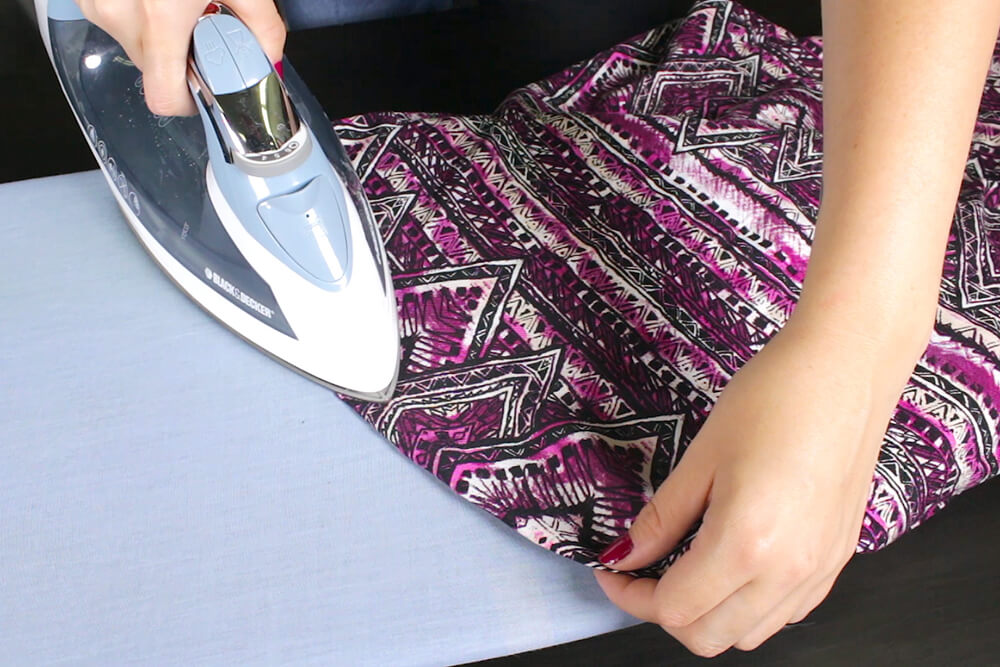
After everything is stitched, iron the edges of the neckline, armhole, and hem. The tunic is complete!

If you're ready to give it a go, browse our selection of apparel fabric!
-
{{#each productSuggestedQueries.results}}
- {{query}} {{/each}}
-
{{#each categories.results}}
- {{html title}} {{/each}}
{{html attributes.description}}
{{/if}}-
{{#each queries.results}}
- {{query}} {{/each}}